How to Build Direct Messaging Between Users
In this tutorial, we will cover the basic customization of the WordPress direct messaging system between users available as a part of the JetMessenger plugin functionality.
Before you start, check the tutorial requirements:
- Elementor (Free version), Block editor (Gutenberg), or Bricks
- JetMessenger plugin installed and activated
Direct messaging allows logged-in users to communicate privately with each other directly on the website. With JetMessenger, you can build a WordPress internal messaging system for communities, membership websites, marketplaces, and other projects.
In this tutorial, we will show you how to create private messages between users in WordPress by setting up direct messaging and adding “Start Chat” buttons to a users listing. In our example, we use JetEngine to display users dynamically, but you can also place chat buttons manually on static pages, templates, or profile pages.
Set Up the Direct Messaging
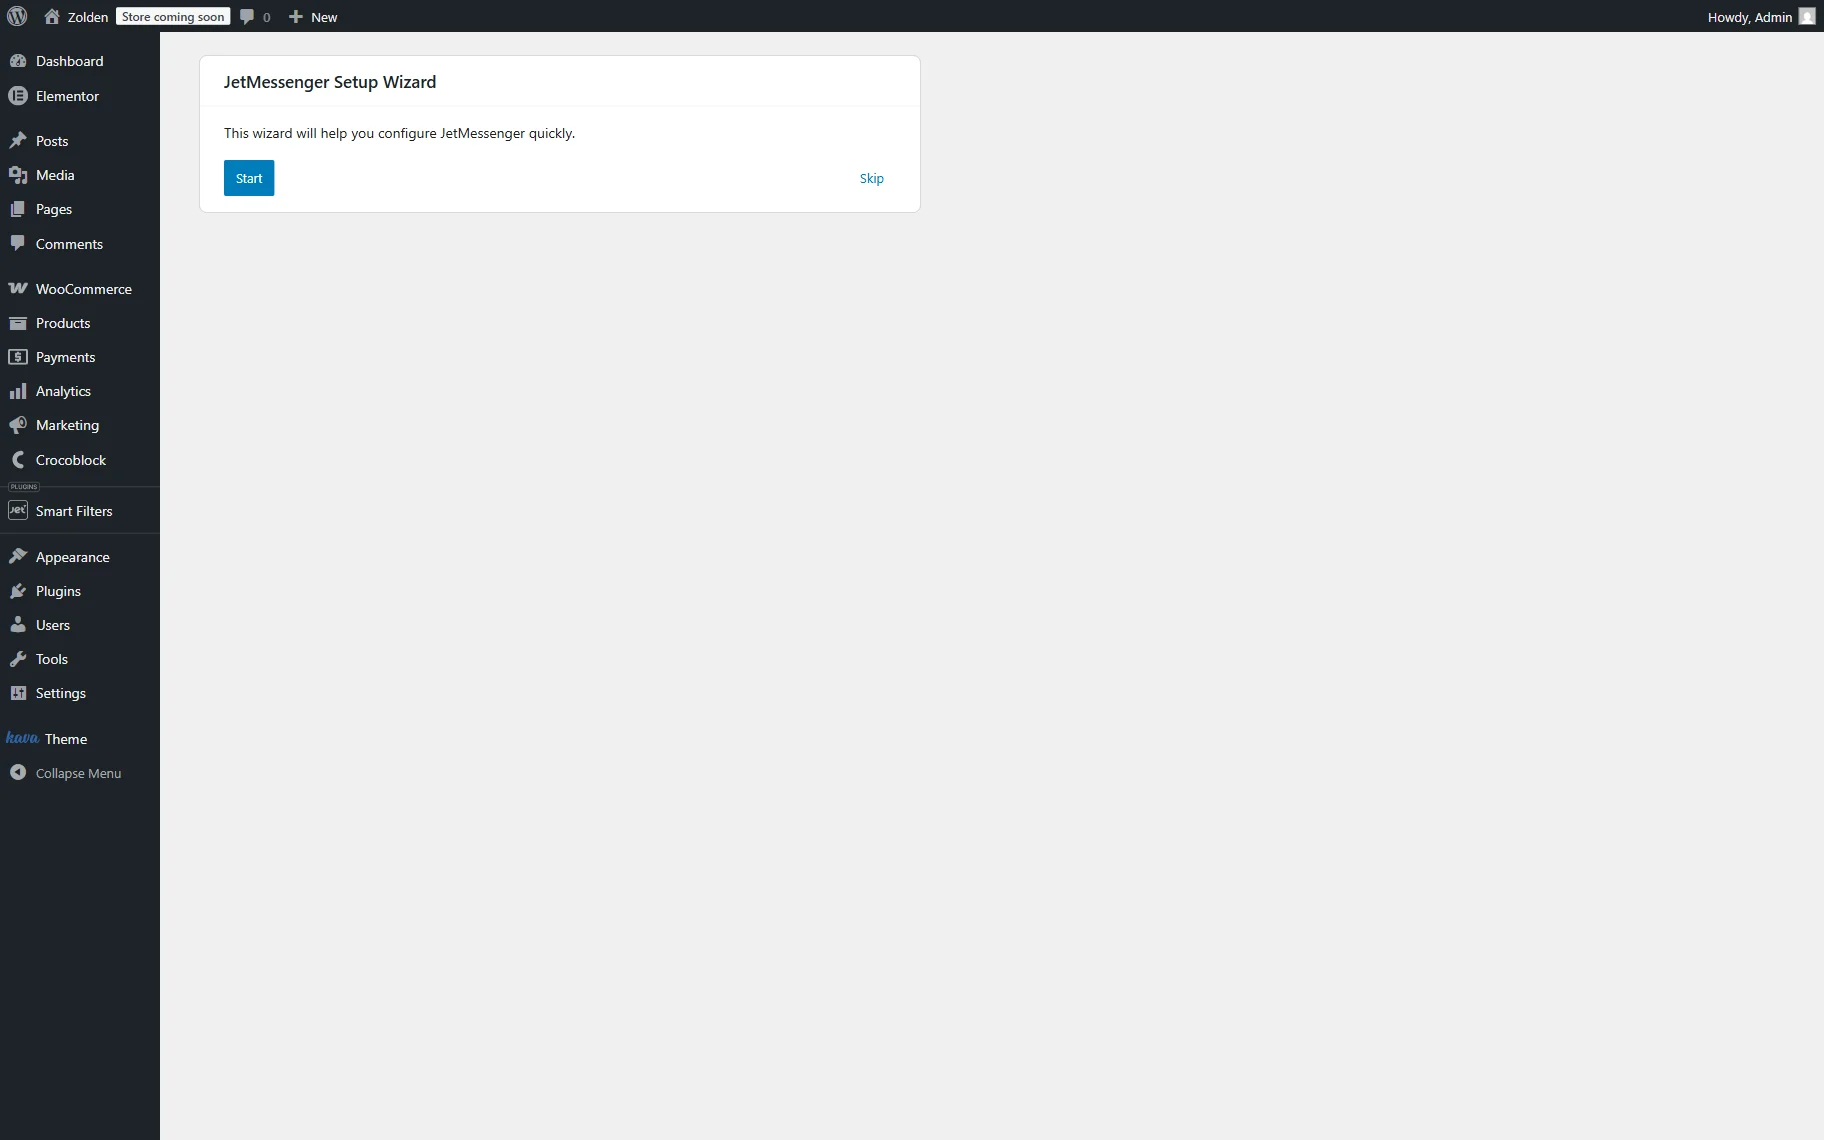
Initially, go to WordPress Dashboard > Crocoblock > Messenger to set up JetMessenger if you haven’t set up the plugin yet. Also, check our How to Set Up JetMessenger After Activation guide to find more information about available features.
Press the “Start” button.
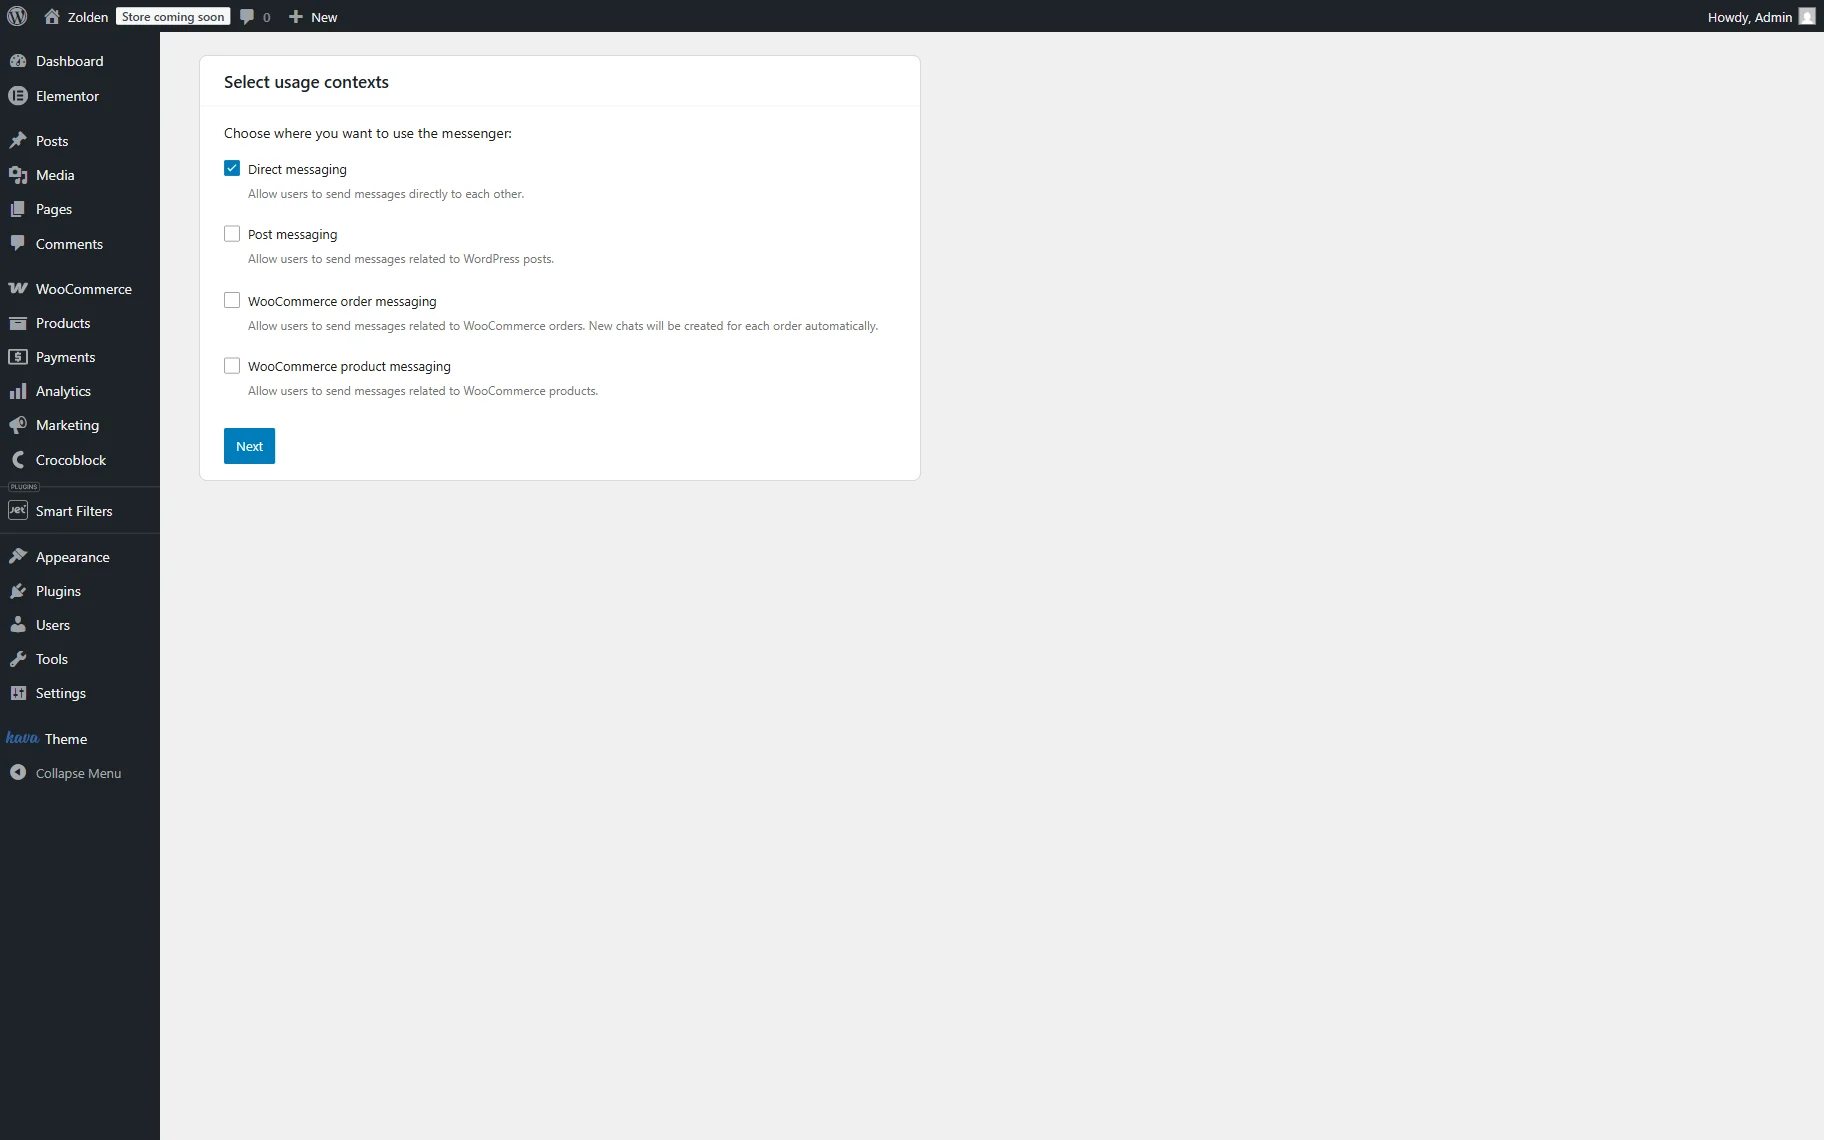
In the following Select usage contexts step, we pick the “Direct messaging” option. Select other contexts as well if needed.
Then, press the “Next” button.
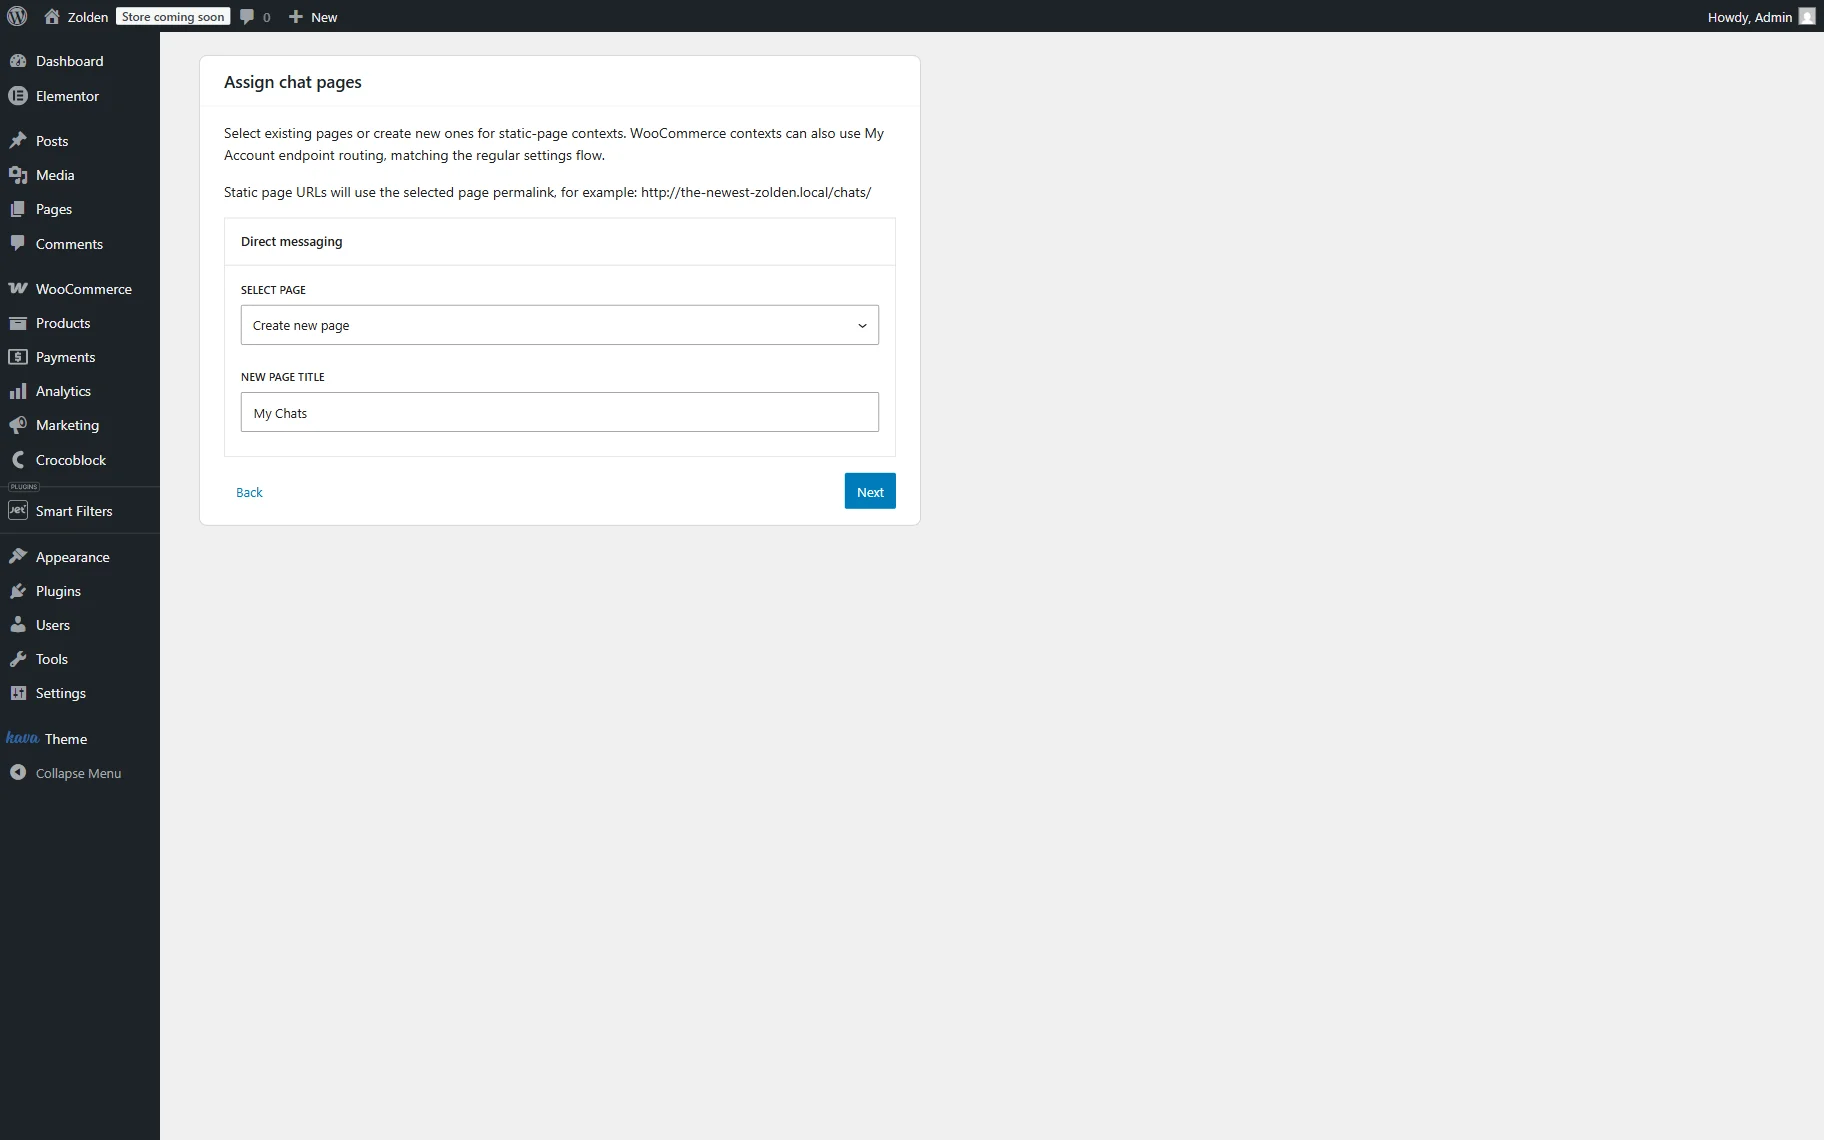
In the Assign chat pages step, you can pick the page you want to use as the chat page or pick the “Create new page” option to build a page from scratch. For example, we select the “Create new page” option.
We also leave the default “My Chats” NEW PAGE TITLE and press the “Next” button.
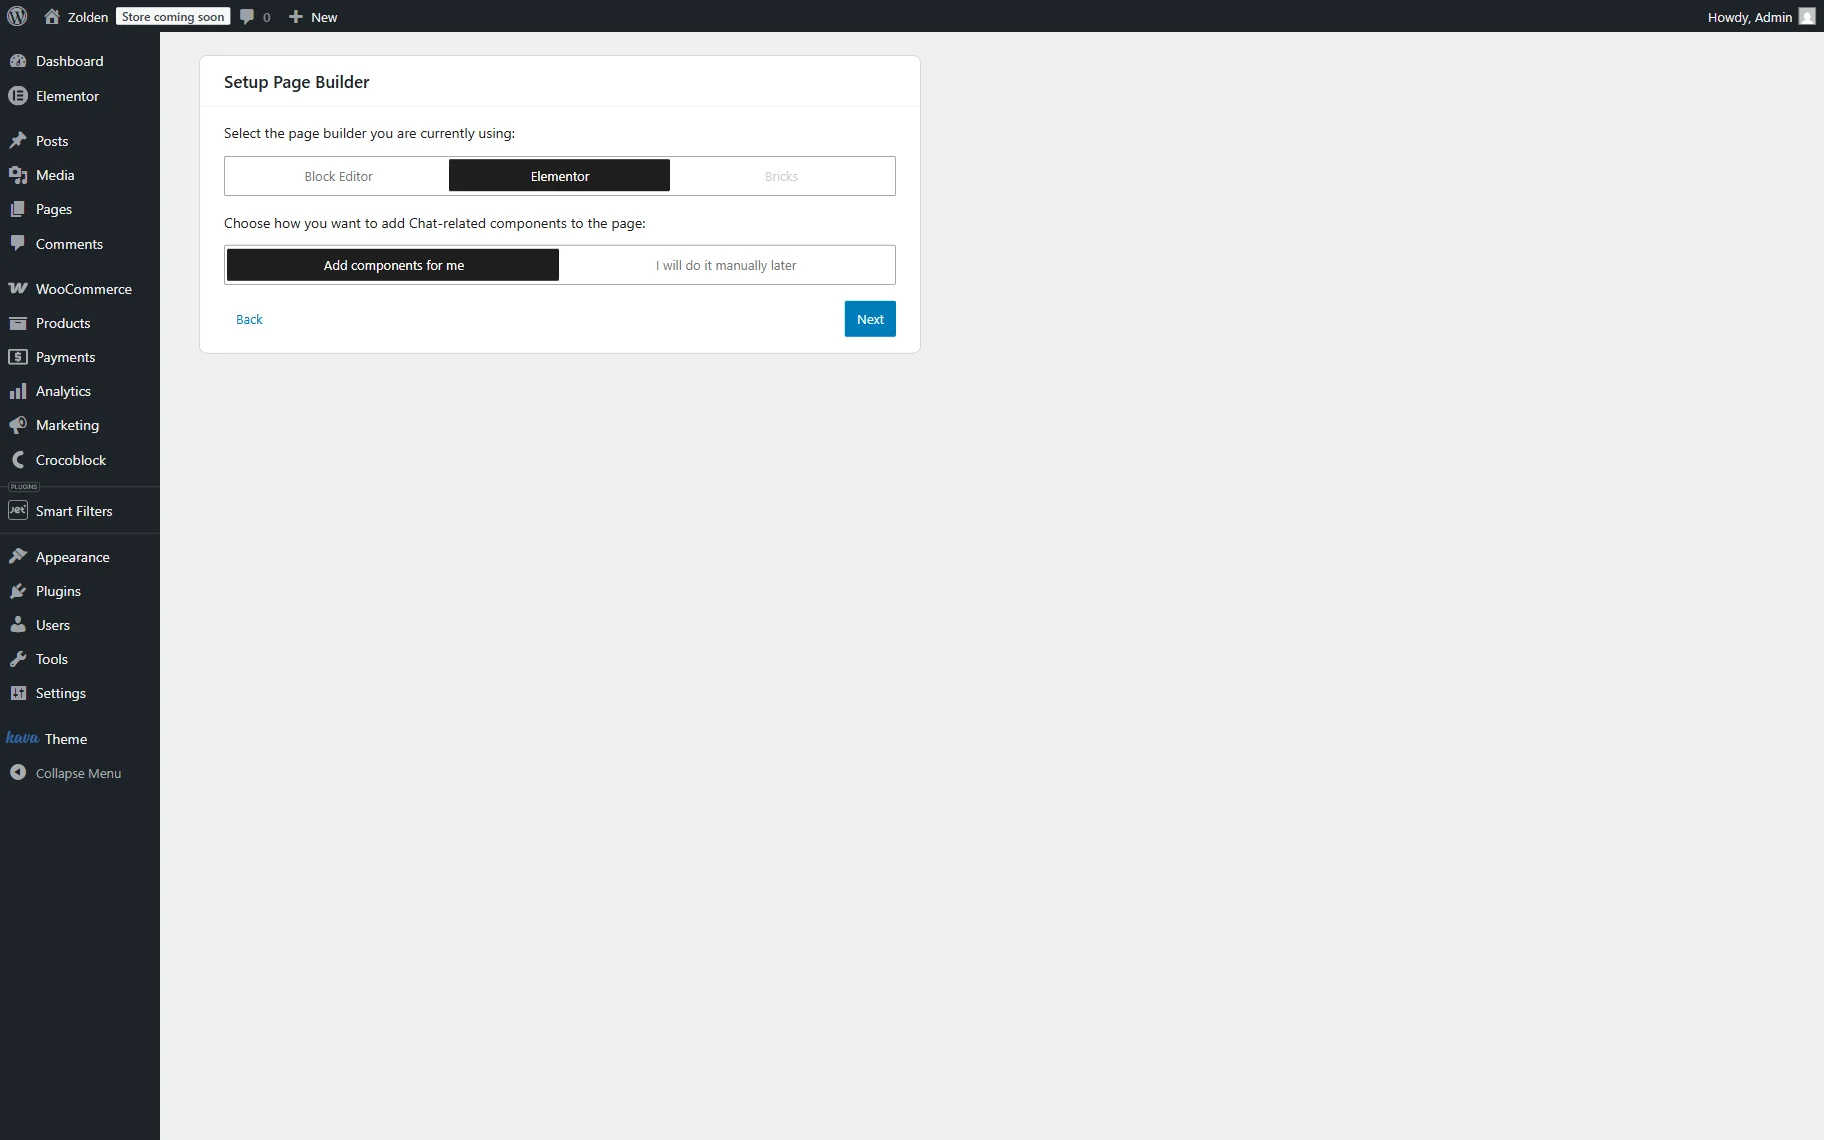
In the next step, Setup Page Builder, select the page builder you are currently using on the website and choose how the chat components should be added to the page. For example, we select the “Elementor” and “Add components for me” options so the wizard automatically inserts the required JetMessenger widgets into the page layout.
Push the “Next” button when ready.
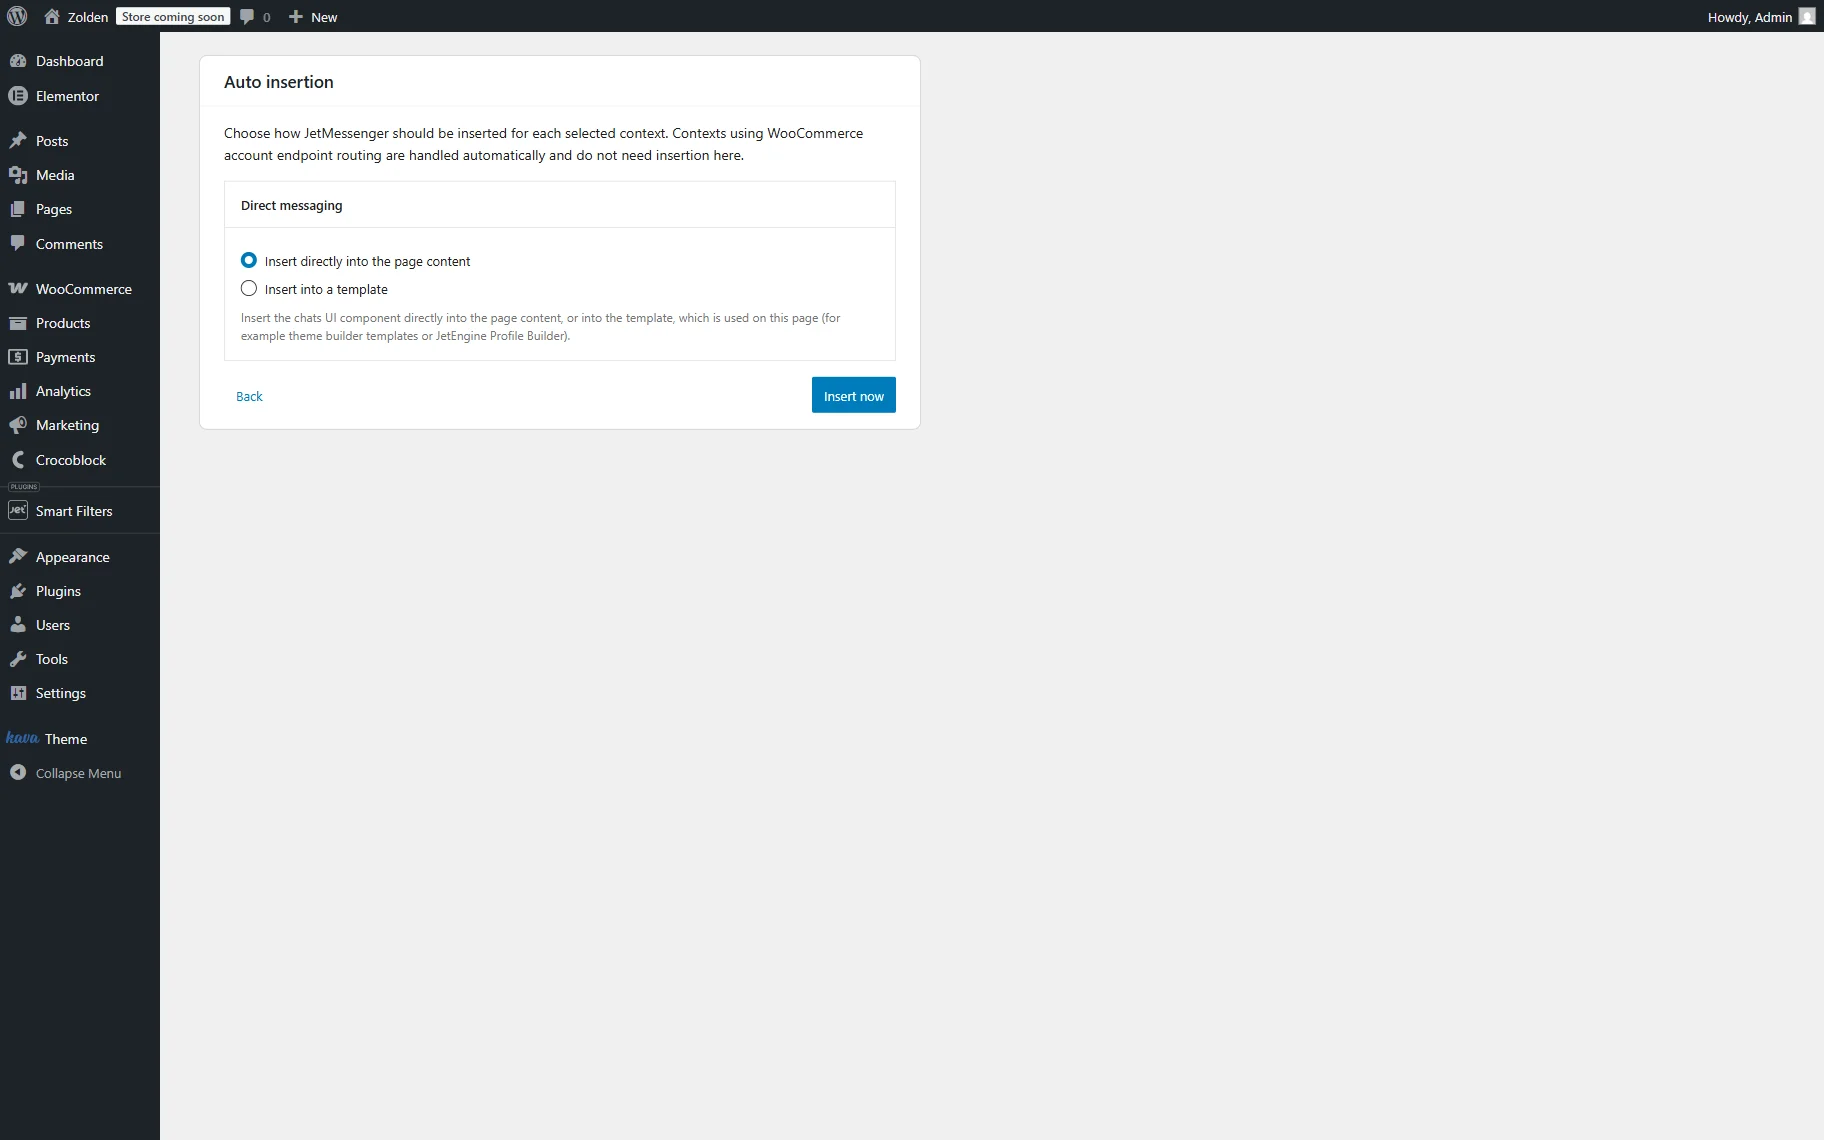
In the Auto insertion step, choose how the messenger layout should be added to the page.
You can either:
- Select the “Insert directly into the page content” option to automatically insert the chat widget in the page editor, or
- Select the “Insert into template” option if you want to manually place the widgets into a custom template later.
In this tutorial, we select the first option.
Press the “Insert now” button.
Now, when the setup is completed, click the “Finish” button.
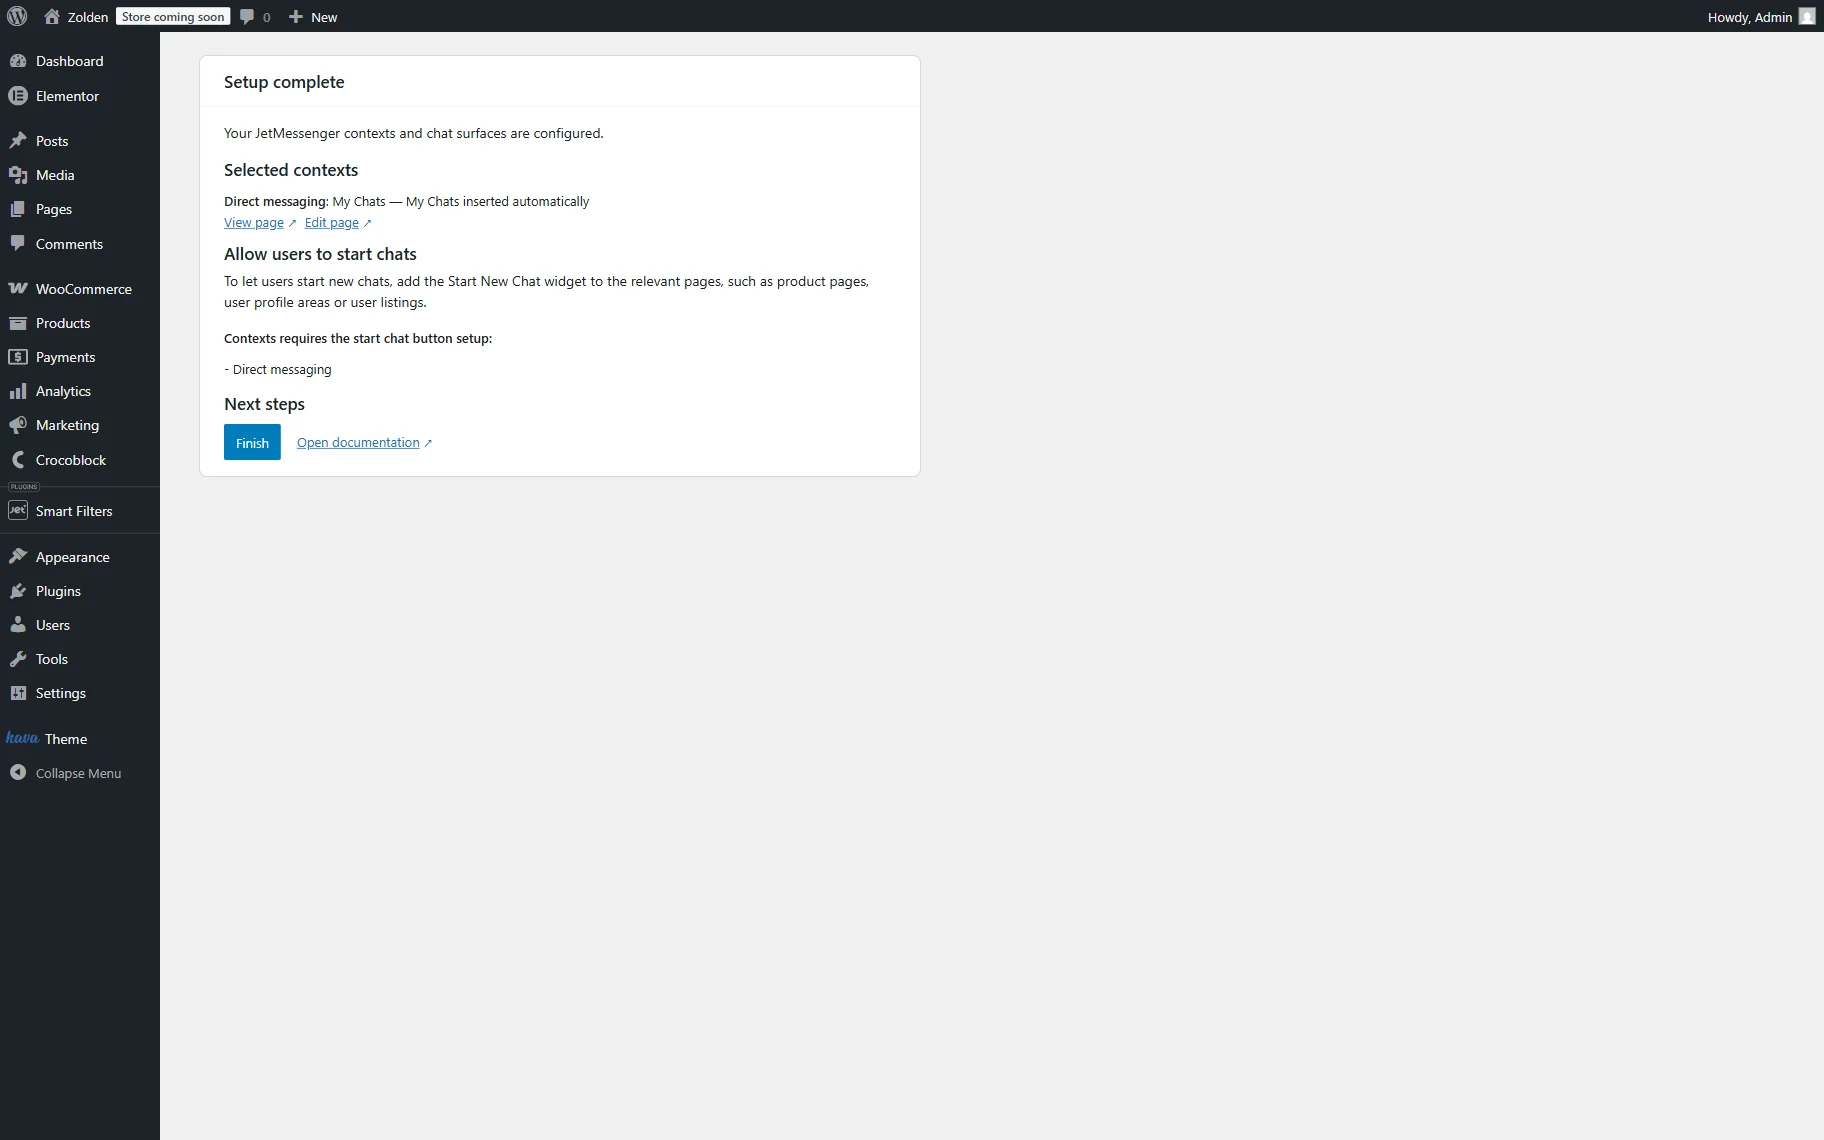
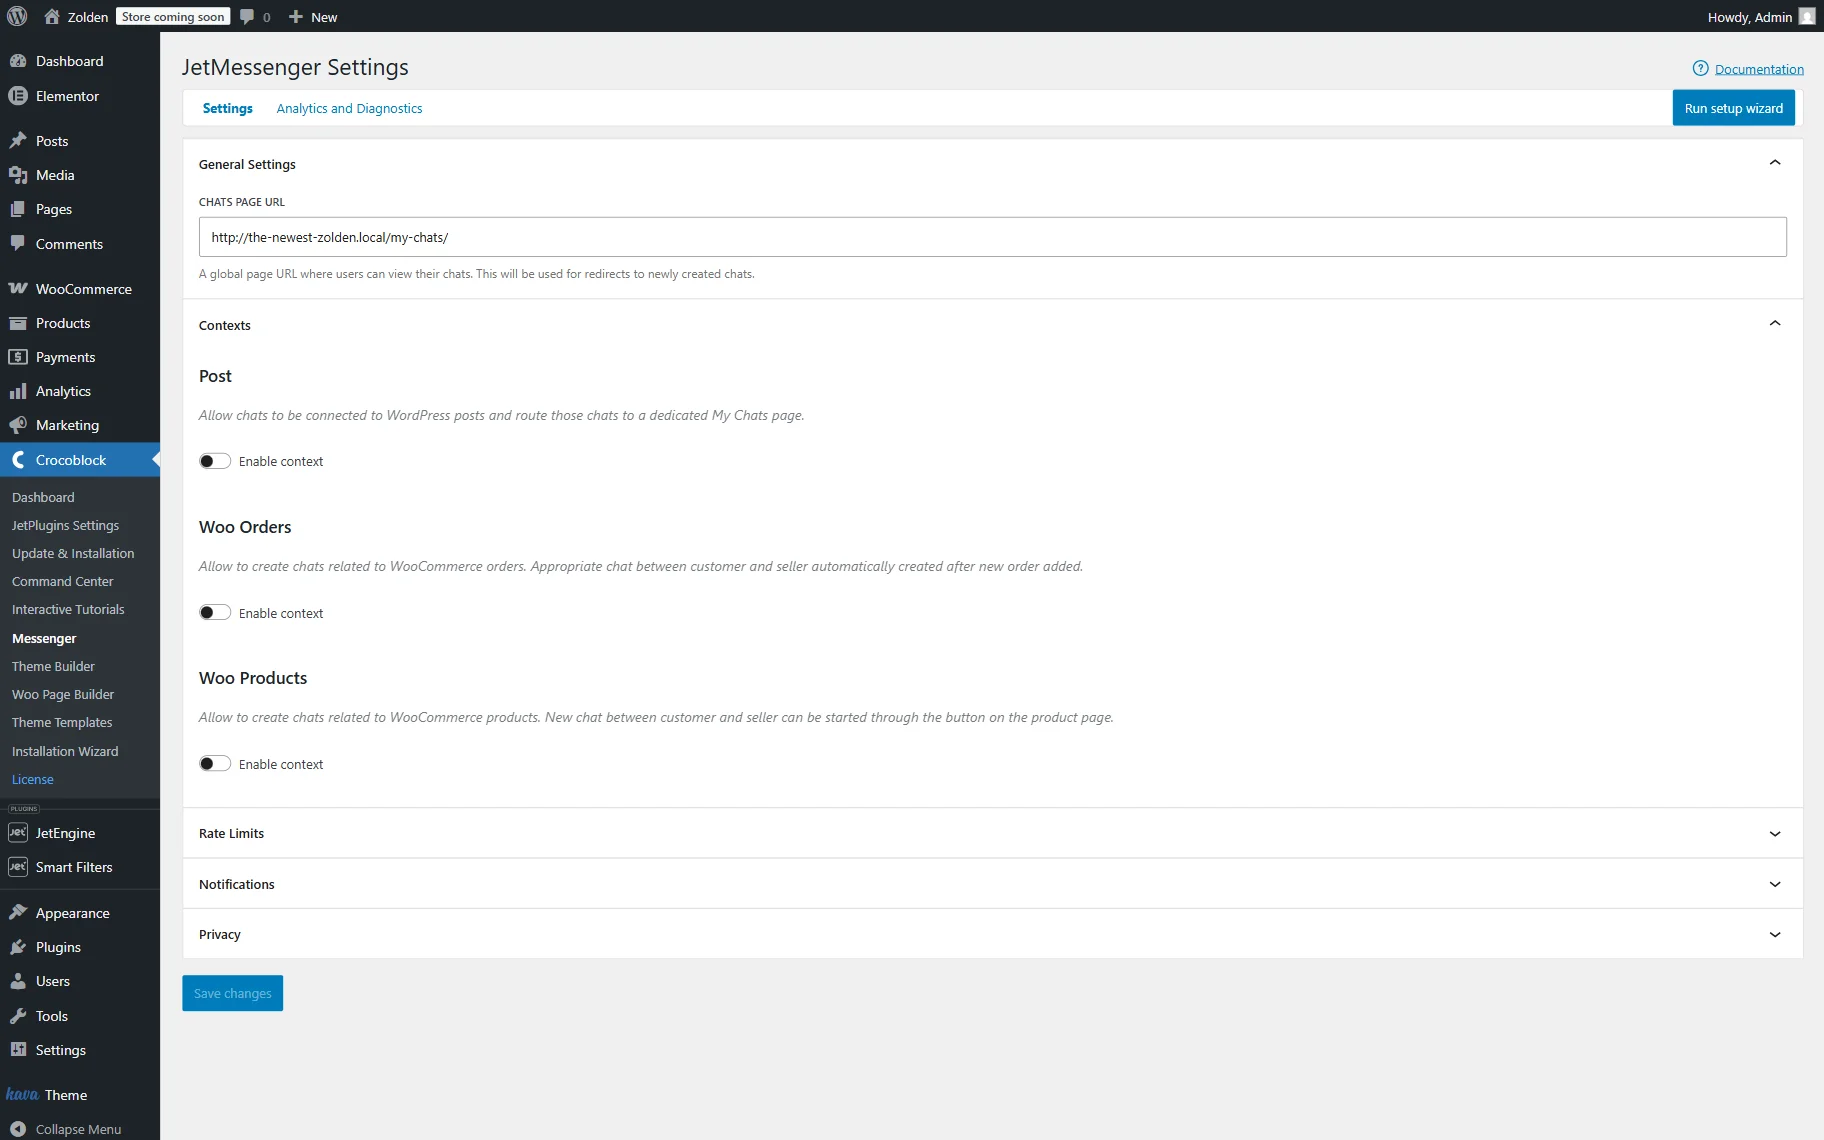
If needed, you can also work on the JetMessenger settings by proceeding to the WordPress Dashboard > Crocoblock > Messenger once again. For example, you can change the CHATS PAGE URL or enable other needed contexts.
Add Start New Chat Button
Now, we want to add the “Start Chat” button to a users listing to enable direct messaging between WordPress users. In this example, we use a JetEngine Listing template that dynamically displays registered users.
For this, go to WordPress Dashboard > JetEngine > Listings/Components and open the listing built beforehand or build a new one.
In our case, we open the previously built users listing. In this listing, we have already placed a Dynamic Image widget with the profile picture and a Dynamic Field widget with the user’s nickname.
Next, we add the Start New Chat button widget.
Click the “Dynamic Tags” button next to the User ID/Email field. In the opened list, we select the “Current Object Field” option.
Once clicked, the Settings tab appears. Here, we select the “ID” Field and leave Context to “Default Object.”
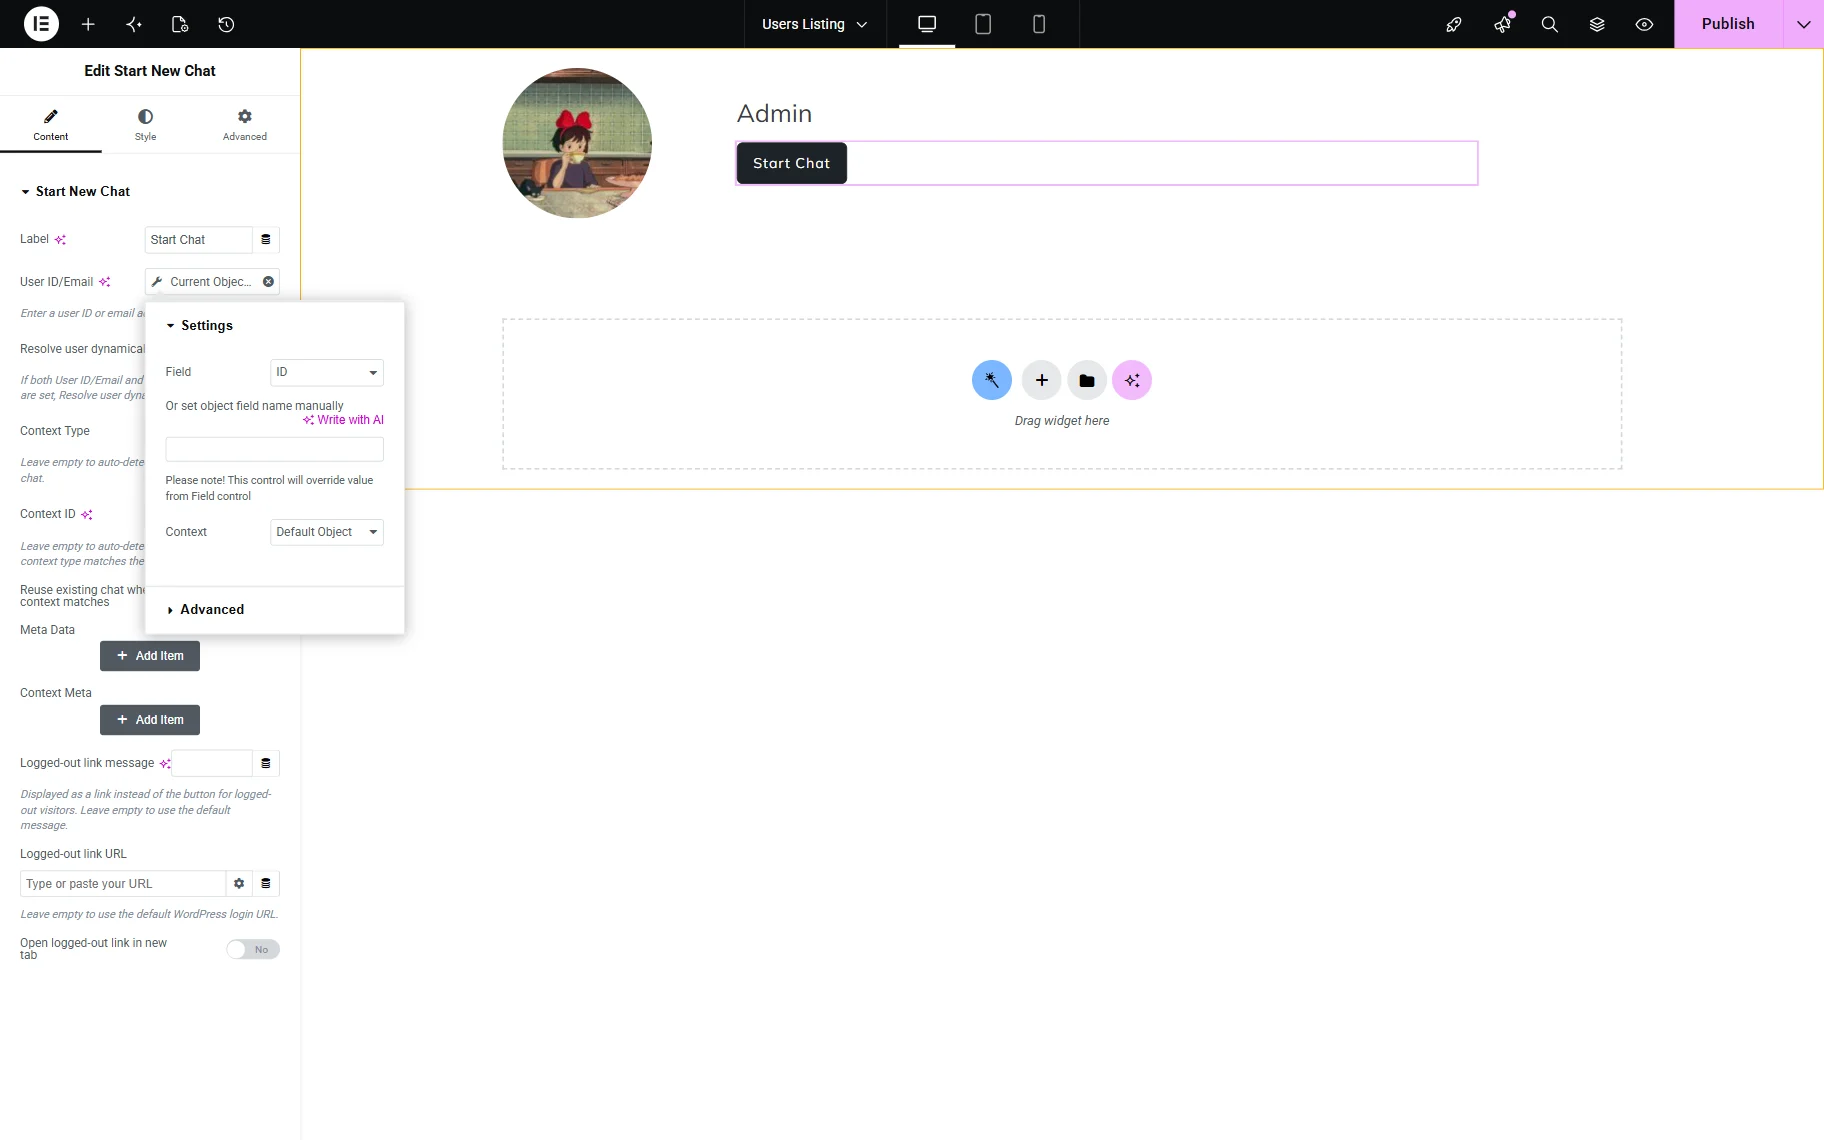
As for the Content Type, we leave it to the “Auto detect / Direct chat” option so the widget automatically creates a private one-to-one chat between users.
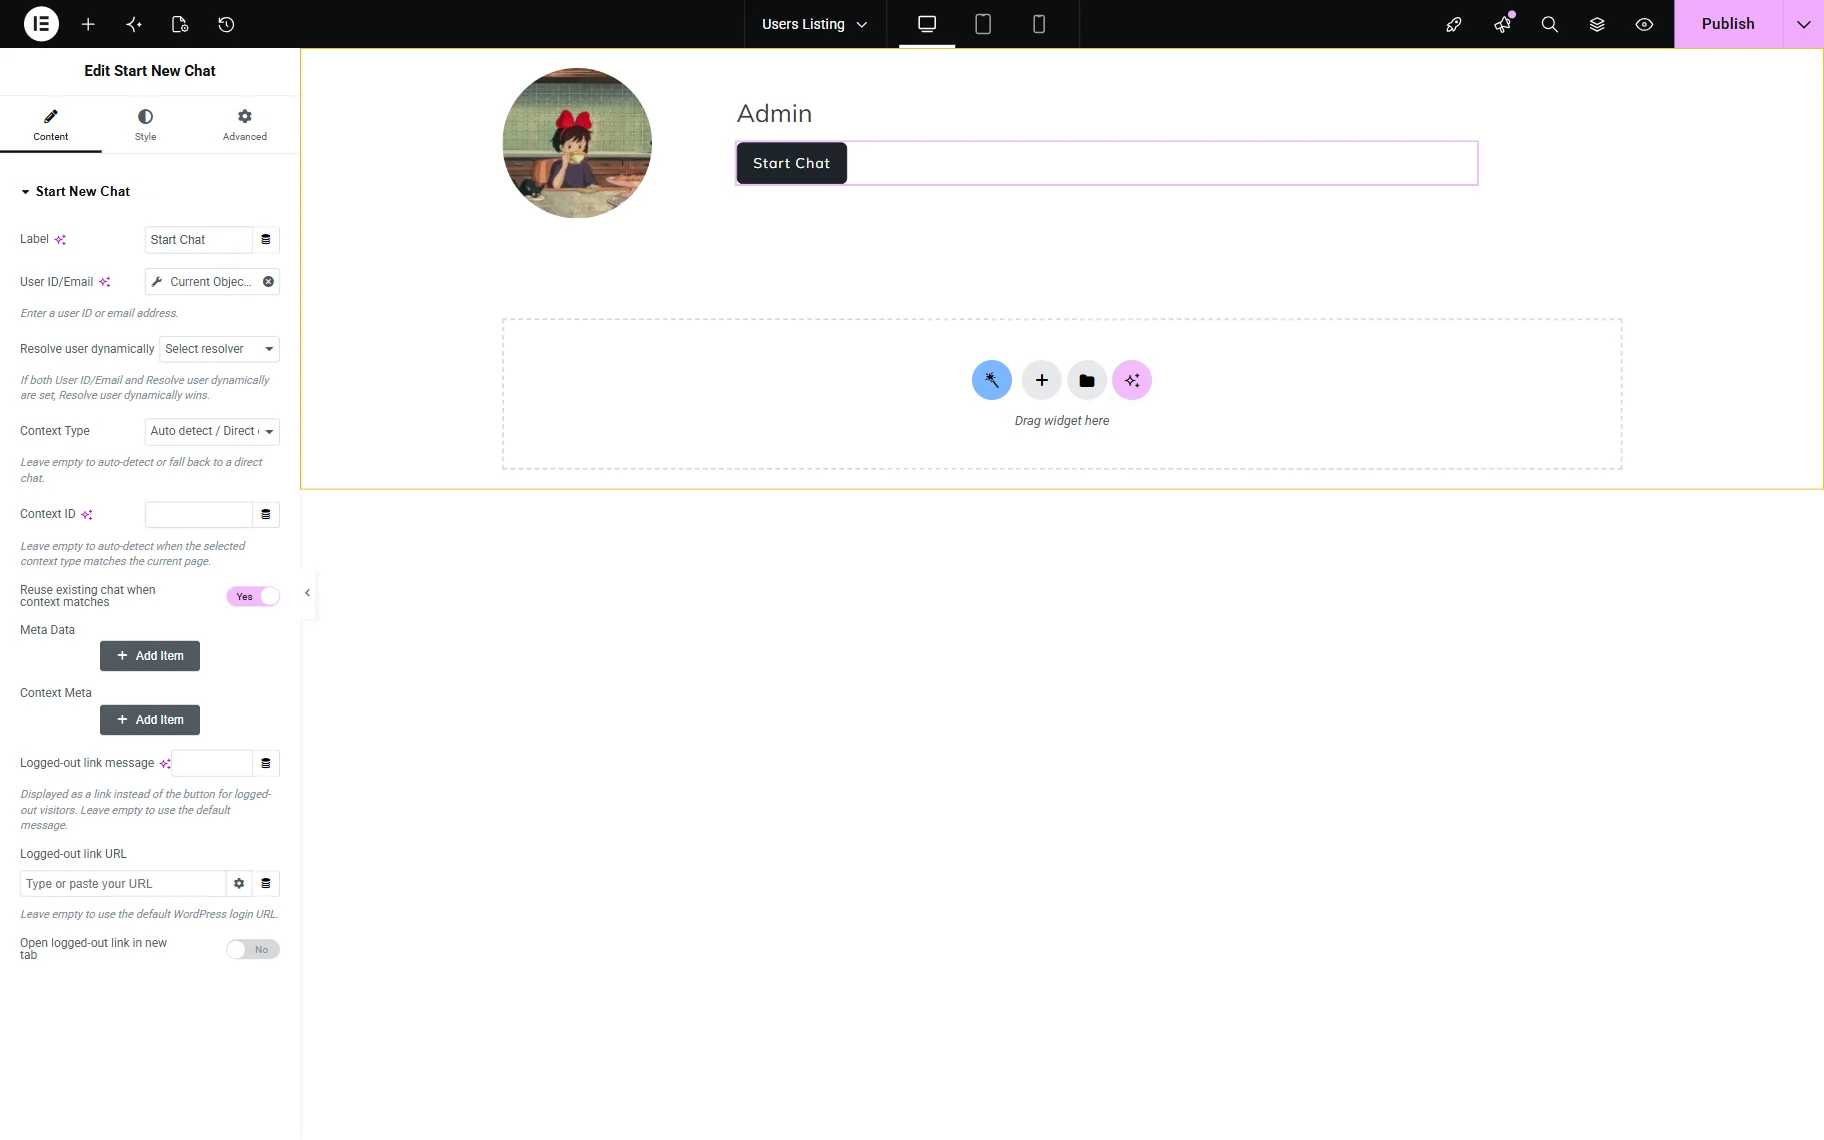
That’s all for the main listing template setup. When ready, press the “Publish” button.
Instead of using a users listing, you can also place the Start New Chat widget on static pages, user profile templates, membership account pages, or other dynamic templates, depending on your website structure.
Add the Users Listing to the Page
It’s time to add the built listing to the page if not done so already. So, we go to WordPress Dashboard > Pages and click the “Add New” button to build a new page. Although we work with Elementor, you can open another builder you work with.
We find the Listing Grid widget and place it on the page.
In the Listing dropdown, select the Listing template with the “Start Chat” button.
Make other changes to the Listing Grid if needed.
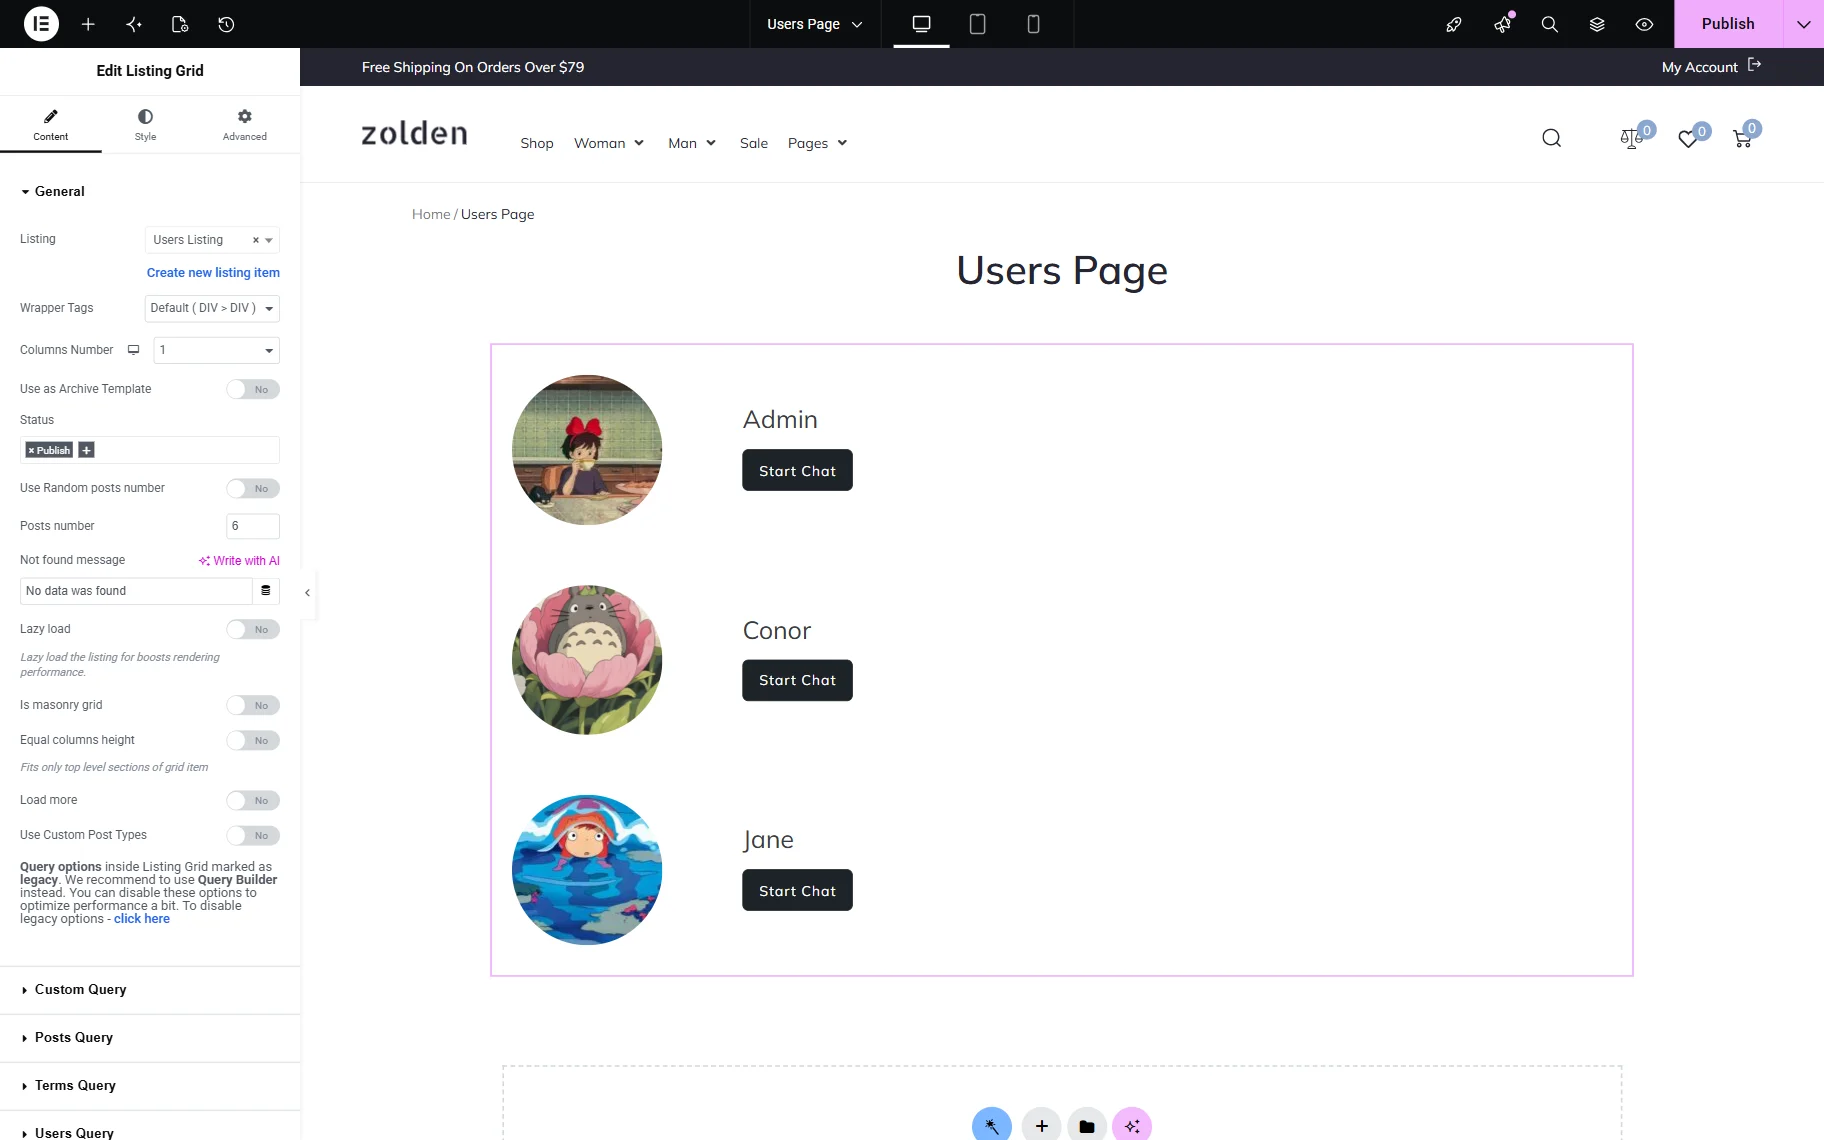
Once all the desired changes have been made to the page, press the “Publish” button.
You can also attach this page to be a “Users Page” in the JetEngine’s Profile Builder. Find out how to do it in the How to Create a Users Page with Profile Builder tutorial.
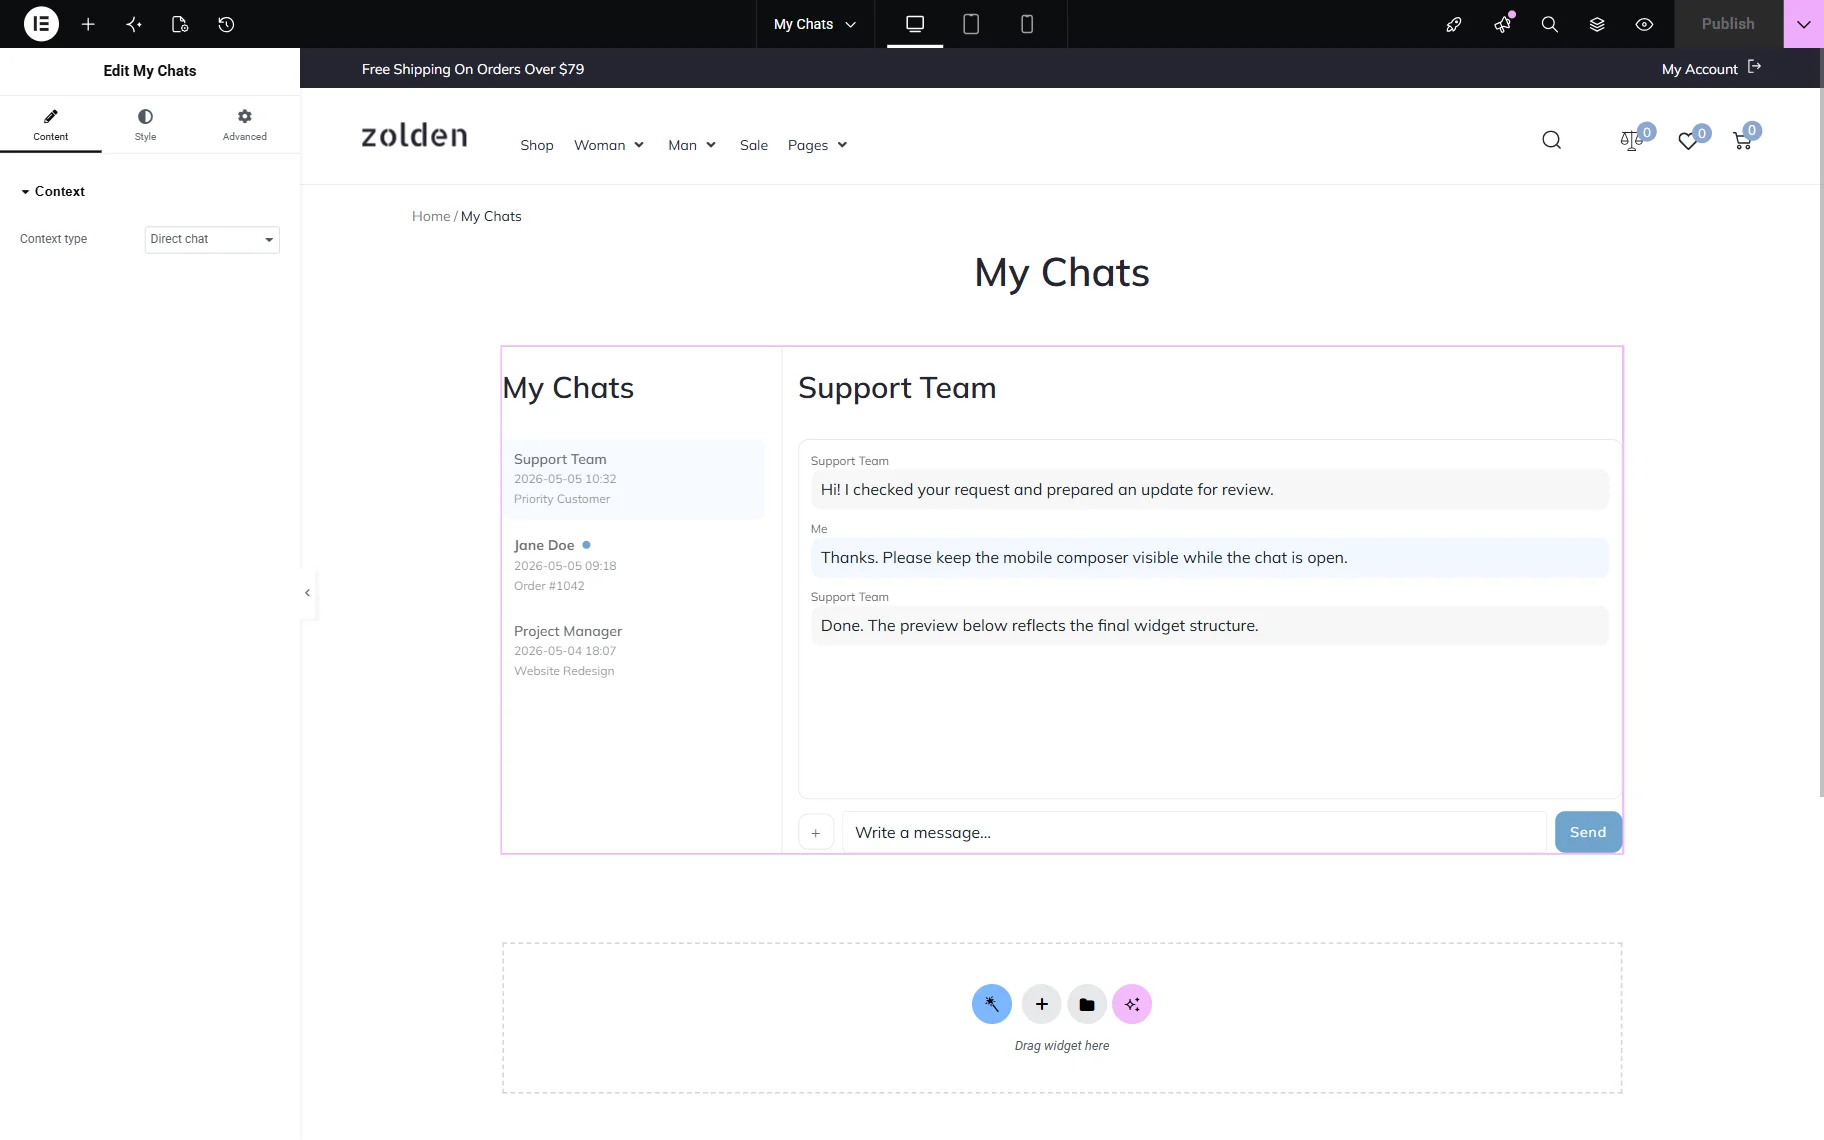
If you want to make some changes to the “My Chats” page, you can open the editor as well. We will leave the page as is, with only one My Chats widget presented.
Don’t forget to save the page if some changes have been made.
Test the Functionality
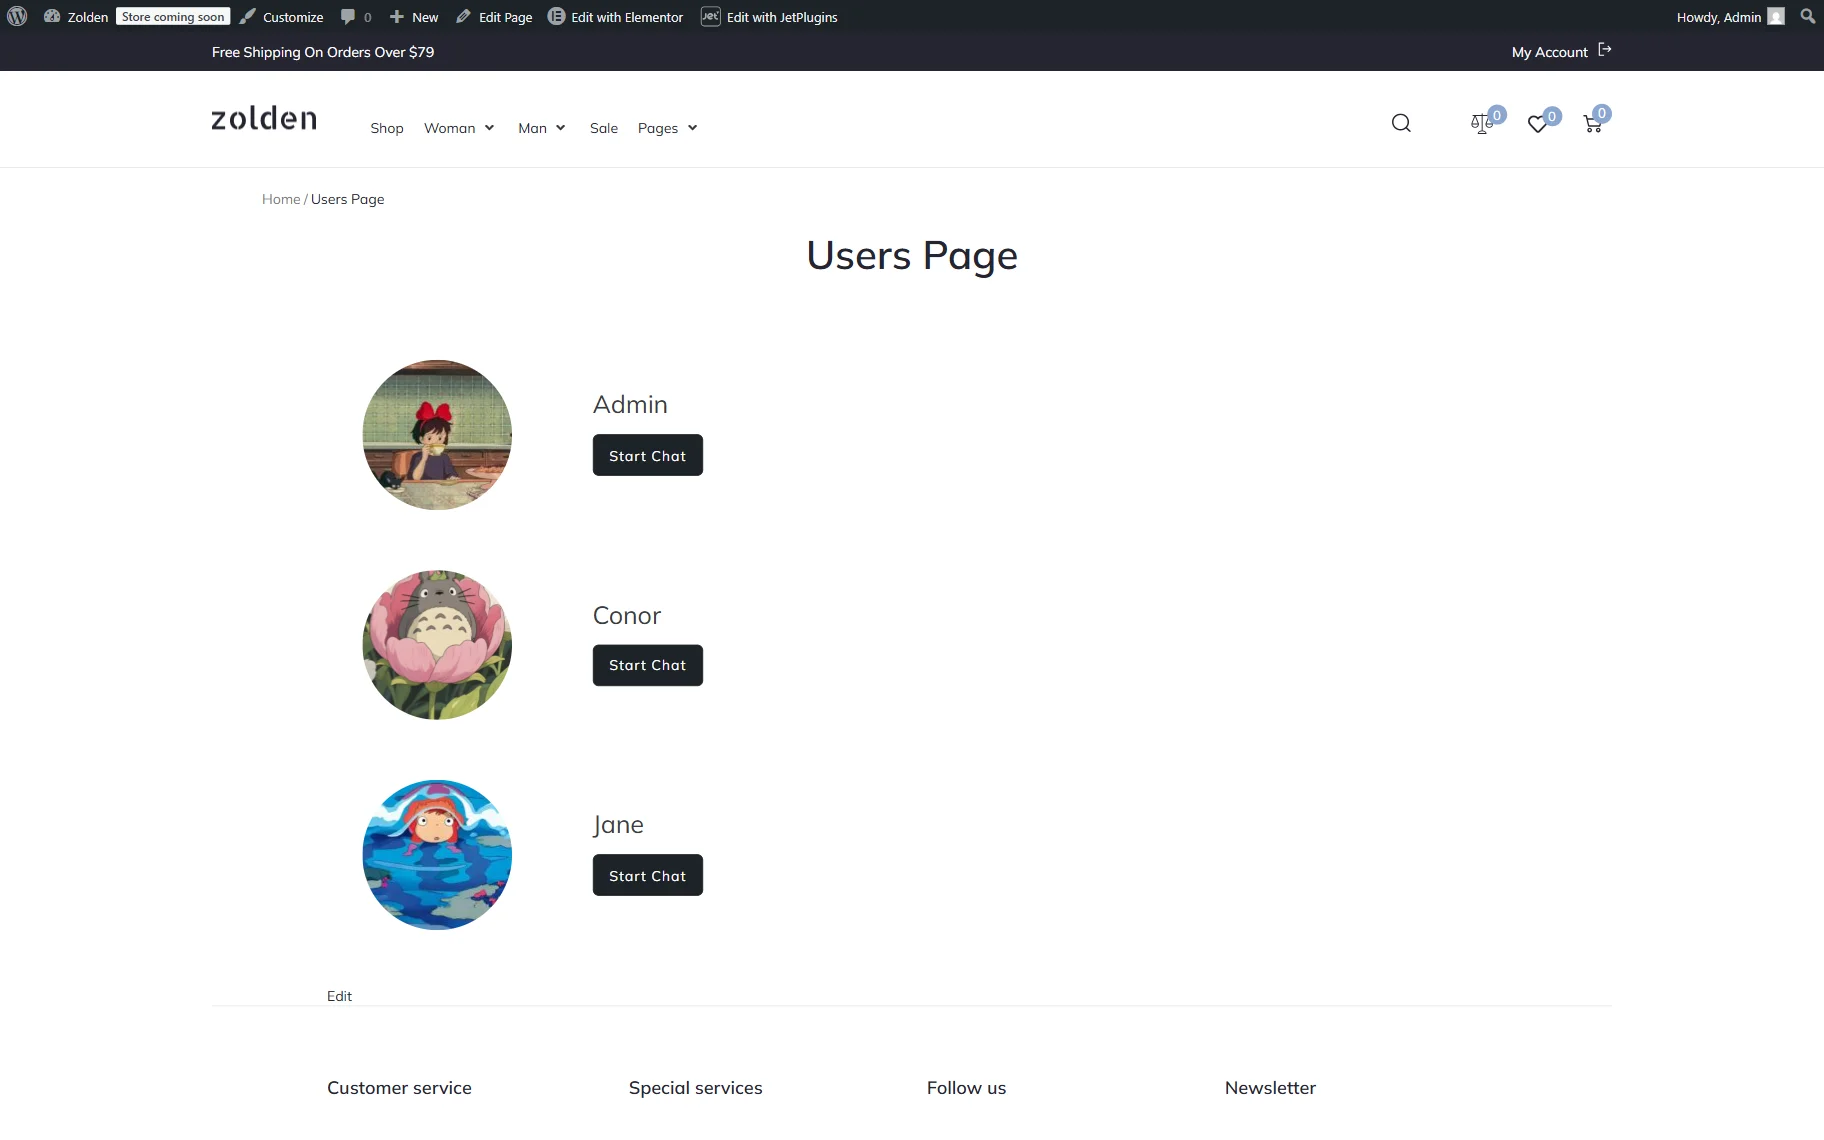
Now, you can open the page you have added the Listing Grid with users to on the front end. In our case, we see the list of users with their profile pictures, nicknames, and “Start Chat” buttons.
Click the “Start Chat” button next to one of the test users to check if the chat opens and operates correctly.
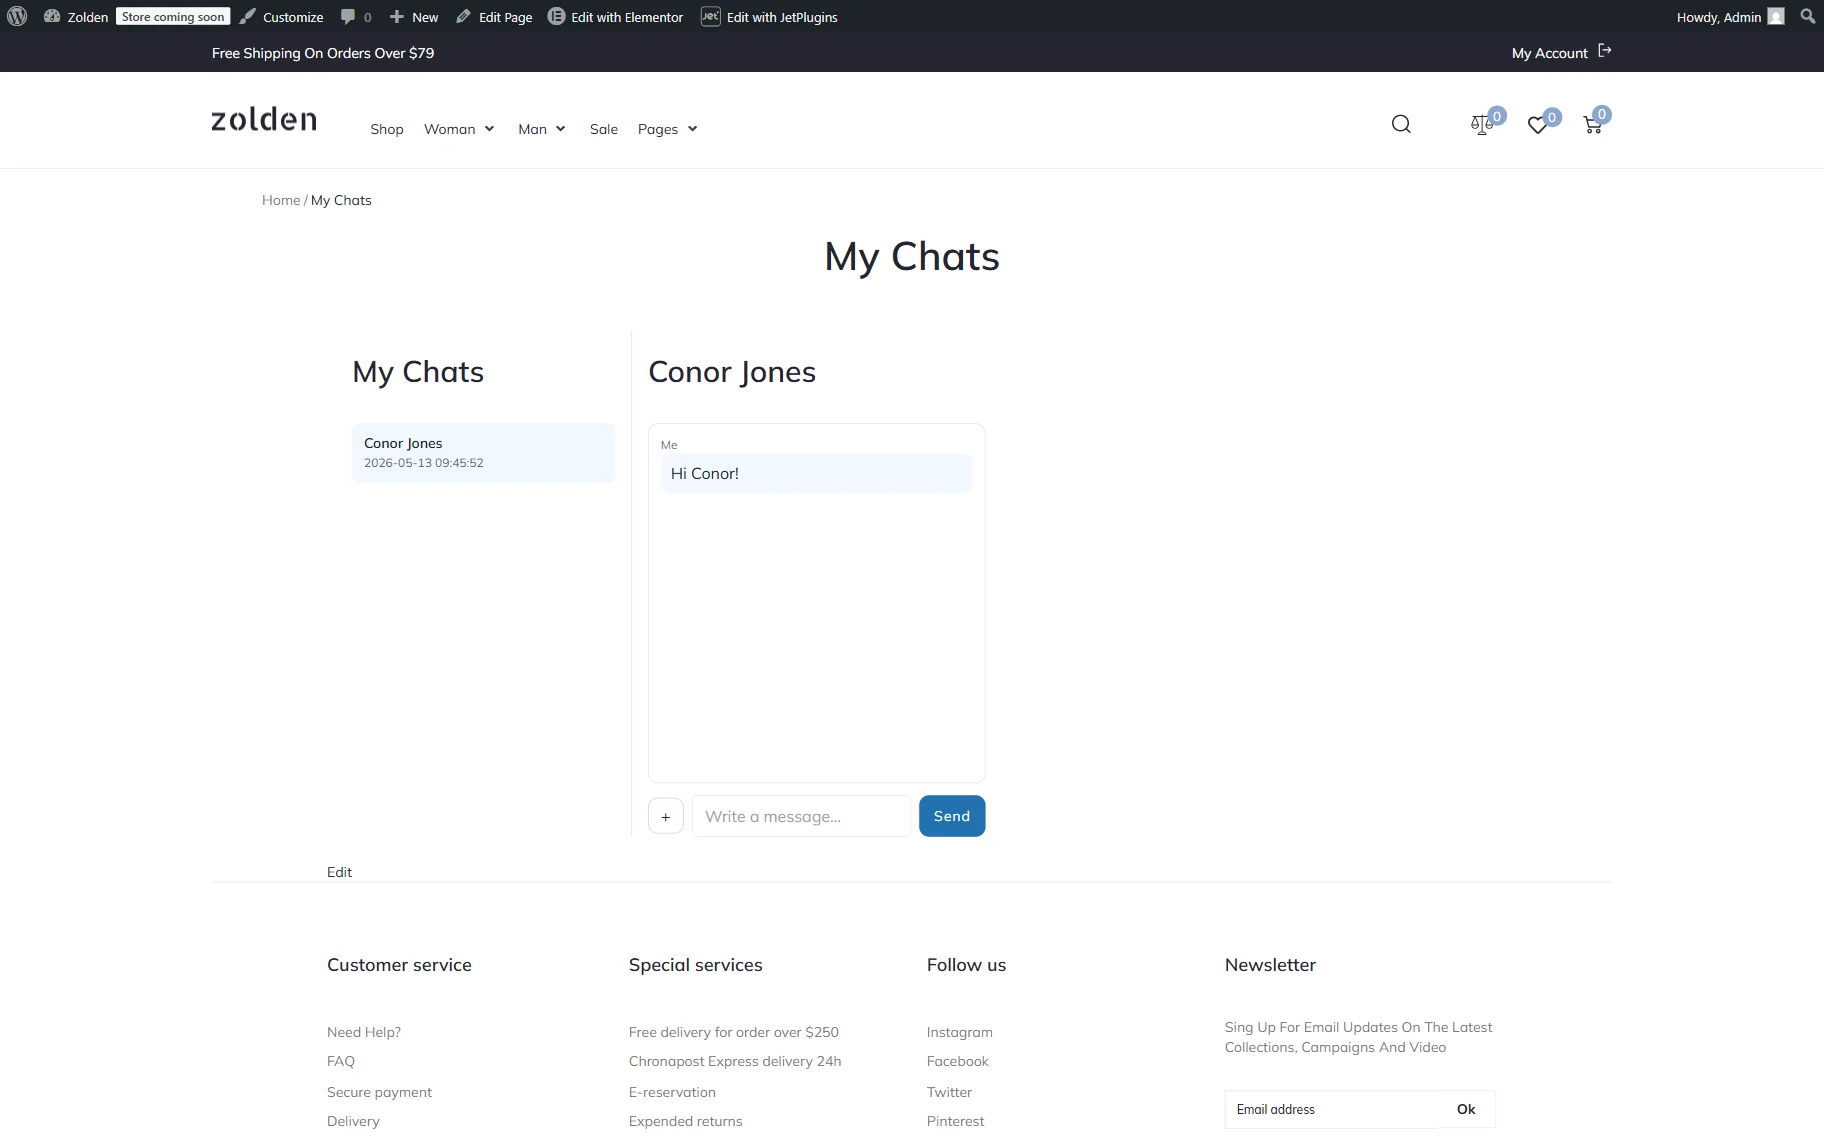
After the page loads, we see the “My Chats” page, which includes the list of all the started chats and the chat area itself.
Enter your message and add an attachment if preferred. Then hit “Send.”
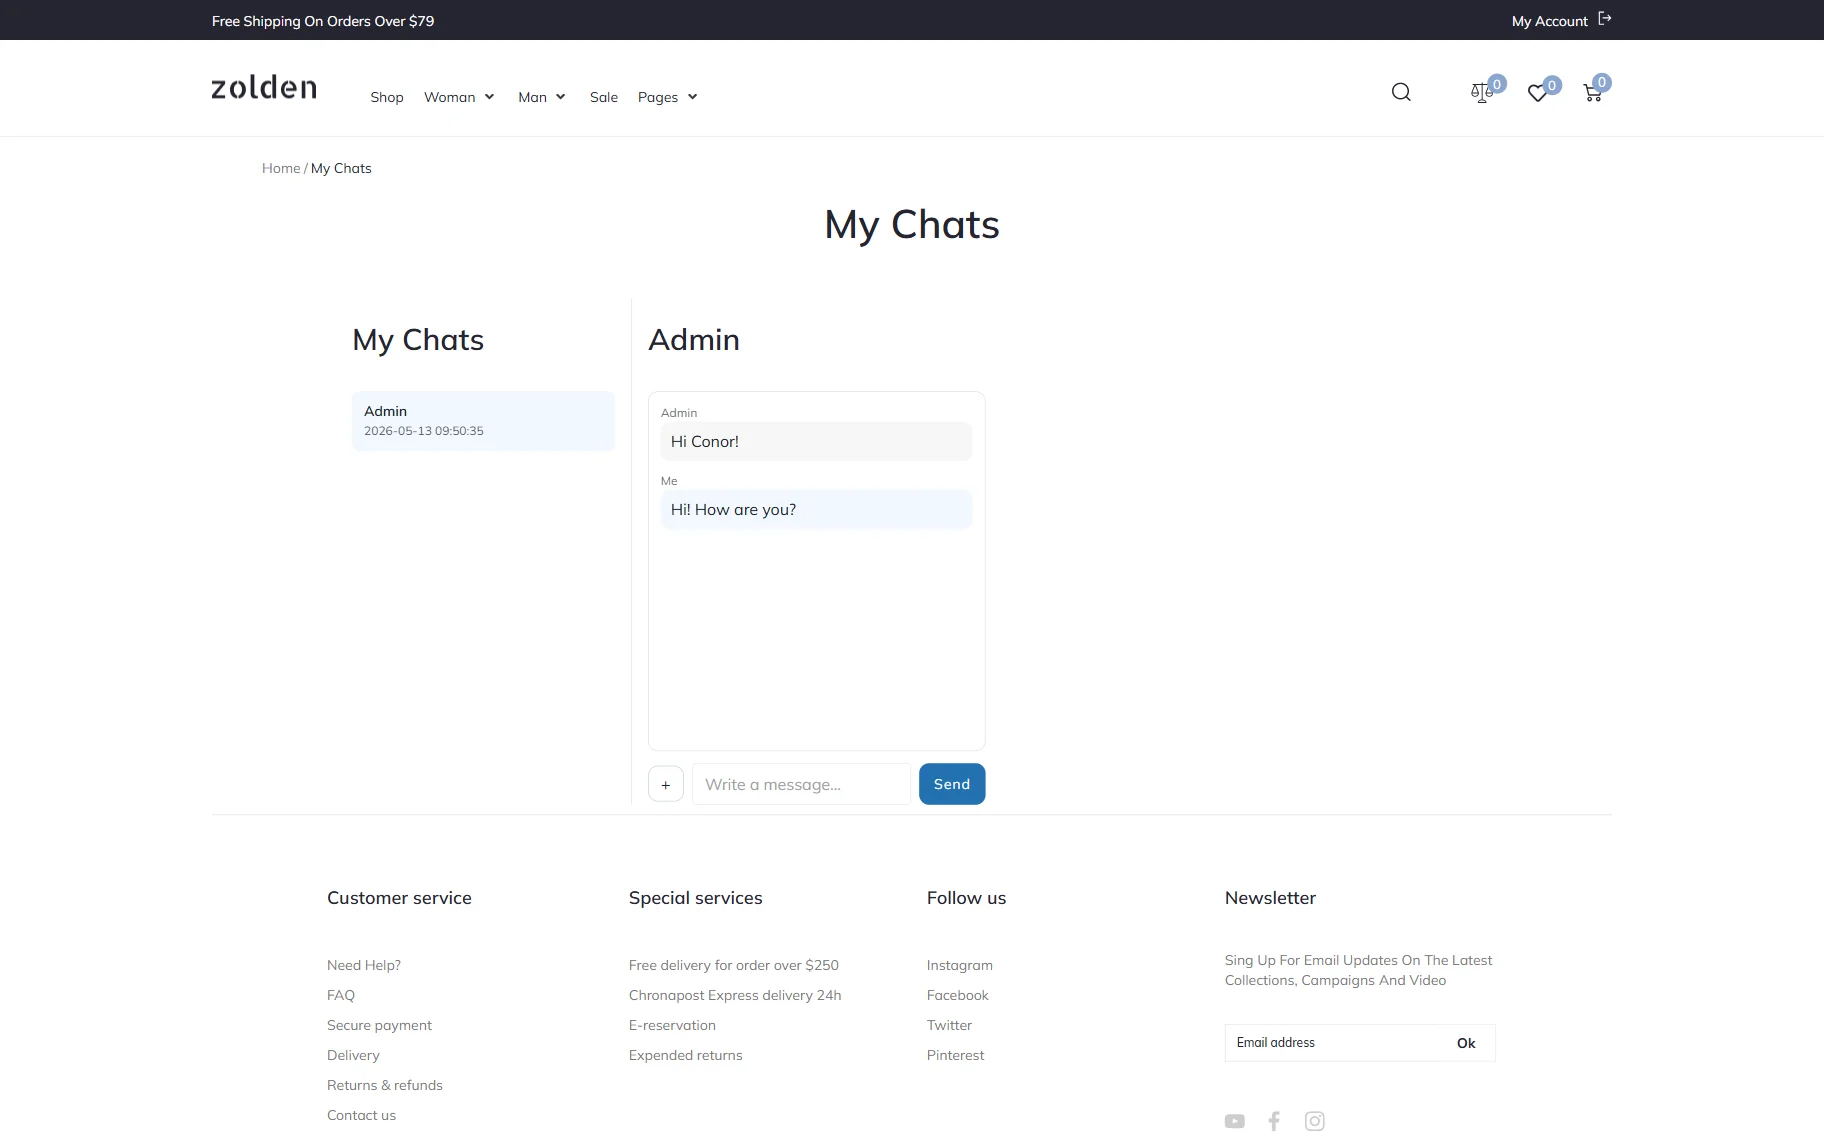
Now, we will log into the second user’s account and open the “My Chats” page to see if the message was actually sent and received.
Everything works correctly, the message is displayed in the chat with “Admin” as it was supposed to. So now we can send an answer from this account as well.
FAQ
No. Users must be logged in to WordPress to start or participate in chats.
Yes. Check our How to Use Messenger Across Posts and Product Contexts guide to know more about the required customization steps.
The WooCommerce order messaging is one of the JetMessenger features. Read our How to Set Up Order Messaging for WooCommerce Sites tutorial to find out more about the needed adjustments.
All active and previous chats are stored on the “My Chats” page created during the JetMessenger setup. Users can open this page to manage conversations and continue messaging from one centralized inbox.
That’s it; now you know how to build a direct messaging system between WordPress users by using the JetMessenger plugin.