How to Apply Filters to Elementor Pro Loop Grid
This tutorial shows how to enable the Elementor Pro Loop Grid provider for the JetSmartFilters plugin. Learn how to create a Loop Grid with Elementor builder and apply filters to the Loop Grid widget.
Before you start, check the tutorial requirements:
- Elementor Pro plugin installed and activated
- JetSmartFilters plugin installed and activated
First, navigate to WordPress Dashboard > Smart Filters > Settings and activate the Elementor Pro Loop Grid toggle in the General Settings tab.

The “Elementor Pro Loop Grid” option is now available for filters on the editing page.
Create a Filter
Follow the WordPress Dashboard > Smart Filters > click the “Add New” button. Create any filter to use further with the Loop Grid. To learn about all filter types creation processes, proceed to the JetSmartFilters page, scroll down to the Types of Filters chapter, and select the desired step-by-step tutorial.
For example, we created a Select Filter to be able to filter posts by their categories.
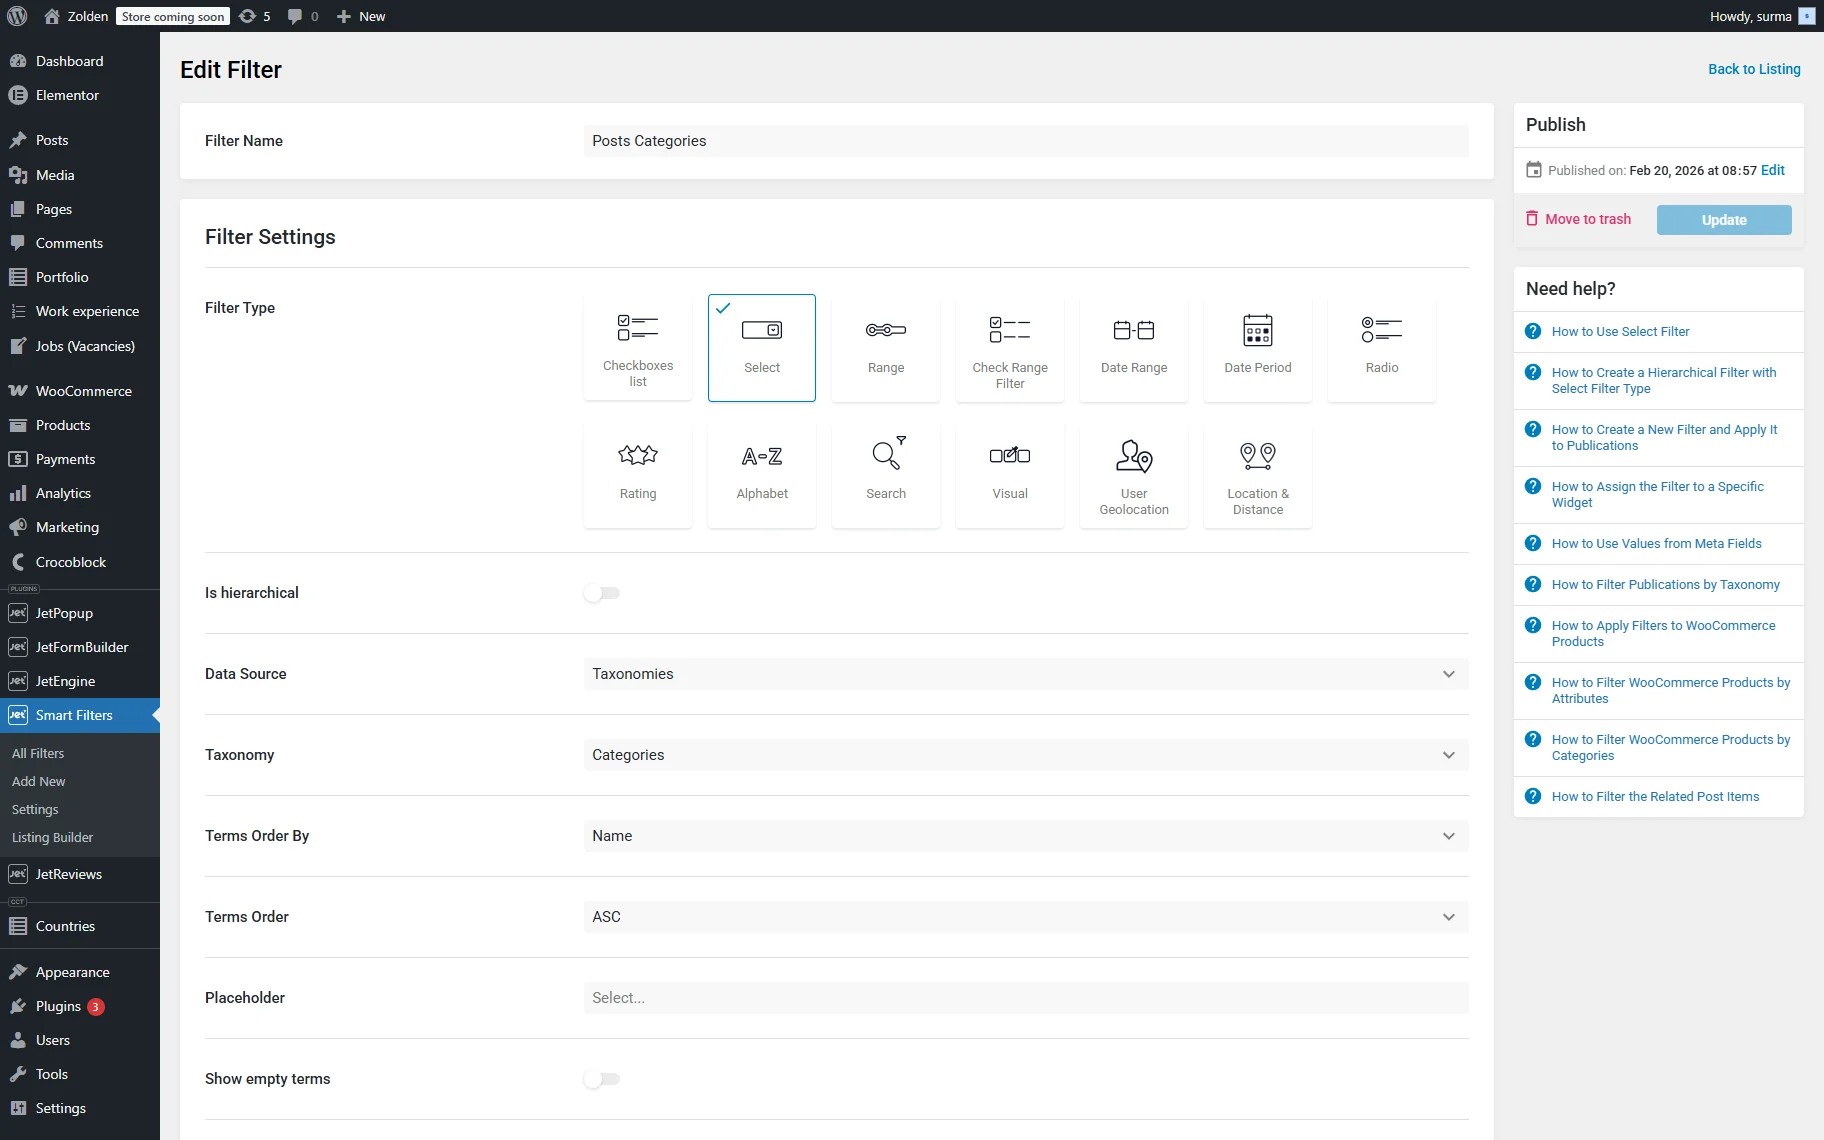
When you finish setting the filter, press the “Update” button.
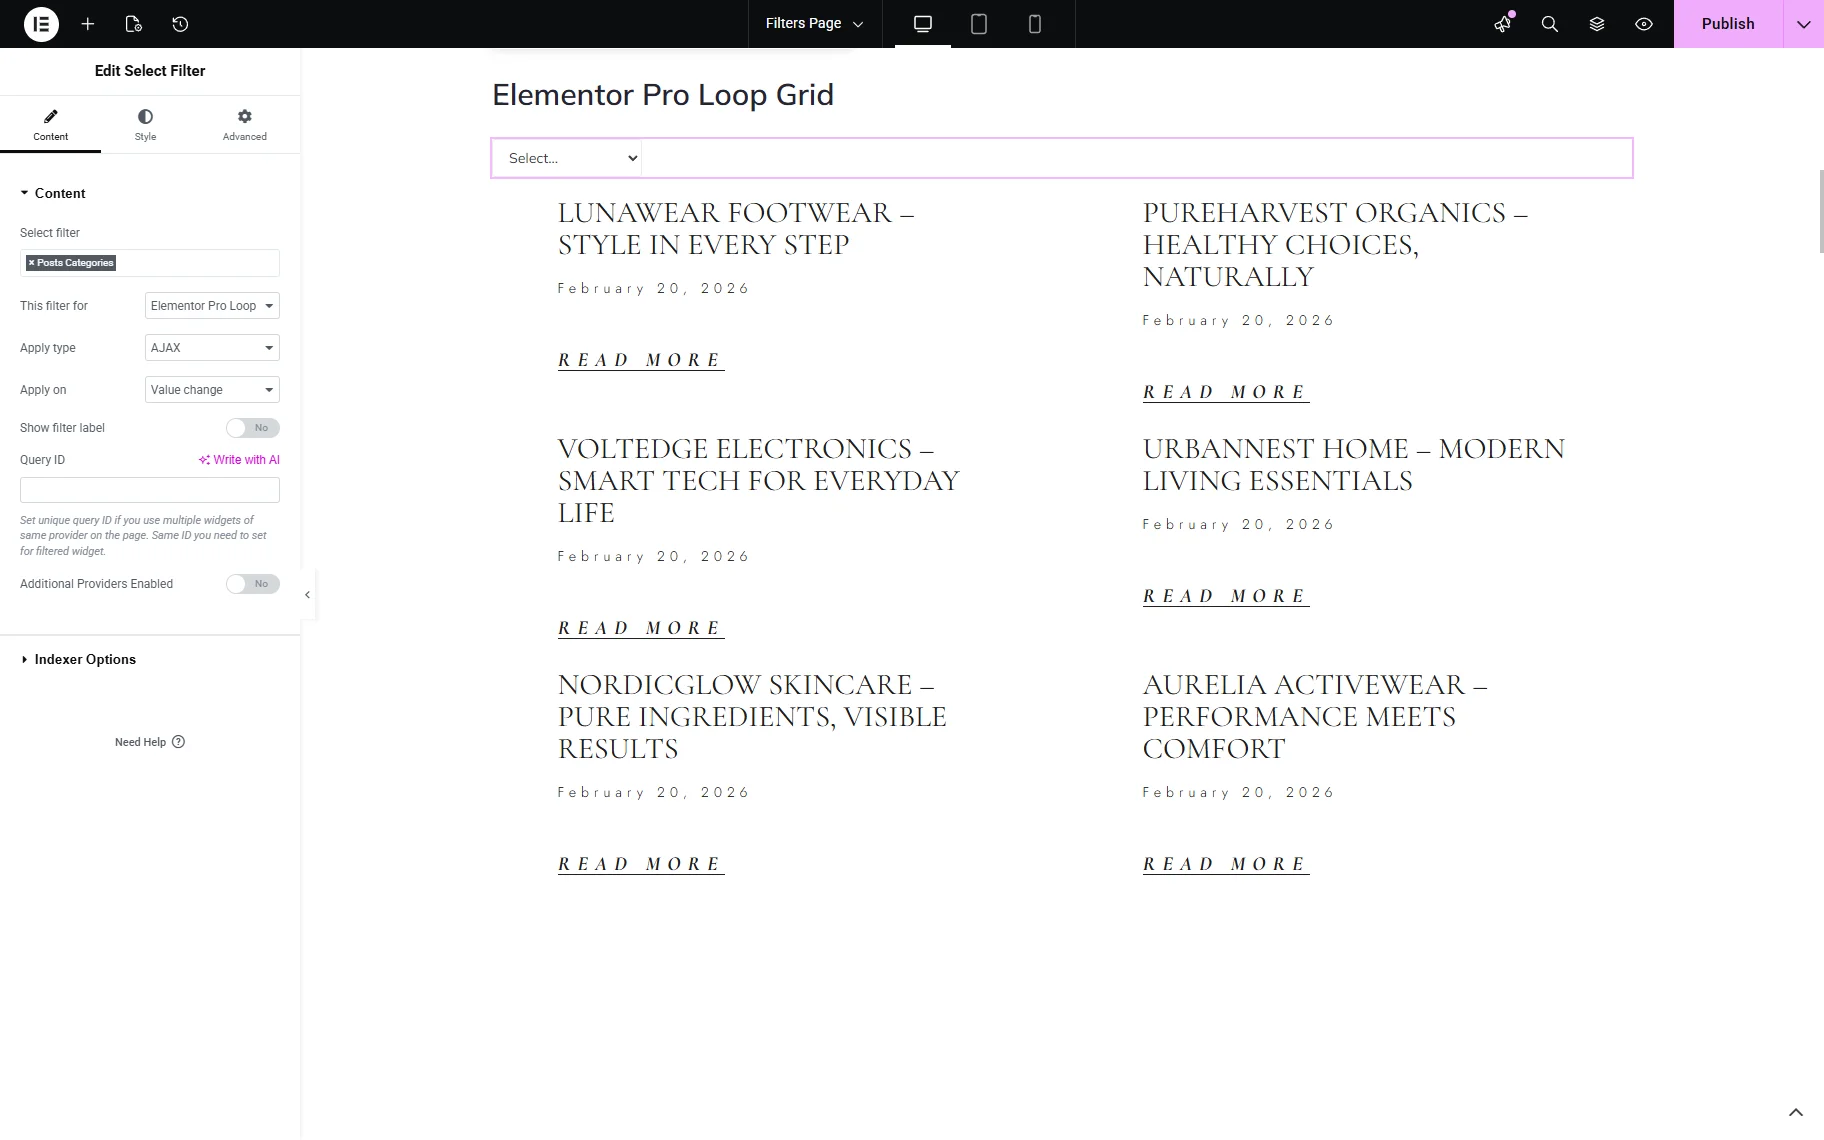
Apply the Filter to the Loop Grid
Proceed to the page where the Loop Grid is expected to be filtered. Add the Loop Grid and the filter widgets. To learn about the Loop Grid widget settings, consult the official Elementor documentation.
In the filter’s widget settings (Select Filter in our case), select the filter you created. In the This filter for dropdown, select the “Elementor Pro Loop Grid” provider.
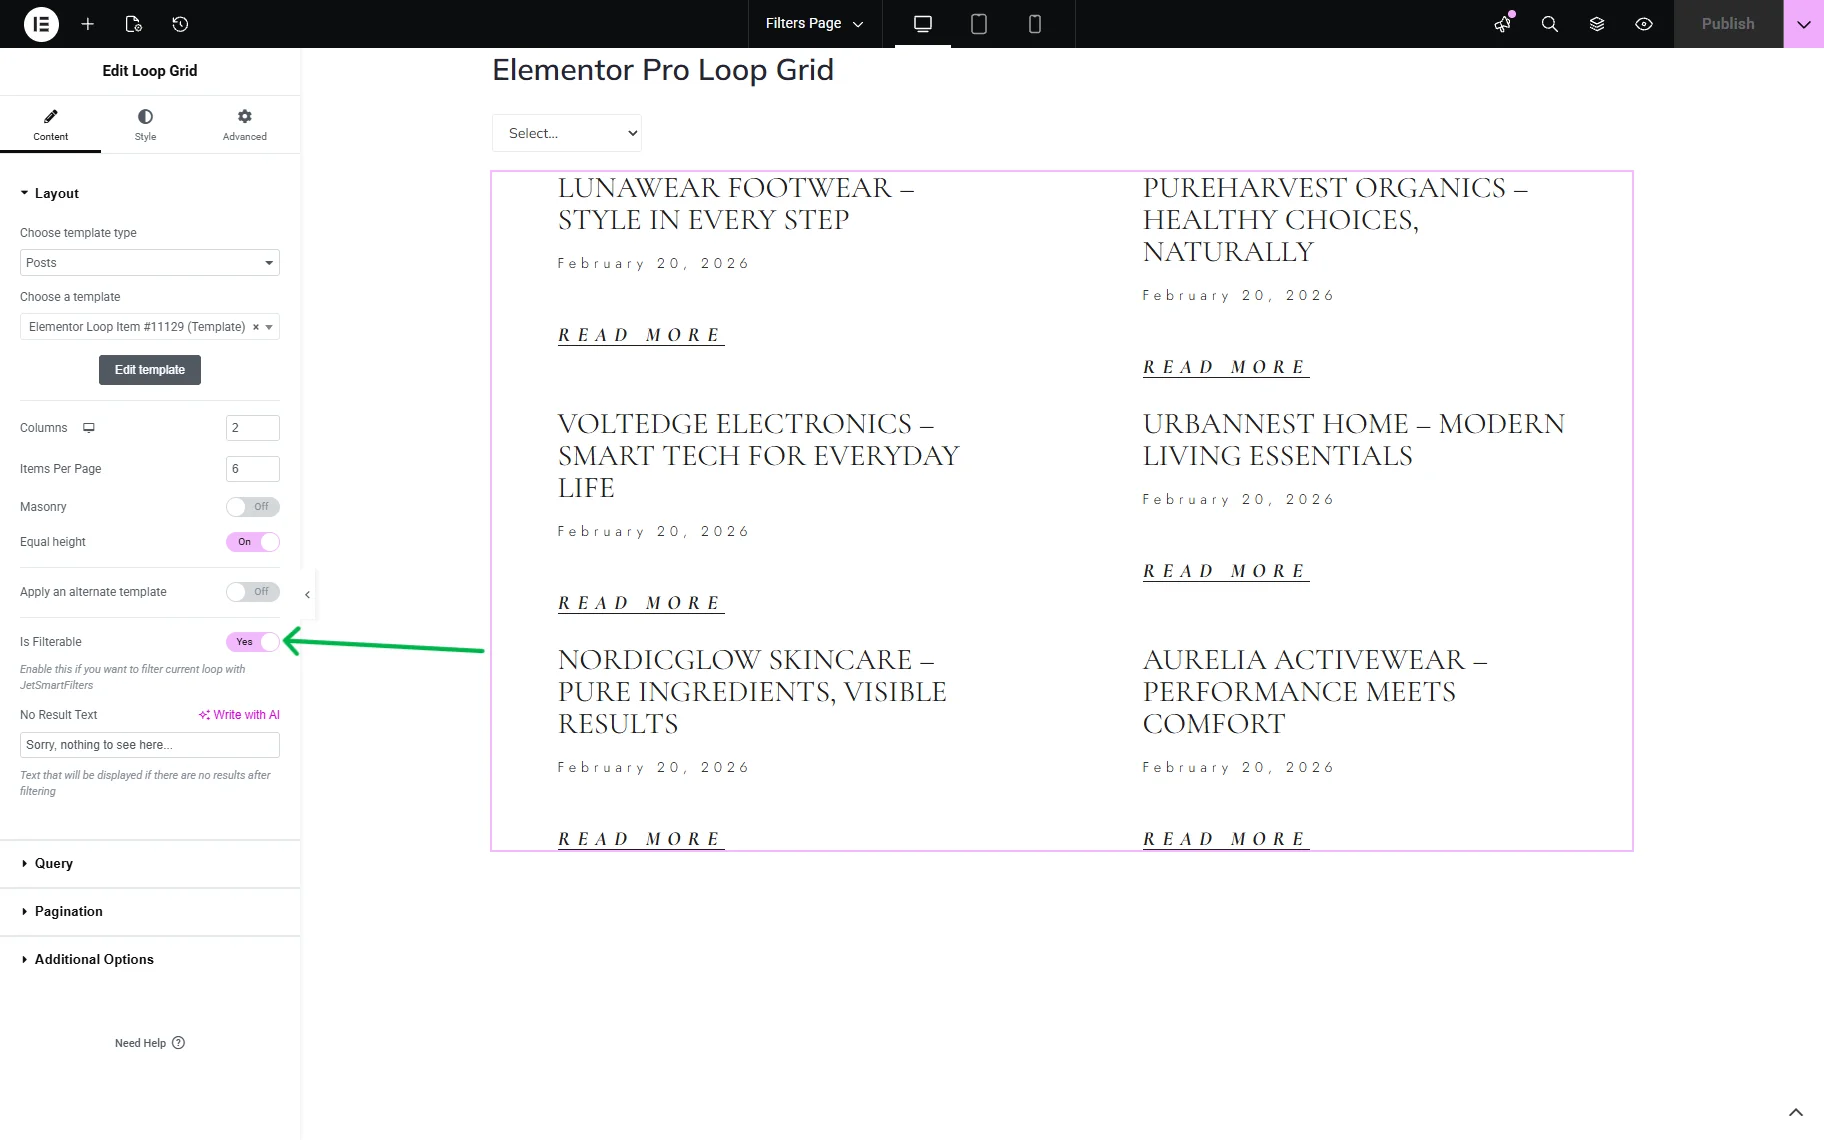
In the Loop Grid widget settings, enable the Is Filterable toggle.
Usage of Query IDs
Filter can additionally be applied with the Query IDs. You only need them if:
- you want to connect the filter to a specific widget;
- you have several similar widgets on the same page;
- you need more precise control over which widget the filter should affect.
In such cases, follow the steps below.
To correctly apply the Query ID, open the filter widget’s settings and in the Query ID field, add the unique ID.
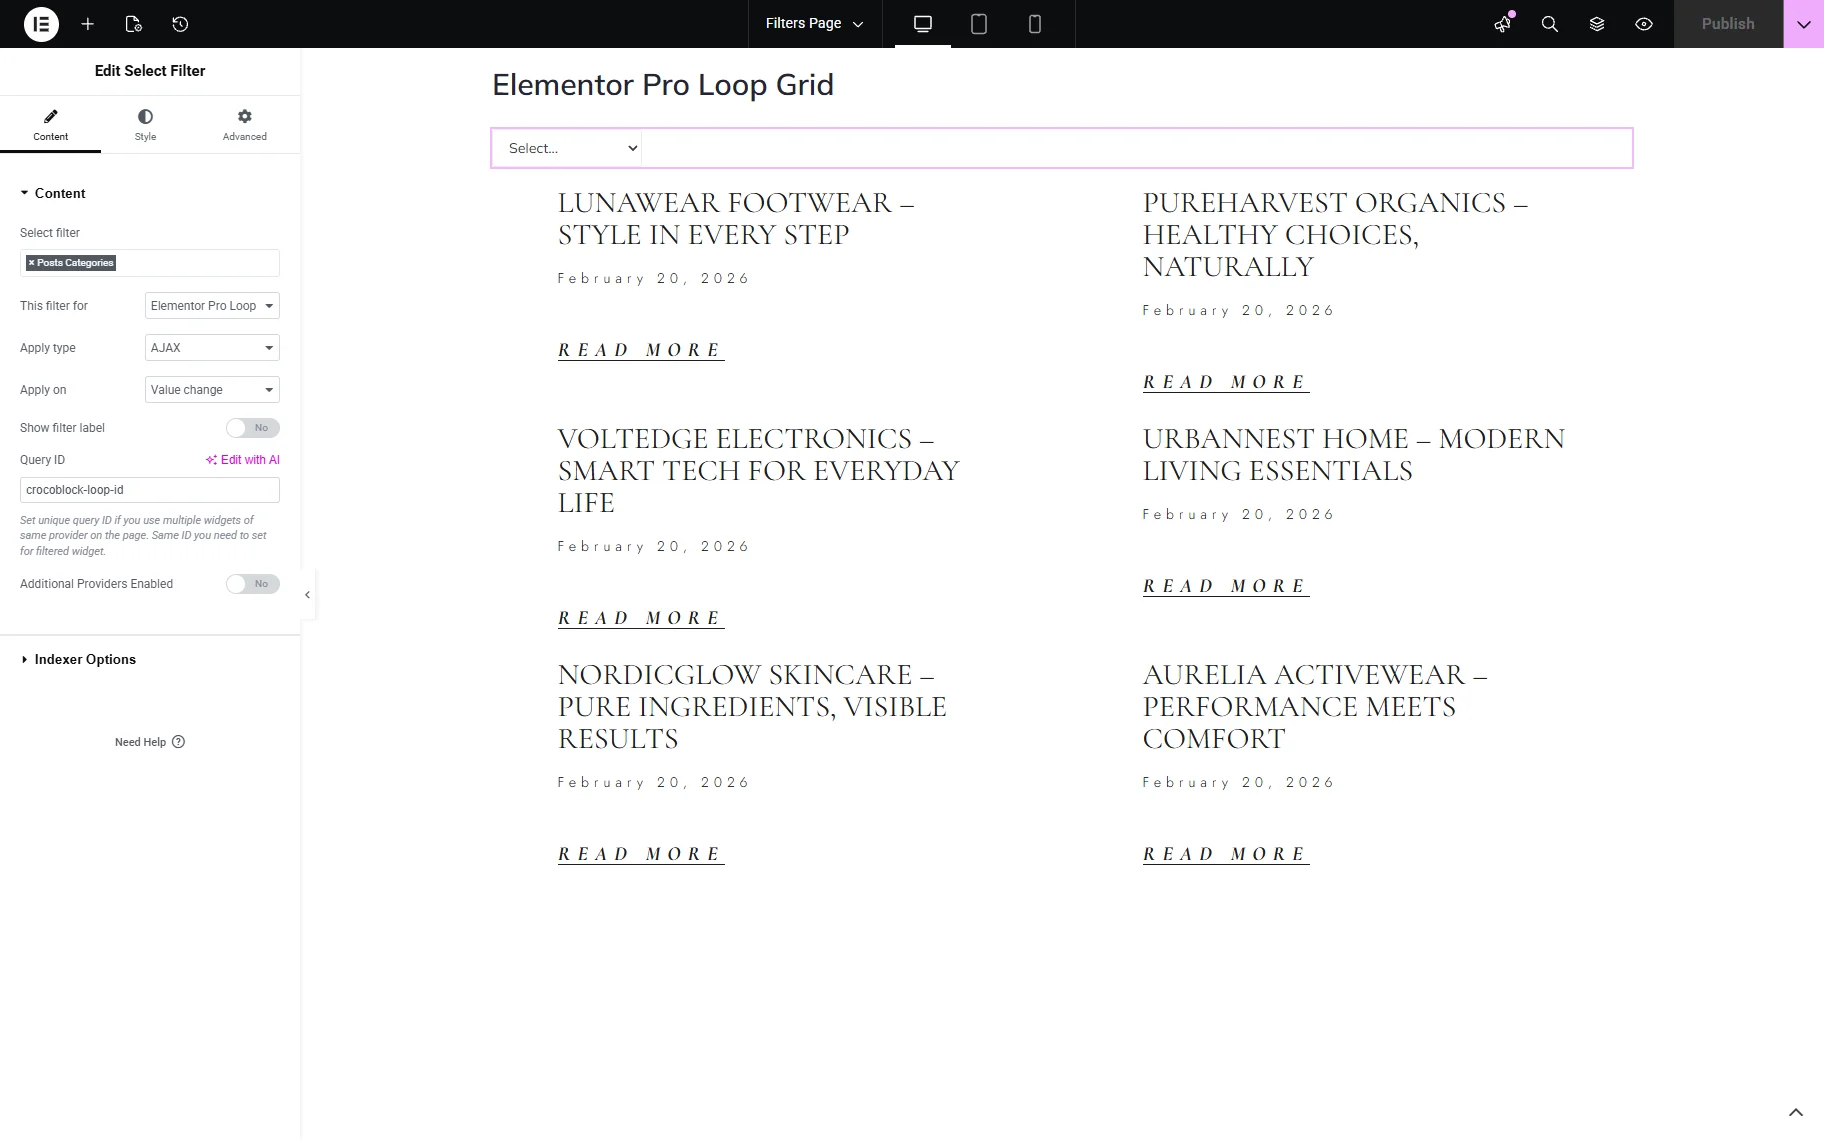
In the Loop Grid widget settings, open the Advanced settings section and paste the same Query ID you used for the filter for the CSS ID input.
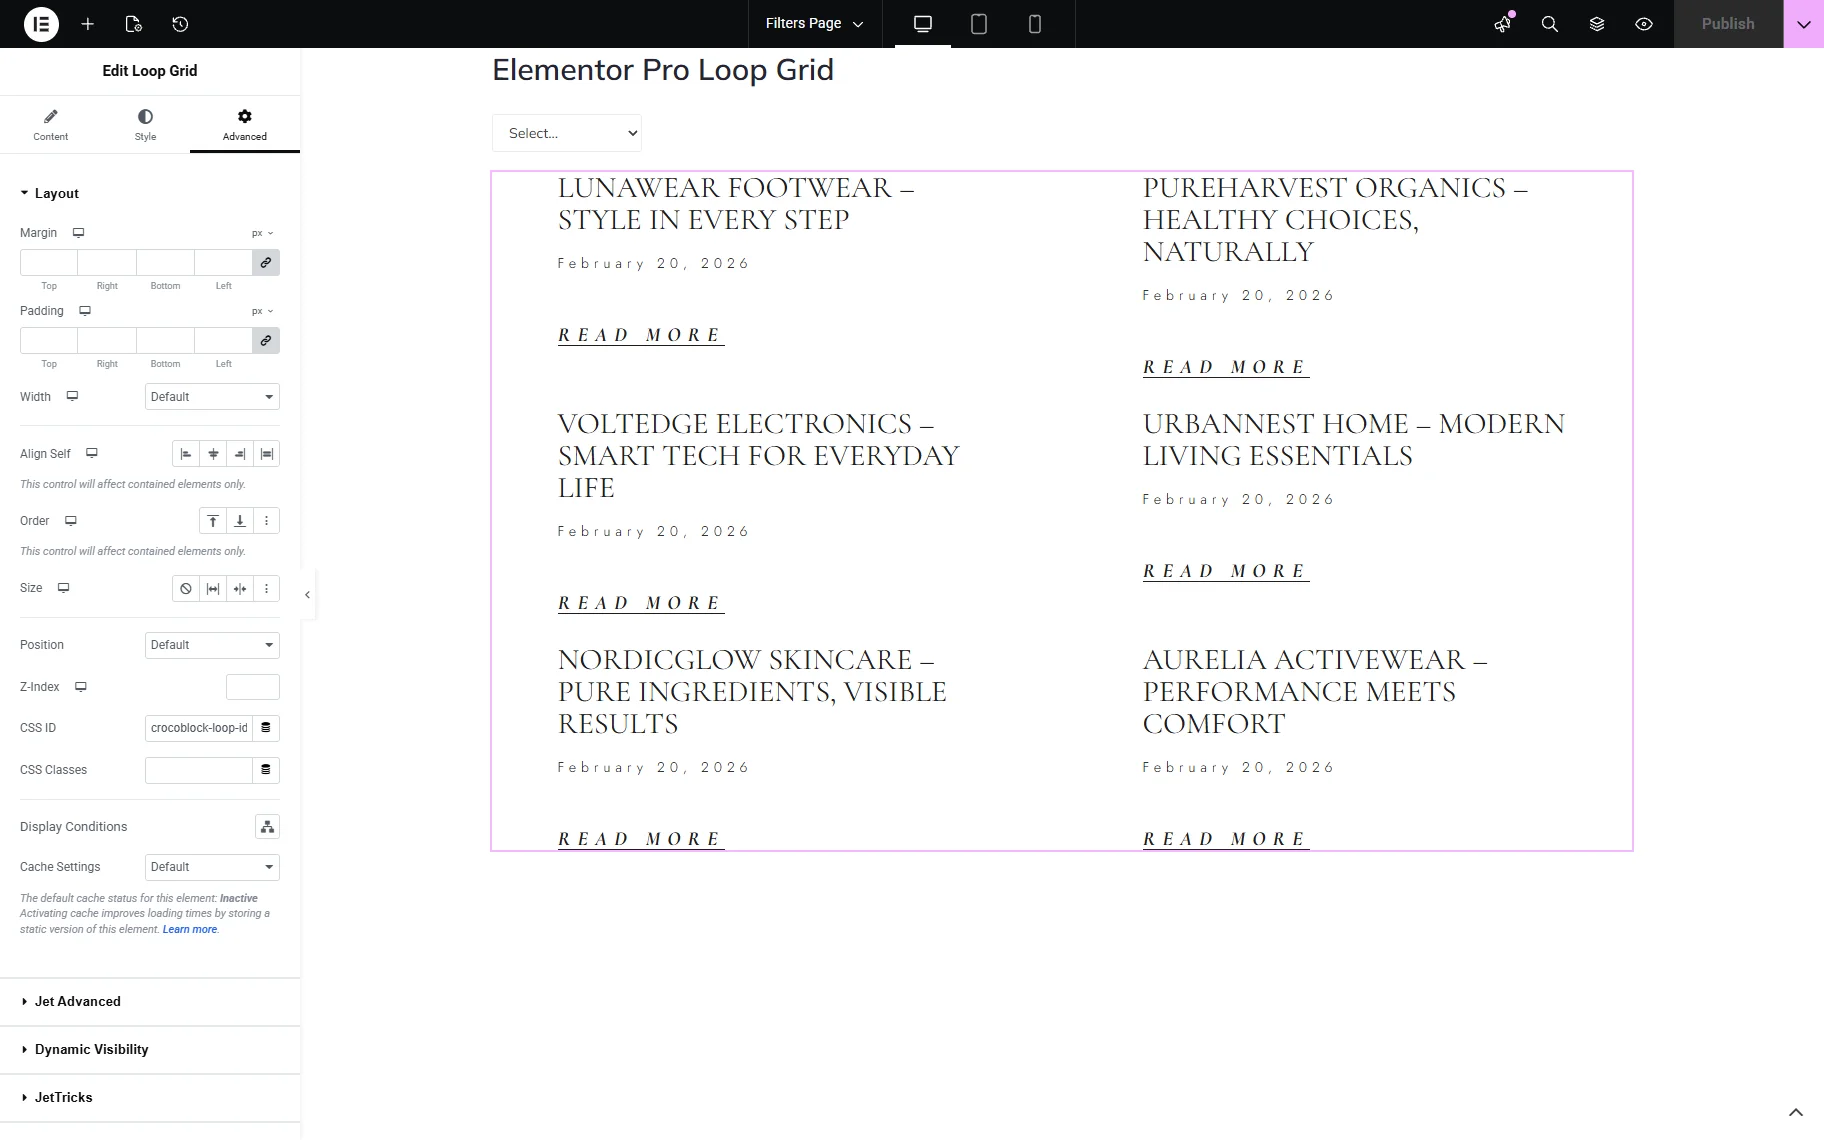
Save the changes by clicking the “Publish” button.
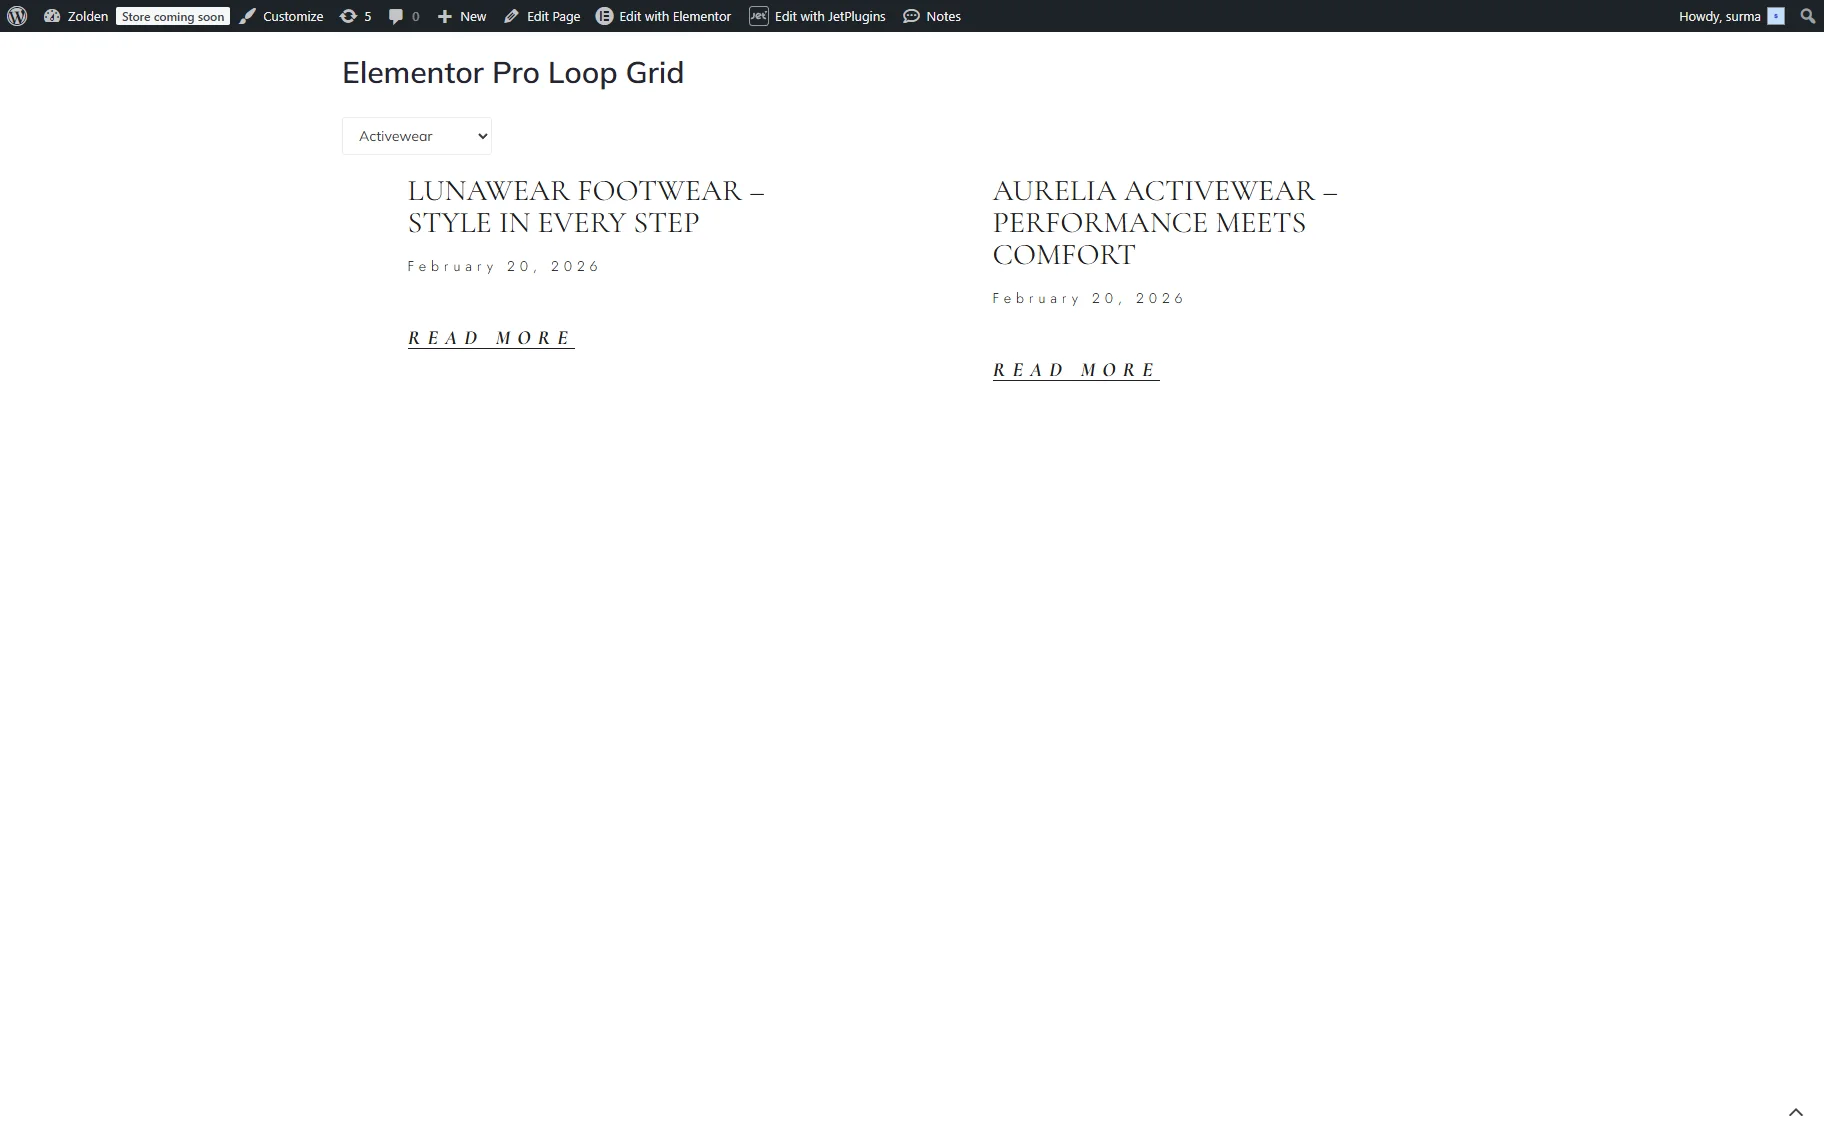
Check the Result
Proceed to the frontend and apply the filter. Here, we see that the filter is applied to the Loop Grid.
That’s all. Now you know how to apply filters created with the JetSmartFilters plugin to the Loop Grid widget from the Elementor Pro plugin for your WordPress website.