How to Apply Pagination Widget to Products Grid
Read how to add AJAX-based pagination to a page with products or posts using the Pagination widget of the JetSmartFilters plugin.
Before you start, check the tutorial requirements:
- Elementor (Free version)
- WooCommerce plugin (Free version) installed and activated with products created
- JetSmartFilters plugin installed and activated
- JetWooBuilder plugin installed and activated
The Pagination widget is part of the JetSmartFilters plugin. It adds pagination to Single and Archive pages and divides posts displayed via the JetEngine’s widgets (e.g., Dynamic Calendar) and JetWooBuilder’s widgets (e.g., Products Grid, Products List, and Products Loop).
The Pagination Overview details the main features and settings of this widget.
Activate the Pagination Widget
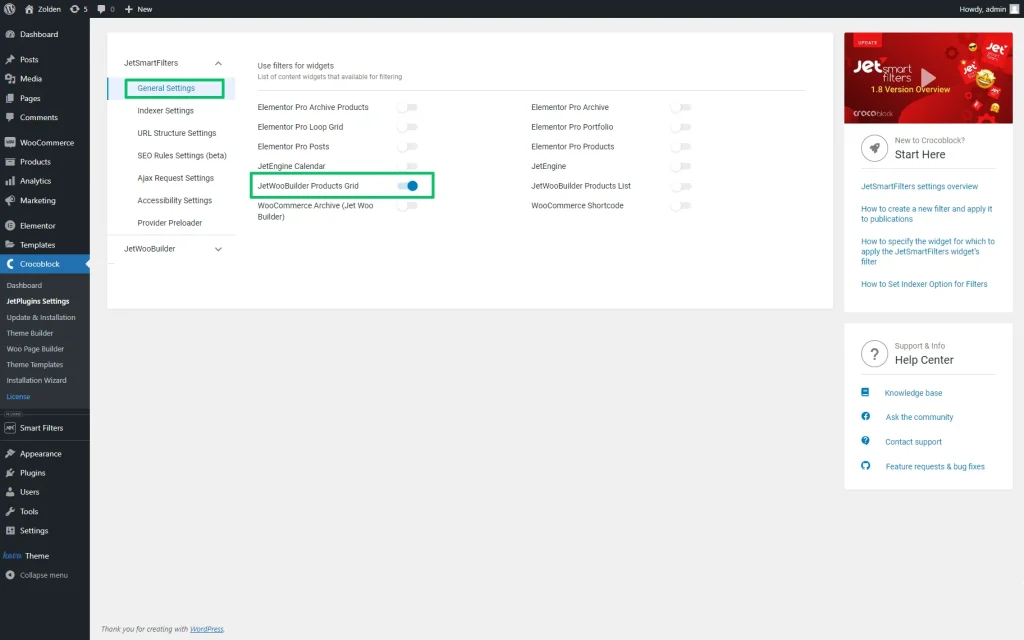
Open the WordPress Dashboard > Crocoblock > JetPlugins Settings > JetSmartFilters or the WordPress Dashboard > JetSmartFilters directory.
The General Settings tab of the JetSmartFilters settings is opened by default.
To use the Pagination widget with the WooCommerce products, enable the JetWooBuilder Products Grid toggle in the list of available widgets.
Create a Page and Add the Products Grid Widget
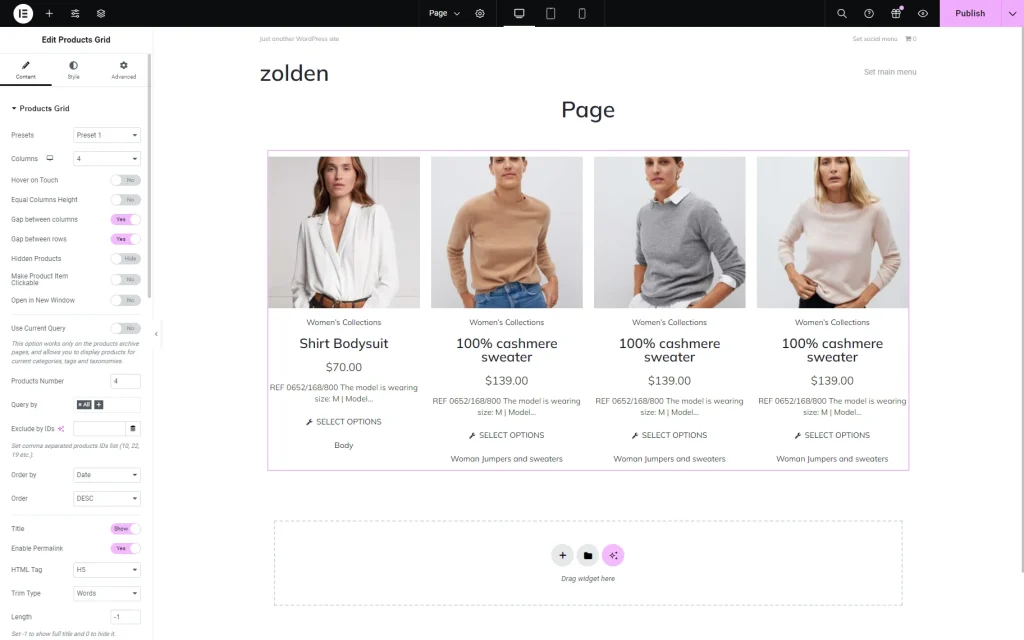
First, open the required page, drag and drop the Products Grid widget to the section where you want to place it and customize the grid according to your preferences.
Add the specific preset (Presets field) and set other options.
To learn how to manage the widget’s settings, read the Products Grid Widget Overview.
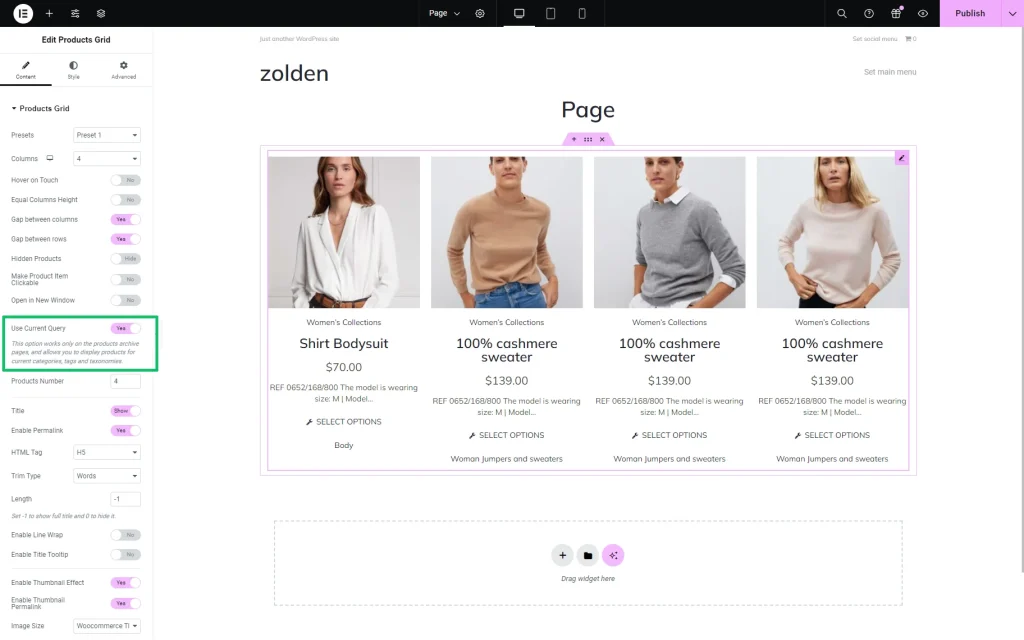
If needed, enable the Use Current Query toggle to display the products for current categories, tags, and taxonomies on the archive pages.
Then, in the Products Number field, we specified the number of products that will be displayed on the page. In this case, we set four products per page.
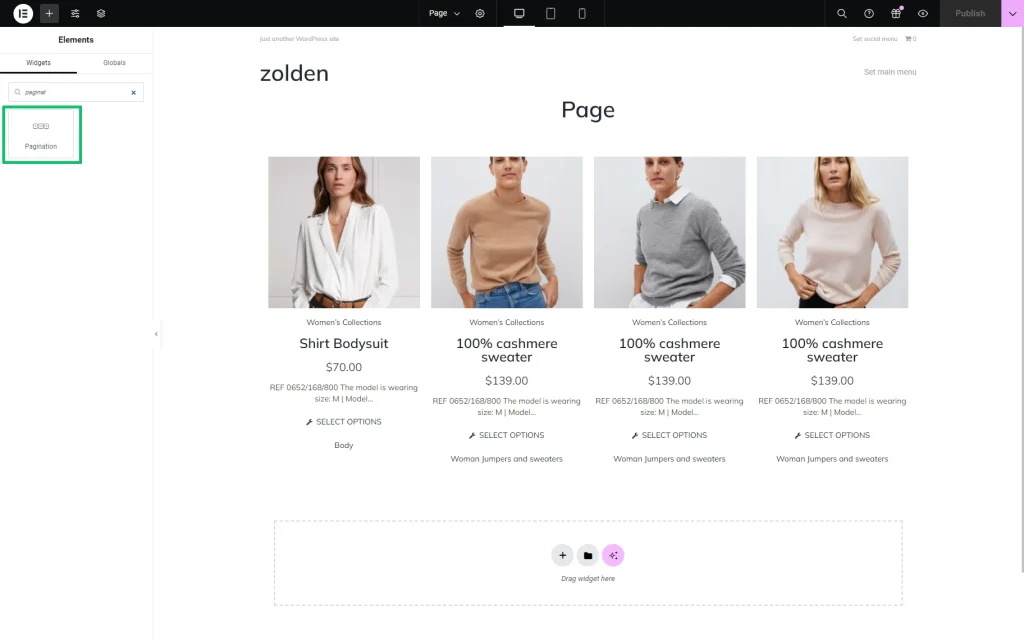
Add the Pagination Widget
Adjust the Content Settings
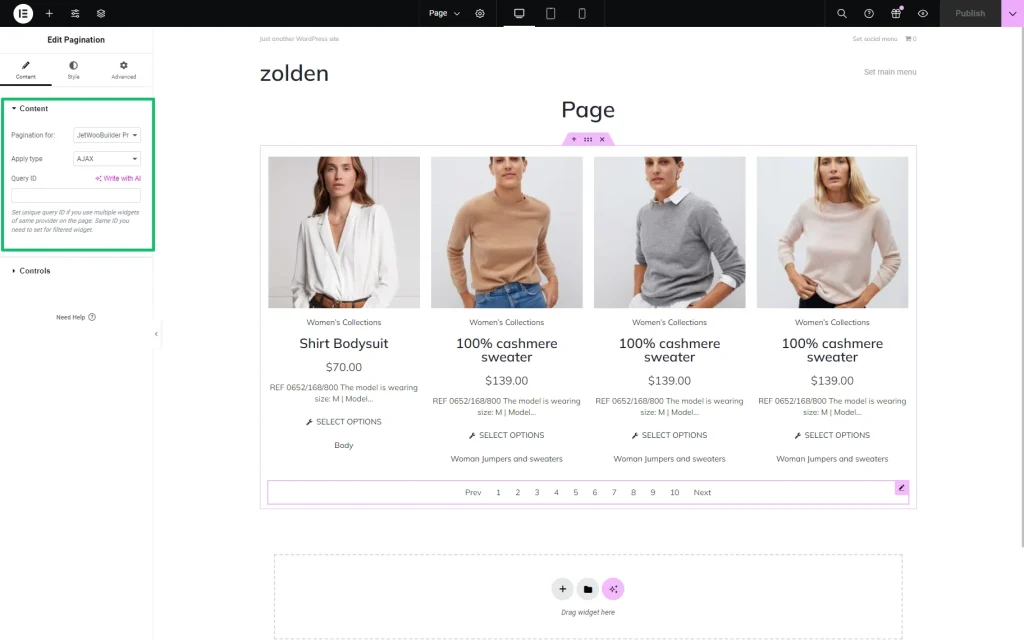
The Content settings will be unfolded by default. First, we choose the “JetWooBuilder Products Grid” option from the Pagination for drop-down menu.
Then, in the Apply type menu, we selected the “AJAX” option. The settings tab also has an option to set the Query ID for multiple widgets of the same provider.
Customize the Controls Settings
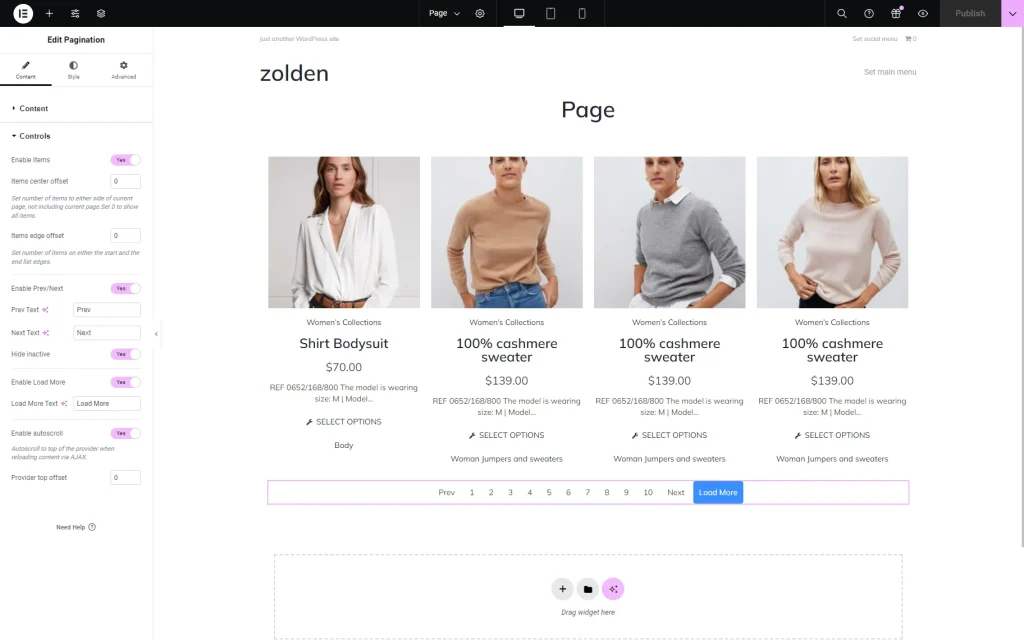
The Controls settings allow enabling the Prev/Next buttons and customizing the text on them.
You can also set the number of items on either side of a current page by the Items center offset field and/or the number of items on either the start and the end list edge using the Items edge offset field.
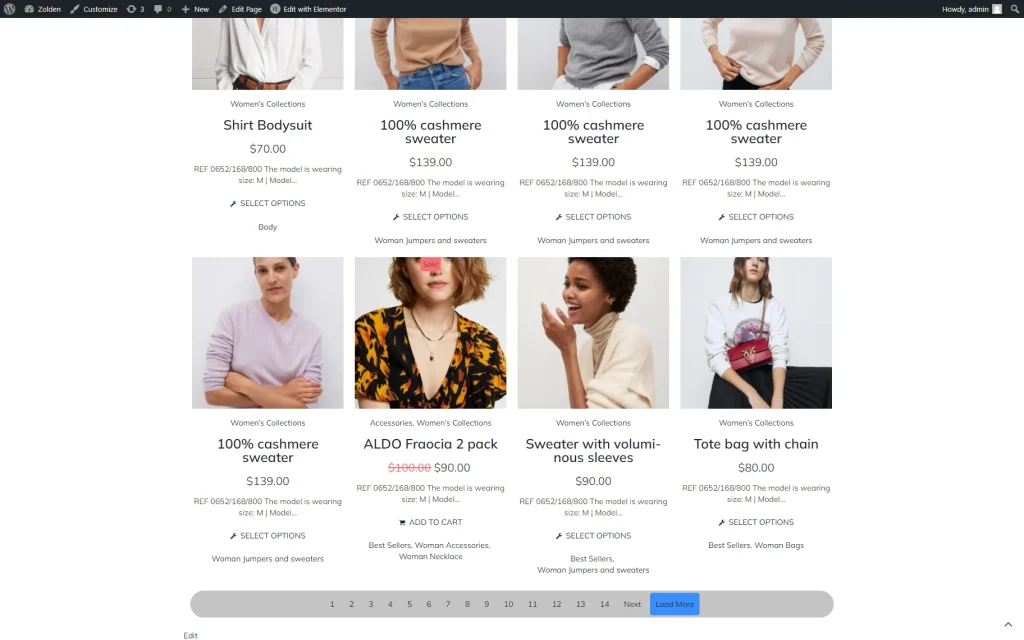
The Enable Load More toggle lets you add the “Load More” button next to the pagination. Once activated, the Load More Text bar is available, where the button’s text can be customized.
If enabled, the Enable autoscroll toggle allows the auto-scroll to the top of the provider when reloading content via AJAX. (When changing the page, it scrolls to the provider’s top.) This toggle turns on the Provide top offset field to type the offset from the provider’s edge.
