
How to Add Manual Input Data Source for the Select Filter
From this tutorial, you will learn how to create a “Select” filter with a “Manual Input” data source based on the “Select” meta field type using the JetSmartFilters plugin.
Before you start, check the tutorial requirements:
- JetSmartFilters plugin installed and activated
- JetEngine plugin installed and activated with the “Select” meta field created
With JetSmartFilters, you can display the data from the “Select” meta field type in the “Select” filter. We are going to show how it works in the example of filtering events by the number of people.
Create a Filter
Go to WordPress Dashboard > Smart Filters > Add New to build a new filter.
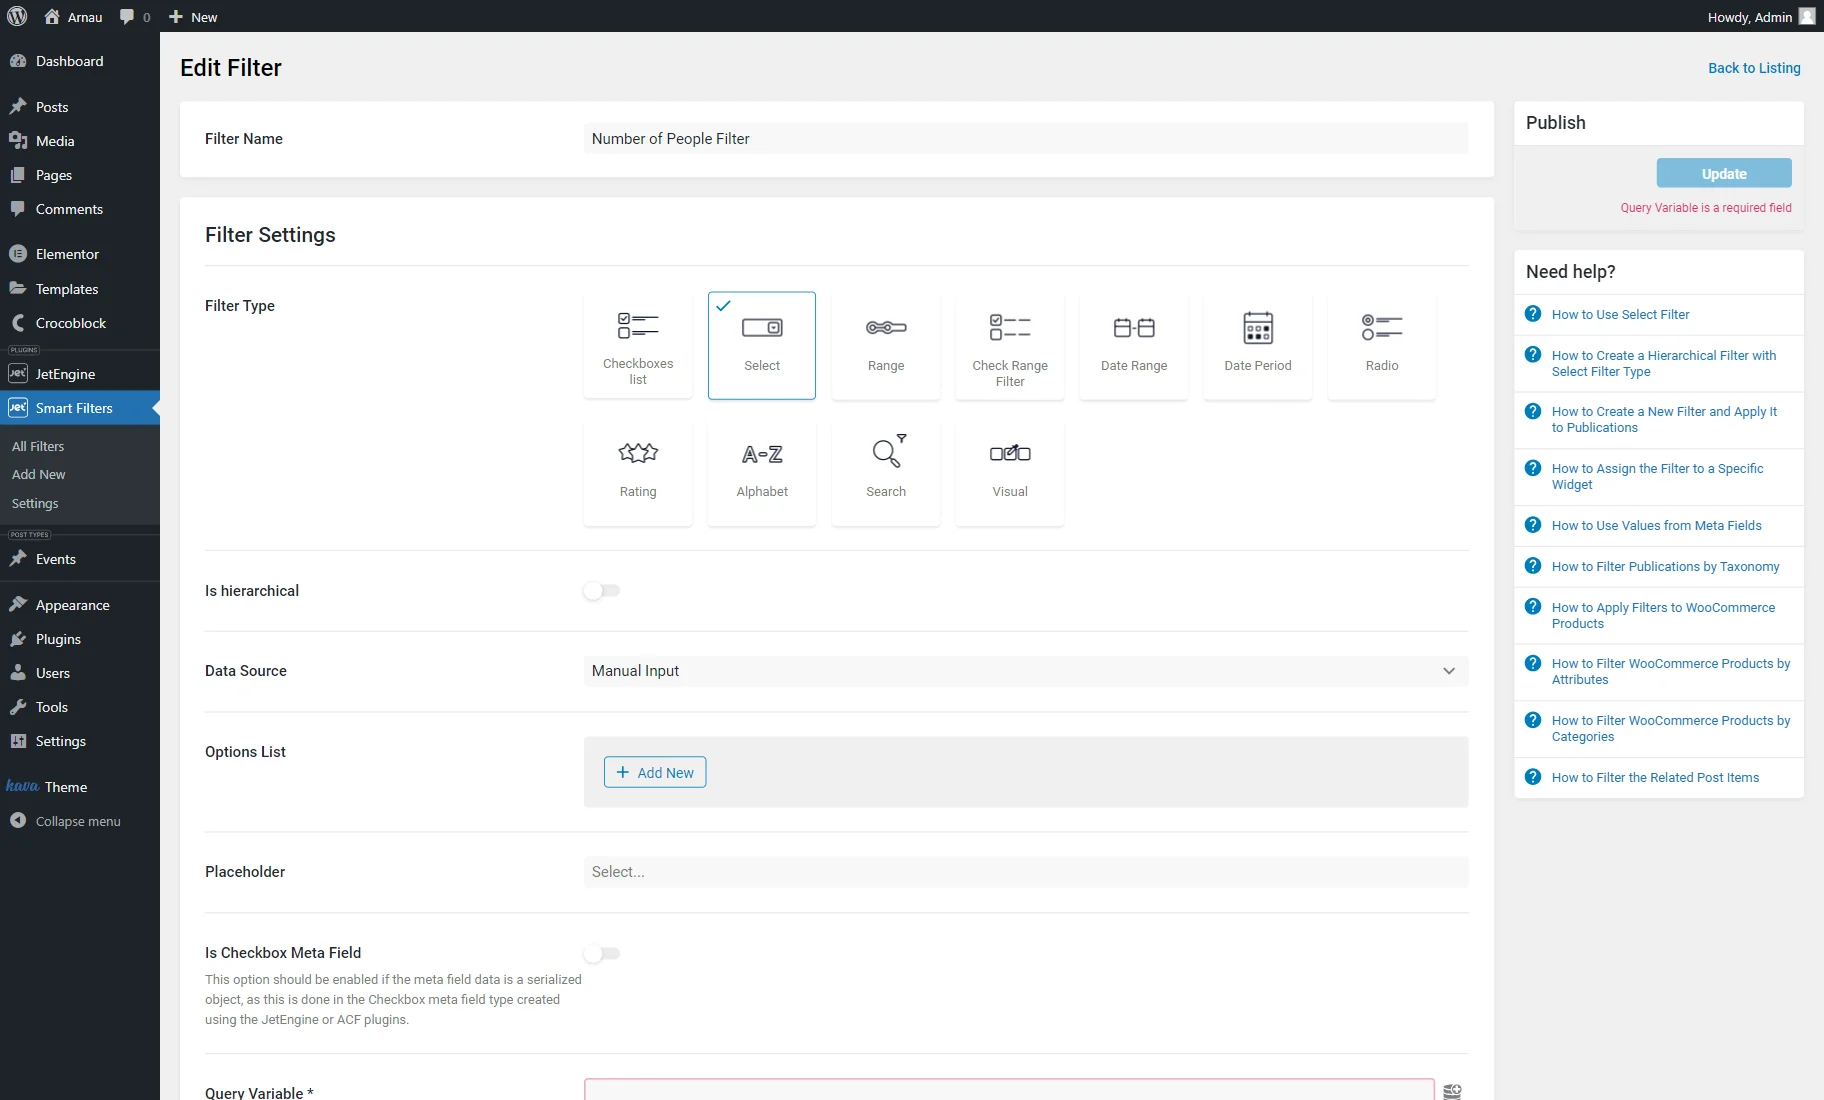
Set the Filter Name; in our case, it’s the “Number of People Filter.”
In the following Filter Type field, pick the “Select” option and set its Data Source to “Manual Input.”
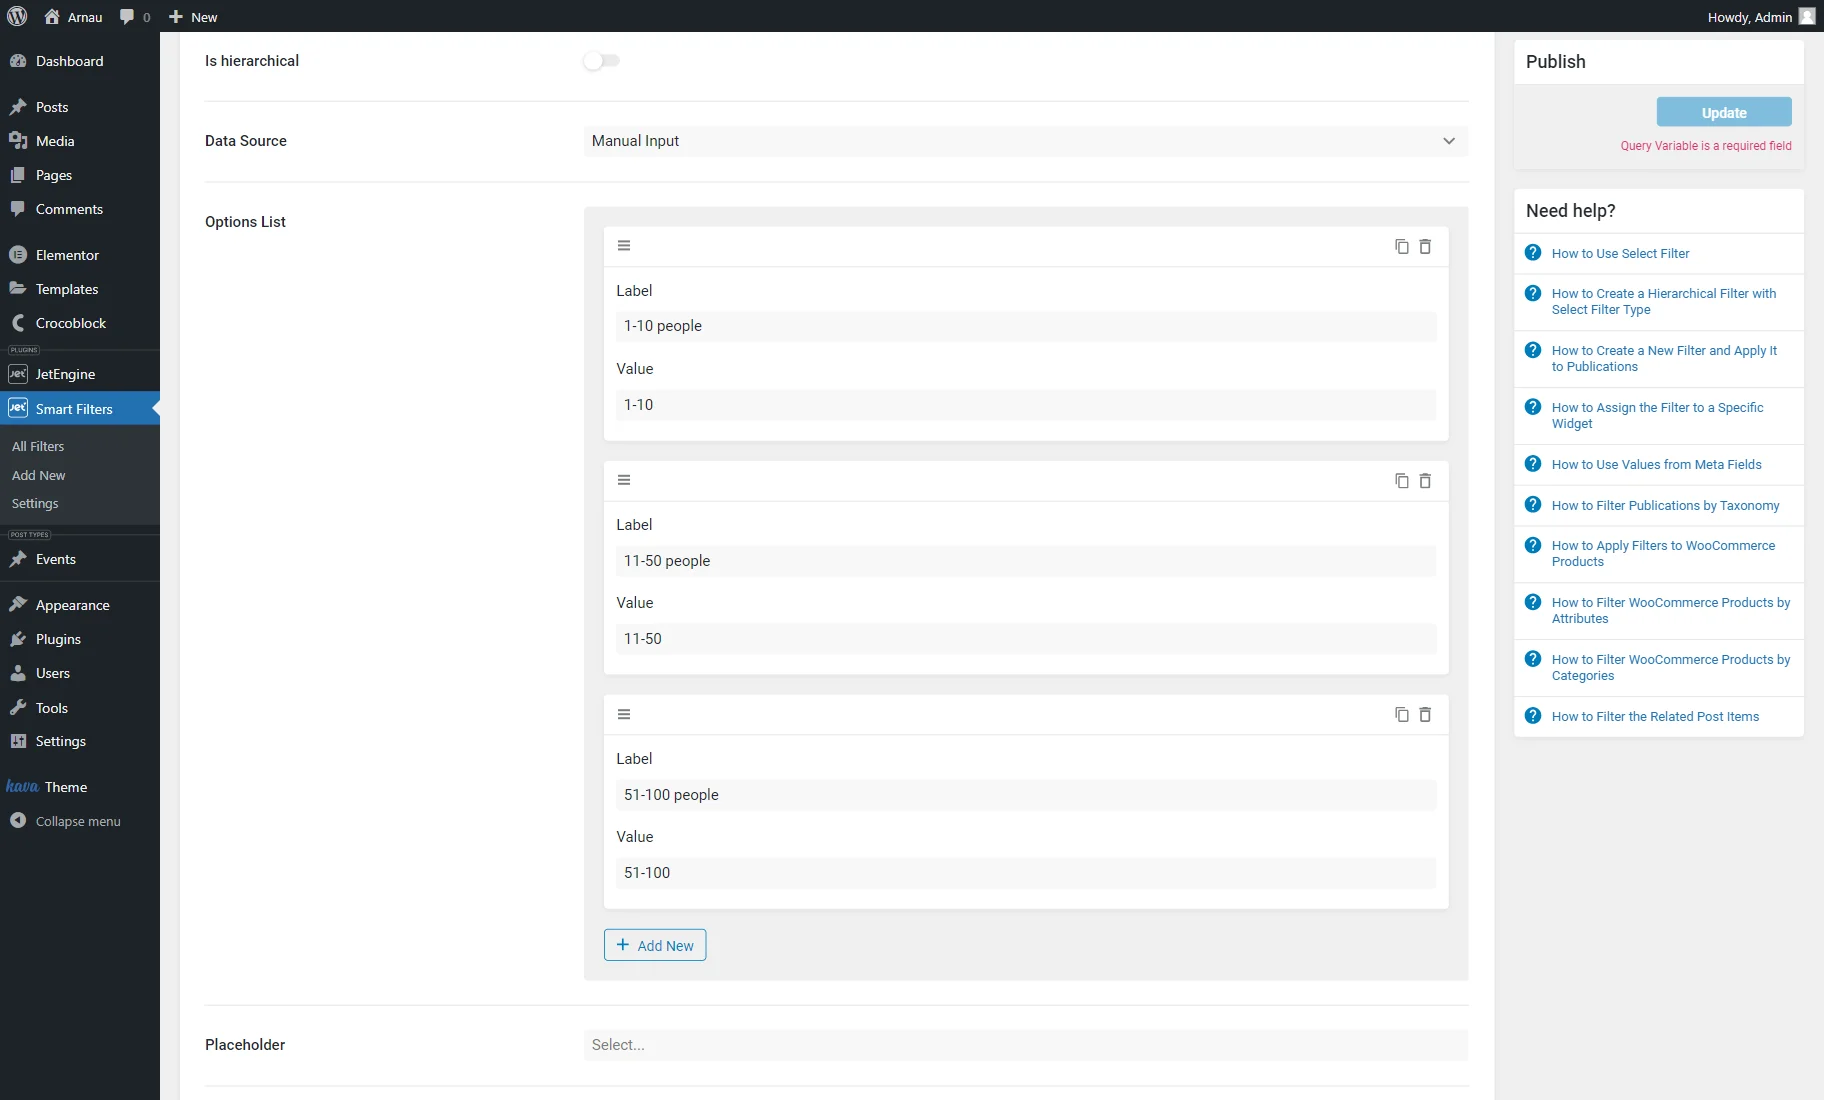
Press the “Add New” button in the Options List section to add some options to the filter.
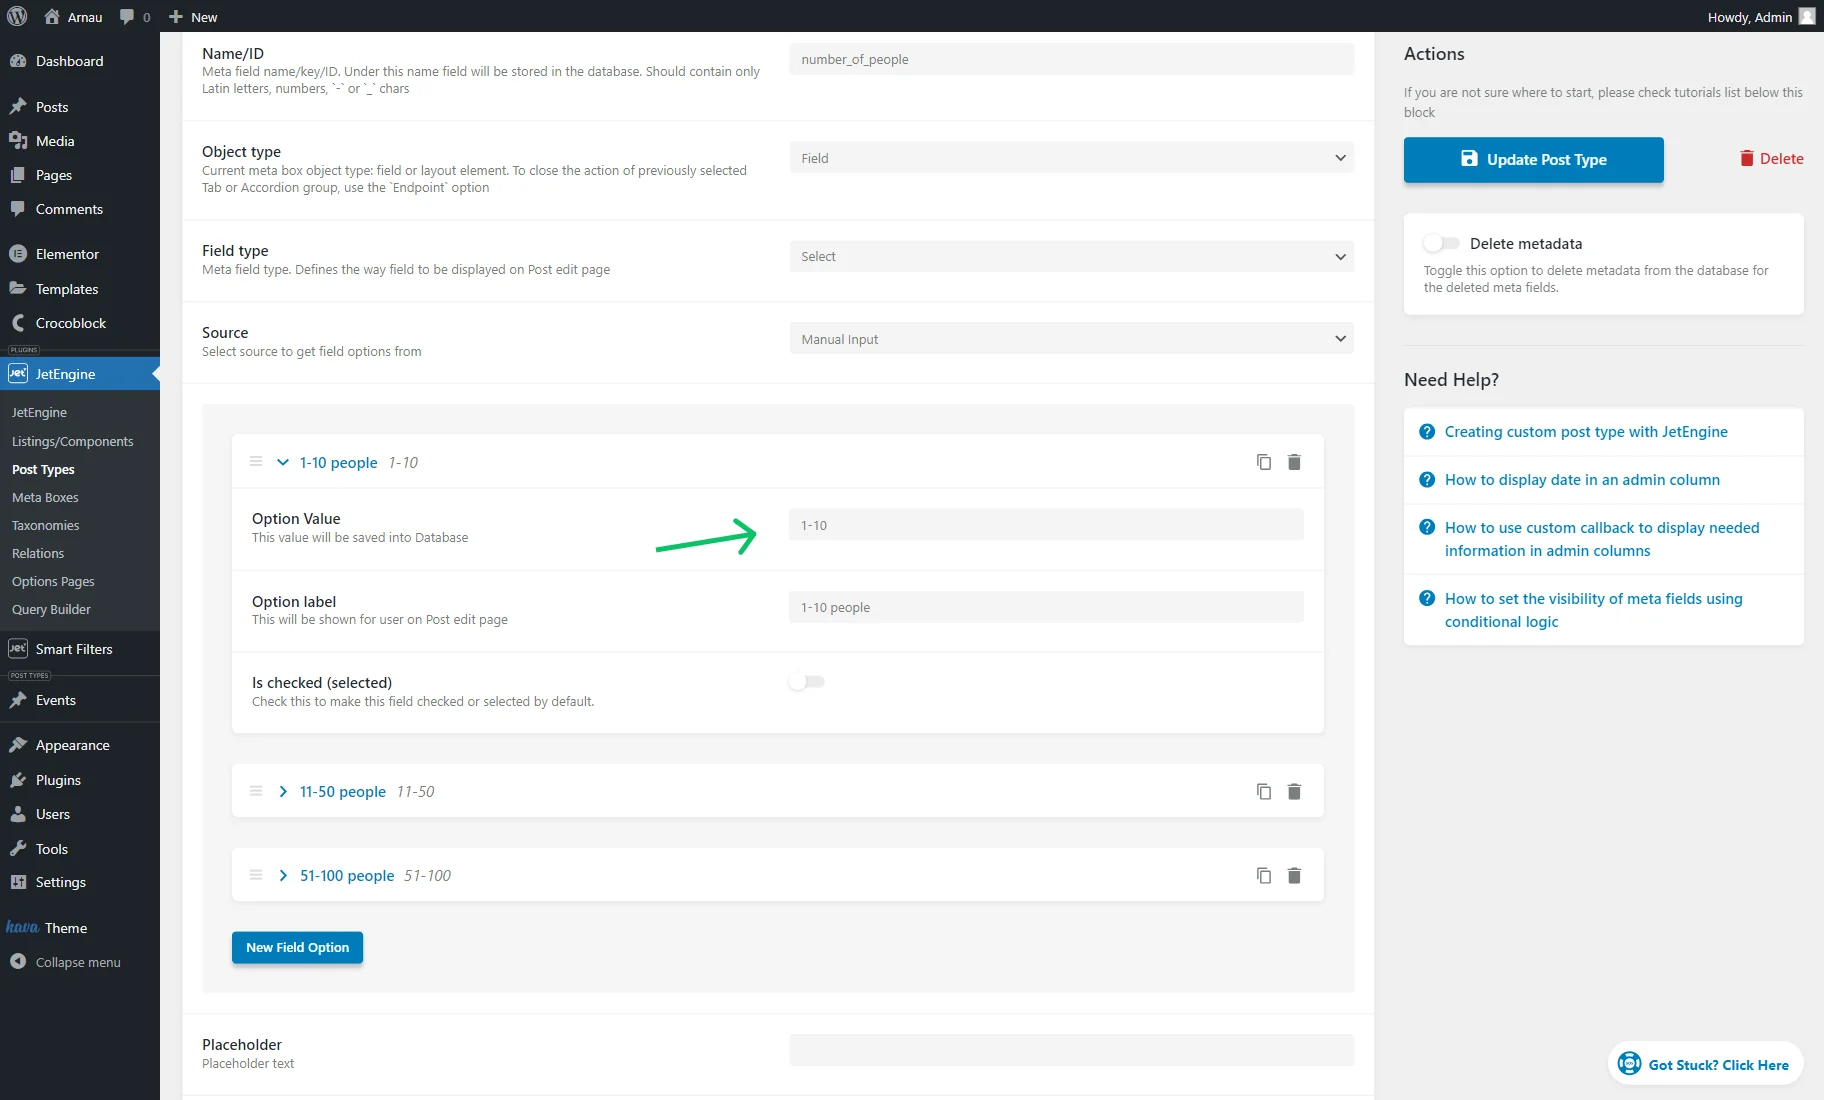
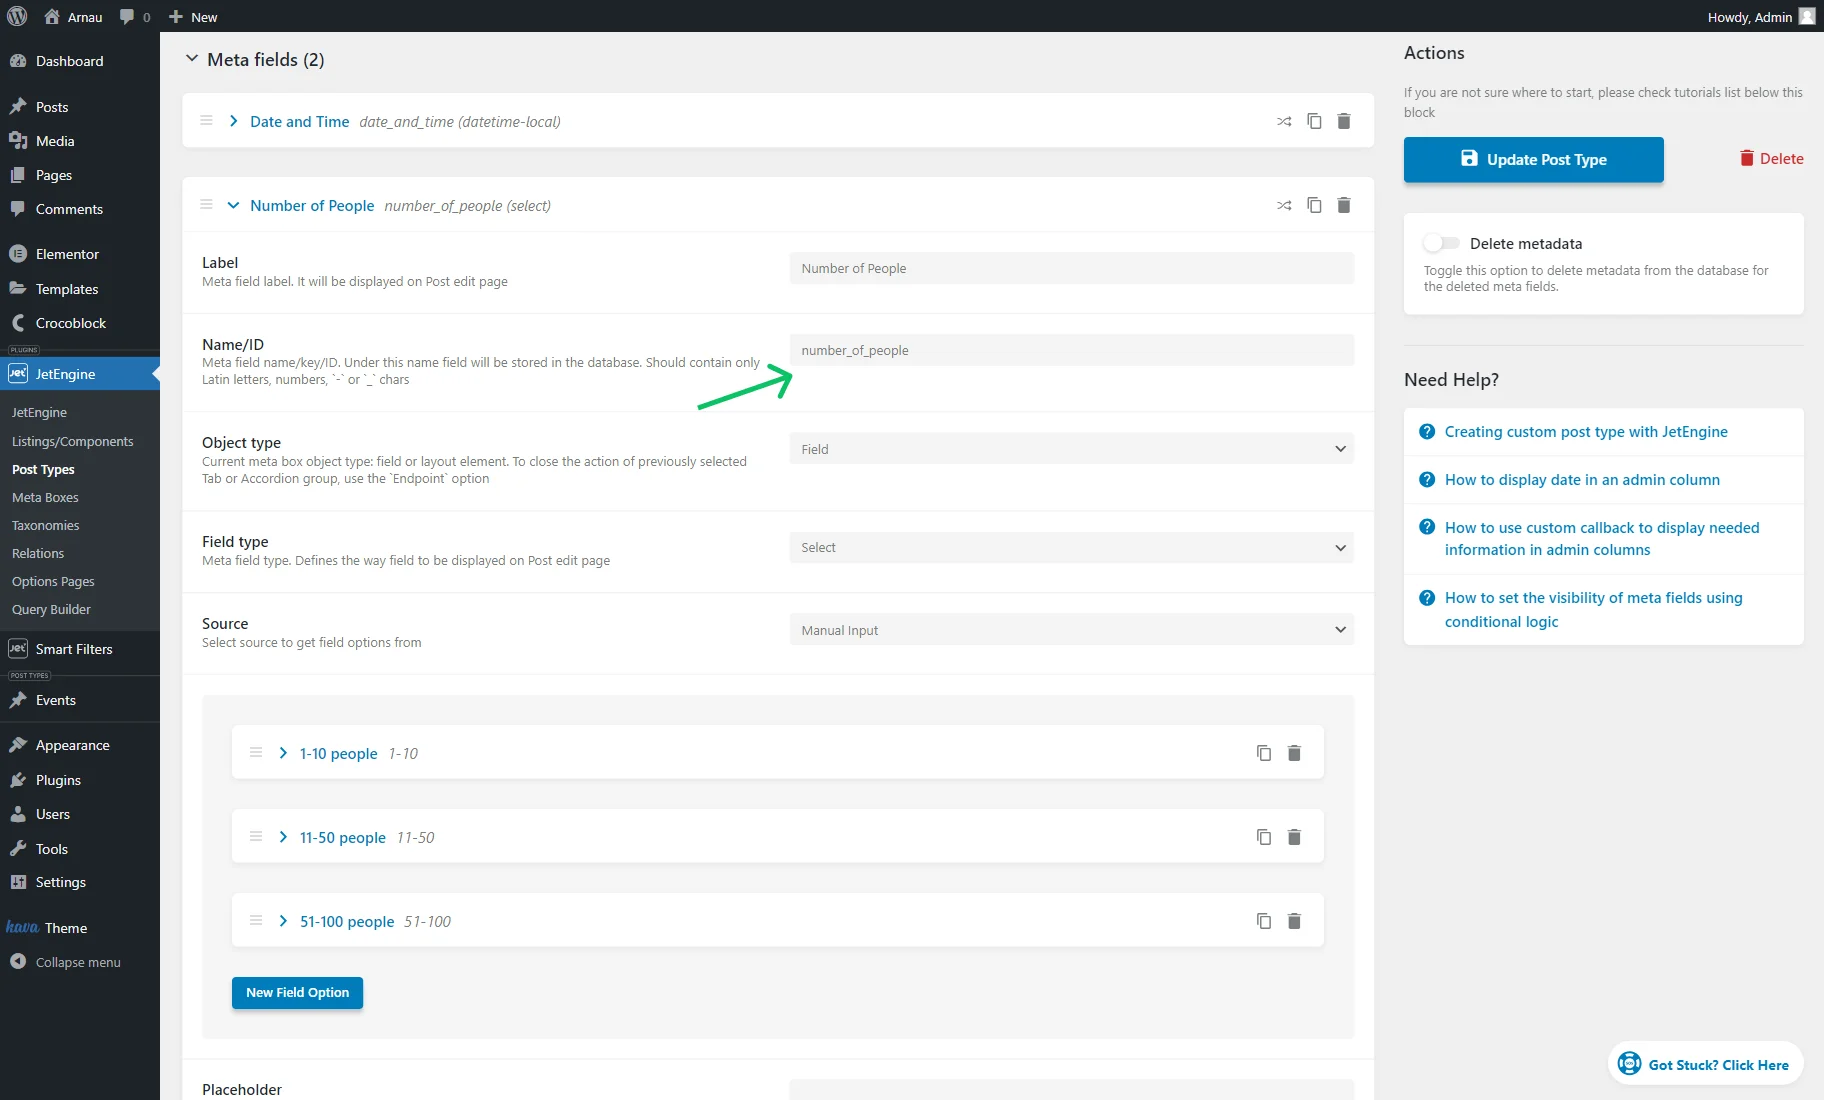
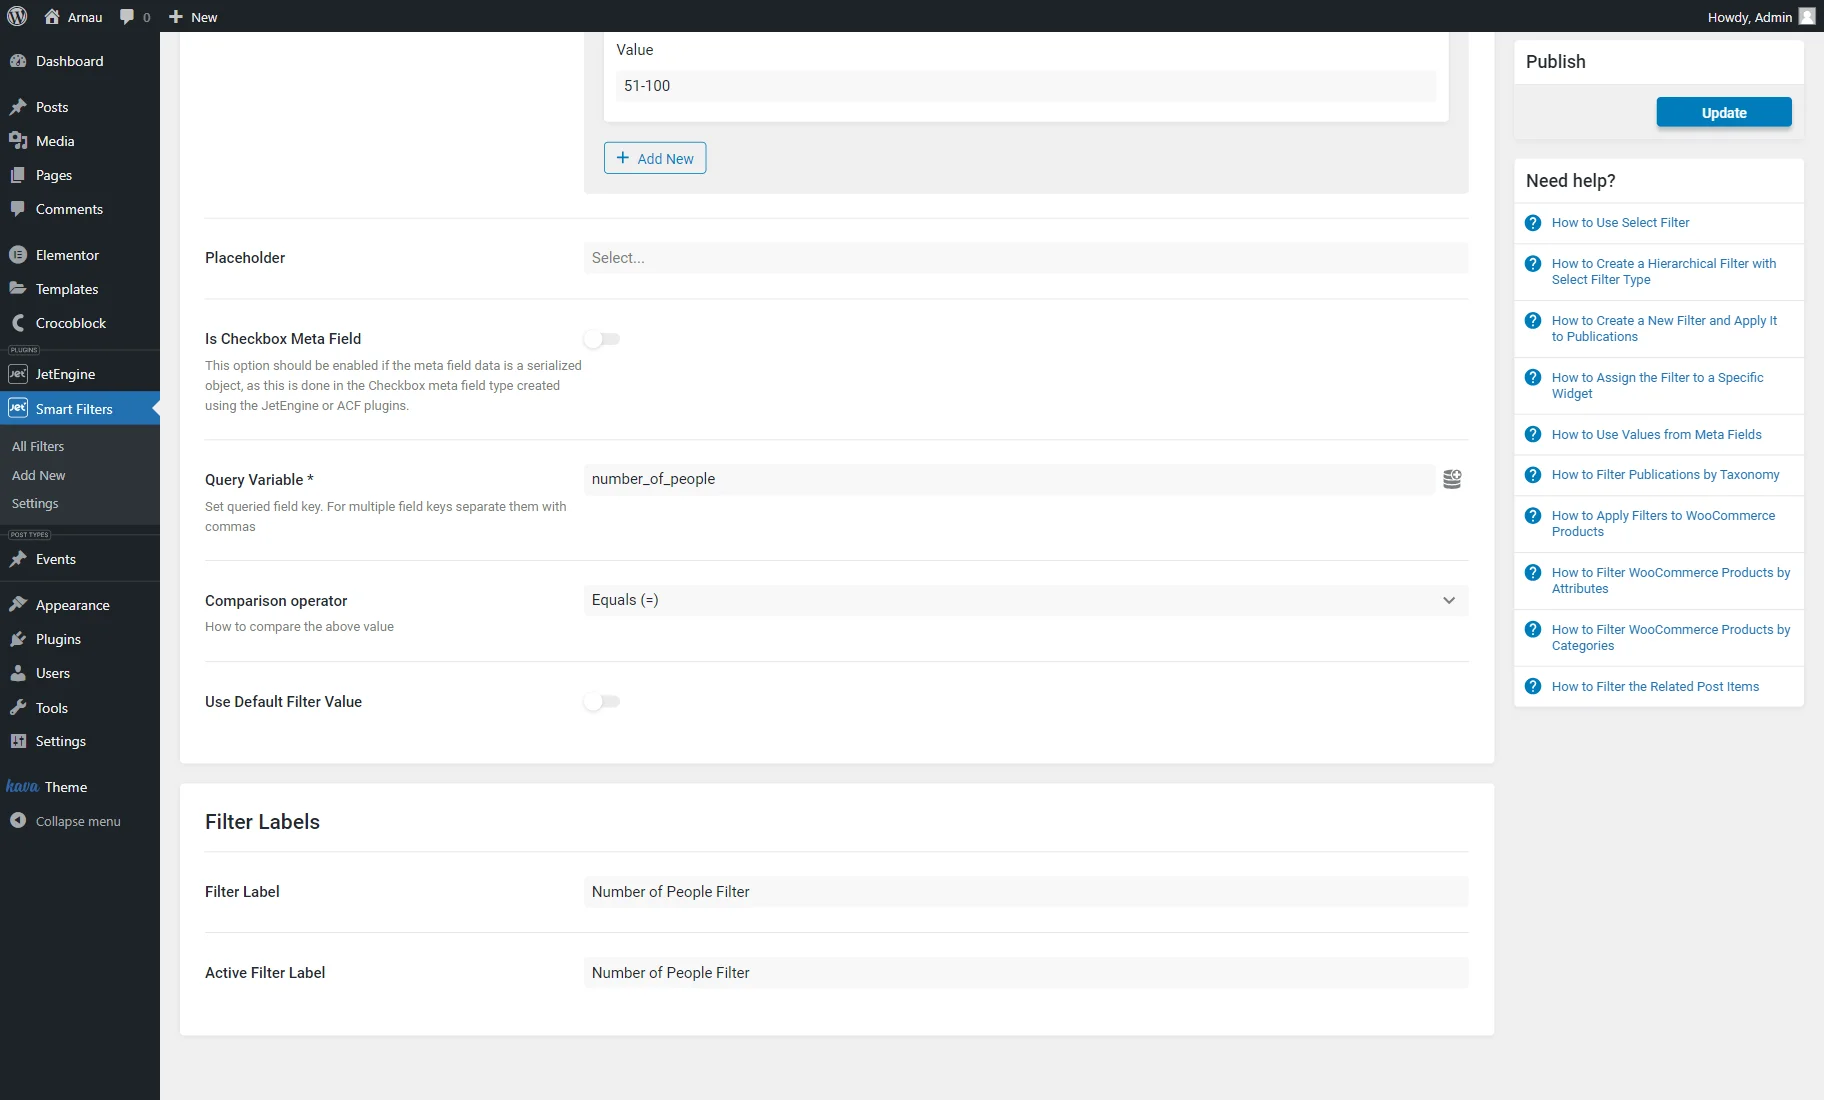
Two setting fields are presented for an item: the Label and the Value (which should repeat the Option Value of the meta field option).
Each time you want to add a new option, press the “Add New” button. Complete the needed fields for each new option you add.
Fill in the Query Variable field with the Name/ID of the “Select” meta field.
Then, complete the Filter Labels section and push the “Update” button to save the filter.
Place Filter on the Page
Go to the editor of the page on which you want to place the filter.
The page can be edited with Elementor, Gutenberg, or Bricks editors. For instance, we work with Elementor.
We want to filter the events listing so there is a Listing Grid widget located on the page.
Also, we add the Select Filter widget above the Listing Grid.
In the Select filter field, search for the filter you have just created.
Then, pick a provider in the This filter for field. In our case, the “JetEngine” option should be selected.
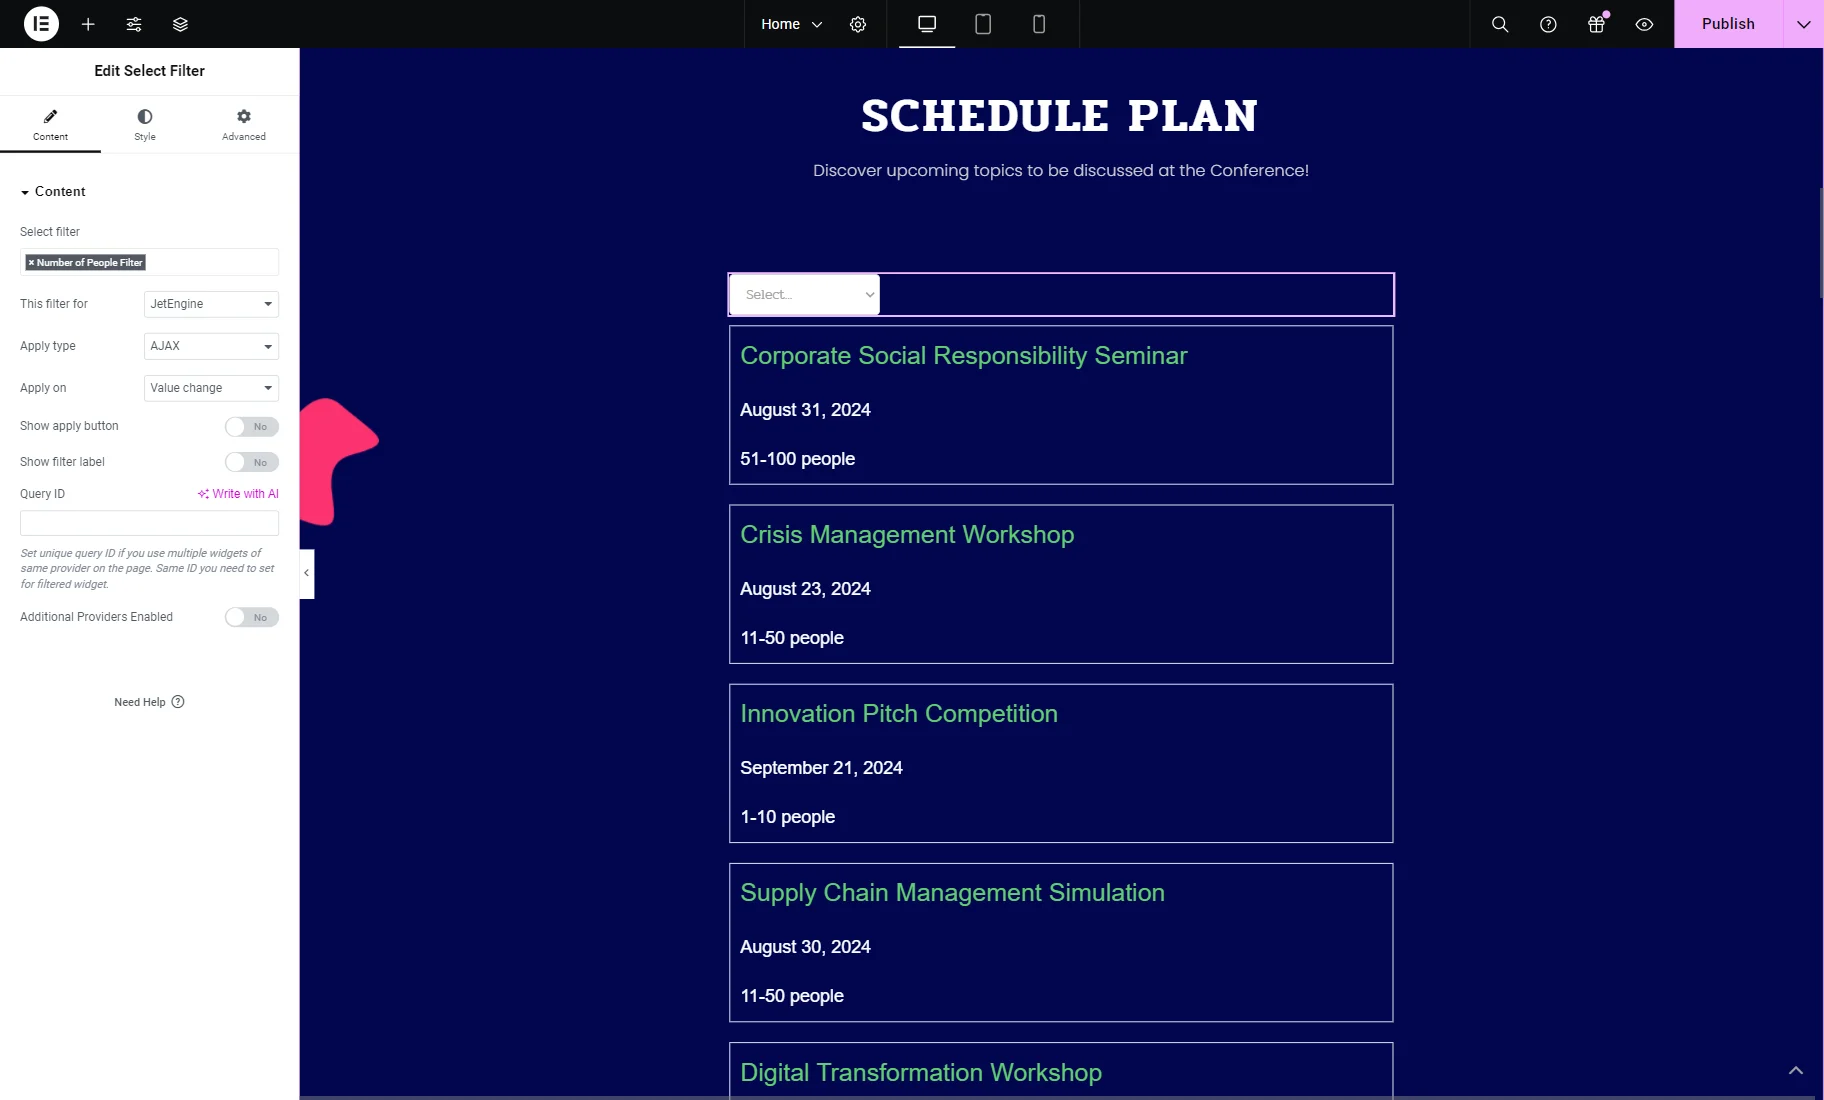
Customize the page and save it by pressing the “Publish/Update” button.
Check the Result
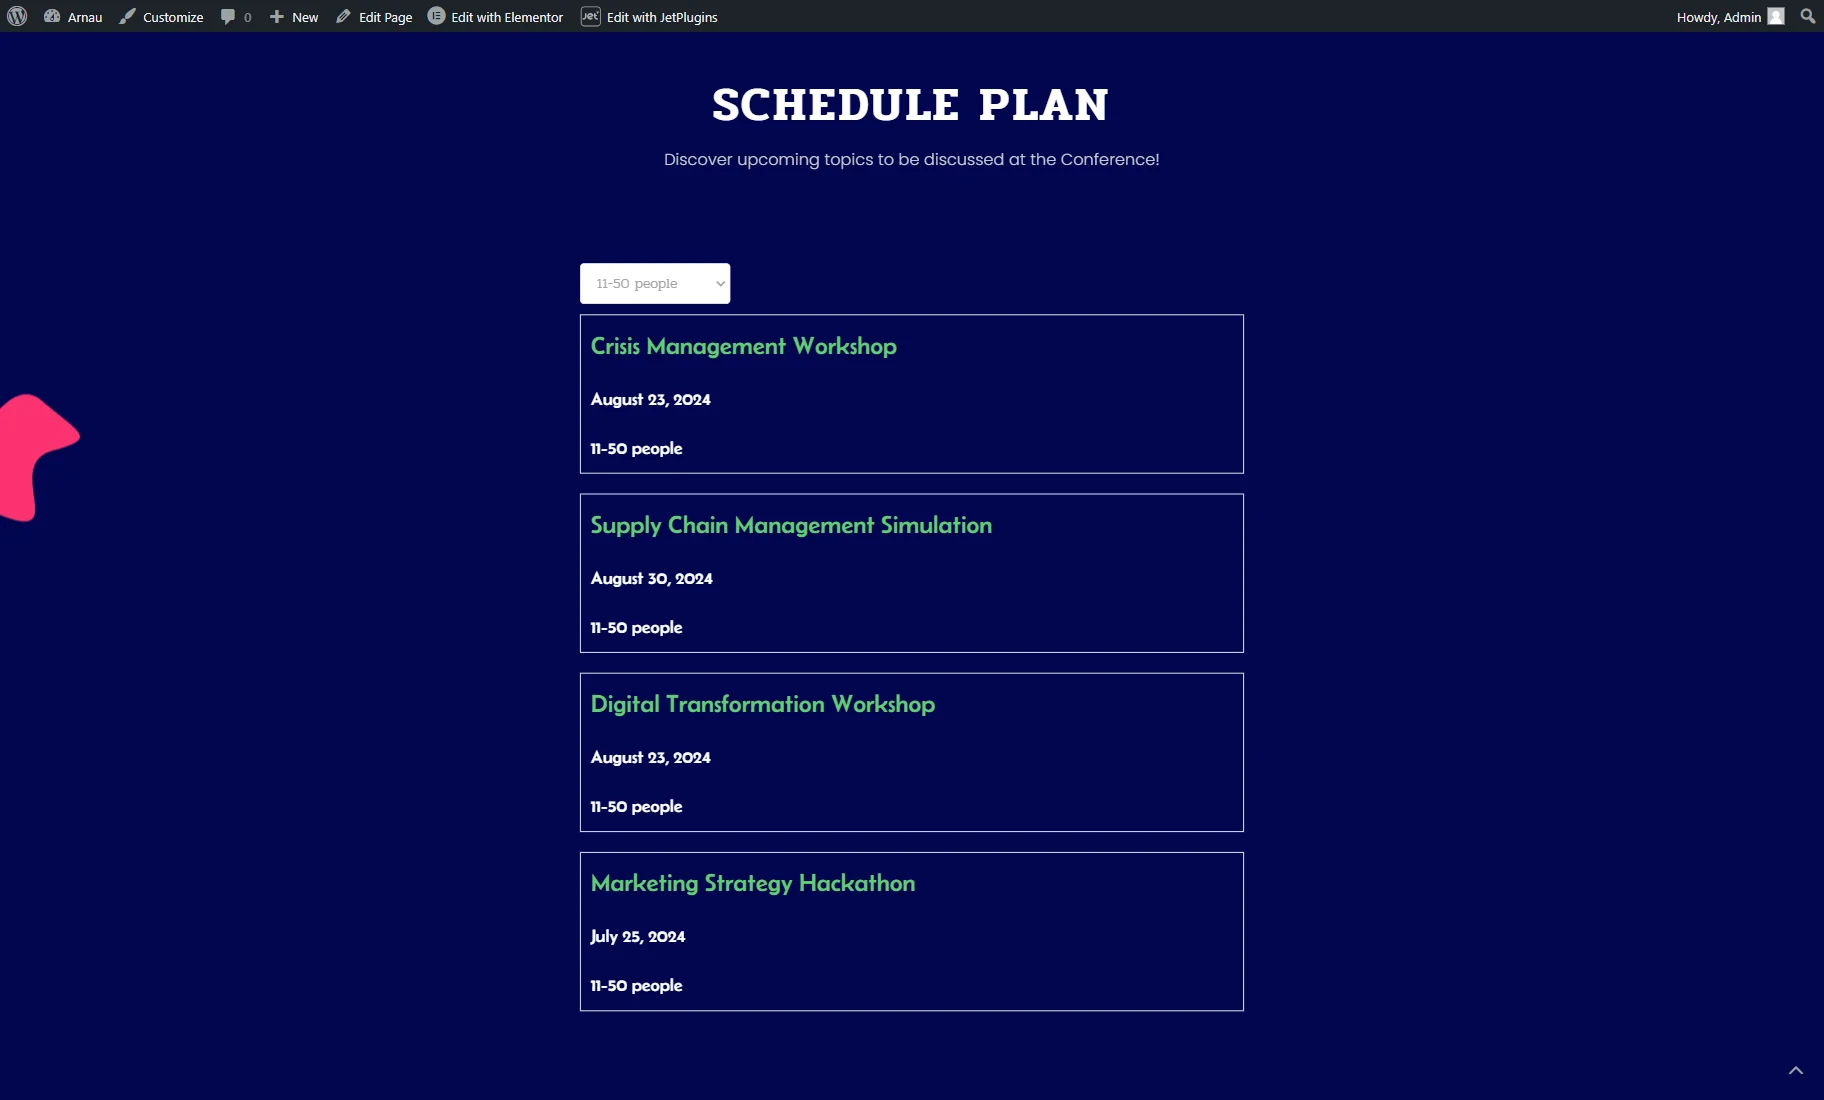
Open the just-edited page on the front end.
In the appeared filter, select one of the options. As you can observe, the listing is now filtered, and only the items that have the certain option selected are displayed.
That’s all; now you know how to build a “Select” filter with the “Manual Input” Data Source with the help of the JetSmartFilters plugin for WordPress.