How to Set Manual Input Data Source for Visual Filter
Find out about the Manual Input Data Source for the Visual Filter to set all the desired filter options yourself.
Before you start, check the tutorial requirements:
- Elementor (Free version) or Block editor (Gutenberg)
- JetSmartFilters plugin installed and activated with Meta field values’ options to be used as options for filtering and the enabled provider in the JetSmartFilters settings displayed it as an option in the page builder.
Add New Filter
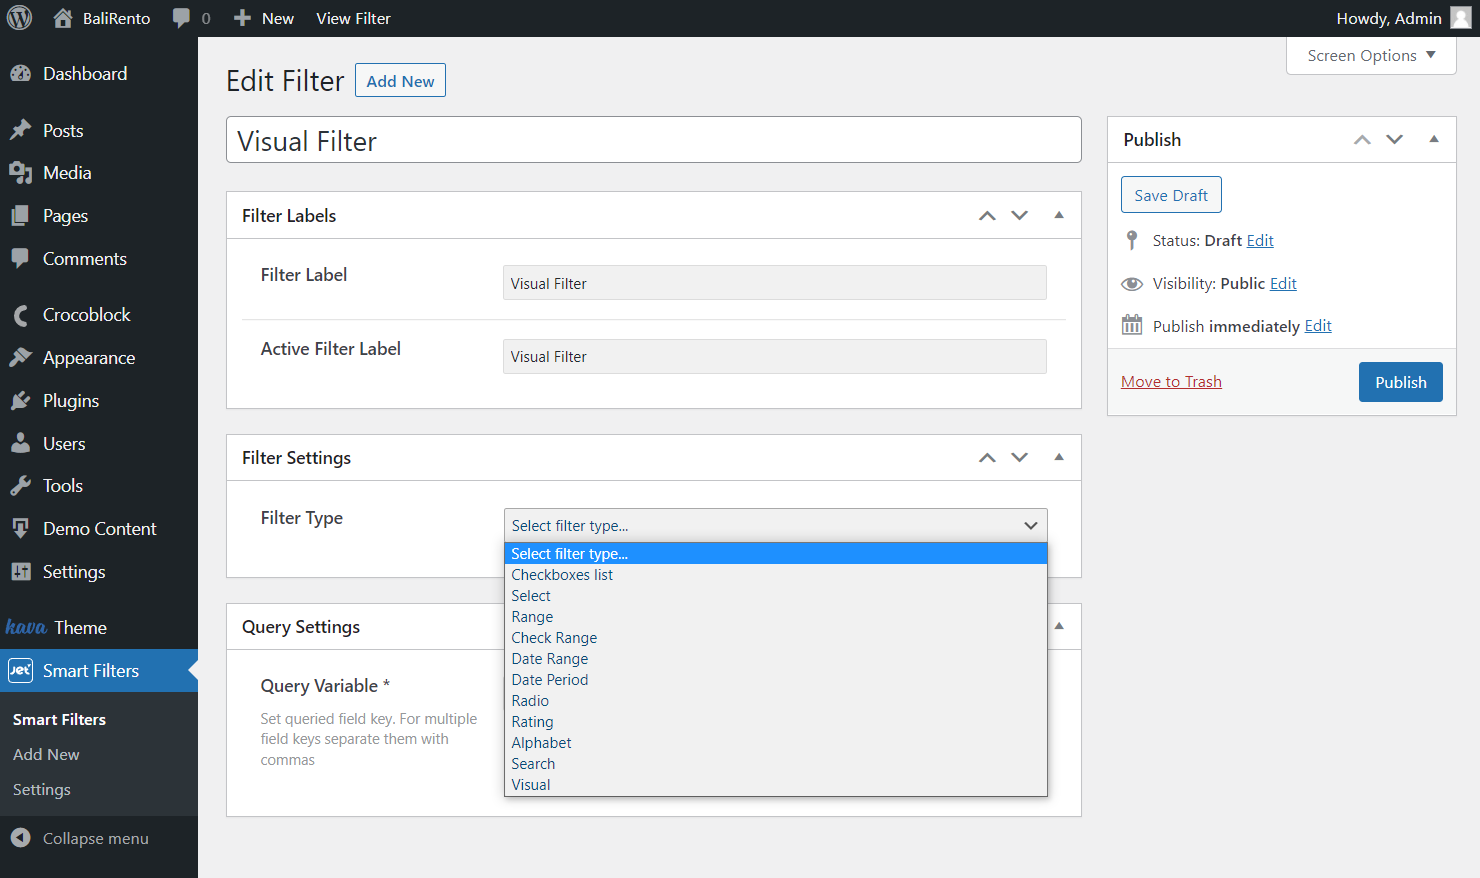
Open the WordPress Dashboard. Navigate to Smart Filters and click on “Add New“.
Fill in the title, Filter Label, and Active Filter Label. Choose the Visual Filter as a Filter Type.
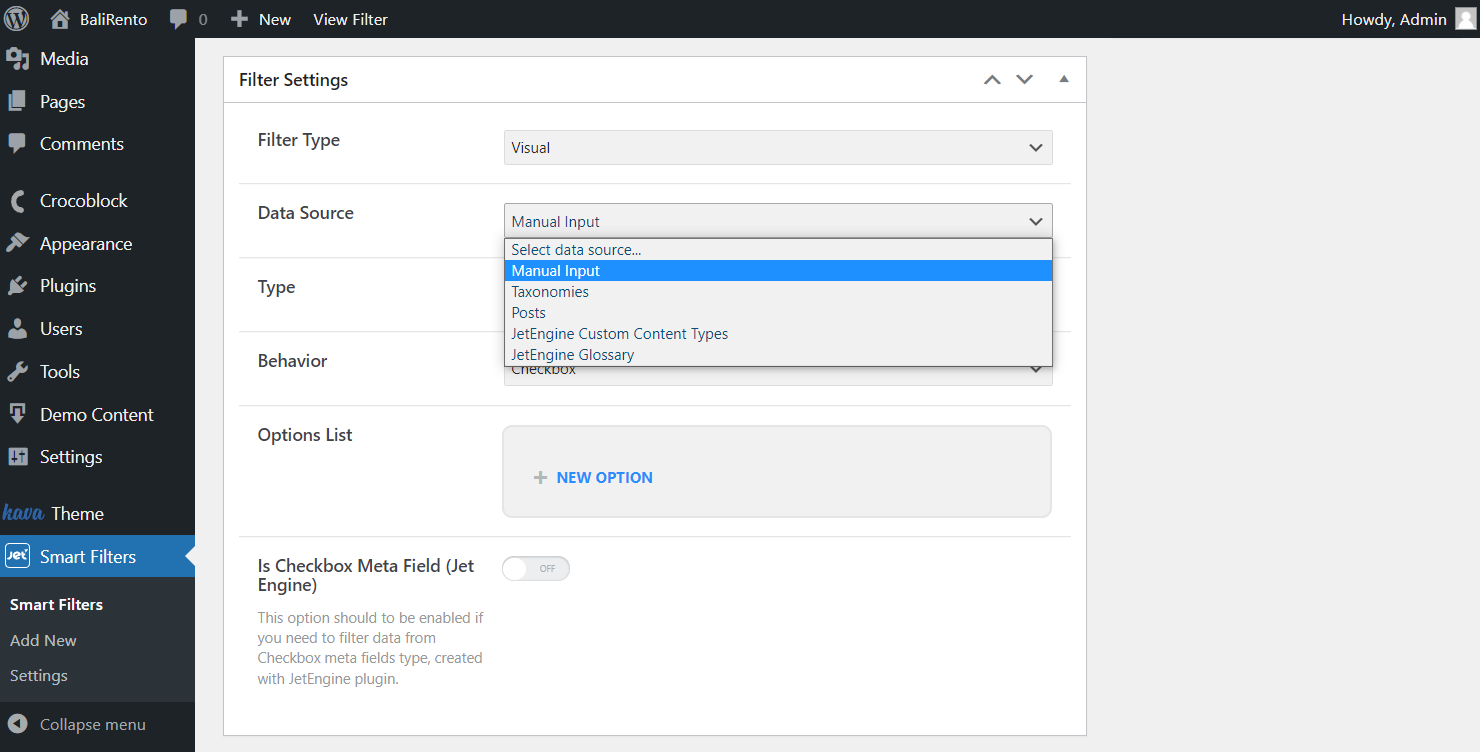
Select Manual Input Data Source
Select the Manual Input data source to set the very options you need manually.
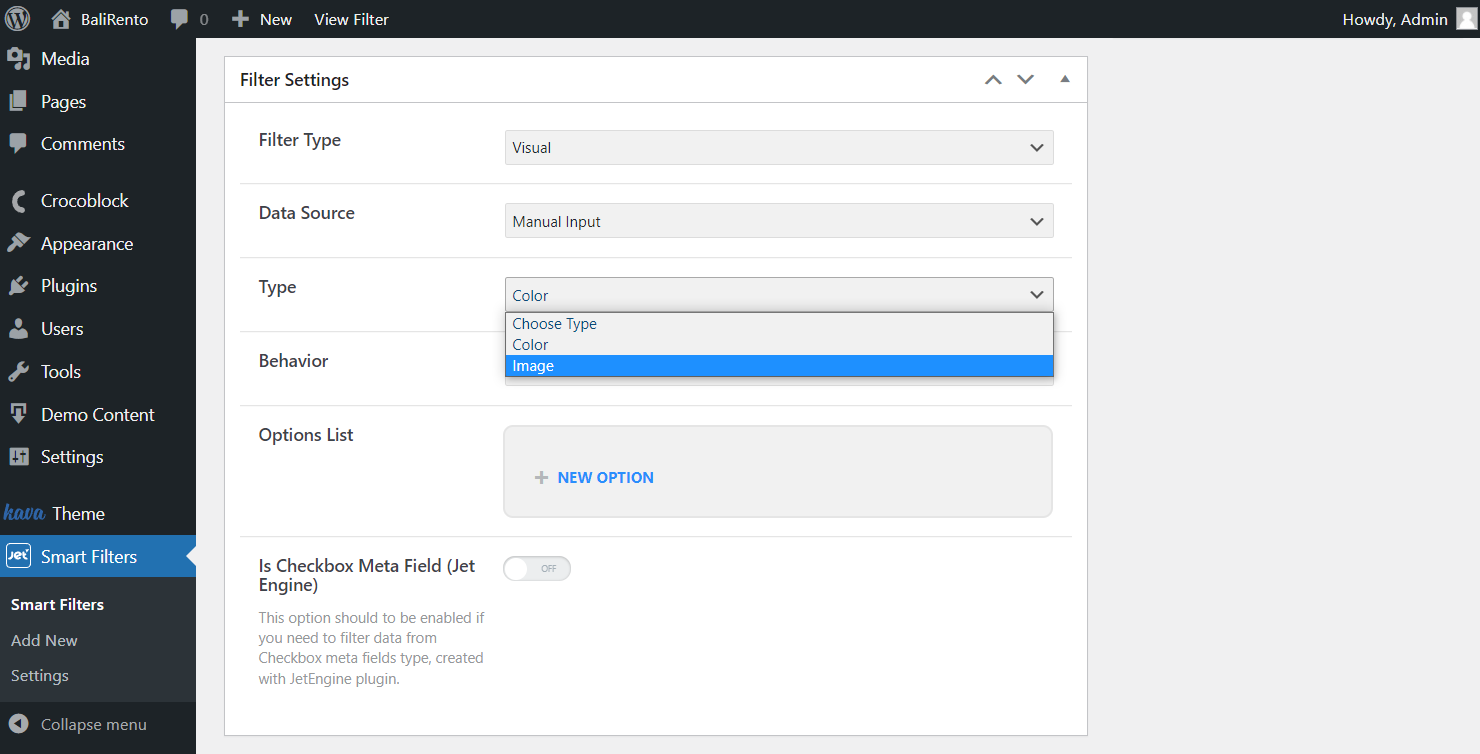
Choose Visual Filter Type
Choose a Color as the Type to set the options using a color picker or code. Or, if you want to upload images as the filter sources, choose Image type.
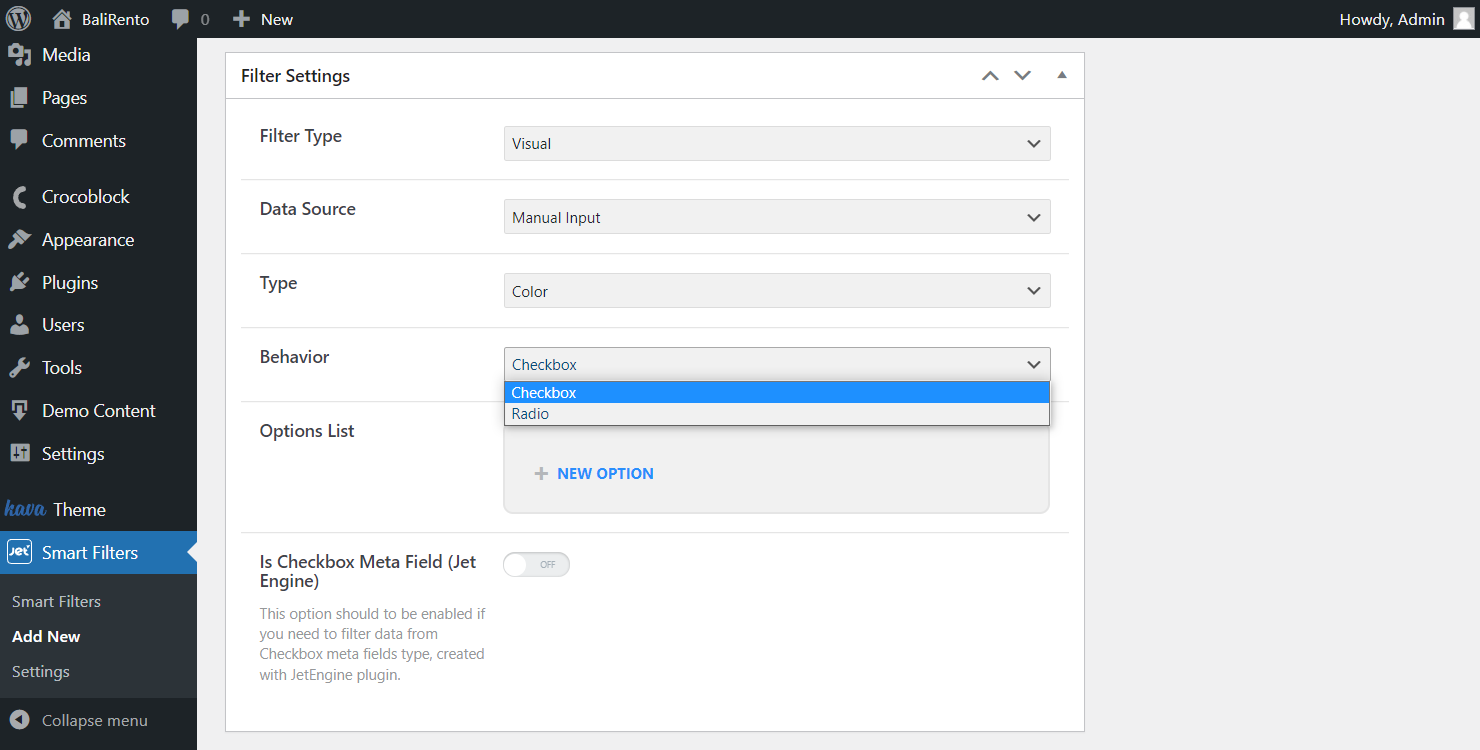
Select Behaviour
Select Checkbox as the Behavior to allow users to choose several options in one place.
Or, if you want to let the users choose only one option from the all represented, pick the Radio option.
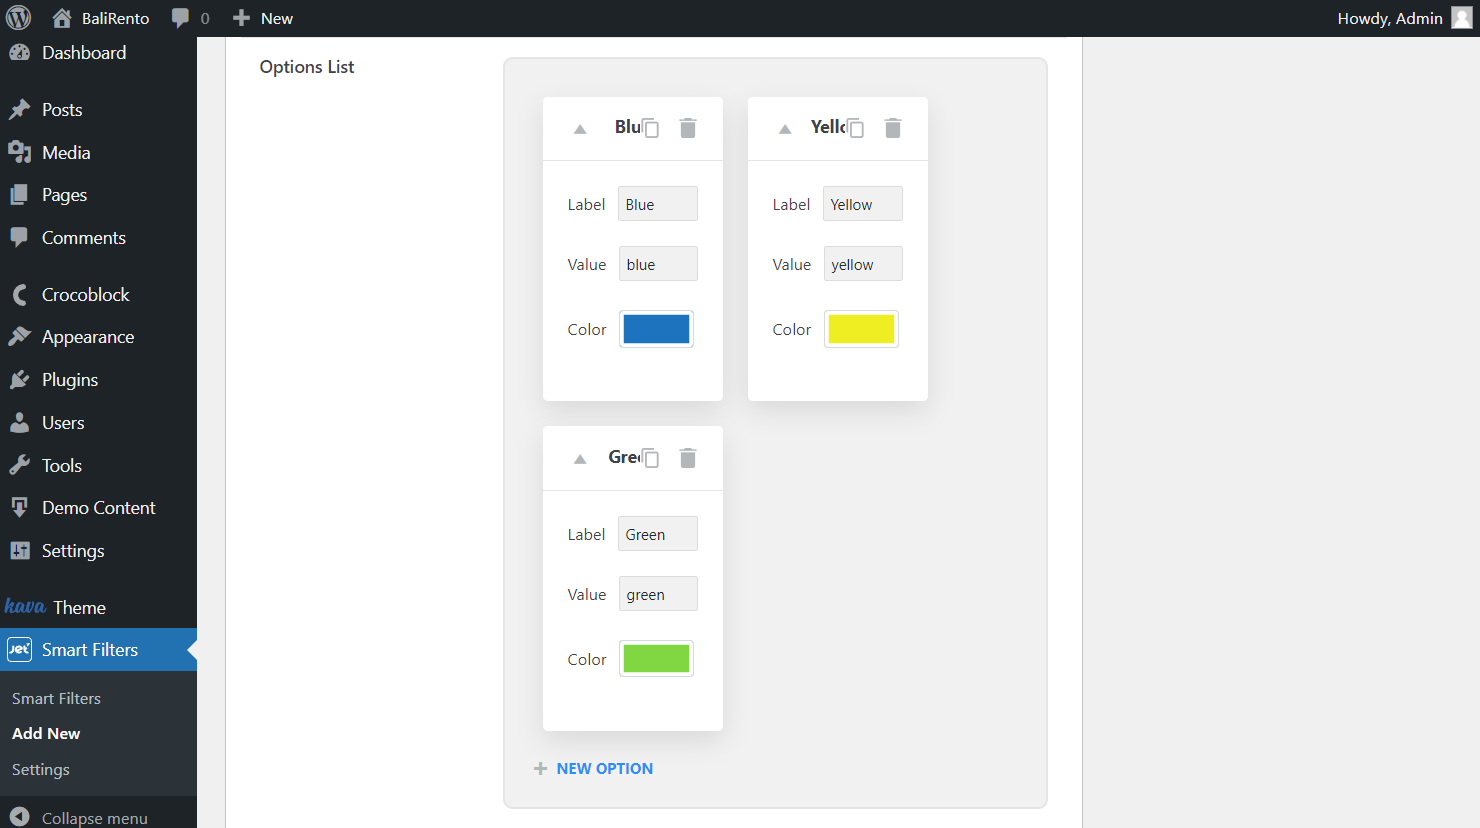
Complete Options List
Since the source requires manual input, set all the needed fields by typing in the Label, its Value, and choosing the Color corresponding to the option created. Add as many options as you need.
Drag options to change their order and get the desirable result on the front end. Copy or delete options by clicking the corresponding icons.
When adding an Image type, the Image field will be suggested instead of the Color one. Upload the image option in the WordPress Media Library or select the one that is already uploaded.
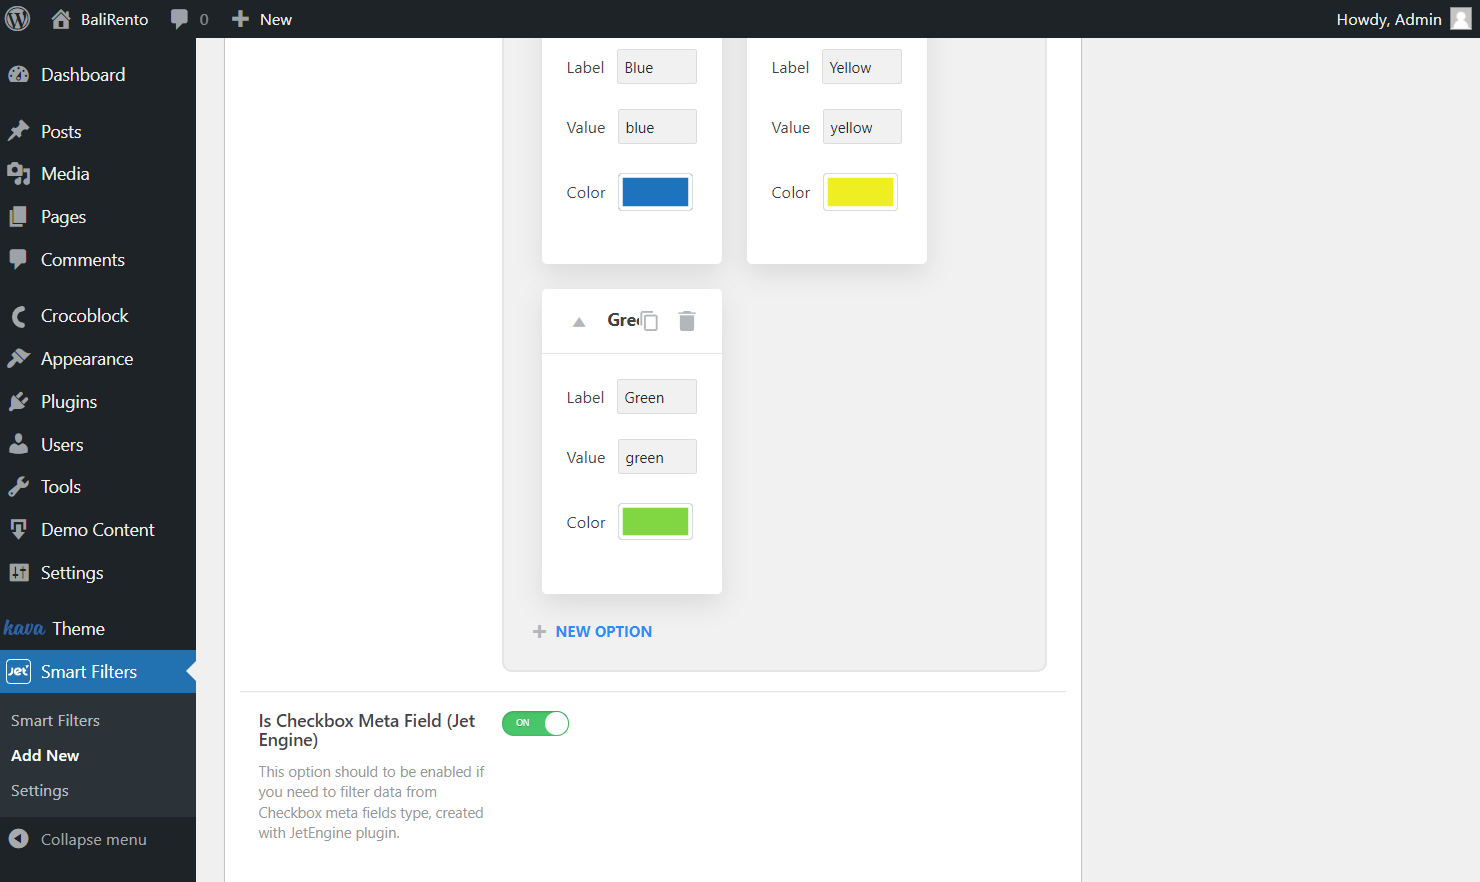
Enable the following Is Checkbox Meta Field (JetEngine) switcher to filter data from the Checkbox meta fields type. Or leave it unactivated if you deal with Radio.
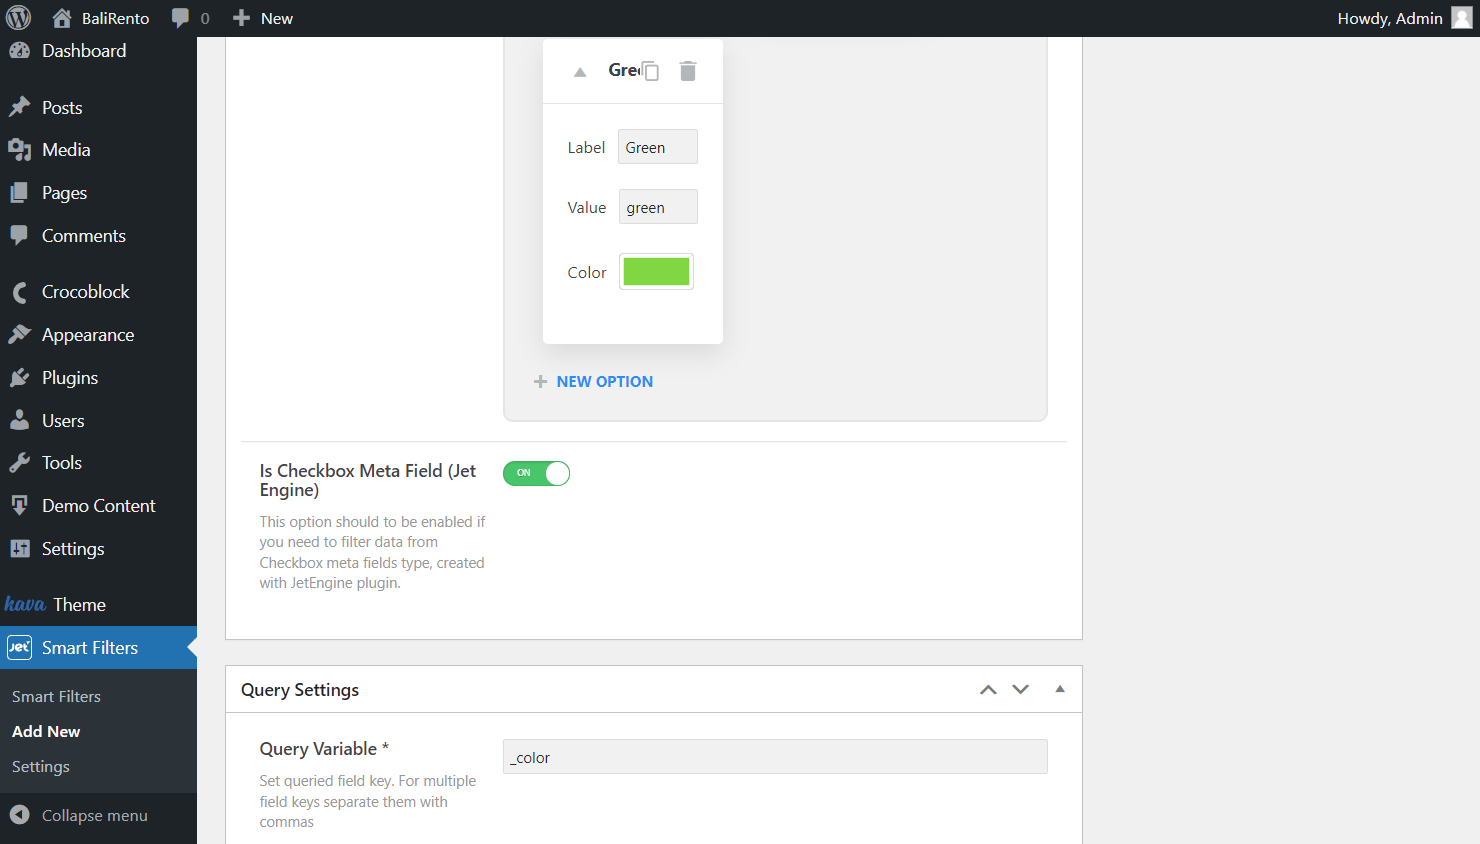
Fill in Query Variable
Paste the meta field name to query it in the Query Variable field.
Click on the “Publish” button whenever all the fields have been set up.
Place Filter on the Page
To apply the newly created filter, head to the Elementor and Gutenberg page builders. Search for the Visual Filter widget/block and go through the customization settings.
That’s what the settings look like in the Elementor Page Builder.
And once you select Gutenberg for editing, the settings will be pretty similar.
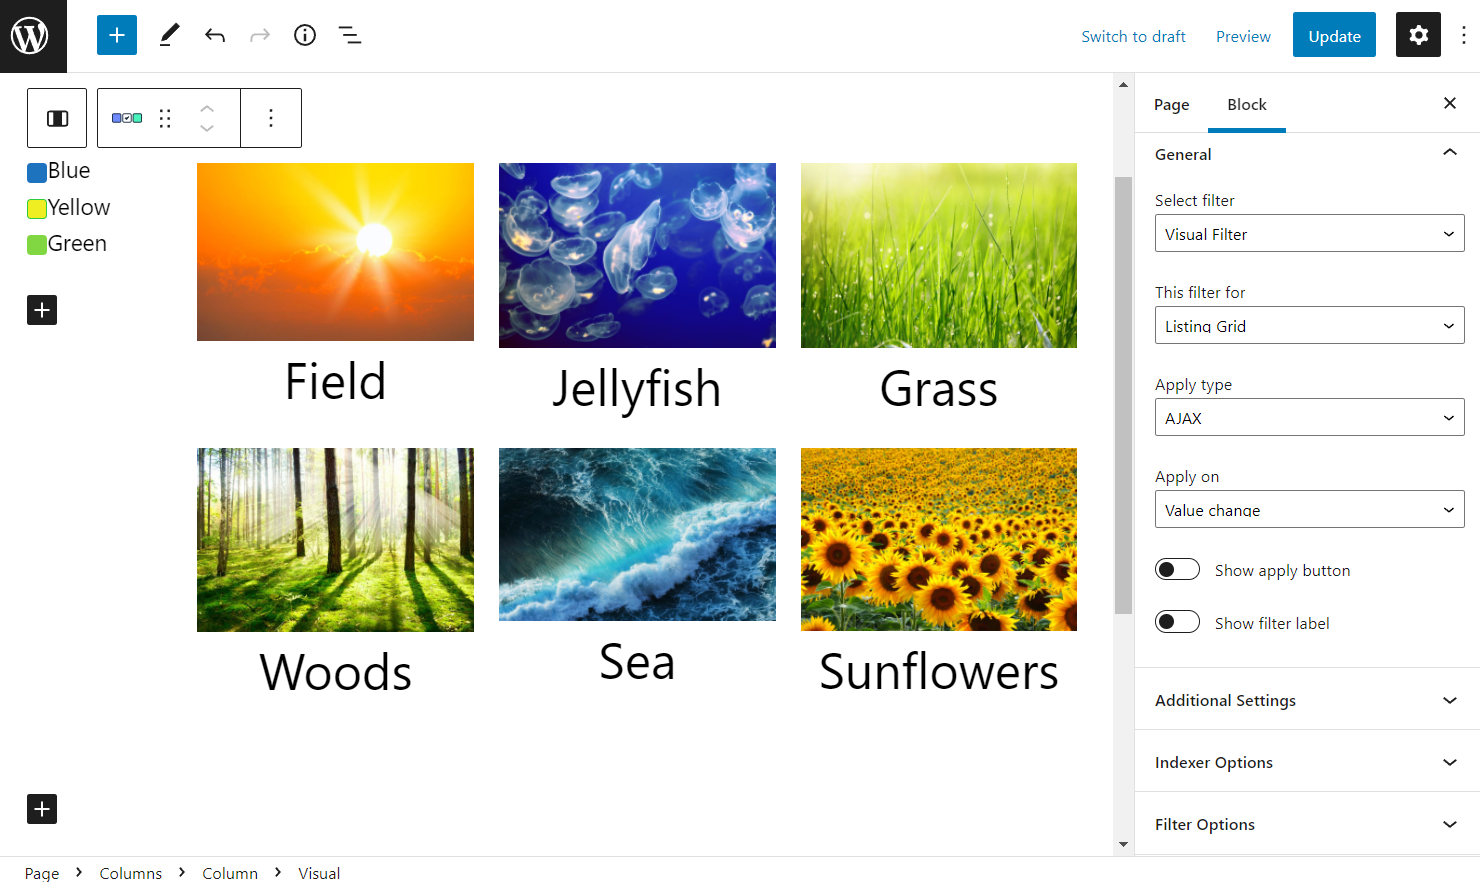
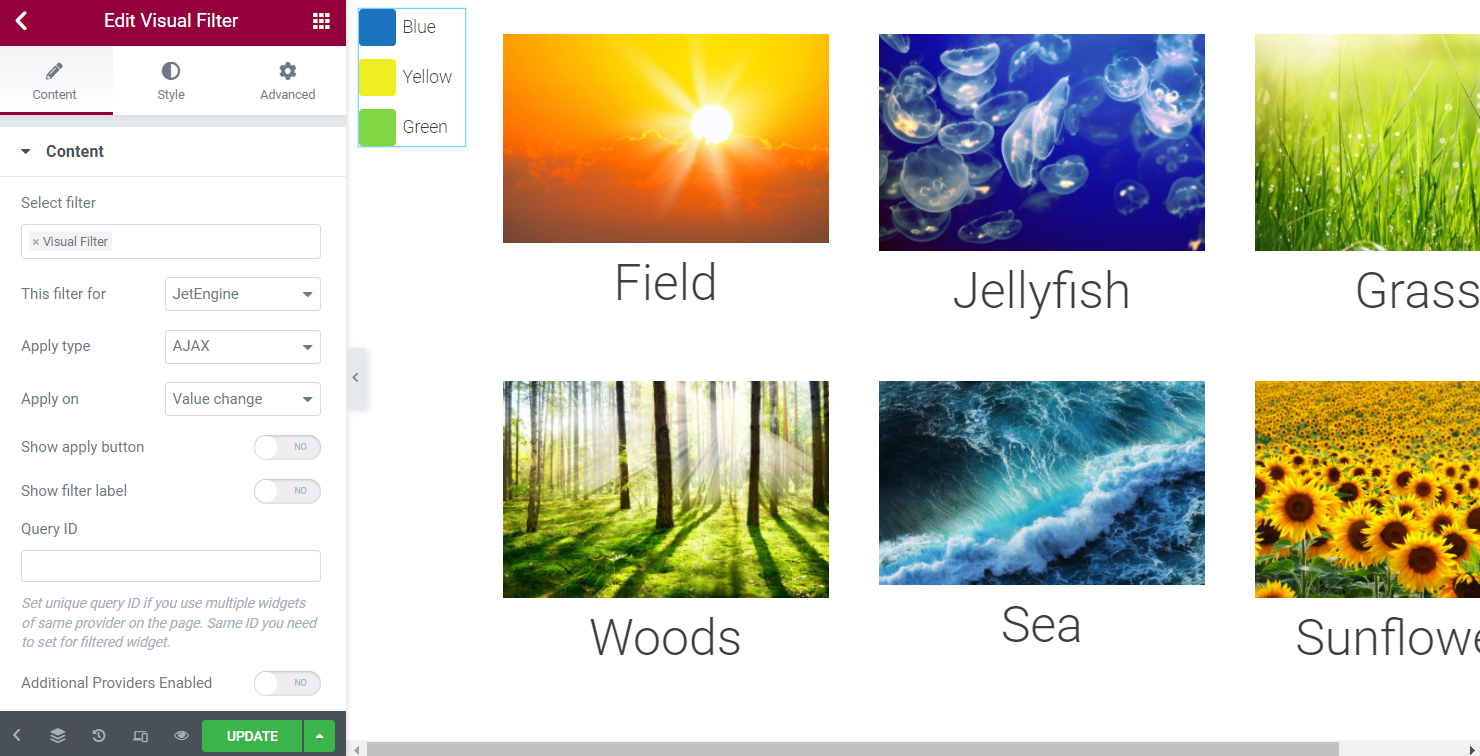
Content/General tab
- Select Filter — choose the filter to be displayed;
- This filter for — set the filter provider;
- Apply type — select Page Reload or AJAX if you want the page not to be reloaded;
- Apply on — define the applying trigger;
- Show apply button — toggle to display the apply button if the corresponding trigger is chosen;
- Show filter label — switch on depicting the filter label above the options;
- Query ID (Elementor only) — use this field to place an ID if you have several widgets of the same provider on the page;
- Additional Providers Enabled (Elementor only) — activate to set more than one provider.
For more detailed information, read Applying Filters to Several Widgets tutorial.
Look at the Filter Options settings available in Elementor.

In Gutenberg, the same settings are depicted; adjust them if needed.
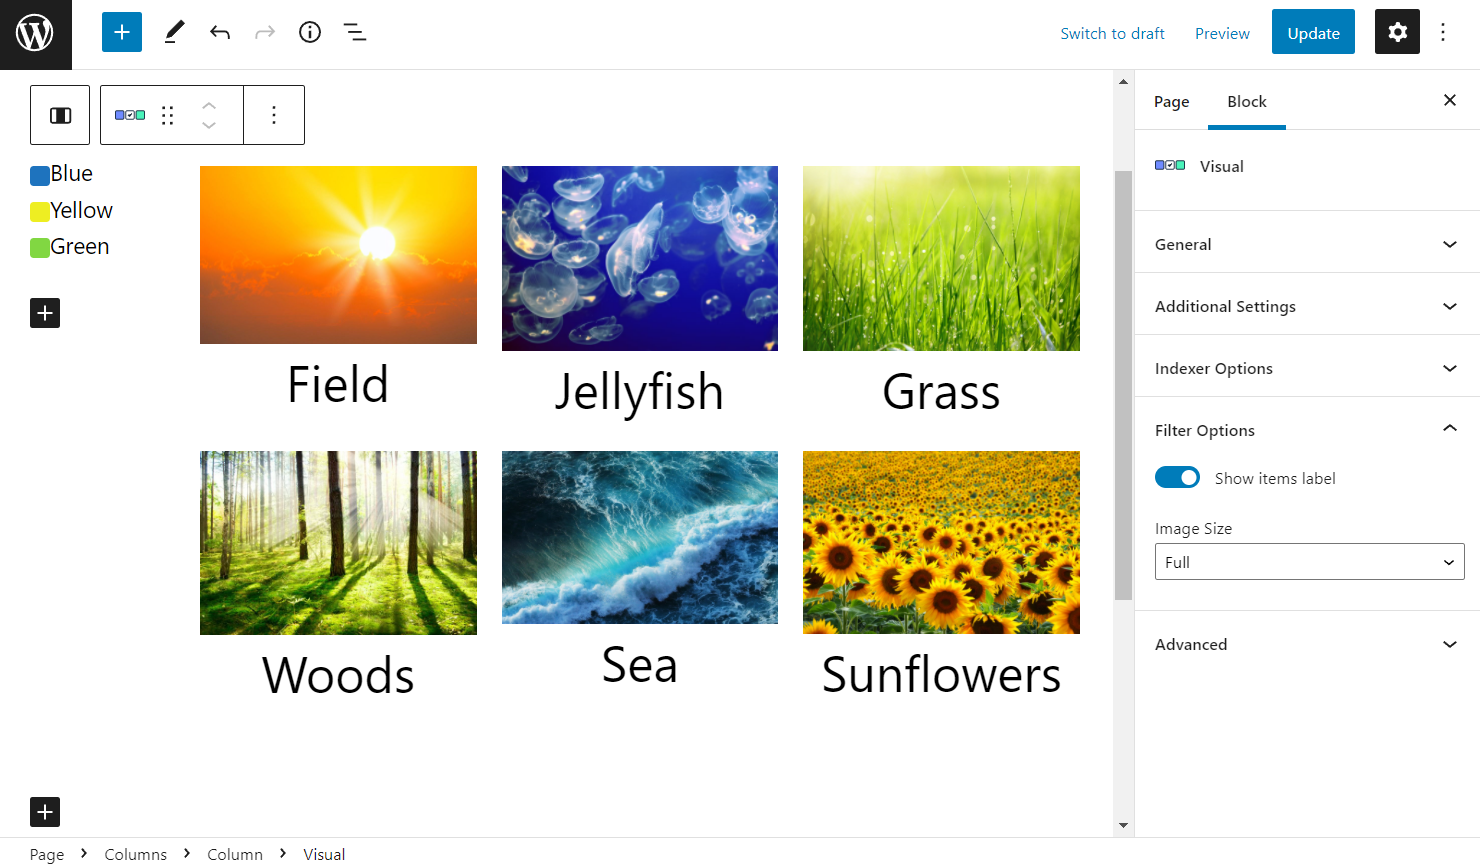
Filter Options tab
- Show items label — toggle to display the color labels;
- Image Size — define the quality of a displayed image if you create an Image Filter.
Except for these tabs Additional Settings and Indexer Options tabs are represented. Find out about this tab in the Visual Filter Widget overview.
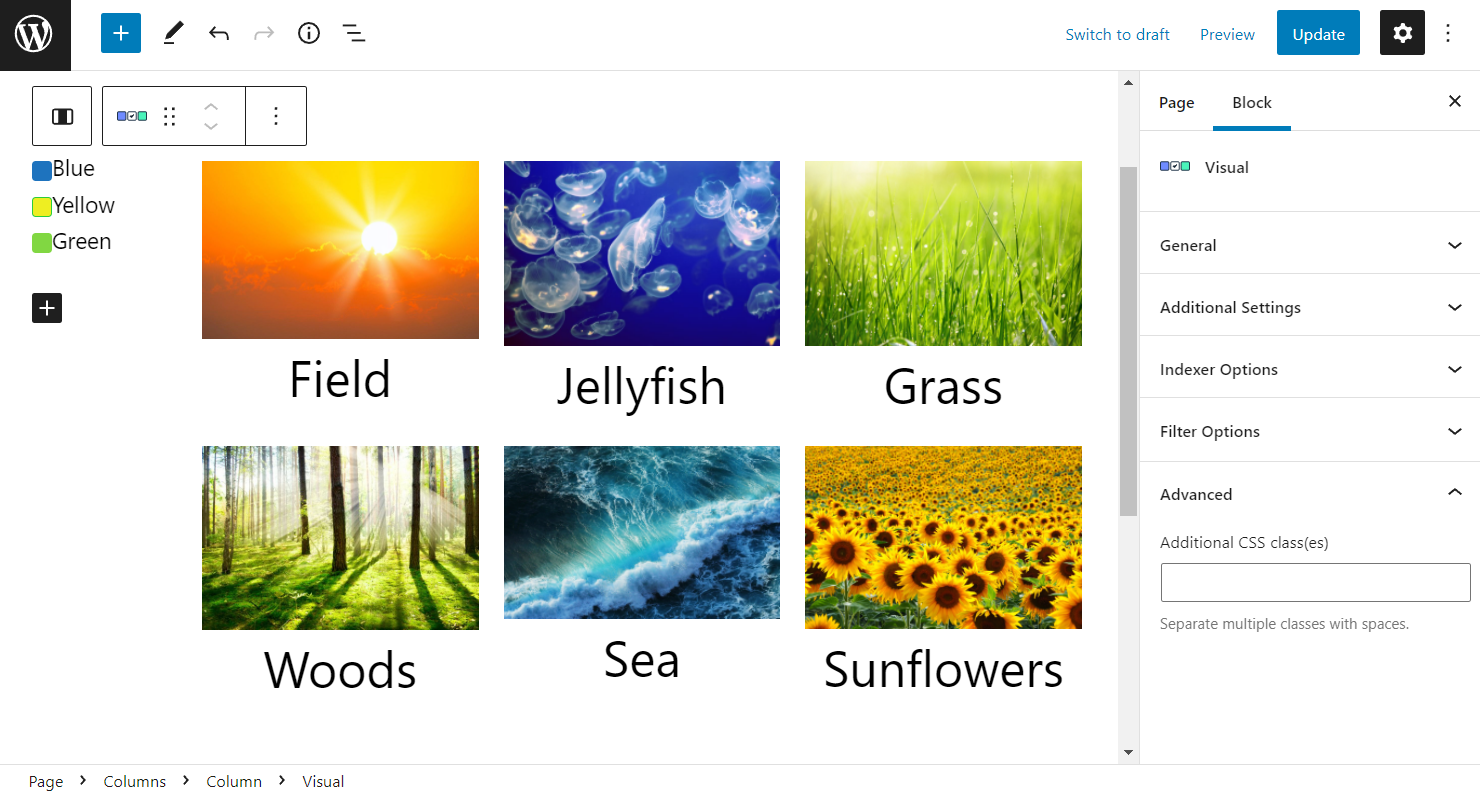
Another customization to work on in Gutenberg is the Additional CSS class(es). Paste the CSS classes to style the filter. Or, install and activate JetStyleManager to style the filter directly in the block editor.
Once further editing is done, update or publish the page by clicking on the same-named button.
Check Results
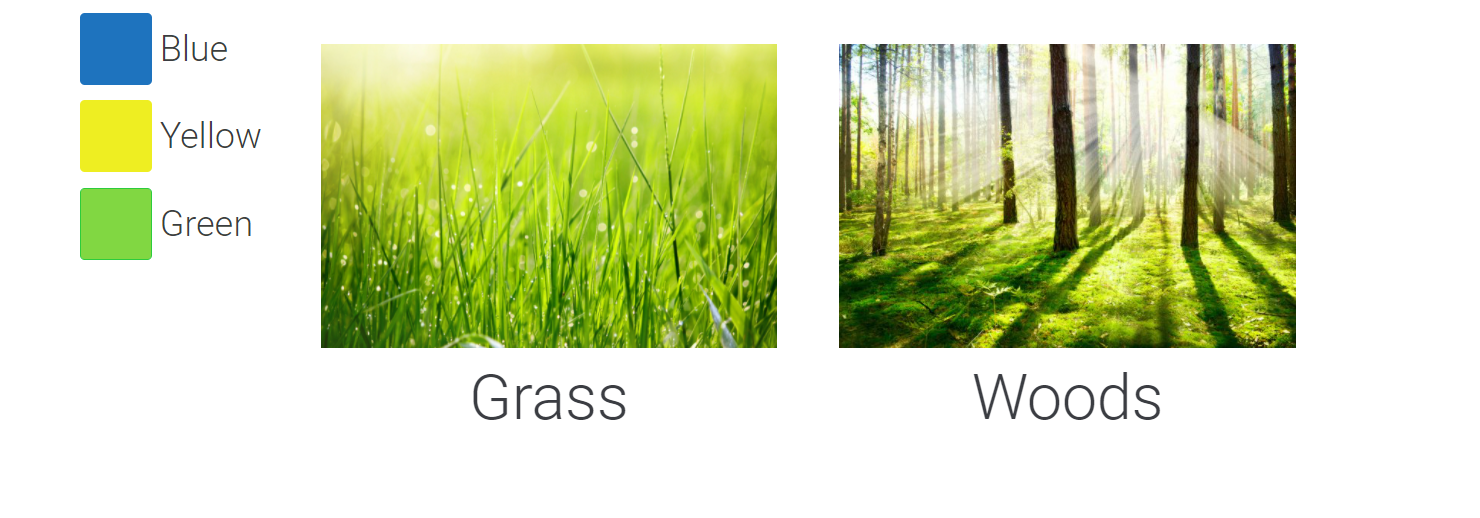
Now, you know how to build a visual filter based on the Manual Input Data Source with the help of the JetSmartFilters plugin.