How to Create a Wishlist Page
From this tutorial, you will learn how to create a page with a wishlist with the help of the JetCompareWishlist plugin.
Before you start, check the tutorial requirements:
- JetCompareWishlist plugin installed and activated
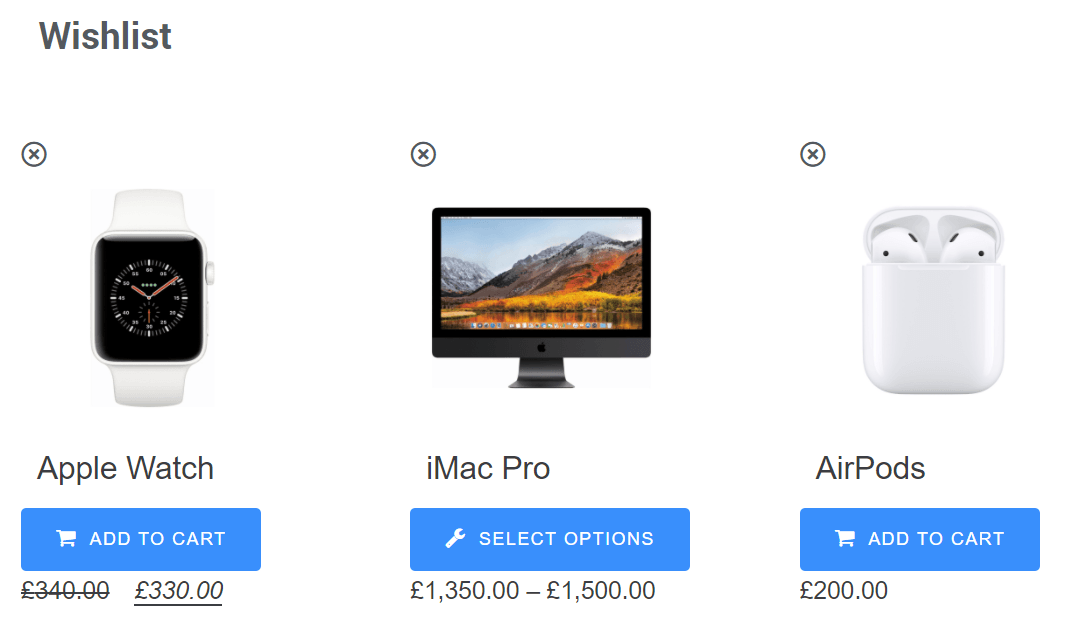
Wishlist is a list of products the user liked while surfing your website. That list can be viewed on a separate page, and it is convenient to have the “Add to cart” button on it. You can easily create a Wishlist page with the help of the Wishlist widget from the JetCompareWishlist plugin.
Create a Page
First of all, you need a page to place a wishlist. Open your website’s Dashboard and go to the Pages tab. Create a new page and name it “Wishlist.”
You can also use any of the pages you created so far. For example, that could be a page of the user’s personal account.
Enable the Wishlist Functionality
To use the wishlist widgets, you have to enable their functionality first. Navigate to the WordPress Dashboard > JetPlugins > JetCompareWishlist Settings and enable the functionality in the Wishlist tab. In the Wishlist Page field, choose the page you created for this purpose. If you need more details – check out this wishlist functionality-enabling tutorial.
Adding the Widget and Customizing It
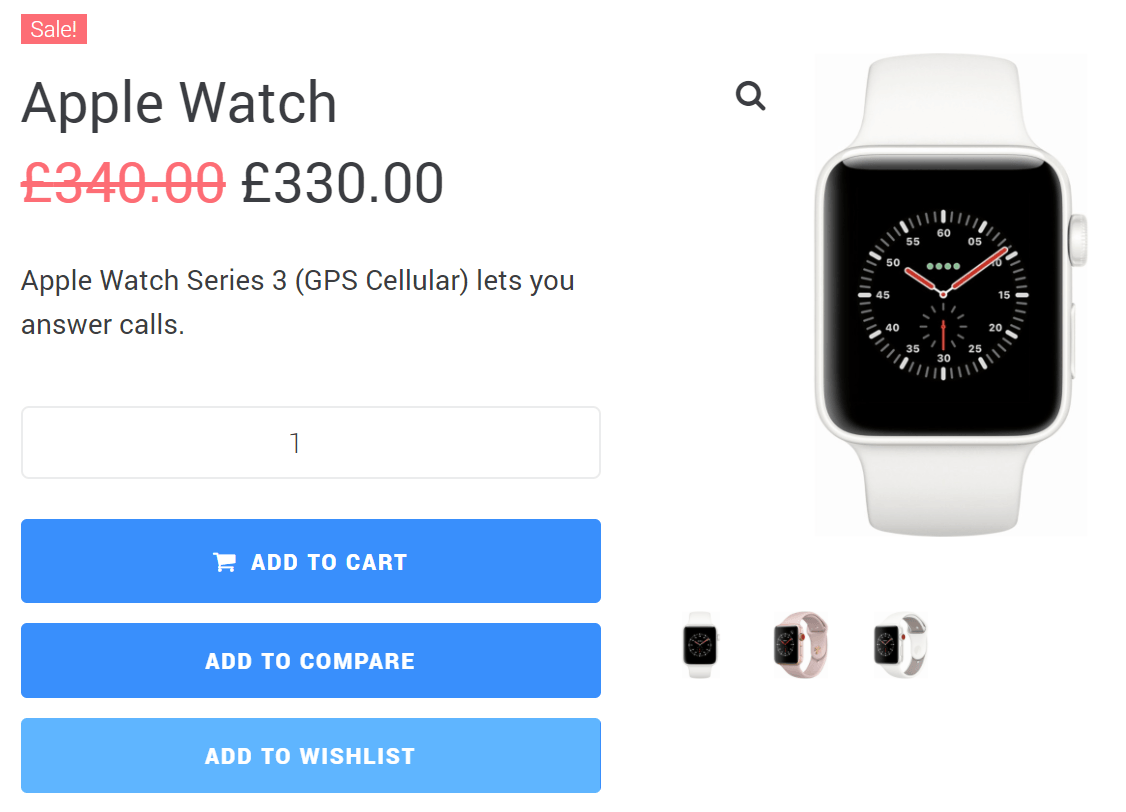
Open the page with products on the front end and add a few products to the wishlist by clicking the “Add to Wishlist” button. That button will appear on each product’s single page if you turn the Add default Wishlist Button toggle on.

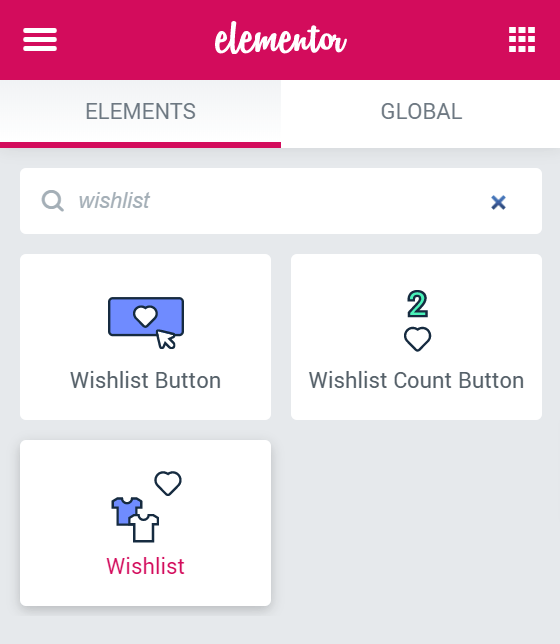
After that, go to the page you’ve selected in the JetCompareWishlist settings and click the “Edit with Elementor” button. Find the Wishlist widget and drop it to the page.

In the Content settings tab, you are able to change some general settings. If you need some hints, go through the Wishlist Widgets Overview.
When you are done with the settings, go to the Style tab and customize the general view of the columns, items, thumbnails, etc.

That’s it. Now you know how to create a page with a wishlist.