How to Display WooCommerce Product Images in the Gallery Slider Block
This tutorial informs you about showcasing the horizontal or vertical product images gallery in the Gallery Slider block via the Gutenberg block editor.
In this tutorial, we are going to create a page in Gutenberg (Block Editor) that will display a WooCommerce slider product gallery. To display the WooCommerce products in a Gallery Slider, recreate the steps described in this tutorial.
Add a Gallery Slider Block
Firstly, open the page or post to which you want to add the Gallery Slider block. Then click on the “Toggle block inserter” button and add the mentioned block to the page. Also, you can type the “/” symbol right in the empty editor area and start typing the Gallery Slider block’s name to add it to the page.
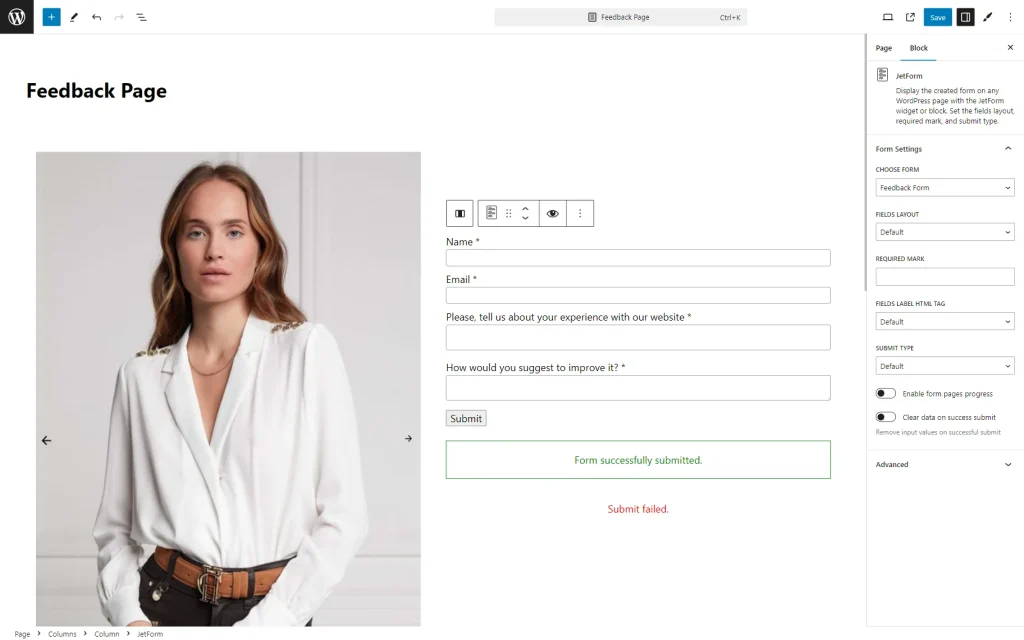
We added two columns layout with the Columns block and then put the Gallery Slider block inside it.
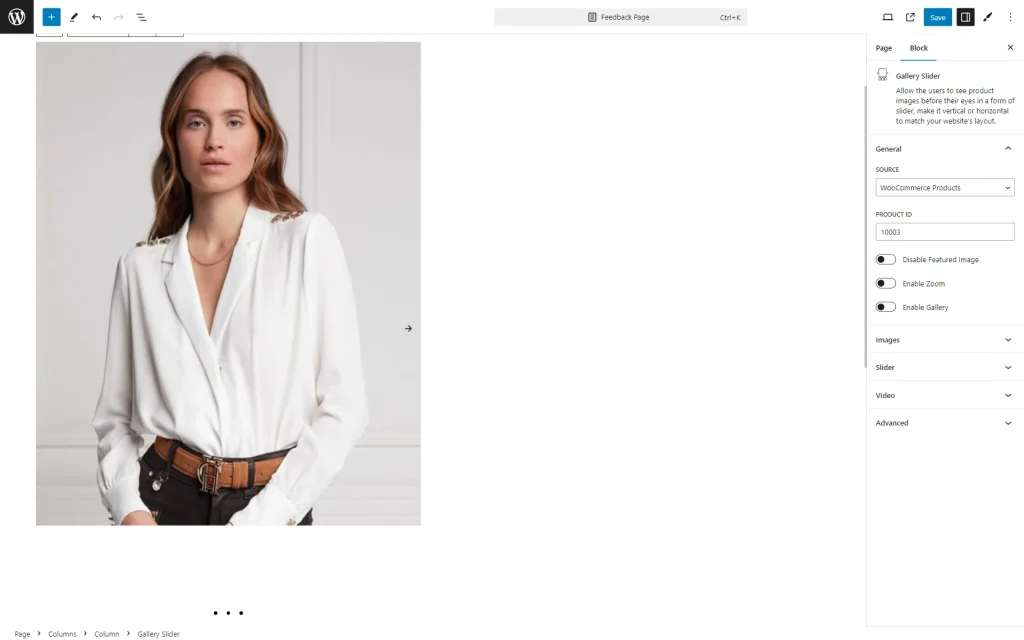
The General settings block is opened by default. Here, you can choose one of three sources: “Post Types,” “Manual Select,” and “WooCommerce Products.” Now, we select the last option as we want to display WoCommerce products.
Check the JetProductGallery Overview to find out more about the features available with the plugin.
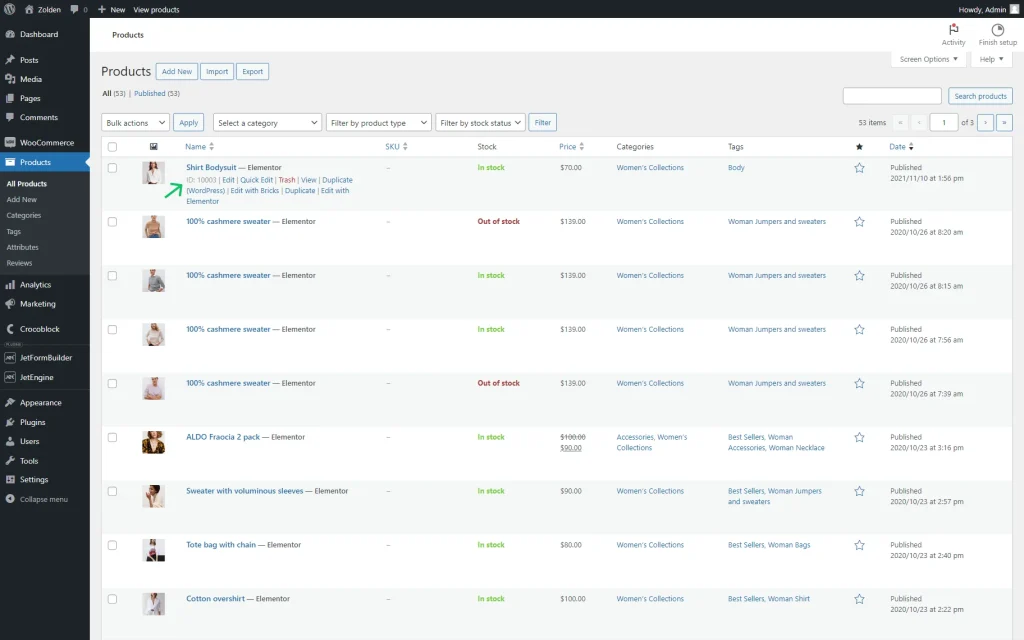
If you select “WooCommerce Products” as the SOURCE, you should also enter the PRODUCT ID, which can be found in the WordPress Dashboard > Products tab.
Hover over the needed product to see its ID.
Return to the page. After you specify the PRODUCT ID, you can turn off a featured image and enable zoom and gallery options by activating the corresponding toggles, if needed.
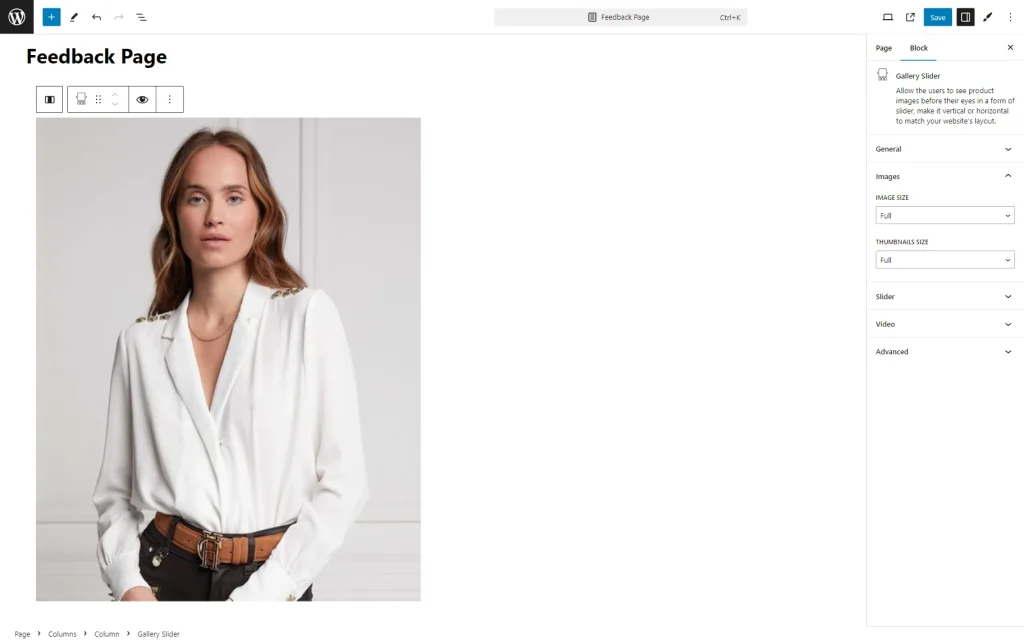
In the following Images tab, you can change the IMAGE SIZE and THUMBNAILS SIZE according to your preferences.
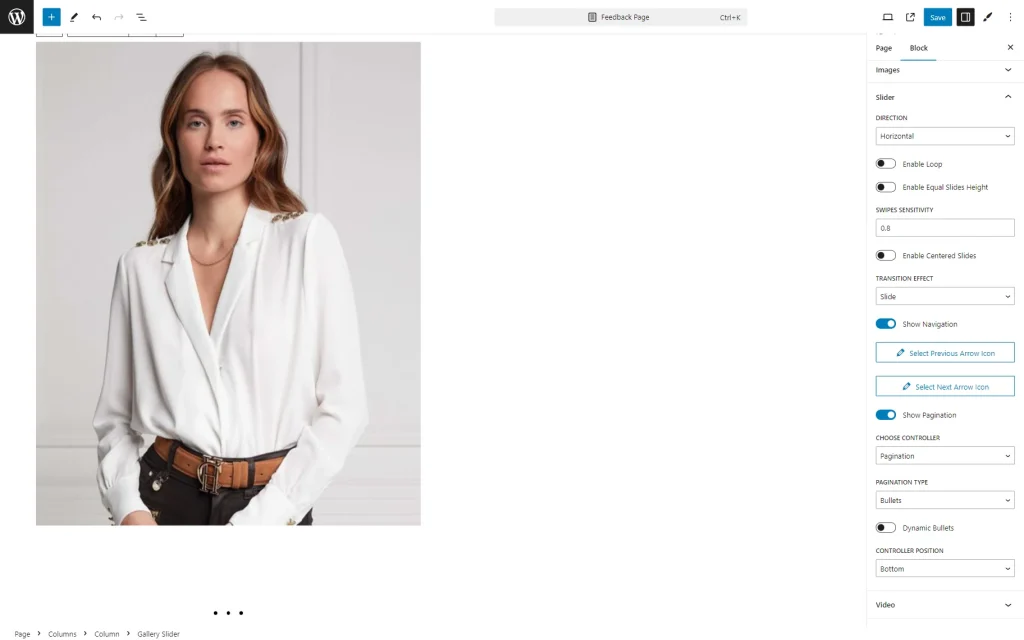
The next is the Slider tab, where you can change the DIRECTION of the Gallery Slider, enable infinite loop, set equal slides, and change their sensitivity and transition effect.
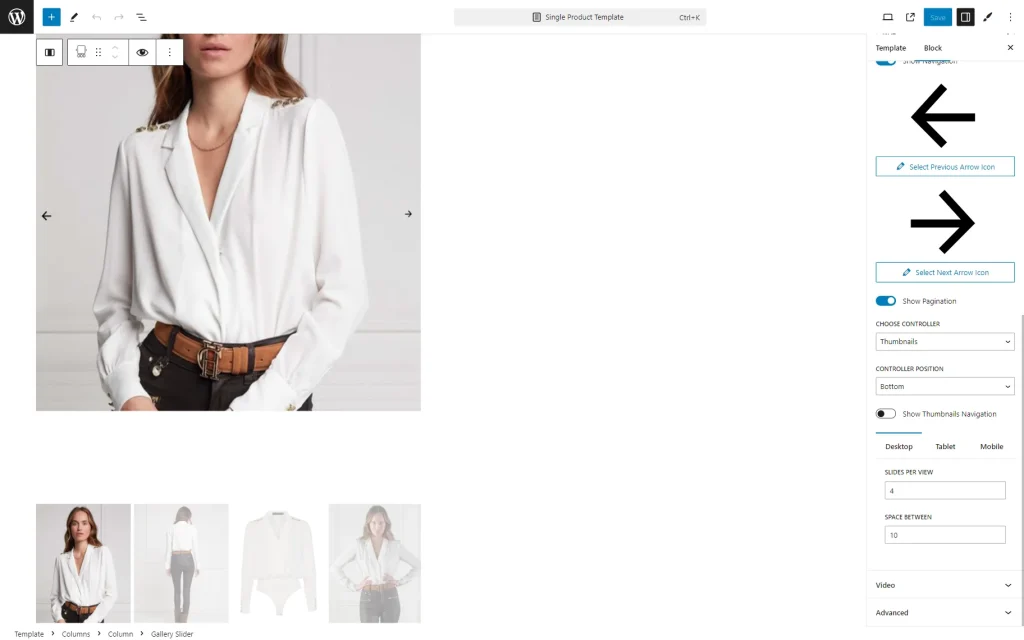
Also, in this tab, the Show Navigation toggle is activated by default. If you leave this toggle enabled, you can select icons for the “Previous” and “Next” arrows by clicking on the corresponding buttons.
Once one of the buttons is clicked, the Media Library pop-up is opened. Here, you can either select the already added icon or upload a new one in the Upload files tab.
Once the preferred icon is clicked, press the “Select” button to attach the icon.
This way, we selected both the “Previous” and “Next” arrows.
One more toggle activated by default in the Slider settings tab is Show Pagination.
If this toggle is left activated, you can change the controller (CHOOSE CONTROLLER field) from “Pagination” to “Thumbnails” if desired and set its appearance with the SLIDES PER VIEW and SPACE BETWEEN fields available for different devices in the corresponding Desktop, Tablet, and Mobile tabs.
In the second column of the page, we also add the JetForm block from the JetFormBuilder plugin to our page. However, you should add the content depending on your case.
You can style the blocks as well with the free JetStyleManager plugin. Check the Block Style Overview to learn more about the available style settings.
When the customization is done, click on the “Save” button.
Check the Results
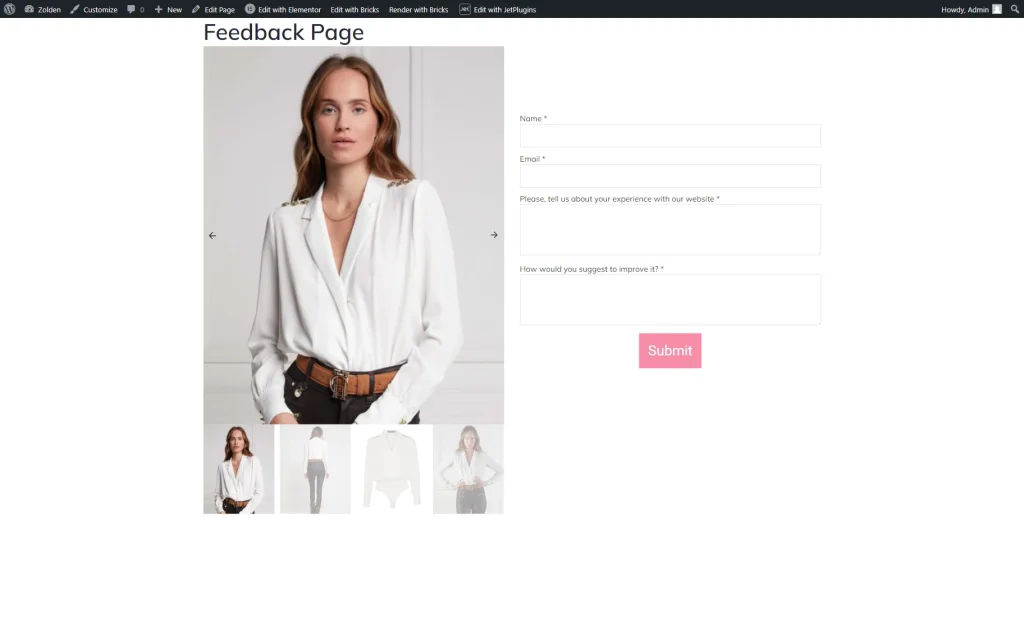
Open the built page on the front end. As you can observe, the result is achieved, and the Gallery Slider is displayed on this page.
Also, check How to Create a Horizontal Product Images Slider in Elementor.
That’s all. Now you know how to create a product image slider in Gutenberg (Block editor) on your WordPress website with the help of the JetProductGallery plugin.
