How to Add a Provider Preloader to Filters on the Front End
Find out how to add a provider preloader to Smart Filters to make the loading content animated on the front end.
Before you start, check the tutorial requirements:
- JetSmartFilters plugin installed and activated
By default, when you pick an option in the JetSmartFilters filter with the “AJAX” Apply type, the provider content appears with the “fade in” animation.
However, the default preloading effect can be changed.
Adjust Provider Preloader
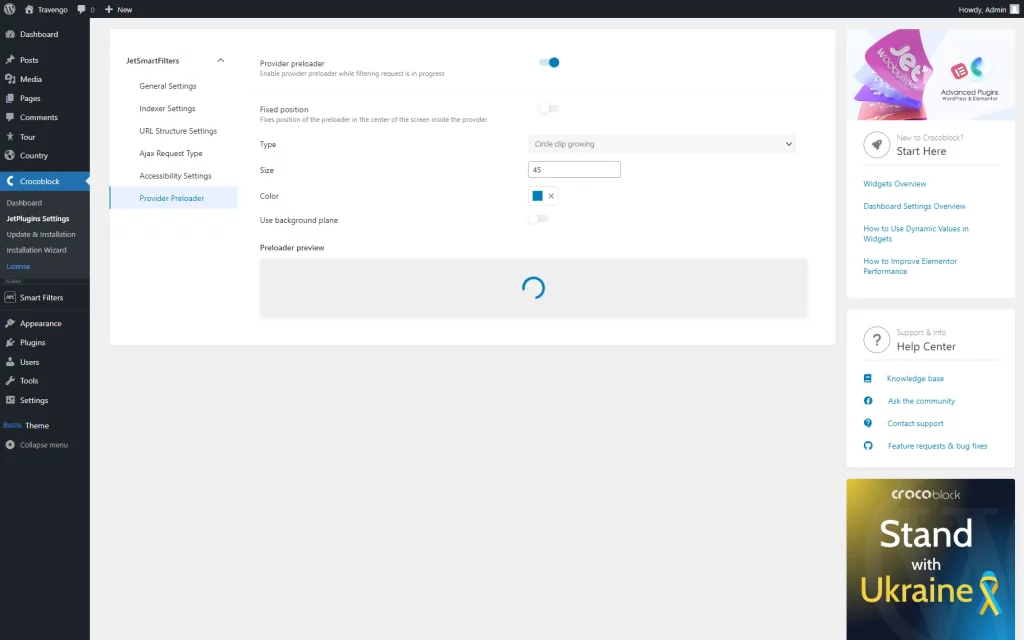
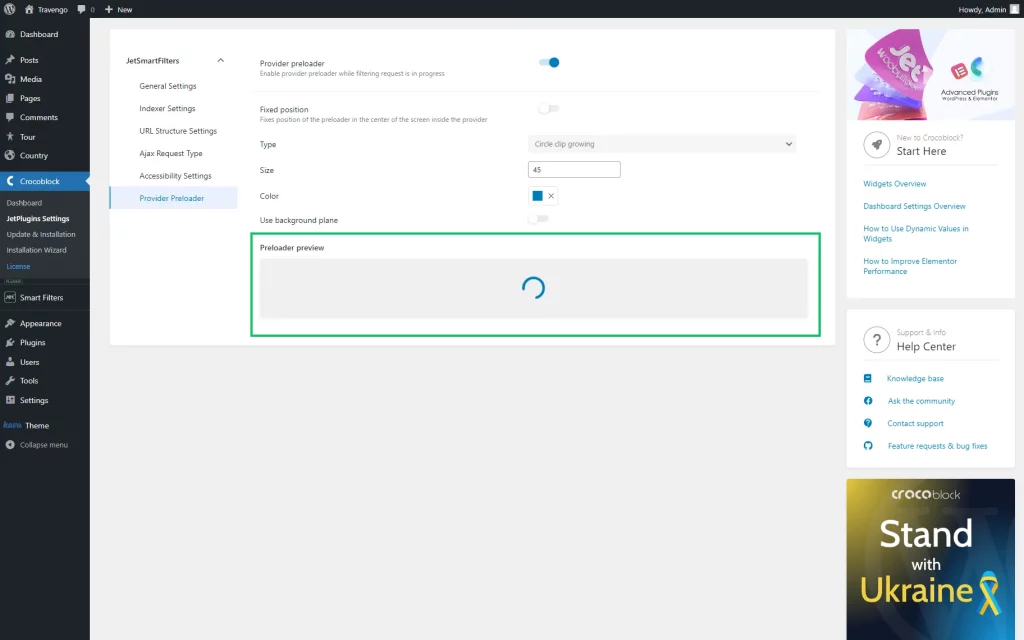
To change the loading effect, navigate to WordPress Dashboard > Smart Filters > Settings and open the Provider Preloader tab.
Initially, one Provider preloader toggle is presented. This feature activates the default “Circle clip growing” preloader and allows modifying the default settings.
Explore the following fields to adjust the loading content according to your wishes:
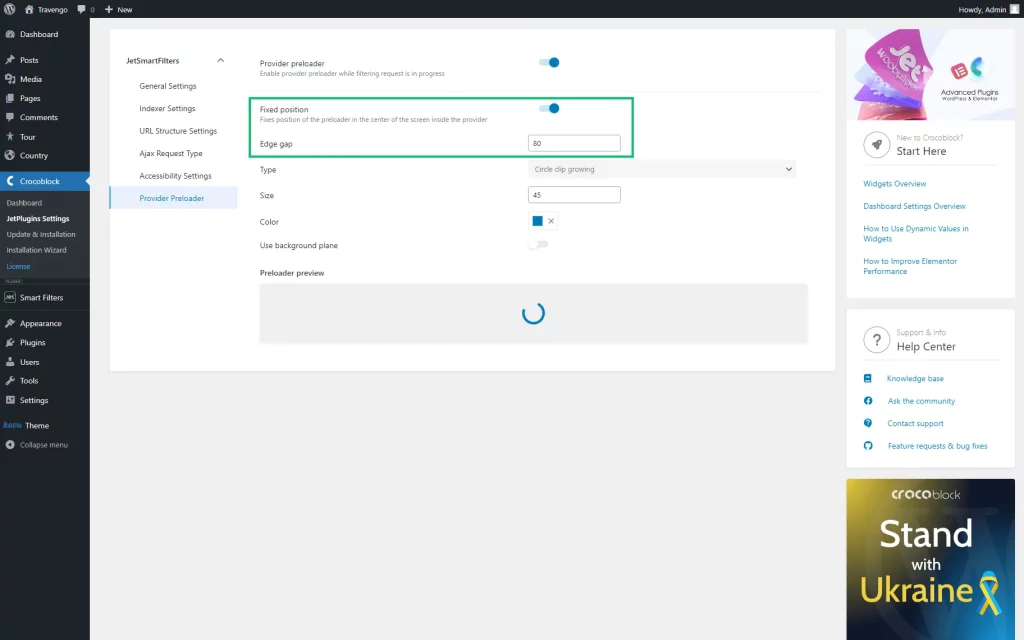
- Fixed position — a toggle that fixes the position of the preloader in the center of the provider. If enabled, the Edge gap setting is displayed;
- Edge gap — a field where you can specify the number of pixels from the edge of the provider to the preloader;
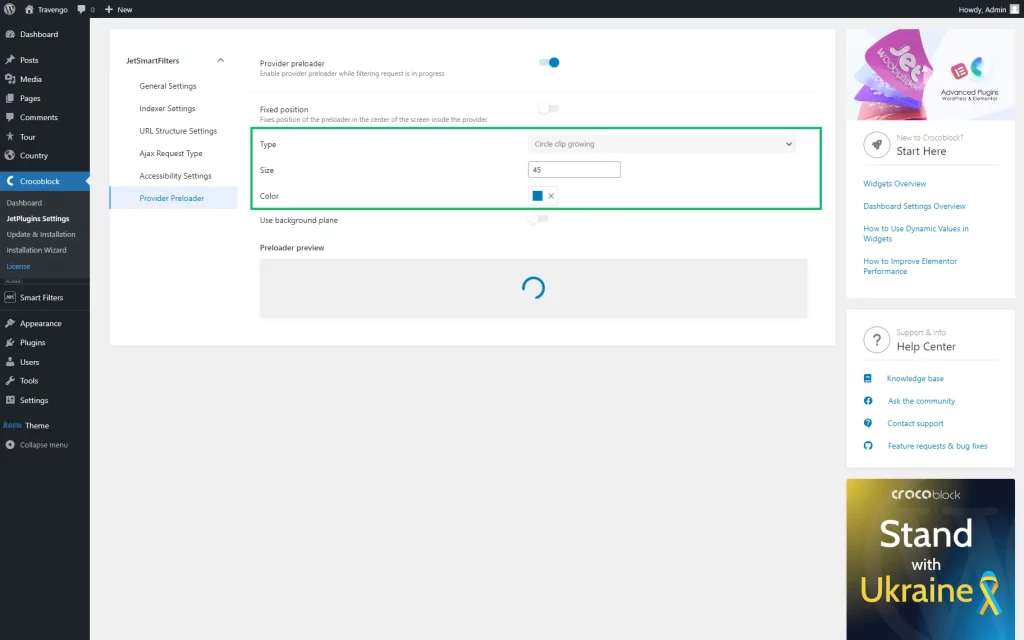
- Type — a drop-down list with the available preloader effects;
- Size — a number field where the size of the loading icon can be defined;
- Color — an icon color picker;
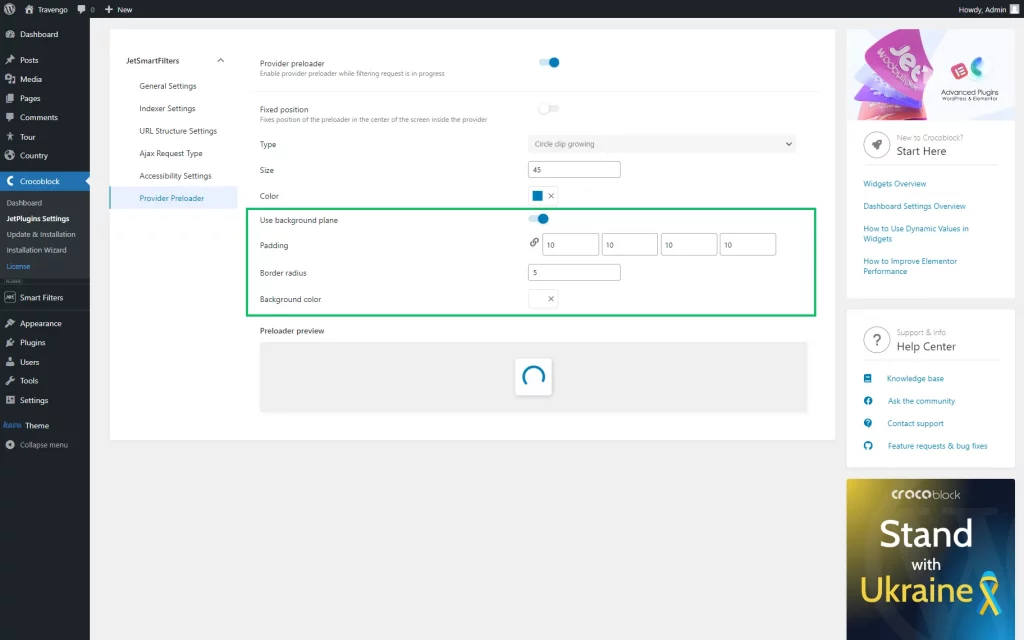
- Use background plane — a toggle that adds background to the loading icon;
- Padding — four fields that allow setting the padding position of the background;
- Border radius — a numeric value of the background border radius;
- Background color — a color picker for the background.
Check the Result
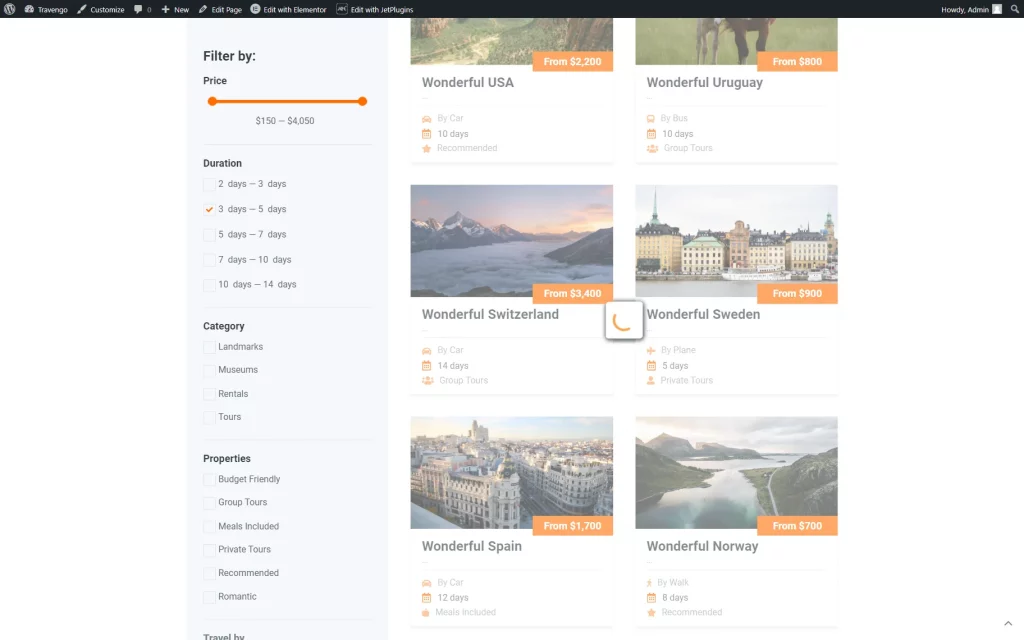
To see the final result, go to the front-end page with any filter attached to any widget.
Select any option in the filter to see the loading effect you have recently adjusted.
That’s all; now you know how to set the provider preloader for smart filters on your WordPress website.
