Filter Creation Settings Overview
The JetSmartFilters plugin allows you to create and adjust different types of filters for WordPress websites and use them for various content types.
Once the JetSmartFilters plugin is installed and activated, the filter creation immediately becomes available.
The primary settings are in the WordPress Dashboard > Smart Filters > Add New directory.
The general settings are common for every filter type:
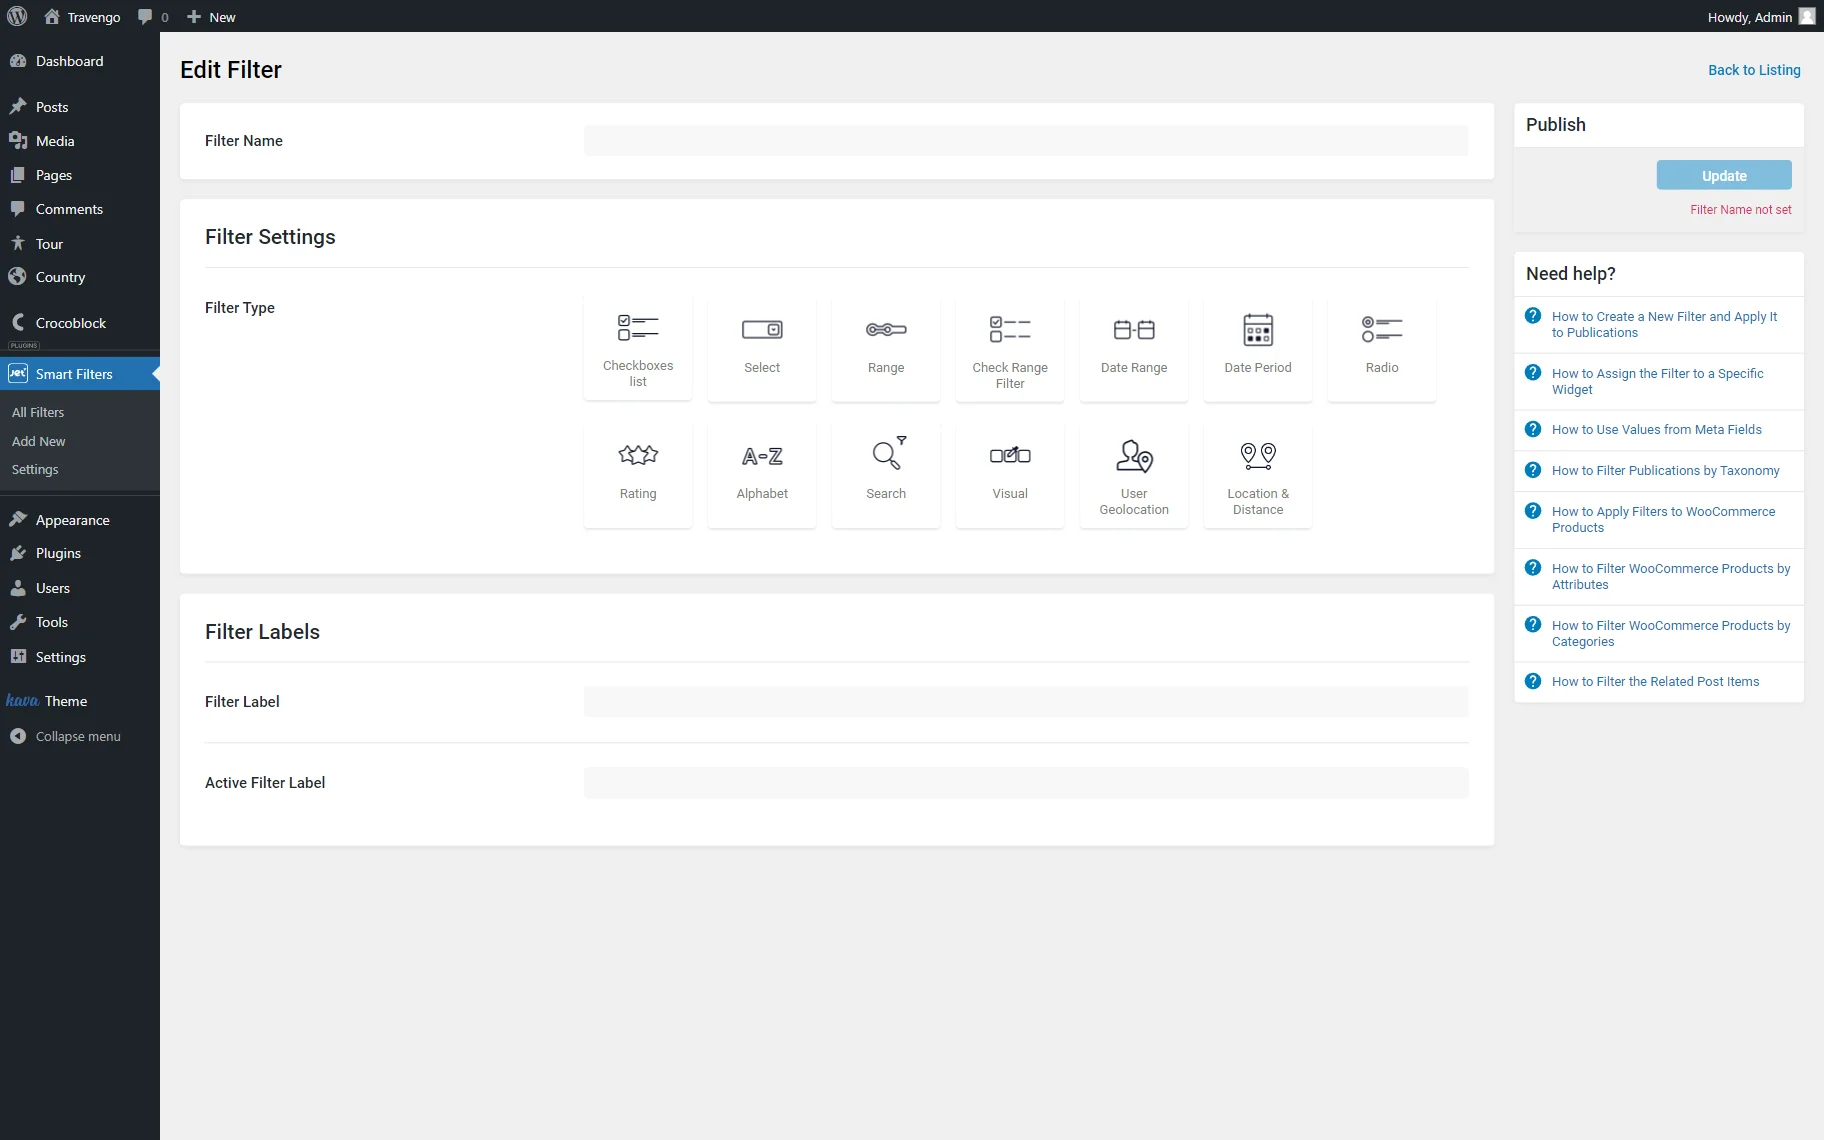
- Filter Name — a name attached to the current filter and used later to help identify the filter in the different lists;
- Filter Type — a type of the edited filter. Among the options are: “Checkboxes list,” “Select,” “Search,” etc. The following settings will become available for adjusting according to the selected type;
- Filter Label — a label that can be displayed next to the filter later on the front end;
- Active Filter Label — a label used for the Active Tags and Active Filters widgets.
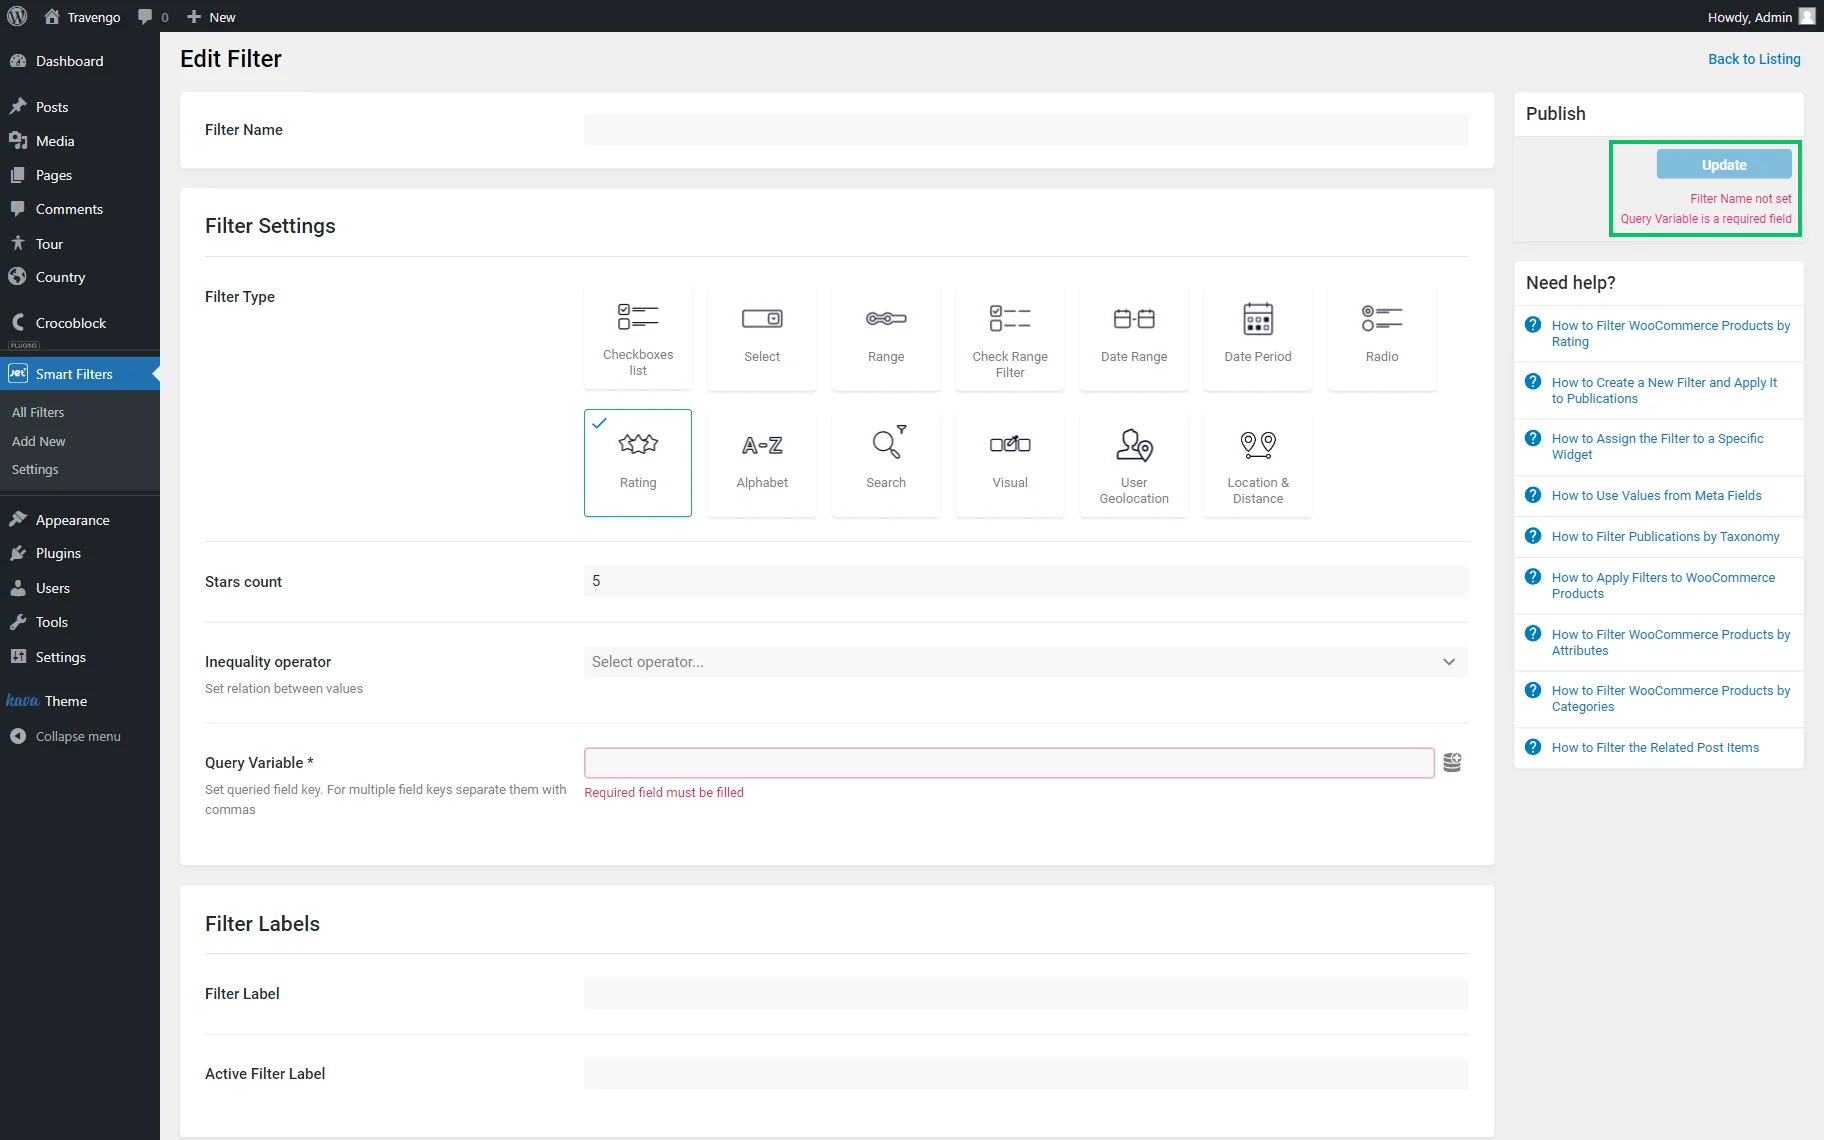
To save the filter, the “Update” button should be pressed.
For instance, if the Field Name is missing, a “Field Name not set” message will appear. Or, if the Query Variable field is not completed (which is obligatory for “Range,” “Check Range,” and “Rating” filters), one will see the “Query Variable is a required field” notification.
That’s all about the JetSmartFilters filter creation settings available for your WordPress website.