How to Translate Options Pages Meta Fields Using WPML
Discover how to translate the JetEngine’s options pages meta fields on your WordPress website using the WPML plugin.
Before you start, check the tutorial requirements:
- WPML plugin installed and activated
- JetEngine plugin installed and activated, with the options page built and meta fields added to it
Translating the Options Pages meta fields ensures that all the global settings are correctly displayed across all language versions of your WordPress website. In this guide, you’ll learn how to translate options in JetEngine using the WPML plugin to make your multilingual setup accurate.
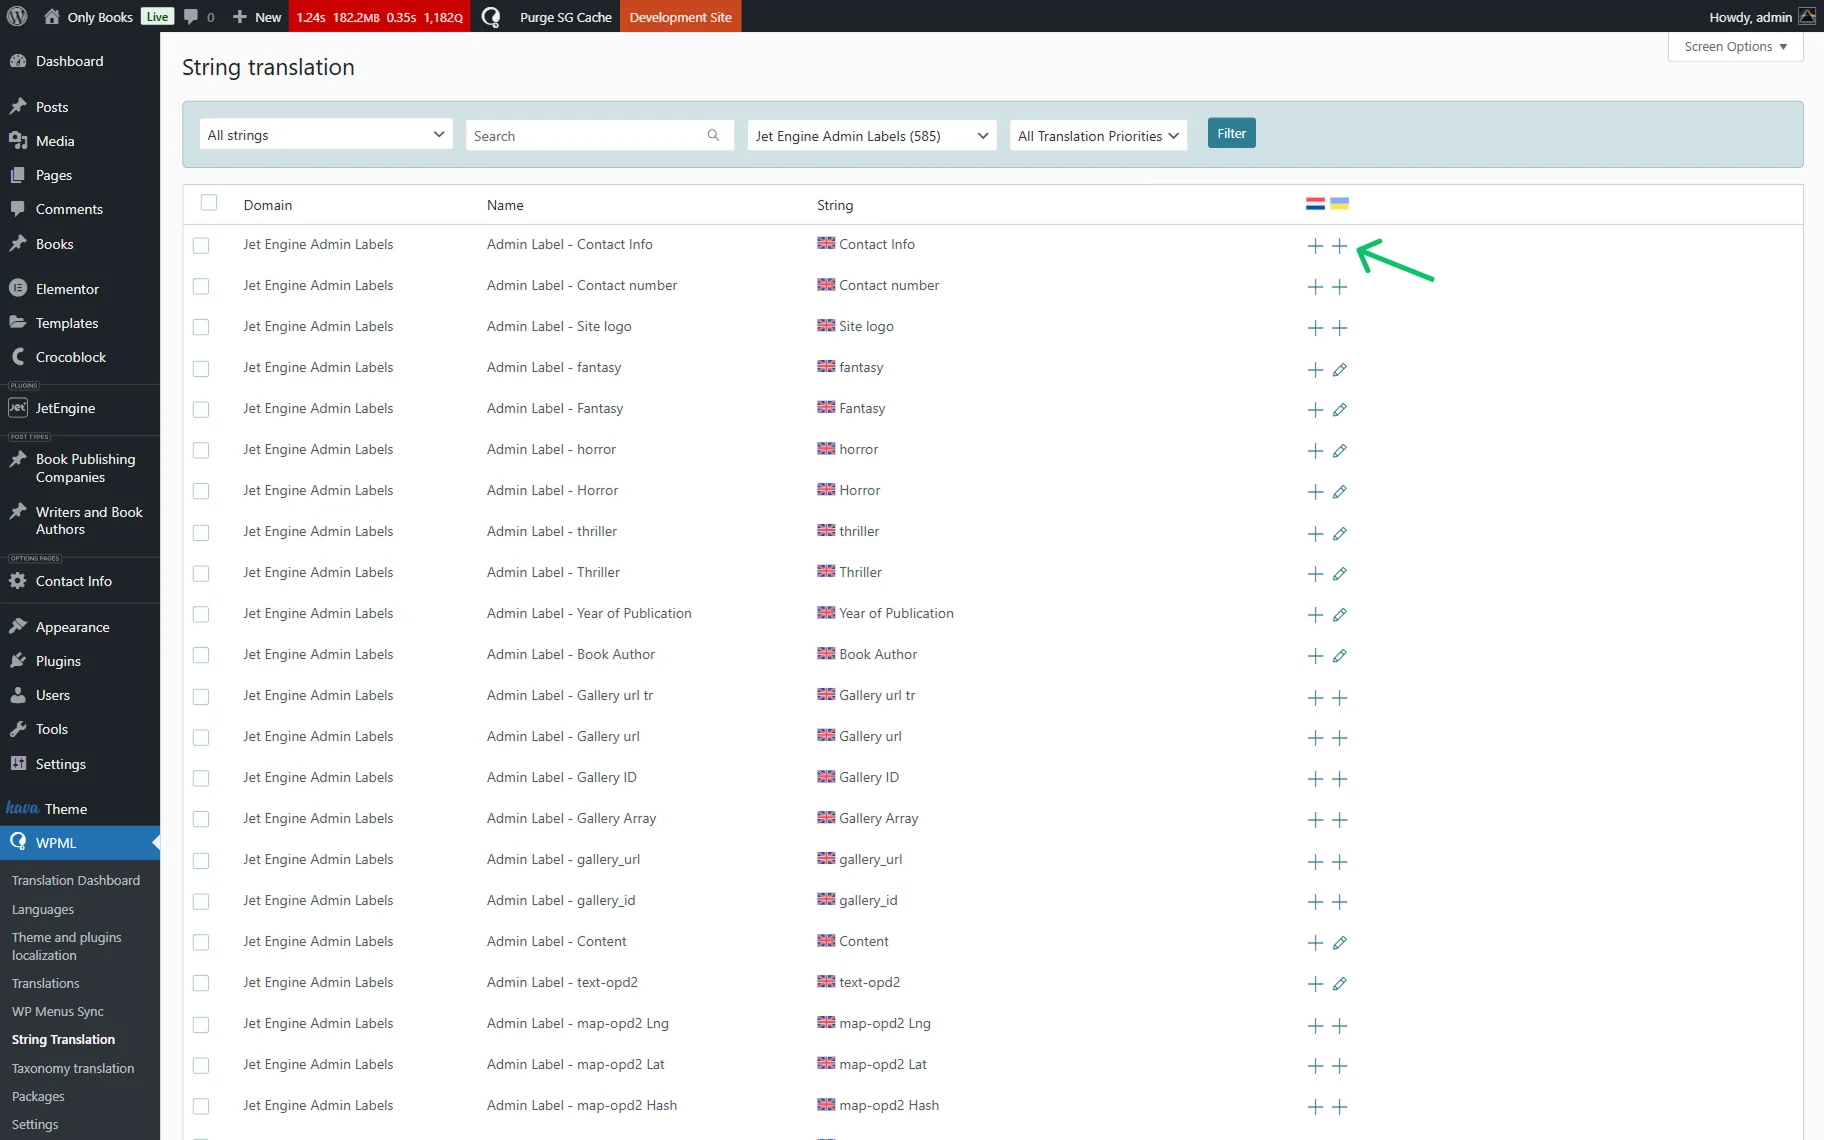
Proceed to WordPress Dashboard > WPML > String Translation.
Find the needed meta field in the list. In the search bar, write the name of the field (not slug) and press the search button.
Сlick the “+” button to add a translation.
Add the corresponding translation and press “Enter” on your keyboard.

Also, we recommend checking our How to Make a JetEngine-Built Website Multilingual guide.
That’s all; now you know more about the JetEngine options translation on your WordPress website using WPML.