How to Delete a Post After the Date is Over
This tutorial covers the topic of using the Post Expiration Period add-on of the JetEngine plugin with the JetEngine or JetFormBuilder form to have a post deleted after its expiration date.
Before you start, check the tutorial requirements:
- Elementor (Free version) or WordPress Block editor (Gutenberg)
- JetEngine plugin installed and activated
- JetFormBuilder plugin installed and activated
The Post expiration period add-on helps you to display a new post added with a front-end form for a limited amount of time. The add-on can also change the post status to Draft or add it to Trash. The expiration period can be added via the JetFormBuilder form or JetEngine form (legacy) and set in the Insert/Update Post notification settings.
Install the Post Expiration Period Add-On
Let us first install the add-on to the website. Go to the JetEngine > JetEngine > External Modules tab, enable the Post expiration period toggle, and wait until the add-on is installed and activated.

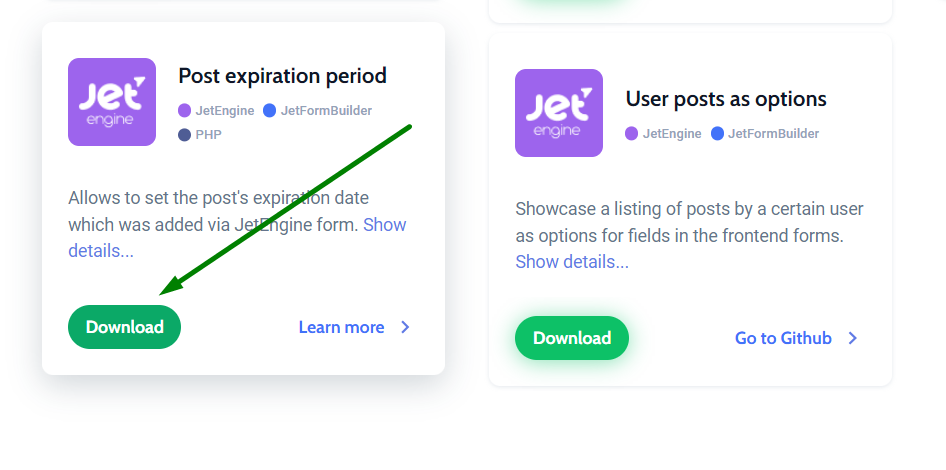
Alternatively, you can download the add-on manually from the DevTools page by clicking the “Download” button.
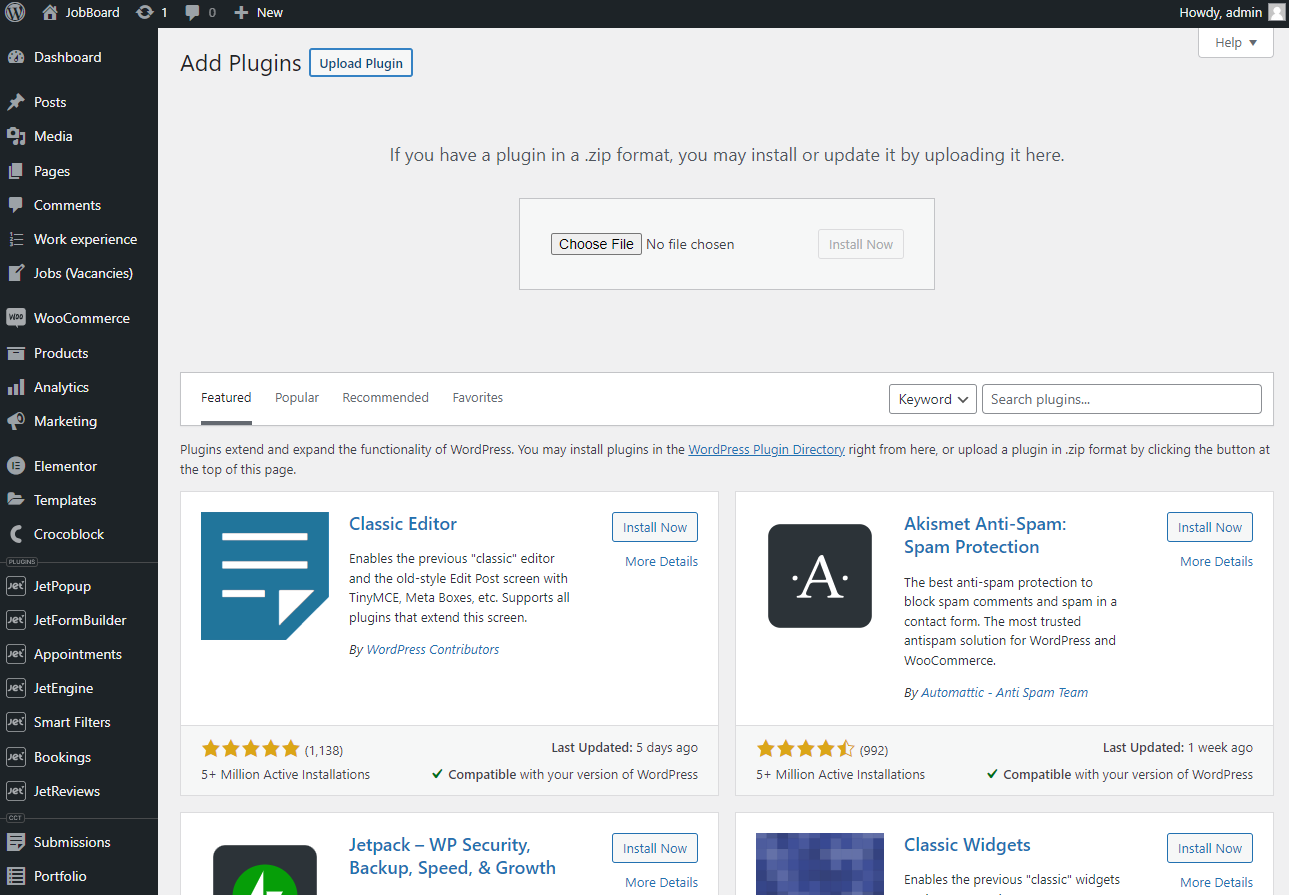
Then, go to the WordPress Dashboard > Plugins > Add New tab, press the “Upload Plugin” button, and install and activate the plugin.
Create a Form
Create a JetFormBuilder form
After installing the add-on, we can create a JetFormBuilder form in which we can set up the expiration period for a new post.
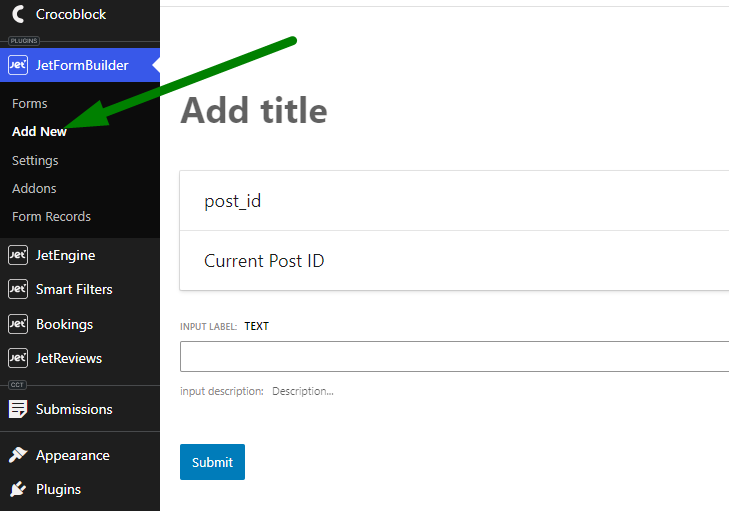
Go to JetFormBuilder > Add New to create a new form.
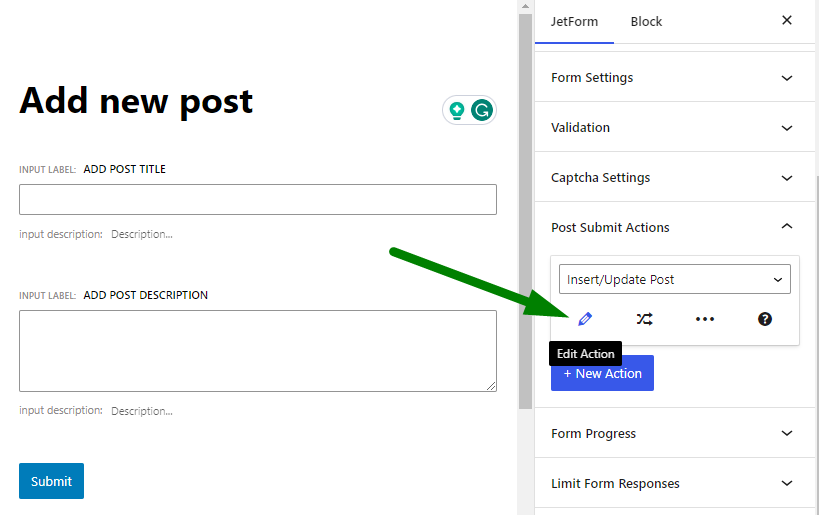
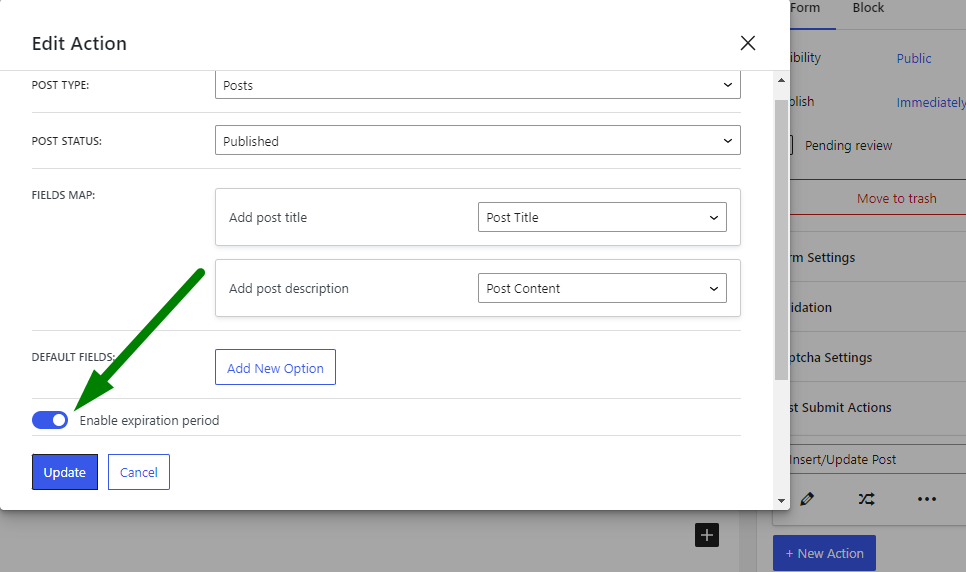
After adding the needed form fields, we can configure the “Insert/Update Post” Post Submit Action. Add the action, and then click the pencil icon to edit it.
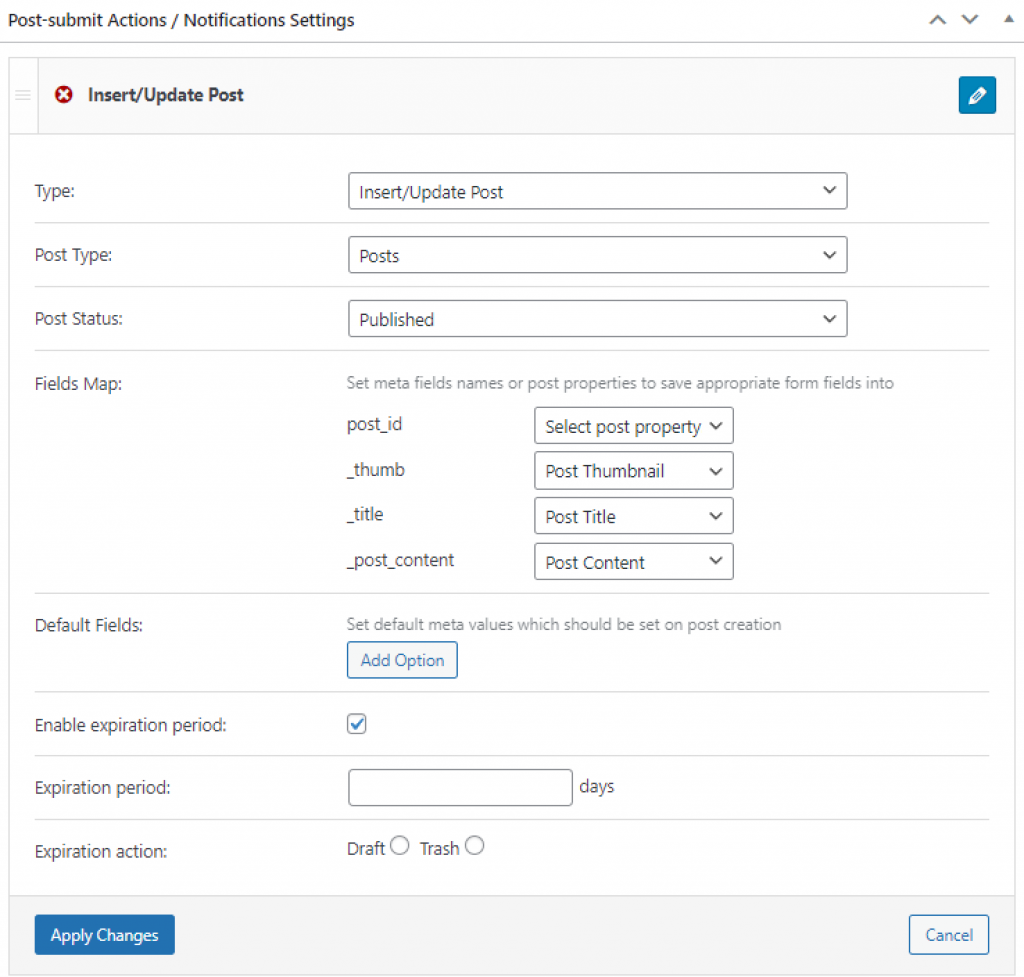
After selecting the Post Type and Status with which a post is submitted and mapping the fields, we can turn on the Enable expiration period toggle.
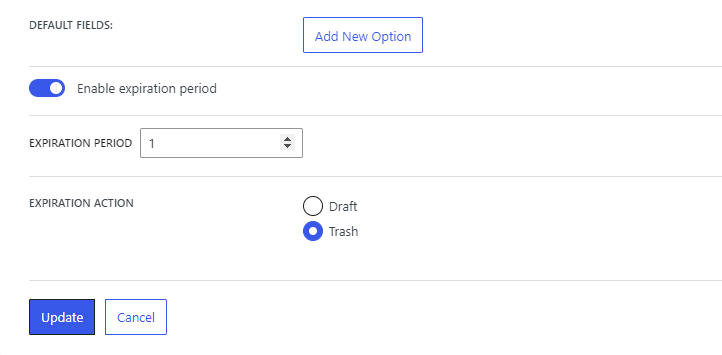
After switching on the toggle, additional settings appear.
In the Expiration period field, you can insert the number of days after which the post should change its post status.
The next setting is the Expiration action, which defines whether the post should be set to “Draft” or “Trash” status.
If you require a more detailed explanation of how a front-end post-submission form can be created, check this article.
Now, the form can be saved by clicking the “Publish/Update” button.
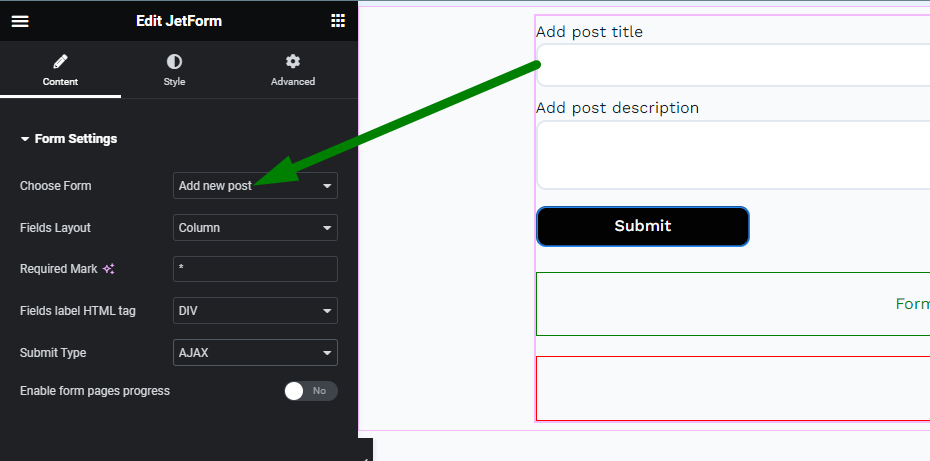
To output the form on the front end, we added the JetForm widget (in Elementor) or Form block (in Gutenberg) to the page and saved it.
Then, we submitted the form on the front end to add a new post and check how the expiration period add-on works.
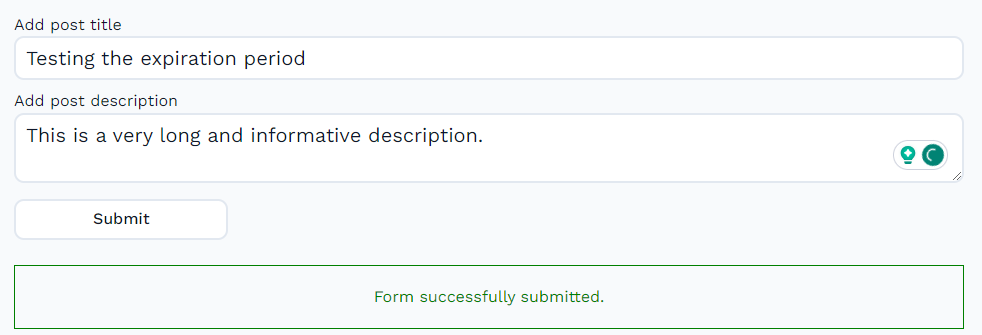
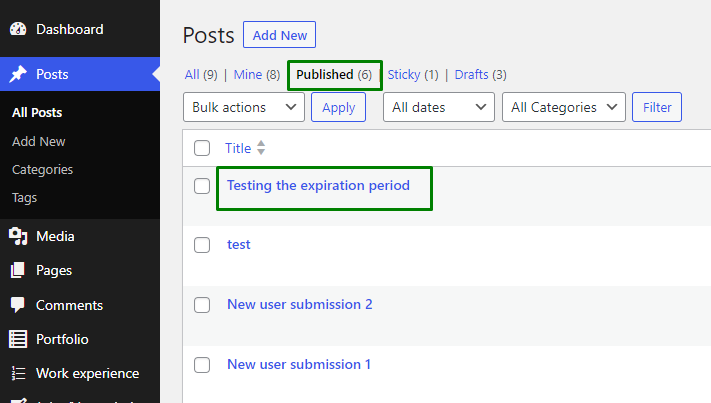
A new post was successfully published in the post type we selected in the form Post Submit Action settings.
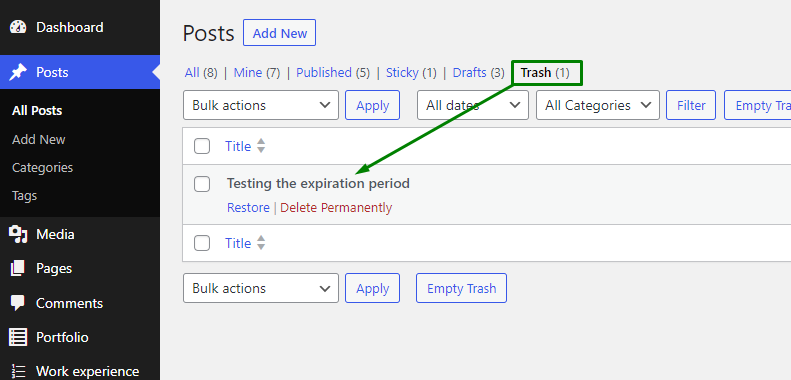
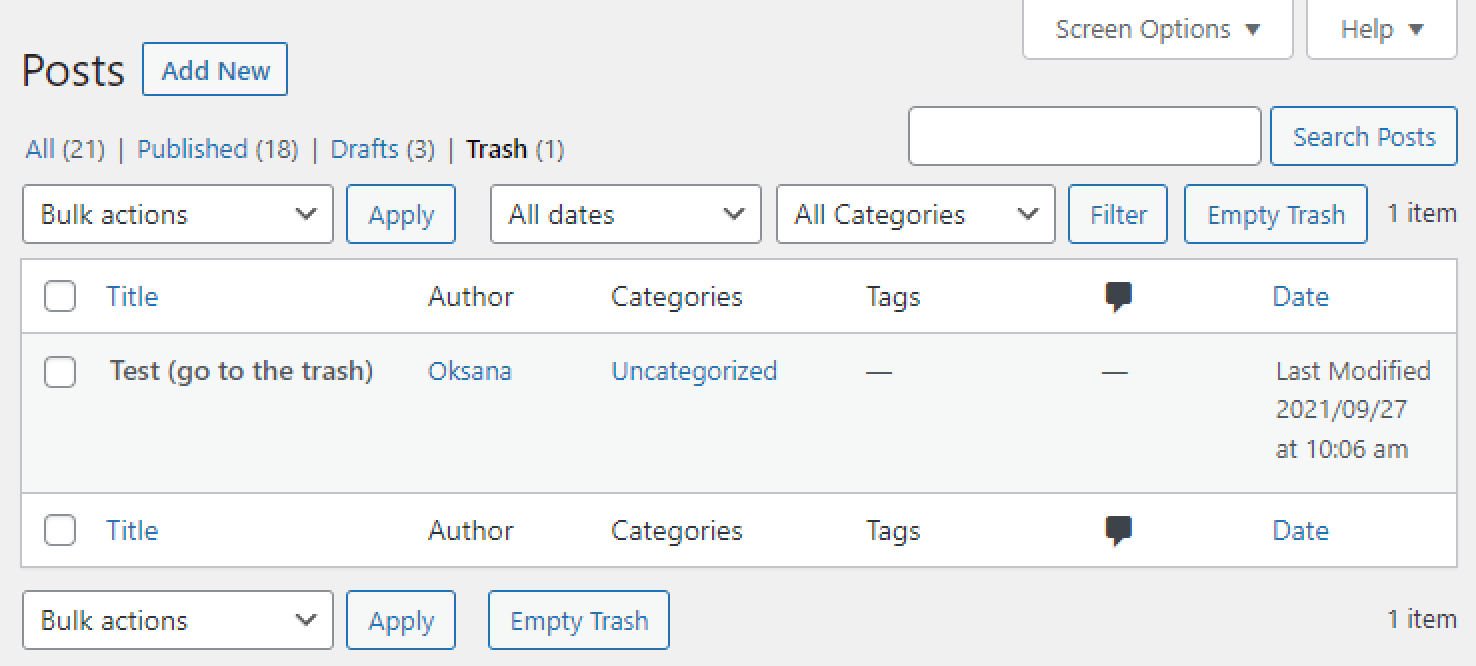
After 24 hours, the post obtained the Trash status.
Create a JetEngine Form
Since the expiration period can be set via the JetEngine form, you should create one.
To find out how to create a form, follow this tutorial.
Get through our other guide if you want to know more about form Notifications Settings, especially the Insert/Update Post type.
Also, check out this YouTube video to learn how to create the Add New Post form.
When you set up a form for creating posts, proceed to the Insert/Update Post Notification and press to edit it. Check the box in the Enable expiration period block, and another two blocks will appear. In the Expiration period, enter the required number of days and choose where you want to move posts in the Expiration action radio – to Trash or Draft.
After setting the form up, don’t forget to hit “Apply Changes” and update the form.
Add the form with the post expiration period to the page on the front end. To see the add-on in action, we have created a new post with the JetEngine form and set it up to move to Trash with an expiration of one day.
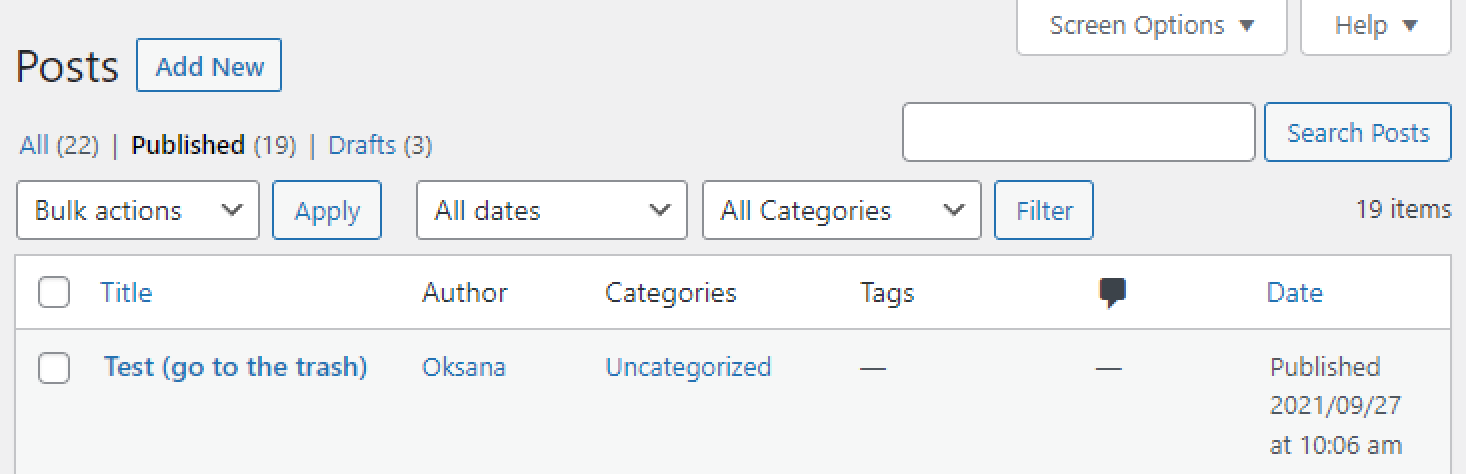
As we can see, the post has moved to the trash within 24 hours after creation.
Create Admin Columns
To display the post expiration date, you could add an Admin Column to the custom post type.
Go to the JetEngine > Post Types section in the WP Dashboard and open the CPT you want to work with.
Scroll the page down to the Admin Columns block. Click the “Add New” button and fill in the fields with appropriate data:
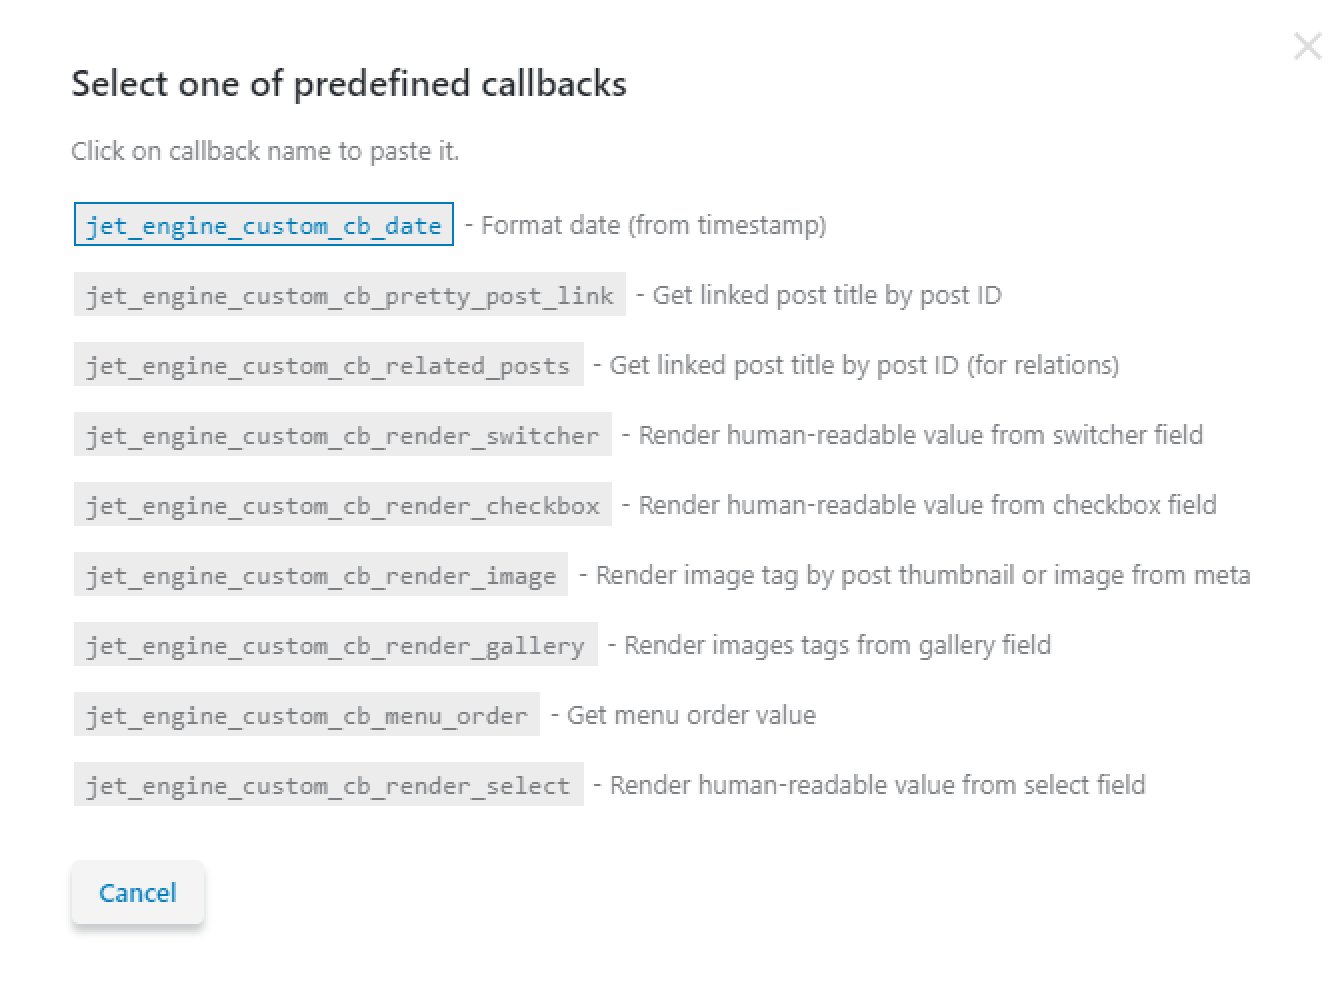
- In the Type field, choose the Custom Callback option from the drop-down list;
- In the Callback field, click the “Select from existing callbacks” line. In the appeared window, you need to choose jet_engine_custom_cb_date;
- In the next window, type _jet_pep_period in the “Set field” text area. After that, set the Format of time and date in the admin column;
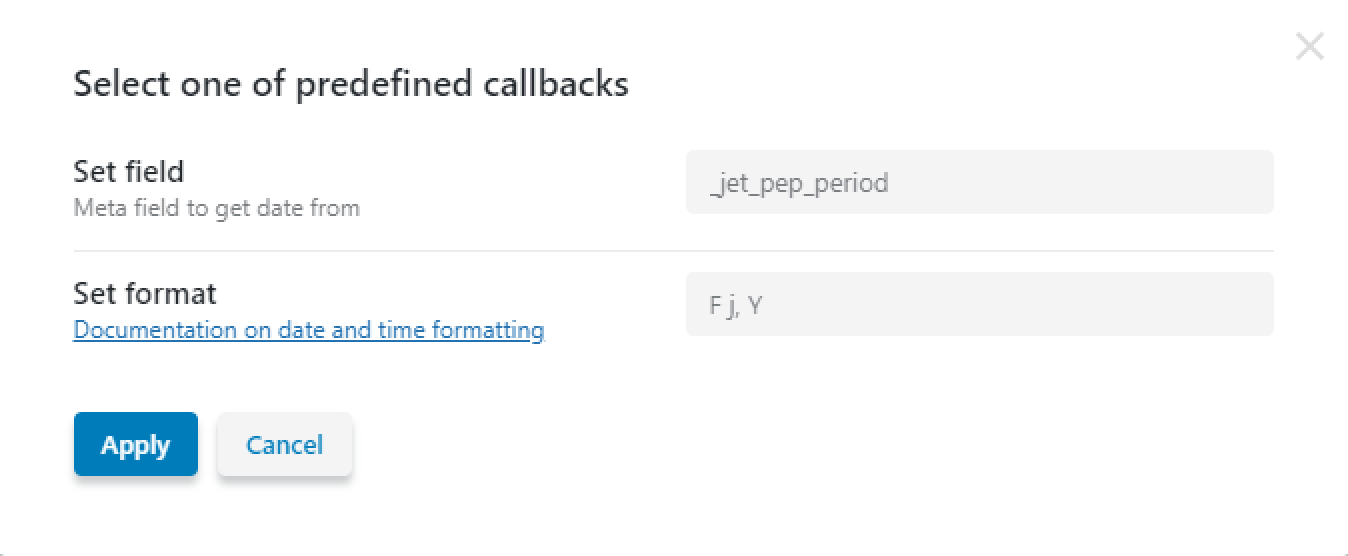
Hit the “Apply” button and be sure to “Update Post Type.”
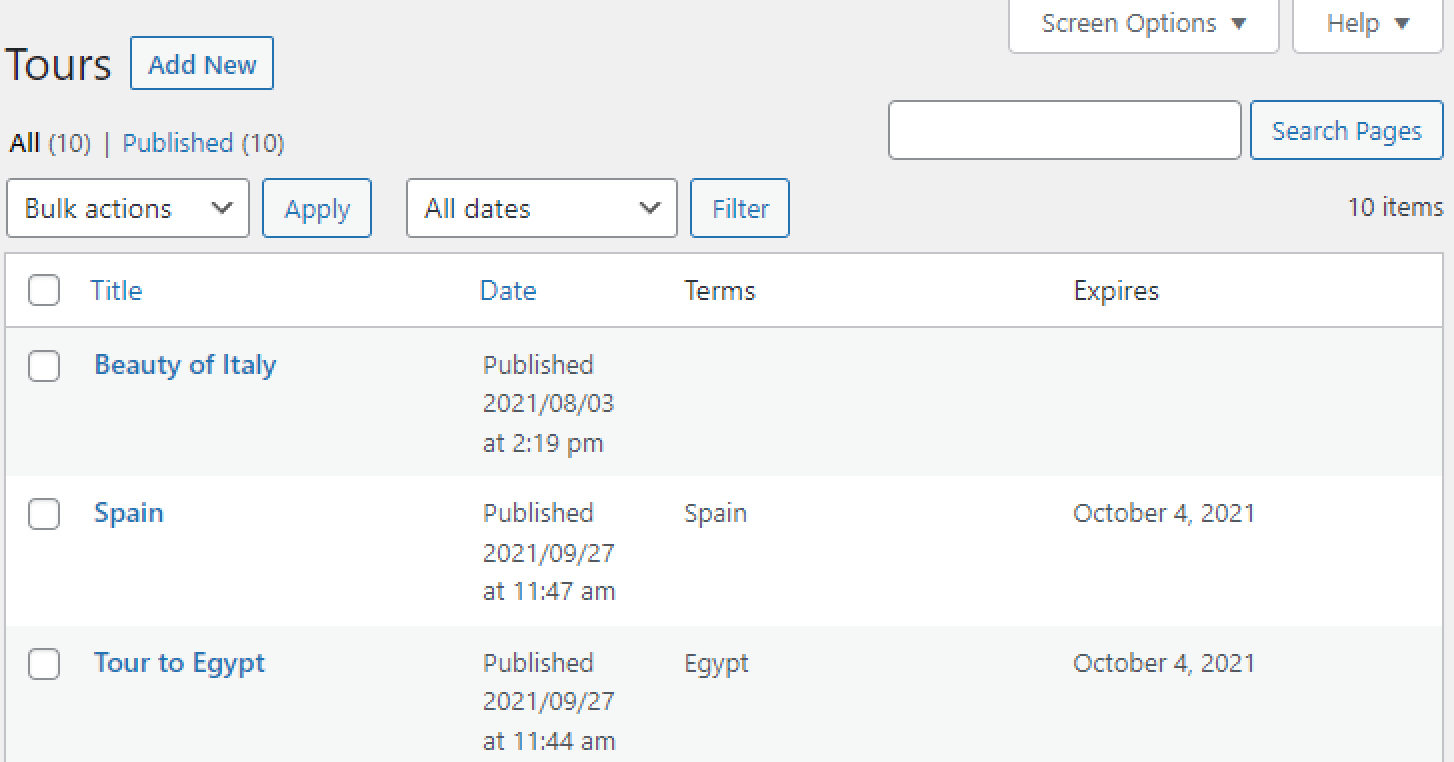
Now, you can see that the admit column gets the data from the Expiration period form field and shows when the post moves to Draft or Trash.
That’s all for the post’s expiration period. Now you know how to install the add-on, set it up in the JetEngine form, and check the expiration date with the admin column.