How to Display Grid and Slider Galleries with Dynamic Field Widget/Block
This tutorial describes how to display a dynamic gallery for a WordPress post or term within the grid and slider using the JetEngine Dynamic Field widget/block.
Before you start, check the tutorial requirements:
- Elementor (Free version)
- JetEngine plugin installed and activated
With the help of the JetEngine plugin, you can showcase image galleries for posts using the meta fields of the “Gallery” type. You can then customize the appearance of the grid and slider galleries in the Dynamic Field widget/block.
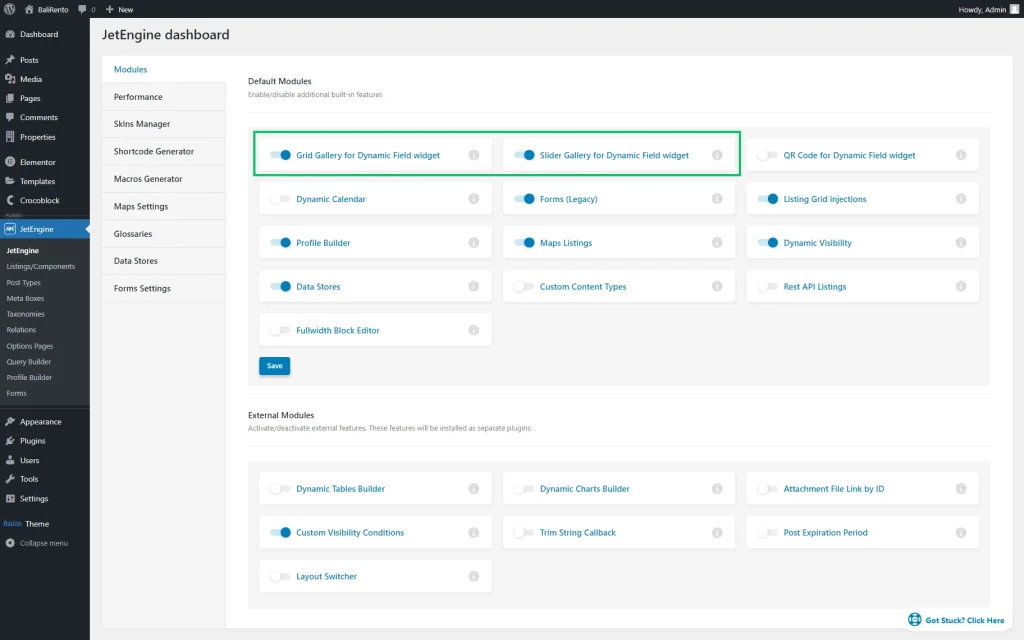
Activate the Modules
Create “Gallery” Meta Field
Now the “Gallery” meta field should be added.
If you work with the Custom Post Type, the new meta field can be added in the WordPress Dashboard > JetEngine > Post Types directory.
However, if you want to add a meta field to the default WordPress posts, the meta box should be created in WordPress Dashboard > JetEngine > Meta Boxes. If so, make sure that the Meta box for is set to “Post.”
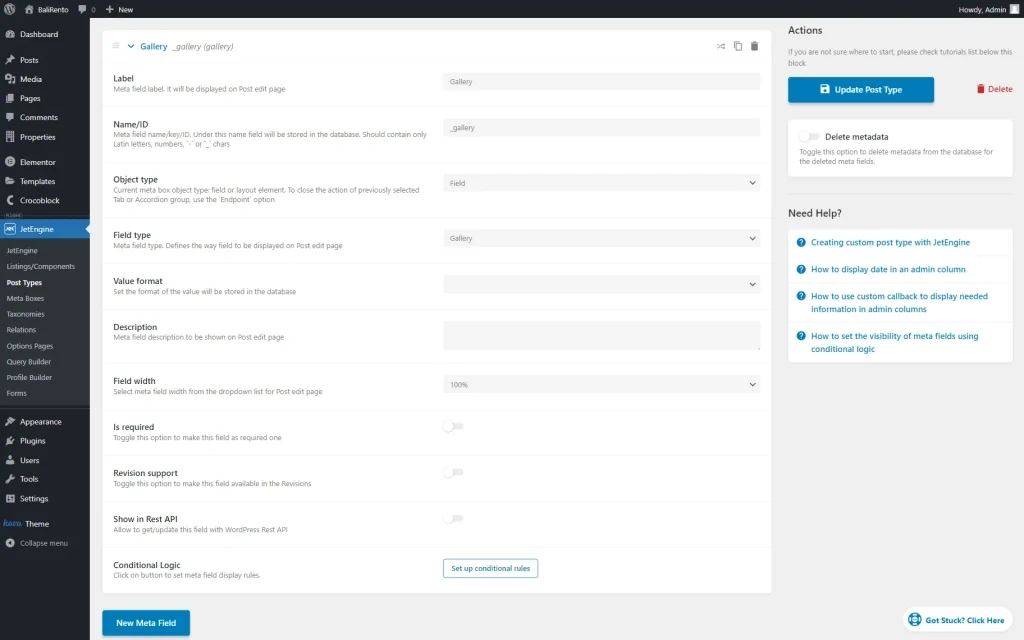
Head to the Meta Fields tab and hit the “New Meta Field” button.
Complete the Label field, change the Name/ID if desired, and select the “Gallery” Field type.
Then, hit the “Add/Update Meta Box/Post Type” button to save the changes.
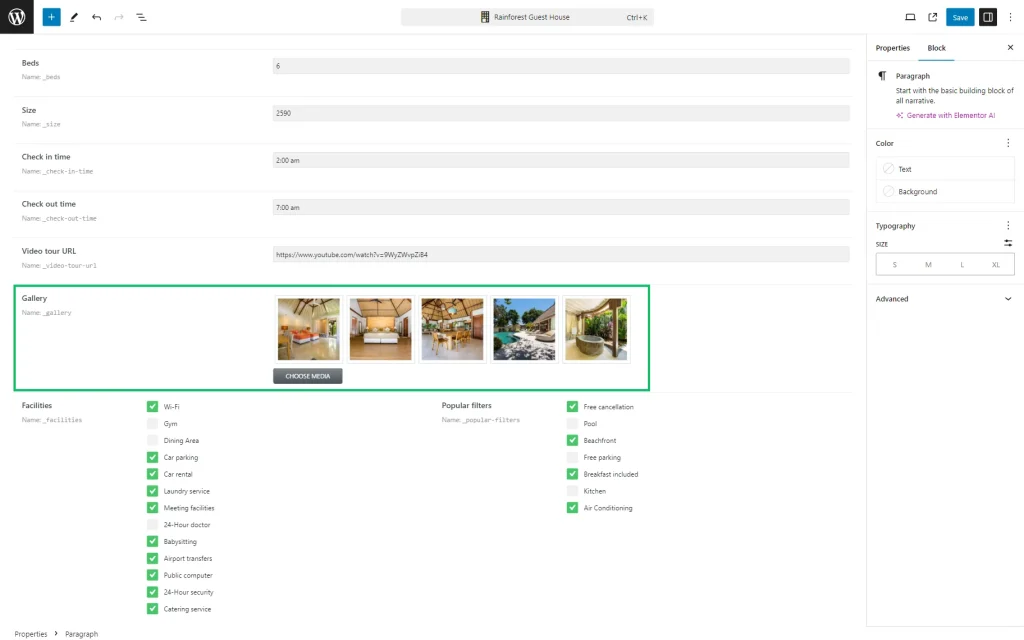
After that, you should complete the “Gallery” meta field with images in every post. To do so, open the needed post, scroll it to the meta fields, and add pictures to the “Gallery” meta field.
Hit the “Save” button. Repeat this process for the rest of the posts.
Use the Callback in the Dynamic Field Widget/Block
Now, it’s time to add our gallery to the preferred page/template. We are going to add the gallery to the Single Template of the “Properties” CPT posts.
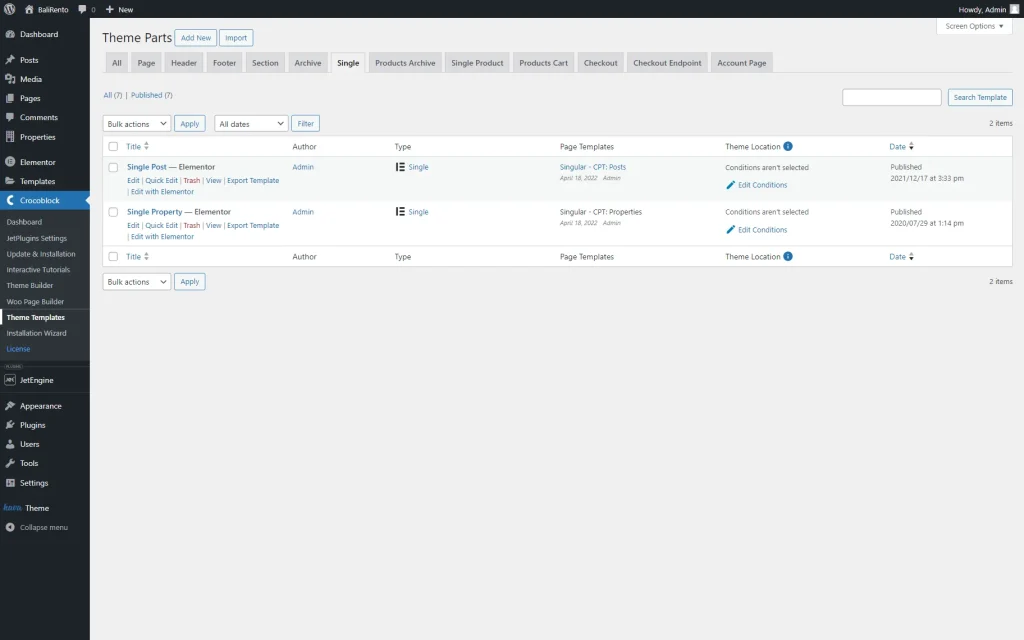
To edit a Single Template, we proceed to WordPress Dashboard > Crocoblock > Theme Templates and open the already-built template editor by pressing the “Edit” button.
You can edit the page/template either in Elementor or Gutenberg (Block Editor.)
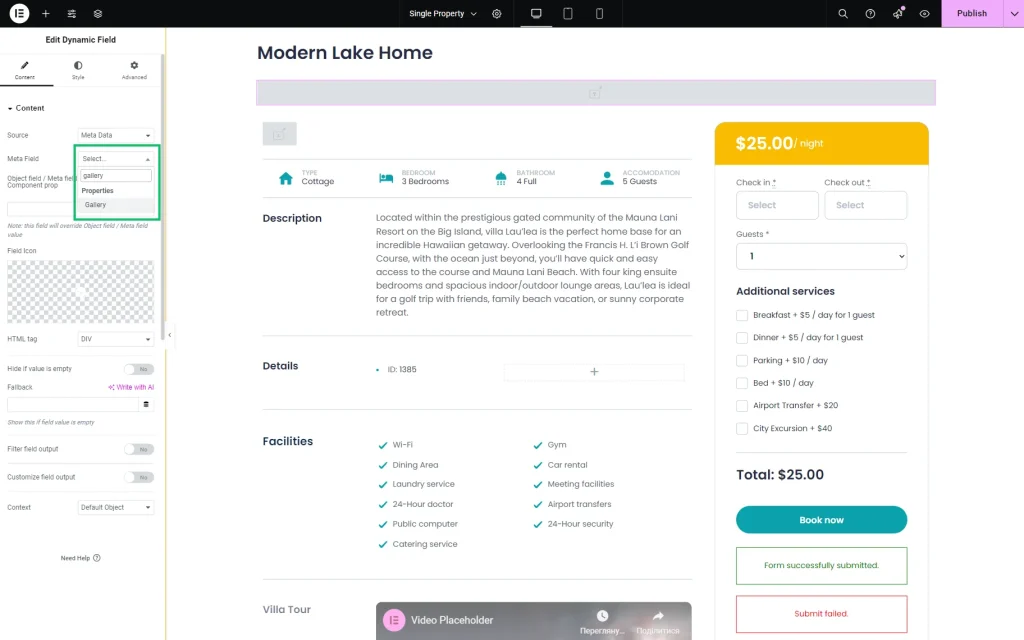
In our case, we work with the Elementor editor. To showcase the post gallery, find the Dynamic Field widget/block in the panel and drop it to the page. In the Content menu field, choose the “Meta Data” option in the Source field and the recently created meta field in the Meta Field dropdown menu.
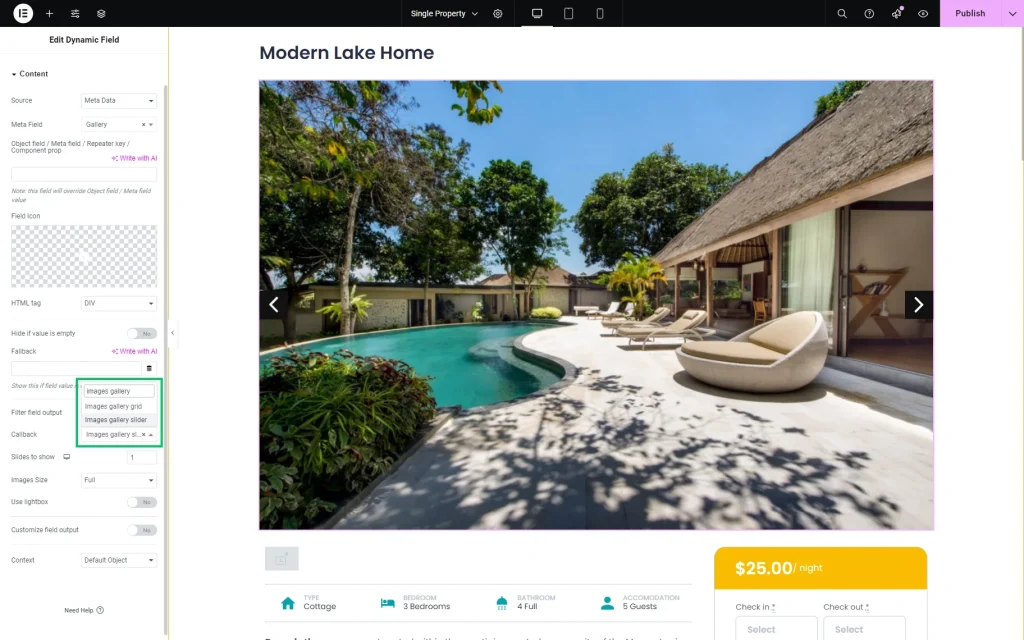
Enable the Filter field output toggle and select the “Images gallery grid” or “Images gallery slider” option in the Callback dropdown menu.
Afterward, style the gallery in the Style tab if needed and click the “Update” button to save the changes.
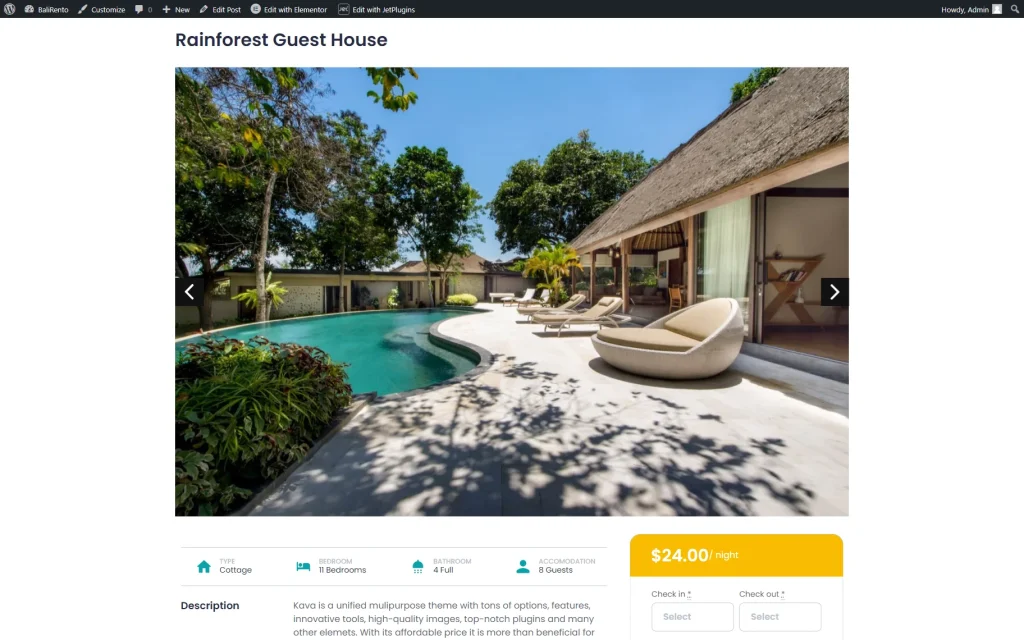
Check the Result
Now you know how to create a custom gallery and display the gallery for posts with JetEngine’s Dynamic Field widget/block for the WordPress website.
