Glossaries Overview
From this tutorial, you will find out what a glossary is, which is a part of the JetEngine plugin functionality.
Glossary Basic Settings
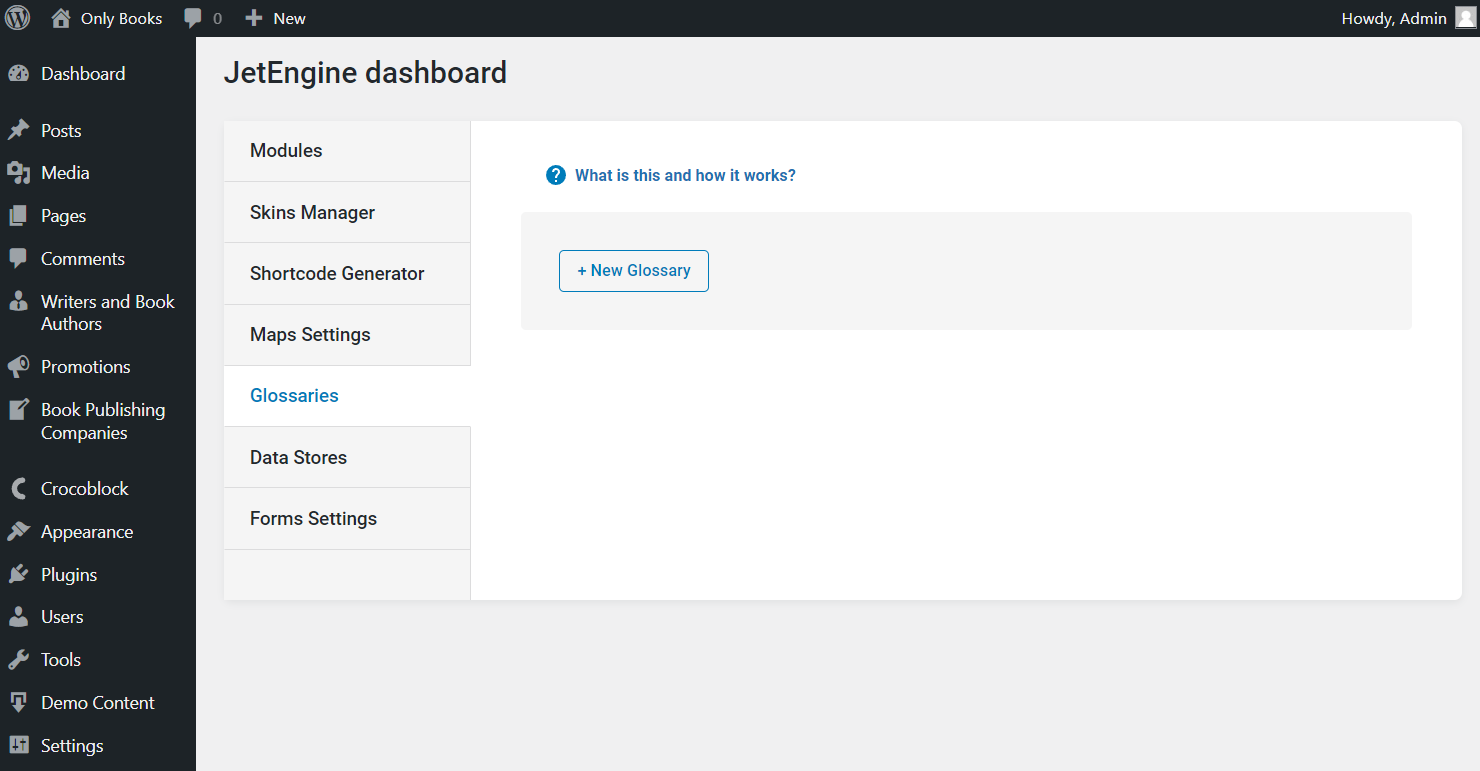
Glossaries feature settings are located in WordPress Dashboard > JetEngine in the Glossaries tab. In this directory, you can create, edit, or delete glossaries.
The button “New Glossary” allows adding a new item.
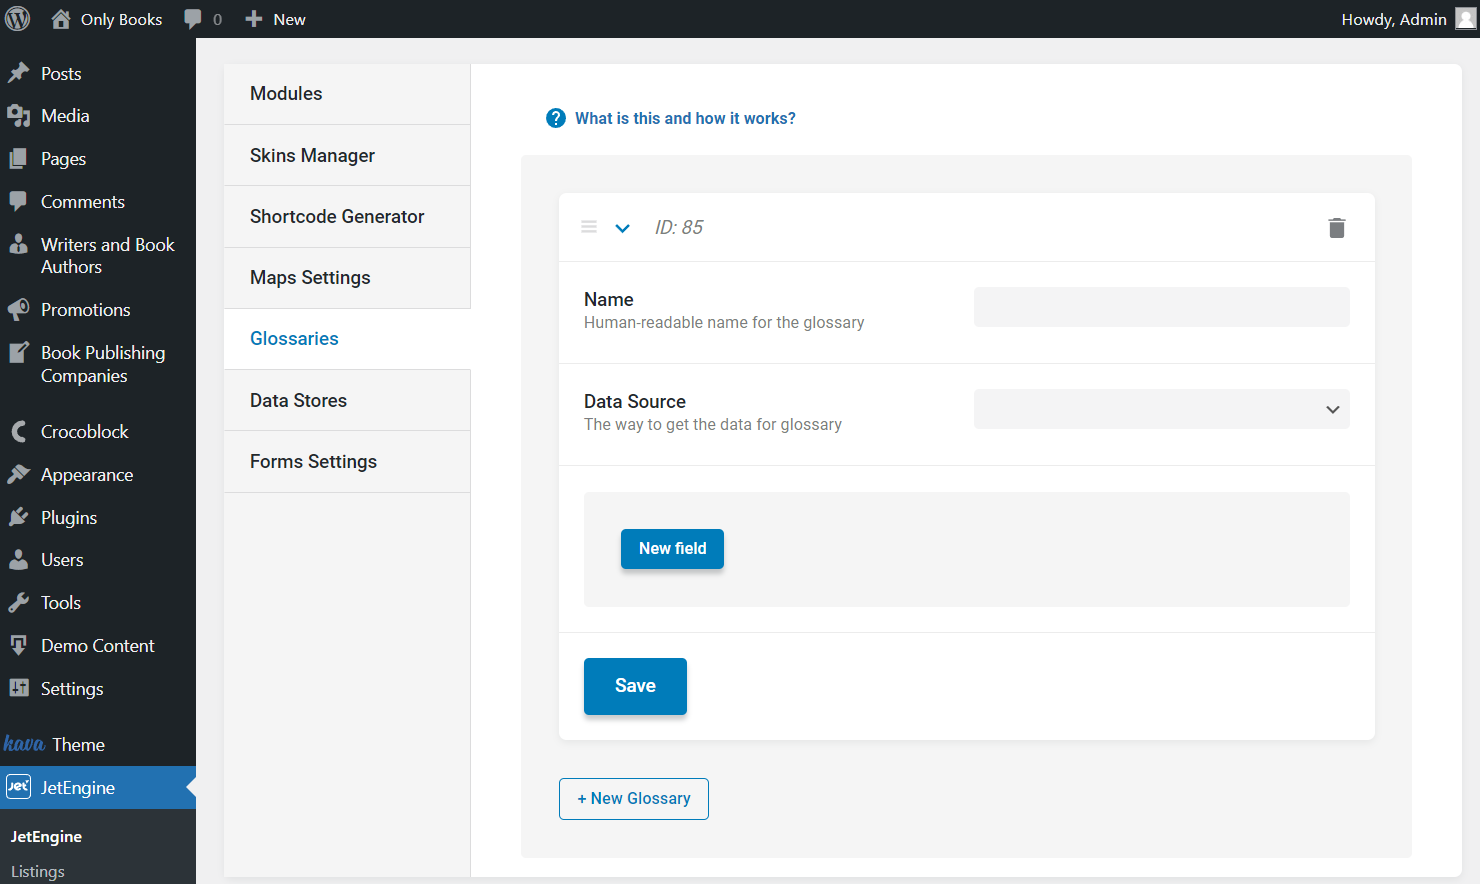
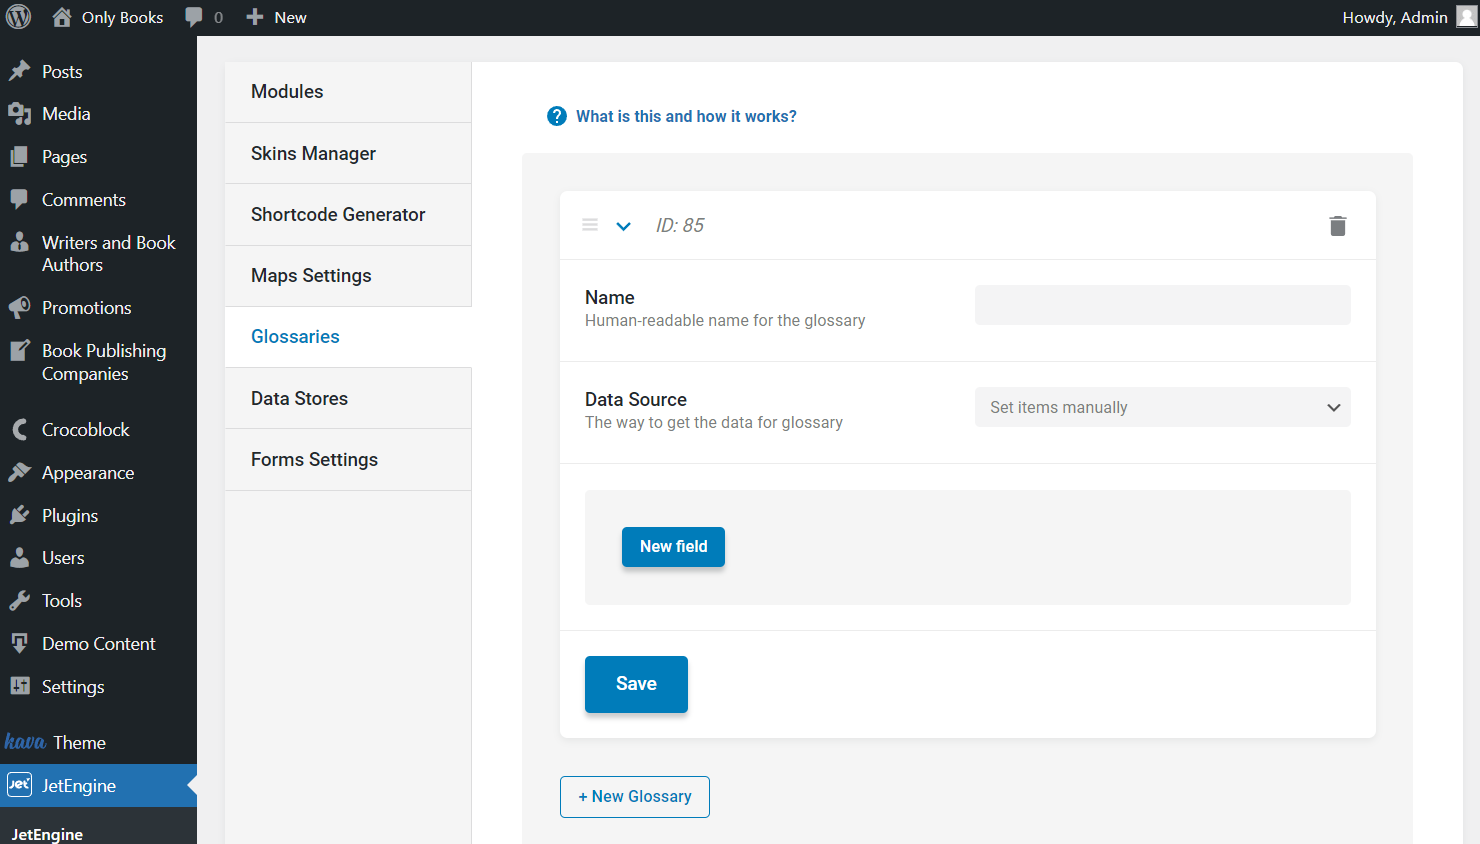
The Name and Data Source fields appear. So, complete the title and open the drop-down menu to pick between two options, “Set items manually” and “Get items from uploaded file.”
Manual items source
“Set items manually” option allows you to set every value manually.
Here, you can complete the following fields:
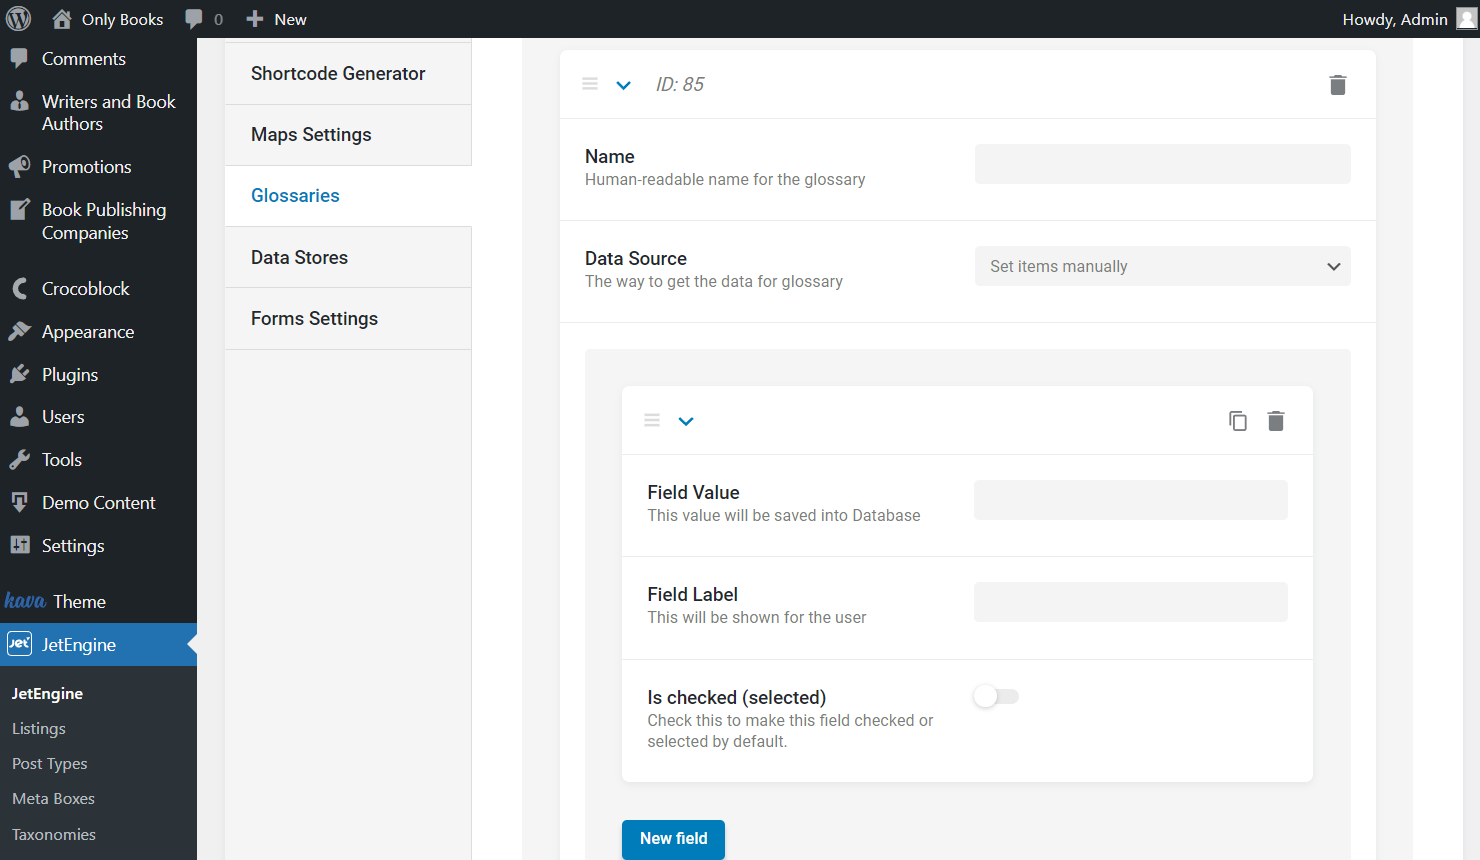
- Field Value — complete the value stored in the database. Pay attention that this value should only contain Latin letters, numbers, “-” and “_” characters. You can learn more about naming conventions from WordPress Developer Resources (these rules apply to meta fields’ values as well).
- Field Label — fill in the label displayed as the item title;
- Is checked (selected) — activate this toggle to make the value checked automatically in the post editing area.
Once the item is adjusted, push the “New field” button as many times as you need new items in the glossary. Mind that you can copy items and delete them by pressing the special buttons or move them to change the order.
Uploaded files source
“Get items from uploaded file” option allows adding items from a file.
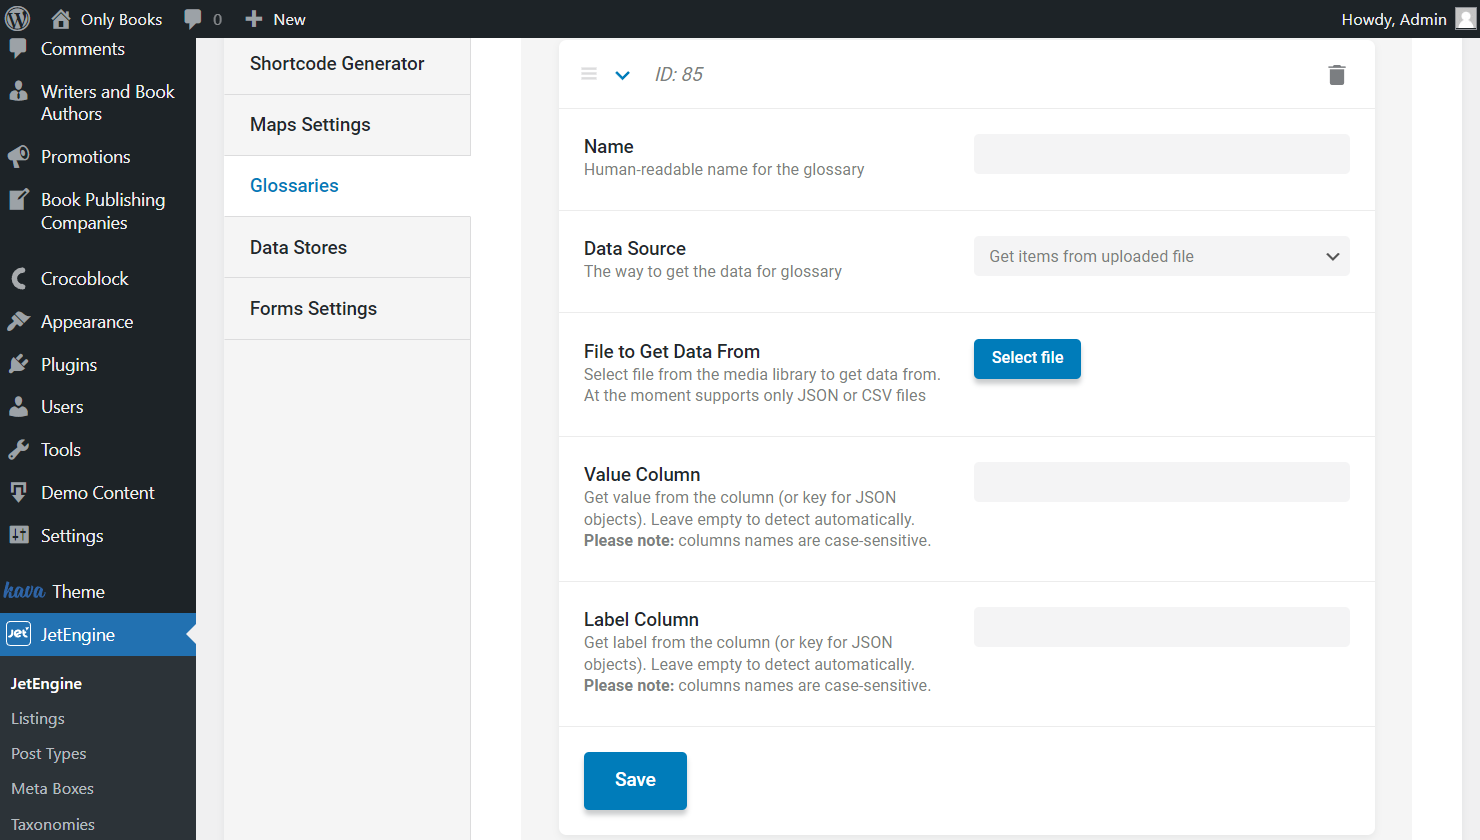
- File to Get Data From — press the “Select file” button to upload the ready-made .csv or .json files as the data source;
- Value Column — complete this field with the value column name in case there are more than two columns in the uploaded file;
- Label Column — similarly to the previous field, complete this field with a label column name if there are more than two columns in the File to Get Data From value. Otherwise, if there are only two fields representing Value and Label, you can leave both fields empty.
That’s it; now you know how to create a glossary with the JetEngine plugin. Feel free to use it for the convenient WordPress website work systematization.