How to Confirm Appointments via Link
Send emails about upcoming appointments easily with the JetAppointment plugin for WordPress. Adjust the confirmation/cancellation system via the email links.
Before you start, check the tutorial requirements:
- Elementor (Free version) or Block Editor (Gutenberg)
- JetEngine plugin installed and activated with Meta field with the provider email stored created
If you want to send an email notification about the appointment details and let the users confirm or cancel the upcoming appointment, continue reading to find out about the whole process.
In the aftermath, you can get a similar result.
Activate Confirmation URLs
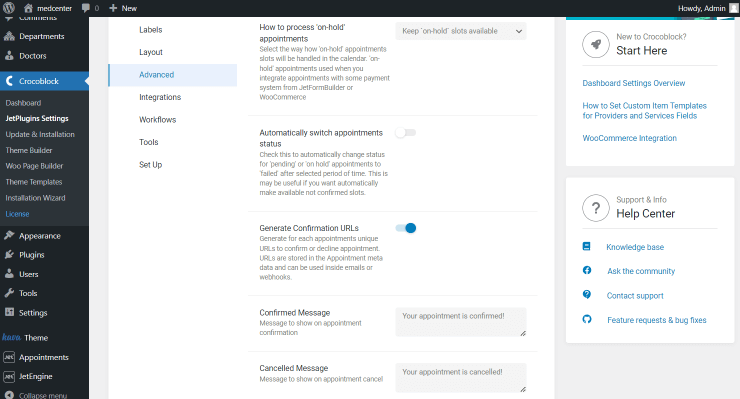
Navigate to WordPress Dashboard > Appointments > Settings, and open the Advanced tab.
Here, activate the Generate Confirmation URLs switcher to create and store the unique token for each appointment. This token can be attached to the needed appointment without being tied to the particular user.
As soon as the user books an appointment, a token and confirmation/cancellation URLs will be stored in the appointment metadata.
Fill in the Confirmed Message and Cancelled Message fields to show a user the given message once the appointment has been confirmed or cancelled.
Set Appointment Workflows
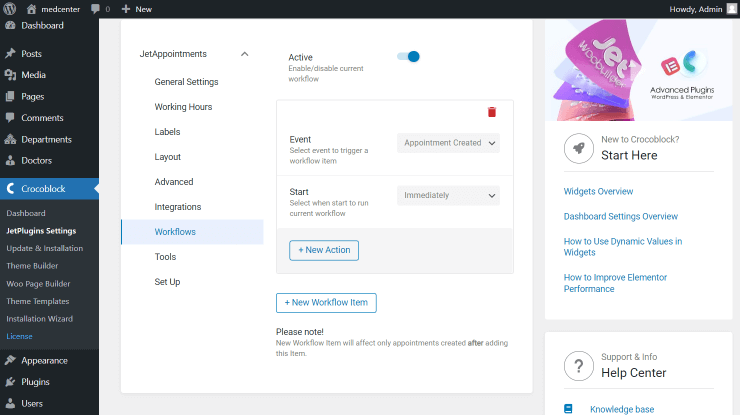
We proceed to Appointment Workflows by following the similarly named tab in the same settings dashboard.
Hit the “Add New Workflow” button. As the two dropdown fields, Event and Start, appear, set the desired values.
Sending Emails with Links Workflow
Now we leave the default “Appointment Created” Event and “Immediately” Start to begin the event directly once the appointment has been booked.
Press the “New Action” button to regulate the precise workflow action.
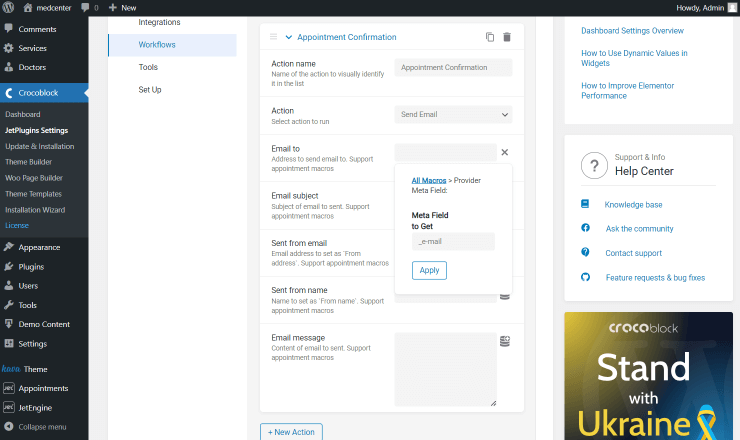
Complete the Action name, set the “Send Email” Action, and head to the Email to field. Click the “Dynamic Tags” button next to the field bar.
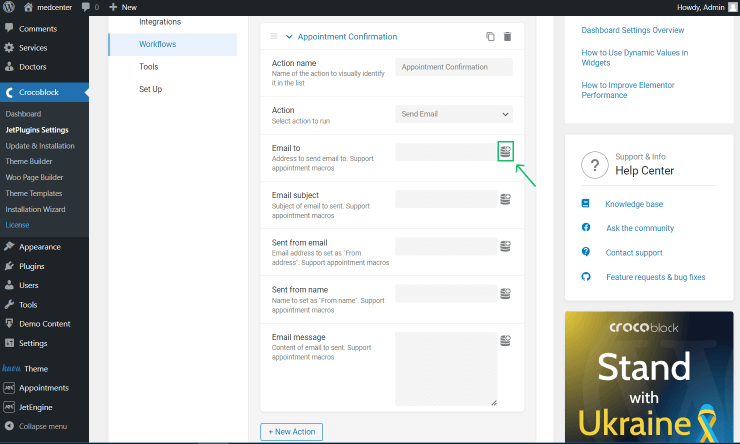
Find the “Provider Meta Field” macro and press on it to open additional settings.

In the Meta Field to Get field, paste the slug of the field where the provider email is stored.
Press the “Apply” button to save the custom macro.
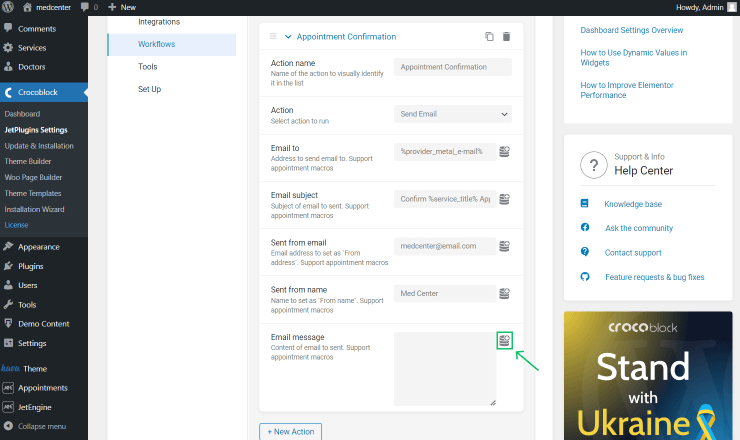
Determine the Email Subject, Sent from email, and Sent from name fields.
Hit the “Dynamic Tags” button next to the Email Message field.
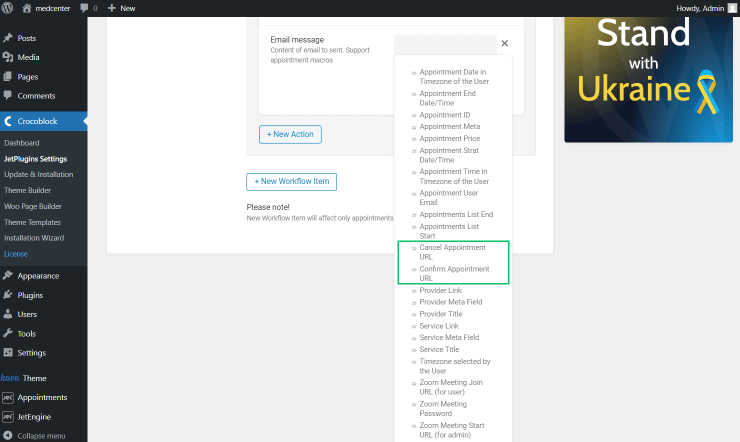
Here, find the “Cancel Appointment URL” and “Confirm Appointment URL” macros and click on them to add to the Email message.
The ultimate result should look similar to the following picture. We have customized a message not only with a macro but also with additional text.
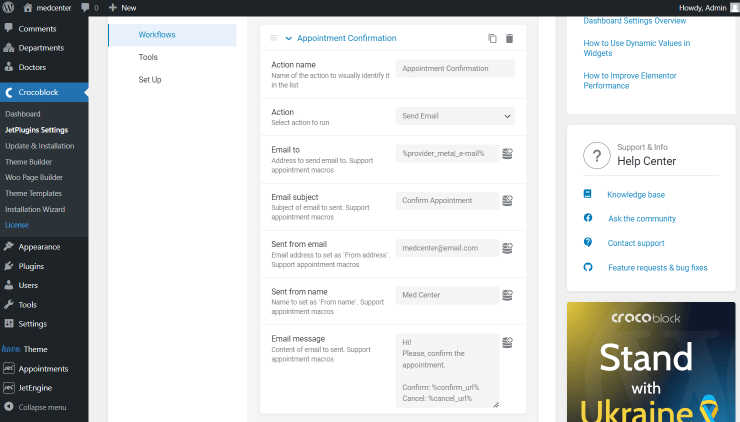
Optionally, you can customize the look of your message by adding HTML markup and using inline styles within this code.
For example, we paste the following piece of code in the Email Message to make our links included in the buttons:
<a style="border-radius:5px; padding: 7px 15px;background:#f00;text-decoration: none;color:#fff;margin-bottom: 10px;display: inline-block;" href="%confirm_url%">Confirm</a></br>

<a style="border-radius:5px; padding: 7px 15px;background:#f00;text-decoration: none;color:#fff;margin-bottom: 10px;display: inline-block;"  href="%cancel_url%">Cancel</a>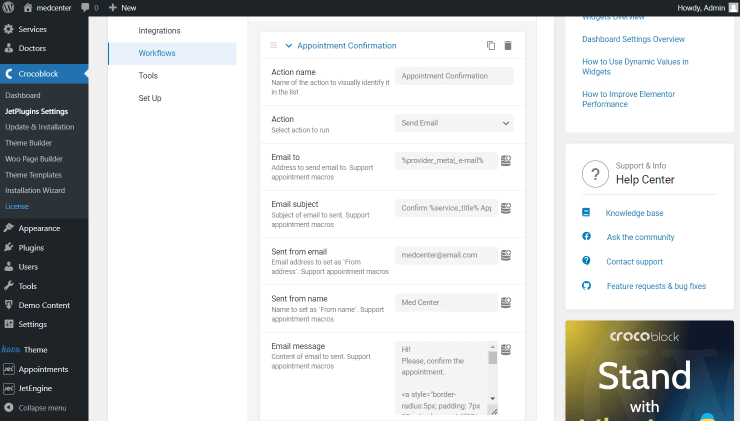
Confirmation Workflow
Furthermore, you can set other workflow actions if desired.
Let’s assume you want to send the email to the user who booked an appointment right after they pressed the “Submit” button.
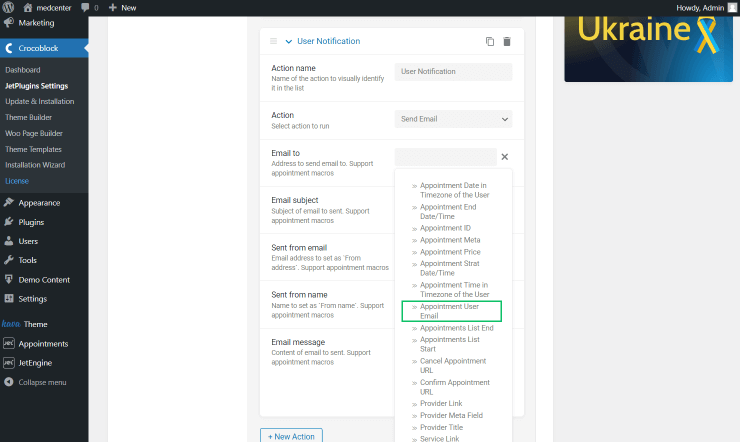
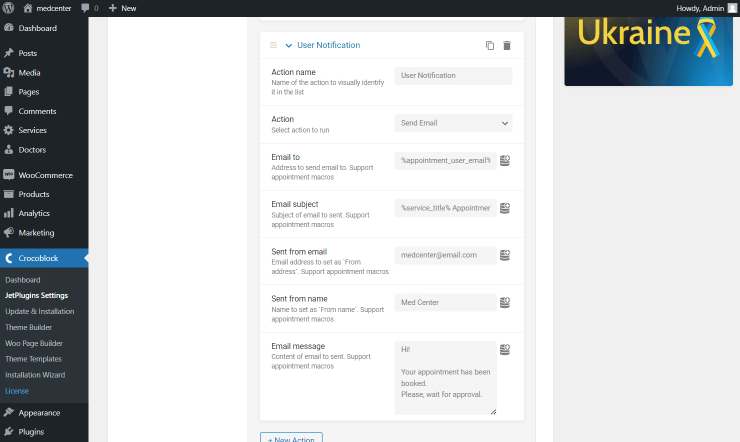
Fill in the Action name field, leave the “Send Email” Action, and select the “Appointment User Email” macro as the Email to option.
Complete the rest of the fields with the needed information.
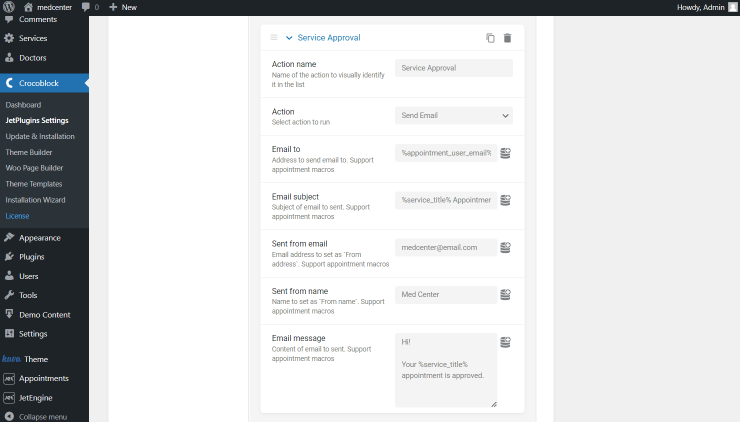
Another workflow we set is the email sent to the client when the provider has confirmed the appointment.
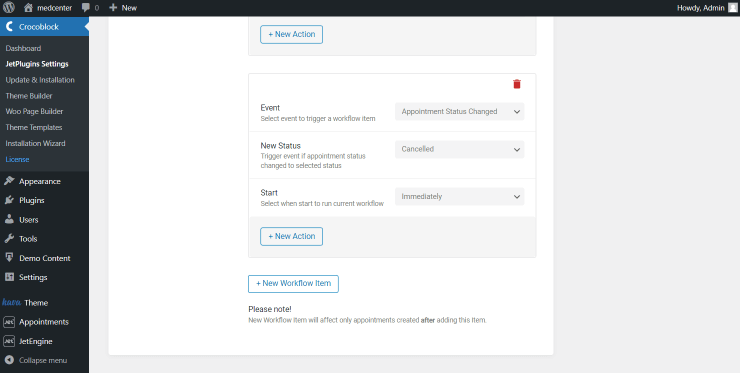
Push the “New Workflow Item” button to build a new workflow.
This time, set the “Appointment Status Changed” Event and “Completed” New Status. Leave the “Immediately” option as the Start and click on the “New Action” button.

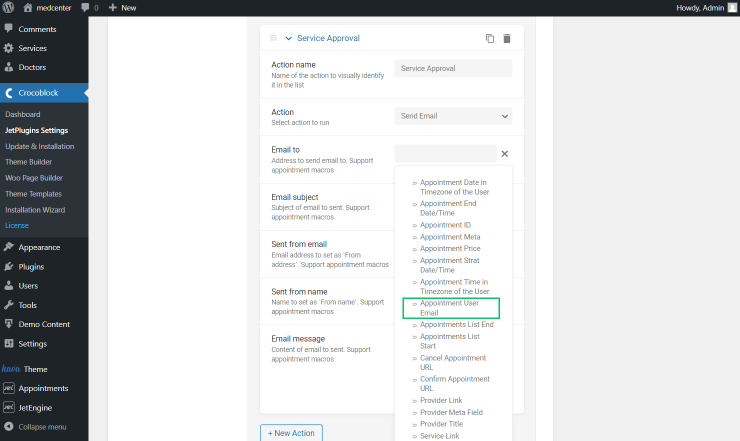
Set the Action name and leave the “Send Email” Action. Hit the “Dynamic Tags” button by the side of the Email to field.
Press the “Appointment User Email” option to send an email to the user who booked an appointment.
Customize all the other information as necessary.
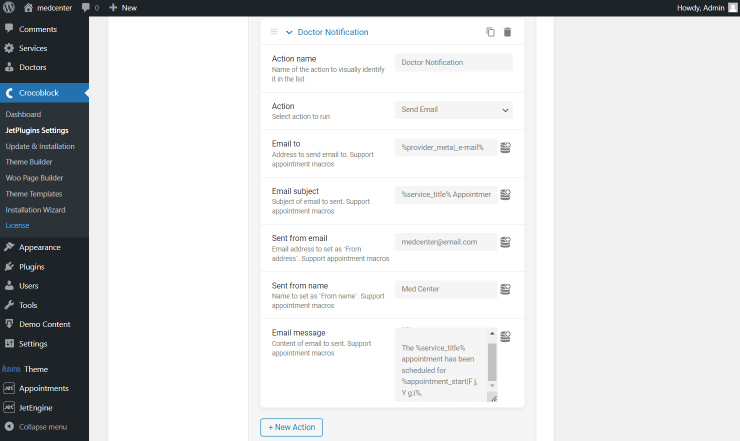
Let’s also email the doctor with the appointment date and time.
You can specify the email field as part of the “Provider Meta Field” macro in the Email to field.
Set Email subject. For instance, it can be completed with the “Service Title” macro.
Complete the following Sent from email and Sent from name fields with the desired values, and move to the Email message field.
Here, we paste the %appointment_start|format_date(F j, Y g:i)% macro to show the appointment date in the email, define the Date format, and paste it into the field.
Cancellation Workflow
Check Emails
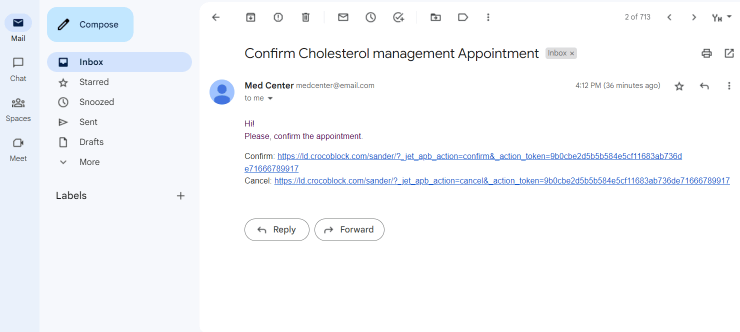
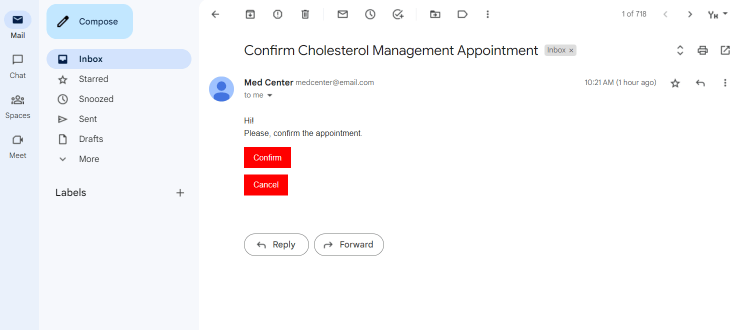
Once the appointment has been booked, the provider gets an email with confirmation and cancellation links. In our case, it’s the doctor’s email.
The doctor can confirm or cancel the upcoming meeting.
Or, if you have used inline stylization, the email can look like this:
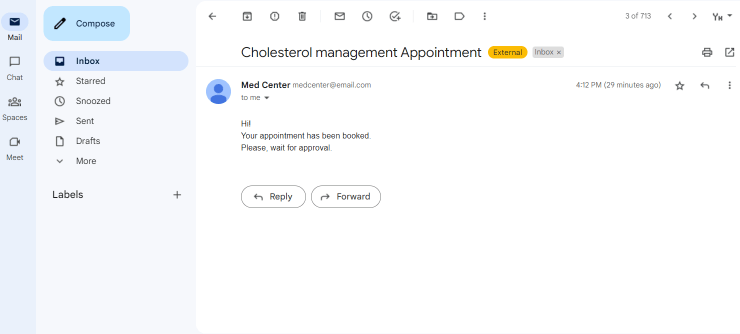
At the same time, the client gets an email notifying them that they have to wait for appointment approval.
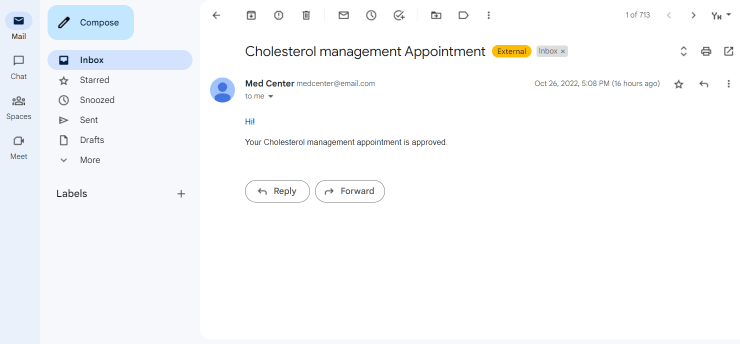
If the doctor approves the appointment, the client receives a corresponding email.
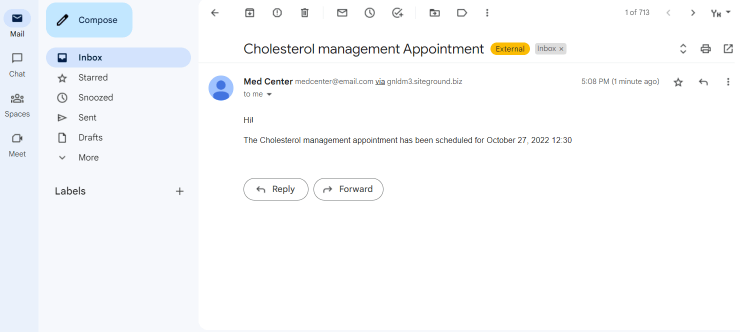
After the confirmation, the doctor receives an email as well.
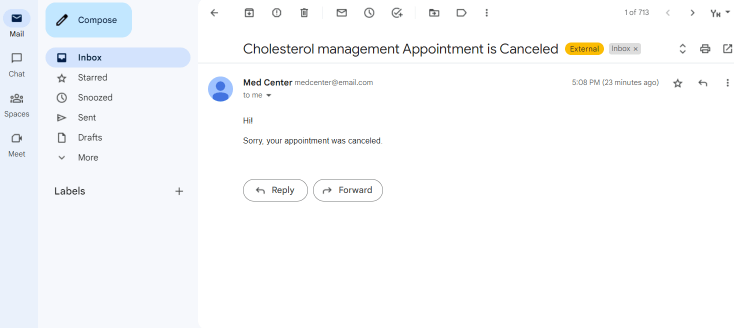
If they cancel the booking, the client gets a matching email.
Review Appointment Status
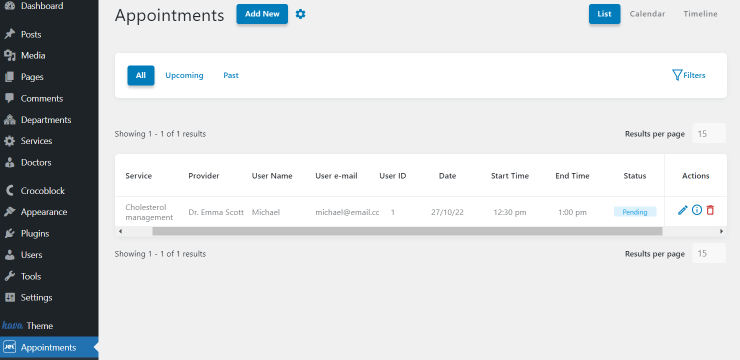
Go to WordPress Dashboard > Appointments to check the appointment status.
The first case is when an appointment has just been booked. Its status is now “Pending.”
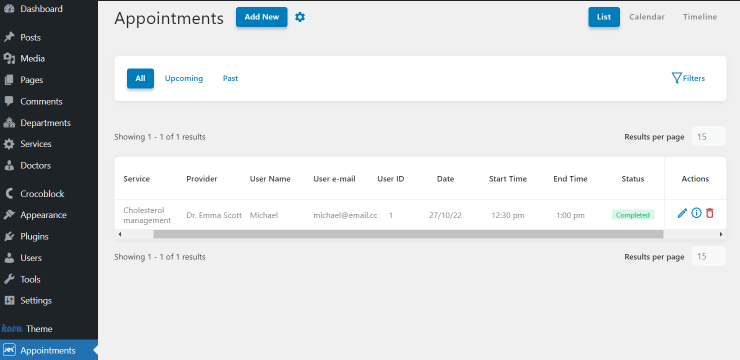
Once the provider confirms the appointment by following the email confirmation link, the status changes to “Completed.”
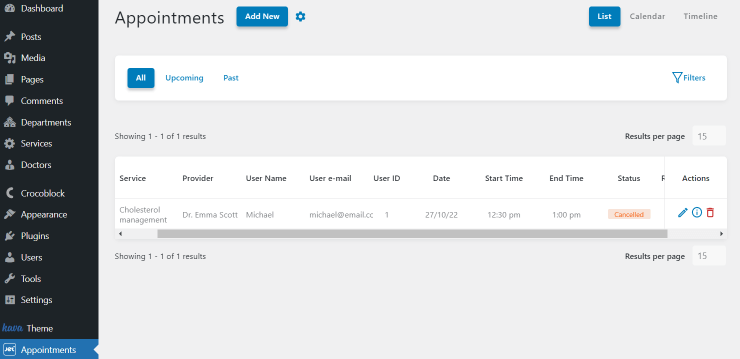
But if the provider cancels the appointment, the status will be changed to “Canceled.”
If you have an “Admin” user role, you can change the status anytime in the same dashboard menu.
That’s it; now you know how to adjust the email sending to the provider and client of the needed service using JetAppointment features.