How to Cancel Booking with the WooCommerce Bookings Endpoint
This tutorial explains how to allow users to cancel their bookings from the WooCommerce My Account page. Display the booking list on the My Account page, and set the cancellation deadline with the JetBooking and WooCommerce plugins.
Before you start, check the tutorial requirements:
- Elementor (Free version)
- JetBooking plugin installed and activated
- WooCommerce plugin installed and activated
- JetWooBuilder plugin installed and activated
The JetBooking WordPress plugin allows for the creation of booking and rental websites.
It also integrates with the WooCommerce plugin, enabling you to display the booking list on the My Account page, set a cancellation deadline, and allow users to cancel reservations.
Enable Booking Cancelation Functionality
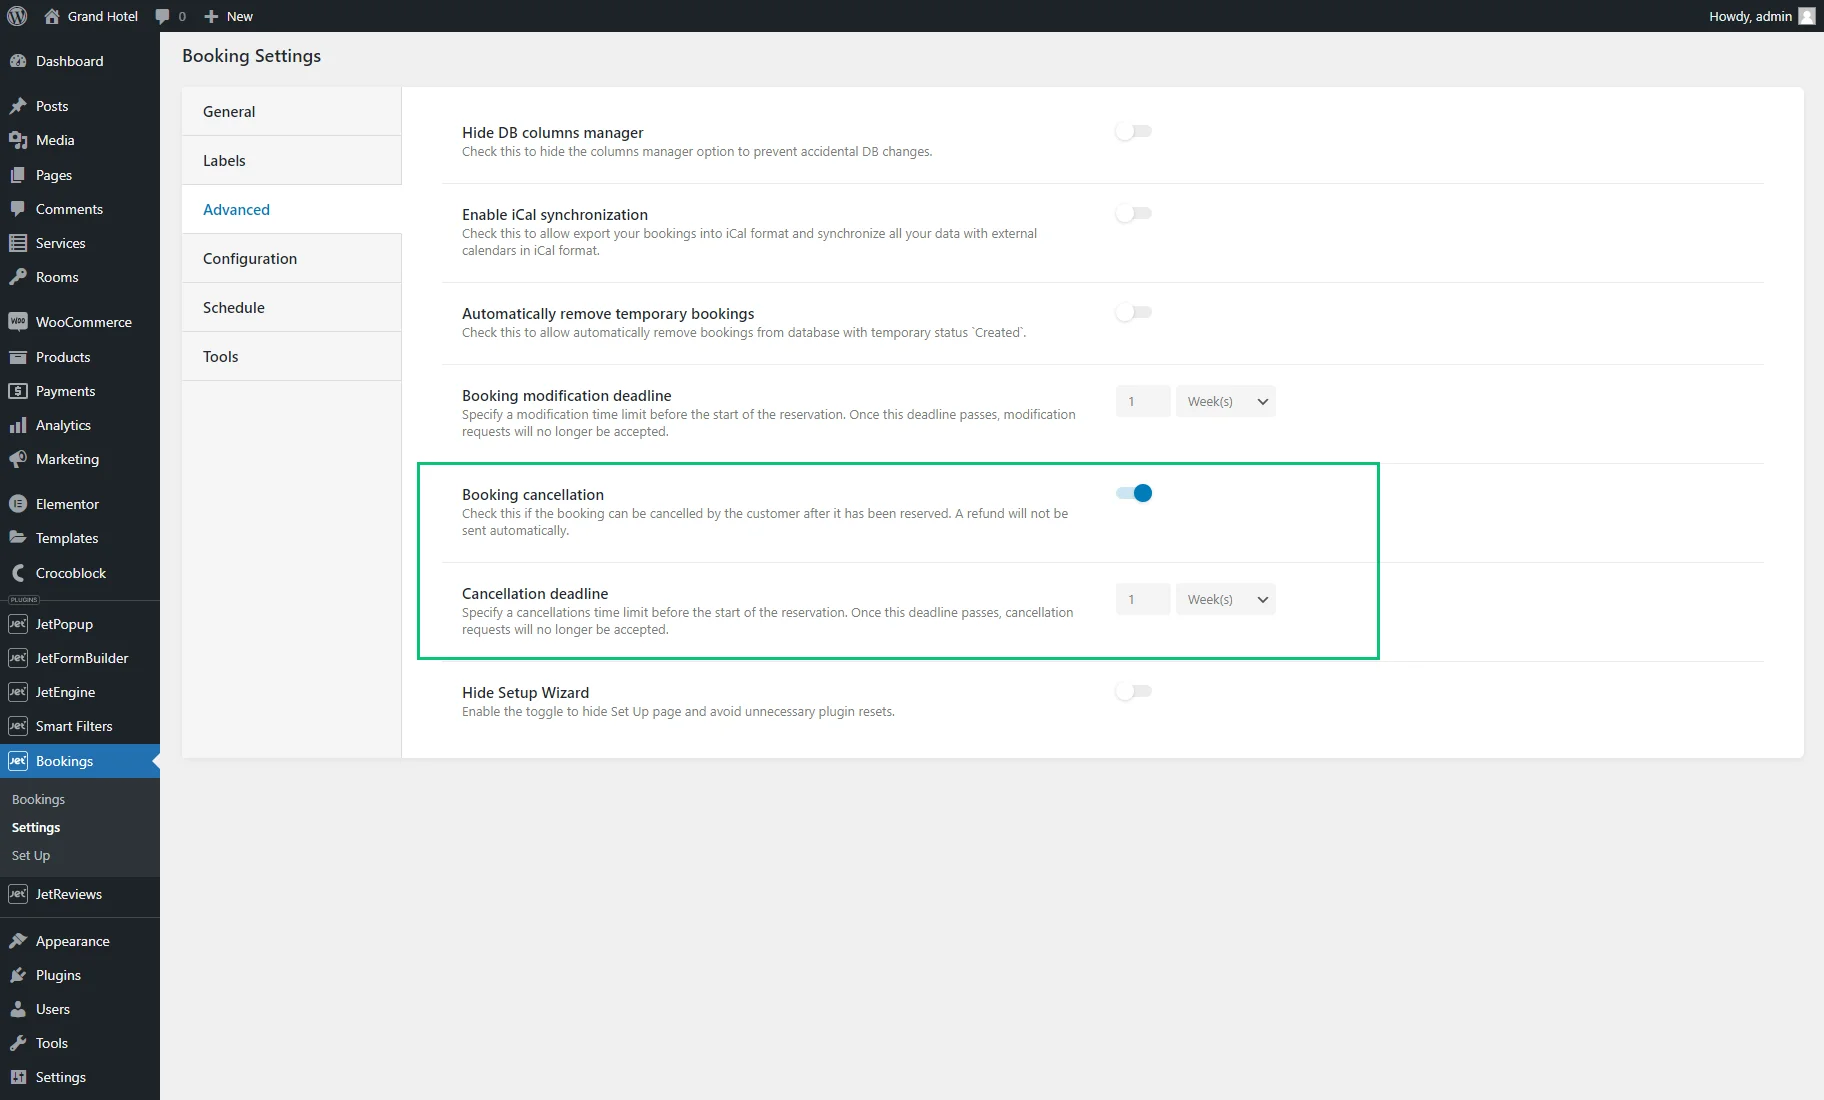
Go to the WordPress Dashboard > Bookings > Settings > Advanced tab, scroll down to the Booking cancellation toggle, and activate it to allow customers to cancel bookings after they have been reserved.
It turns on the Cancellation deadline option, where you can specify an available cancellation time. Be aware that the number field’s value cannot be less than “1,” and a refund will not be sent automatically.
For example, we set “1” and “Week(s)” values, so users cannot cancel bookings if there is less than one week before the check-in.
Make Bookings
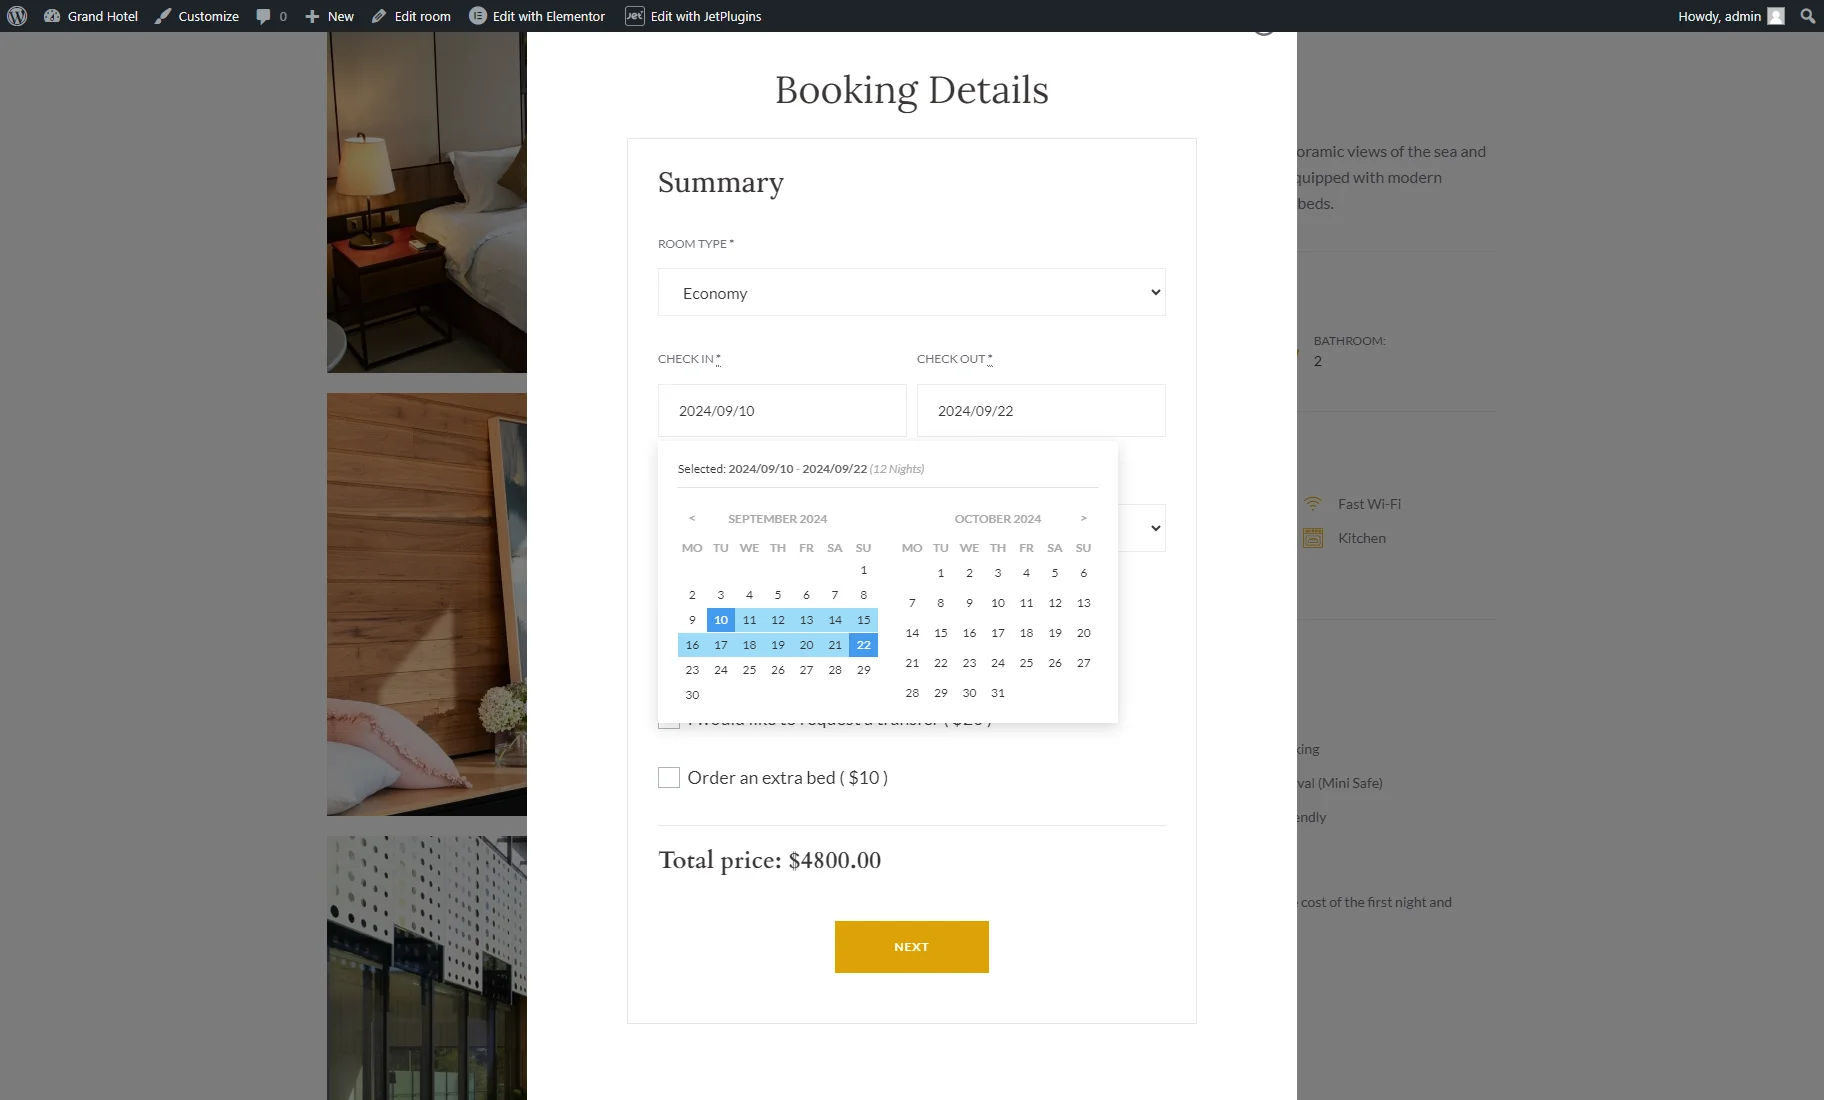
On the front end, open a Single Post page with a booking form and submit one or several bookings for testing.
Open Bookings on the My Account Page
Proceed to this tutorial to learn How to Create My Account Page With Endpoint Templates using the WooCommerce, JetWooBuilder, and JetThemeCore (optional) plugins.
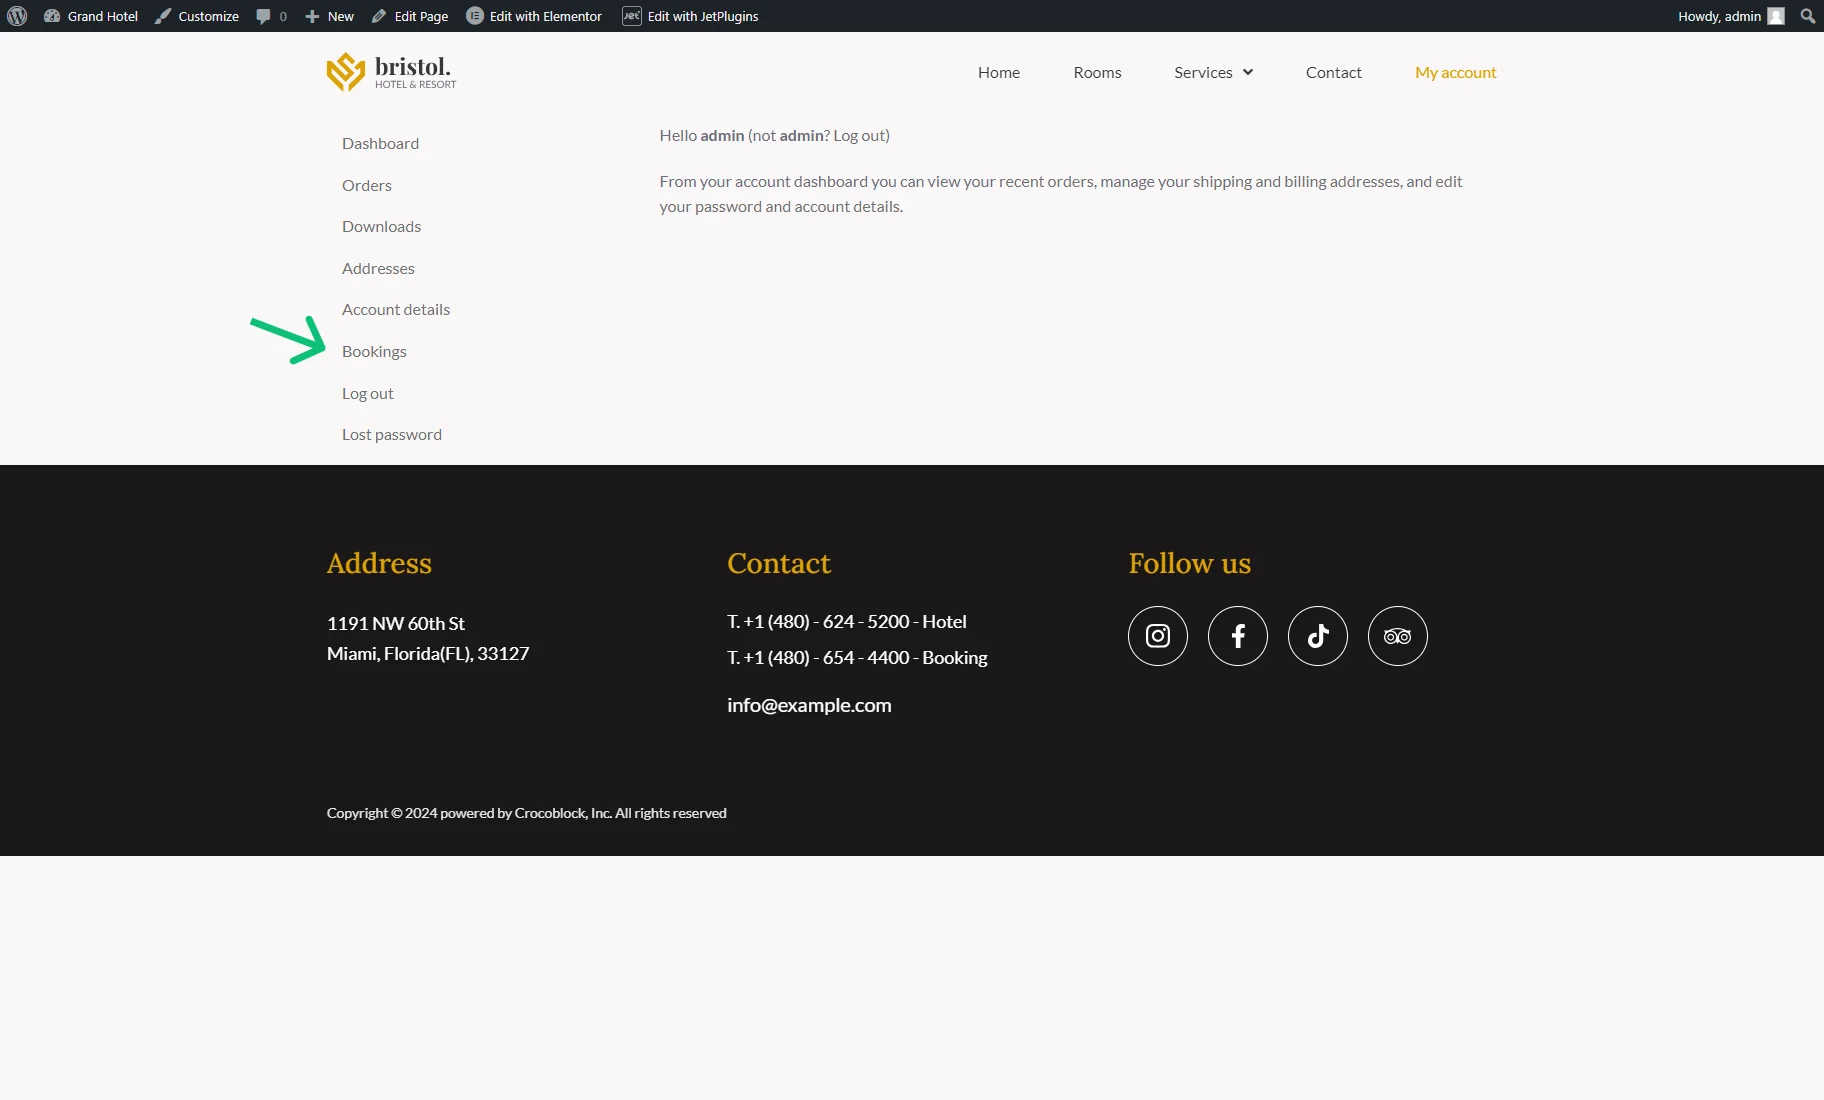
Open the My Account page with endpoints on the front end.
With the WooCommerce and JetBooking plugins installed and activated, the Bookings endpoint tab will be available in the menu.
This tab shows the past, today’s, and upcoming bookings.
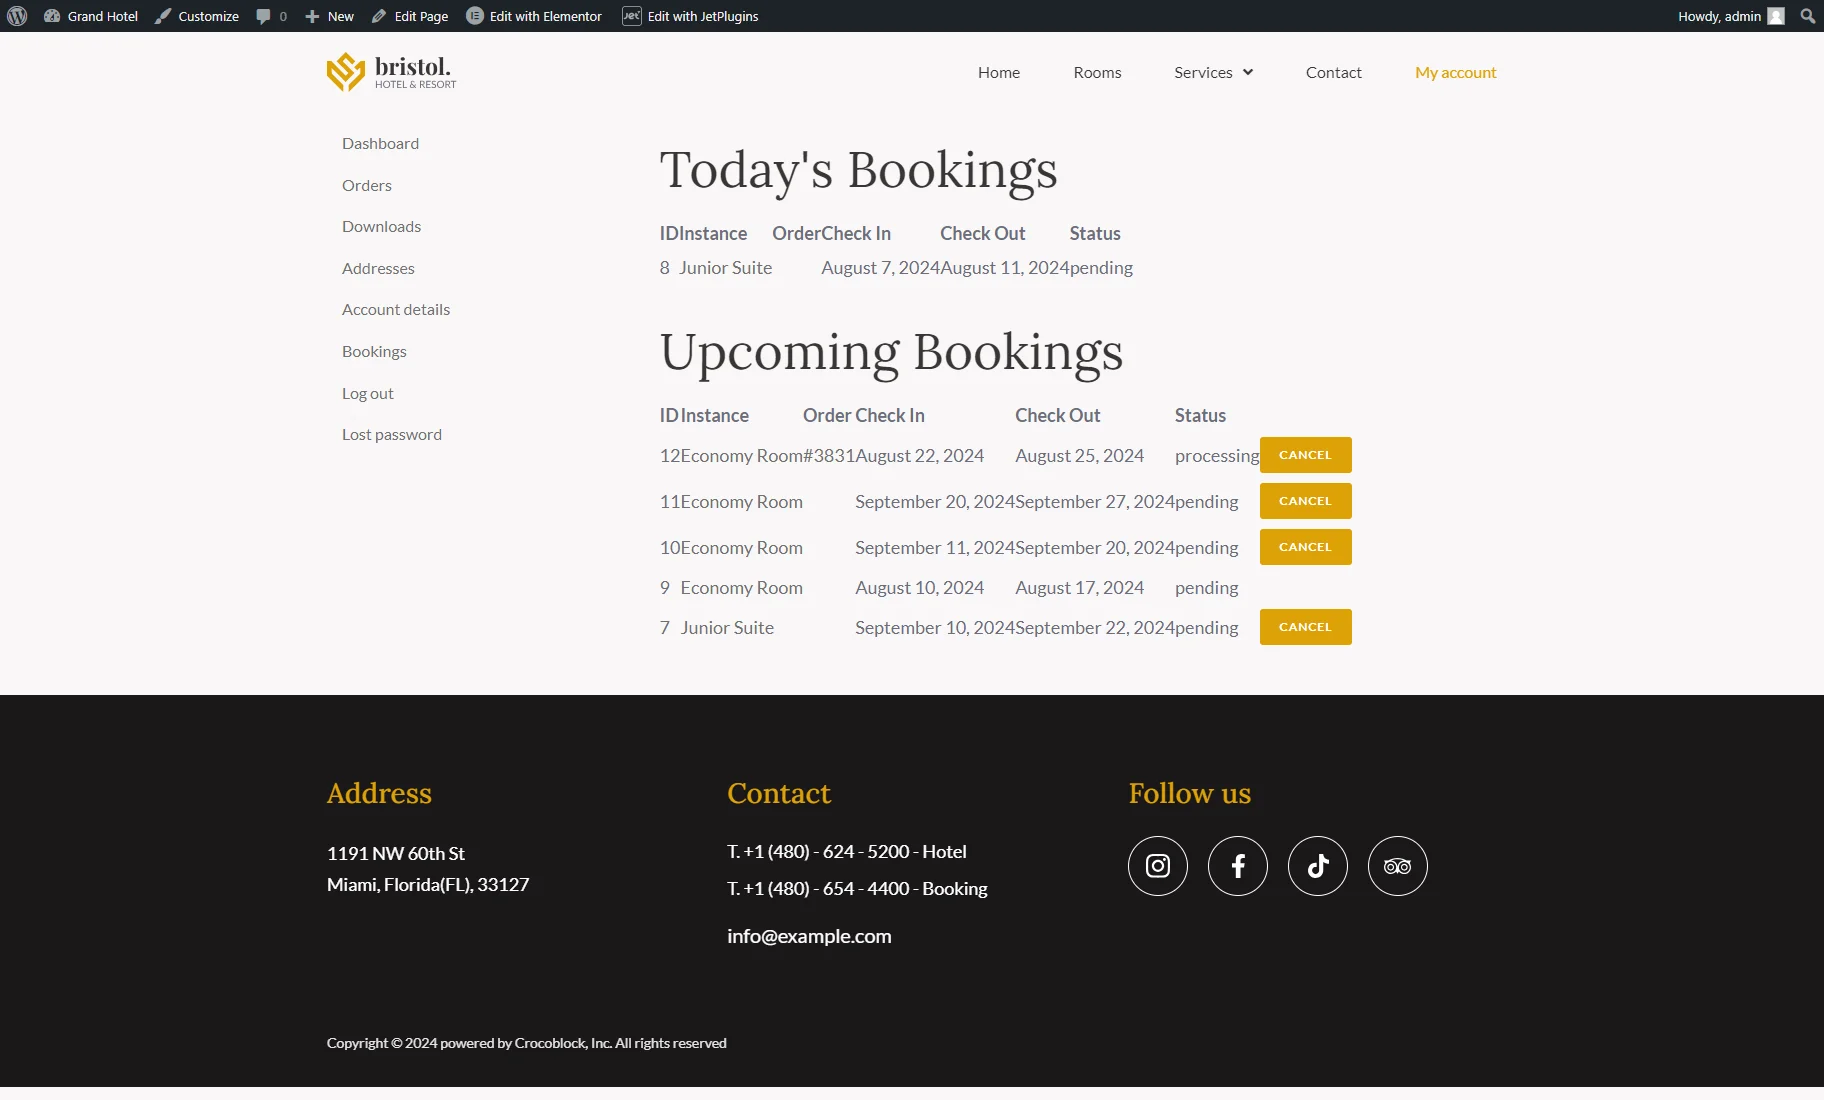
Here, users can check such info:
- ID — shows the booking ID;
- Instance — shows the name of the booked post with a link to its Single page;
- Order — shows the order ID. If this order was created using WooCommerce, it will be displayed as a link that directs the user to the corresponding order on the My Account page;
- Check In and Check Out dates — date format can be changed in WordPress Dashboard > Settings > General > Date Format;
- Status — shows the booking status.
The last column presents the “CANCEL” button. Depending on the Cancellation deadline option settings, it will be shown or hidden.
For example, we set a one-week deadline, so the bookings with check-in dates of 7 and 10 August aren’t available for cancellation (today is August 7).
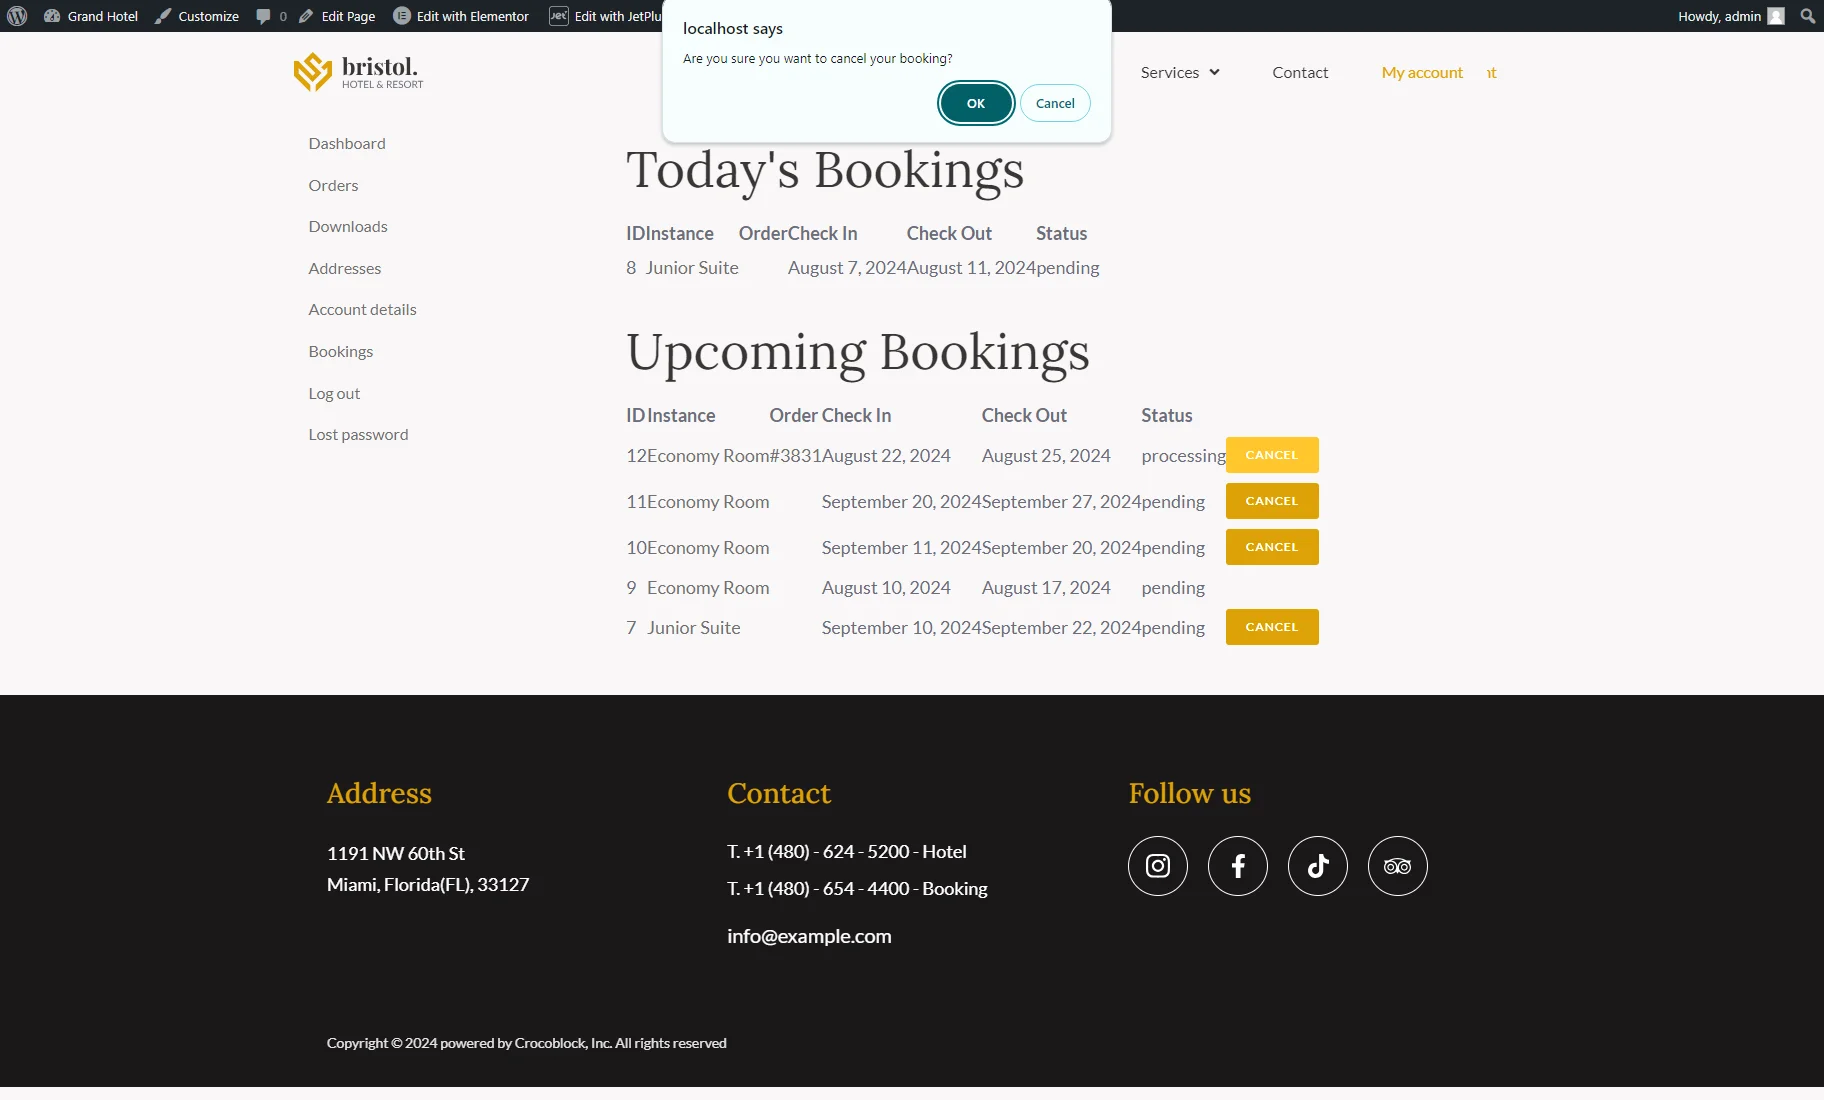
Clicking the “CANCEL” button triggers a “Are you sure you want to cancel your booking?” pop-up. To continue the cancellation process, we hit the “OK” button.
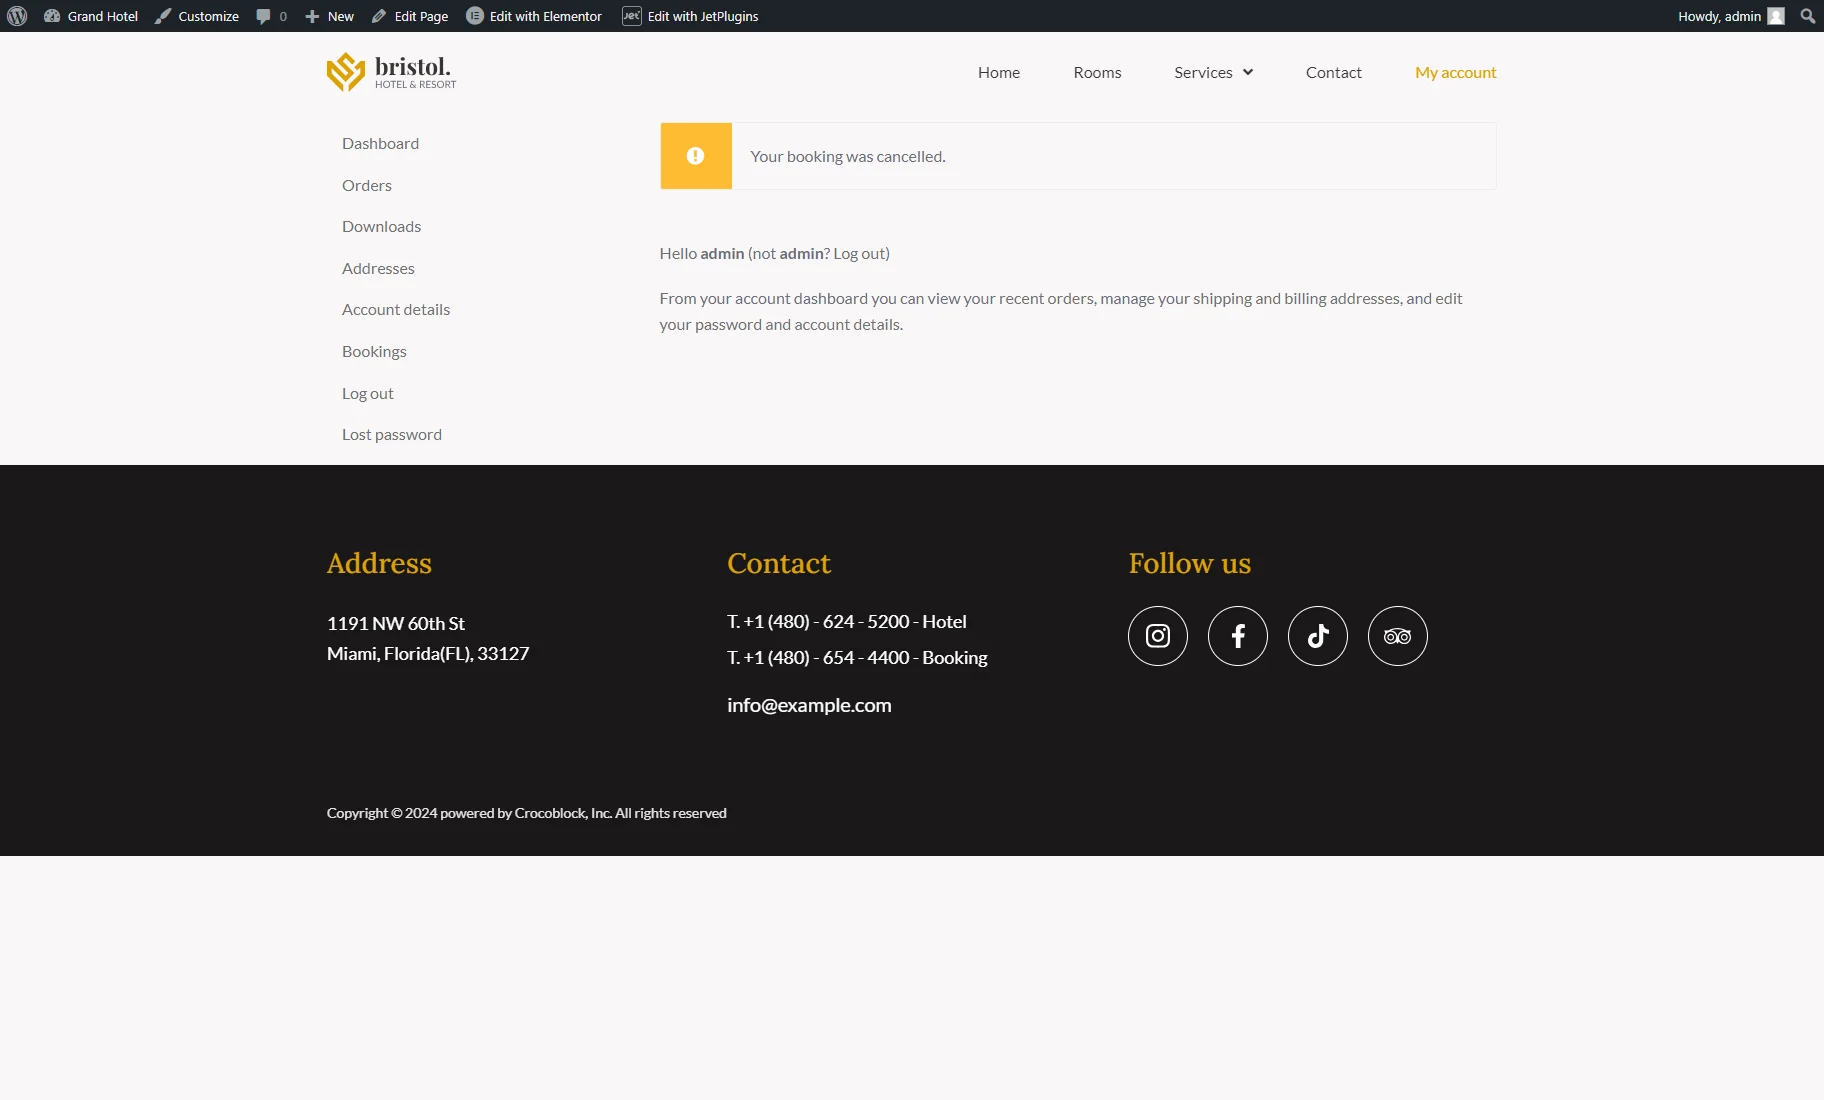
Besides the cancellation, the “CANCEL” button also redirects the user to the My Account page, where the “Your booking was cancelled.” message shows up.
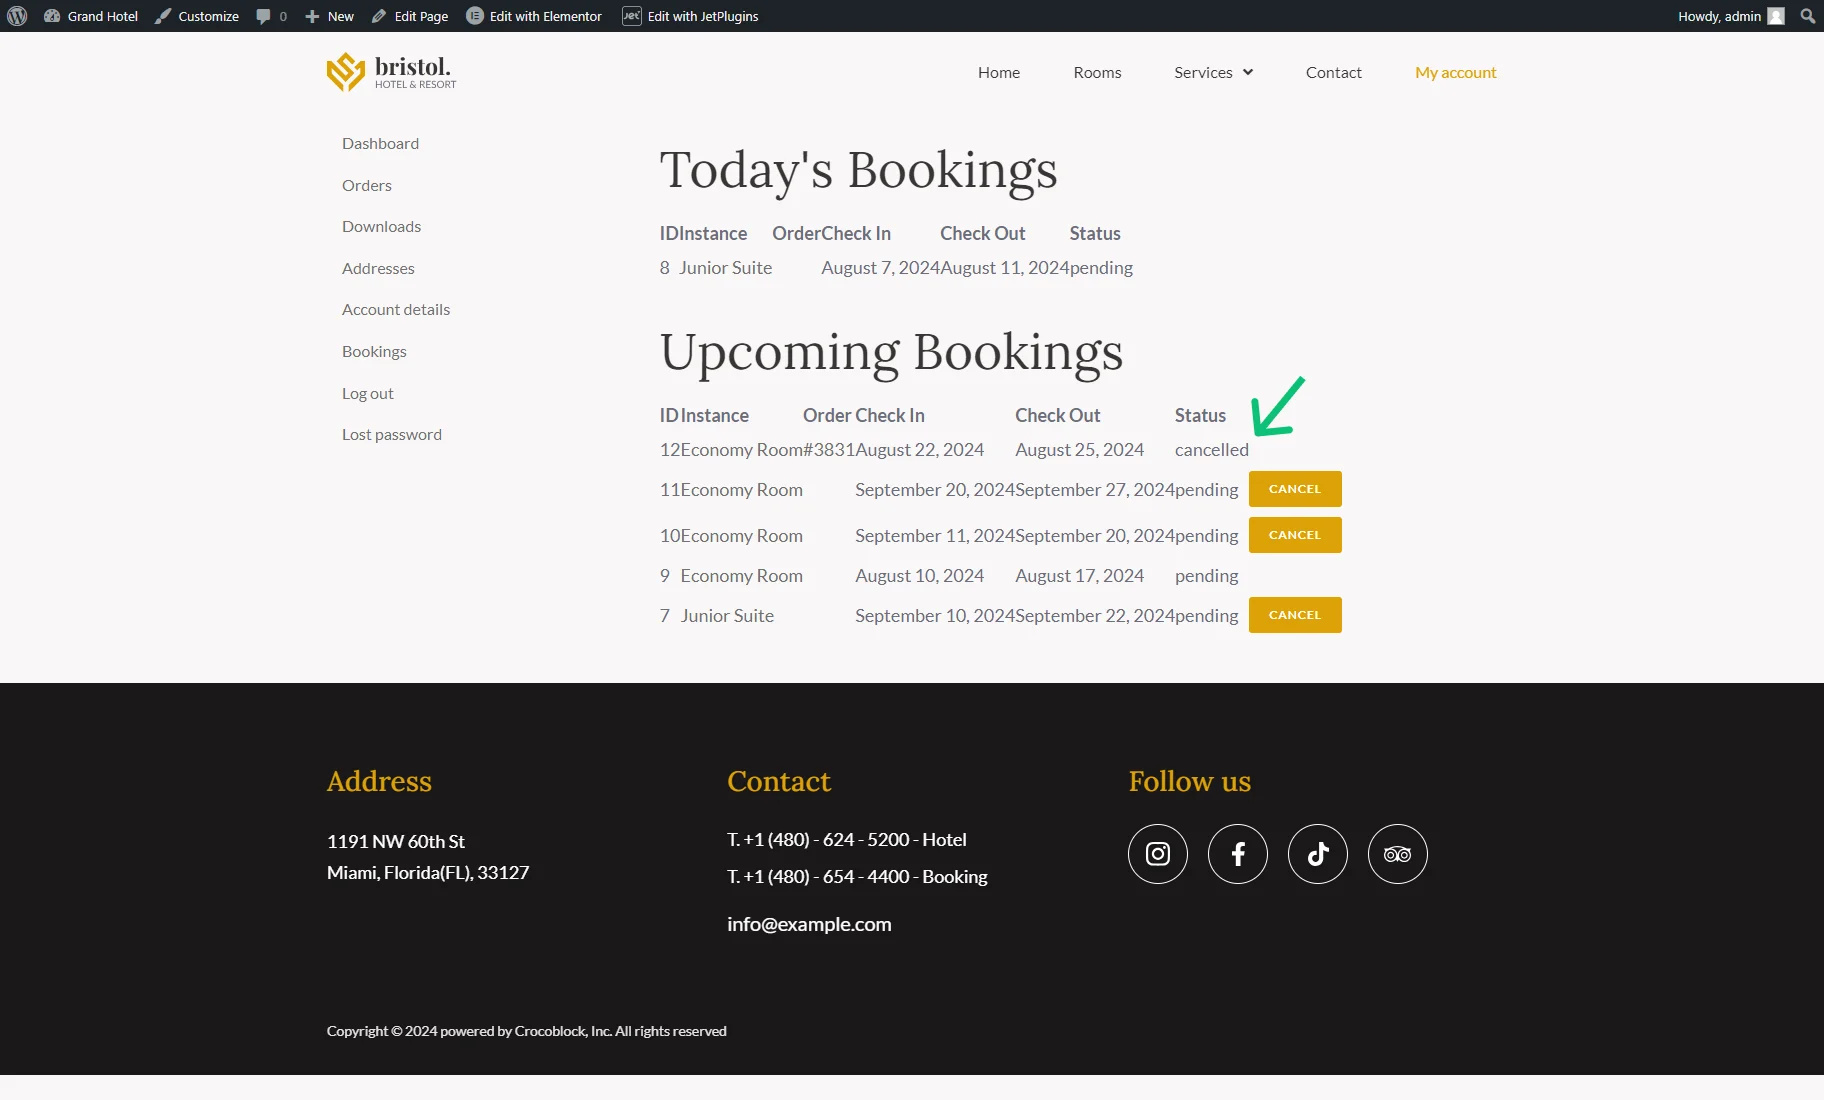
When we open the Booking tab again, we can see that the first booking from the Upcoming Bookings obtained the “cancelled” Status.
That’s all. Now you know how to allow users to cancel their bookings using the booking cancellation URL from the My Account page using the JetBooking and WooCommerce plugins on your WordPress website.