How to Create Dynamic Table in Elementor
This tutorial describes the creation process of Dynamic Table in the Elementor page builder with the help of the JetEngine plugin.
Before you start, check the tutorial requirements:
- Elementor (Free version)
- JetEngine plugin installed and activated
This tutorial will show you how you can create a dynamic table with the needed information about displayed items, like titles, meta field values, and templates.
For example, we will create a table for a book-selling website where we will display book titles, their author, and an image gallery. The content will be based on the “Books” Custom Post Type (CPT) built beforehand.
Activate Tables Builder
Initially, check if the Tables Builder is activated.
The needed switch is available by following WordPress Dashboard > JetEngine > Modules > External Modules. Toggle the Dynamic Tables Builder if it isn’t enabled.
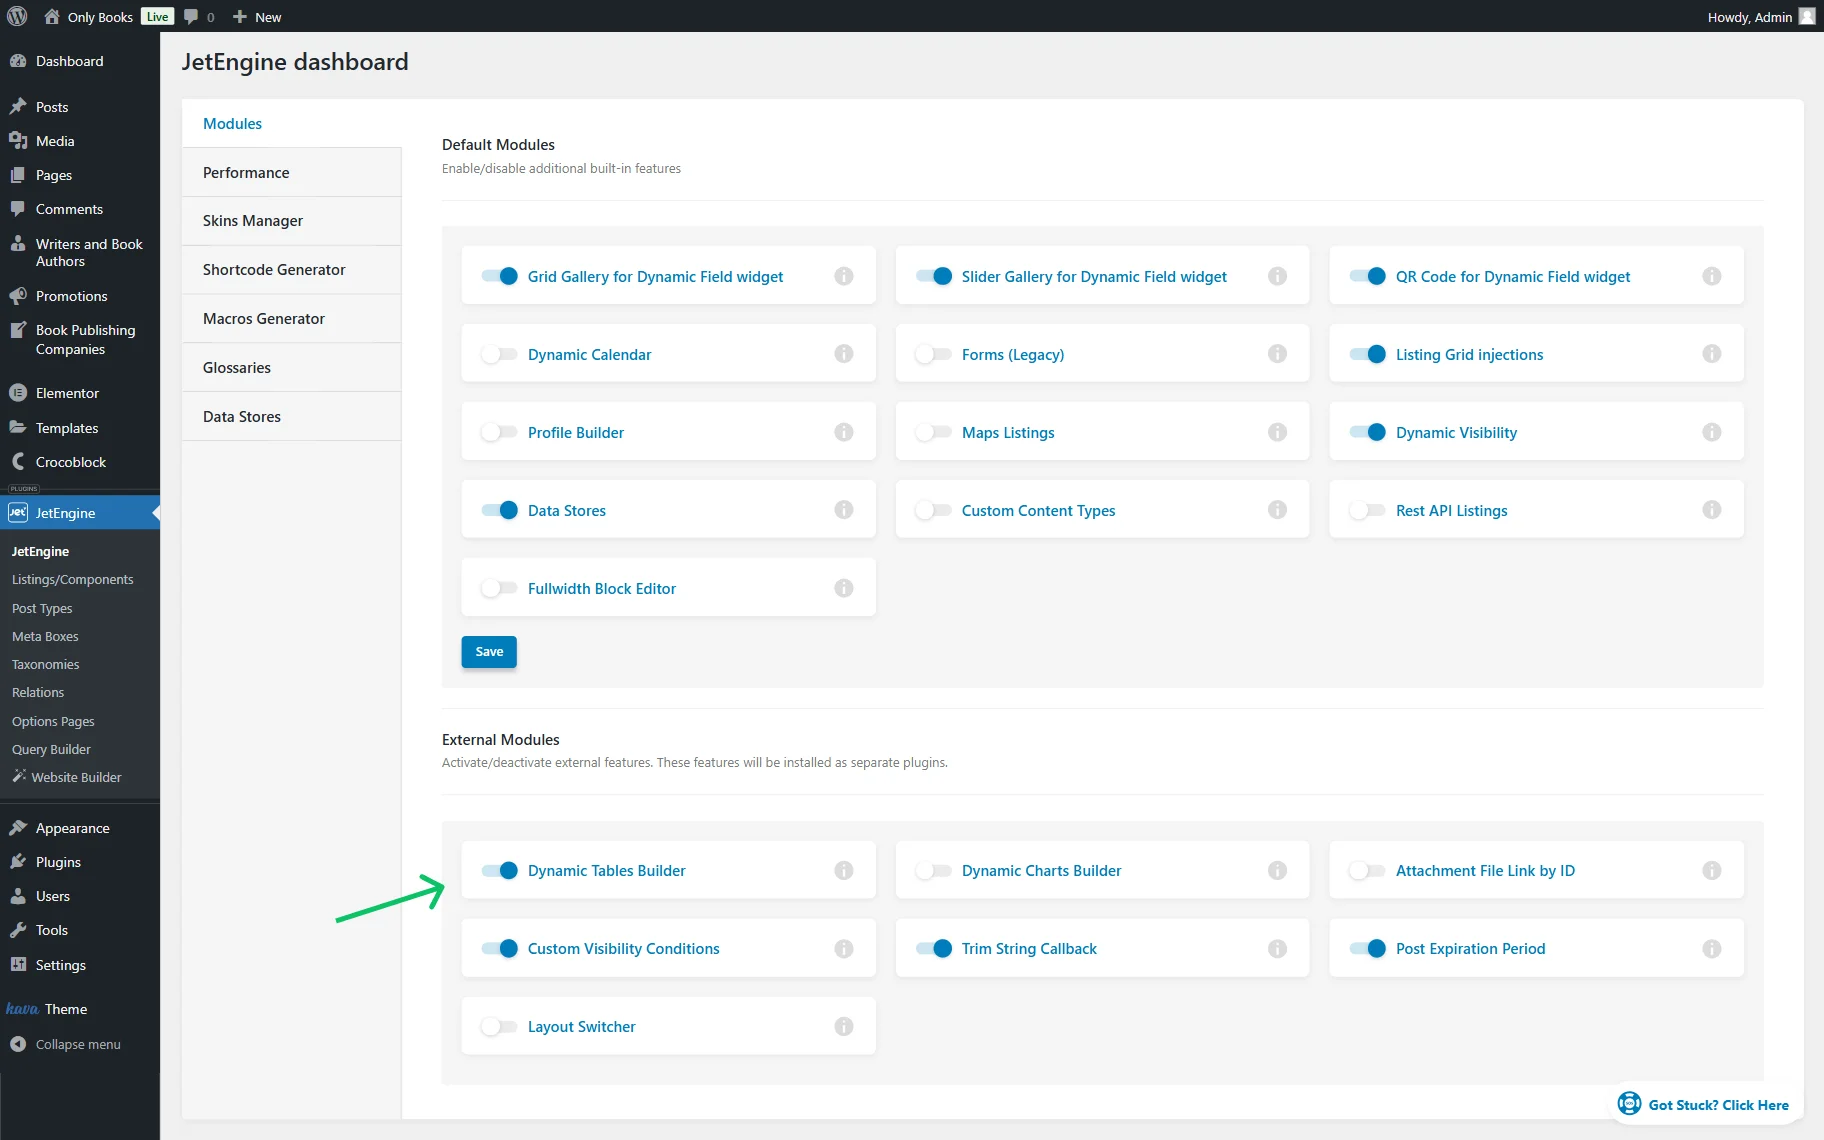
Now, you can close the pop-up that appears and proceed to the next step.
Also, read the detailed Dynamic Tables Builder Overview to know more about the Dynamic Tables Builder features.
Create Query
The outset of creating a Dynamic Table is Query Builder. To create a query, navigate to WordPress Dashboard > JetEngine > Query Builder and add a new query by clicking on the corresponding button.
Give a title to the query and choose its type. Now, we will pick the “Post Query” option.
Besides, we will scroll down to the Posts Query section and specify the Post Type to define which post type the table will be created for. For instance, we will work with the “Books” CPT built beforehand.
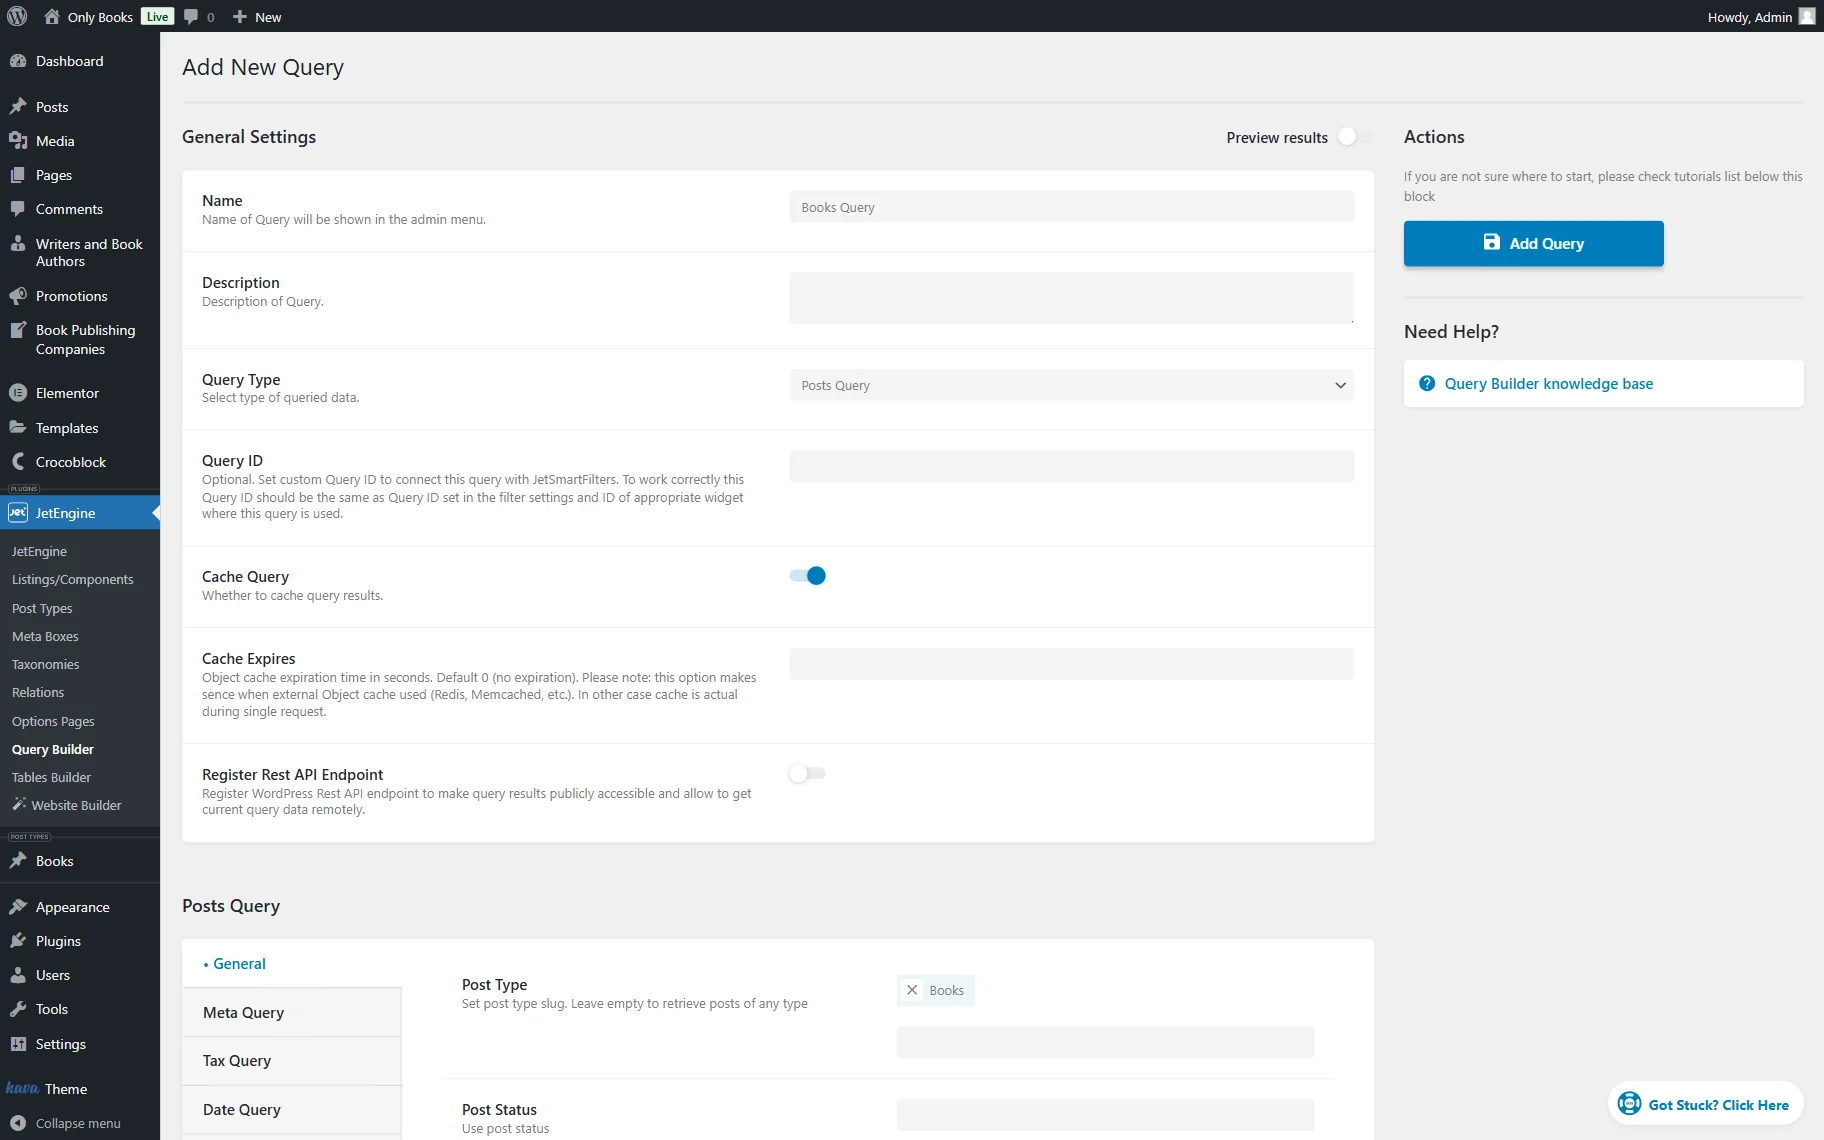
Look through other customization fields and click the “Add Query” button to save the changes.
Build Table
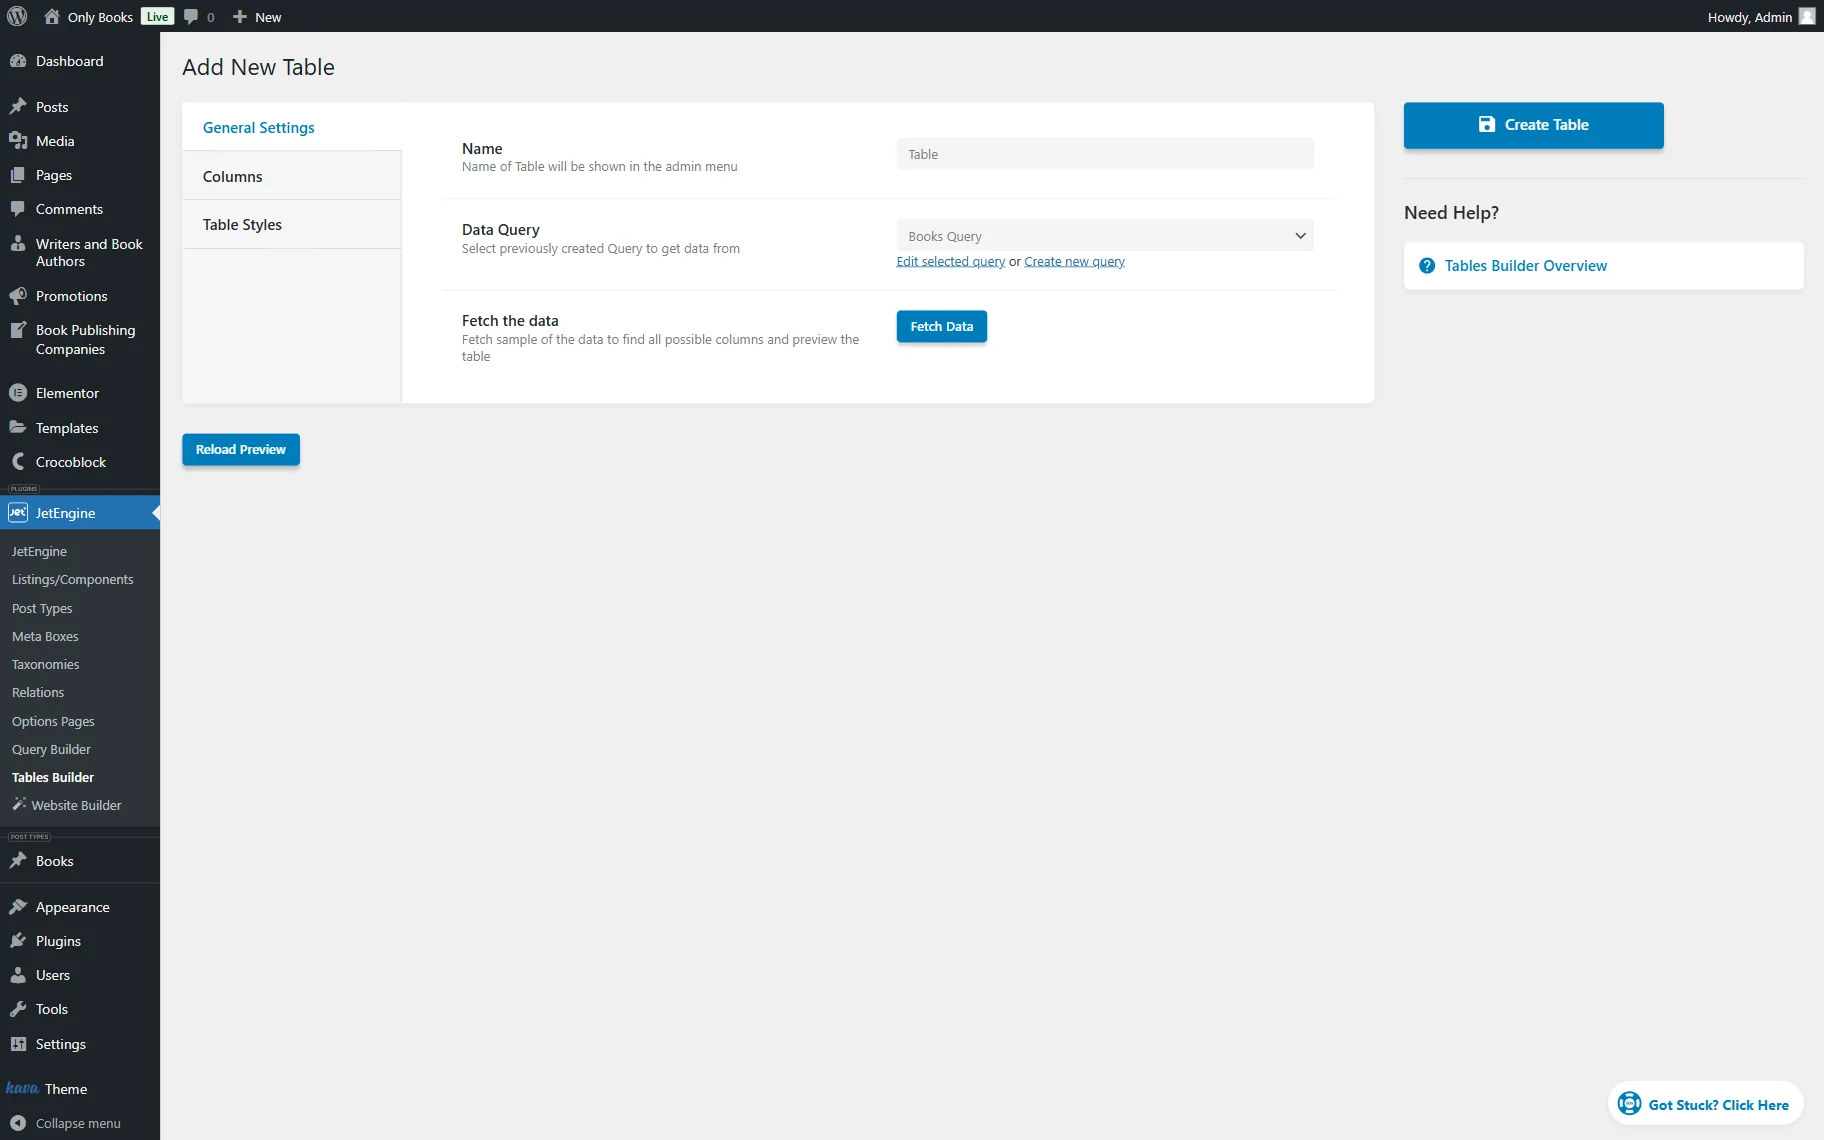
Navigate to WordPress Dashboard > JetEngine > Tables Builder. Add a new table by clicking on the similarly named button.
Let’s start with the General Settings tab. Give a Name to the table and choose the created query as the source in the Data Query dropdown menu. For instance, we complete a Name field with the “Table” value and pick the just-built “Books Query” in the Data Query field.
Push the “Fetch Data” button to activate the connection between the query and the table.
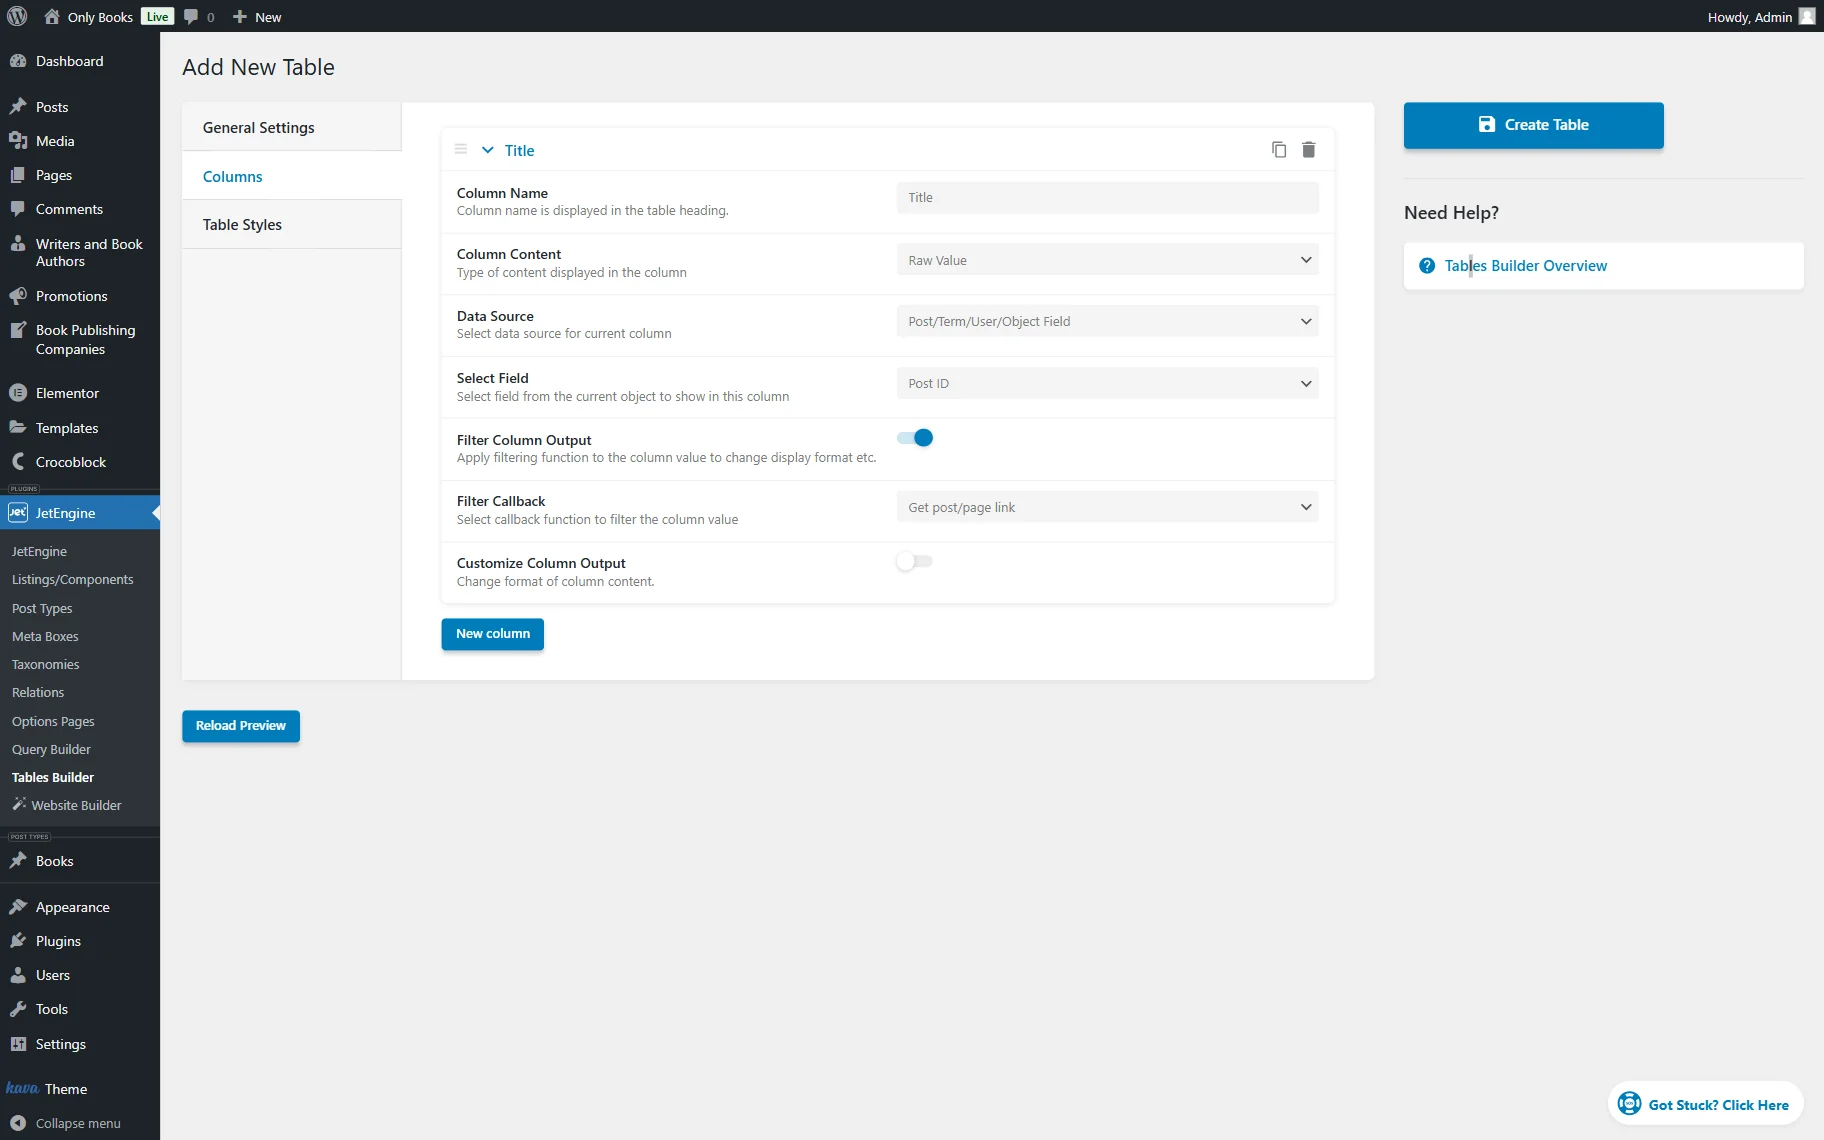
Now, it’s time to attach the desired columns to the table. You can do it by going to the next Columns tab and clicking the “New column” button.
First, we want to display the title of the book. So, we set the “Title” Column Name correspondingly and choose the “Raw Value” option in the Column Content dropdown menu. Next, select the “Post/Term/User/Object” field in the Data Source dropdown below.
After that, choose a needed field in the Select Field, depending on what content you want to display. For instance, we pick the “Post ID” option. Then, enable the Filter Column Output feature and choose the “Get post/page link” option in the Filter Callback field. This way, the first column will display the title linked to the post’s Single page.
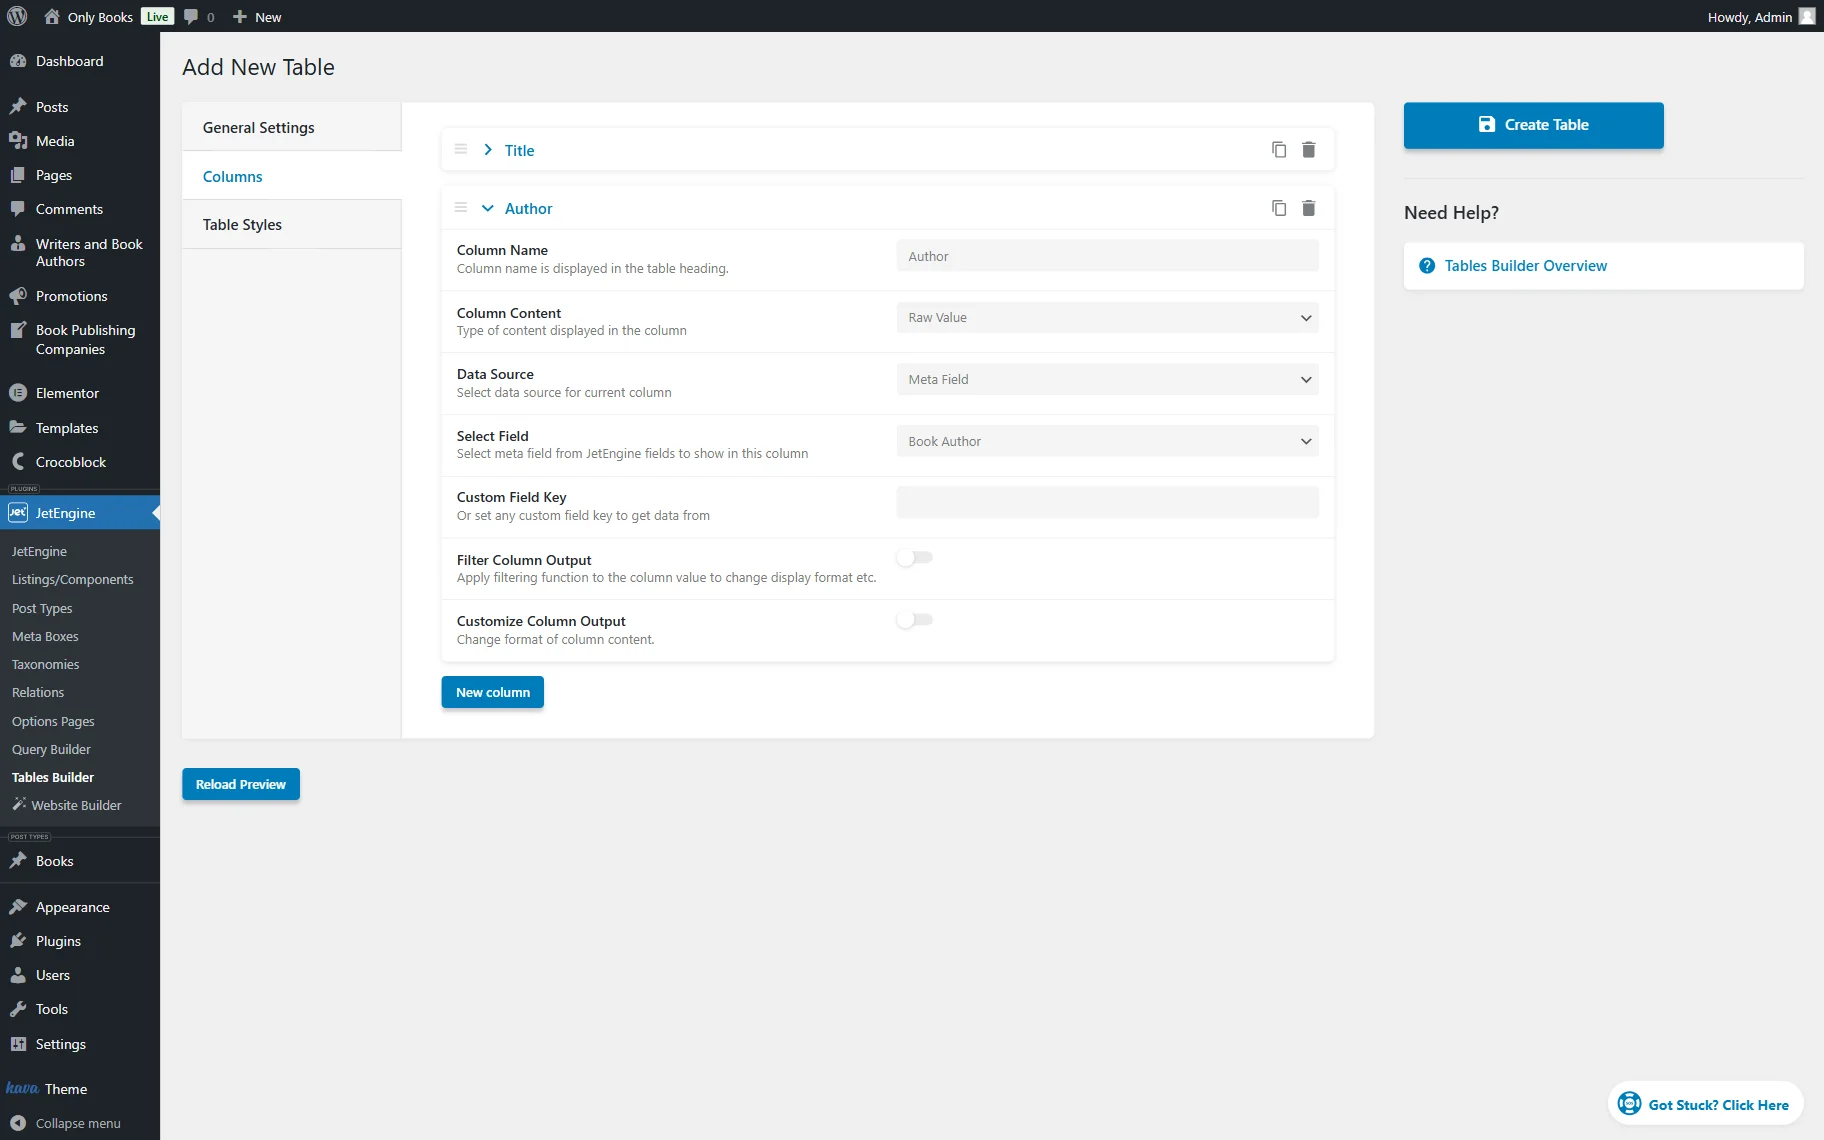
The next column we want to show is “Author,” which will be pulled from the “Books” CPT meta field. So, we pick the “Meta Field” option in the Data Source field and then select the field’s name. Here, “Book Author.”
Also, a ready-made listing template can be added to the dynamic table. For instance, we want to add a “Gallery” Listing template content as the column.
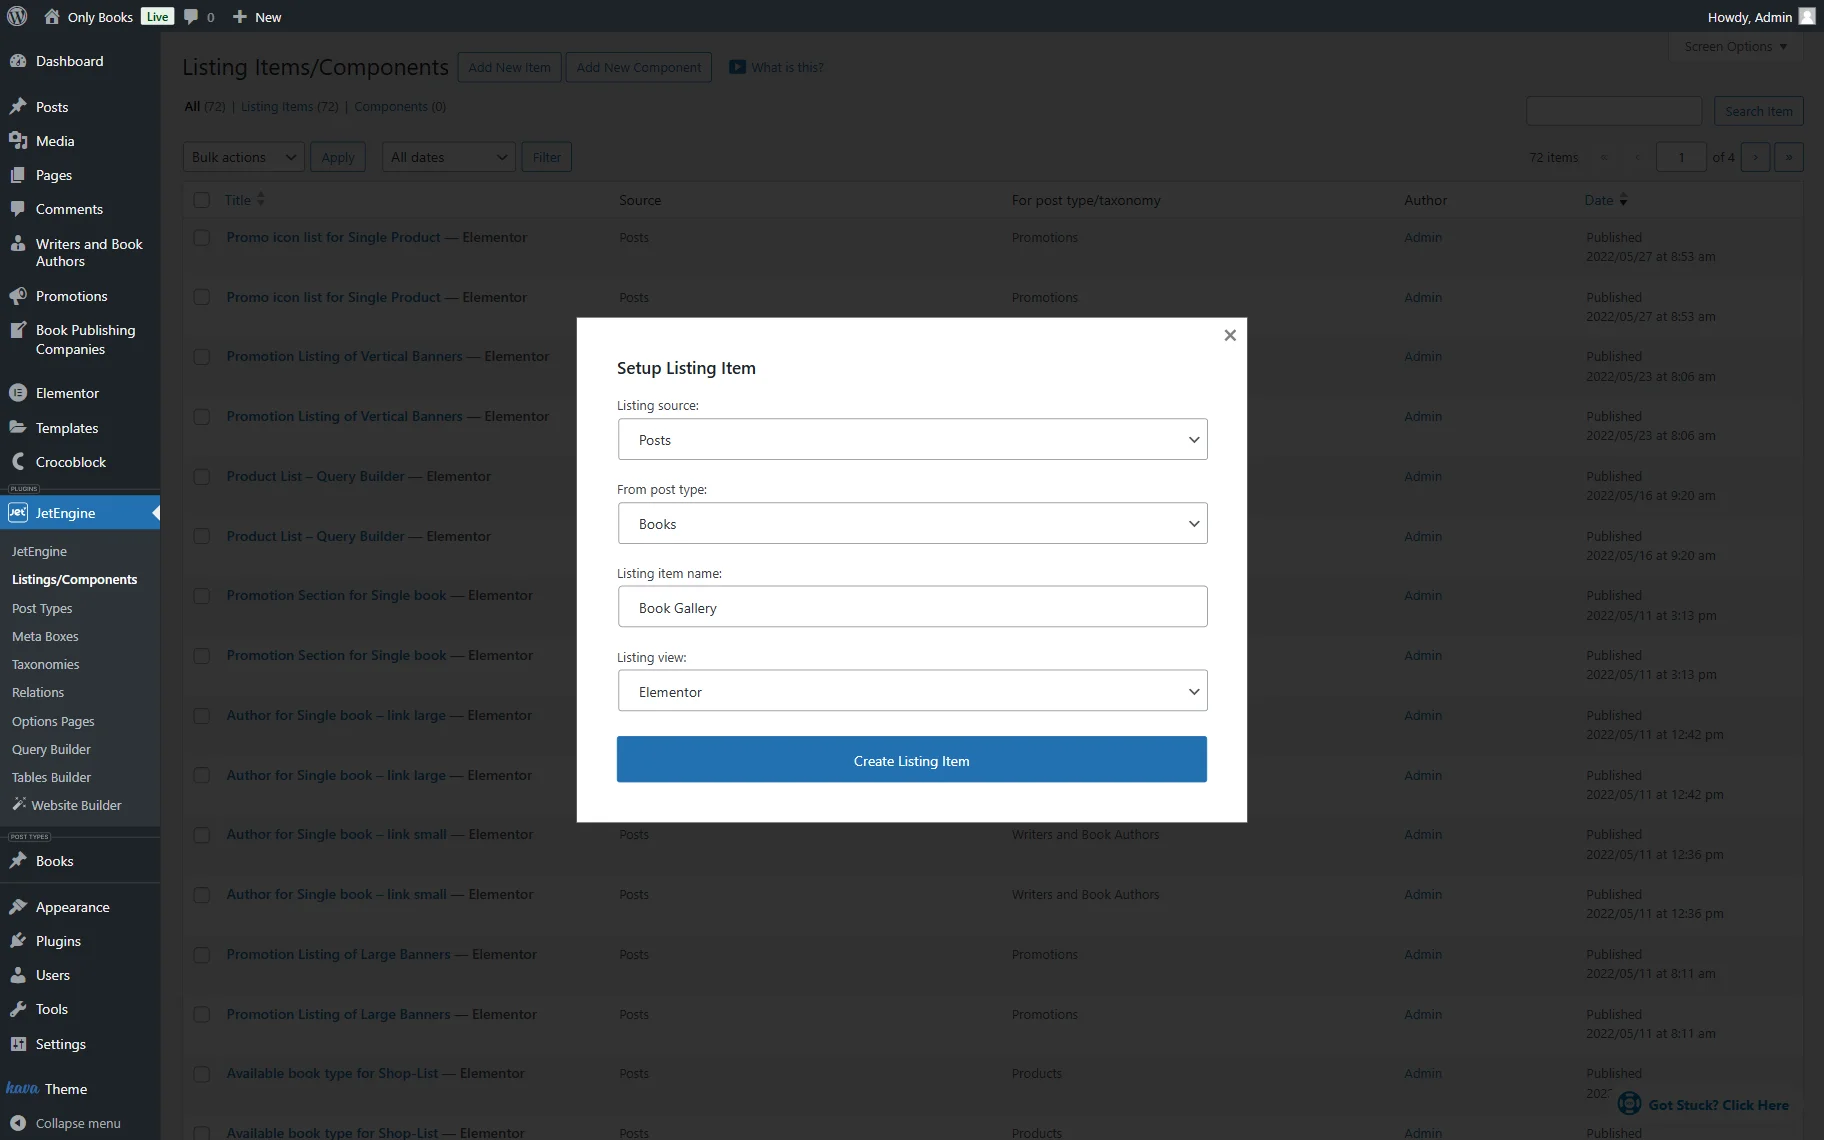
To create this template, open the WordPress Dashboard > JetEngine > Listings page in the new tab and press the “Add New” button.
In the Setup Listing Item pop-up, we choose “Posts” at the Listing Source, complete the From Post type field with the item for which the table is being made (here, “Books” Custom Post Type), write the Listing item name, and press the “Create Listing Item” button.
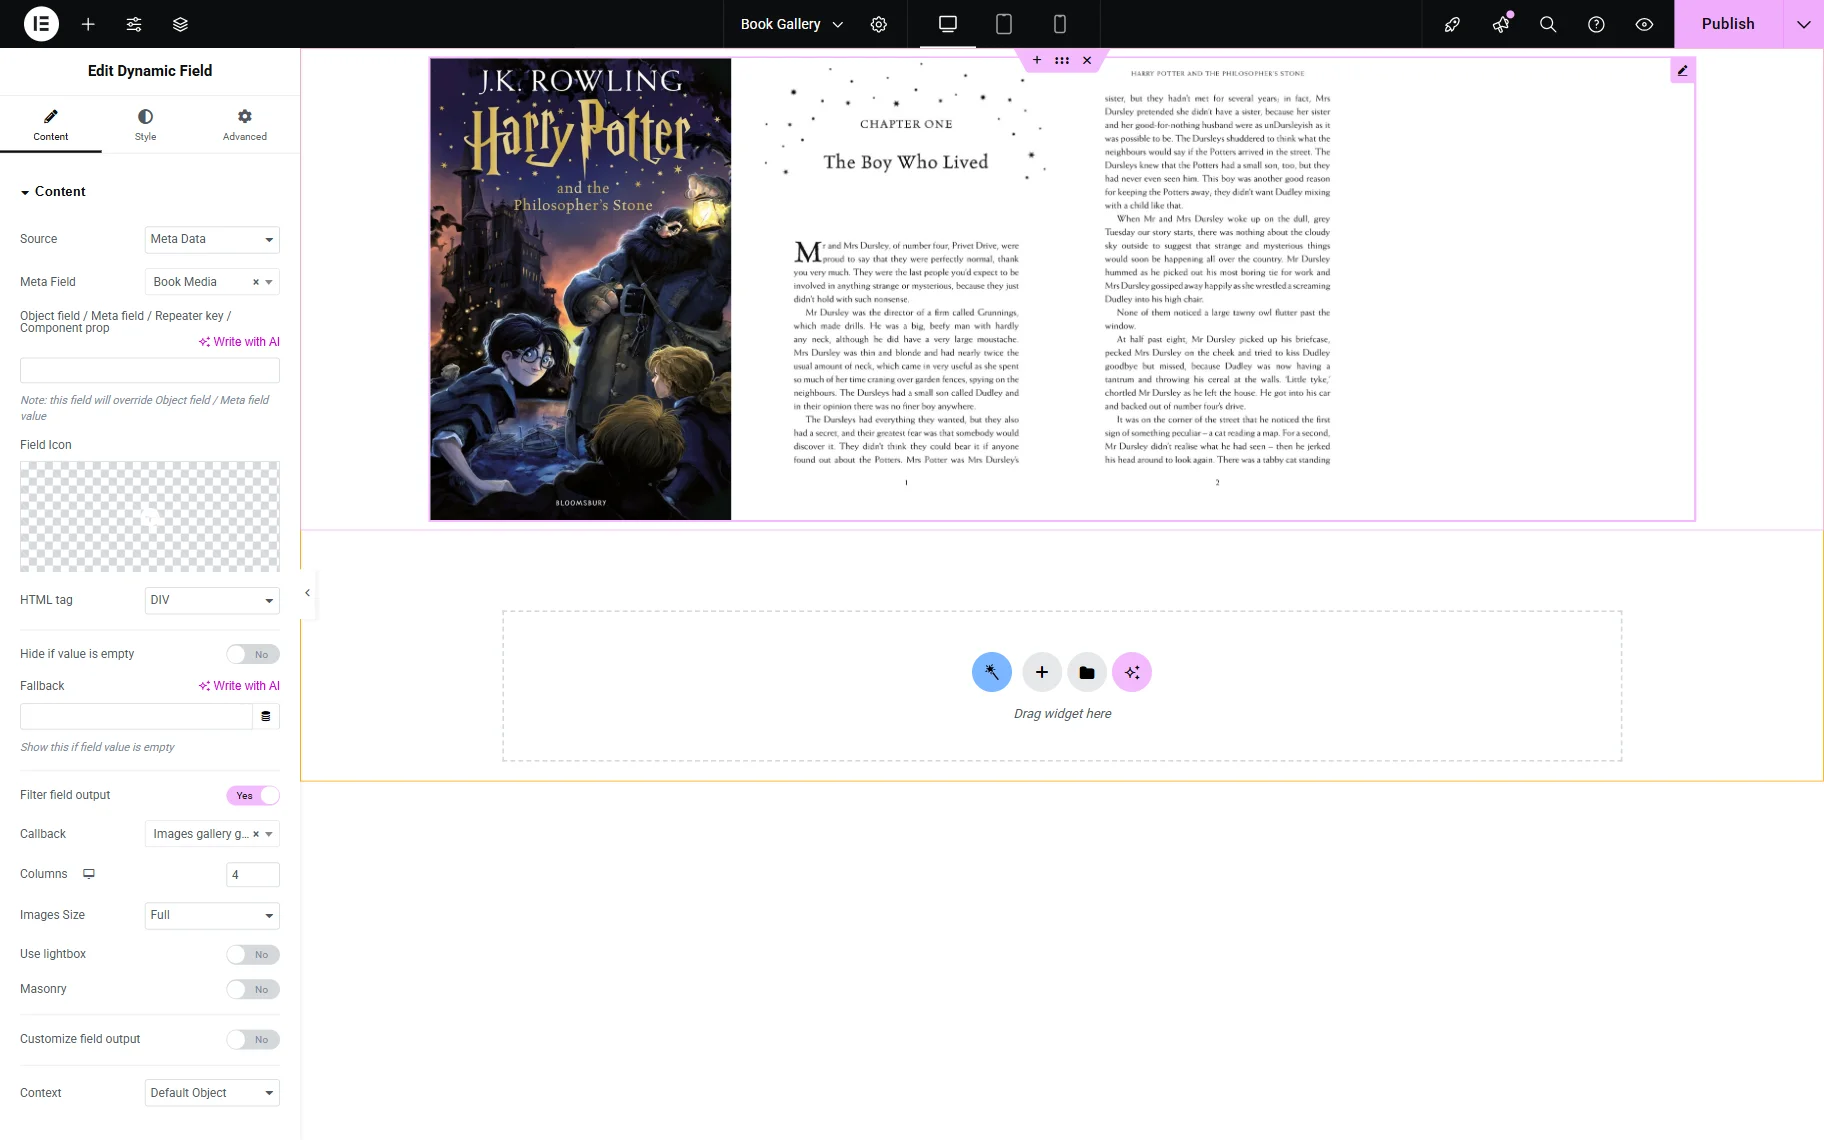
Add the required content to the template, style it, and save all changes.
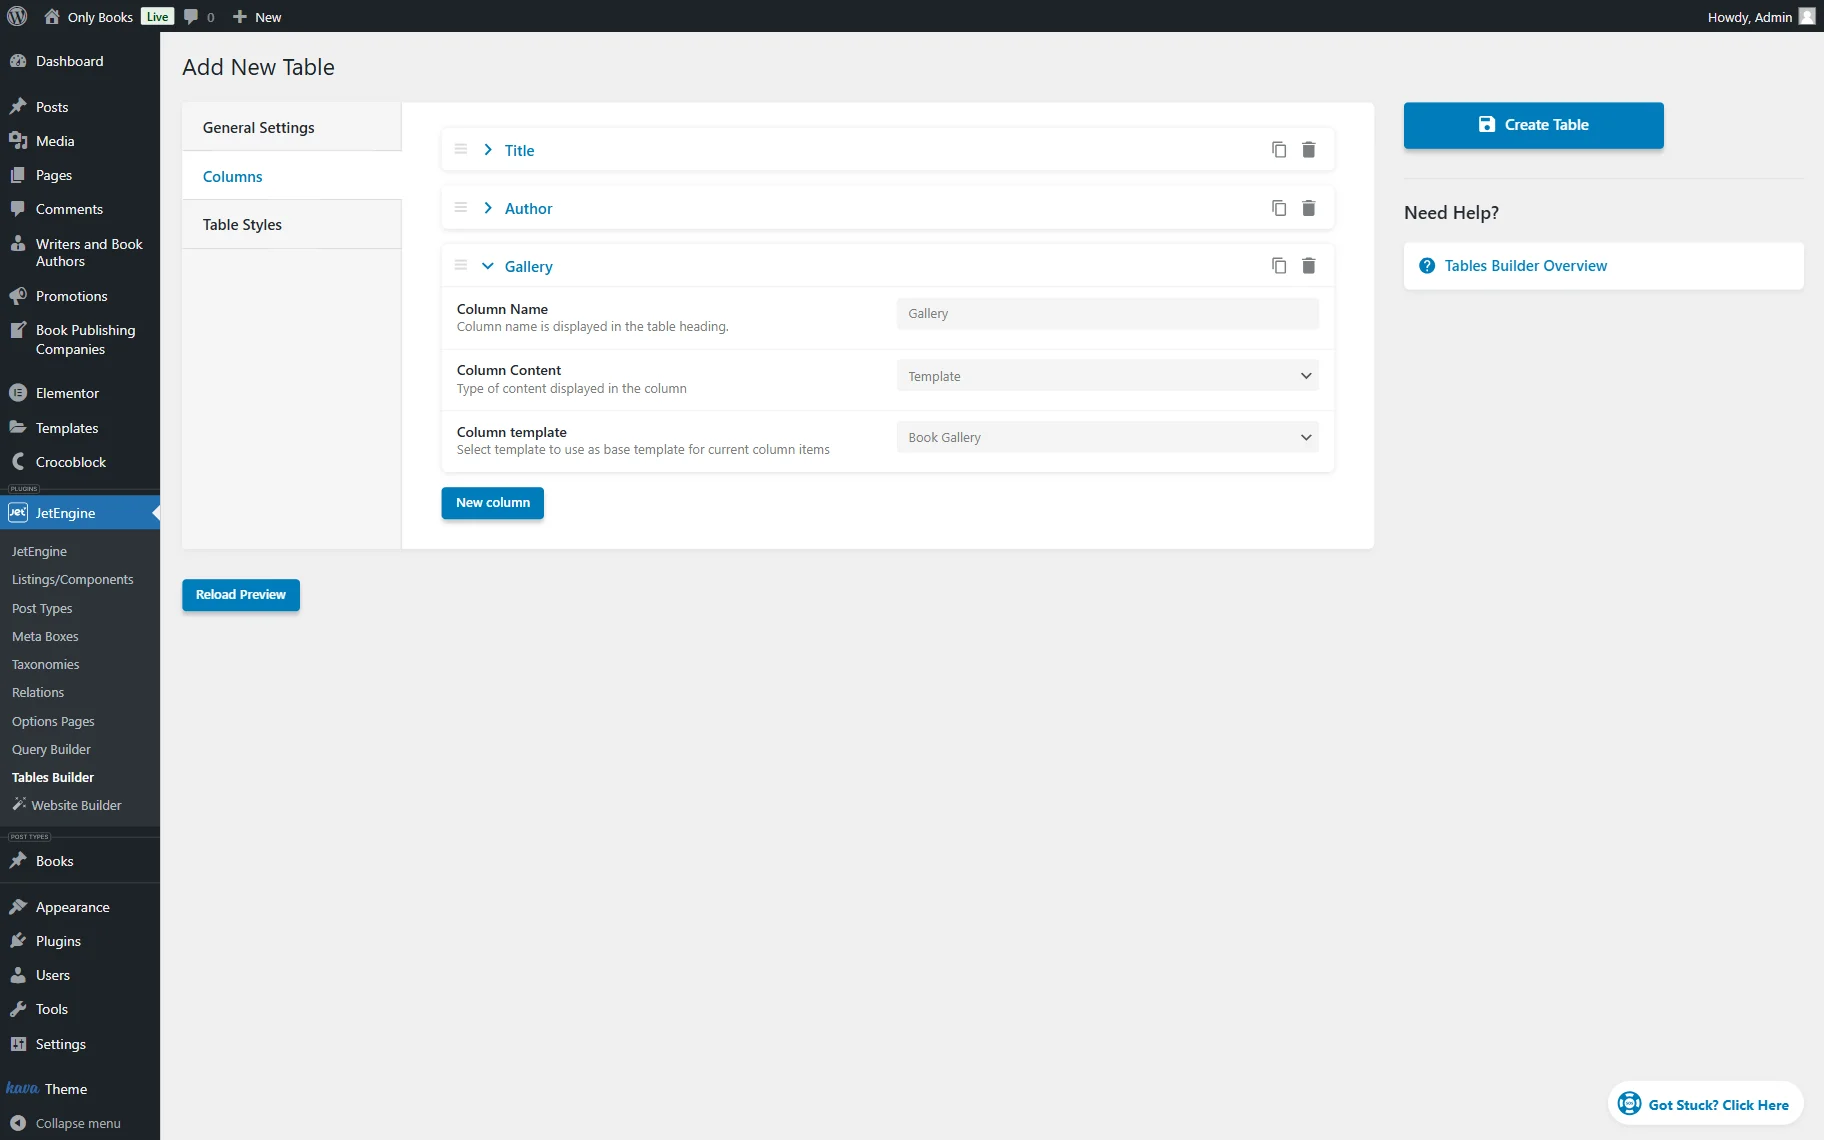
Then, return to the Tables Builder and choose the “Template” option in the Column Content field. Select a needed template in the Column Template field. Here, we pick the Listing template named “Book Gallery.”
Last but not least, adjust the available settings in the Table Styles tab. You can always style up the tables in the Elementor page builder if the suggested modifications aren’t enough.
You can set Vertical Align and Horizontal Align for both the Heading and Cell of the table columns.
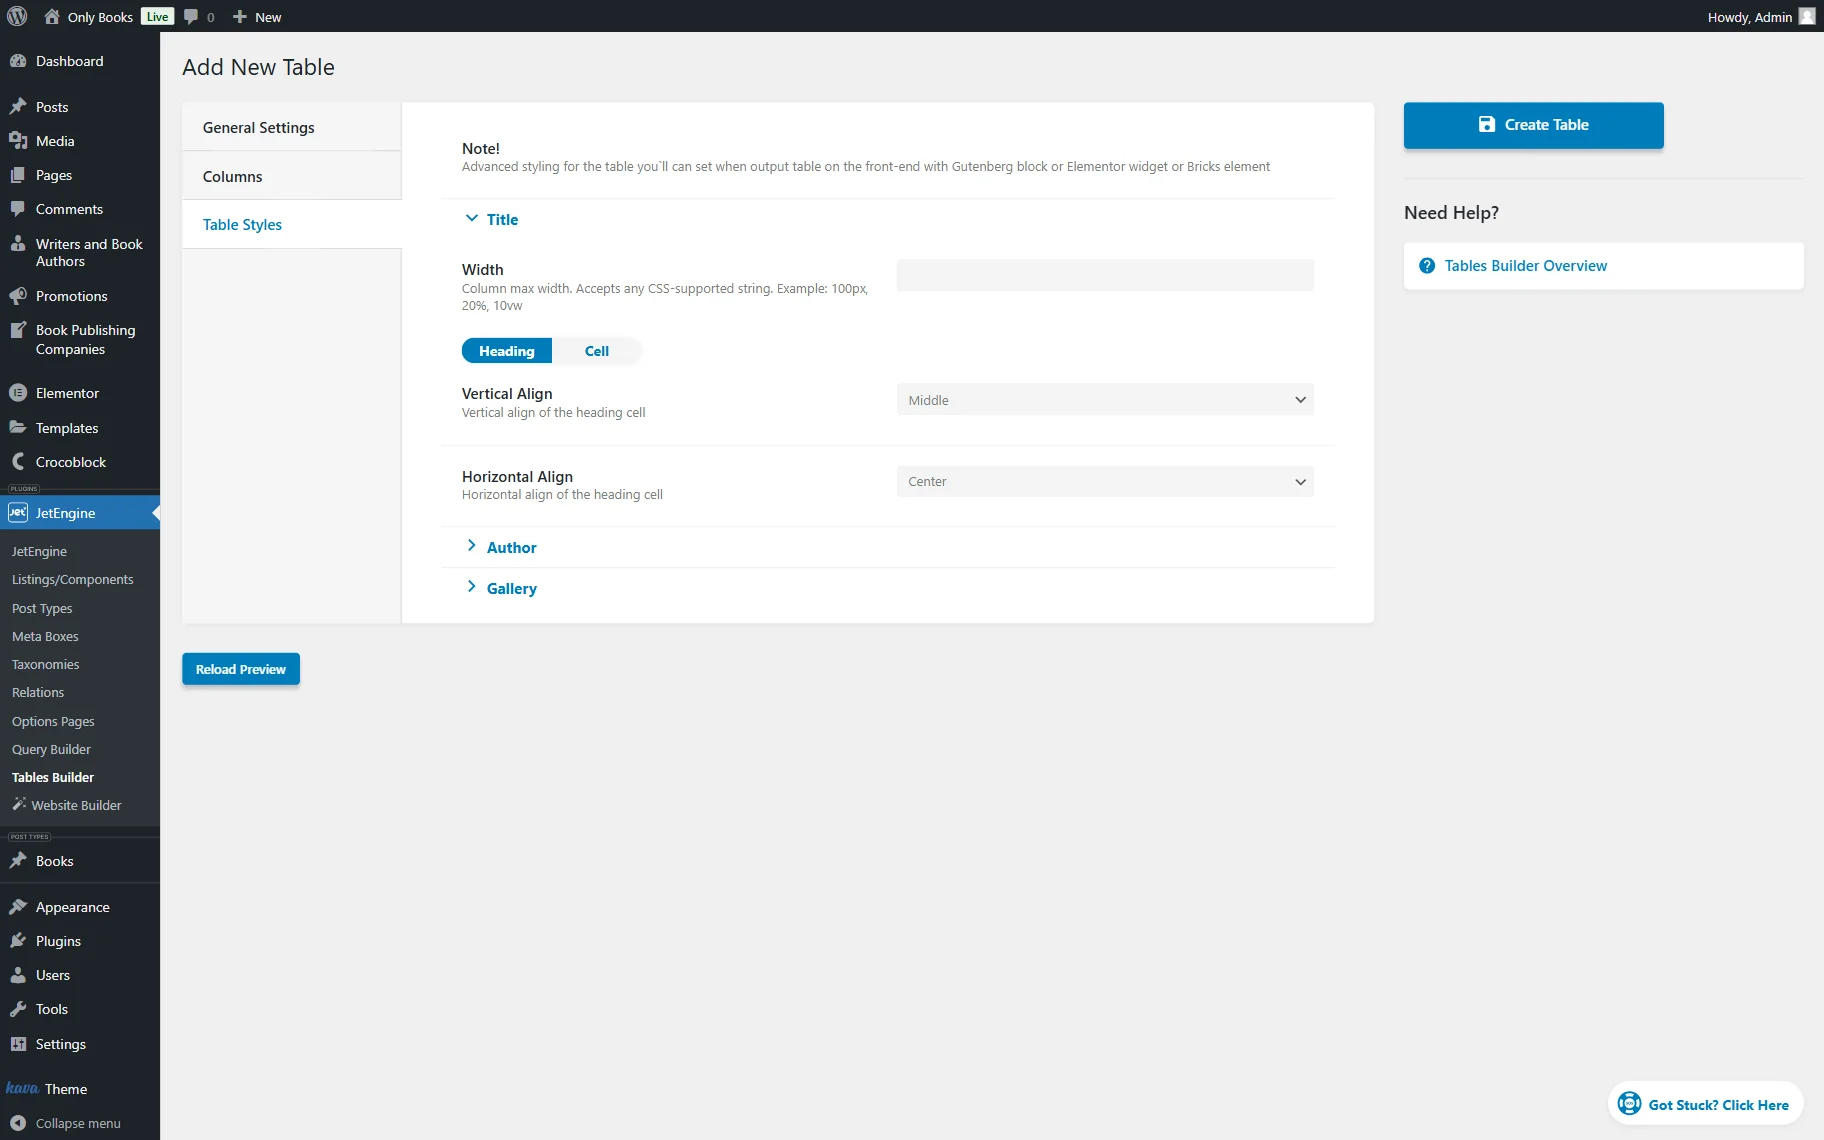
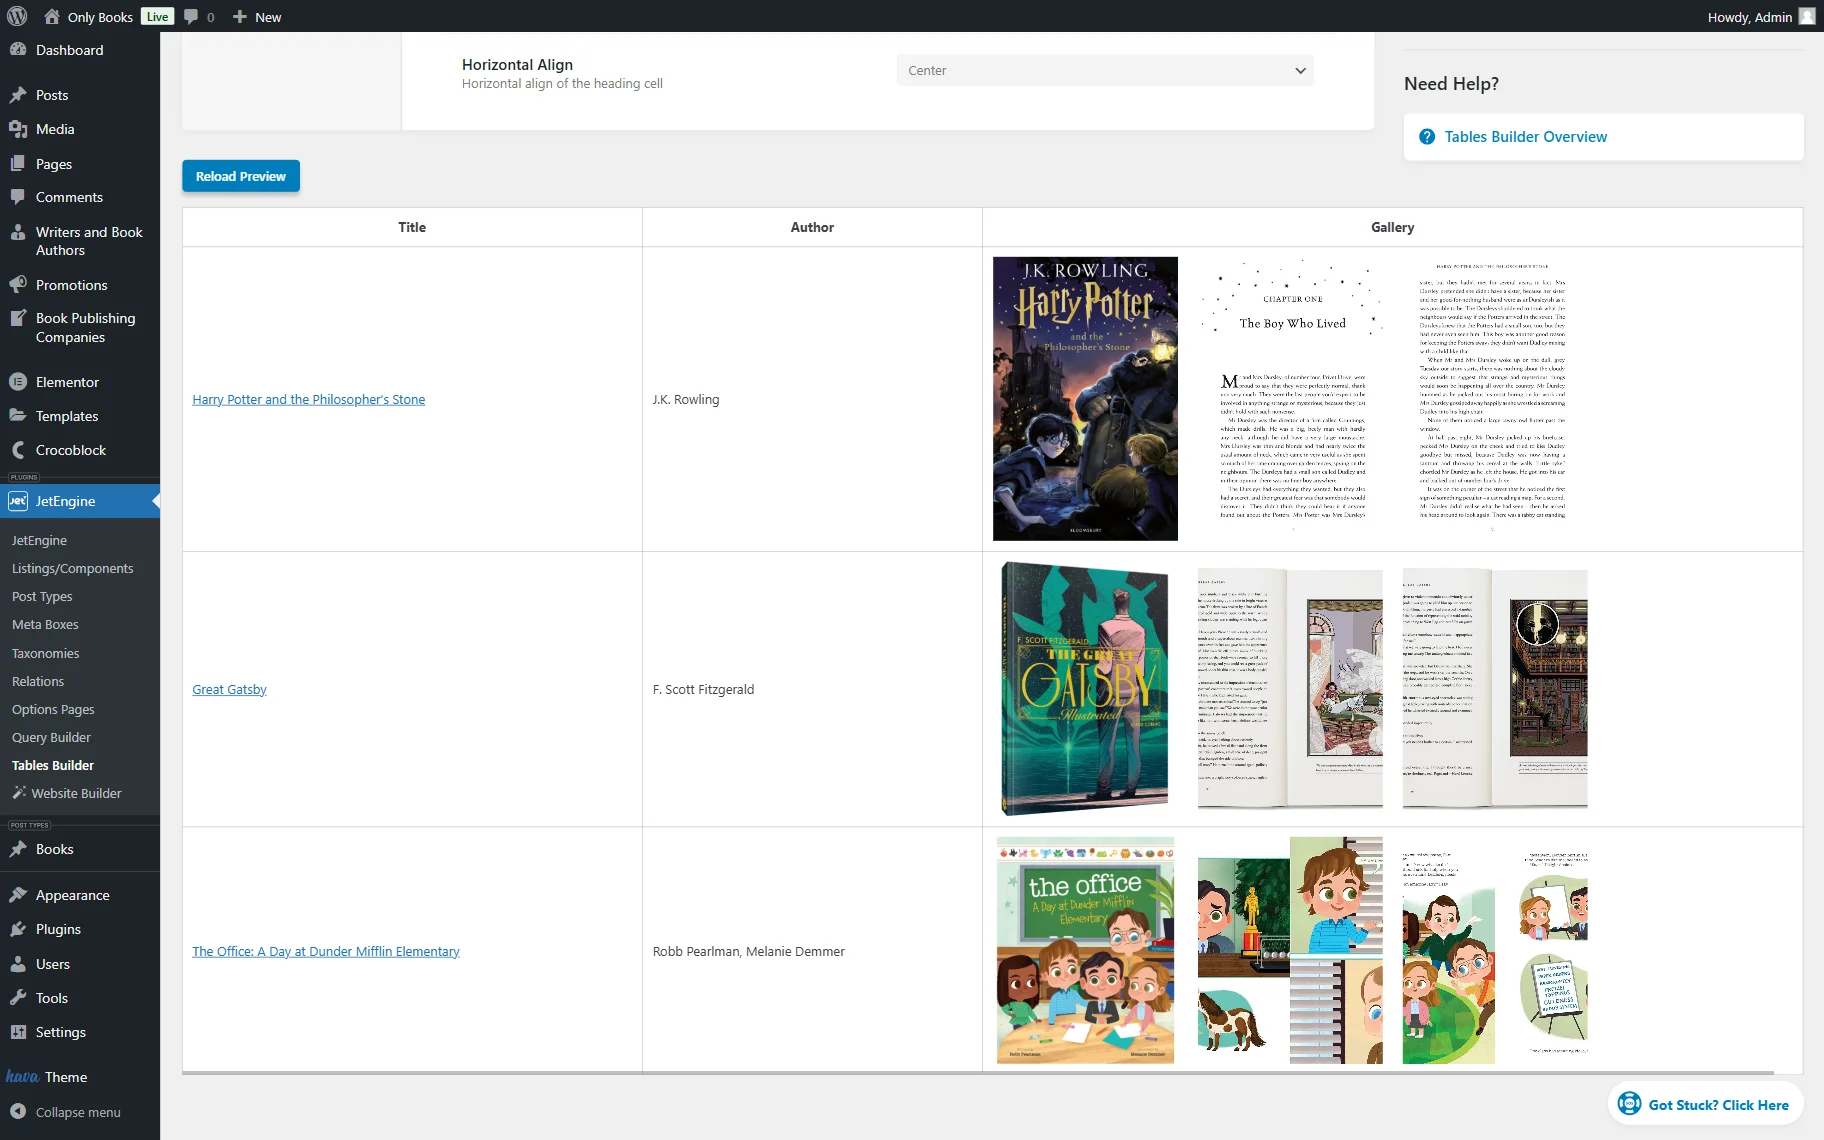
You can also click the “Reload Preview” button to check the created table.
Finally, press the “Create Table” button to save the table.
Also, check how to display posts with the Posts widget from JetElements to have more abilities to display posts on your website.
The next step is adding the table to the website. Proceed to the page where you want to place the newly built table.
Add Table to Elementor Page
Head to WordPress Dashboard > Pages > Add New. Name the page and place the Dynamic Table widget in Elementor. Choose the table you have just created as the source.
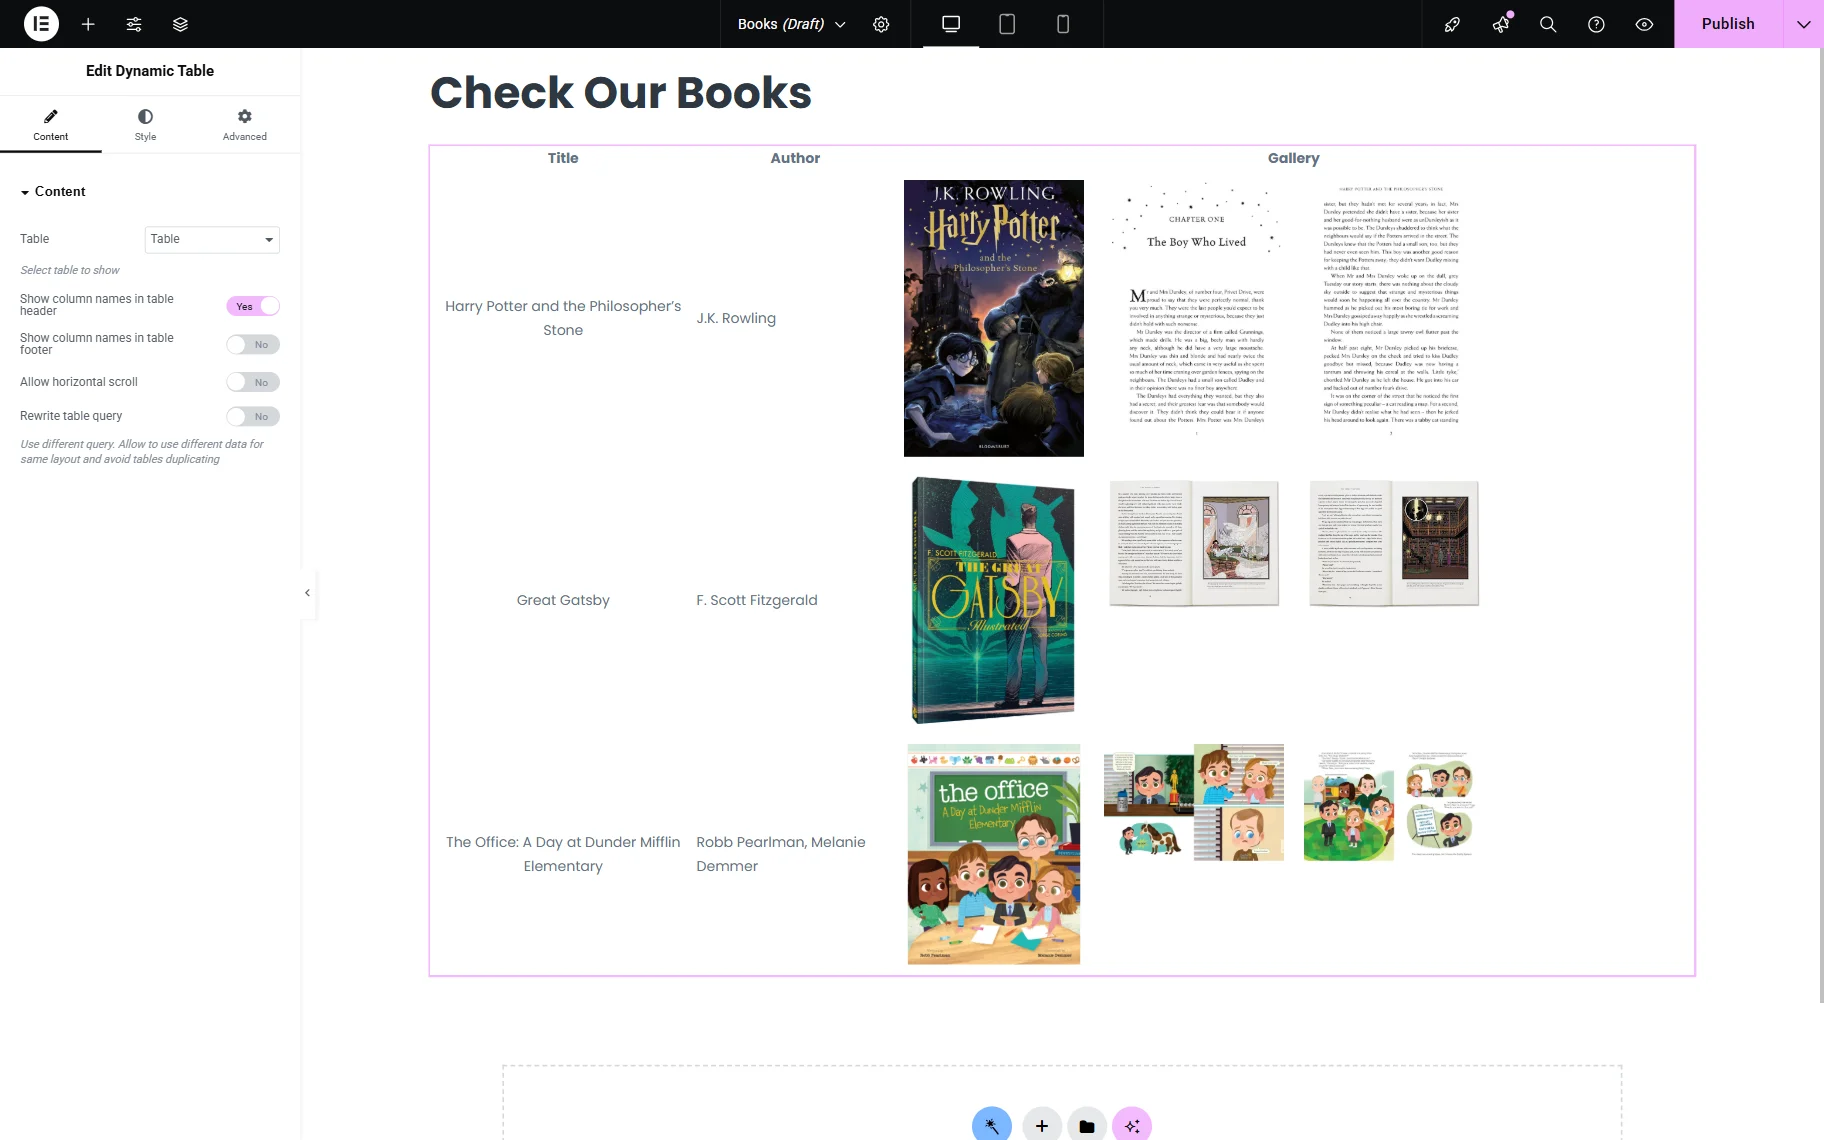
After enabling all the required toggles in the Content tab, proceed to the Style tab. Here, you can create a table view to your liking.
Check the Advanced tab as well if additional customizations are needed.

Once the Elementor table is styled up, click the “Publish” button and check the result.
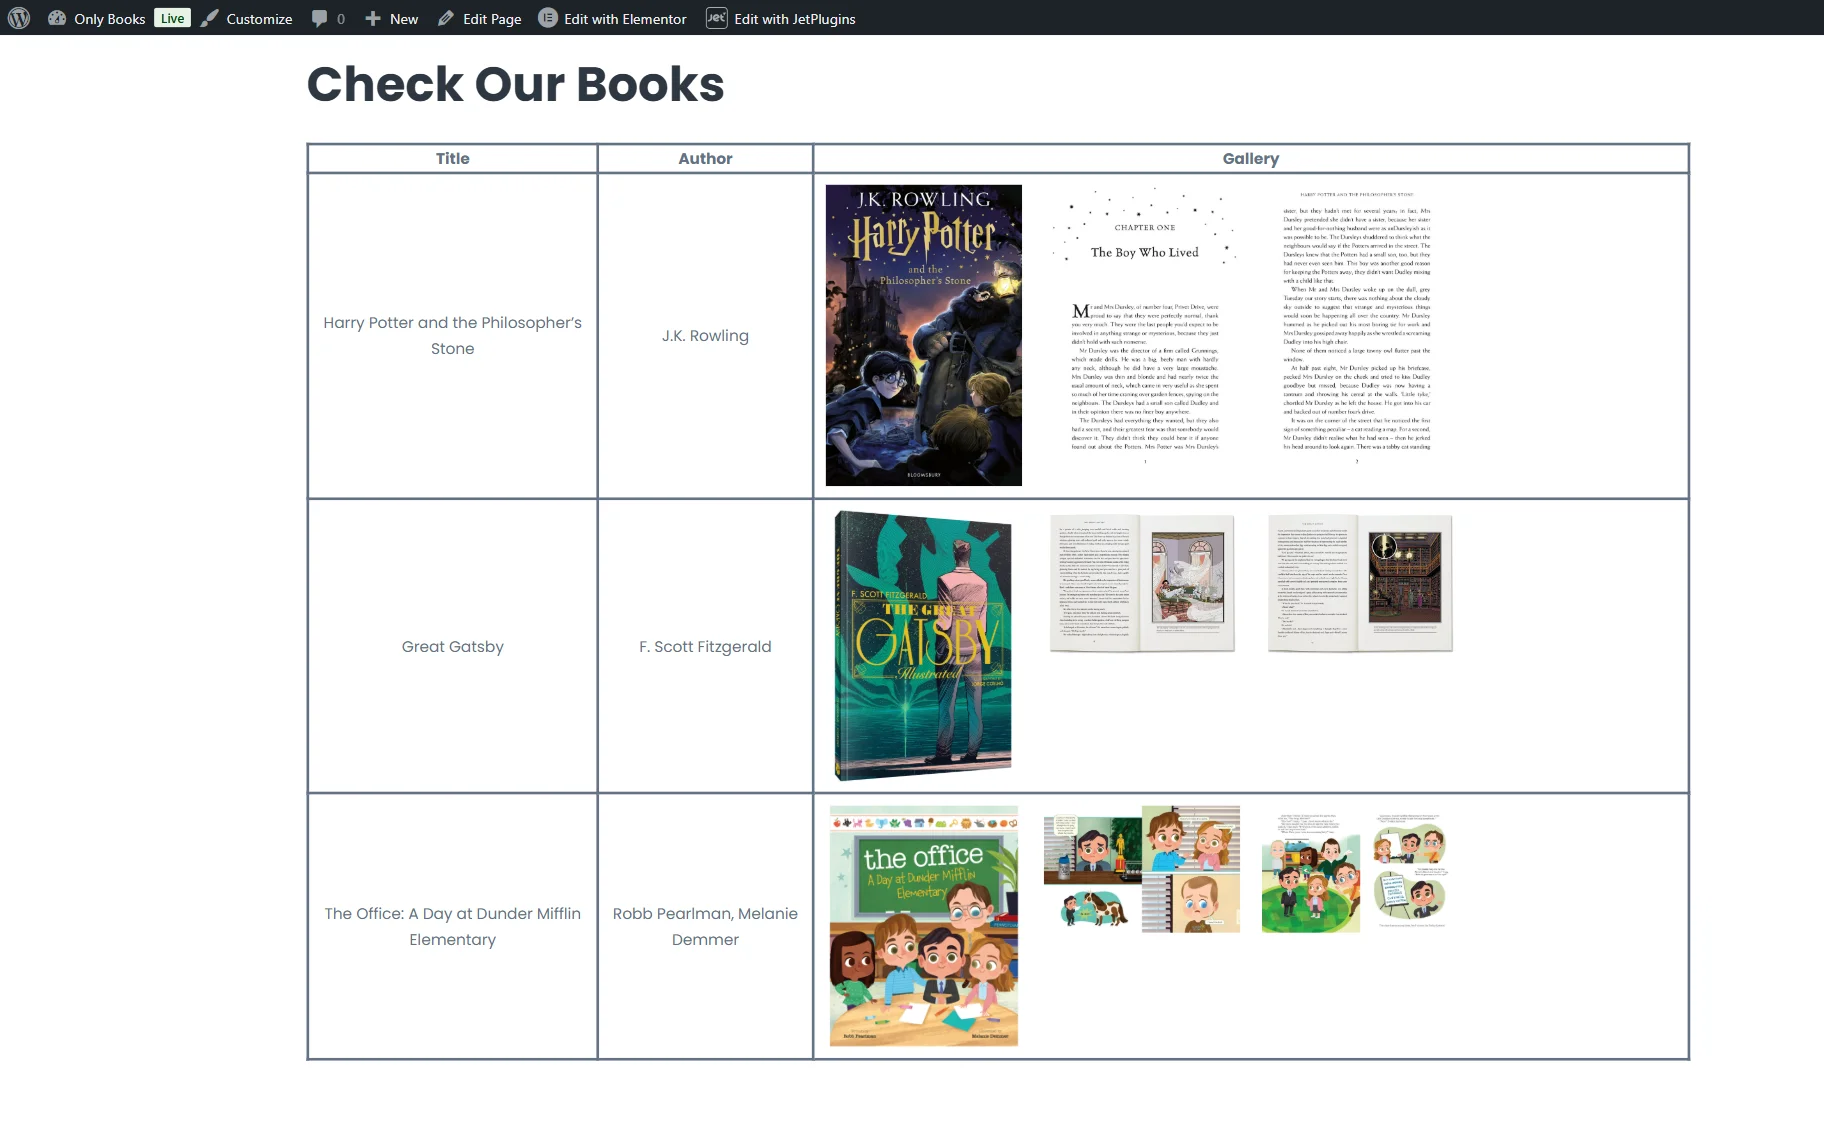
That’s all; now you know how to create a dynamic Elementor table with the help of the JetEngine plugin for WordPress websites.