Listing Grid Block
From this tutorial, you will learn about the settings and features of JetEngine’s Listing Grid block that can be used on pages built with the help of Gutenberg Editor.
Find Listing Grid Block
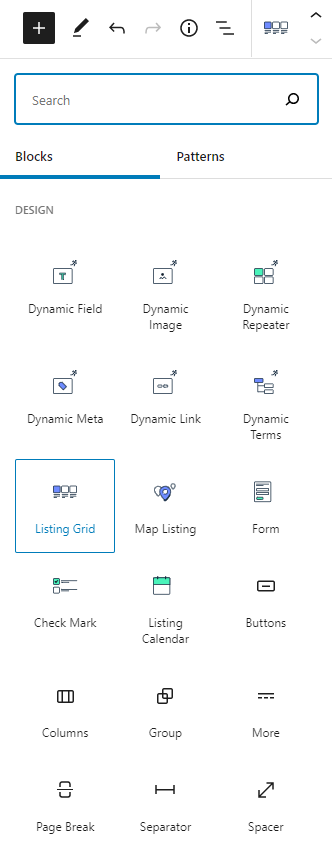
When you install and activate the JetEngine plugin, the Listing Grid block, as well as the other blocks, will appear in the Design section of the blocks menu. You can find it by clicking the “Add Block” button in the upper left corner of the top toolbar and scrolling down a little.
General Settings Section
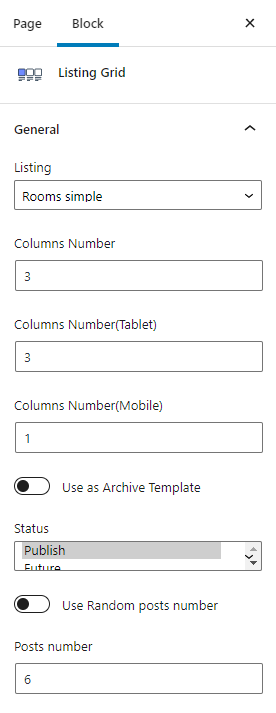
- Listing. In this drop-down menu, you will see all the Listing templates that you created. Choose the template you need for the page, and the grid cells will be immediately filled with it;
- Columns Number. Here you can set the number of columns in the grid that will be shown on the PC screen;
- Columns Number (Tablet). In this bar, you can type in the number of columns in the grid that will be visible when the user looks at it on the tablet screen;
- Columns Number (Mobile). Type in the number of the grid columns that will be visible to the user when he/she will look at it on the mobile screen;
- Use as Archive Template. When you enable this toggle, the page where you placed the Listing Grid will be used as an archive template;
- Status. Here you can choose the items of what status you would like to display in the grid. Those could be Published posts, items that are scheduled for the Future, those that wait for review (Pending Review), Drafts and Private items, visible only to the administrator;
- Use Random post number. When you enable this toggle, the different number of posts will be displayed in the grid every time the user opens the page. The range can be set in the Min and Max Posts number bars;
- Posts number. If you don’t enable the Use Random post number toggle, then you can set the static number of posts that will be displayed in the grid here;
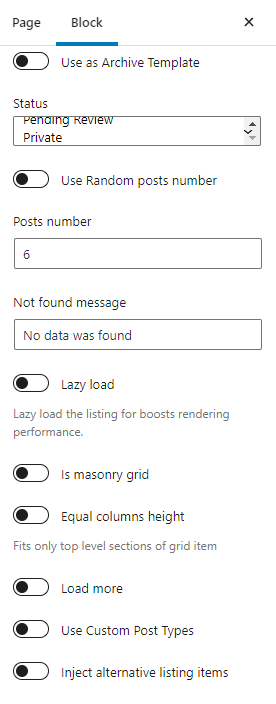
- Not found message. Type here the message that will be shown if there are no items in the grid;
- Lazy load. When this toggle is enabled, the grid will load not all at once but as the user scrolls it. This will improve the page loading speed;
- Is masonry grid. Masonry grid is a grid where all the cells have similar width but different height that is proportional to the original size of the picture. This toggle enables such a mode for the Listing Grid;
- Equal columns height. When enabled, this toggles unifies the grid columns by their height;
- Load More. By enabling this toggle, you add the “Load More” button to the Listing Grid. For a more detailed guide, check out our Load More tutorial;
- Use Custom Post Type. When you create a Listing template, you assign it to a certain CPT. However, if you need to place two identical Listing Grids for different CPTs on the page, you don’t necessarily have to create two Listing templates. You can just enable this toggle and choose the second CPT in the drop-down menu. In this case, the Listing Grid will use the structure of the Listing template you have chosen in the Listing drop-down but replaces the original CPT with the chosen here. Be aware that if you want to show the meta fields of different CPTs in the Listing, you will have to create a Meta Box and assign it to both of them, so the names of the fields will be the same;
- Inject alternative listing items. If you want to combine several Listing templates in one Listing Grid, turn this toggle on and choose the necessary template. More details about it can be found in this Listing injections tutorial.
Posts/Terms/Users/REST API/Content Types Query
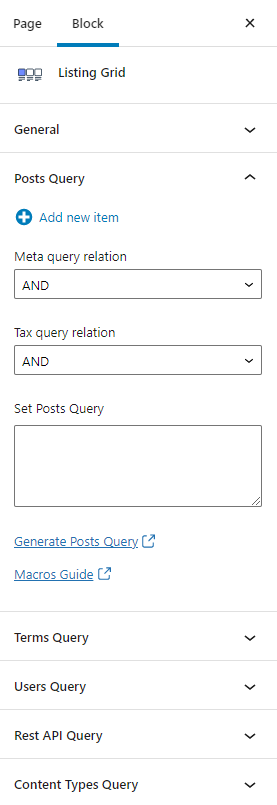
No matter which type of items you want to display in the Listing grid, you may need to filter them. Query sections are created to do that. The settings in those sections allow you to specify what kind of posts, users, terms, etc. you would like to see in the Listing Grid.
Posts, Terms, and Users Query settings sections are described in a separate overview.
REST API Query allows you to add some additional Query Arguments by typing them into the corresponding text area.
Content Type Query is used when you want to display CCT items in the grid. It allows you to Generate String and then add it to the Query String text area. Also, you can display items from the Data Store.
Block Visibility
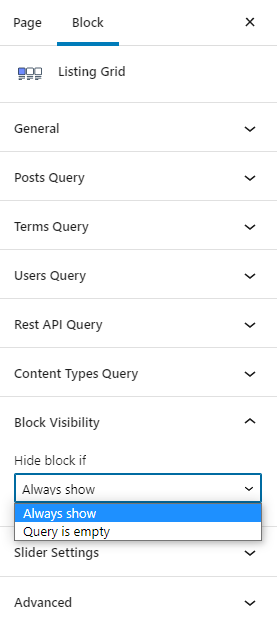
The Hide block if drop-down menu allows you to decide whether you want to hide the whole Listing Grid block if there are no items to show. The options you can choose here are “Always show” and “Query is empty”. The second one means that the block will be hidden when the CPT has no items at all or there are no items that match the conditions set in the Query section.
Slider Settings
You can see two toggles in this section. Only one of them can be enabled at a time.
Here, you can learn more about Adding Gutenberg Slider Block.
Enable slider
When turned on, it transforms the Listing Grid to a slider.
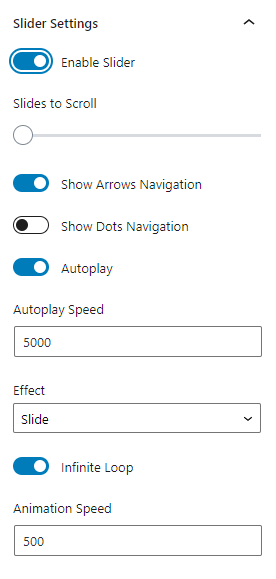
- Slides to scroll. Here you can define how many items will be moved to the left or right when the user clicks on one of the arrow-shaped controls;
- Show Arrows Navigation. When this toggle is enabled, the buttons with the arrow-shaped icon appear on both sides of the slide. By clicking on them, the user moves the slides liner;
- Show Dots Navigation. By turning on this toggle, you add the dots navigation element under the slider. It shows how many “pages” there are in the slide. The page changes every time the user clicks on the arrow button or uses the dots navigation;
- Autoplay. The users can move the slider manually by clicking on the buttons but you can also make the slider move automatically by enabling Autoplay. You will be able to define the Autoplay Speed;
- Effect. In this drop-down list, you can choose the animation for the movement of slides;
- Infinite Loop. When enabled, this toggle puts the first slide right after the last one. When the slides move, there are no going back so the slides move in a loop;
- Animation Speed. Here you can define the speed of animation. It is different from the speed of the autoplay.
Enable scroll slider
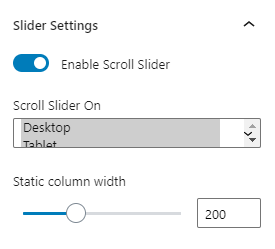
When you turn this toggle on, it transforms the grid into a line of slides that can be moved manually. On tablets and mobile devices, it also means that the user can move the line with their fingers.
- Scroll Slider On. Here you can choose the devices where the Listing Grid will be shown as a scroll slider;
- Static column width. You can also define the width of the column where the slides are shown.
That is a full list of the Listing Grid block settings. Use them to create a breathtaking page on your website.