How to Create a Mega Menu in Elementor
In this tutorial, you will learn more about creating a mega menu with the JetMenu plugin from the JetPlugins family for a brilliant workflow in the Elementor editor.
JetMenu is a first-class plugin for creating a mega menu with Elementor. Add relevant content to a menu using appropriate widgets, and style it up according to your needs.
Create a Mega Menu
Select or create a mega menu
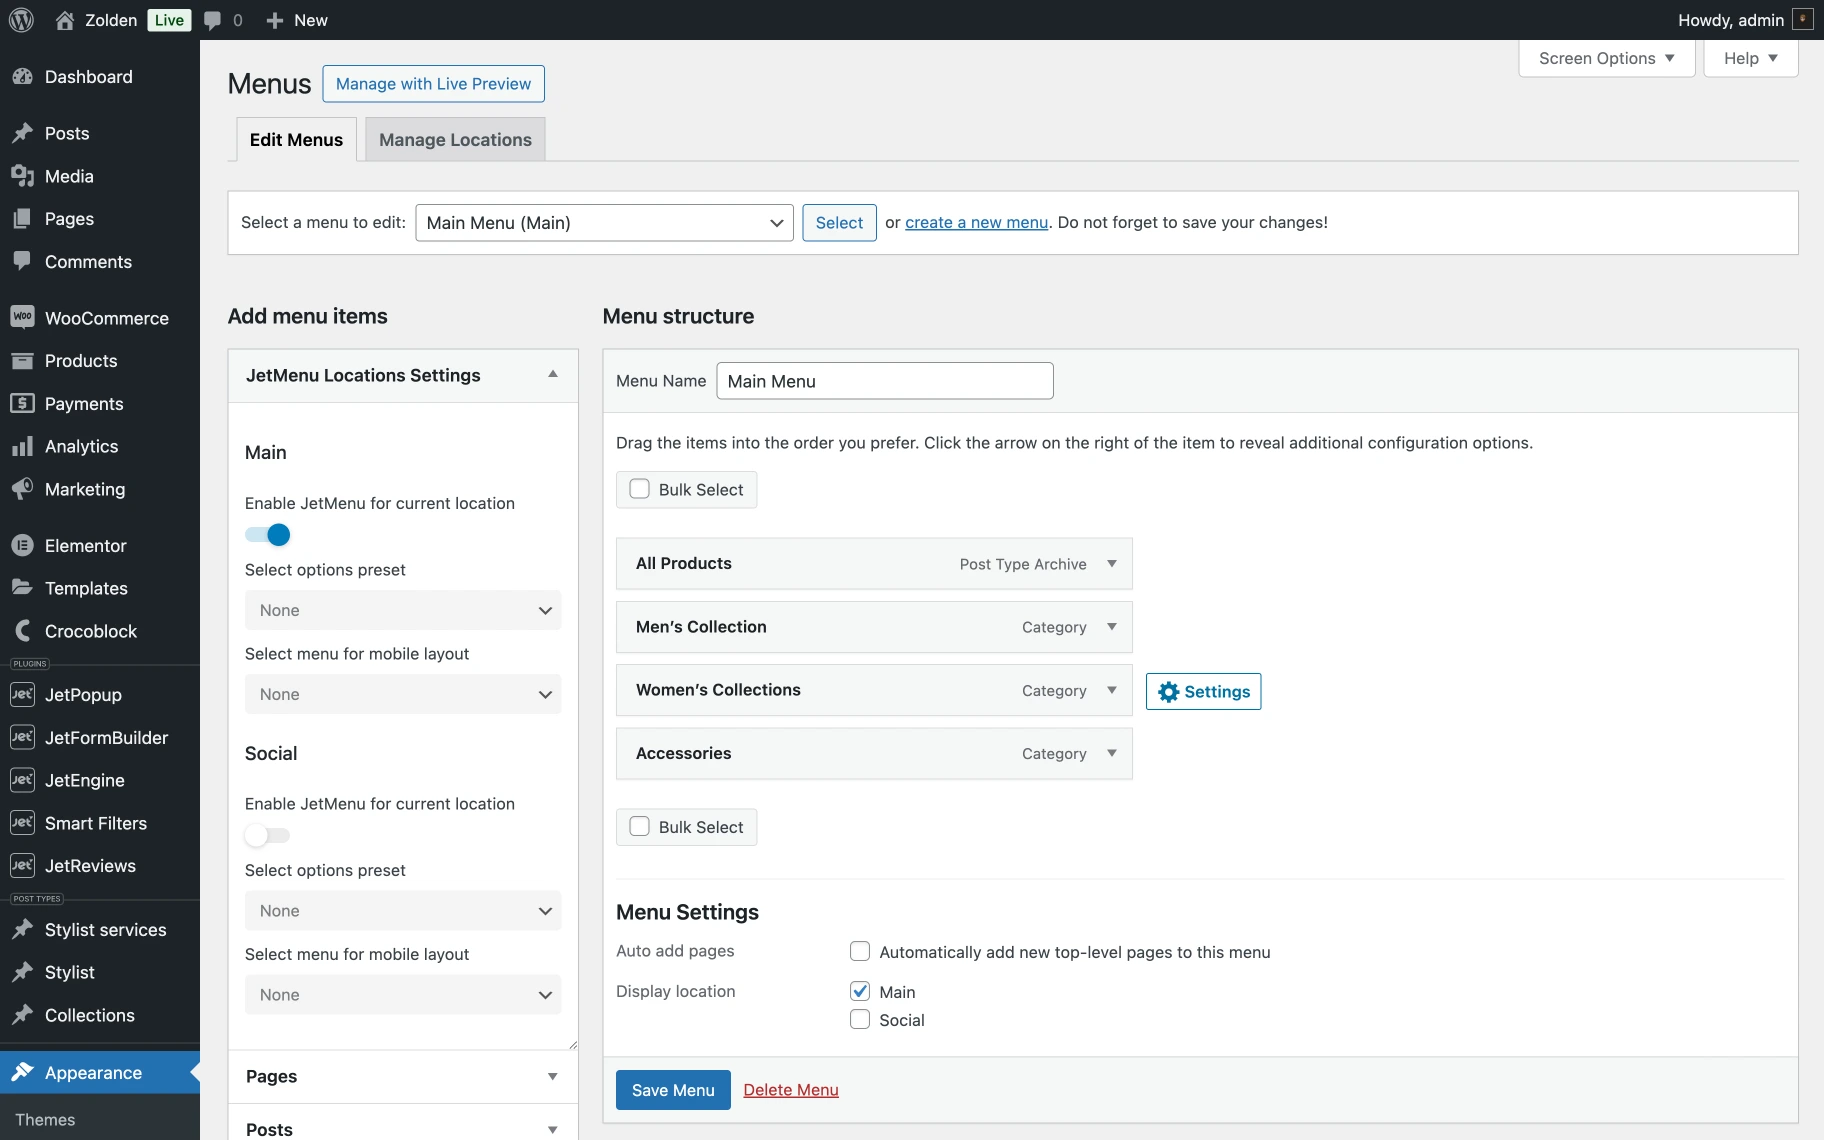
Go to the WordPress Dashboard > Appearance > Menus tab. Here, you can select one of the existing menus for editing or create a new one.
Select the Display location on your menu (“Main,” “Footer,” “Social”) in Menu Settings. After that, in the JetMenu Locations Settings block, switch on the Enable JetMenu for the current location option and click the “Save Menu” button.

Choose a menu item
Now, to enable the Mega Menu itself, choose the item you want to add to it. Hover over that item and click the “Settings” button, which becomes visible on hover and is positioned to the right of the item.
If you want to set and apply mega menus to several or even all menu items, repeat the described actions for each one.
Right after you click on the “Settings” button, a pop-up appears, and the content block is opened by default.
The settings pop-up contains the following tabs and options:
Mega Content — in this tab, one can configure mega menu settings, including activation toggle, content editing, position options, and so on:
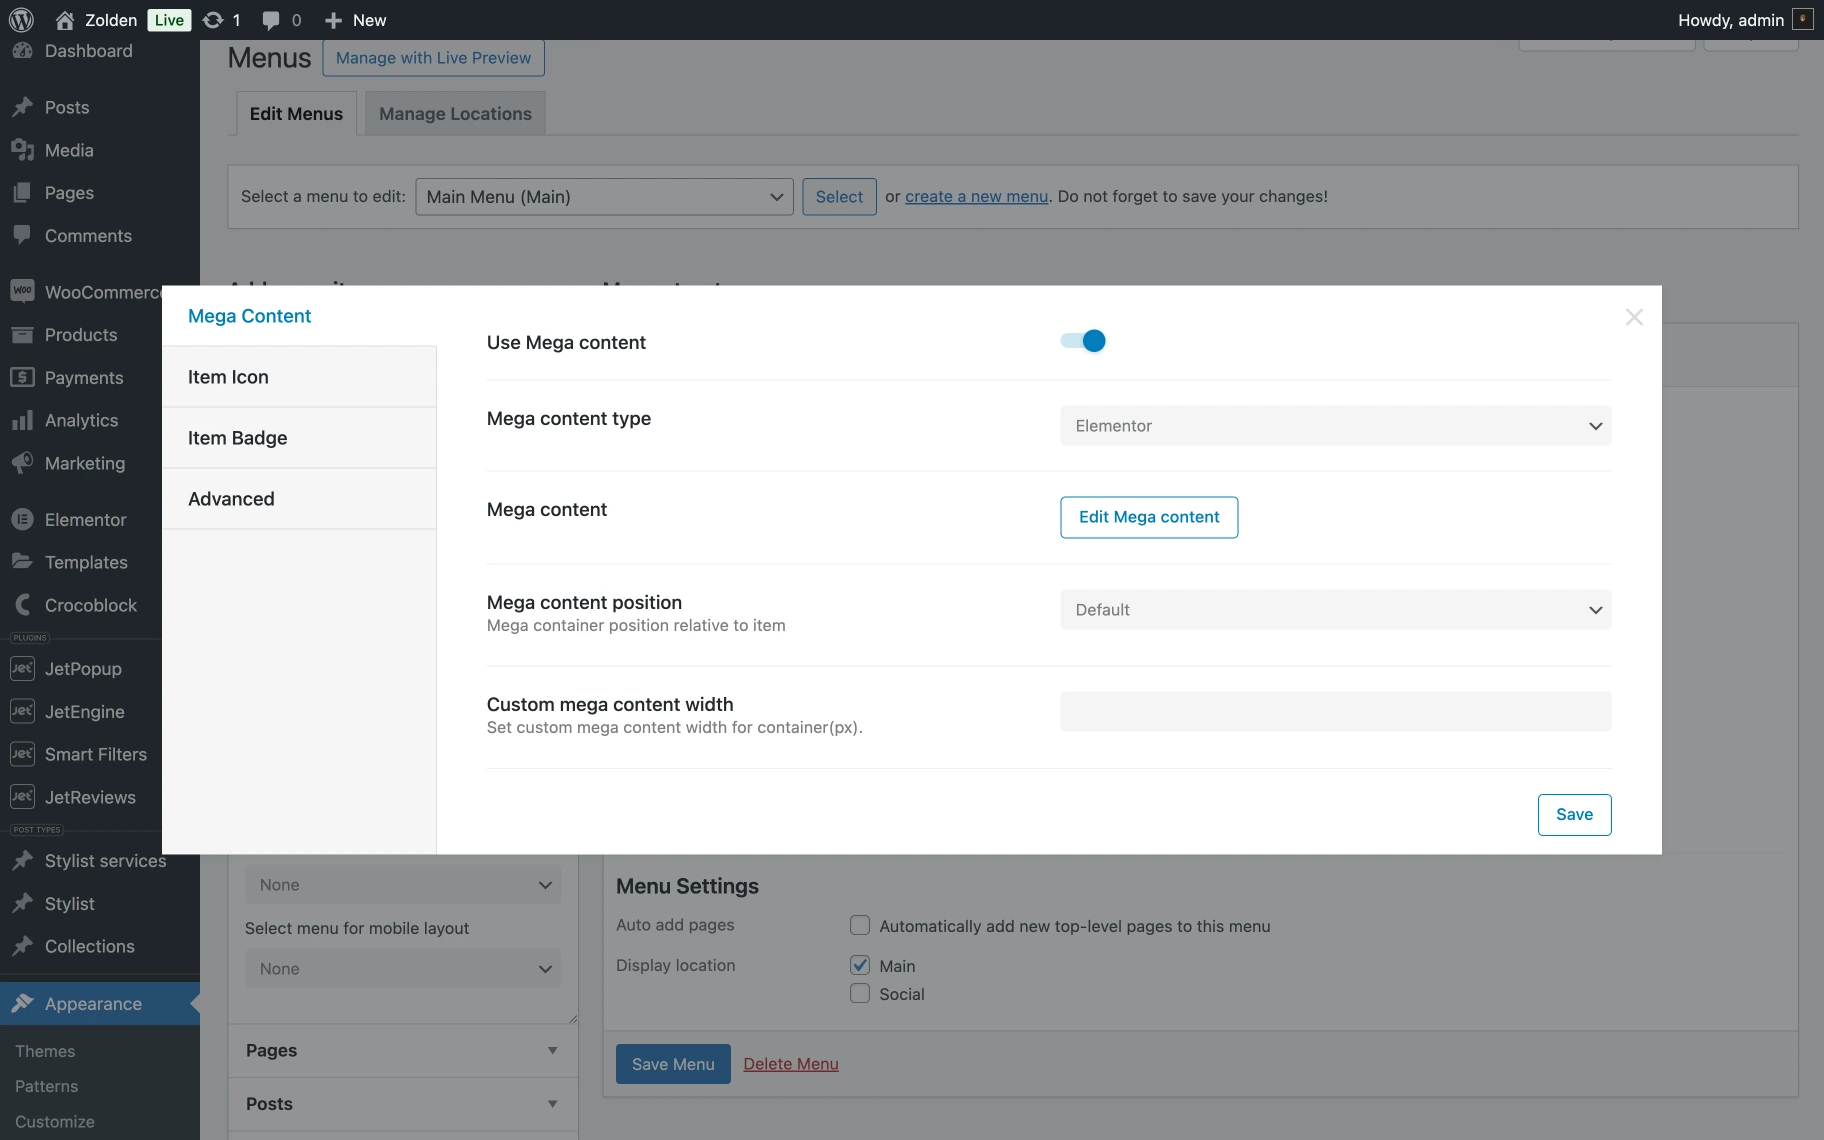
- Use Mega content — a switcher that is deactivated by default. When turned on, the Mega Menu is activated for this menu item;
- Mega content type — a dropdown where one can select the type, choose among “Block Editor” or “Elementor”;
- Mega content — a button “Edit Mega Content” that activates Elementor editor;
- Mega content position — a select field where one can choose among “Default” or “Relative item” positions;
- Custom mega content width — a field where one can input the mega content width for a container in px.
Item Icon — in this tab, one can customize the icon settings with options for icon type, icon picker, color selection, and size adjustment:
- SVG icon — an icon picker field where one can select an icon;
- Icon color — a color picker field where one can select the color of an icon;
- Icon size — set icon size for this item (px).
Item Badge — in this tab, one can configure badge settings, including text, text color, and background color for the badge:
- Type — a dropdown where one can select the type of an Item Badge, choose among “Text” or “SVG”;
- Item badge — a field where one can specify the text for the badge;
- Badge color — a field where one can set the color of the badge text;
- Badge background color — a field where one can choose the background color for the badge;
- Badge offset X — a field where one can set horizontal badge offset for this item(px);
- Badge offset Y — a field where one can set a vertical badge offset for this item(px).
Advanced — in this tab, one can hide the navigation label and fields or set custom padding for the item:
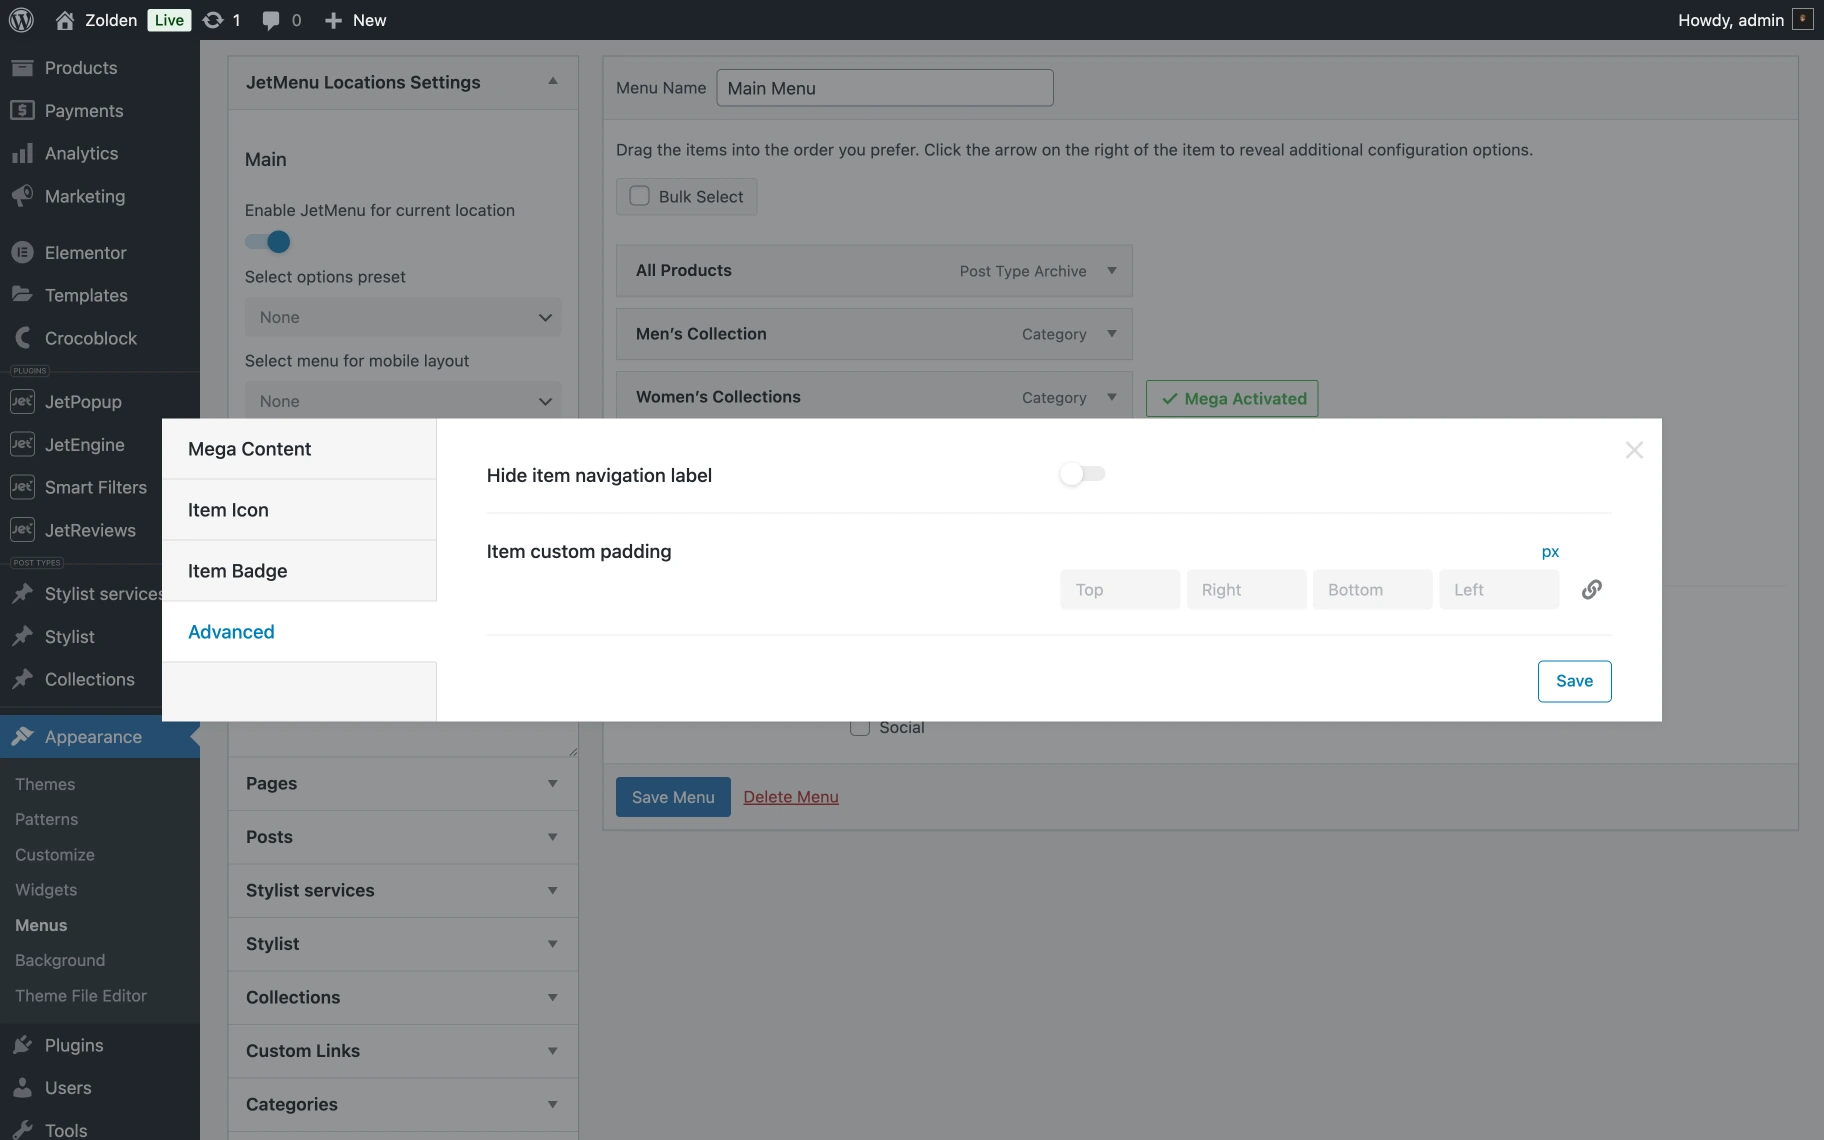
- Hide item navigation label — a switcher that is deactivated by default and, when activated, hides the navigation menu;
- Item custom padding — a set of fields to set the item’s padding in px.
After adjusting all settings, enable the Use Mega content toggle in the Mega Content tab and click the “Save” button. Then, click the “Edit Mega Content” button to proceed to the Elementor editor.
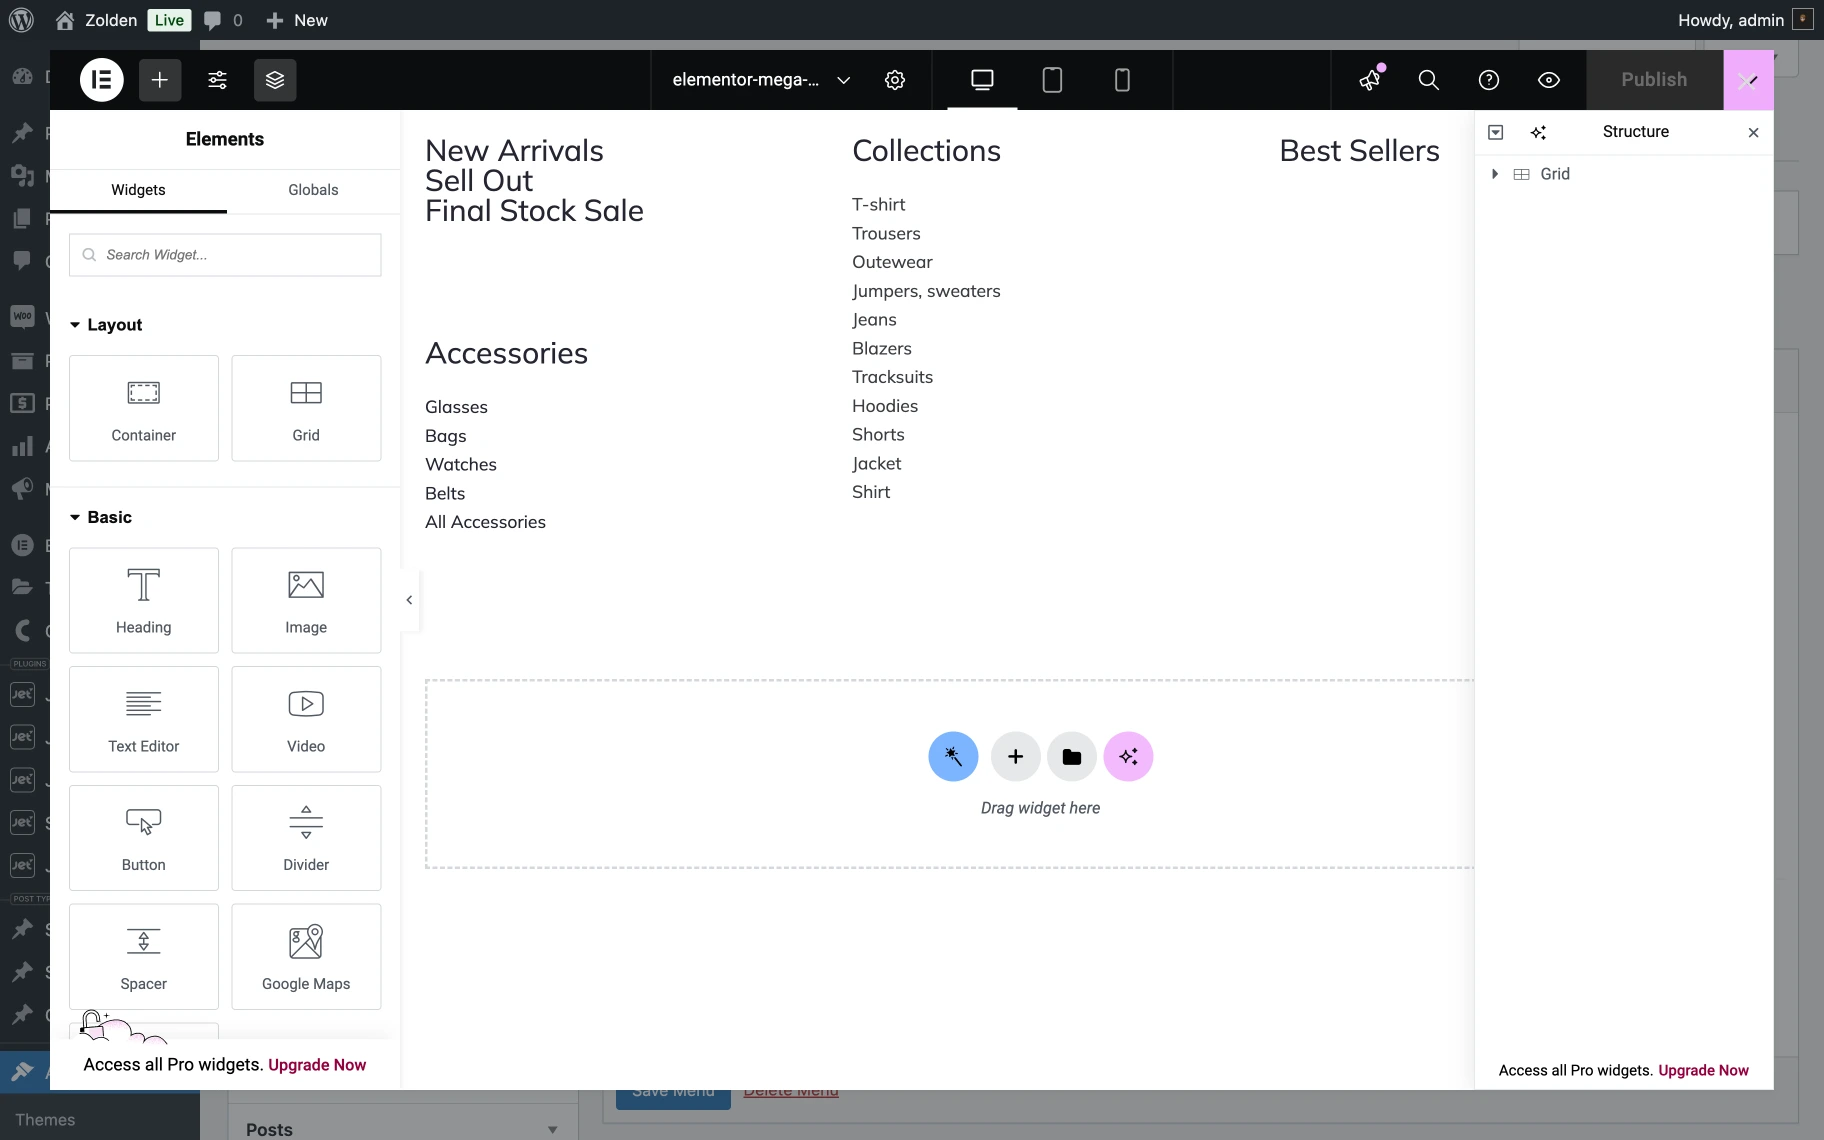
Choose an Elementor widget
You can use any widgets to build a mega menu, such as headings, sliders, portfolios, post layouts, videos, etc., and style them according to your preferences. For example, we’ll create a product table using the JetProductTables plugin and a Shortcode Elementor widget to add the product table shortcode to the mega menu.
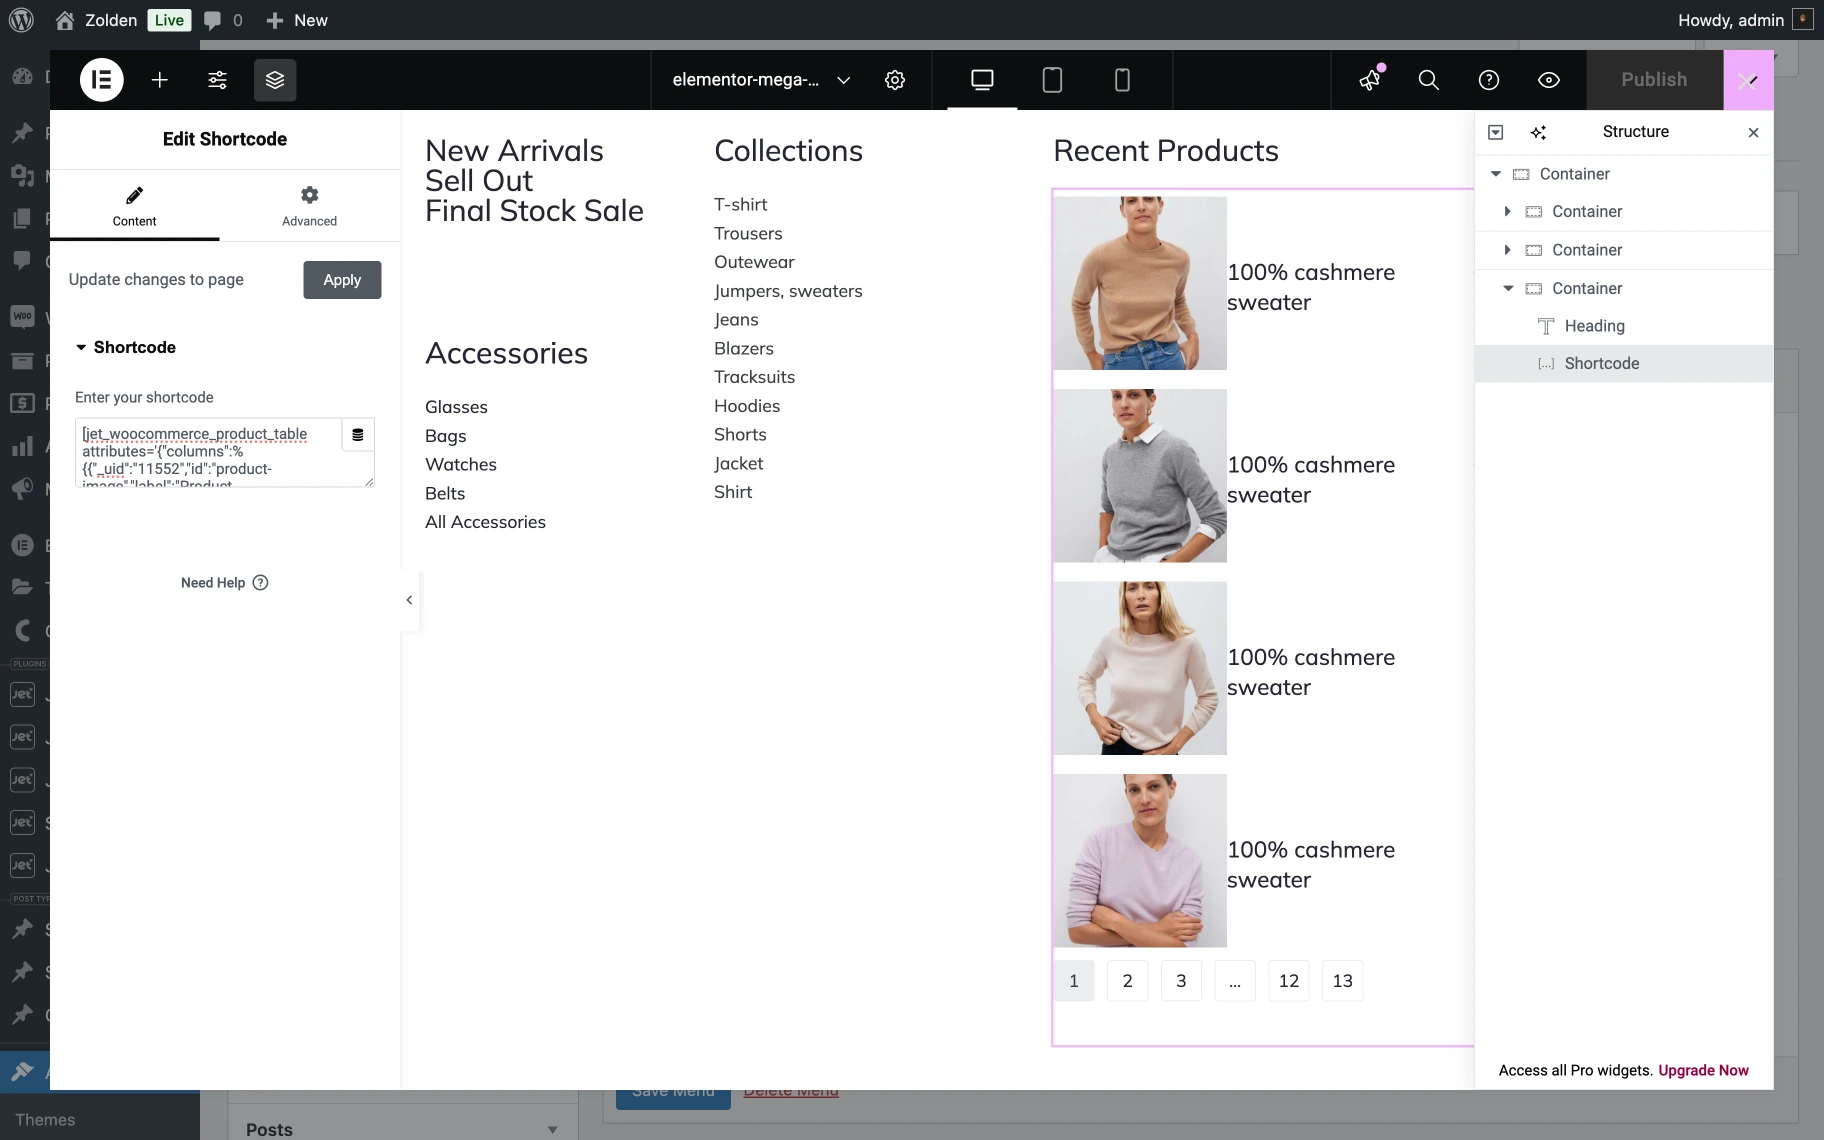
You can enrich each menu item with appropriate content in the same way. When all menu items are customized, click “Publish” in the Elementor editor and then the “Save” button in the mega menu settings pop-up.
The items with the enabled mega content will be marked with the Mega Activated label.

Display Mega Menu in Header Template
Now, we can observe our previous actions on the website. When all menu items are customized and saved, you can add the mega menu to a header.
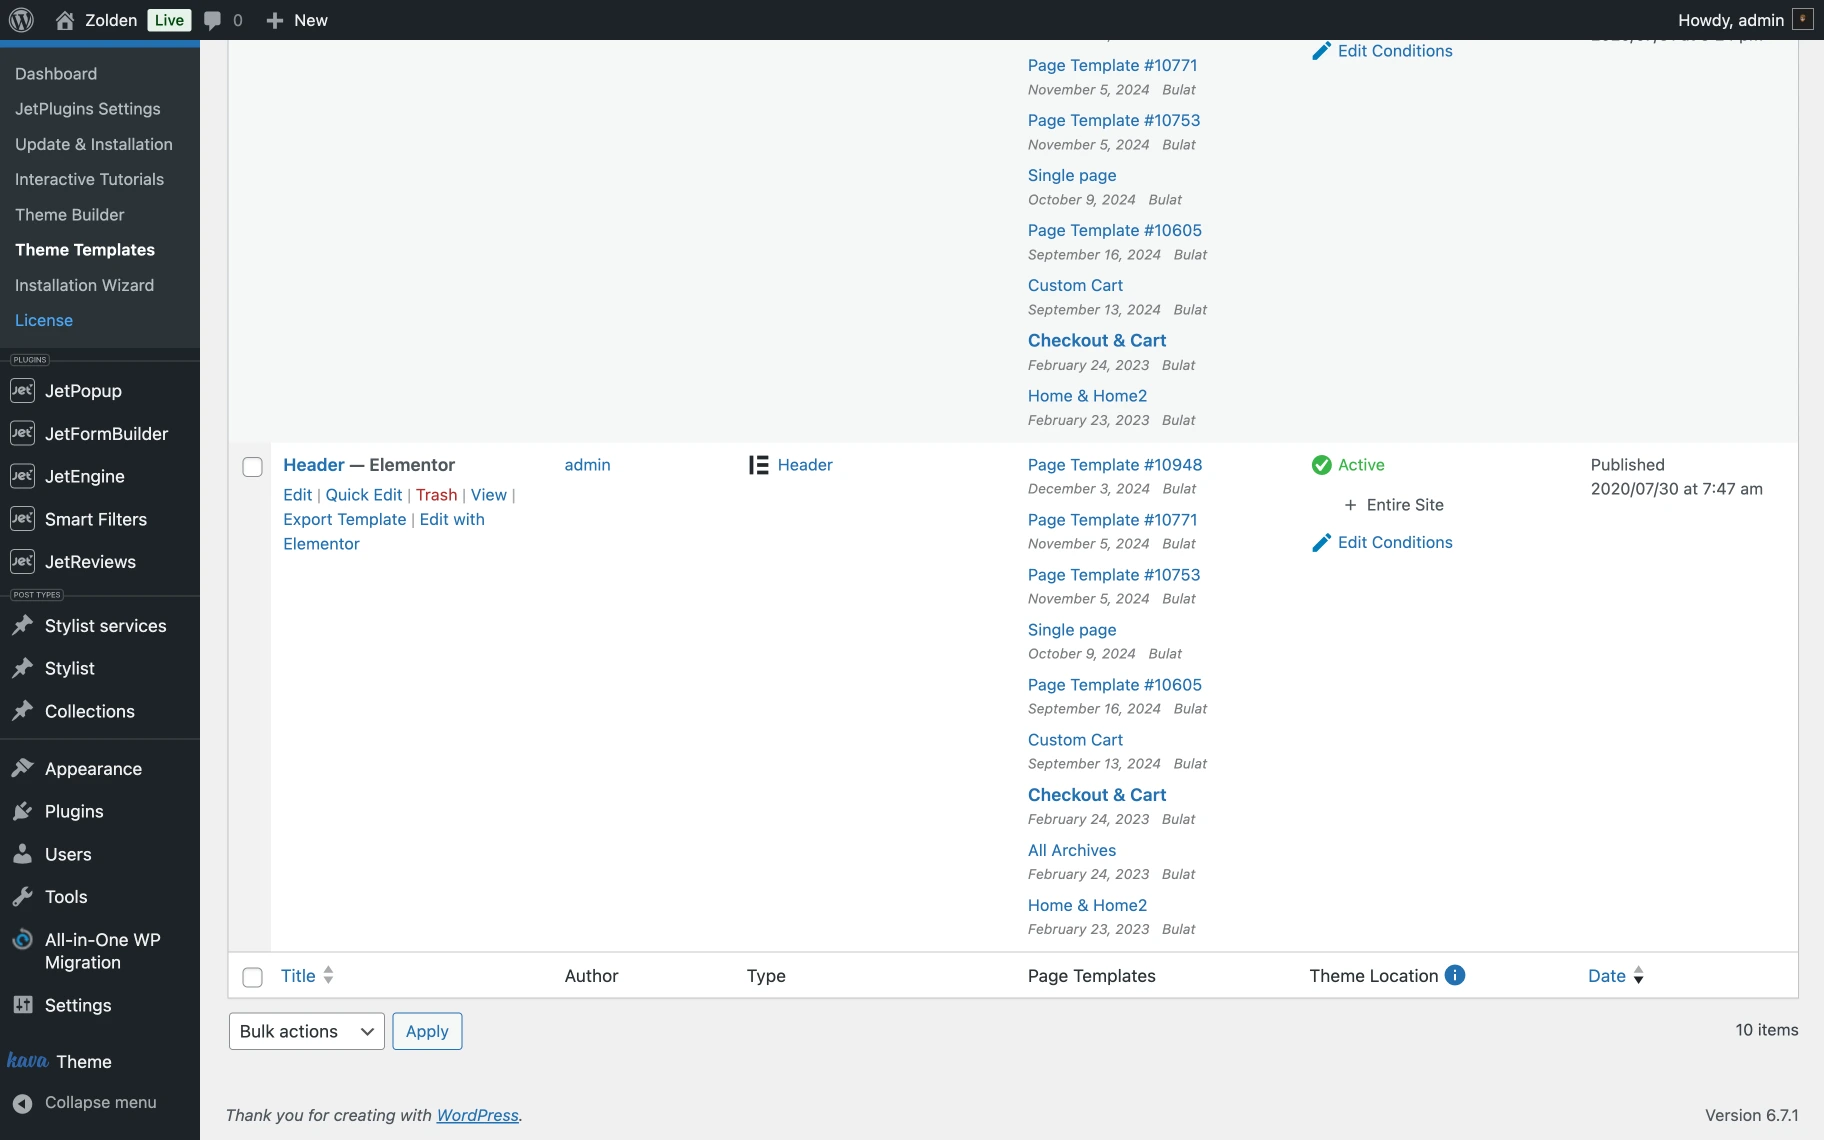
For example, with the JetThemeCore plugin installed and activated, you can go to WordPress Dashboard > Crocoblock > Theme Templates, choose the Header to which you want the Mega Menu applied, and press the “Edit with Elementor” button.
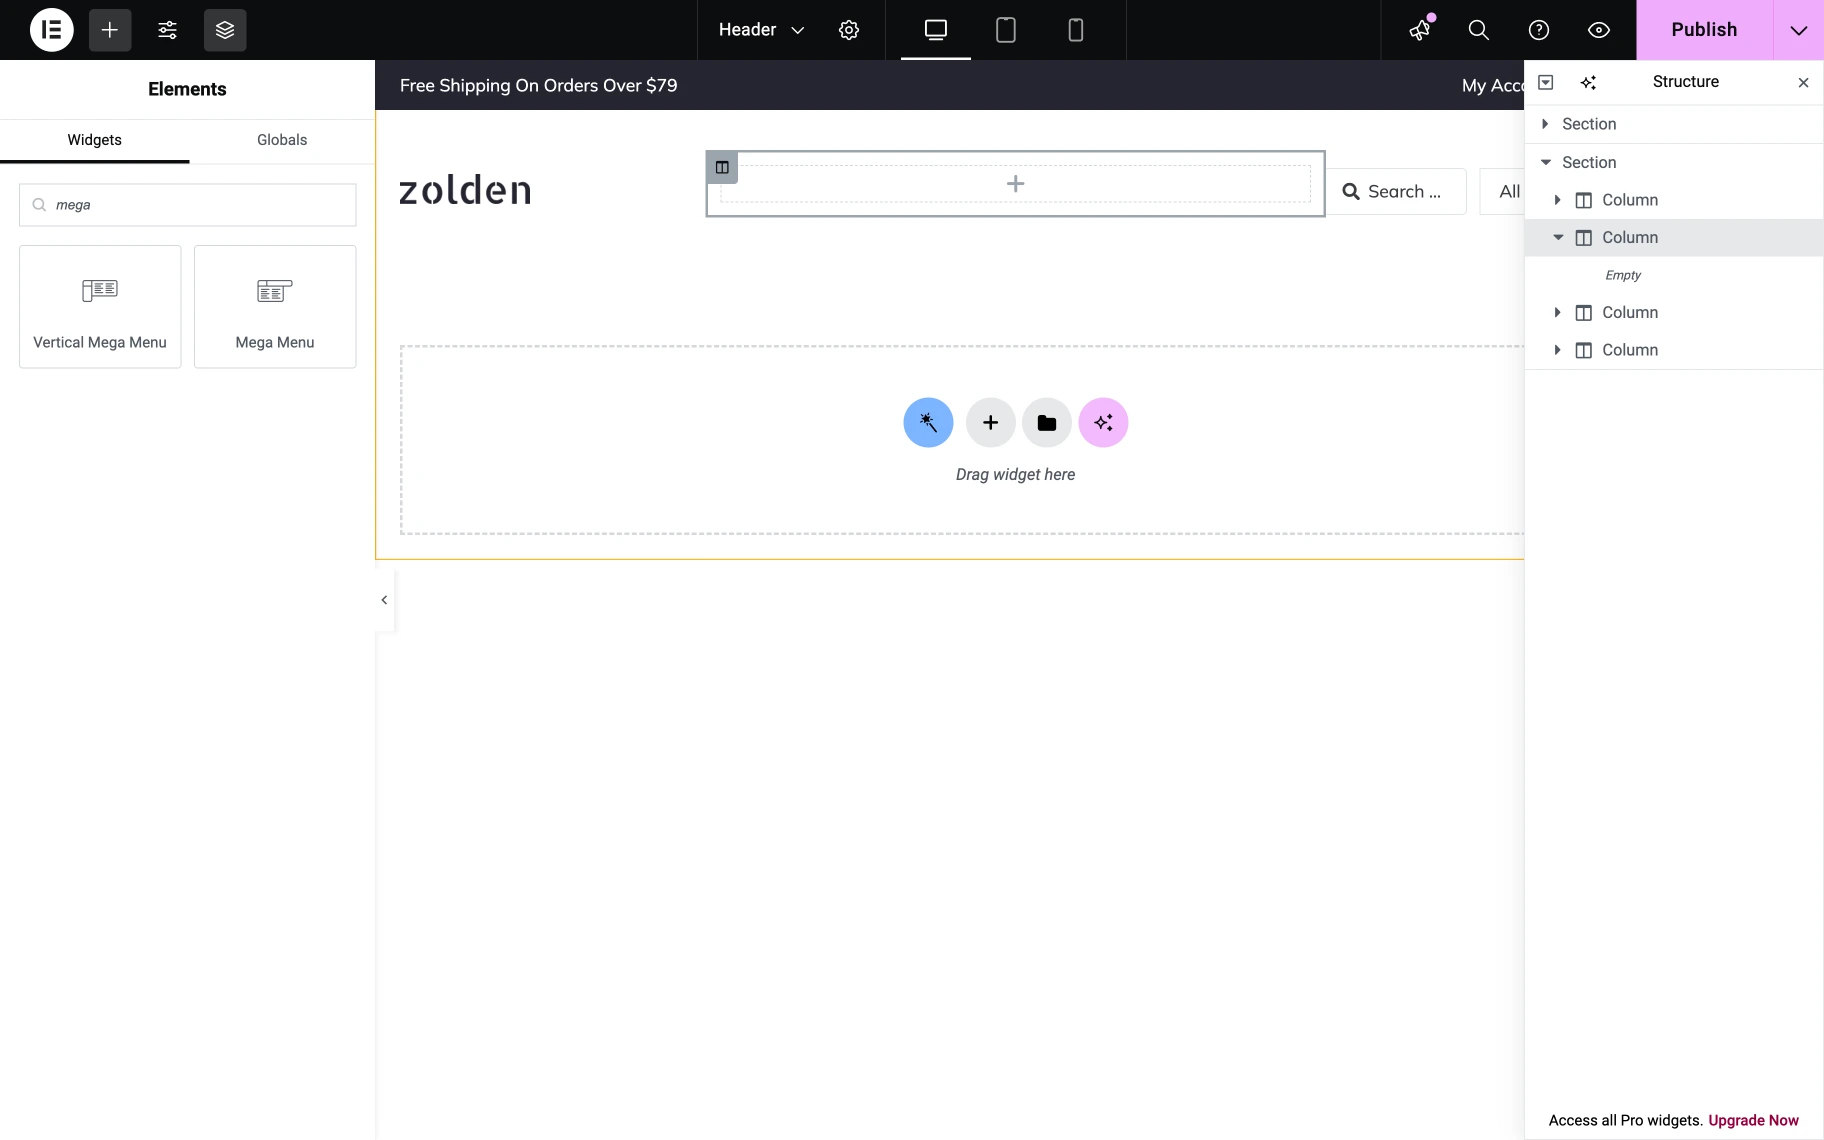
Use the Mega Menu widget from the Elementor panel
Use the search to find the Mega Menu widget and drag it to a certain column or section on the page.
Select and customize the Mega Menu
In the General settings section, select a created mega menu in the Select Menu for Desktop drop-down field.
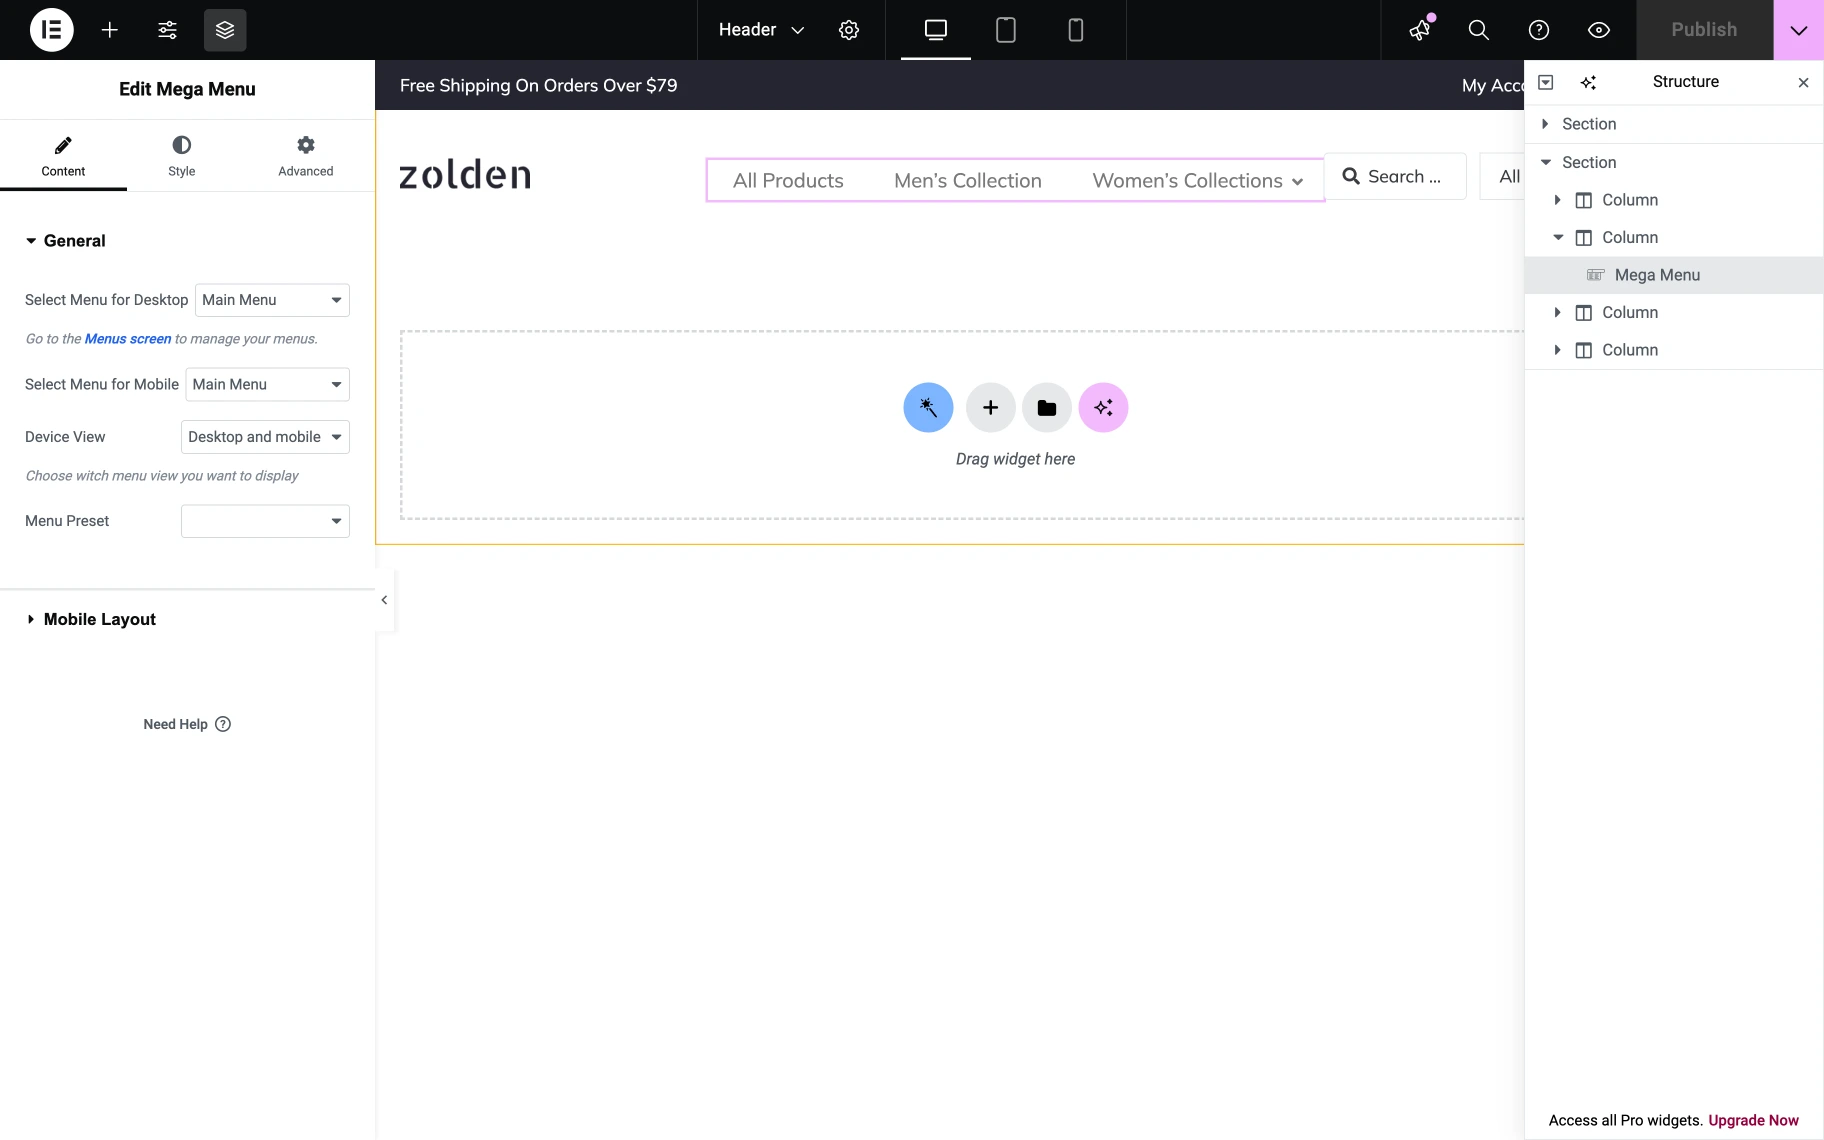
If you plan to display the same menu on the mobile version, select it in the Select Menu for Mobile dropdown option. Then, go to the Mobile Layout section settings to adjust its looks.
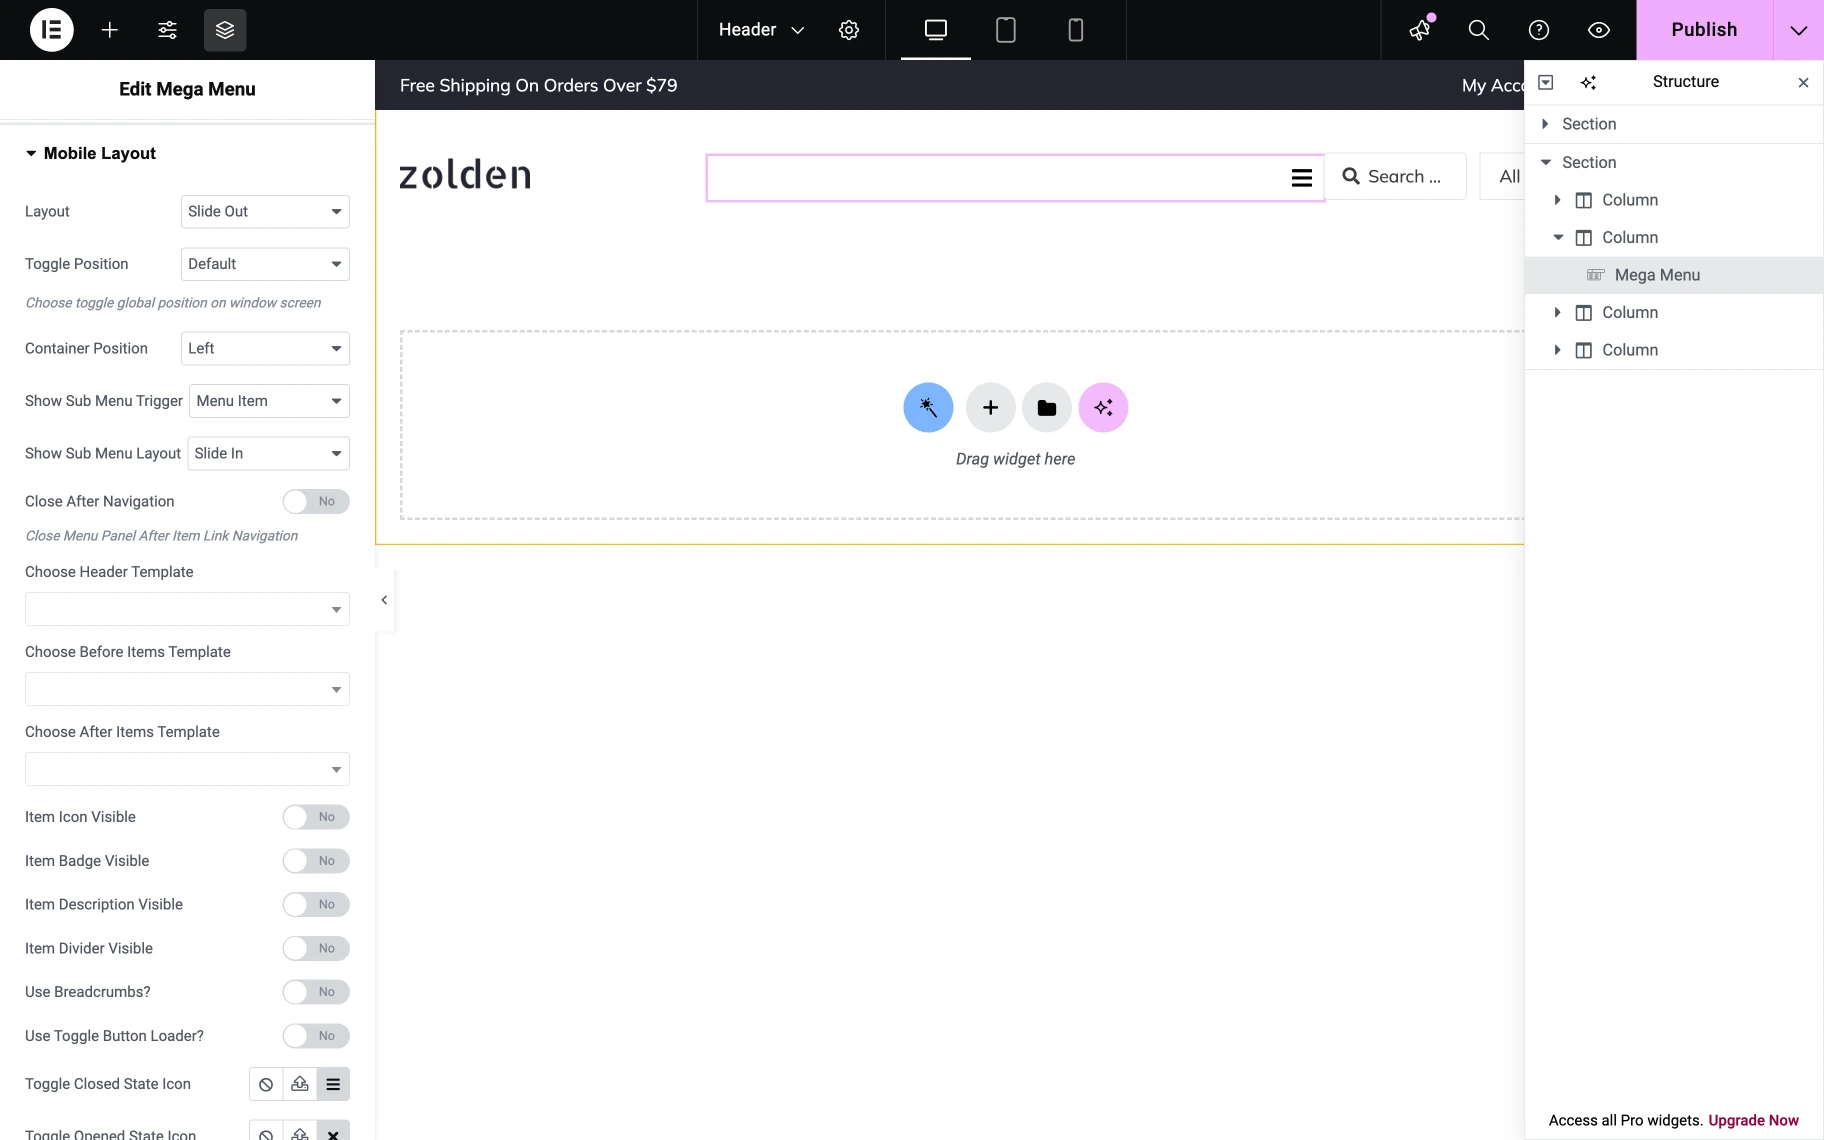
To adjust the visuals of your Mega Menu, go to the Style tab.
Save changes and preview the result
When everything is customized, click the “Publish” button and go to the website’s front end to preview the results.
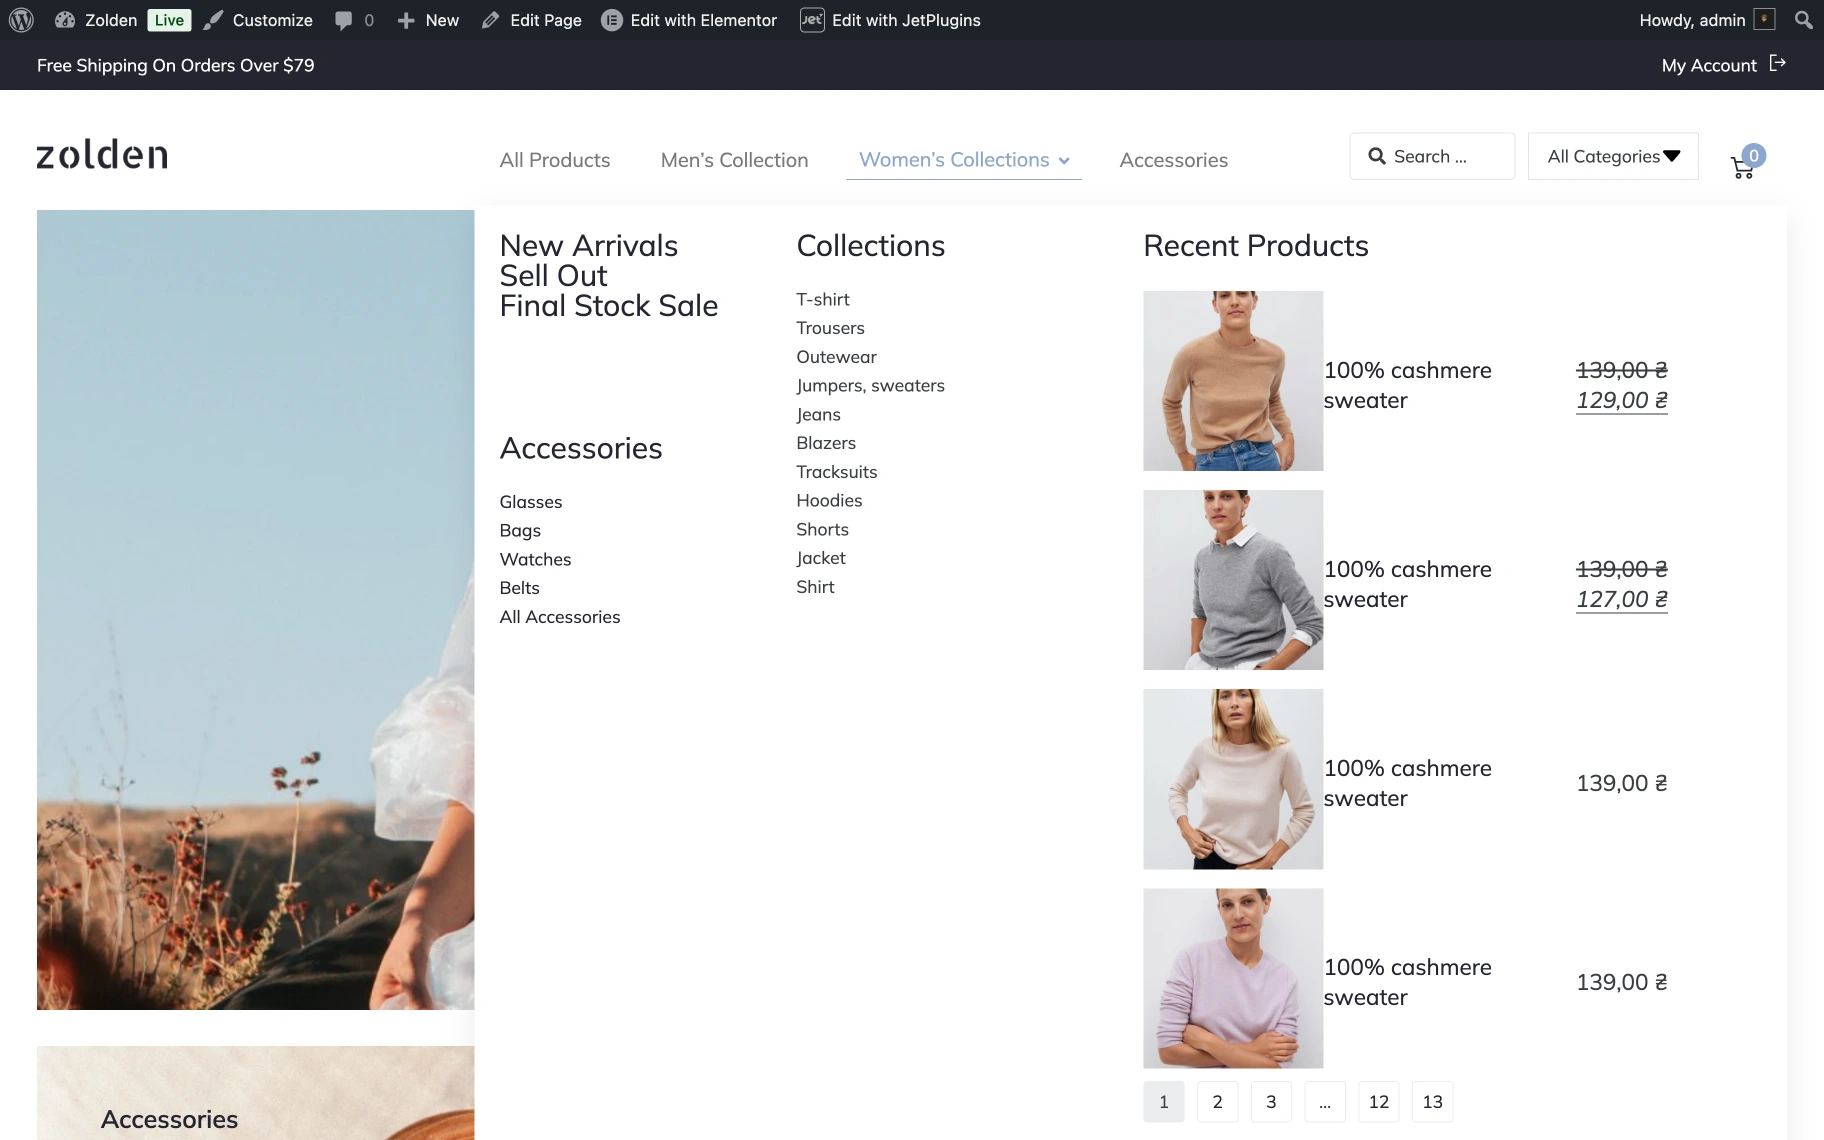
That’s all. Now you know how to enrich the pages with mega menus and draw visitors’ attention to your website using JetMenu functionality on your WordPress website.