Popup Trigger Events Overview
Learn how to attach a pop-up to a widget or block using the JetPopup functionality.
With the JetPopup plugin, one can connect the appearance of pop-ups with a widget or block.
Trigger Events in Elementor
The page where the pop-up is to be placed should be opened in the Elementor editor. Then, a widget should be selected to connect to the pop-up and clicked with the left mouse button.
The Advanced tab should be accessed, and the JetPopup section should be opened.
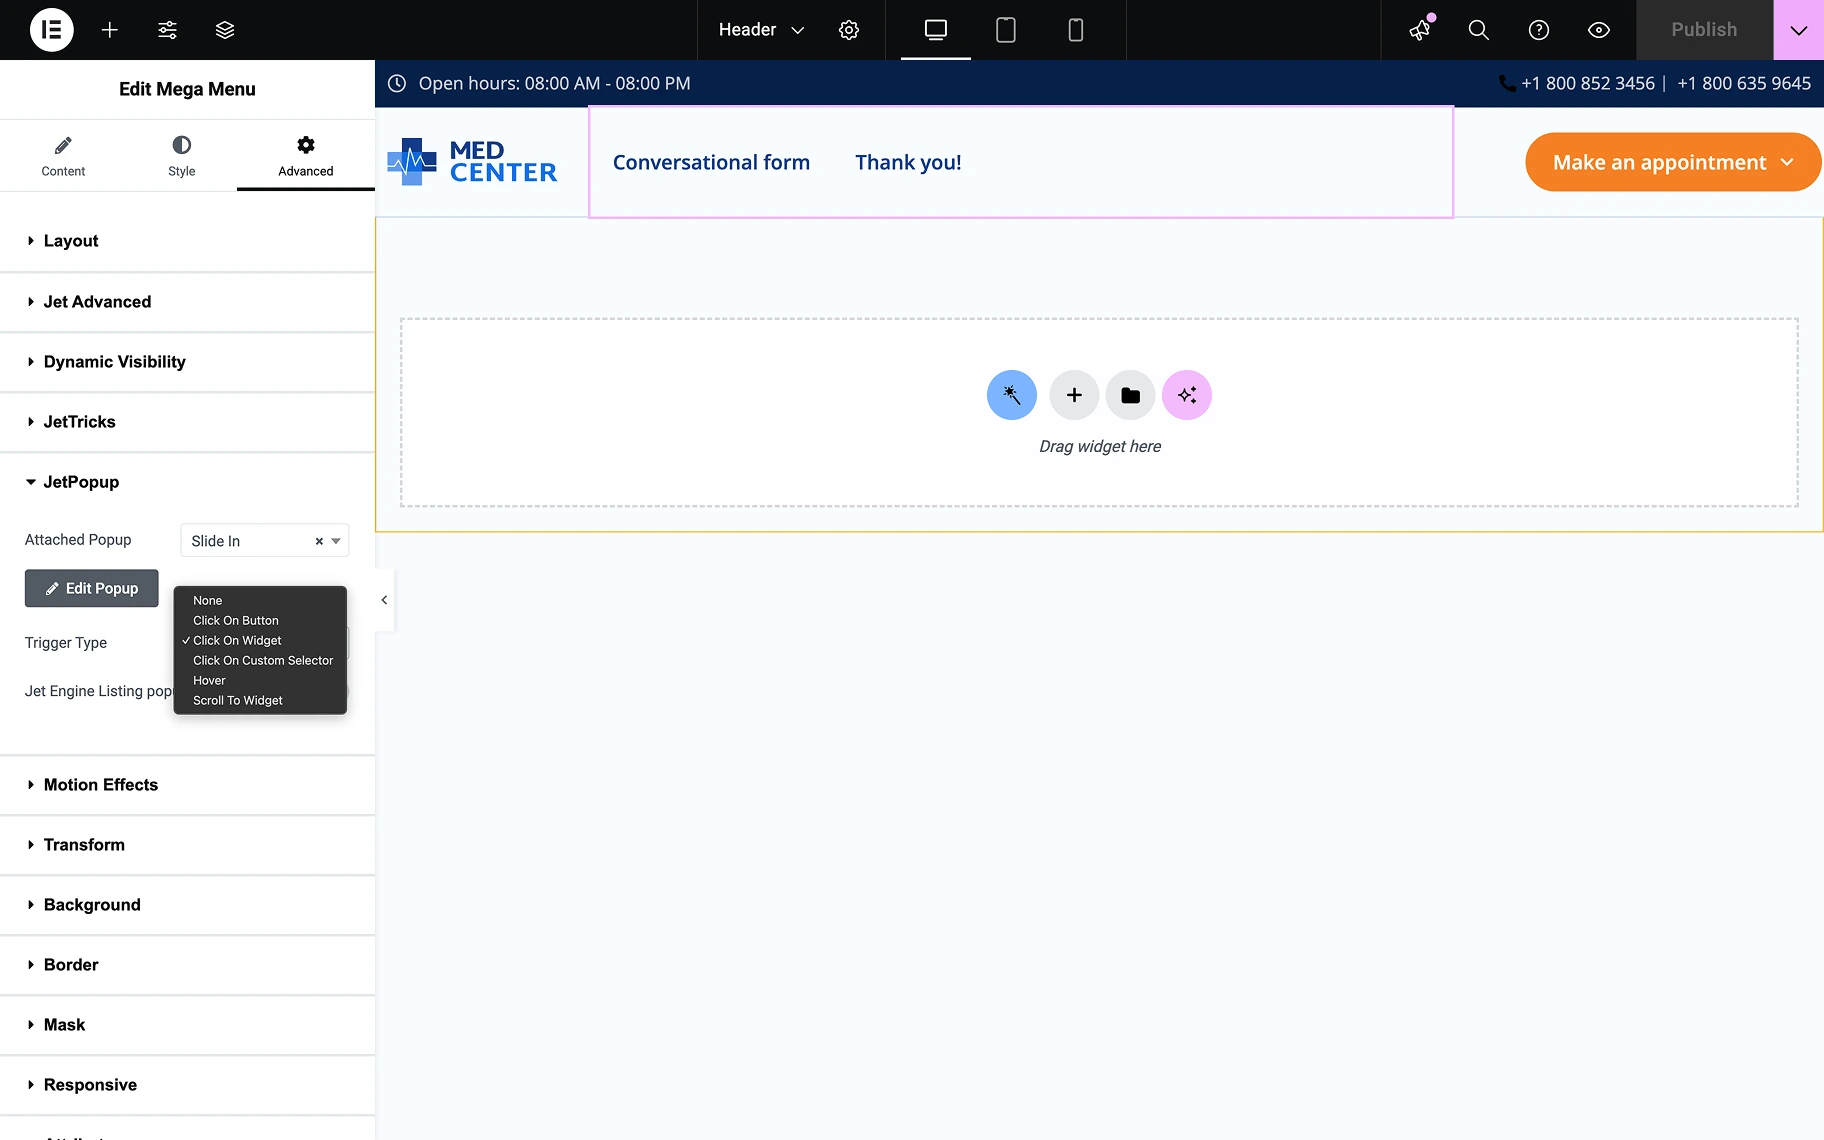
In the Attached Popup drop-down, one needs to select one of the pop-up templates created earlier. If there are none, proceed to the How to Create a New Popup Template in Elementor tutorial.
The Trigger Type option goes right after, and one can specify when the pop-up will be shown on the page:
- Click On Button — this option is selected if the pop-up is to appear when clicking the button in specific widgets that include this functionality (e.g., JetElements Posts, Animated Box, Pricing Table widgets);
- Click On Widget — this option is set to make the pop-up appear when the widget is clicked by a visitor;
- Custom Selector Click — a custom selector from the widget can be inserted as a trigger for displaying the pop-up. The first available selector is the Class selector, which can be obtained by accessing the front end, pressing the F12 keyboard button, and copying the selector inside the used widget. When pasting it into the Custom Selector bar, a dot should be placed before it. The second available option is a CSS ID, which is also copied from the code visible after pressing F12. When pasting this type of selector into the Custom Selector bar, a hash symbol should be placed before it. A video tutorial can be viewed for further details on how this feature works;
- Hover — this option is enabled to make the pop-up appear when hovering over the widget;
- Scroll To Widget — this option is used to display the pop-up when a visitor scrolls to the section where the widget is located:
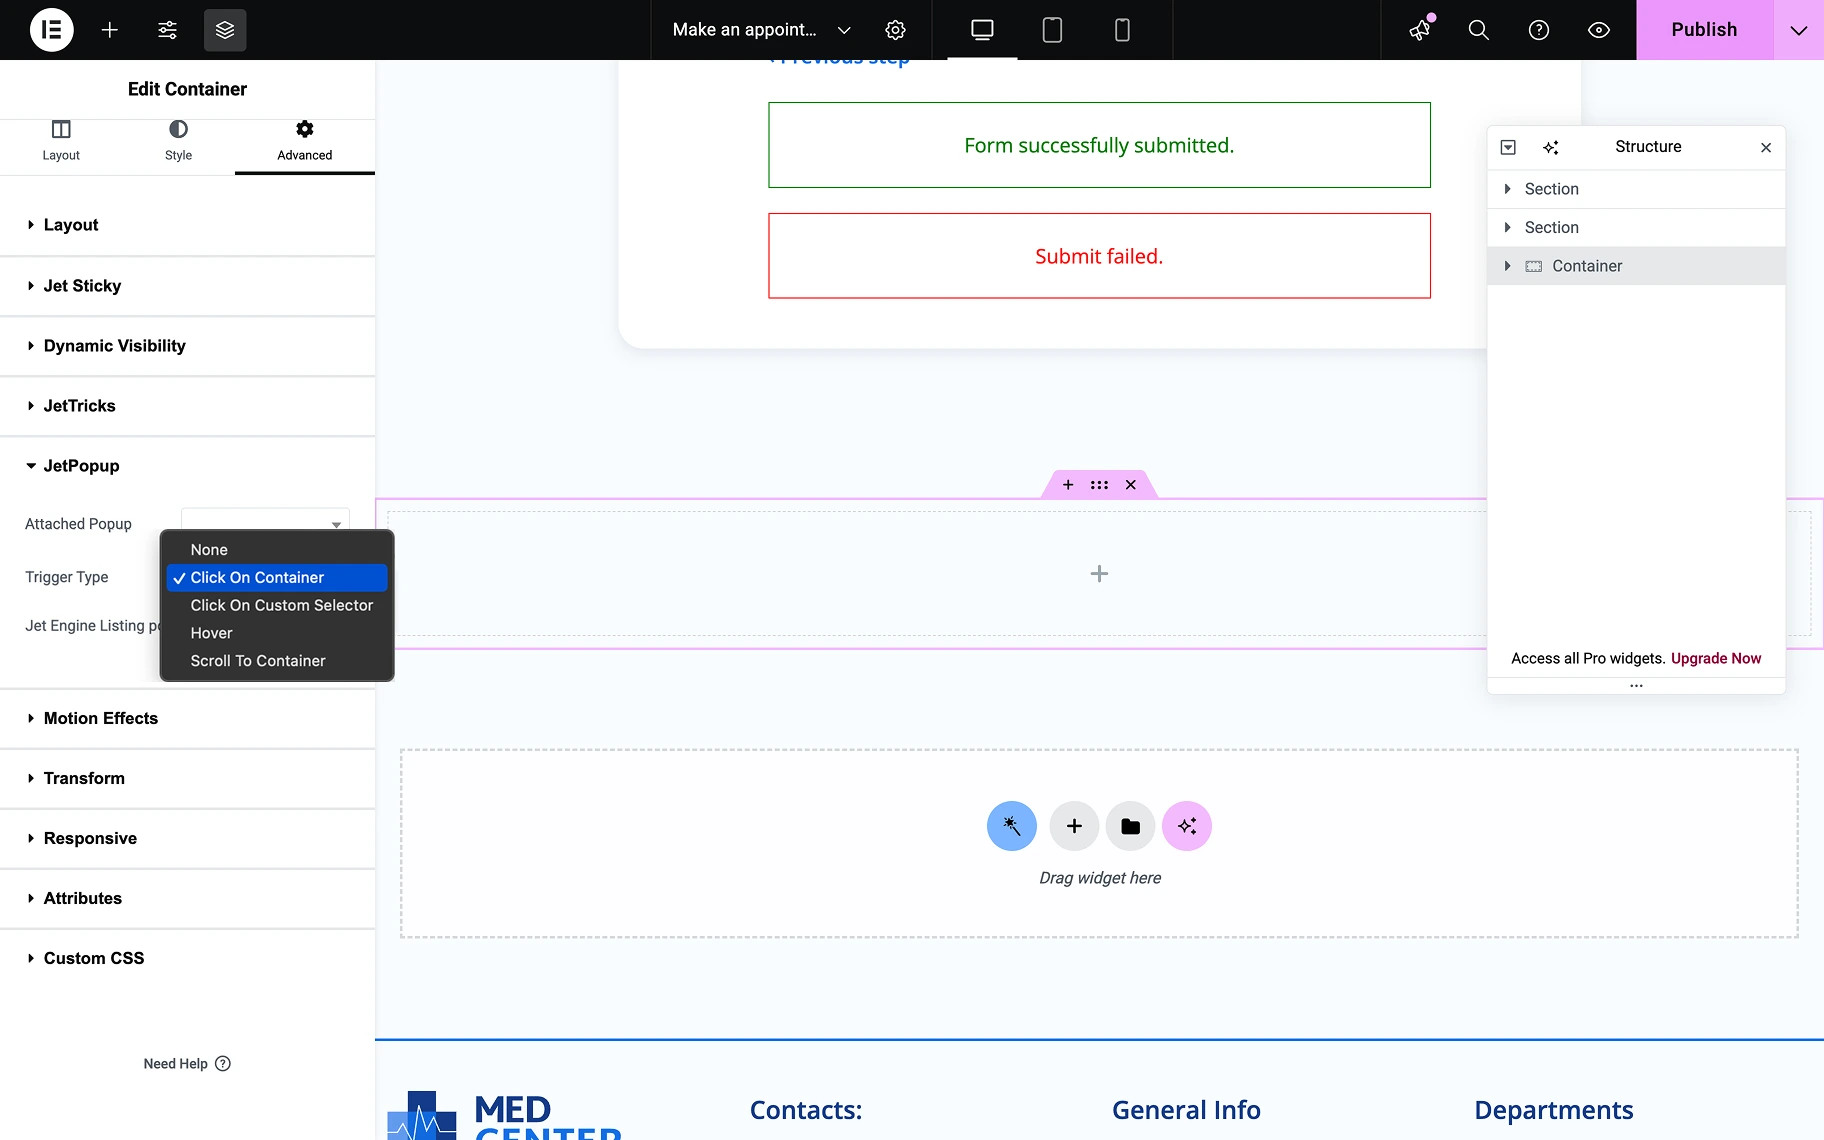
- Click on Container — this trigger type (available for Container only) allows one to open a pop-up by clicking on an entire container instead of just a specific element like text or a button. It’s best for making larger areas, such as wrappers or entire listing grid items, clickable to enhance user interaction.
Upon selecting the needed option, the “Publish” button should be clicked to save the settings.
Trigger Events in Gutenberg
The page where the pop-up is to be placed should be opened in the Gutenberg editor. Then, select the block that will connect to the pop-up and click it with the left mouse button.
Open the Advanced tab in the Block section and scroll down.
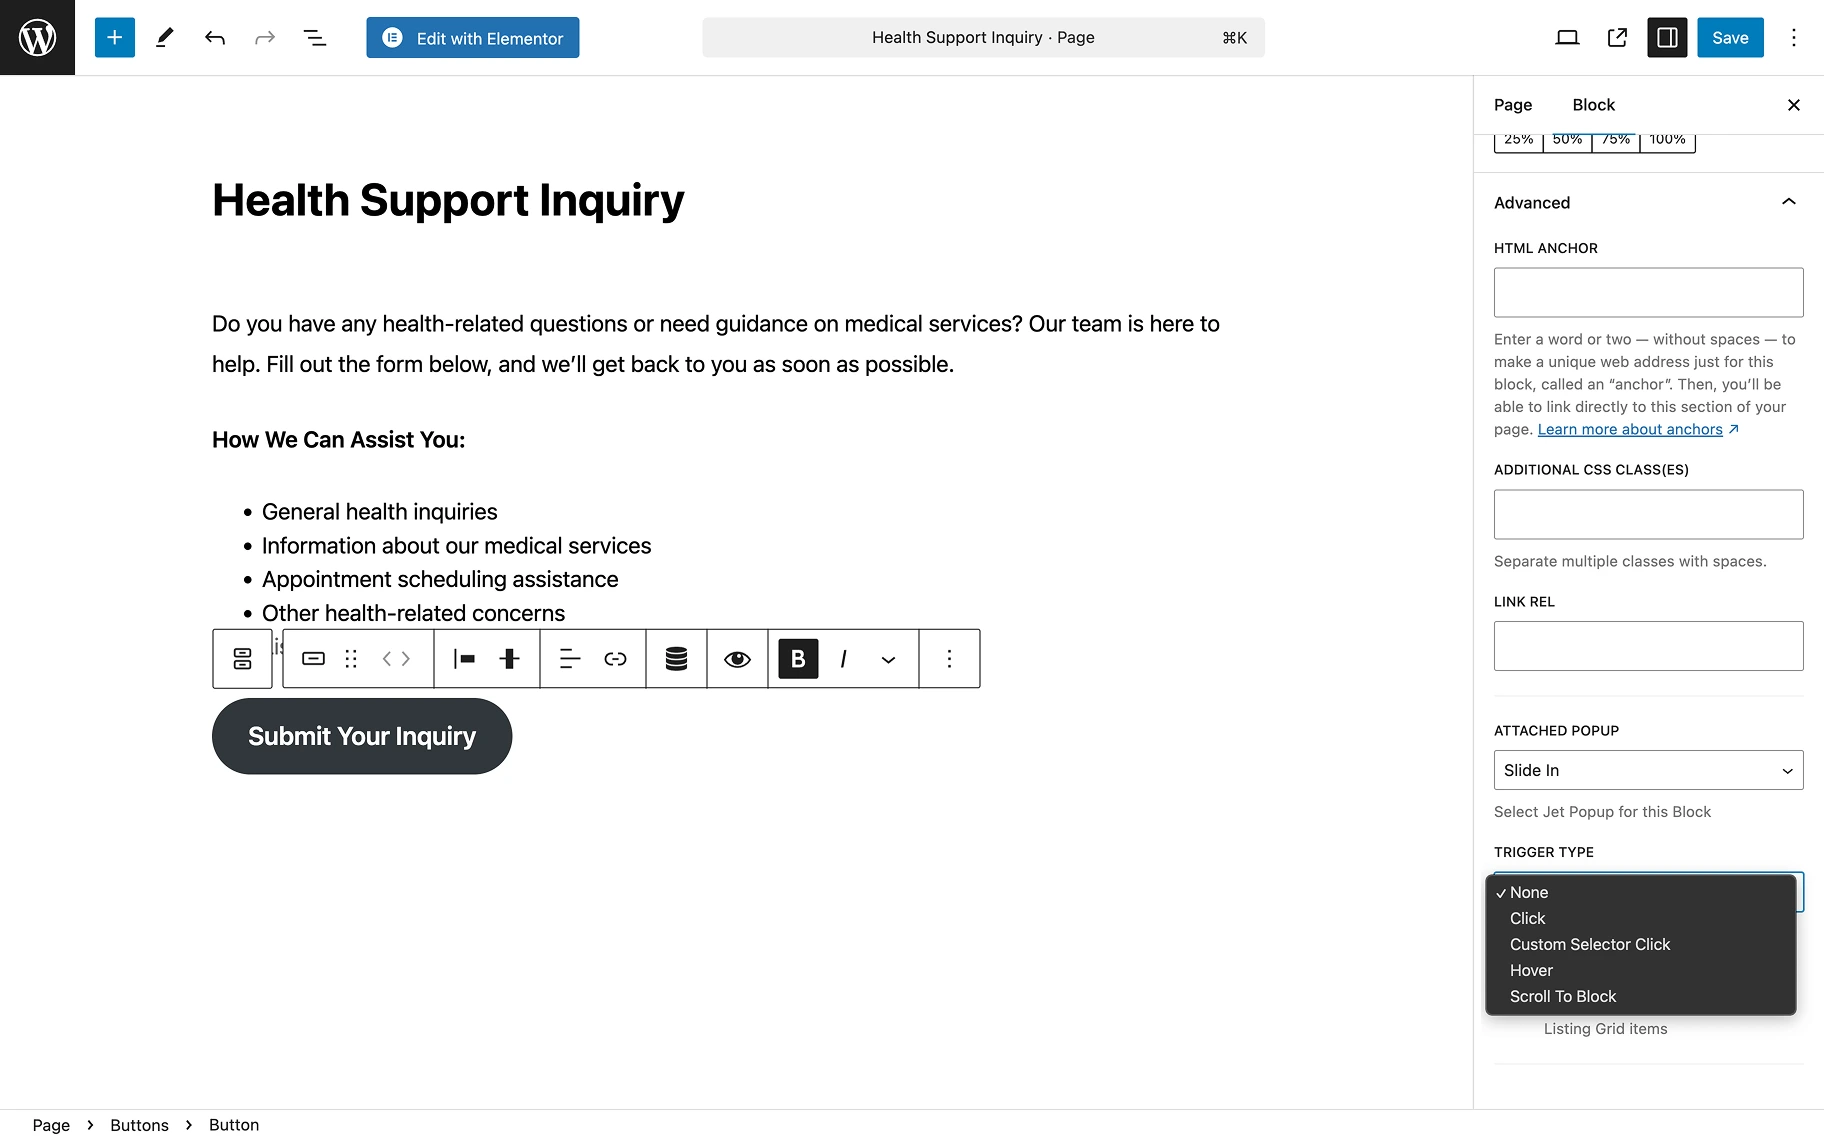
In the Attached Popup drop-down, one needs to select one of the pop-up templates created earlier. If there are none, proceed to the How to Create Popup in Gutenberg tutorial.
The Trigger Type option goes right after, and one can specify when the pop-up will be shown on the page:
- Click — this option is set to make the pop-up appear when the block is clicked by a visitor;
- Custom Selector Click — a custom selector from the block can be inserted as a trigger for displaying the pop-up. The first available selector is the Class selector, which can be obtained by accessing the front end, pressing the F12 keyboard button, and copying the selector inside the used block. When pasting it into the Custom Selector bar, a dot should be placed before it. The second available option is a CSS ID, which is also copied from the code visible after pressing F12. When pasting this type of selector into the Custom Selector bar, a hash symbol should be placed before it;
- Hover — this option is enabled to make the pop-up appear when hovering over the block;
- Scroll To Block — this option is used to display the pop-up when a visitor scrolls to the section where the block is located.
Select the needed option and hit the “Publish/Save” button.
That’s all one needs to know about the trigger events of the JetPopup WordPress plugin.