How to Display the Average Rating and Reviews Count
This tutorial explains how to display the average rating both on Single pages and in Listing Grids using the JetReviews and JetEngine dynamic tags.
Before you start, check the tutorial requirements:
- Elementor (Free version)
- JetReviews plugin installed and activated
- JetEngine plugin installed and activated
The JetReviews plugin’s functionality allows you to show the average score right over the reviews block automatically. However, it also can be displayed somewhere outside the reviews section, for example, on each item of the Listing Grid or on the top of the object’s Single page. This is possible with the help of JetEngine dynamic tags for JetReviews. Let’s take a look at how it works.
How to Add the Average Rating to a Single Page in Elementor
The Average Rating can be displayed on a custom Single page template. You can create one using the JetThemeCore plugin. More details can be found in the How to Create a Single Template for Custom Post Type tutorial.
Open your website’s WordPress Dashboard and proceed to Crocoblock > Theme Builder. Find the Single page where you have already placed the reviews block and open it in the Elementor page builder.
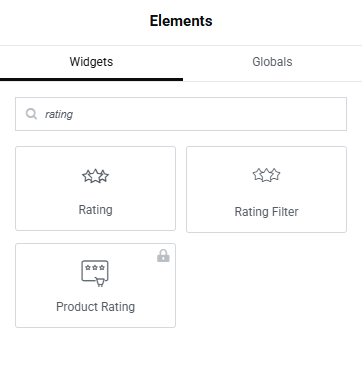
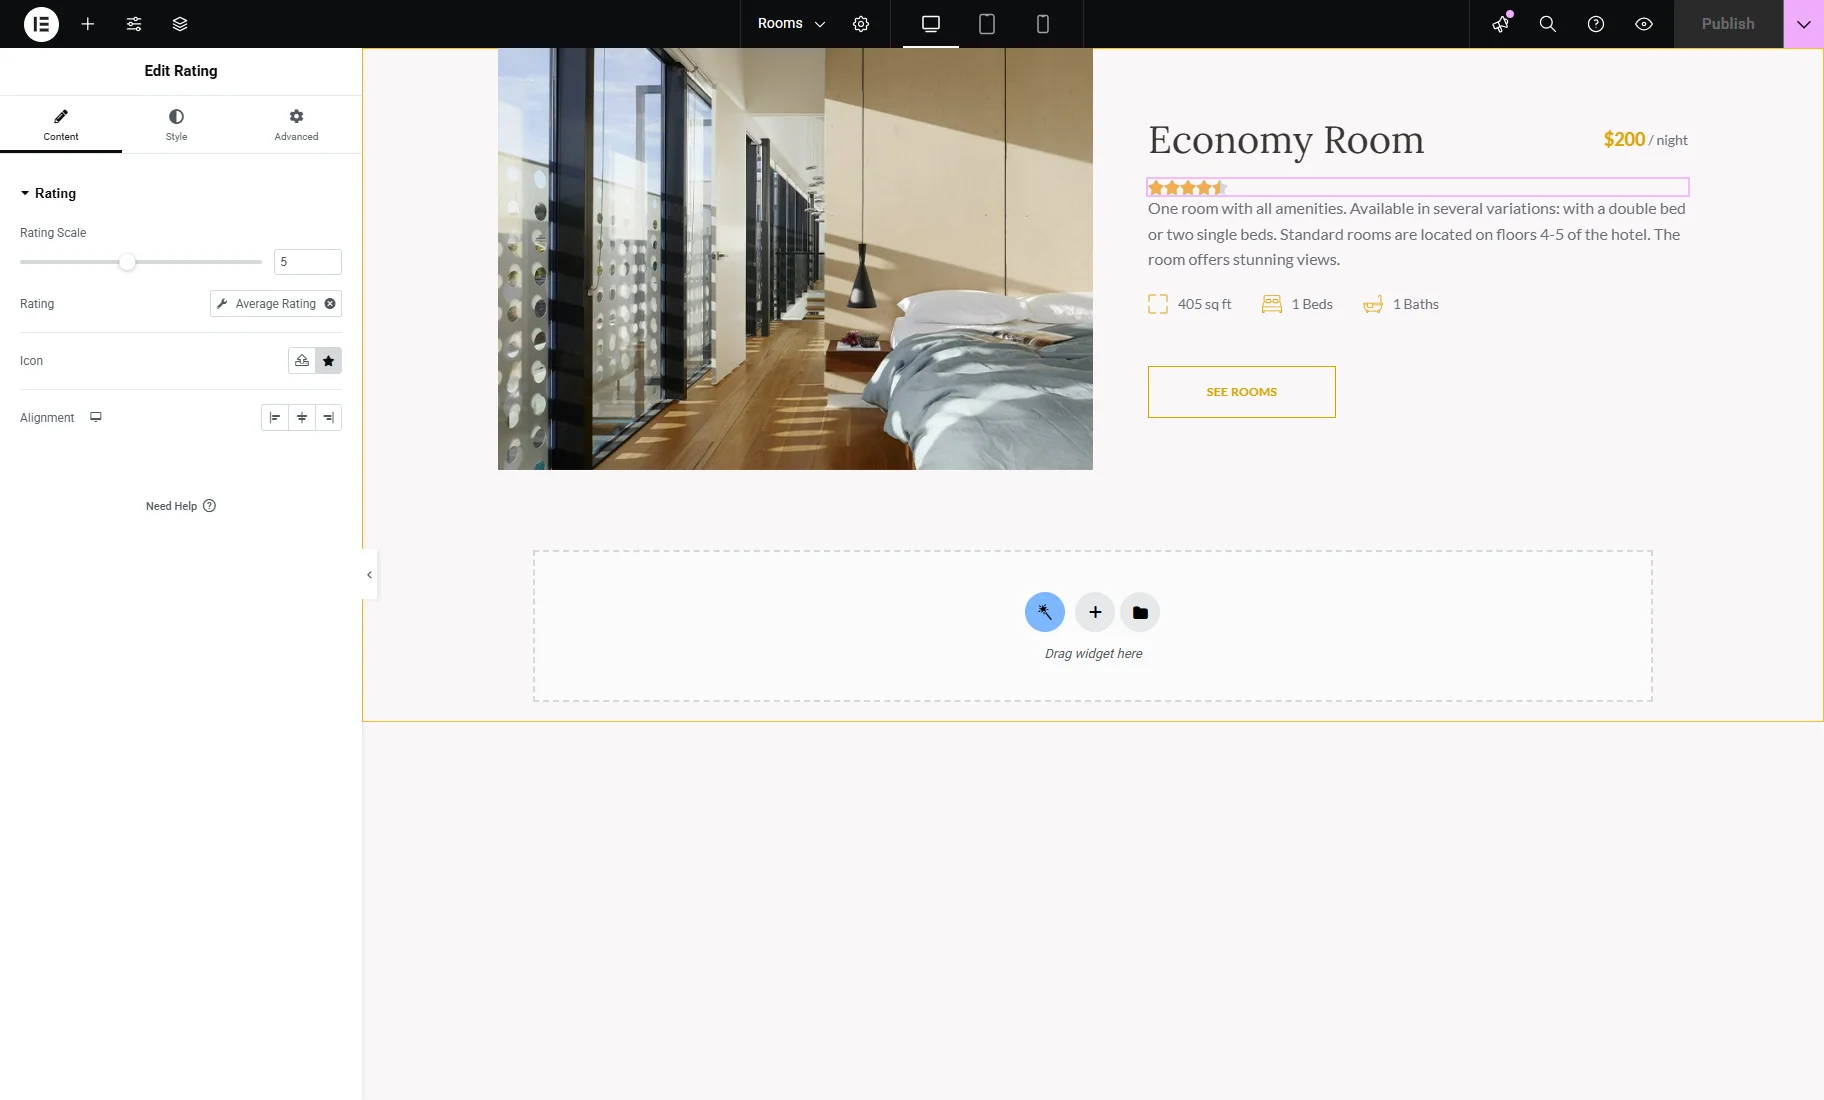
In the widgets menu on the left side, look for a Rating widget and drag-n-drop it to the page. If you are unsure where to locate it, the place under the item’s title would be great.
Go to the Rating settings block in the Content tab. First, you need to define general settings:
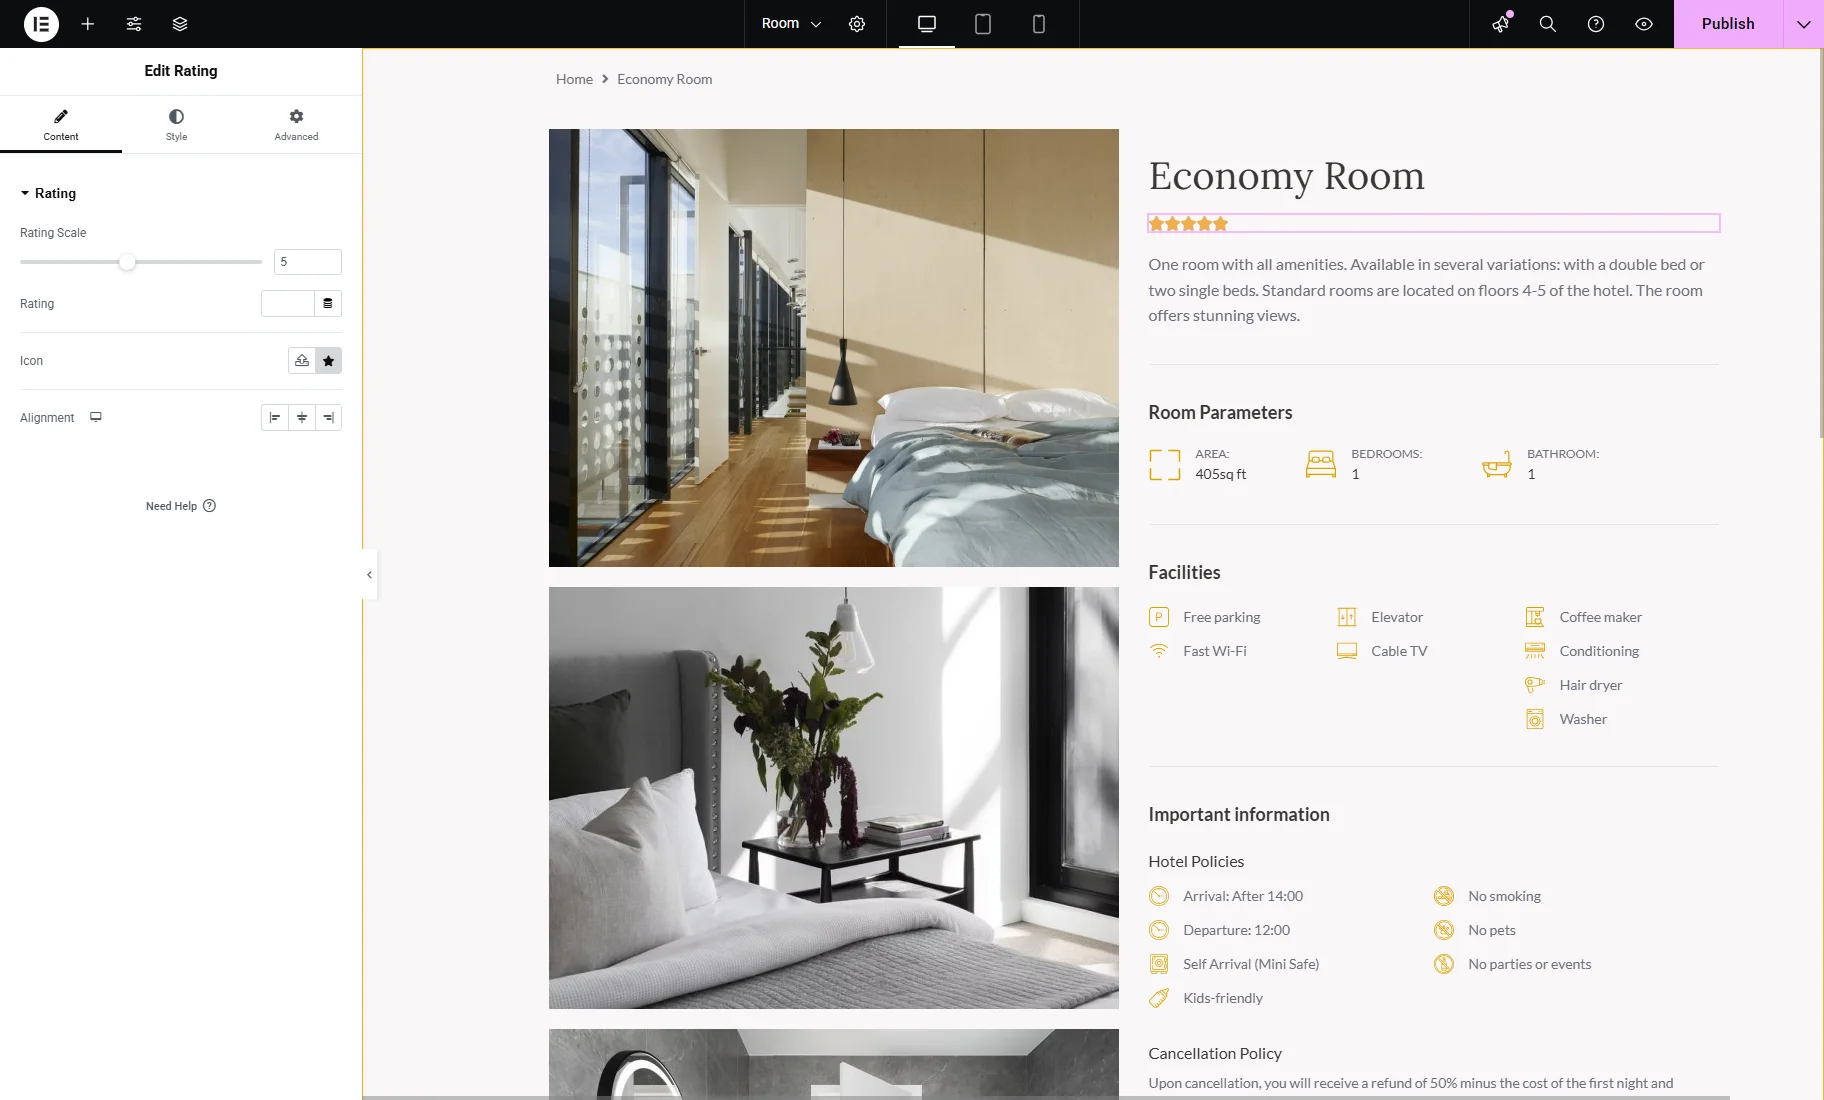
- Rating Scale — defines the biggest value of the rating. By default, it’s “5”;
- Rating — a number field where you can set the static rating that won’t change dynamically. You can also choose the dynamic tag value here, but we’ll describe it in detail further on;
- Icon — here, you can set the icon by uploading an SVG or choosing one from the Icon Library;
- Alignment — here, you can choose the alignment of the star rating.
Use the dynamic tag
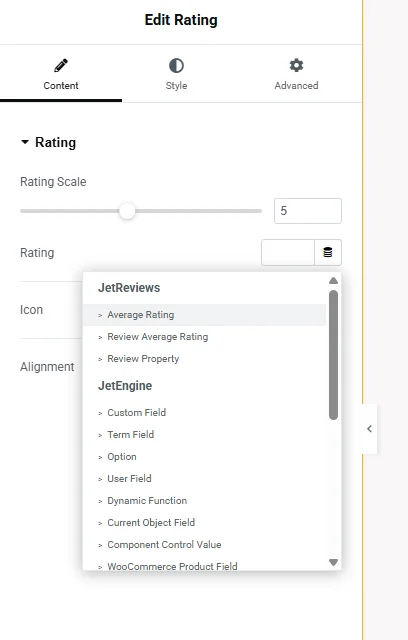
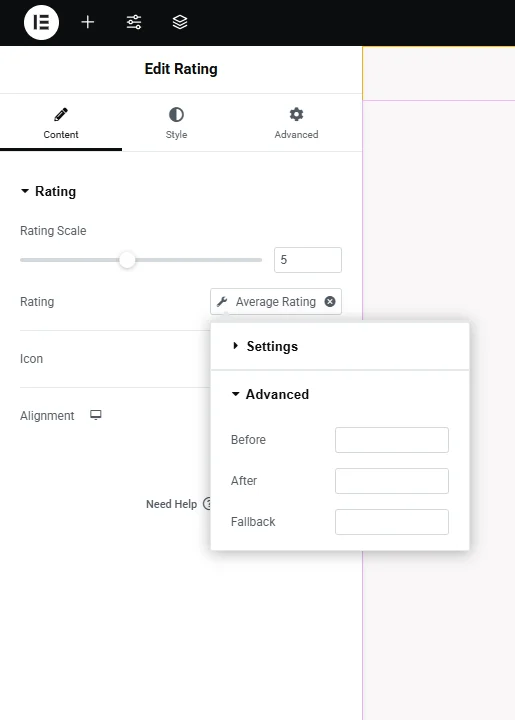
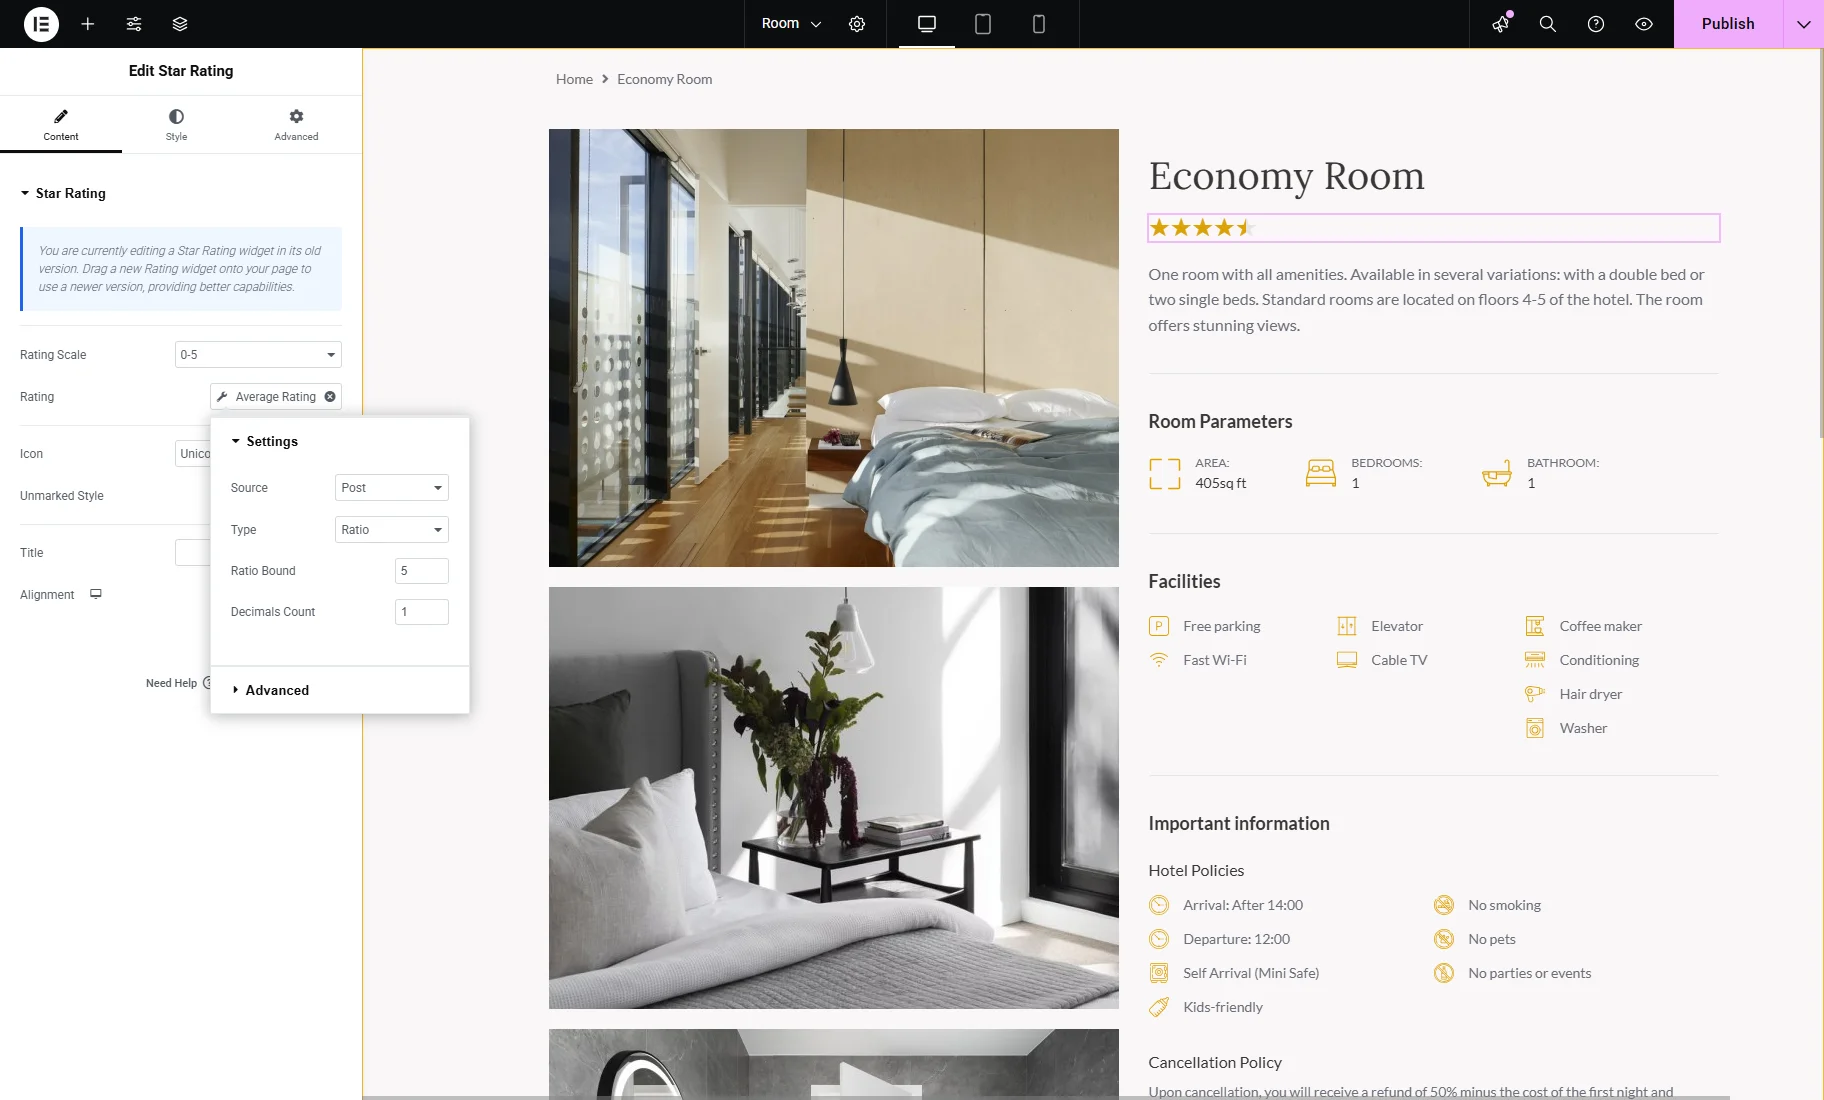
Click the “Dynamic Tag” button near the Rating field and choose the “Average Rating” option.
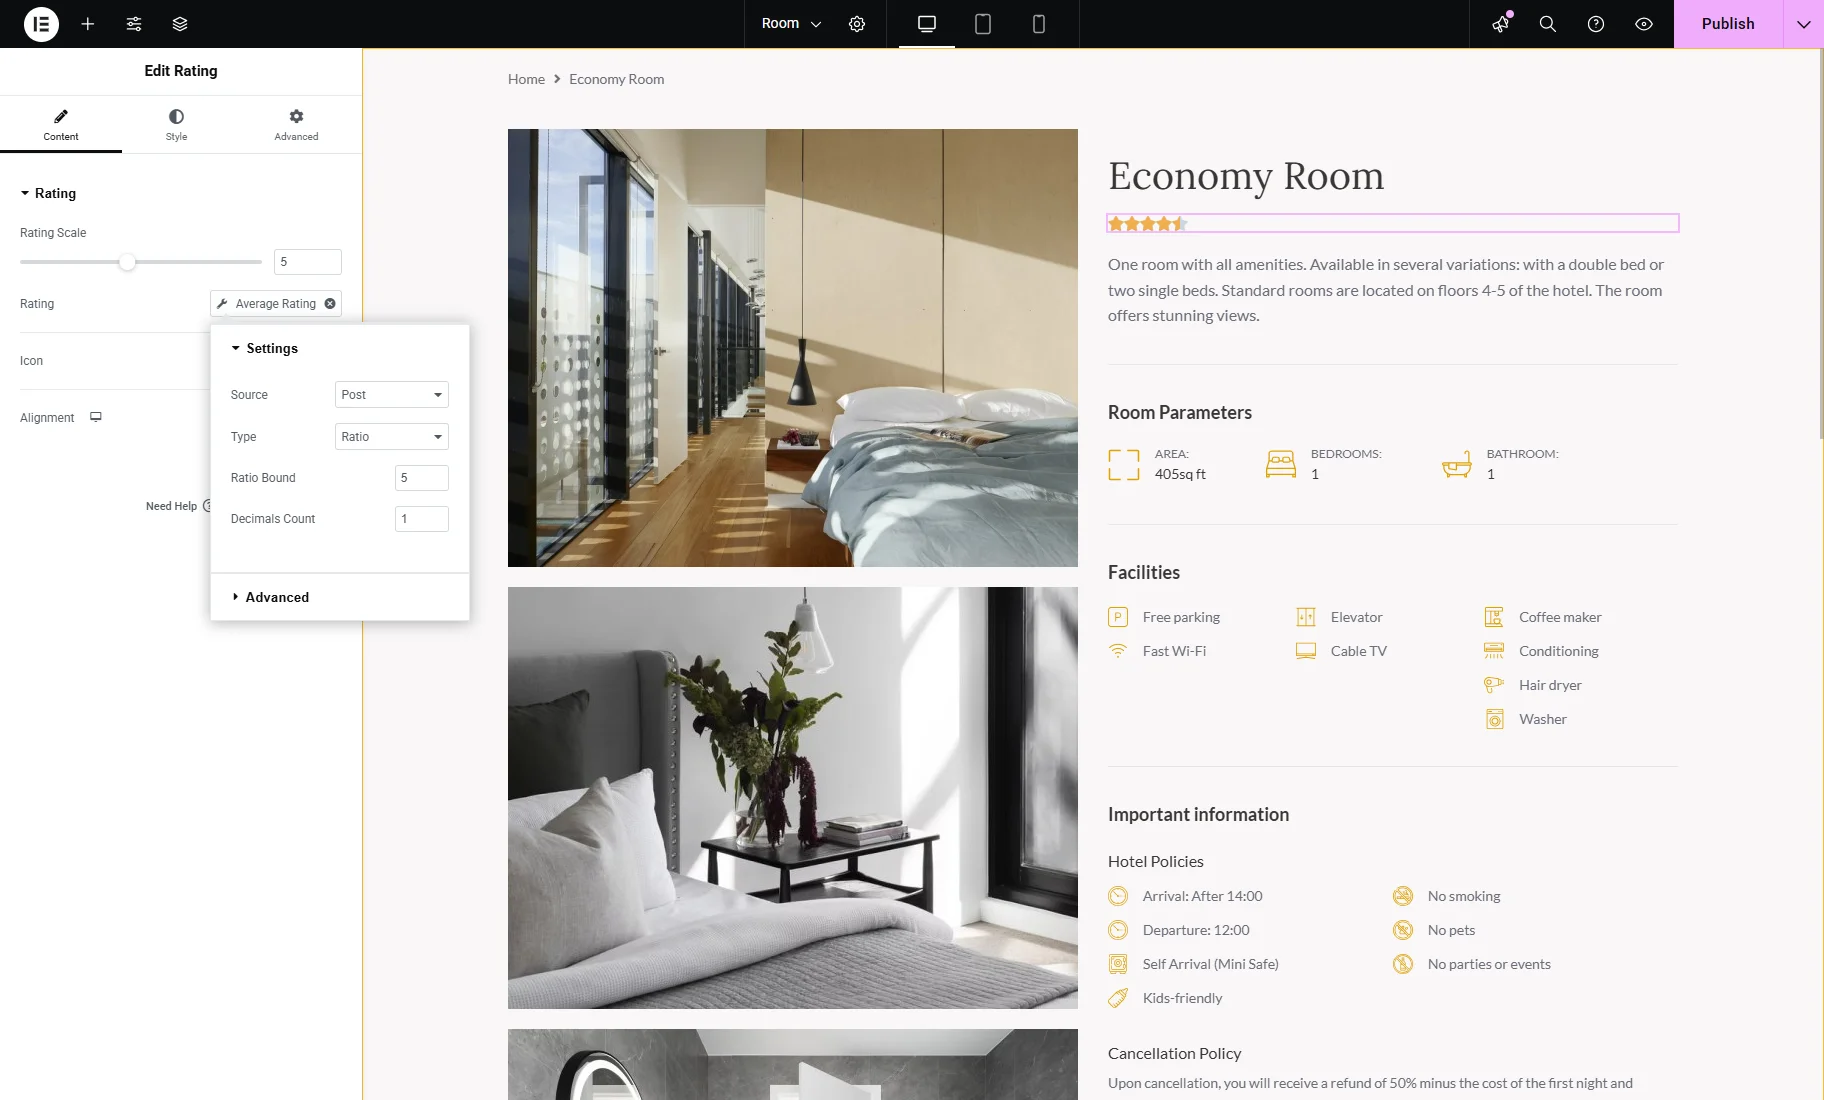
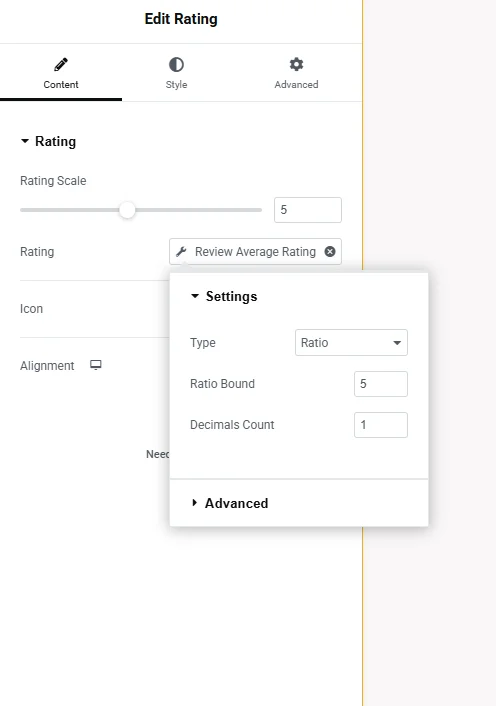
After that, click on the bar to open the dynamic tag settings submenu. In the Settings block, you can specify the Source: “Post” or “User.” Also, you can choose the Type of the rating: it could be “Percent” or “Ratio.” Besides that, you can decide on the Ratio Bond (is available if the “Ratio” option is chosen) and Decimals Count.
In the Advanced block, you can choose what will be shown Before and After the rating. The Fallback text will replace the rating if something goes wrong.
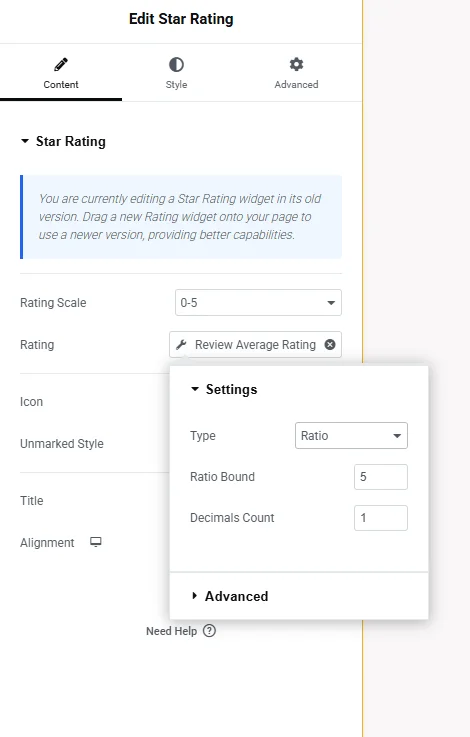
Also, you can set the “Review Average Rating” dynamic tag for the Rating field to retrieve the average rating from user-submitted reviews within JetReviews. It has the same settings except for the absent Source option.
Do some styling in the Style tab and hit the “Publish” button.
How to Add the Average Rating to the Listing Grid
Using the JetReviews and JetEngine plugins, you can display the average rating in the Listing Grid widget.
In the WordPress Dashboard, go to JetEngine > Listings/Components. You’ll have to customize the Listing template so it affects the Listing Grid. For this, follow the How to Create a Listing Template for Post Types in Elementor tutorial.
If you have already created a Listing template, open it in the Elementor editor.
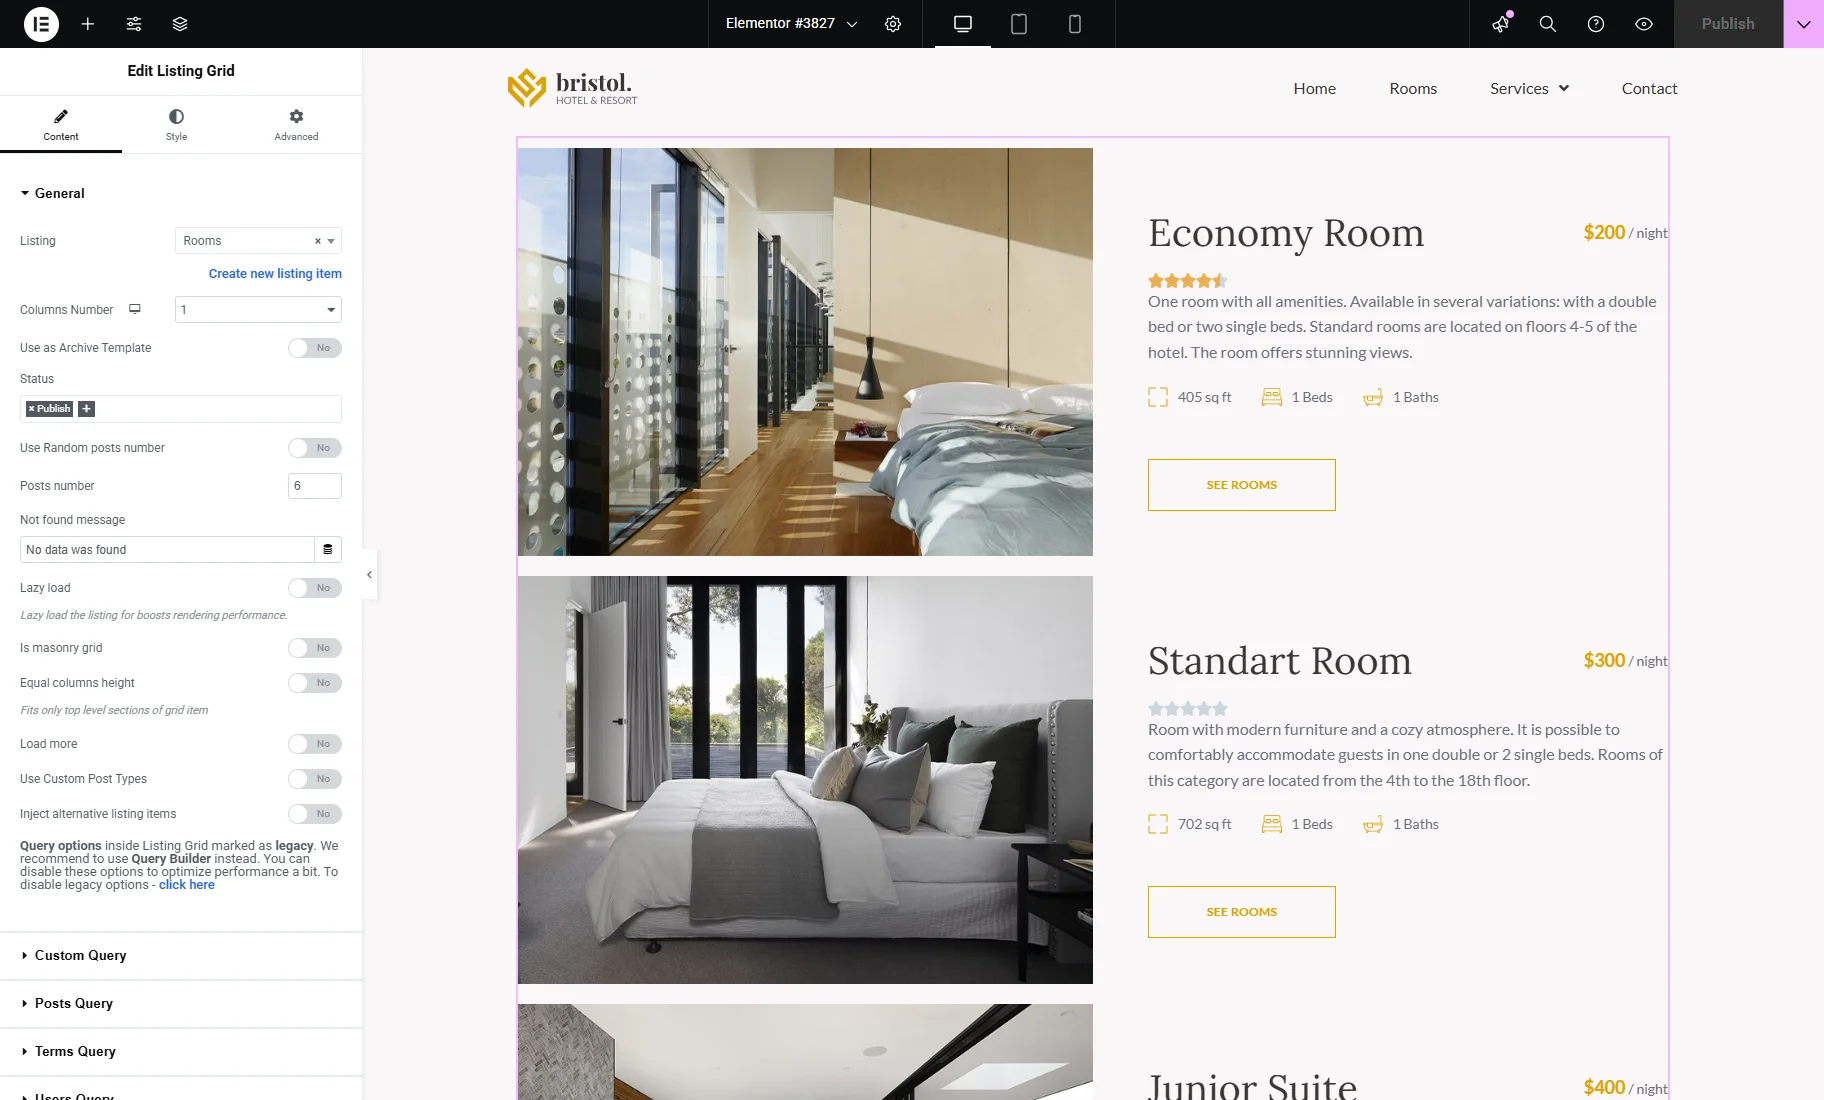
Here, you also need to find the Rating widget and drop it to the page. The settings are the same as for the Single page.
After you are done with the settings and styling, click the “Publish” button and proceed to the page where you placed the Listing Grid.
How to Set Average Rating for the Old Version Star Rating Widget (Legacy)
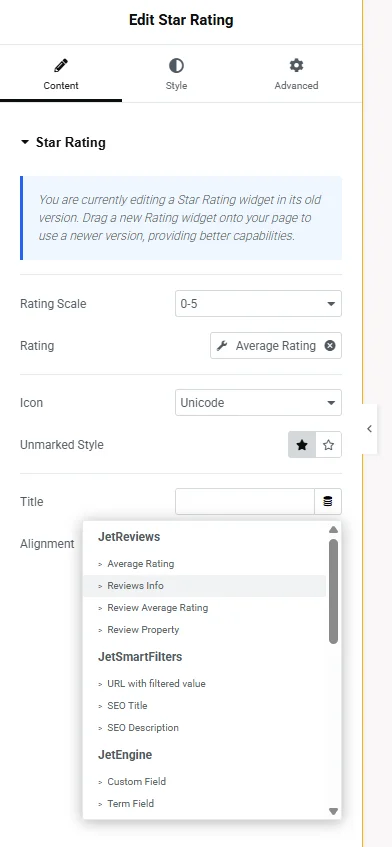
In case you decide to stick with the old version Star Rating widget on the Single Post page or Listing template, here are its settings:
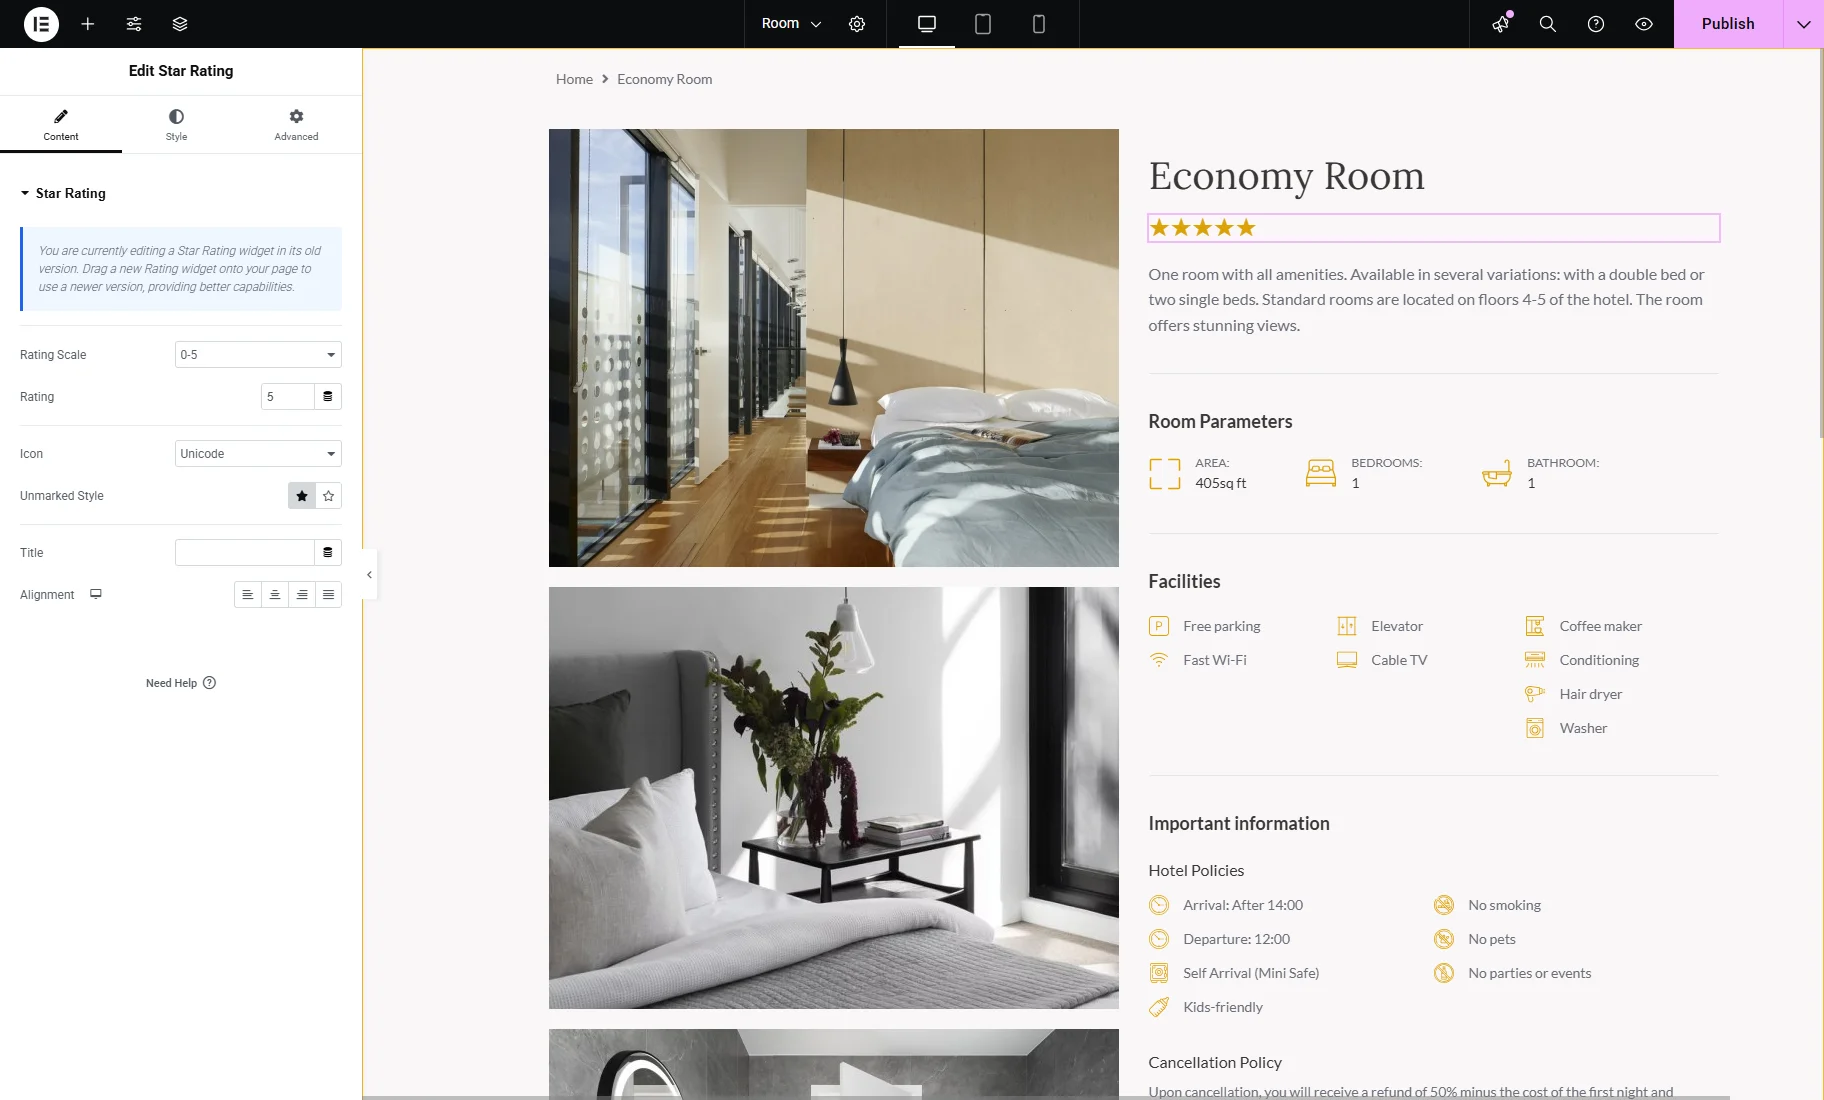
- Rating Scale — a feature that defines the smallest and biggest values of the rating. There are two options – “0-5” and “0-10”;
- Rating — in this field, you can set the static rating, which won’t change dynamically but will remain the same. You can also choose the “Dynamic Tag” value here, which will be described further;
- Icon — in this drop-down menu, you can choose the style of icons — be it “Font Awesome” or “Unicode”;
- Unmarked Style — switching this toggle will help you set the style of marked and unmarked star icons;
- Title — a static title of the rating can be typed here. You can also choose to show how many reviews were left about this item. This could be made by selecting the dynamic tag; the details will be revealed further on;
- Alignment — here, you can choose the alignment of the star rating.
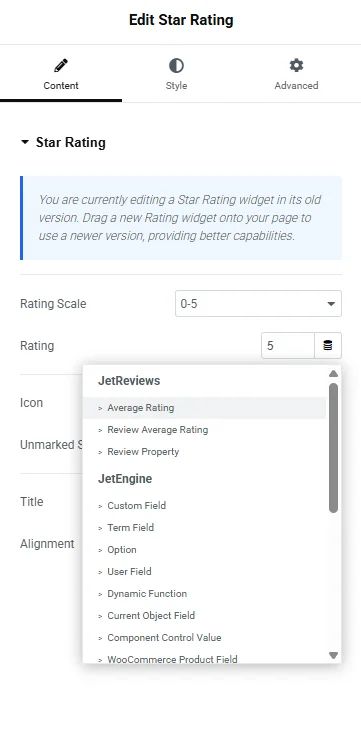
The dynamic tag can be applied to the Rating and Title fields. Click the “Dynamic Tags” button near the Rating field and choose the “Average Rating” option.
After that, click on the bar to open the dynamic tag settings submenu. In the Settings block, you can specify the Source: “Post” or “User.” Also, you can choose the Type of the rating: it could be “Percent” or “Ratio.” Besides that, you can decide on the Ratio Bond (is available if the “Ratio” option is chosen) and Decimals Count.
In the Advanced block, you can choose what will be shown Before and After the rating. The Fallback text will replace the rating if something goes wrong.
Also, you can set the “Review Average Rating” dynamic tag for the Rating field to retrieve the average rating from user-submitted reviews within JetReviews. It has the same settings except the absent Source setting.
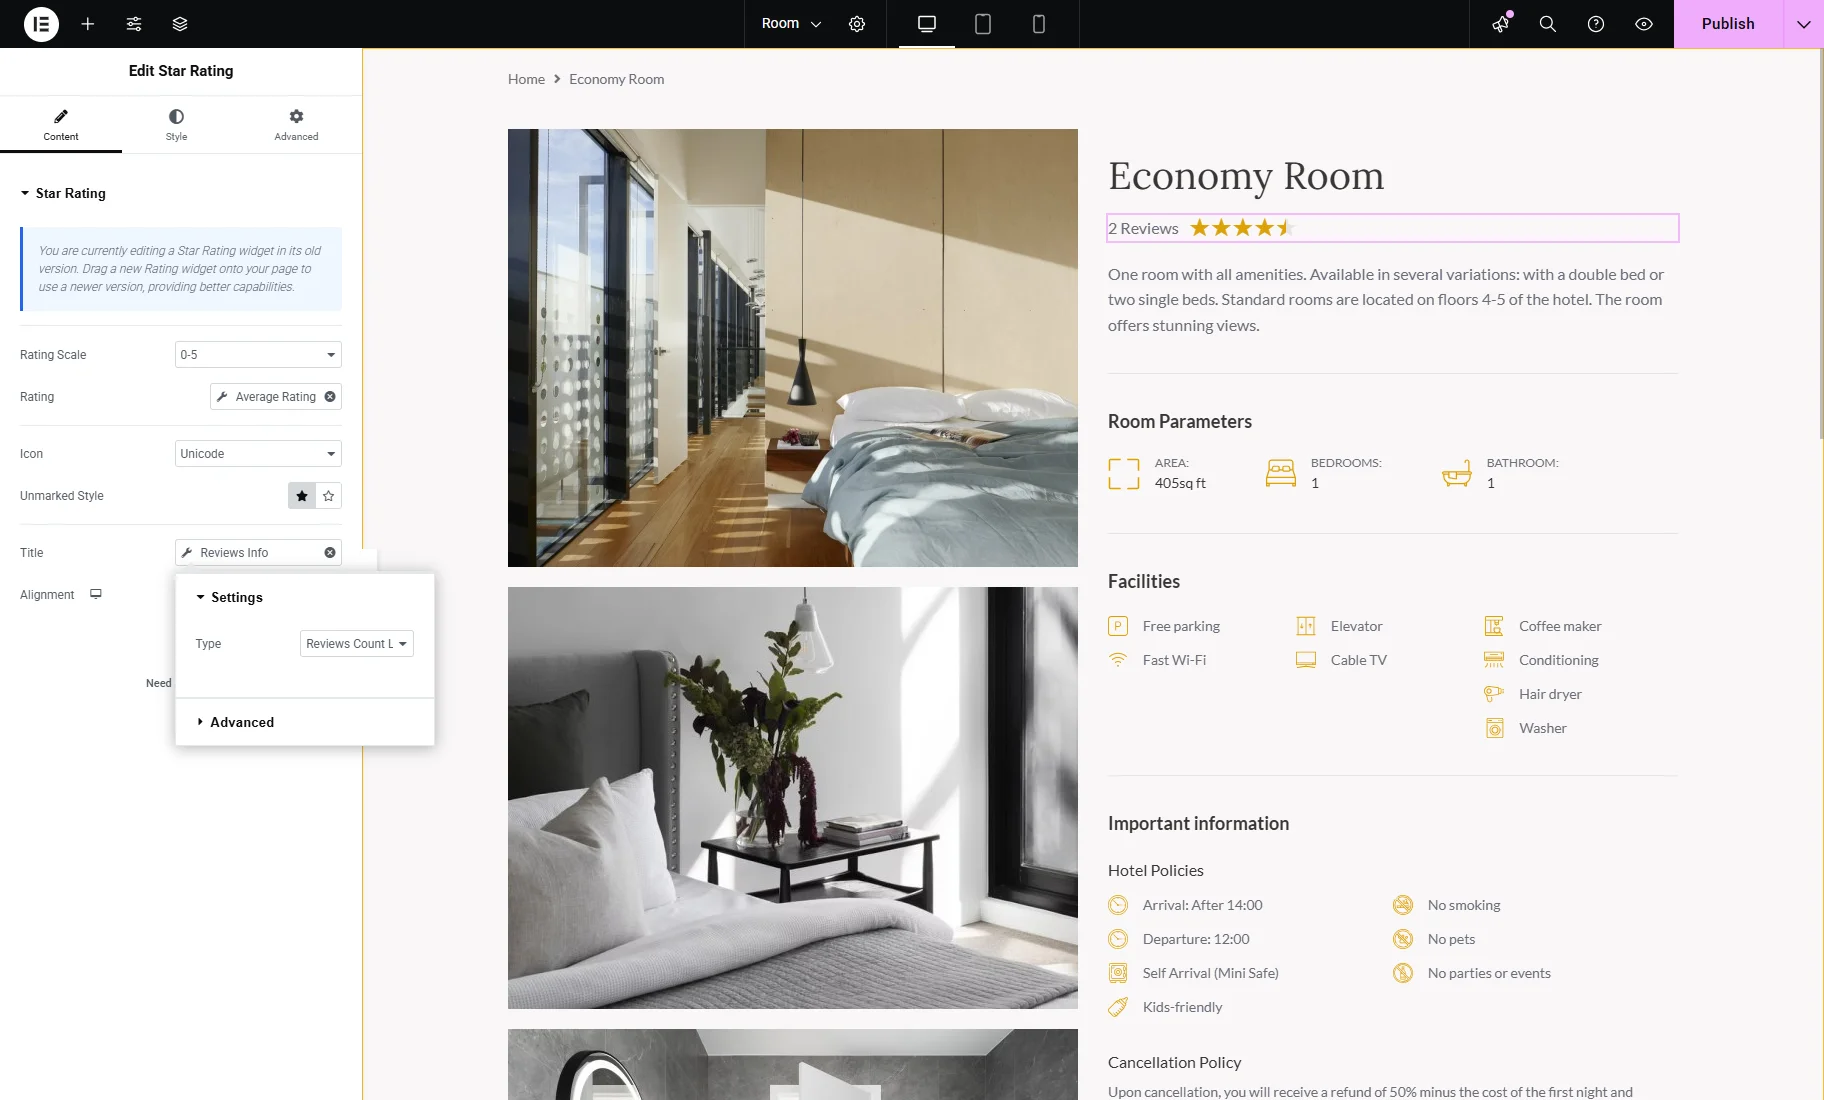
After you finish setting that, click on the “Dynamic Tag” next to the Title text area. For this field, the “Reviews Info” option is available.
The “Reviews Info” dynamic tag contains the Type dropdown with two options:
- Reviews Count — shows only the number of reviews;

- Reviews Count Label — includes the number and the word “Reviews.”
Do some styling in the Style tab and save the changes.
The job is done. Now you know how to display the average rating both on Single pages and in Listing Grids using the JetReviews and JetEngine dynamic tags on WordPress websites.