How to Sort Items According to the Rating
This tutorial explains how to create a JetSmartFilters filter to sort JetEngine posts by their JetReviews rating.
Before you start, check the tutorial requirements:
- Elementor (Free version)
- JetReviews plugin installed and activated
- JetSmartFilters plugin installed and activated
In this tutorial, we use the JetEngine’s Custom Post Type and its posts, but reviews can also be applied to the default WordPress posts.
Adjust the Review Type
Proceed to WordPress Dashboard > JetReviews > Review Types and either click the “Add New Type” to add a new one or edit the already existing type.
Refer to our How to Create a New Review Type guide to learn more about creating Review Types.
In this case, we add a new Review Type for the CPT. After filling up the General Settings tab, proceed to the Source Metadata section. Enable the Use Metadata Source toggle.
In the Average rating metadata key field, you can set the desired name. In this case, we keep the default one. Click the “Sync rating data” button if it is not a new Review Type.
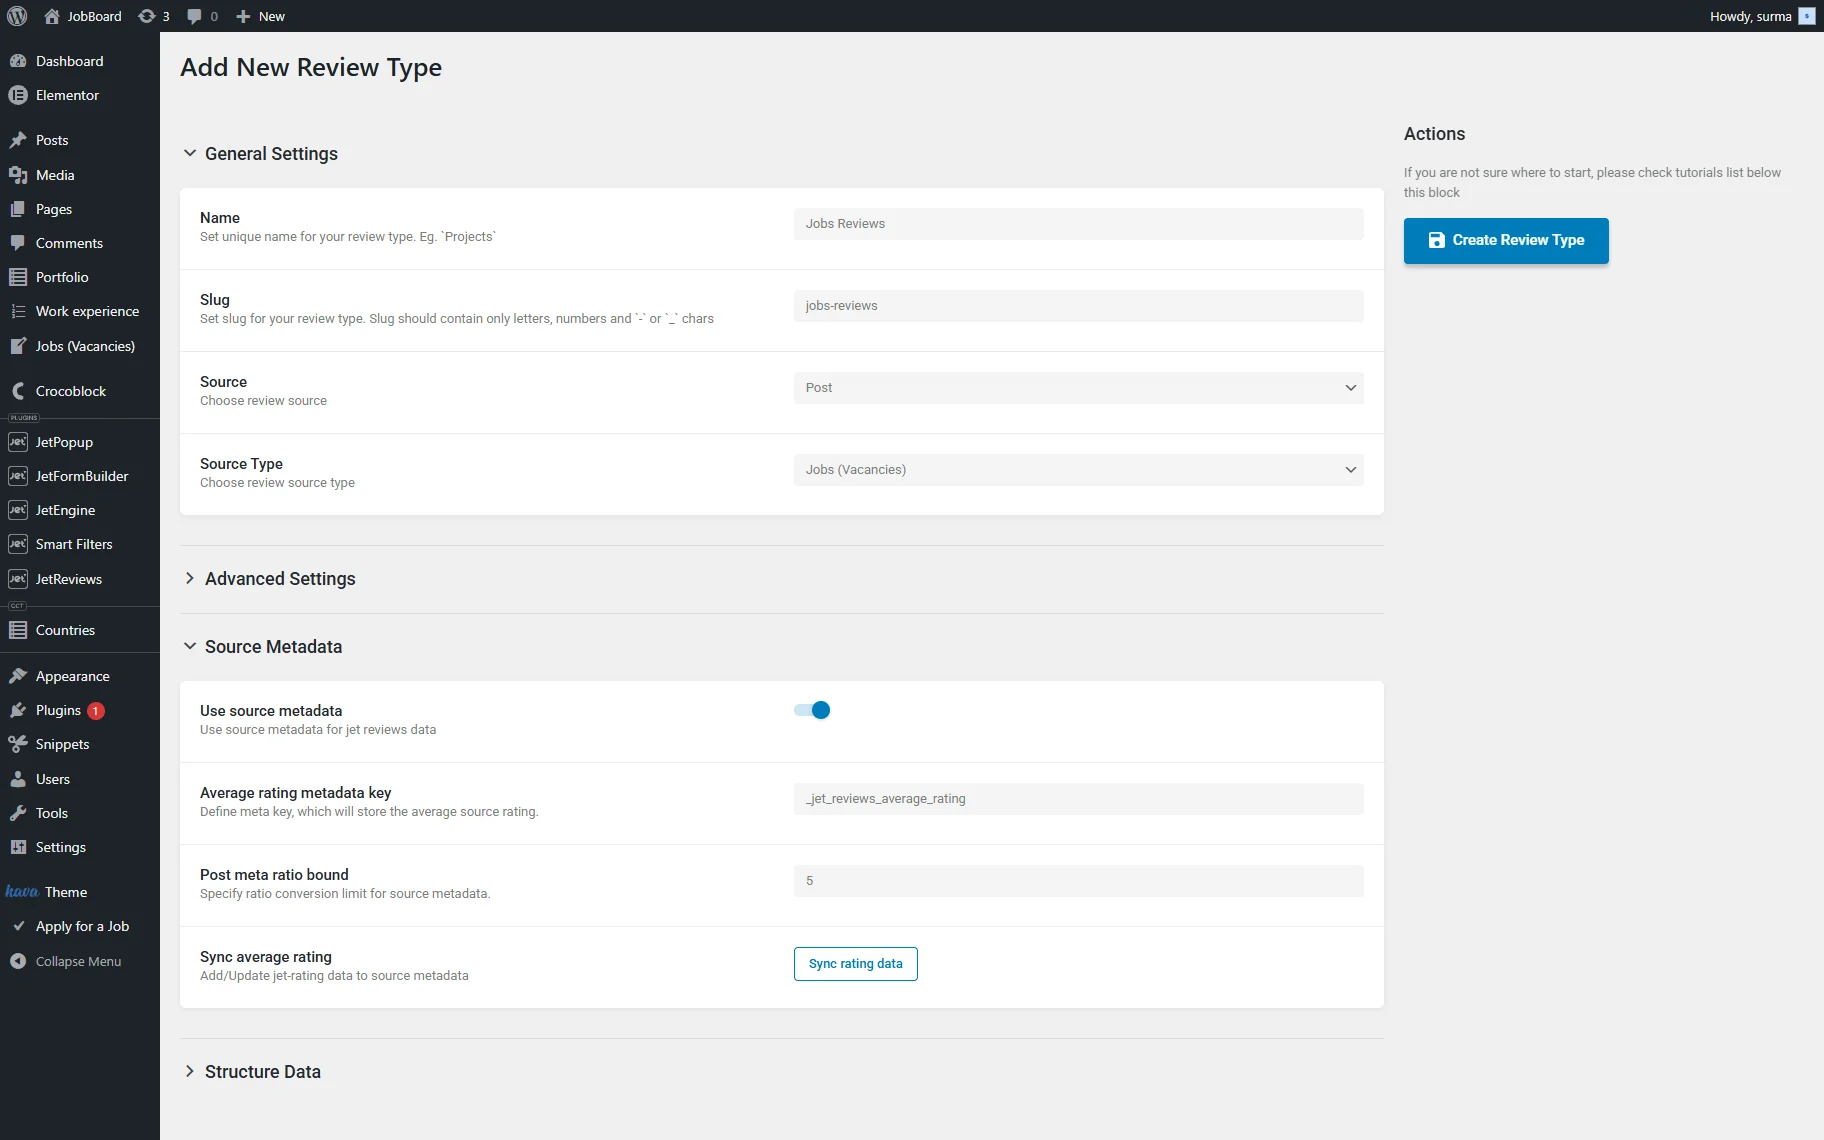
Click the “Create / Update Review Type” button once you are ready.
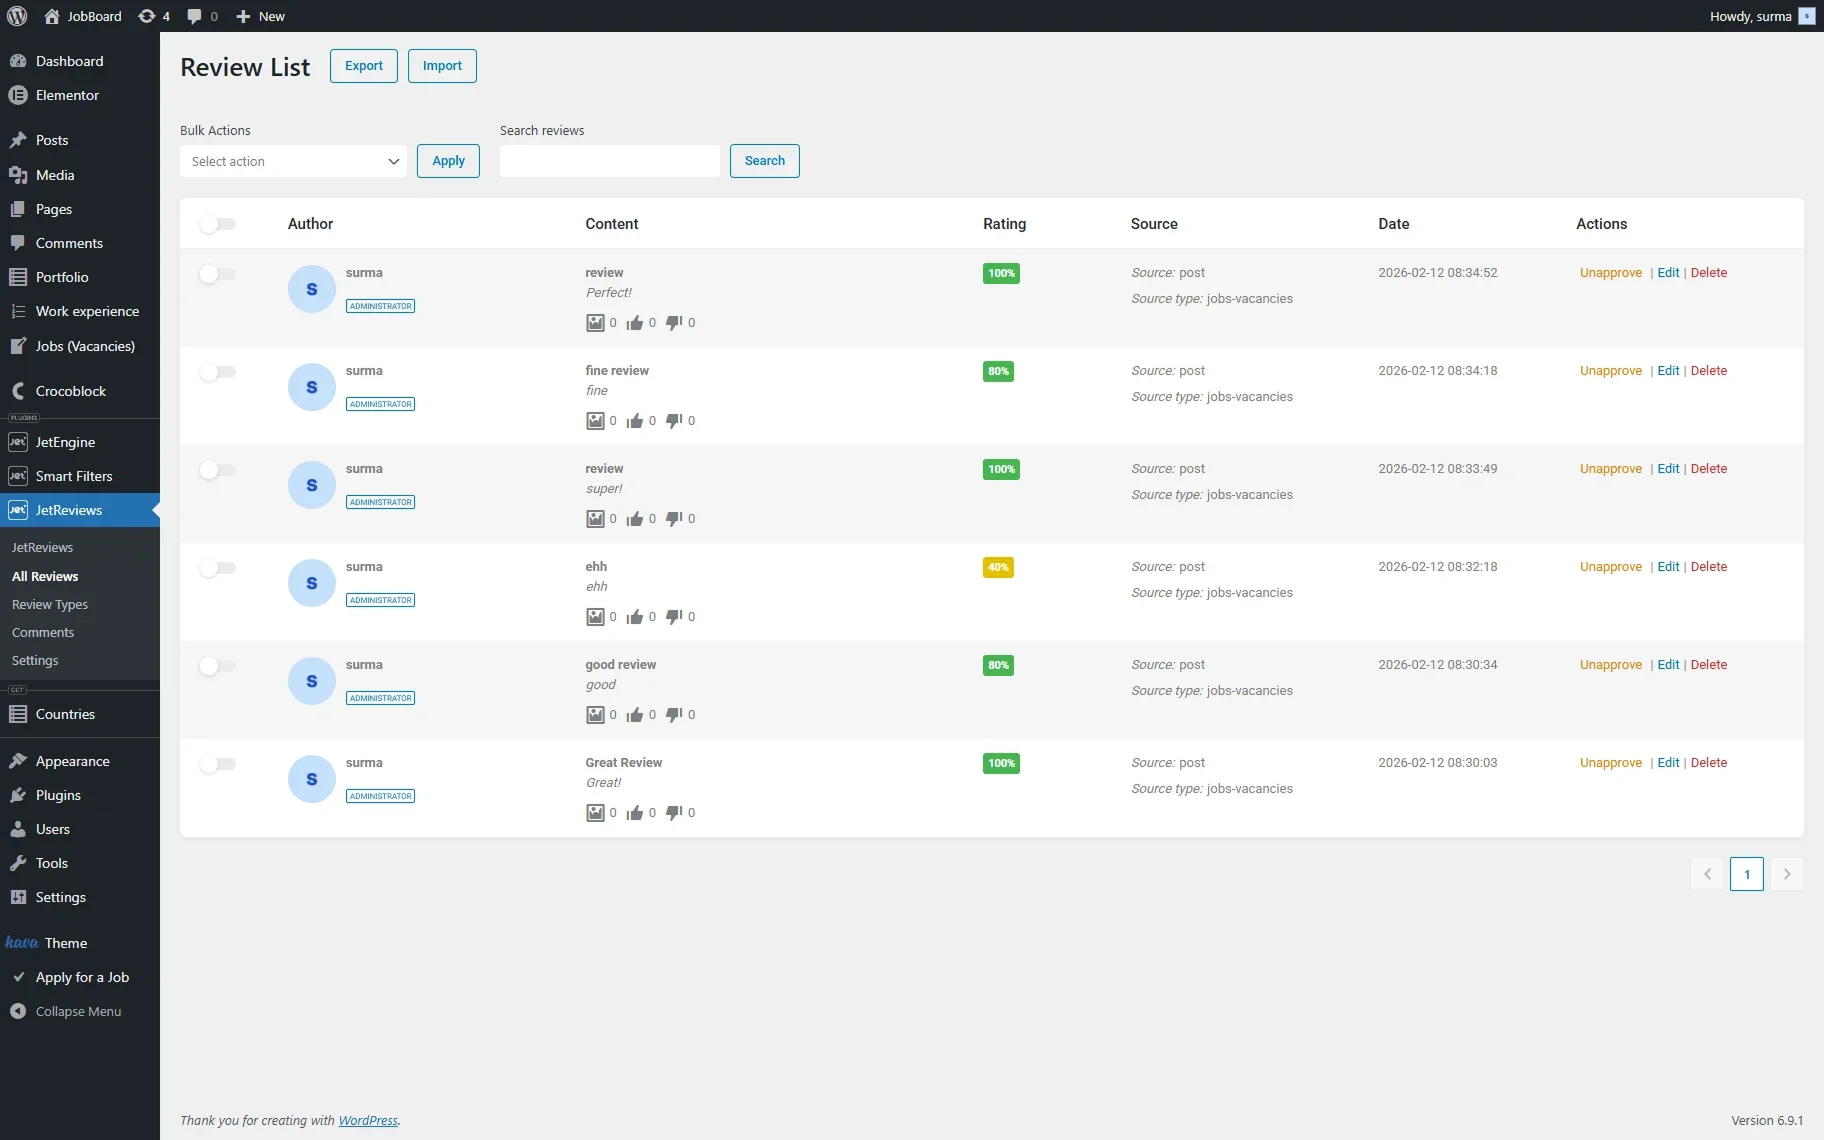
Ensure that ratings are added to your posts.
Filter Settings
Go to WordPress Dashboard > Smart Filters, then click the “Add New” button. Add the Filter Name and select either “Rating” or “Radio” Filter Type. In this case, we select the “Rating”. Then you can set up the Star count and Inequality operator.
In the Query Variable input, paste the Average rating metadata key. We use the default “_jet_reviews_average_rating”; if you changed it, use the updated key.
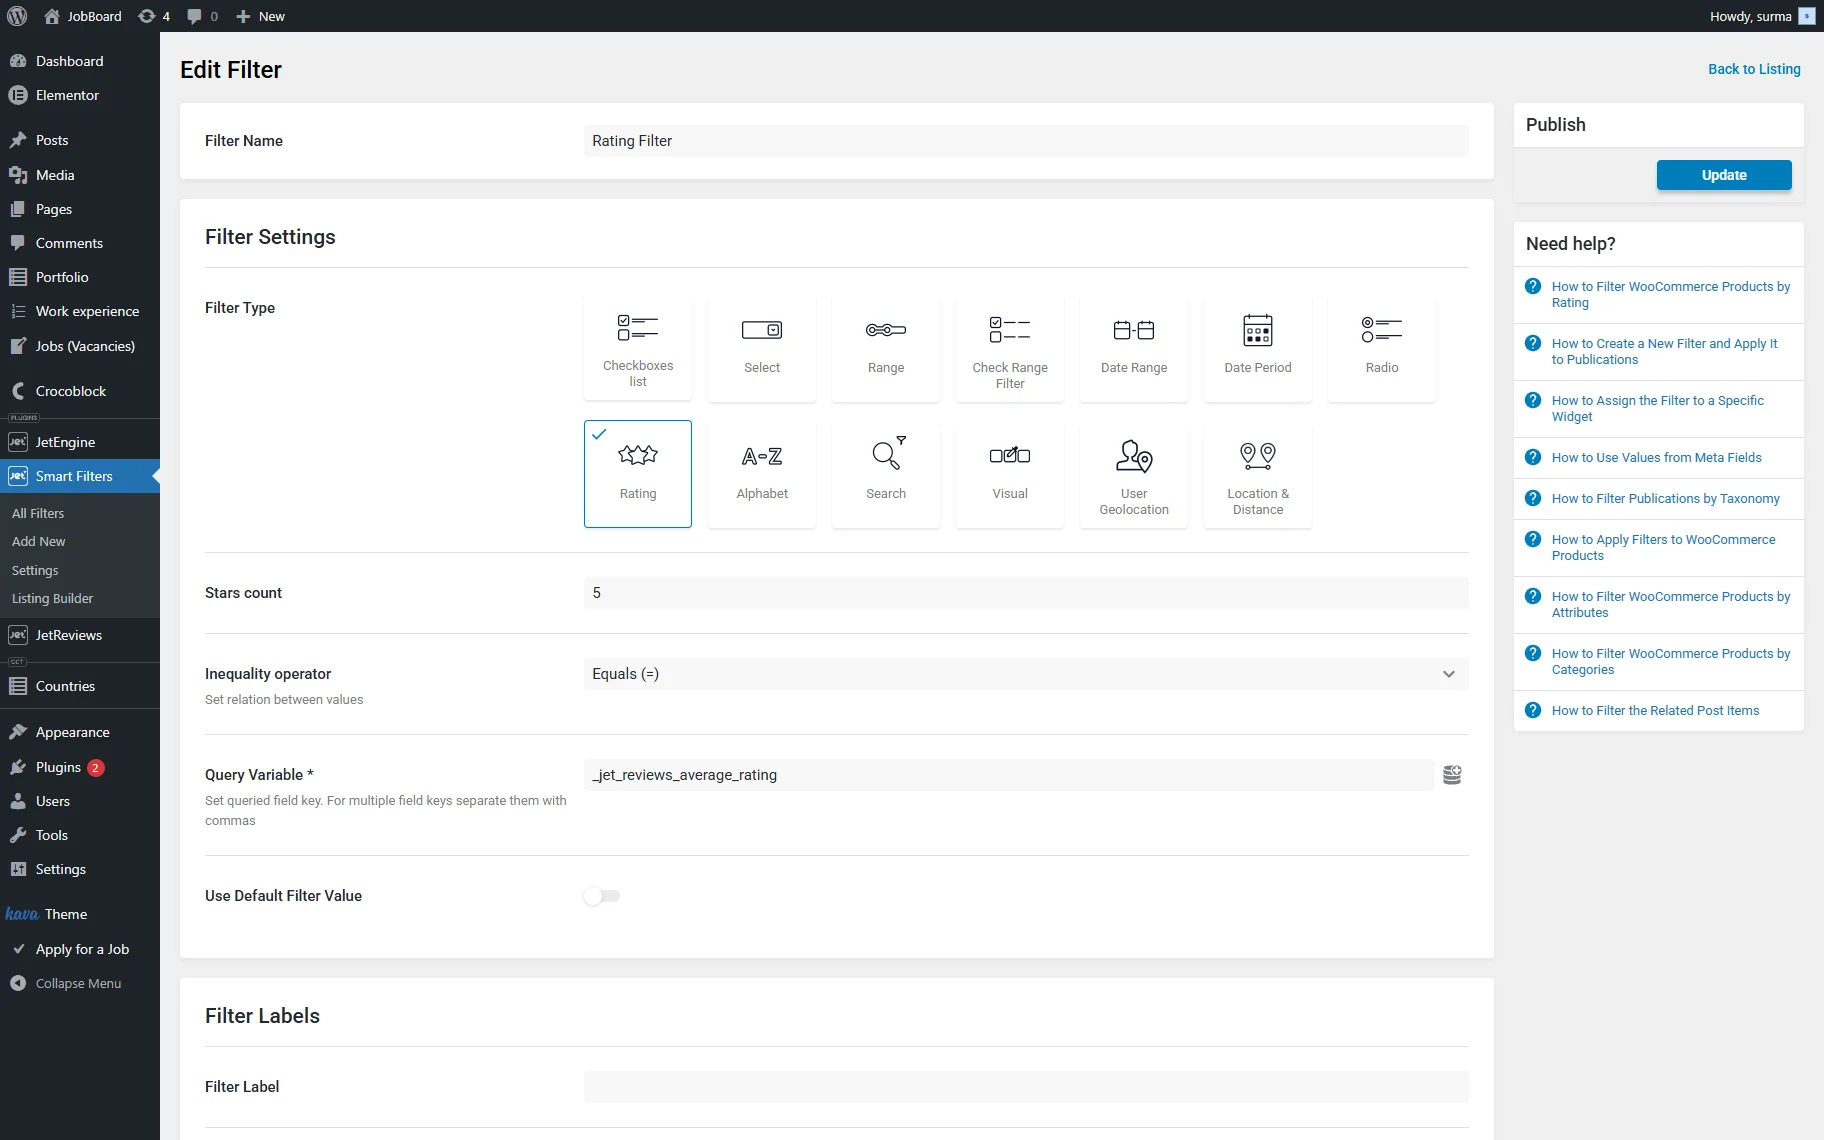
Click the “Update” button once you are ready.
Create a Posts Listing
Following the How to Create a Listing Template for Post Types in Elementor guide, we created a Listing Template for the posts we plan to filter.
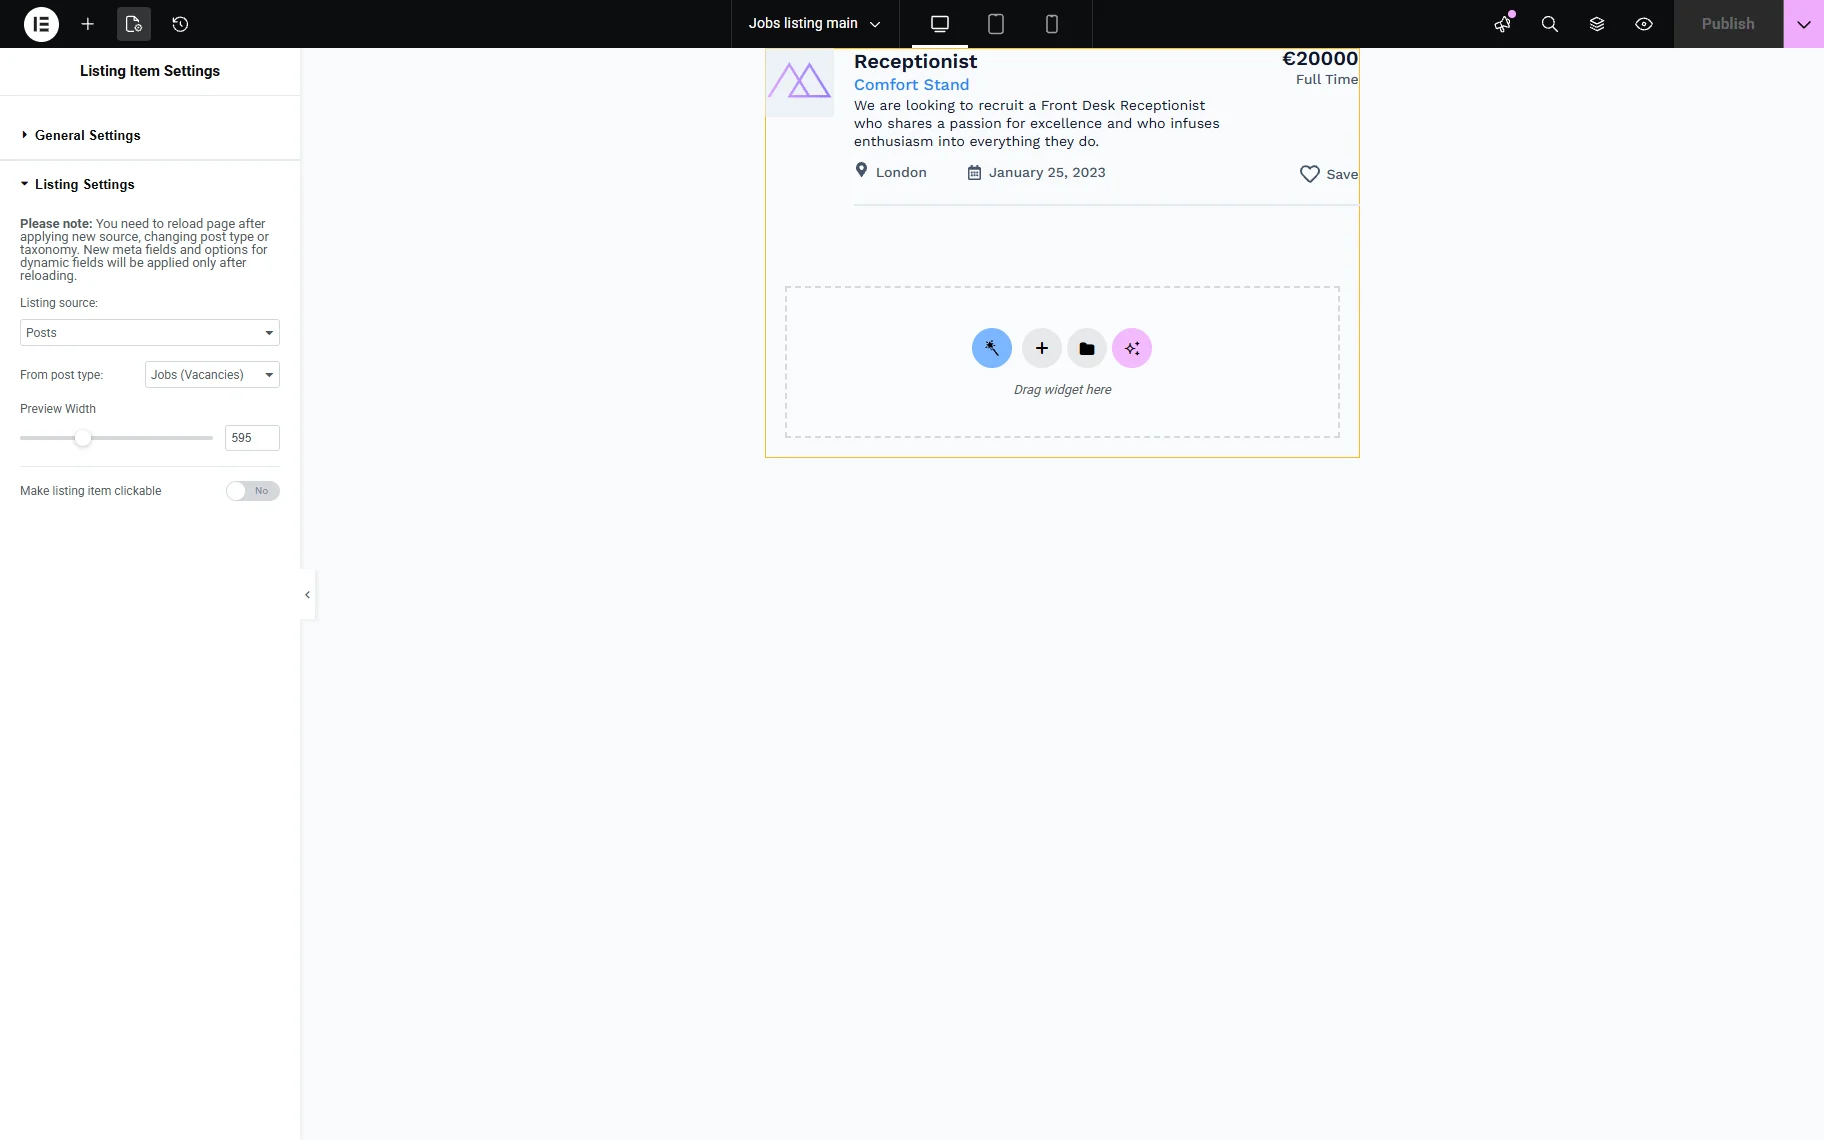
Save the template.
Add the Filter and the Listing to a Page
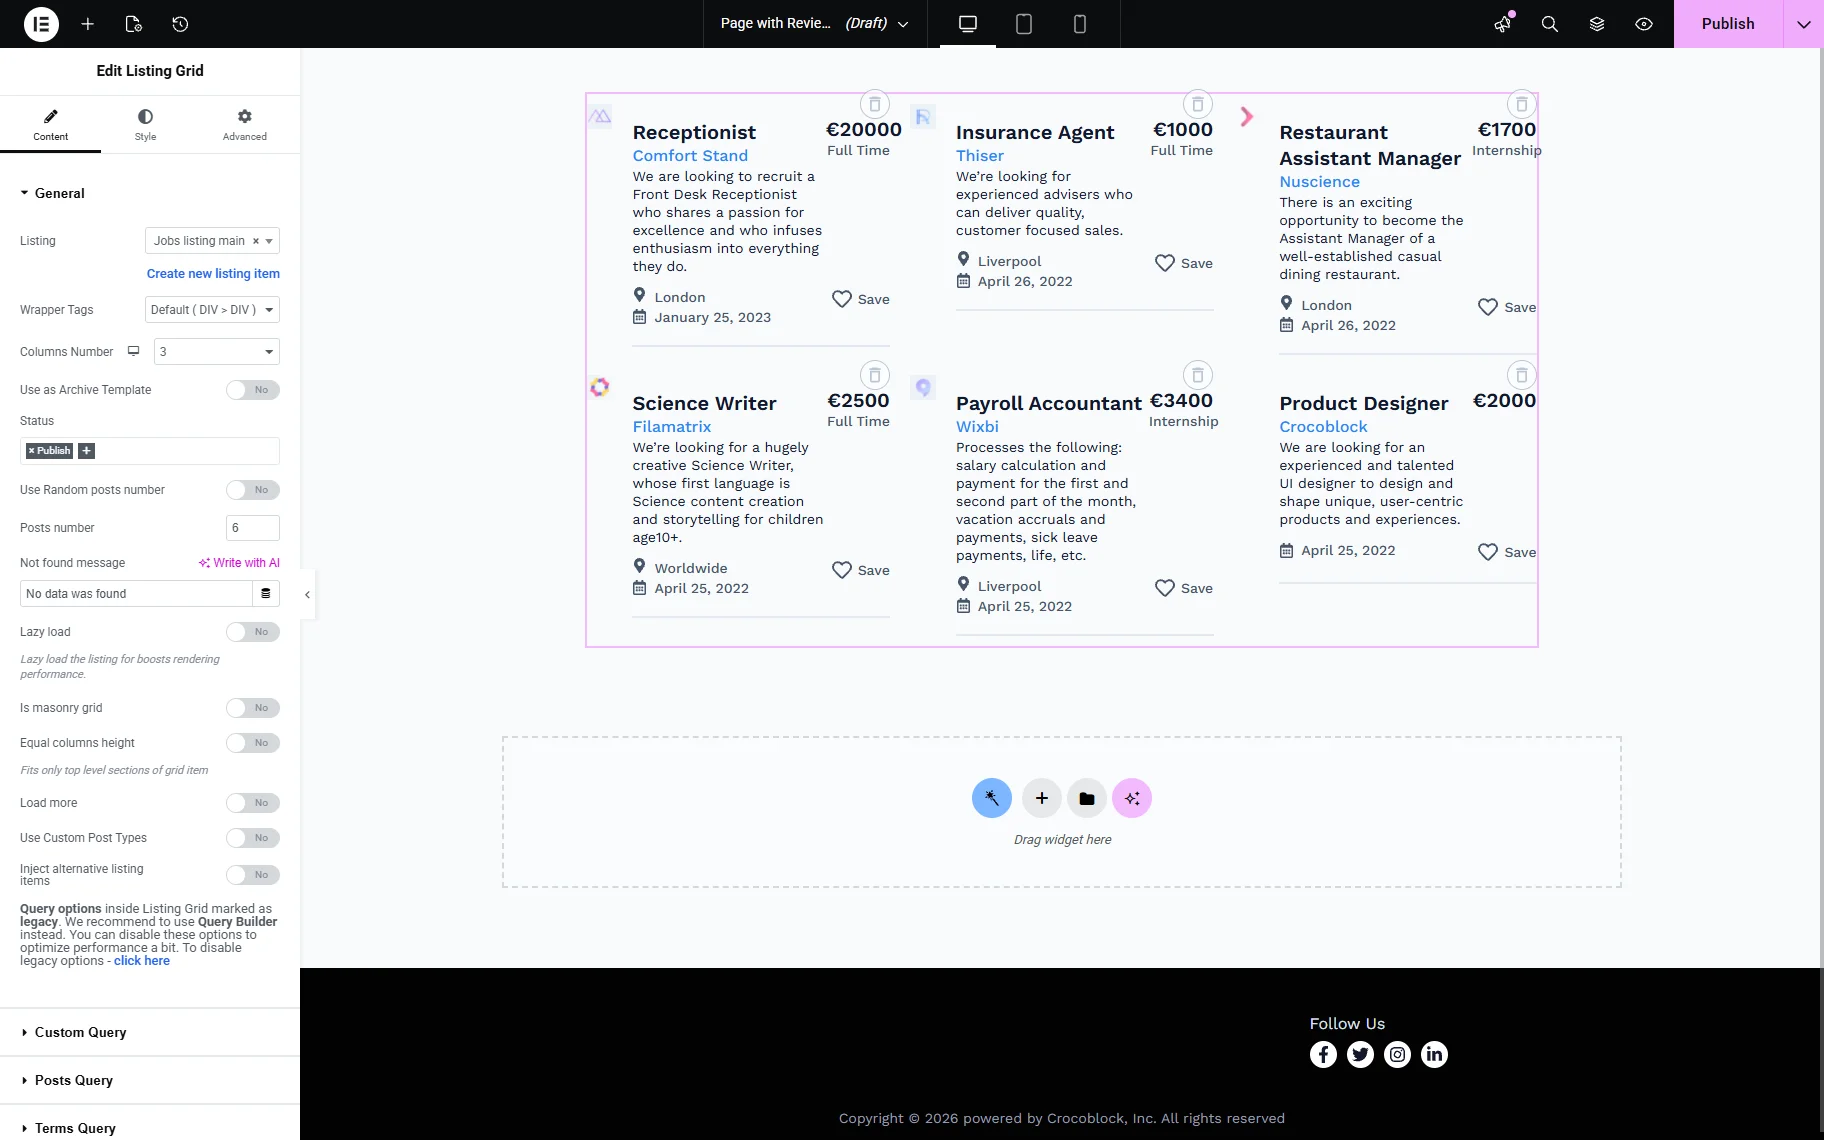
Move to the page where you need to display the filter. Add the Listing Grid widget and select the template you have created.
Then, add the Rating Filter widget and select the filter you created. Ensure you selected the “JetEngine” option in the This filter for dropdown.
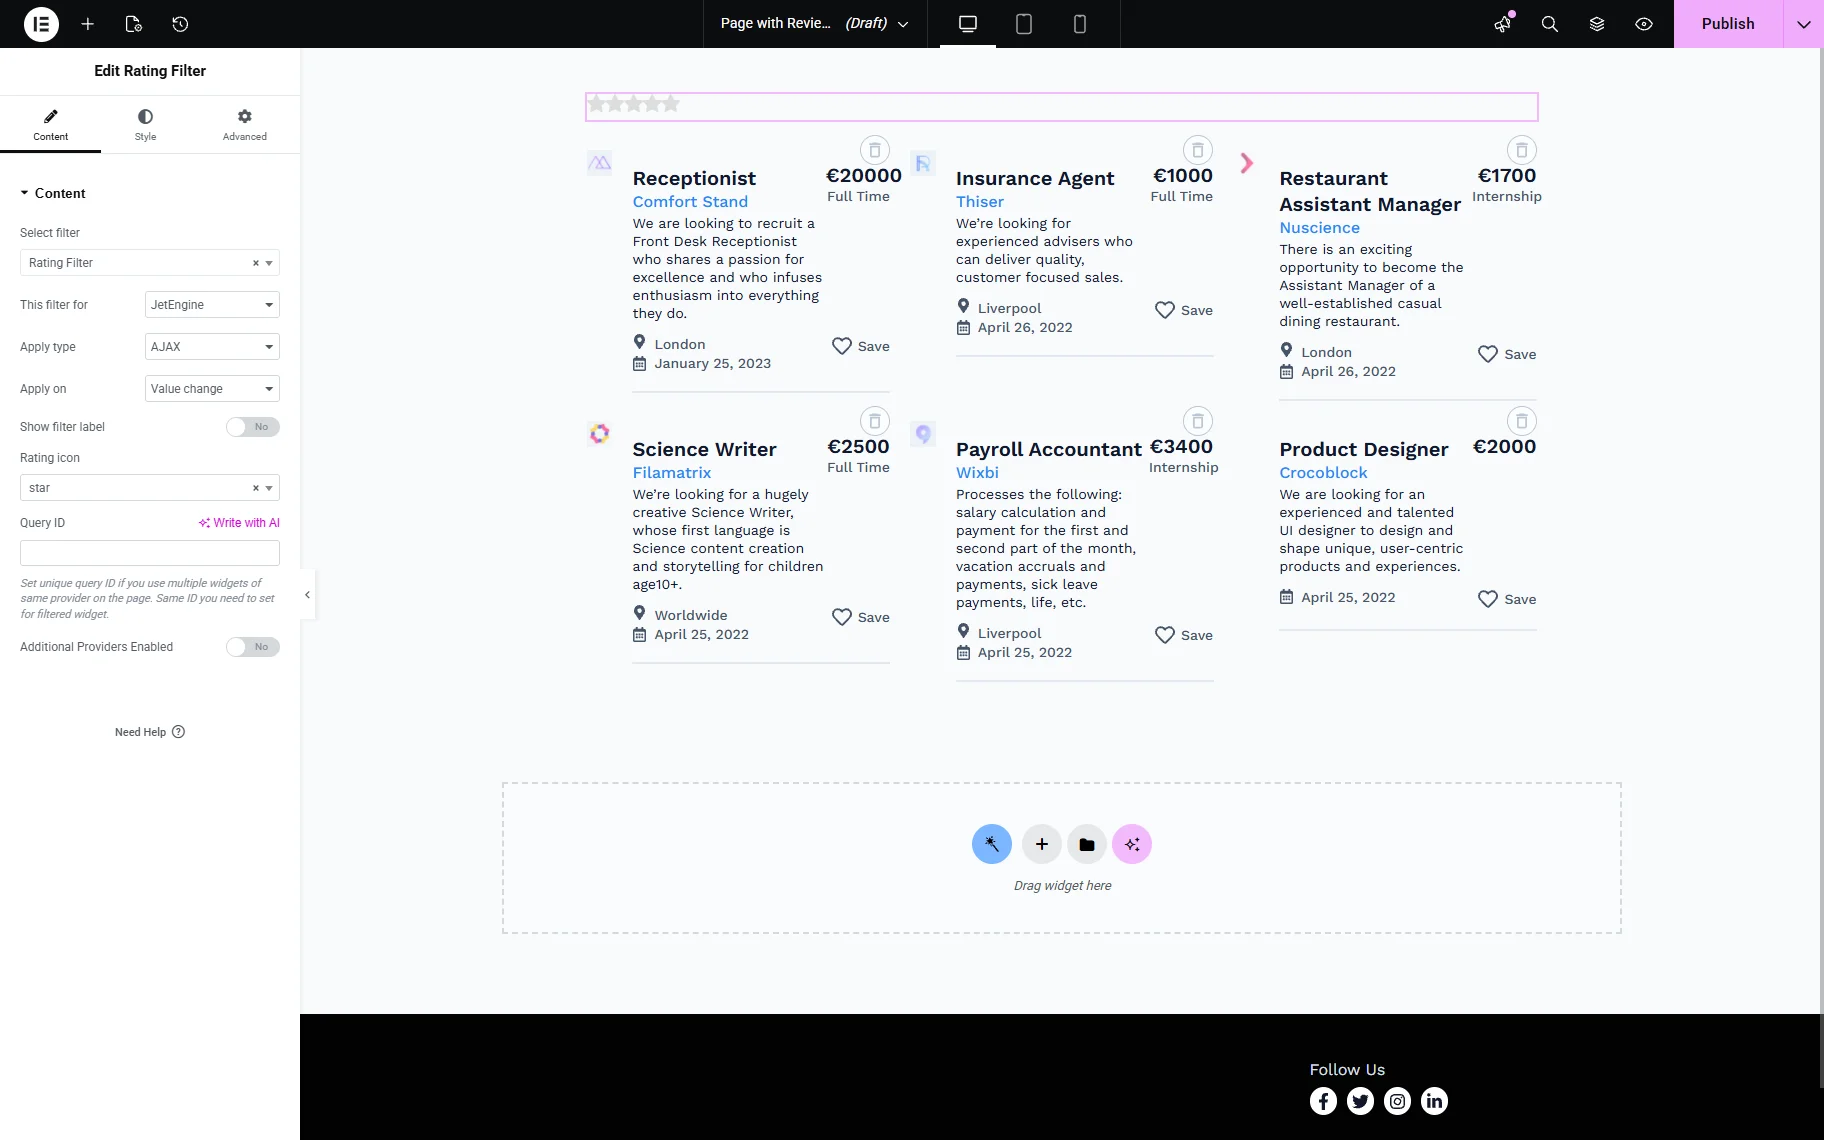
Click the “Publish” button once you are ready.
Check the Result
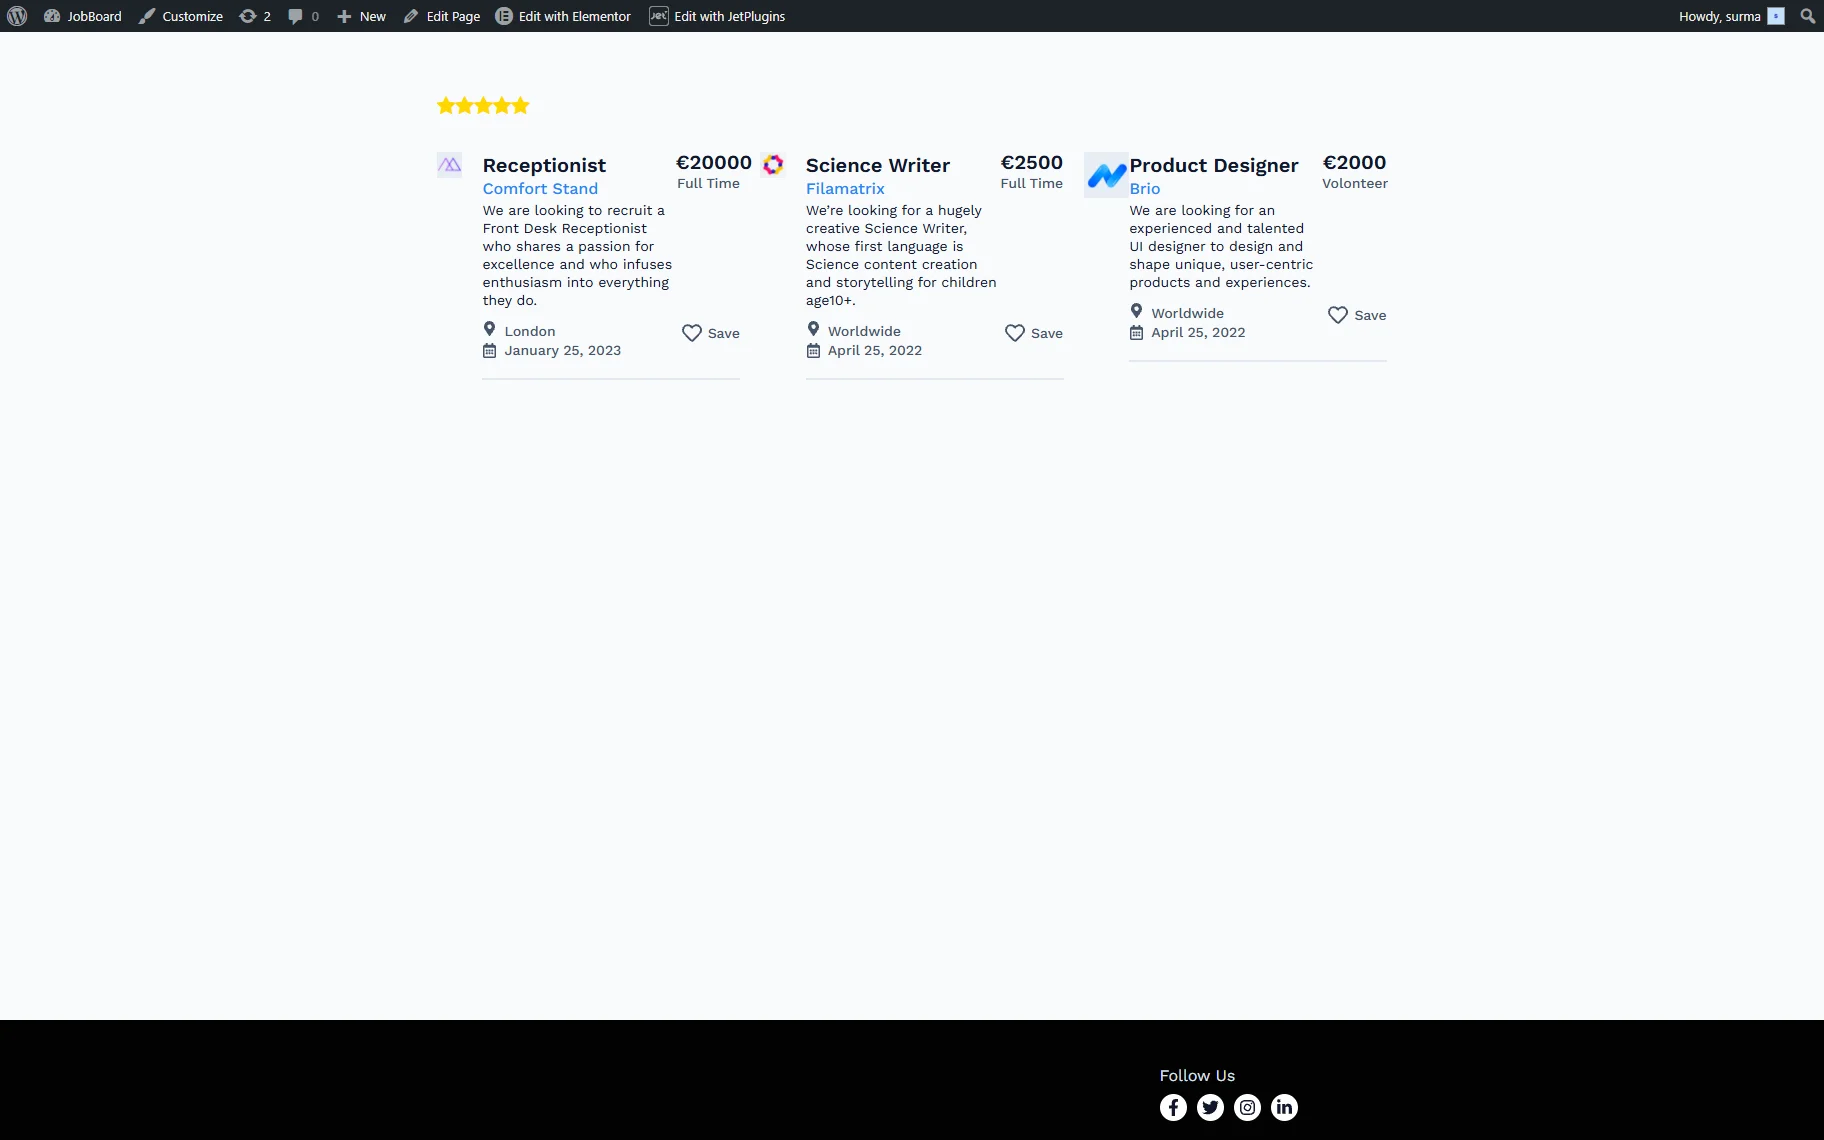
Proceed to the front and choose the desired rating. Thus, when we select five stars, we get the posts with the 5-star rating.
Same, if we change the filter rating to “4”, the correct posts are displayed.
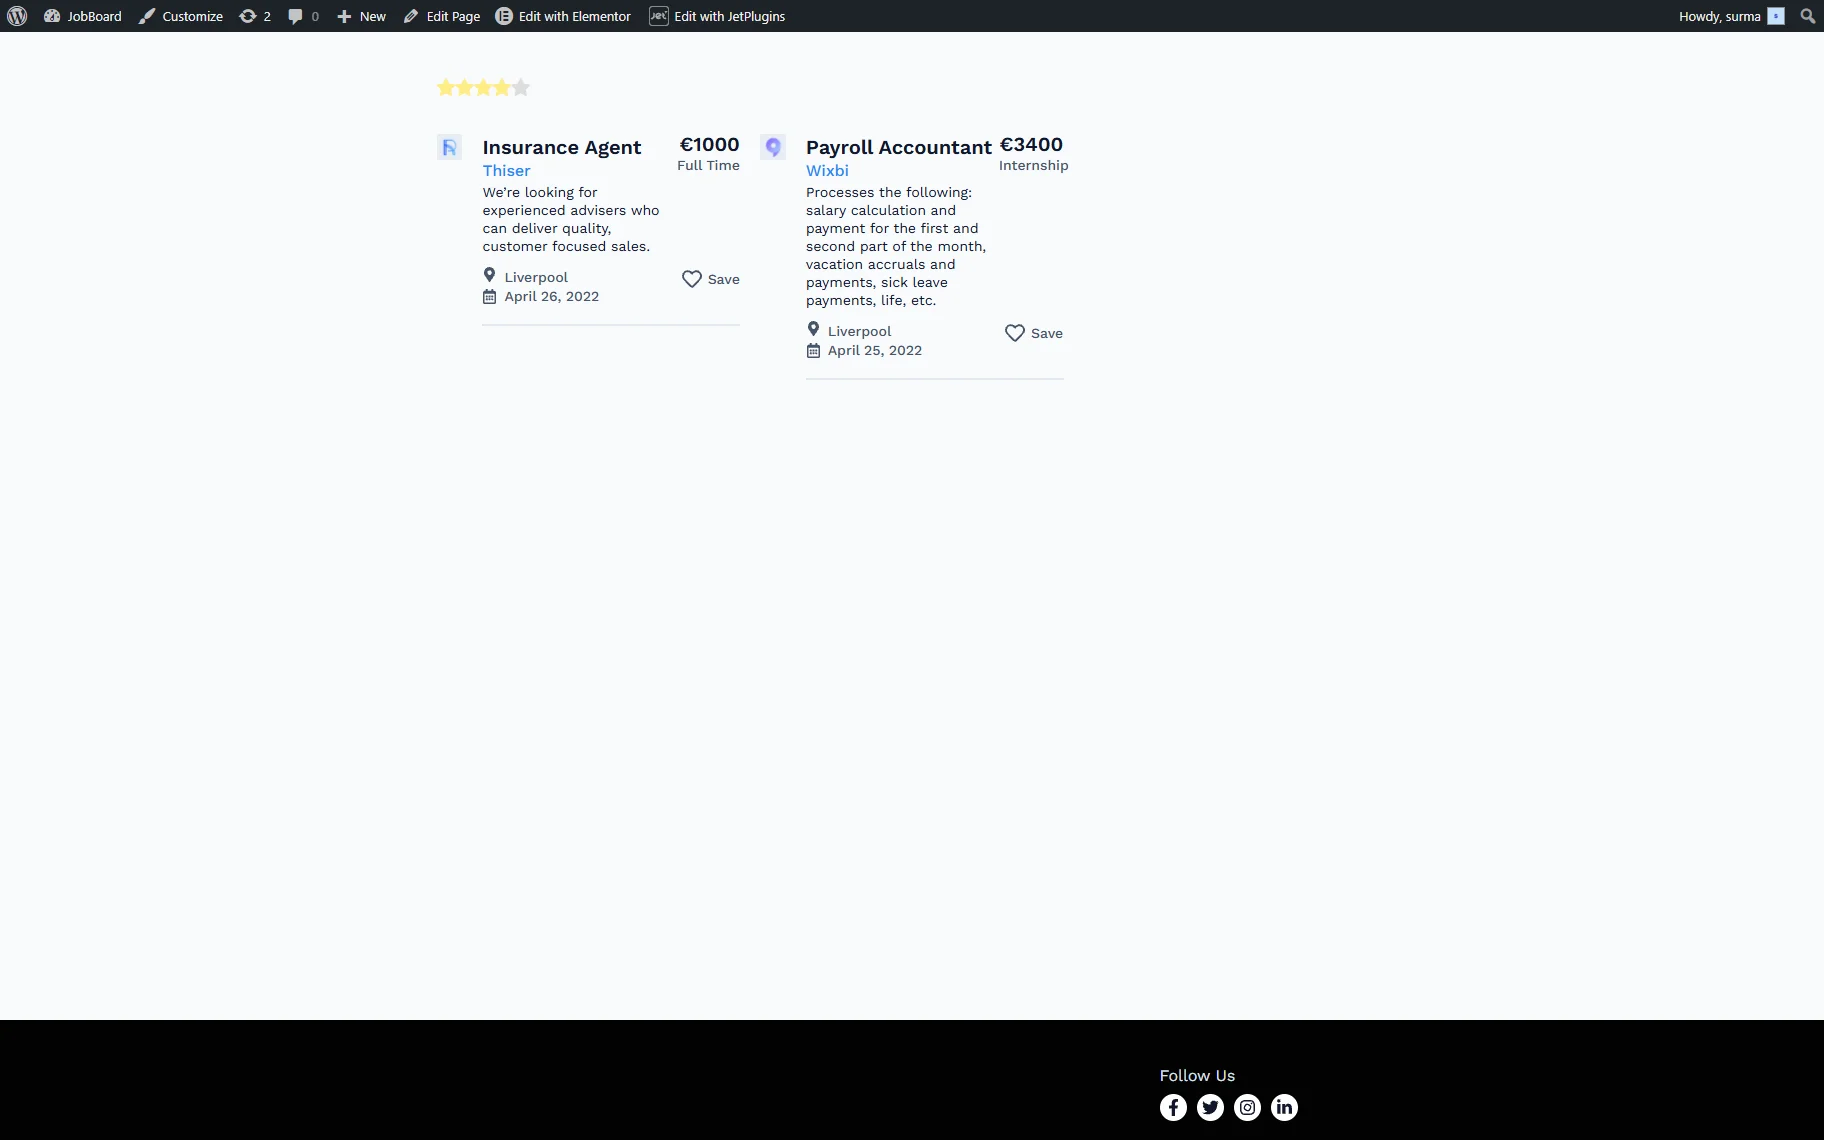
That’s it. Now you know how to set up a Rating filter to filter posts by JetReviews’ ratings using the JetSmartFilters WordPress plugin.