How to Combine Custom Field and Post Properties in Search Filter
Learn how to apply the queries to the Search Filter to provide filtering by some parameters, e.g., search CPT posts that include the specific text in their titles or the text meta fields.
Before you start, check the tutorial requirements:
- JetSmartFilters plugin installed and activated
Build an SQL/AI Query Type
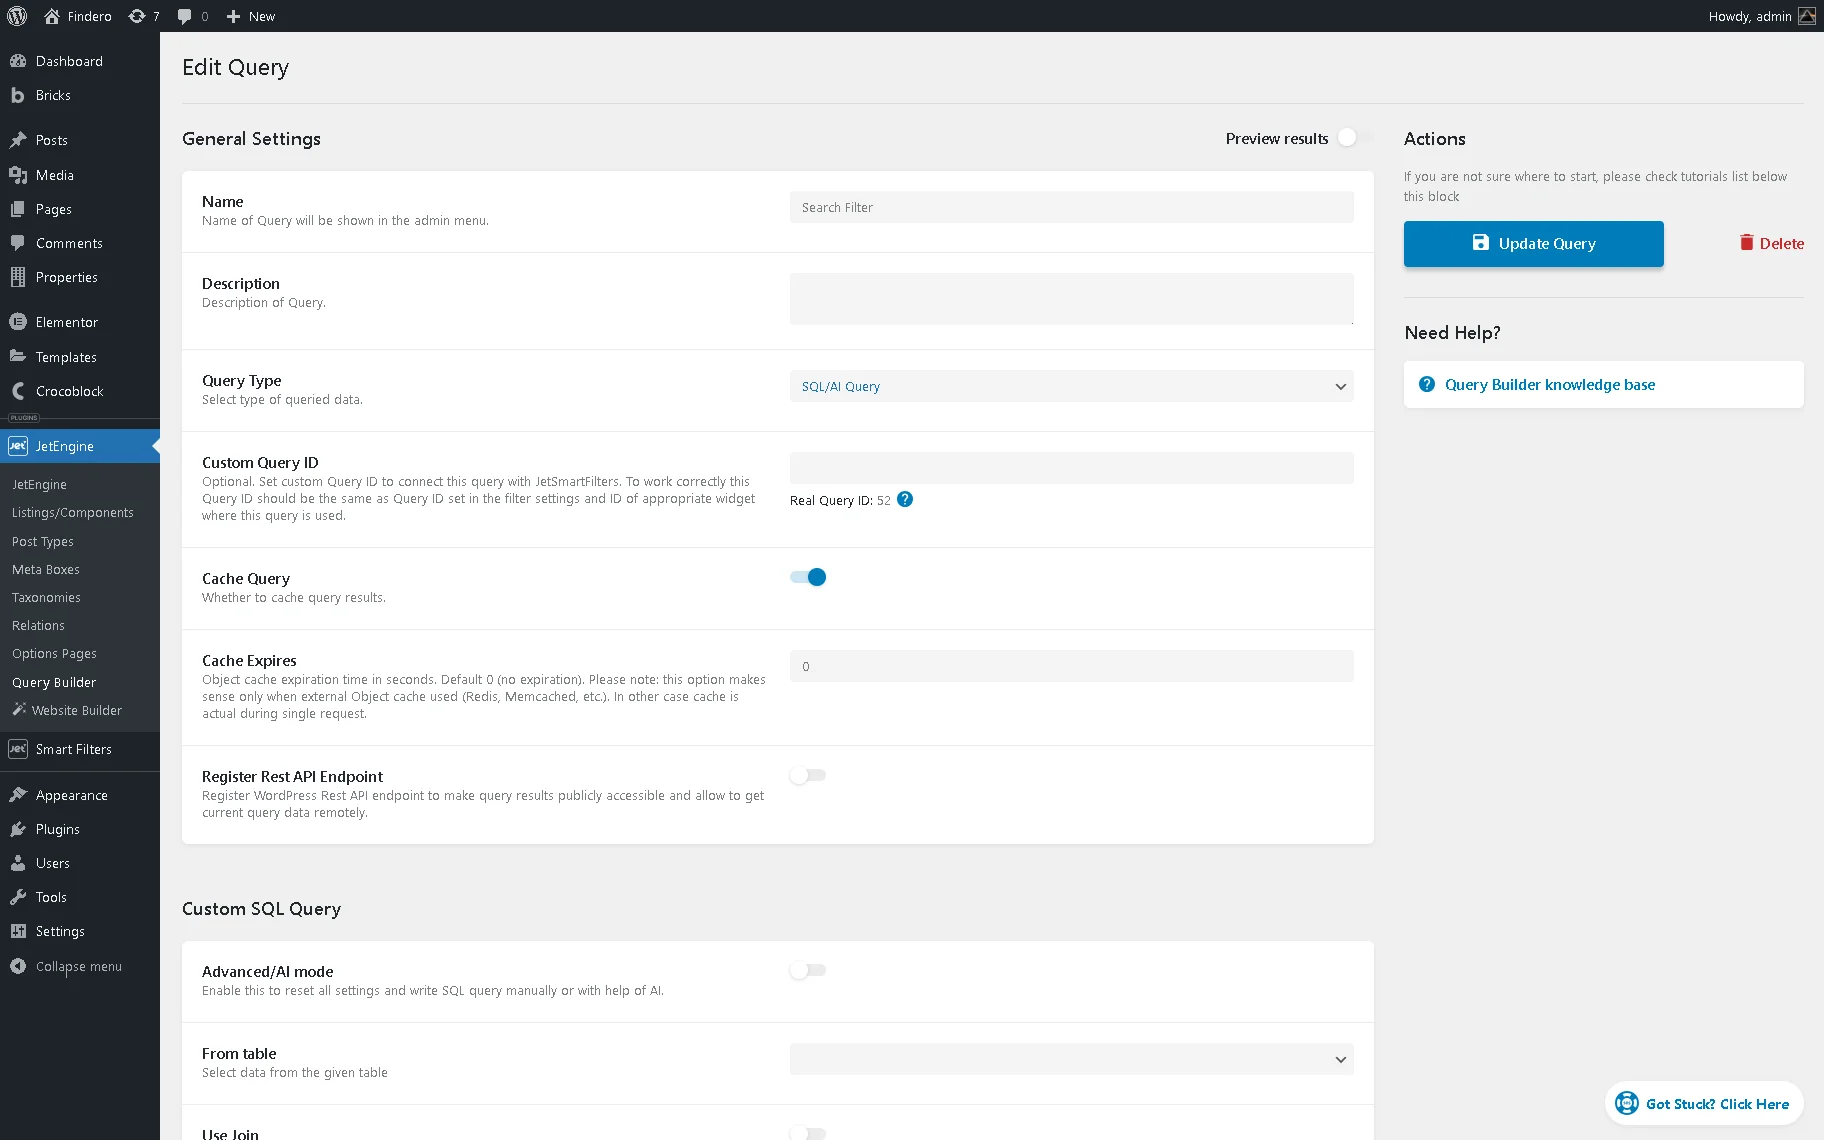
Initially, navigate to the WordPress Dashboard > JetEngine > Query Builder tab and press the “Add New” button to create a query.
Next, on the newly appeared Add New Query page, fill out the Name field (we type the “Search Filter” text); after that, select the “SQL/AI Query” Query Type.
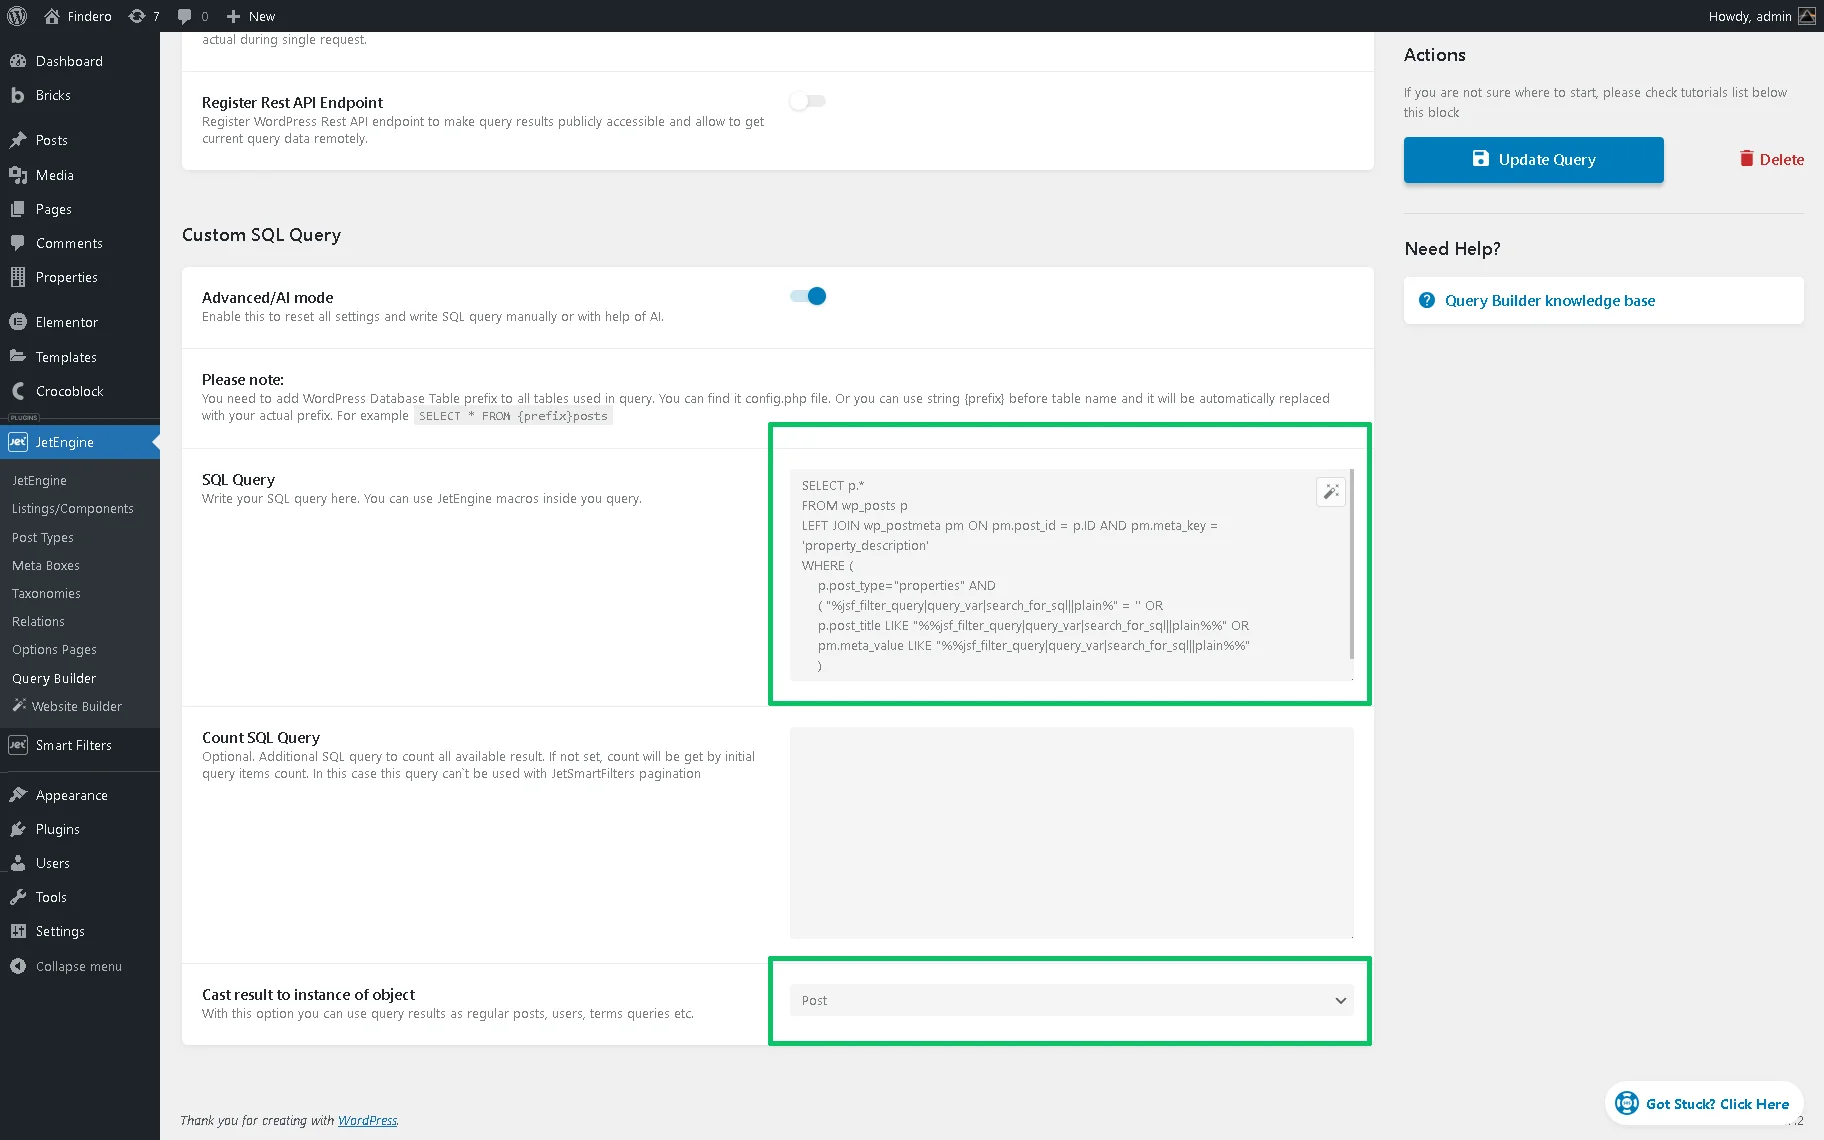
In the next step, scroll the page down, enable the Advanced/AI mode toggle, and paste the following text into the newly appeared SQL Query text area:
SELECT p.*

FROM wp_posts p

LEFT JOIN wp_postmeta pm ON pm.post_id = p.ID AND pm.meta_key = 'property_description'

WHERE (

    p.post_type="properties" AND

    ( "%jsf_filter_query|query_var|search_for_sql||plain%" = '' OR

    p.post_title LIKE "%%jsf_filter_query|query_var|search_for_sql||plain%%" OR

    pm.meta_value LIKE "%%jsf_filter_query|query_var|search_for_sql||plain%%"

    )

);
Since we intend to search in the “Properties” CPT posts, in this code, we type the slug (here, “properties”) of this CPT in the following row:
p.post_type= "properties" AND" Also, we search for the needed parameter in the post title or the “Property description” meta field and insert the Name/ID of this meta field (in this case, the “property_description” text) into the row:
LEFT JOIN wp_postmeta pm ON pm.post_id = p.ID AND pm.meta_key = 'property_description'Therefore, to use the query correctly, adjust this code according to your needs.
In the last step, select the “Post” option in the Cast result to instance of object drop-down list.
Once completed, scroll the page up and press the “Add Query / Update Query” button.
Build a Post Type Query
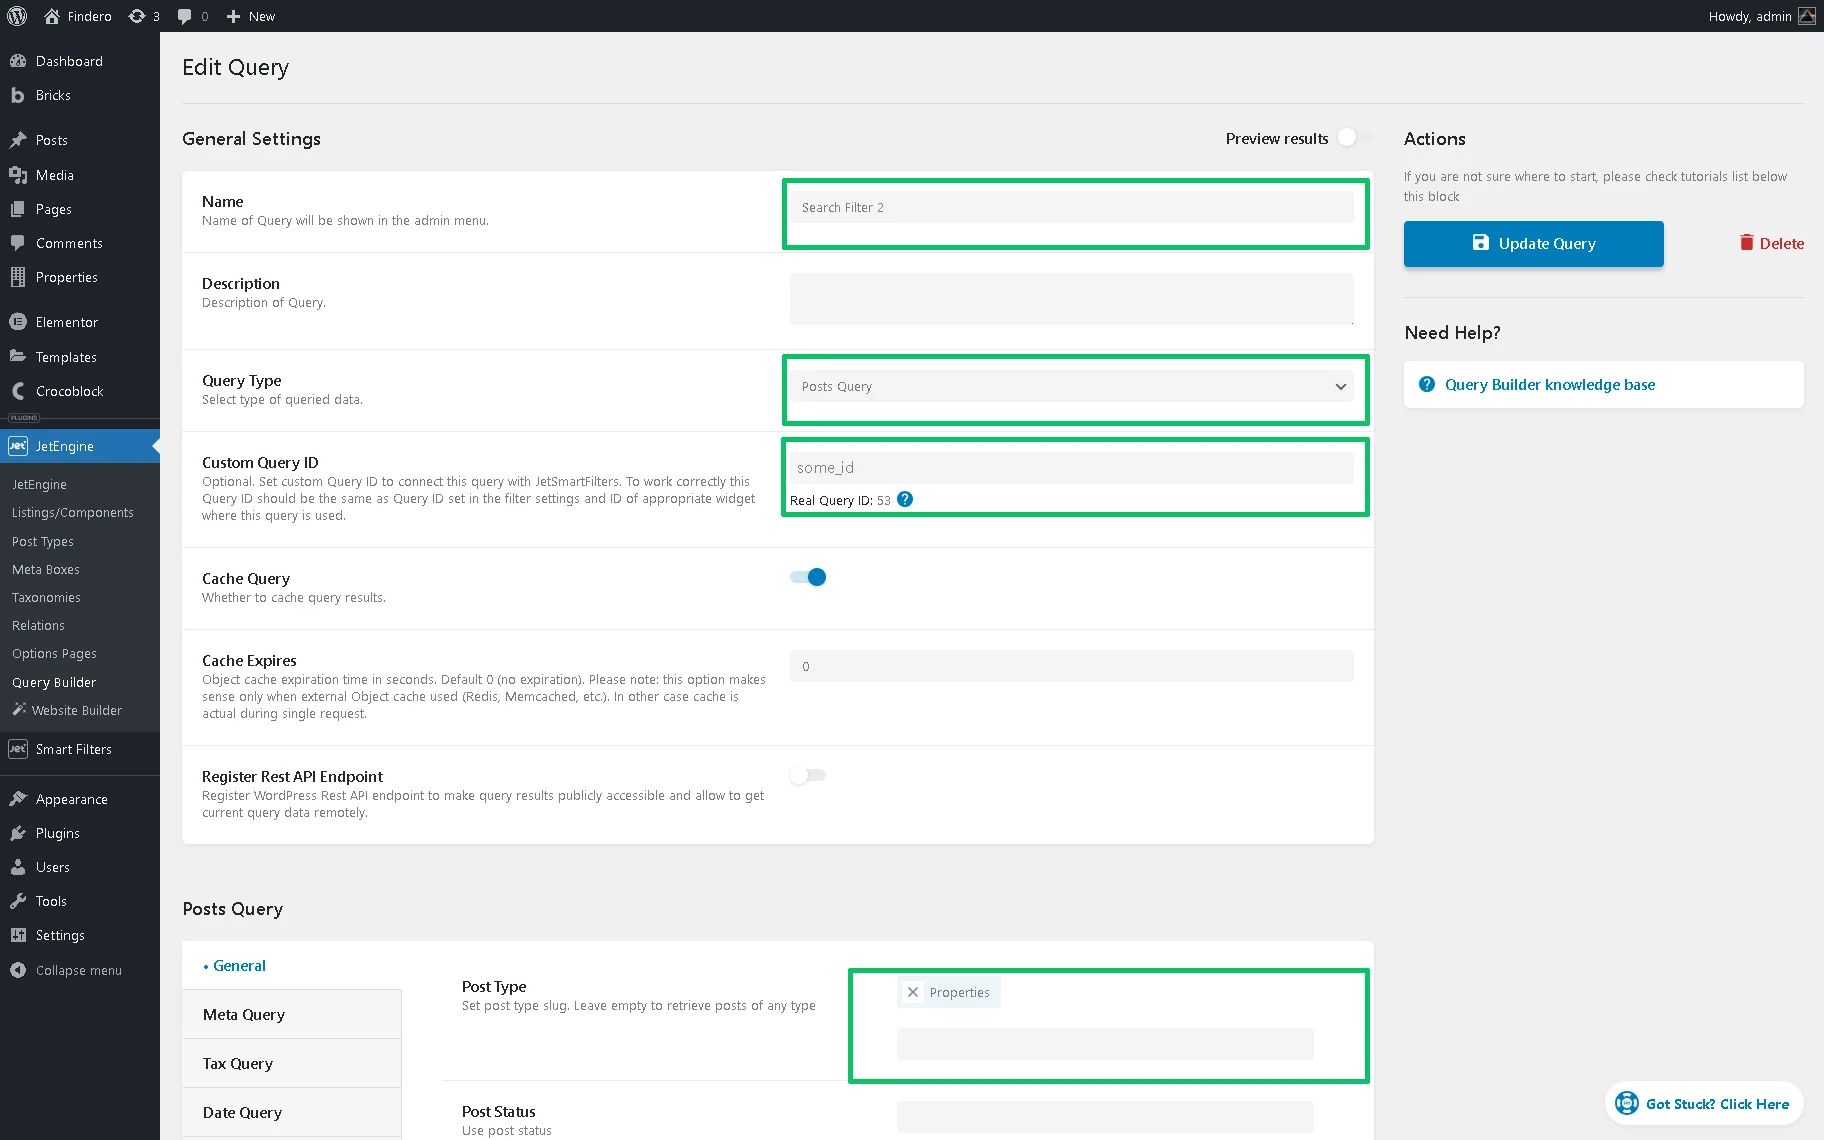
First, create a new query. Next, fill out the query’s Name (here, we type the “Search Filter 2” text); then, unroll the Query Type drop-down list and select the “Posts Query” option. Next, add any ID to the Custom Query ID field (we insert the “some_id” text, in this case).
Second, move to the Posts Query section and the General tab. In the Post Type drop-down list, choose the needed CPT (in this case, it was the “Properties” CPT).
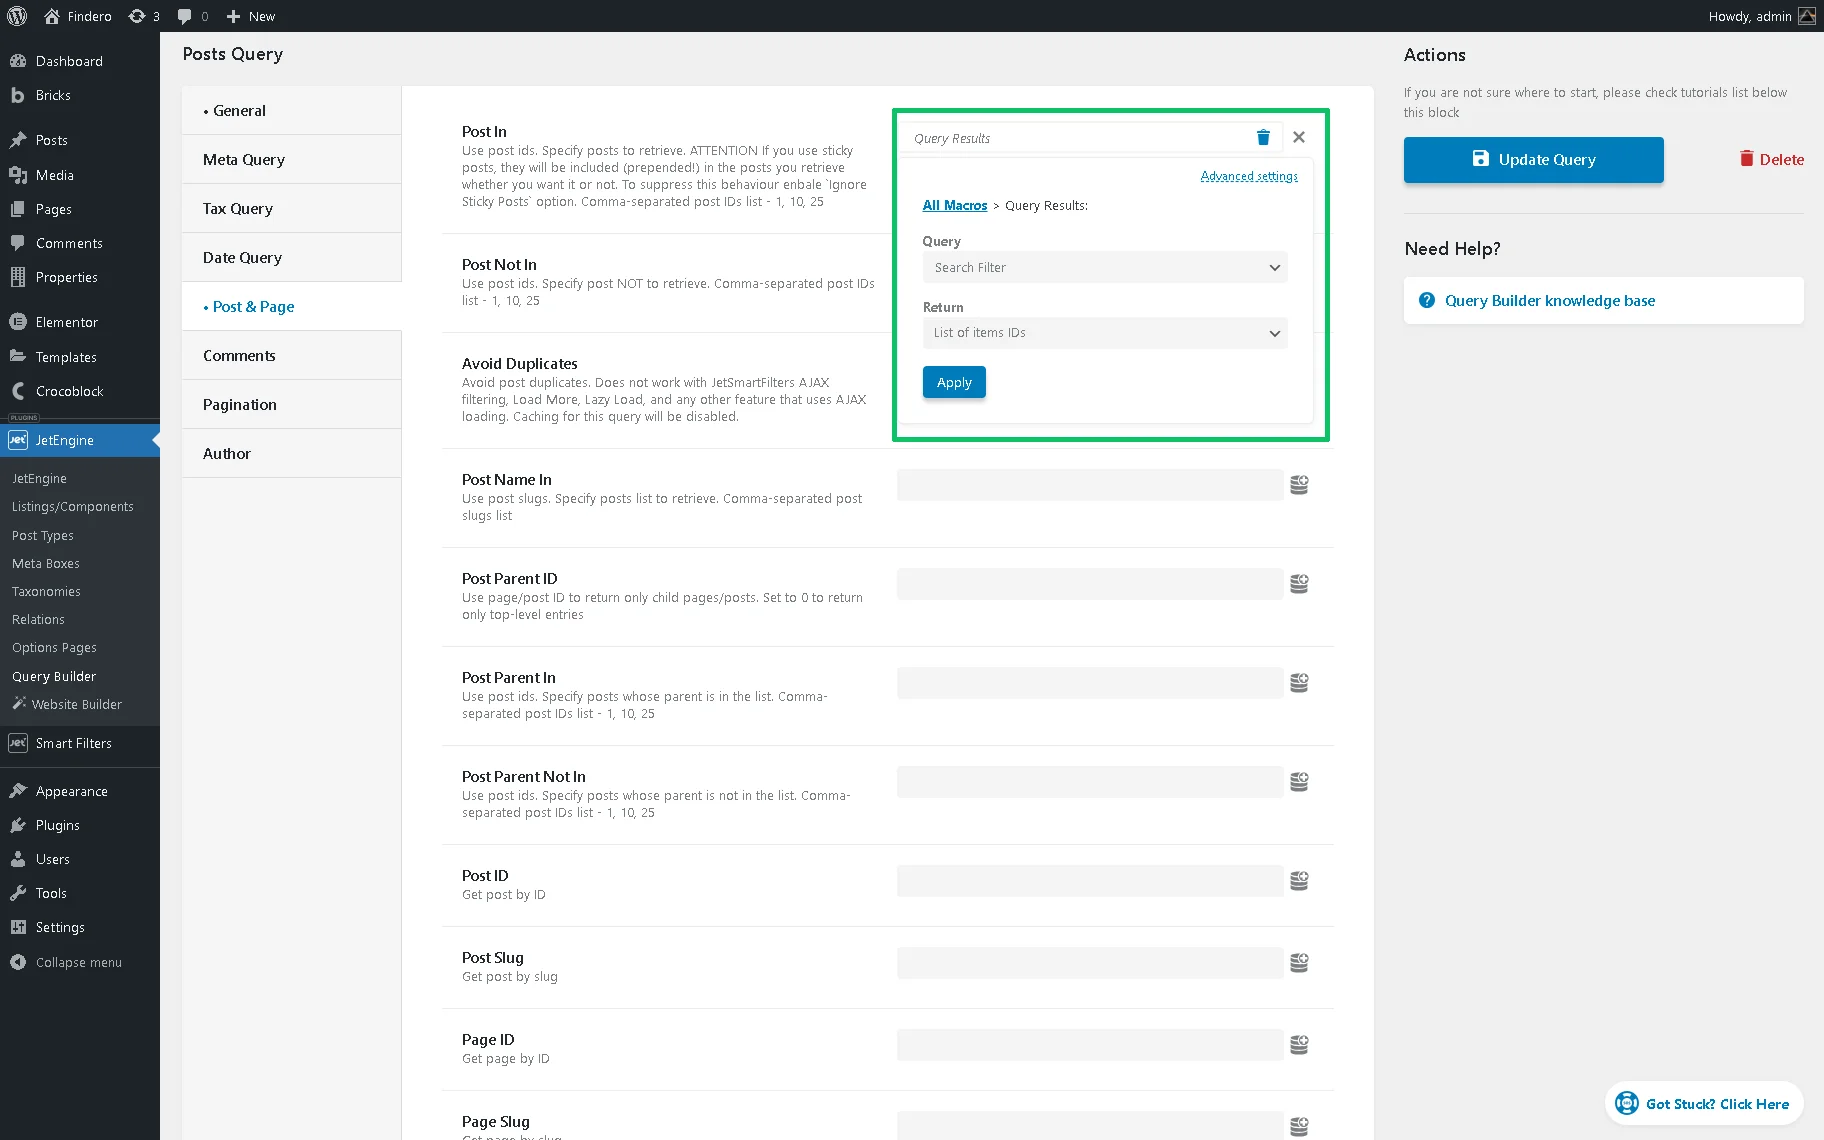
Third, unfold the Post & Page tab, press the “dynamic tag” icon near the Post In field, and select the “Query Results” macro. Next, choose the previously built query of the “SQL/AI Query” type (the “Search Filter” query, in this tutorial) in the Query drop-down list in the pop-up. Afterwards, pick the “List of items IDs” option in the Return drop-down list. Finally, click the “Apply” button and save the query.
Create a Search Filter
In this stage, proceed to the WordPress Dashboard > Smart Filters > Add New tab to create a new filter. Next, on the newly appeared Edit Filter page, insert the filter’s Name (we type the “Search filter” text) and select the “Search” option in the Filter Type section.
Second, select the “By Custom Field (from Query Variable)” option in the Search by drop-down list and click the “dynamic tag” icon in the Query Variable * field.
Here, choose the “Plane Query Variable” option in the drop-down list and add the “search_for_sql” text in the Variable Name text field. Once added, the text “_plain_query::search_for_sql” will be displayed in the Query Variable * field.

Finally, move to the top of the page and press the “Update” button.
Add the Filter to a Page
Create a page or open a created one in an editor you prefer. Here, we use Elementor.
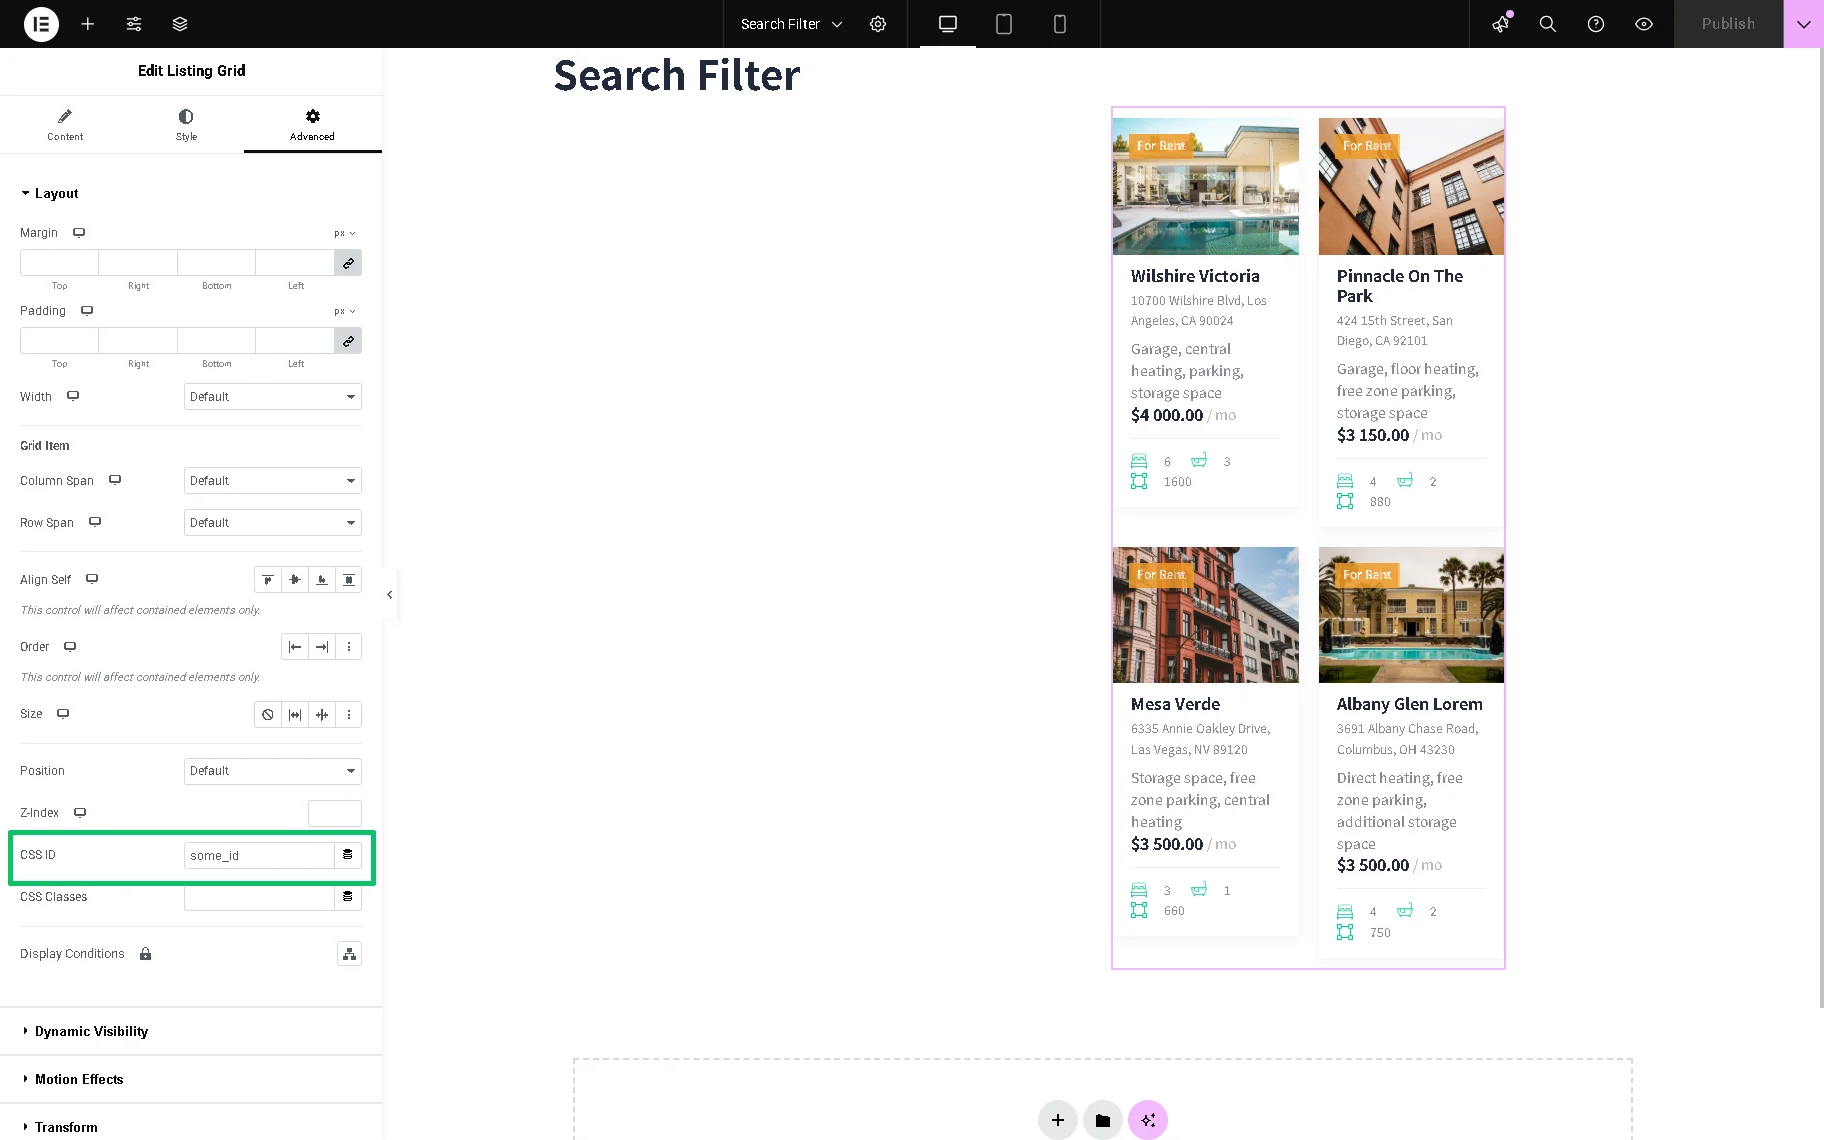
Divide the page’s layout into two columns and add the Listing Grid widget to the right one. After that, set the needed Listing in the corresponding drop-down list and customize the listing as needed. For more details on configuring the Listing Grid settings, watch the How to Сreate a Listing Grid video.
After that, proceed to the Advanced tab, move to the CSS ID text field and add the query’s ID you previously inserted in the Custom Query ID field while you have built the Post Type Query (in our case, we copy the “some_id” text from the “Search Filter 2” query).
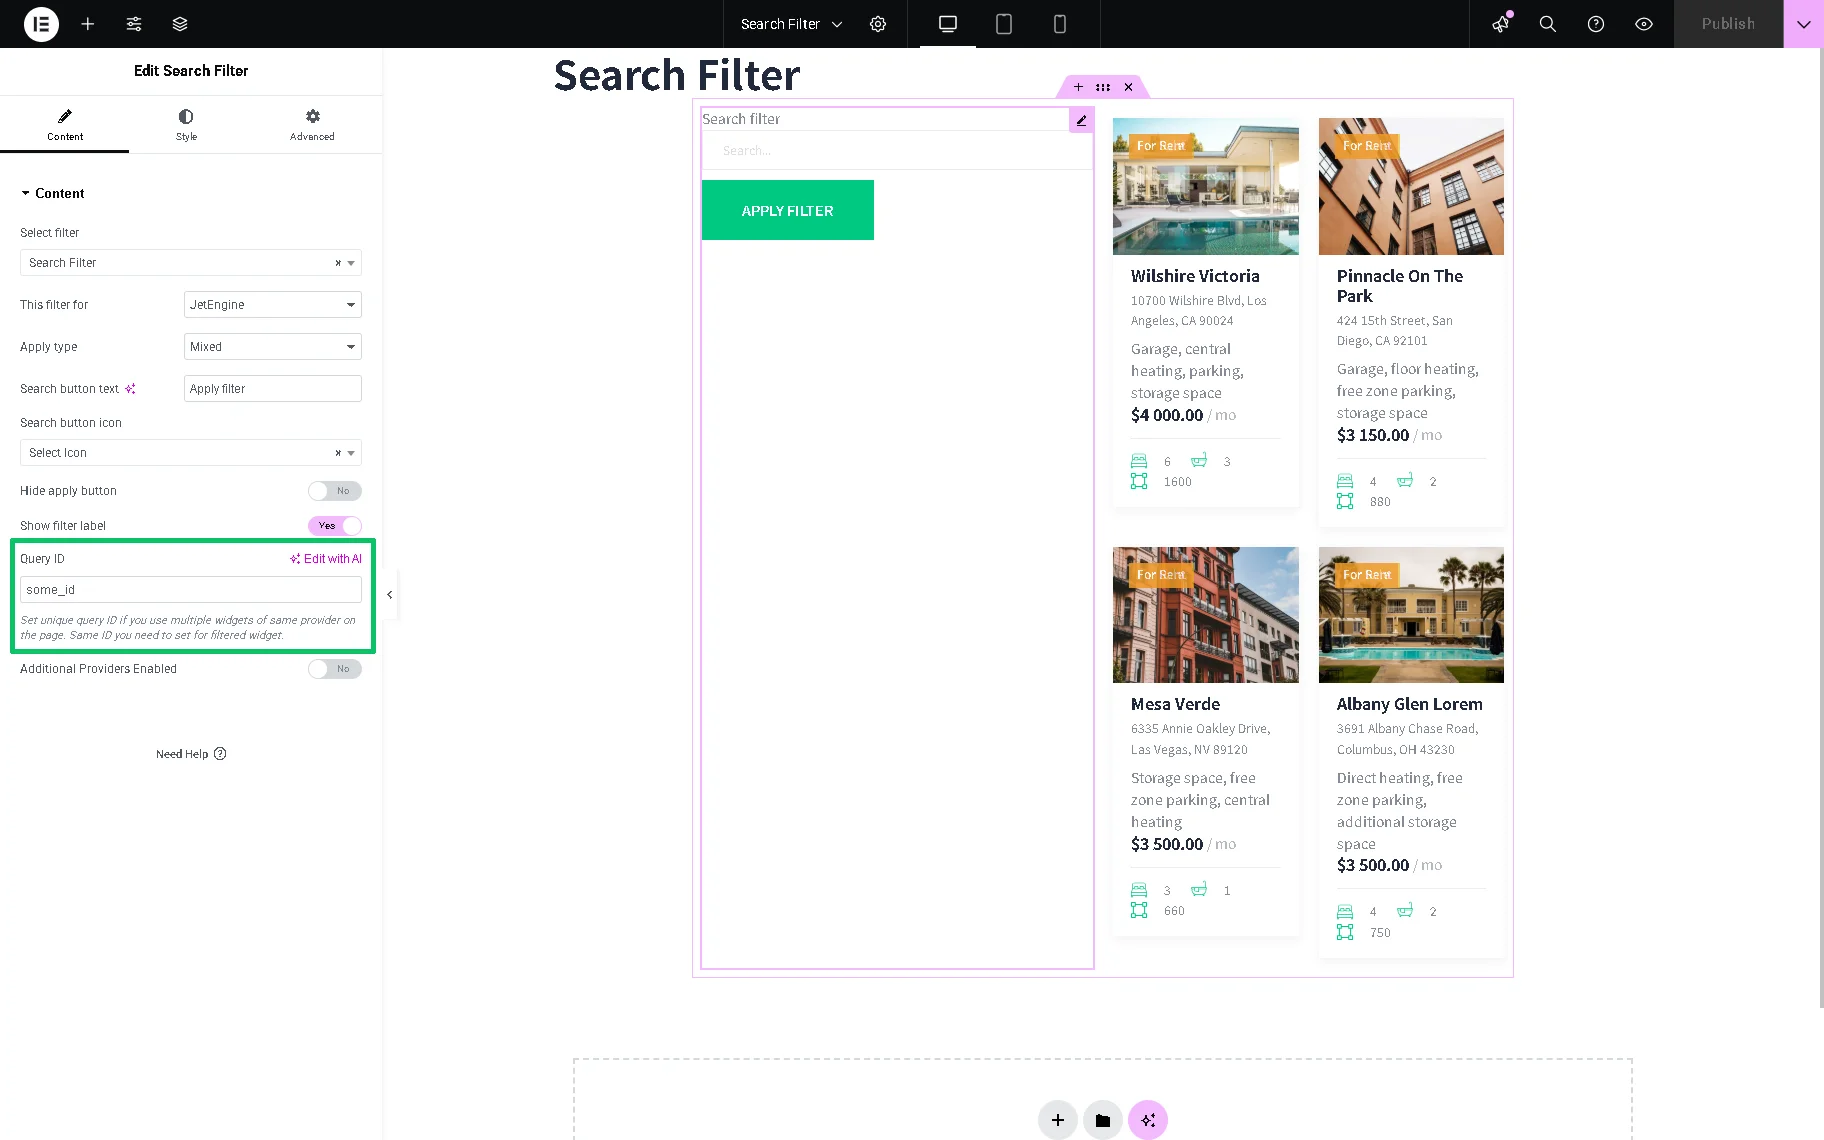
Once completed, find the Search Filter widget and drag-n-drop it to the left column. In this step, select the previously created filter in the Select filter drop-down list (the “Search Filter” in this tutorial); next, choose the “JetEngine” option in the This filter for drop-down list. After that, select the “Mixed” Apply type.
In the last step, proceed to the Query ID field and add the query’s ID you previously inserted in the Custom Query ID field while you have built the Post Type Query (in our case, we copy the “some_id” text from the “Search Filter 2” query).
Adjust the Search Filter settings as needed, for example, as explained in the How to Create a Search Filter in WordPress using Elementor Page Builder video.
Finally, publish the page and move to the front end to check if the filter works correctly.
Test the Flow
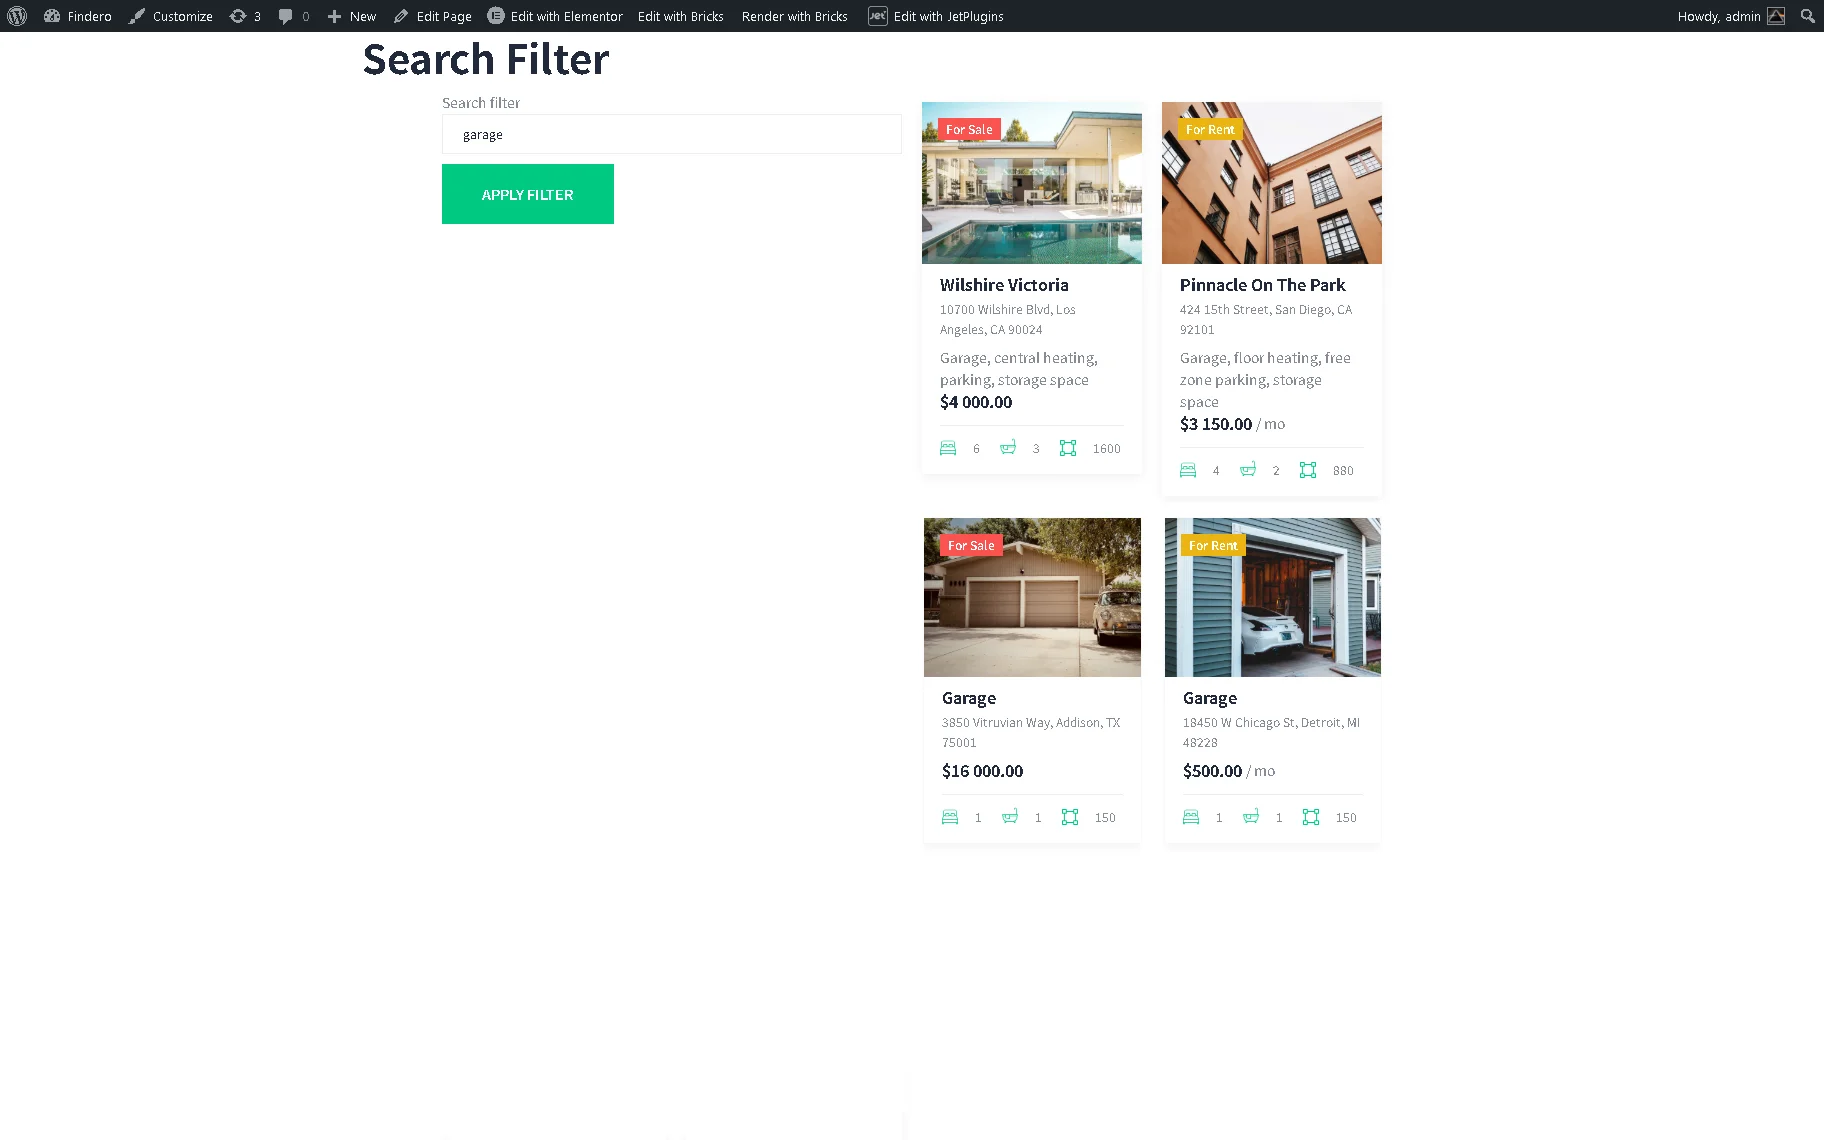
On the front end, we insert the “garage” text in the filter and press the “APPLY FILTER” button. Then, the CPT posts with text in the corresponding field and titles were displayed.
That’s it. Now you know how to apply the queries to the Search Filter of the JetSmartFilters plugin for WordPress to provide filtering by some parameters.