
How to Create Predefined Filters Results with Dynamic Tag
Discover the JetSmartFilters and JetEngine Dynamic Tag feature that allows you to create predefined filter results on your WordPress website without any effort.
Initially, install and activate the JetSmartFilters and JetEngine plugins to have the ability to use the predefined WordPress filter results feature.
Also, check if you have created a filter and a provider for it. For instance, it can be a Listing.
Predefined Filter Results
Head to the Elementor page builder to add the filter and the Listing Grid widget to the website page.
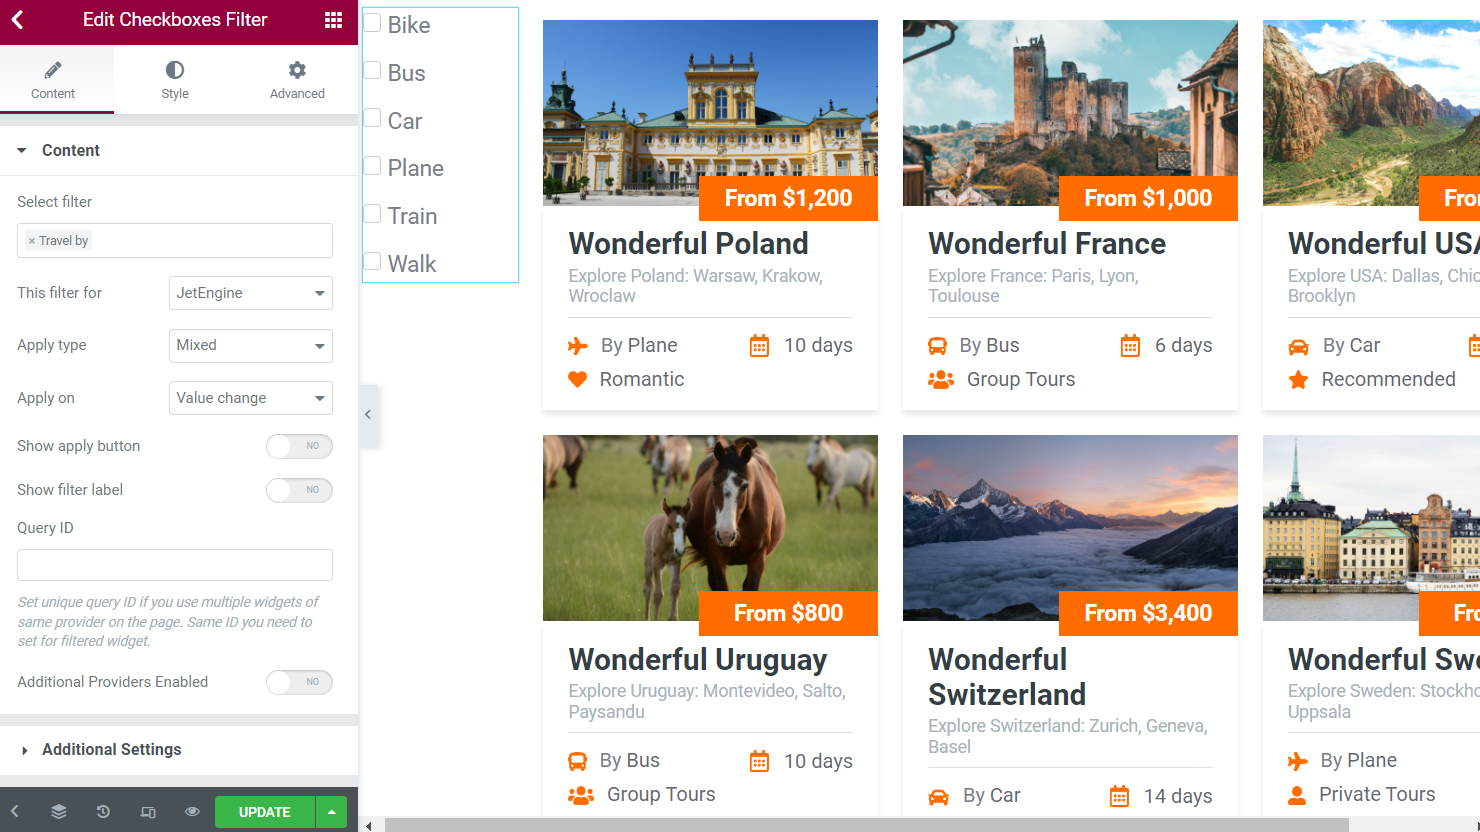
In our case, we place the Checkboxes Filter widget on the page editor.
Pick the desired filter in the Select filter field and define its provider in This filter for field.
We select the “JetEngine” option in the current case, referring to the Listing Grid.
If desired, work on further settings and click on the “Publish/Update” button to save the changes.
Open the page where you want to place a widget to work with dynamic tags.
Select a widget that will trigger a page emergence. For instance, we will add a Button.
In the General tab, leave the “Default ” option as the Type and change a Text on the button if needed.
Head to the Link and push the “Dynamic Tags” button next to the field.
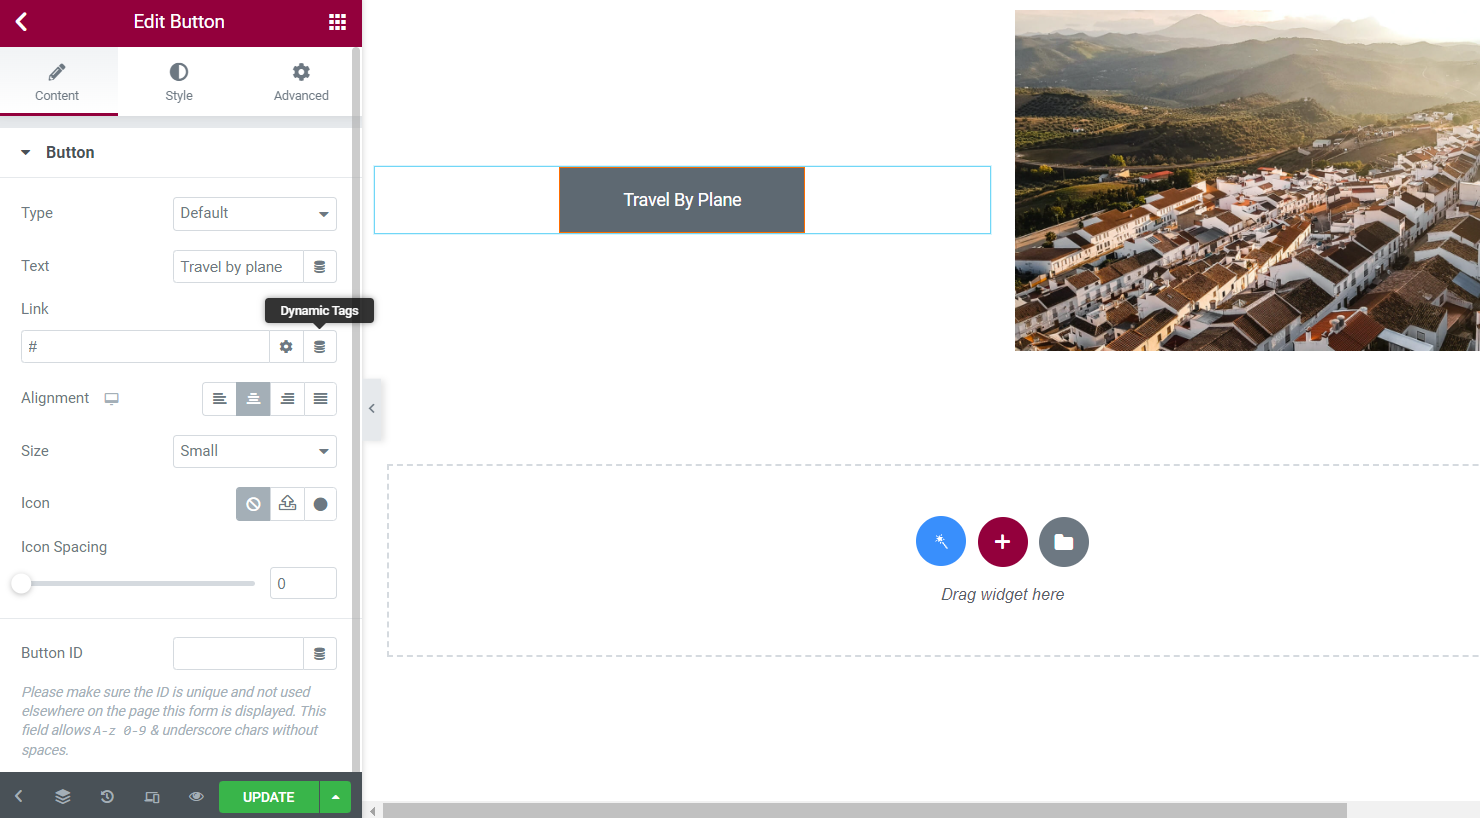
Select the “URL with filtered value” option in the drop-down list. The Settings tab will now be opened.
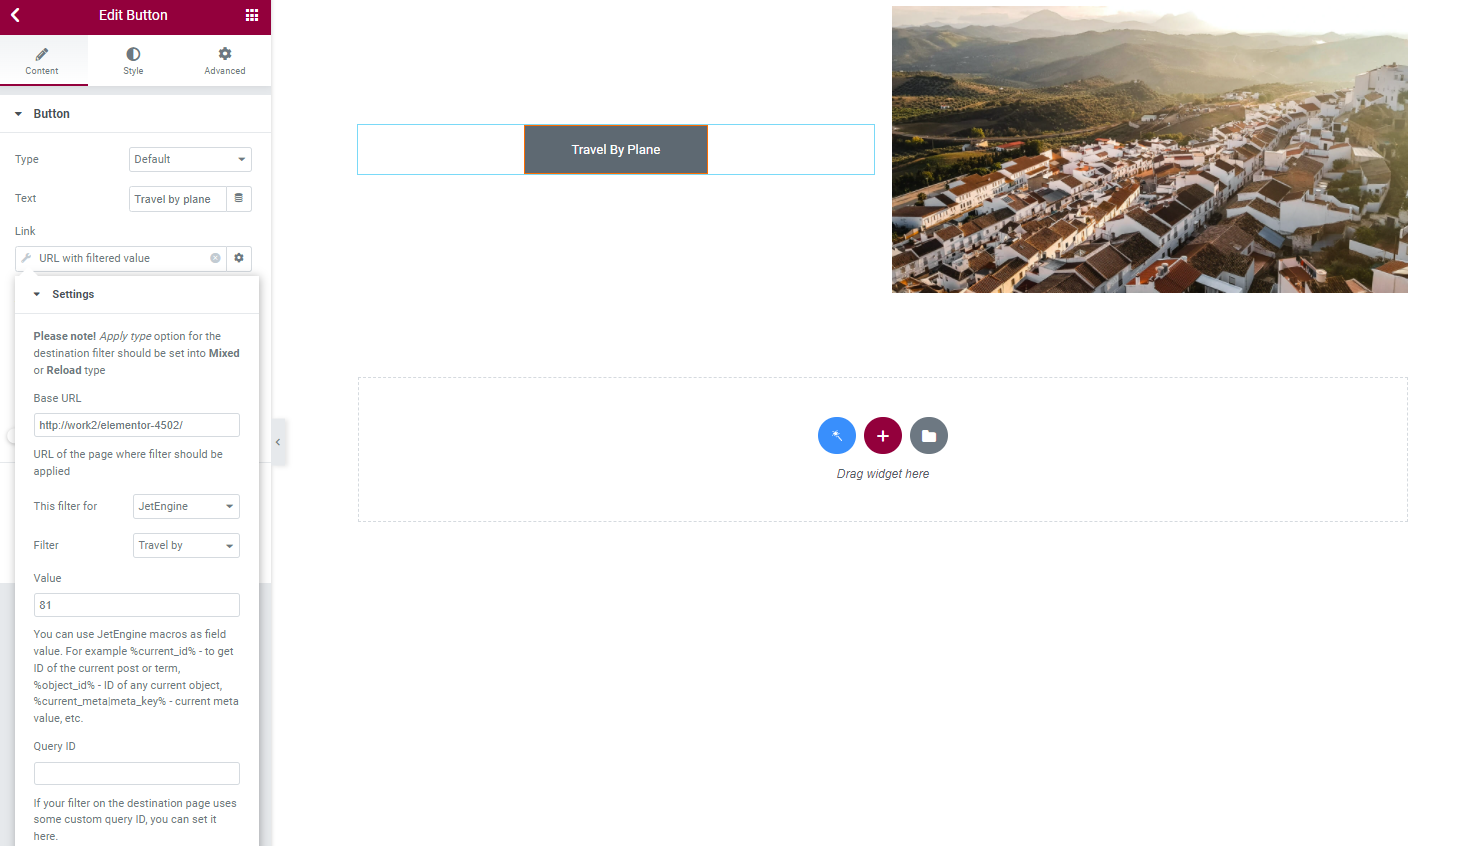
- Base URL — paste the URL of the page where the filter and its provider are placed;
- This filter for — select the provider to which the filter is applied;
- Filter — choose a filter you have put on the page;
- Value — type an option value you want to be ticked in the filter. In the described case, we use the ID number of the option we want to mark as the filter Data Source was selected as “Taxonomy”;
- Query ID — paste the query ID value you may have used in the filter.
Leave the Advanced tab fields without changes and work on other settings if desired.
Hit the “Publish/Update” button and look at the results.

As the page opens, you can hit the newly created button.

Once the button is clicked, it redirects the user to the page with the predefined filter results.

Predefined Filter Results with Several Options
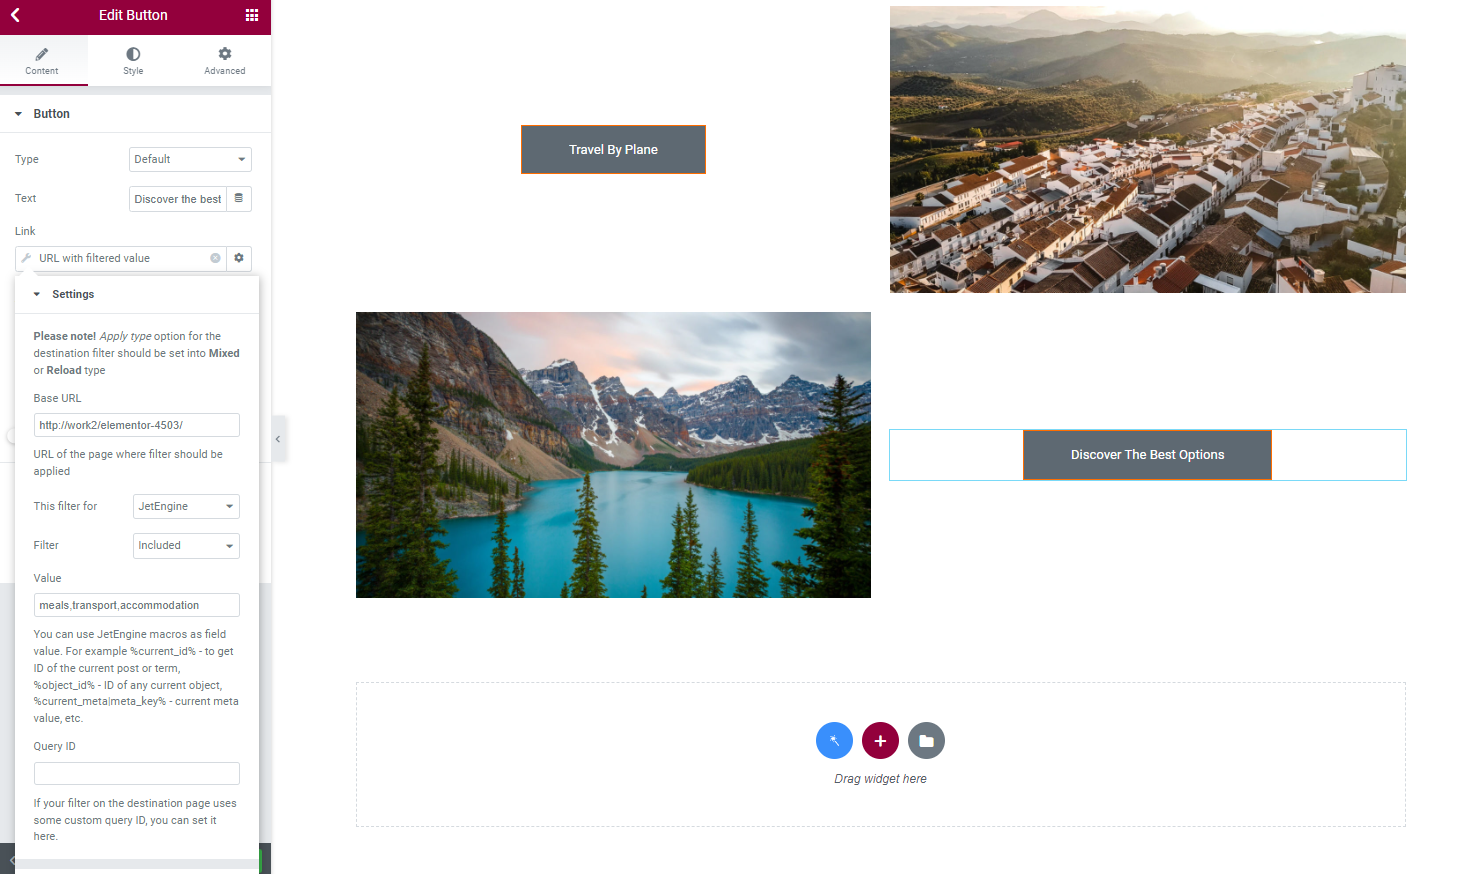
For instance, let’s place one more button that will lead to another Checkboxes type filter. But, this time, several options will be ticked.
We complete the Value field with the options separated by commas with no additional spaces. This time we put literal values as we work with the “Custom Fields” Data Source of the filter.
Our Value example looks like “meals,transport,accommodation”.
All the other settings are adjusted to the filter we created earlier. So, we push the “Update” button to save the result.
Now the buttons are located on one page. Let’s press the second button.

If everything is adjusted fine, the button redirects to the page with the predefined filter results. As you can see, several options are selected now.
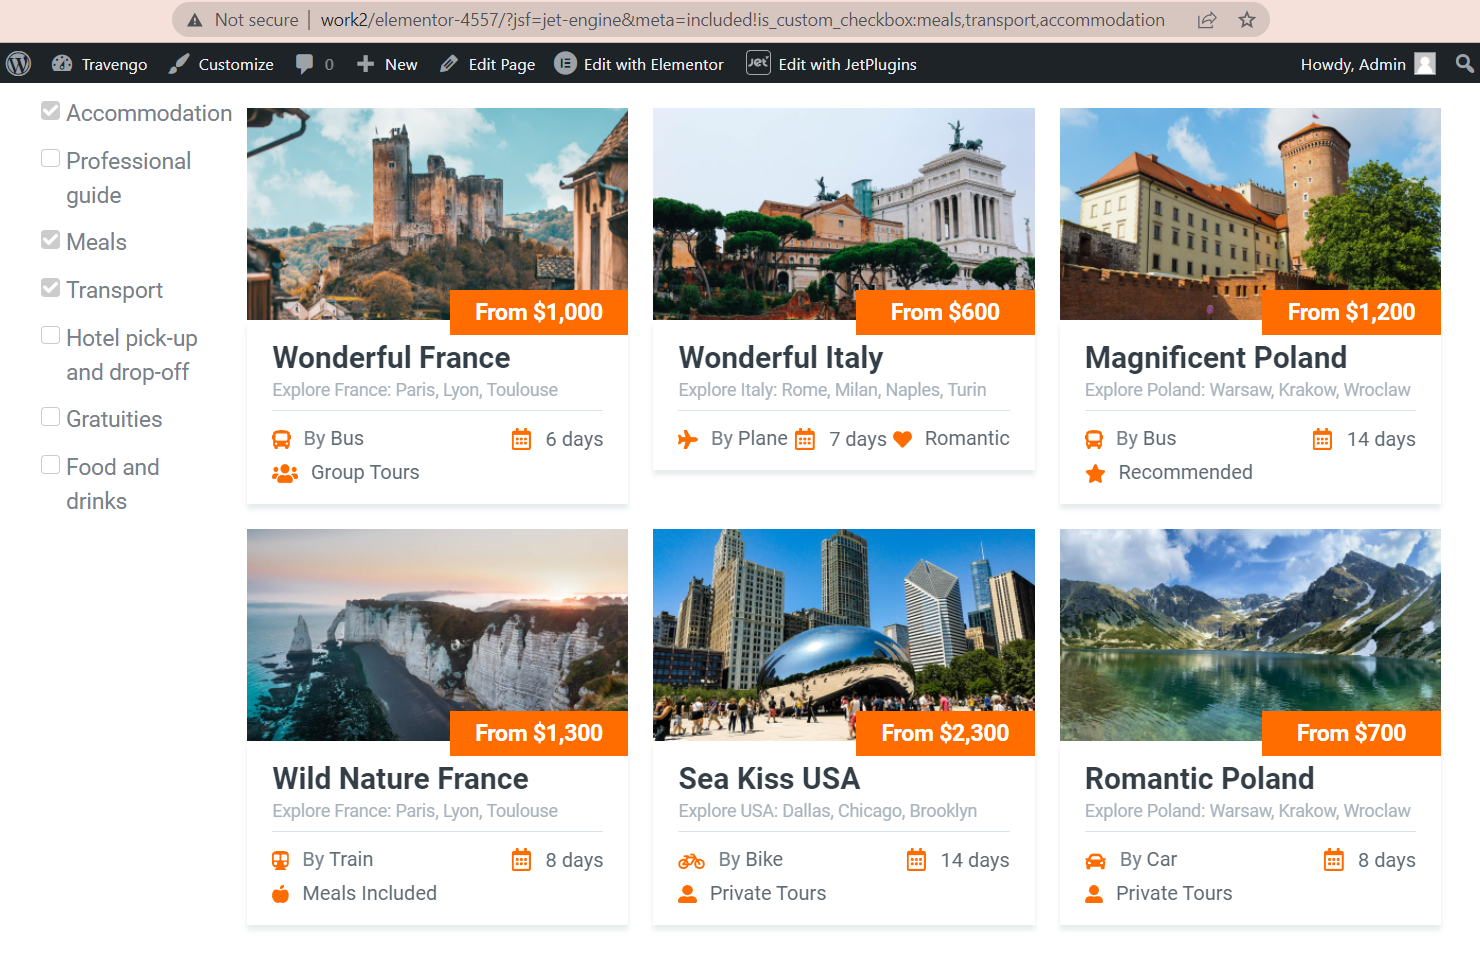
So with the “URL with filtered value” dynamic tag, there is no need to select options again. Now you know how to show the predefined WordPress filter results with the JetSmartFilters plugin.