Combining AND/OR Relational Operators Using an SQL Query
In this guide, you will learn how to combine “AND/OR” Relational operators in JetEngine’s Query in order to include some items from the Listing Grid and exclude others.
Before you start, check the tutorial requirements:
- Elementor (Free version), Block editor (Gutenberg), or Bricks
- JetEngine plugin installed and activated
This tutorial demonstrates how to combine multiple Query Builder queries into a single SQL query to apply complex logical conditions to a Listing Grid.
You will learn how to include posts that match at least one group of conditions and, at the same time, exclude posts that match another group of conditions by combining separate queries with “AND/OR” relational operators.
Create a Meta Field
First, we want to add a meta field whose options will serve as the source for the queries. Since we are working with the “Properties” Custom Post Type, we open its editor in the WordPress Dashboard > JetEngine > Post Types directory.
Scroll down to the Meta Fields section and press the “New Meta Field” button.
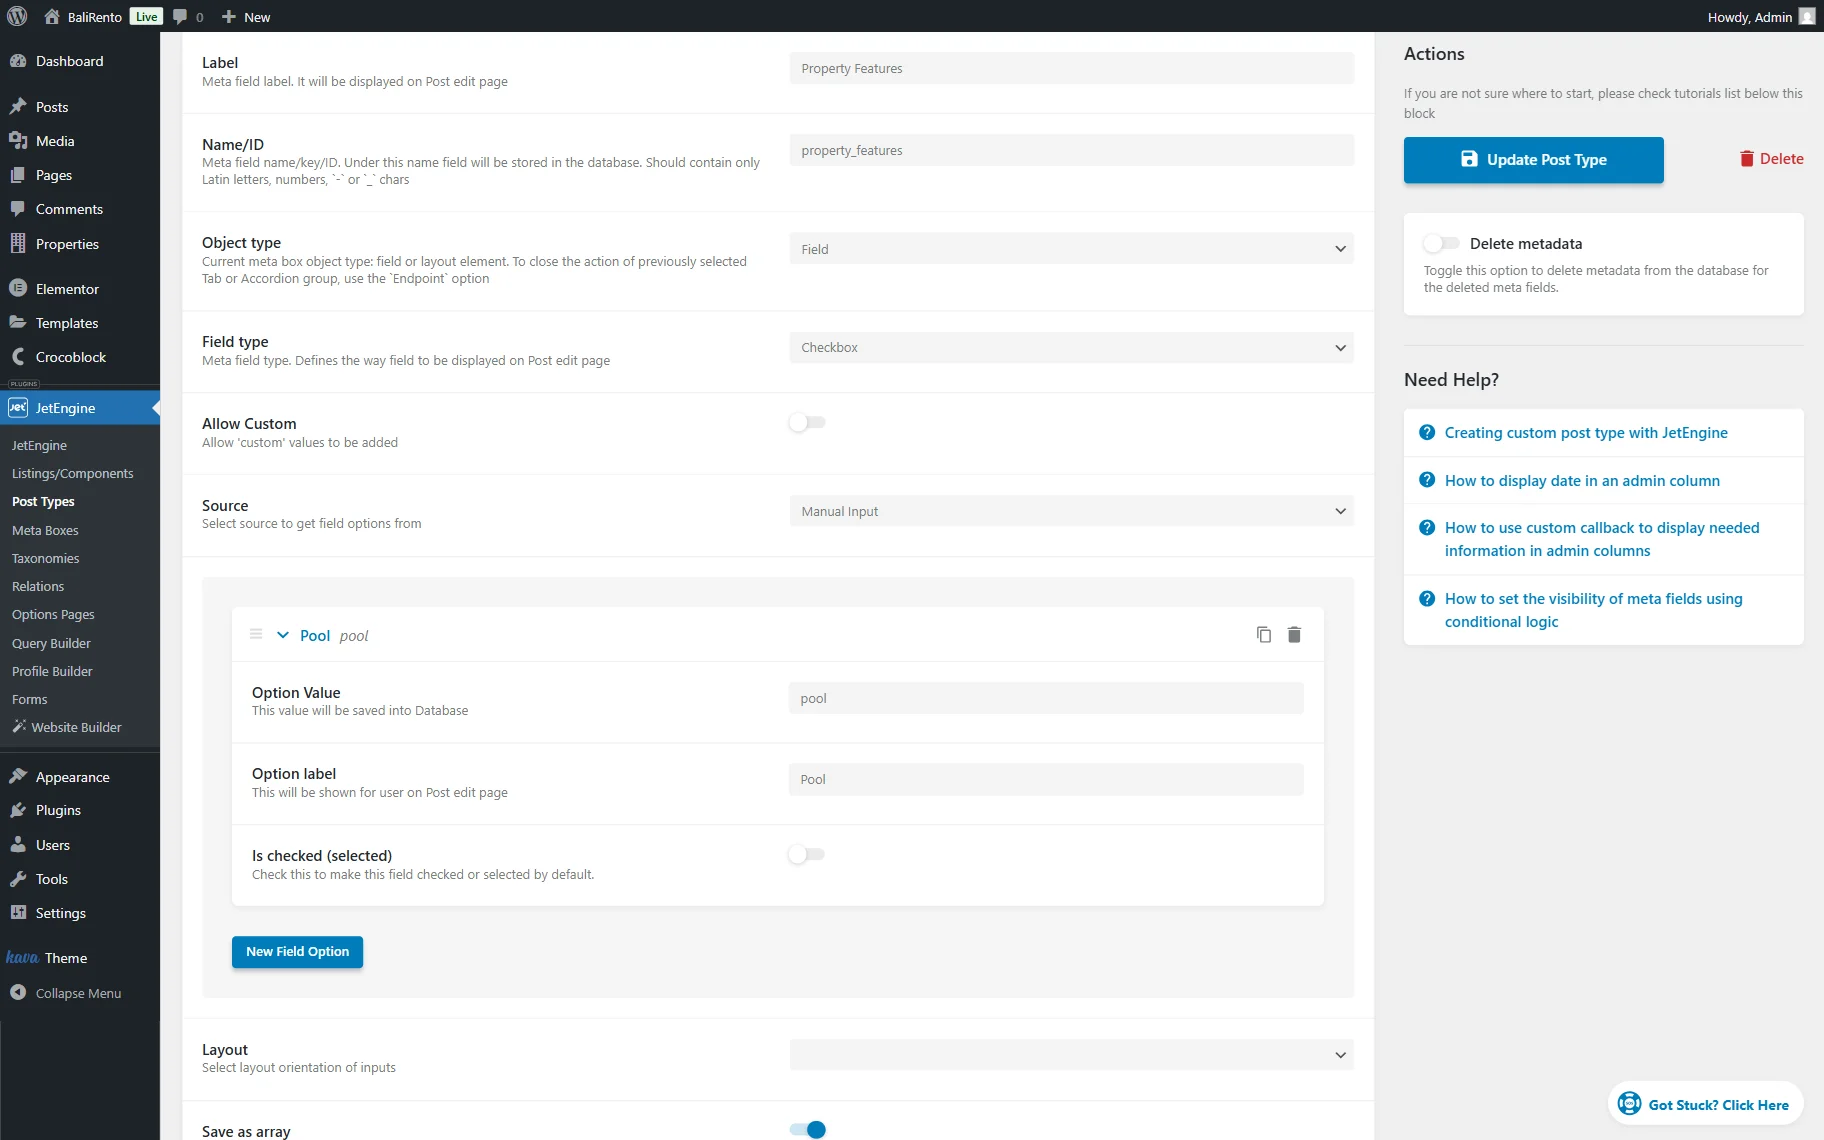
Complete the meta field’s Label. We complete it with the “Property Features” value. The Name/ID field is completed automatically, so we leave it as is.
We leave the “Field” Object type and set the Field type to “Checkbox.”
In our case, the Source is set to “Manual Input,” and we click the “New Field Option” button every time we need to add a new item to the checkbox.
Make sure to complete the Option Value field with the value containing only small Latin letters, numbers, and “-” or “_” symbols.
The Option label defines how the option will be displayed.
You can also activate the Is checked (selected) toggle to make the current option enabled in all posts by default.
This way, we add such options: “Pool,” “Garden,” “Sea View,” “Parking,” and “Pet Friendly.”
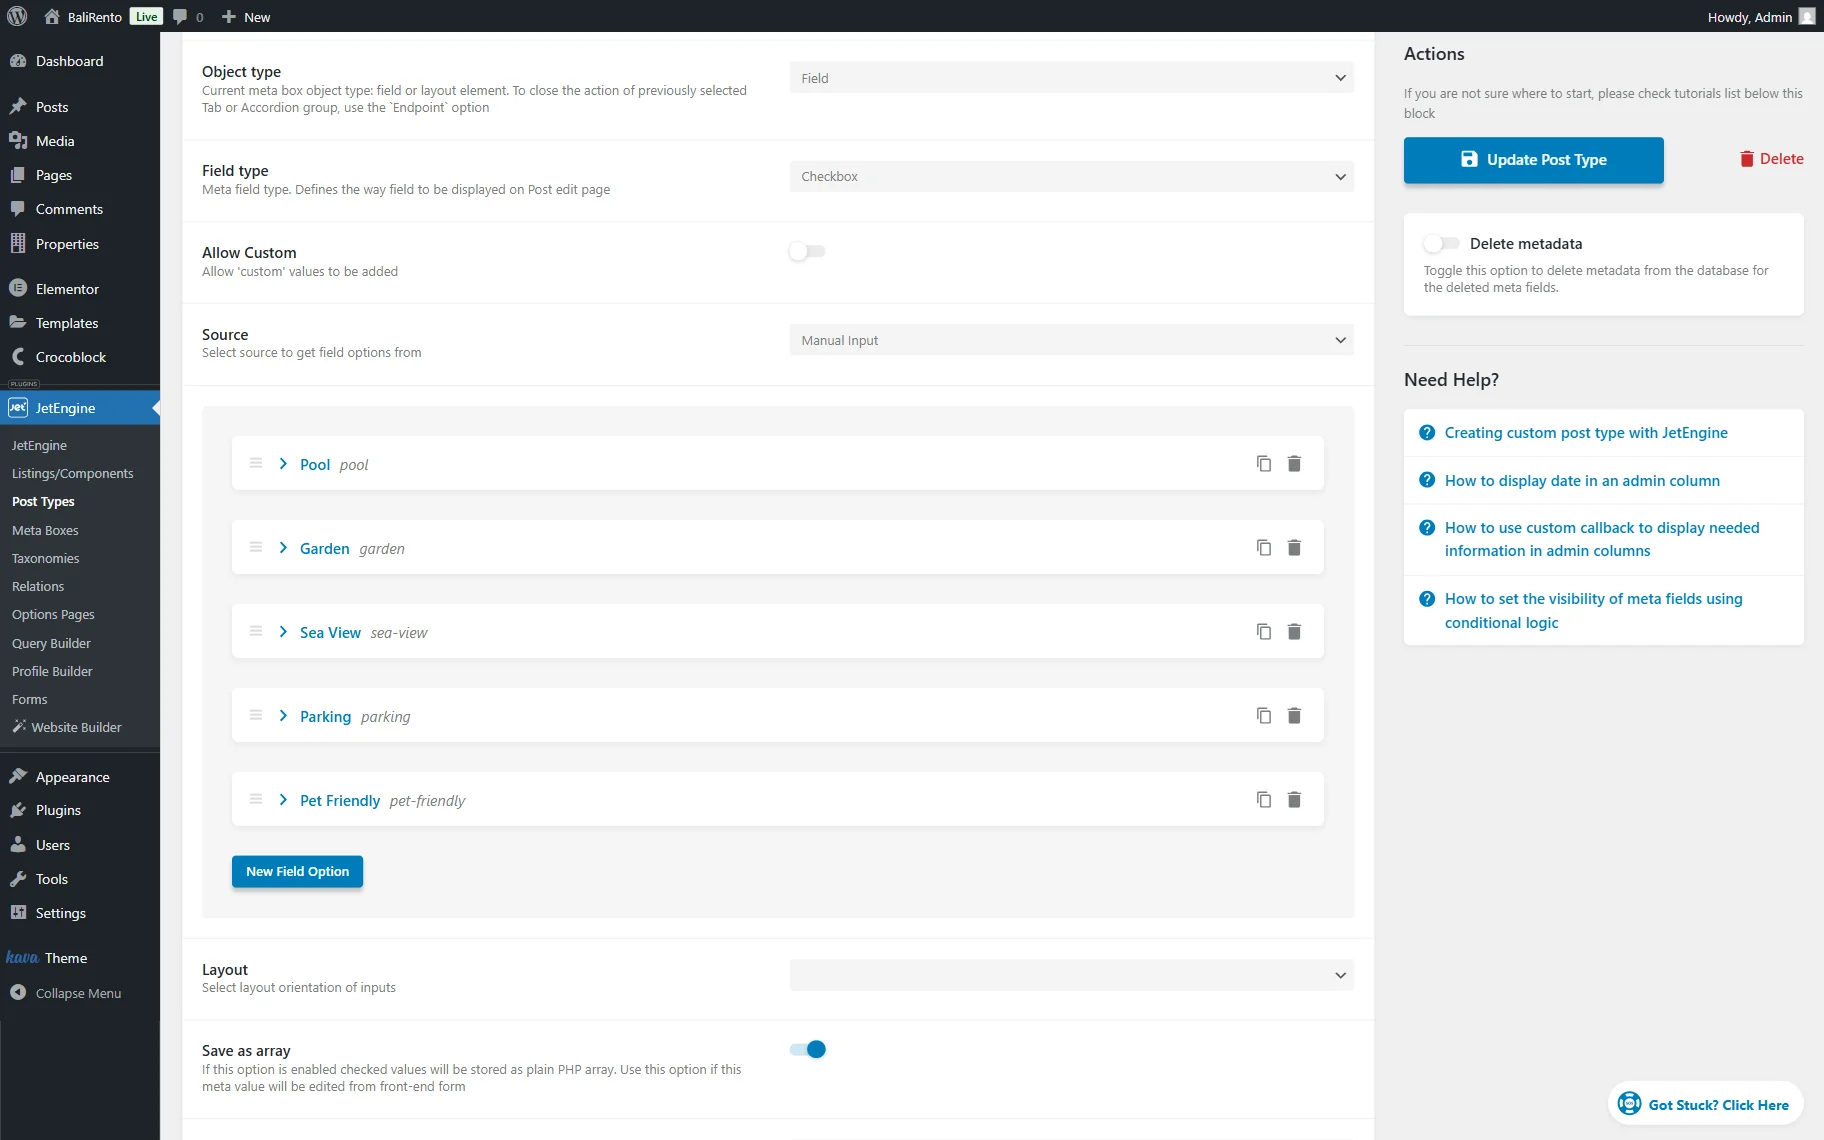
When the meta field is adjusted, press the “Update Post Type” button to save the post type settings.
Build a Listing
Now, we want to add a Listing template to store all “Properties” CPT posts. You can do it in the WordPress Dashboard > JetEngine > Listings/Components page.
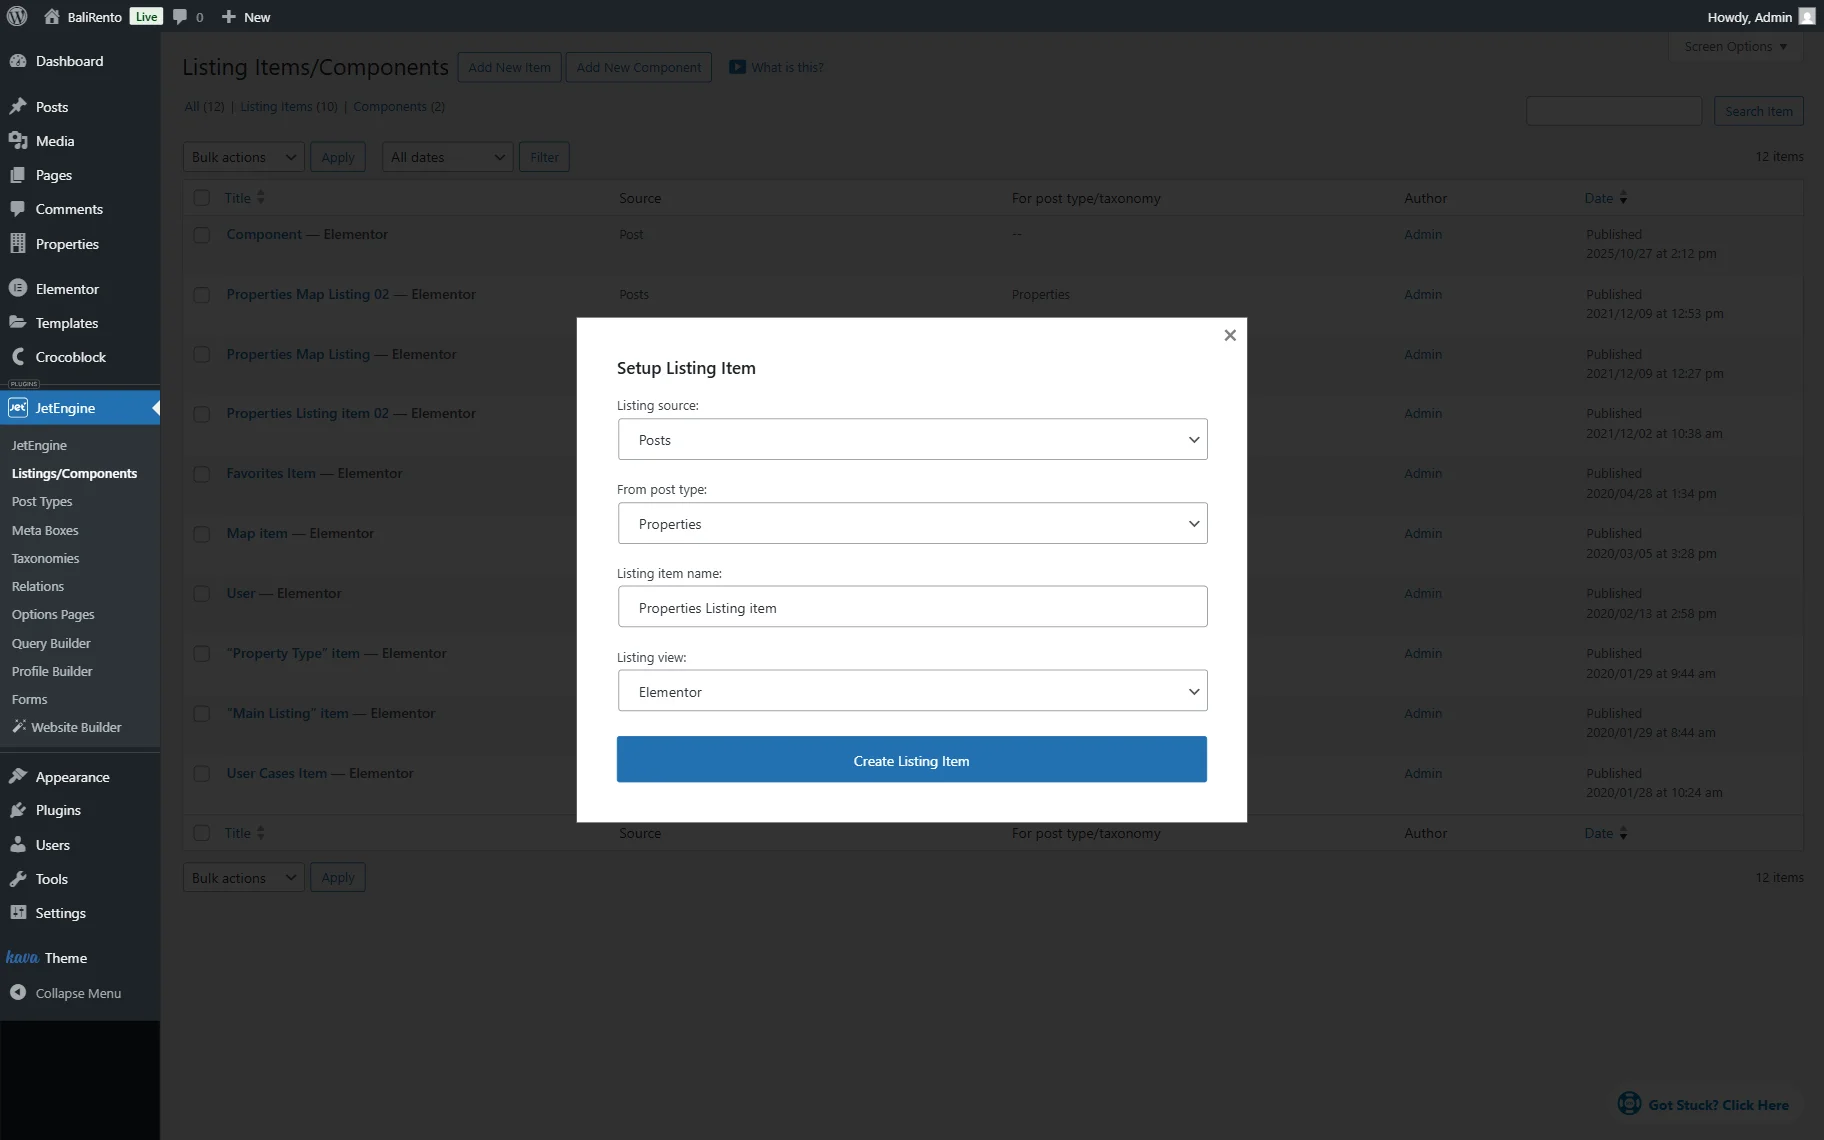
Press the “Add New item” button to open the preediting pop-up.
Leave the “Posts” Listing source. In the From post type dropdown, pick the post type you want to build a Listing template for.
Complete the Listing item name (for example, we set the “Properties Listing item” name) and select the editor you want to work with. We select the “Elementor” option.
Click the “Create Listing Item” button to proceed to the editor.
When the editor opens, add the dynamic widgets that display the listing content. For instance, we add Dynamic Links and Dynamic Terms. Additionally, we place the Icon List, Headline, and Star Rating widgets to showcase needed content.
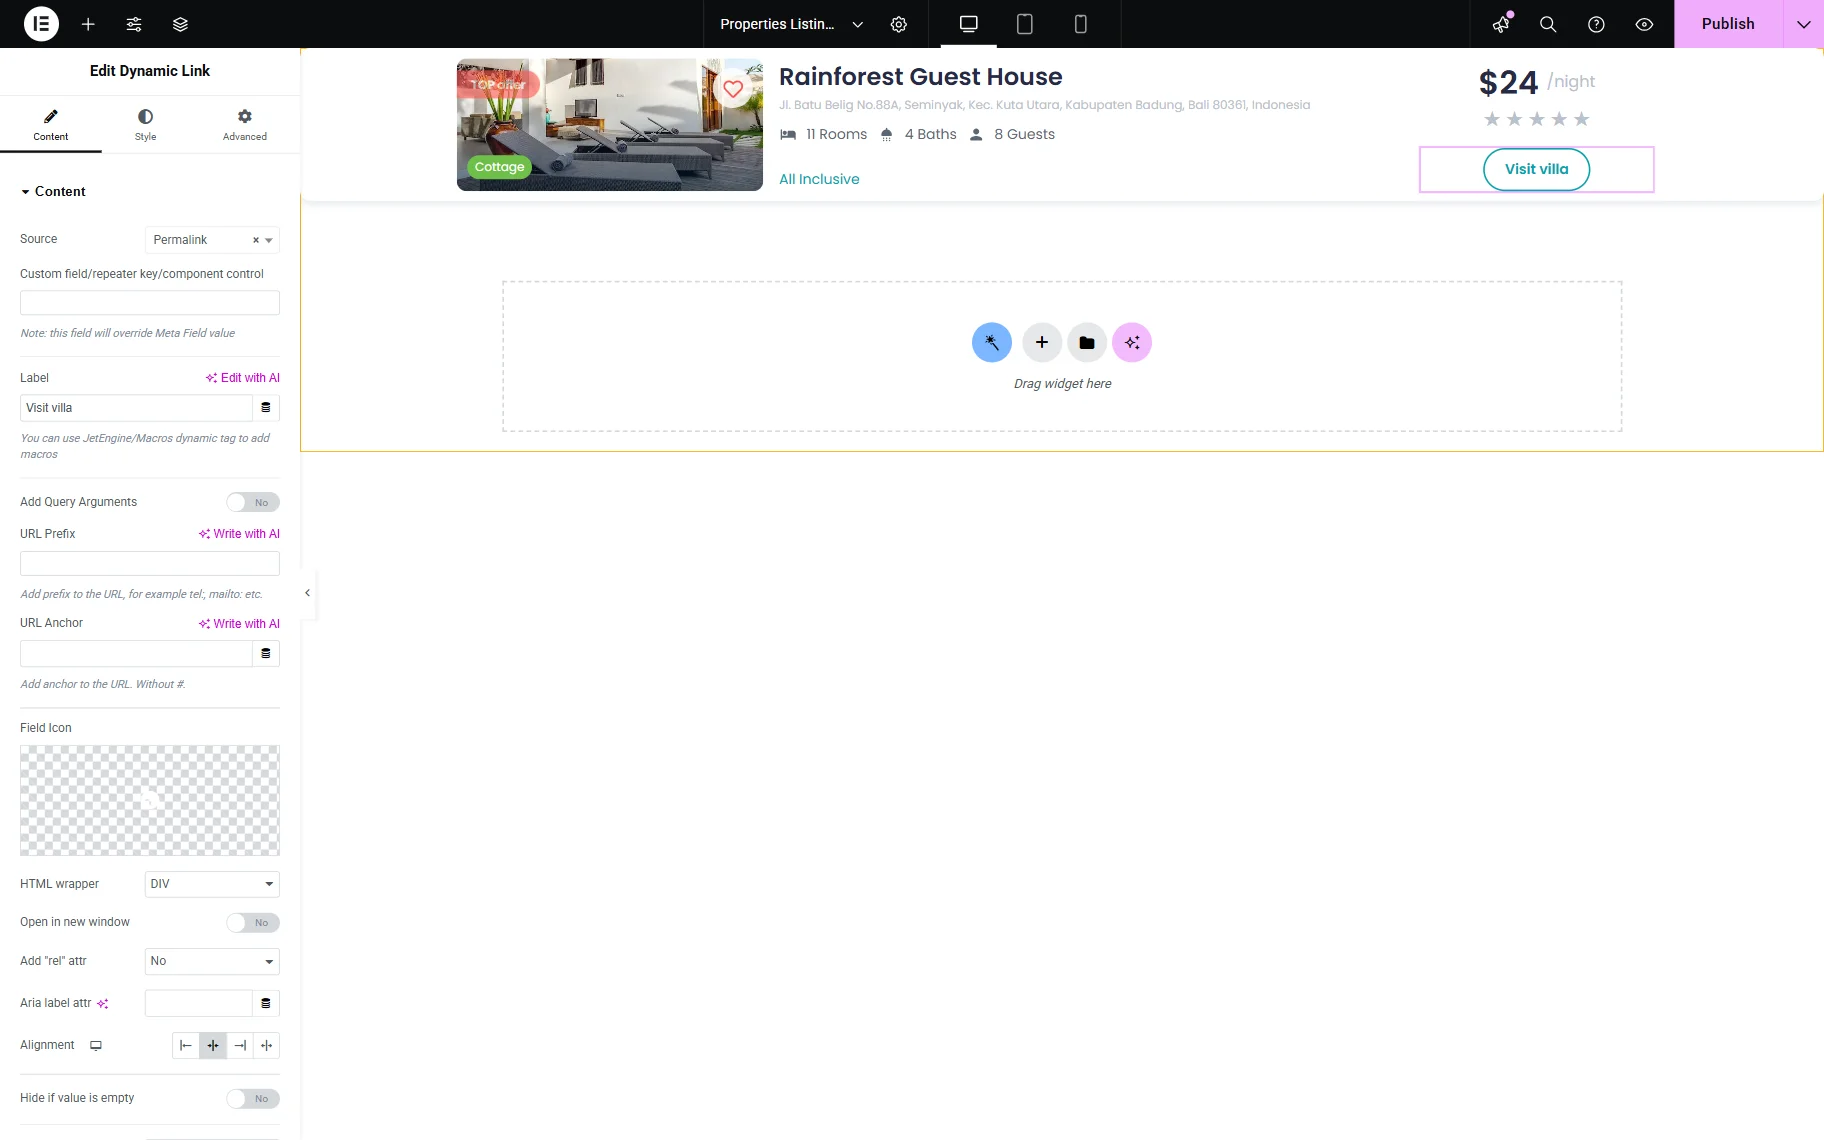
We also want to display the “Property Features” meta field’s values related to posts, so we add a Dynamic Field to the canvas.
Pick the “Meta Data” Source and the meta field you work with in the Meta Field dropdown.
Since we use the “Checkbox” meta field, the Dynamic Field will initially display an error message, as we need to use a callback to render the field data in the current format.
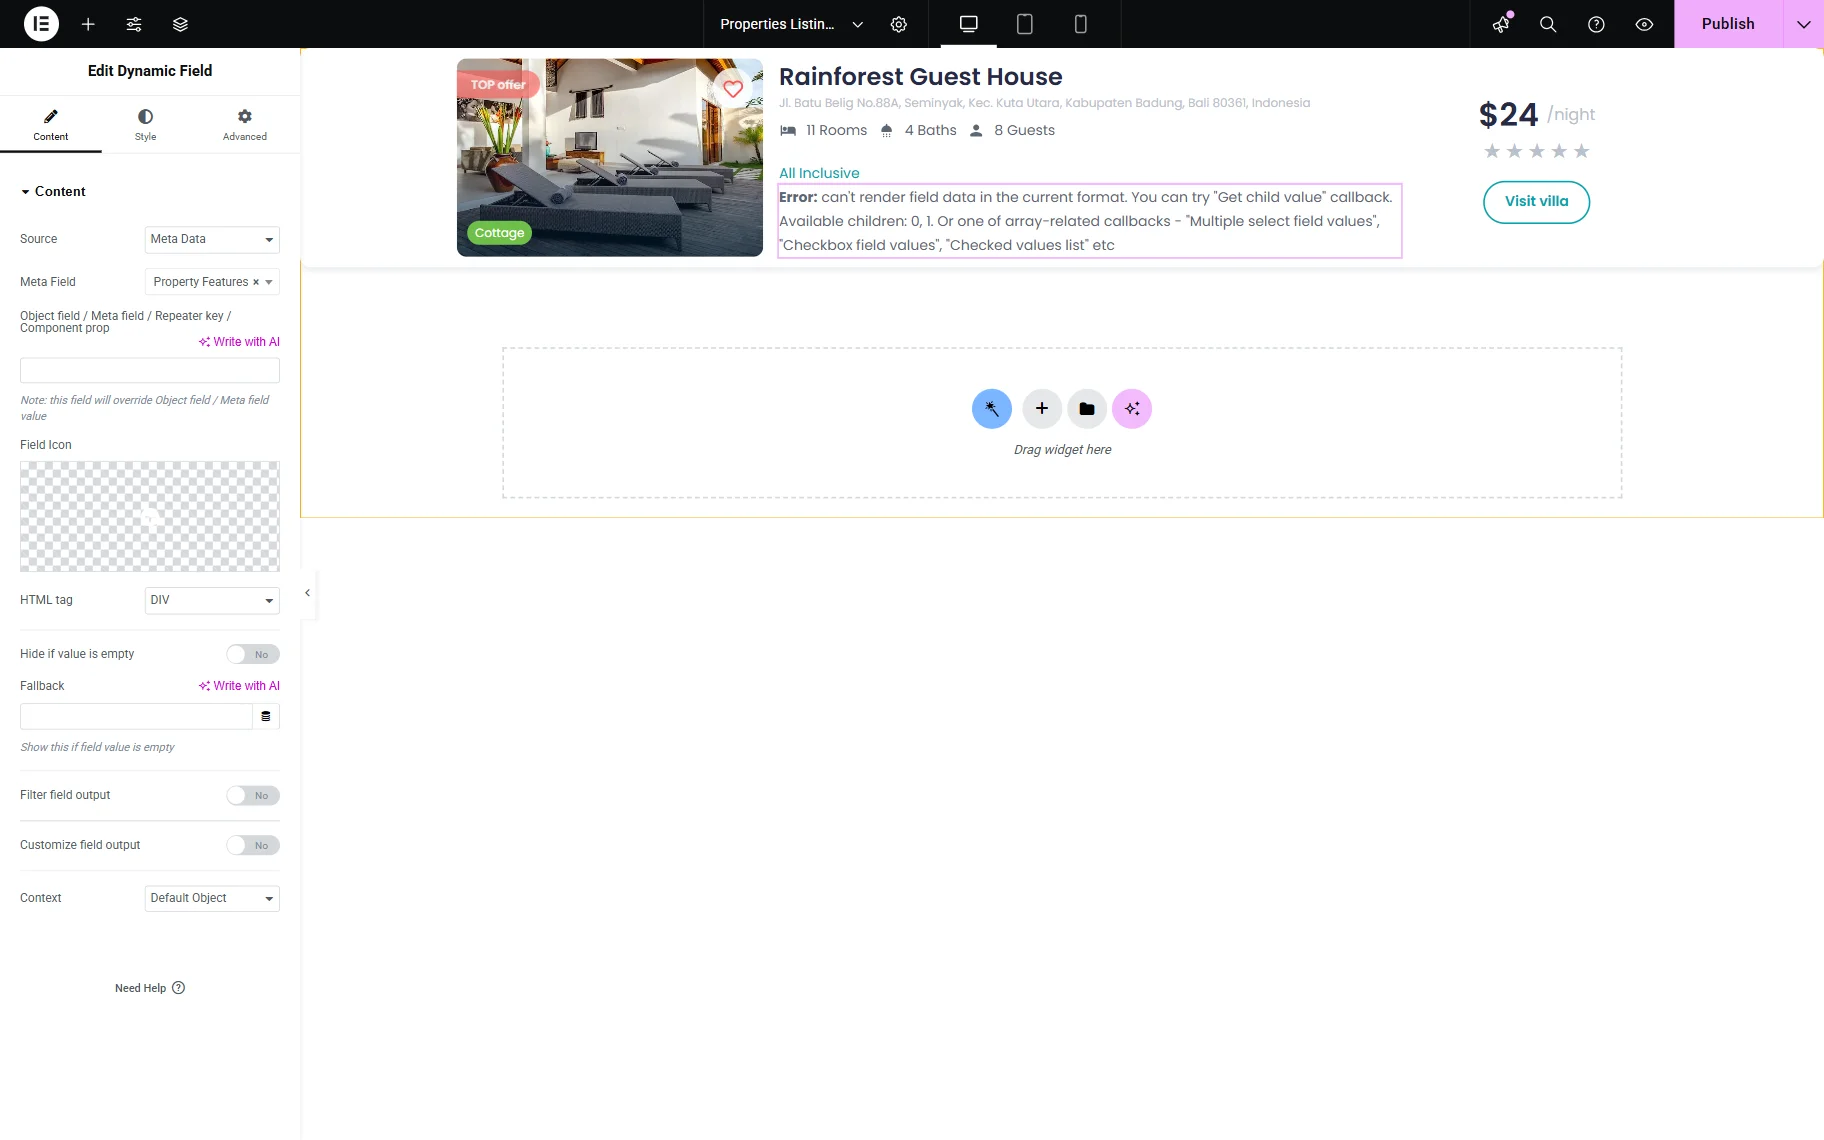
To do so, activate the Filter field output toggle in the Dynamic Field settings, then select the appropriate Callback. In the case of the “Checkbox” meta field, the “Multiple select field values,” “Checkbox field values,” and “Checked values list” options can be selected. For example, we pick the “Checkbox field values” option.
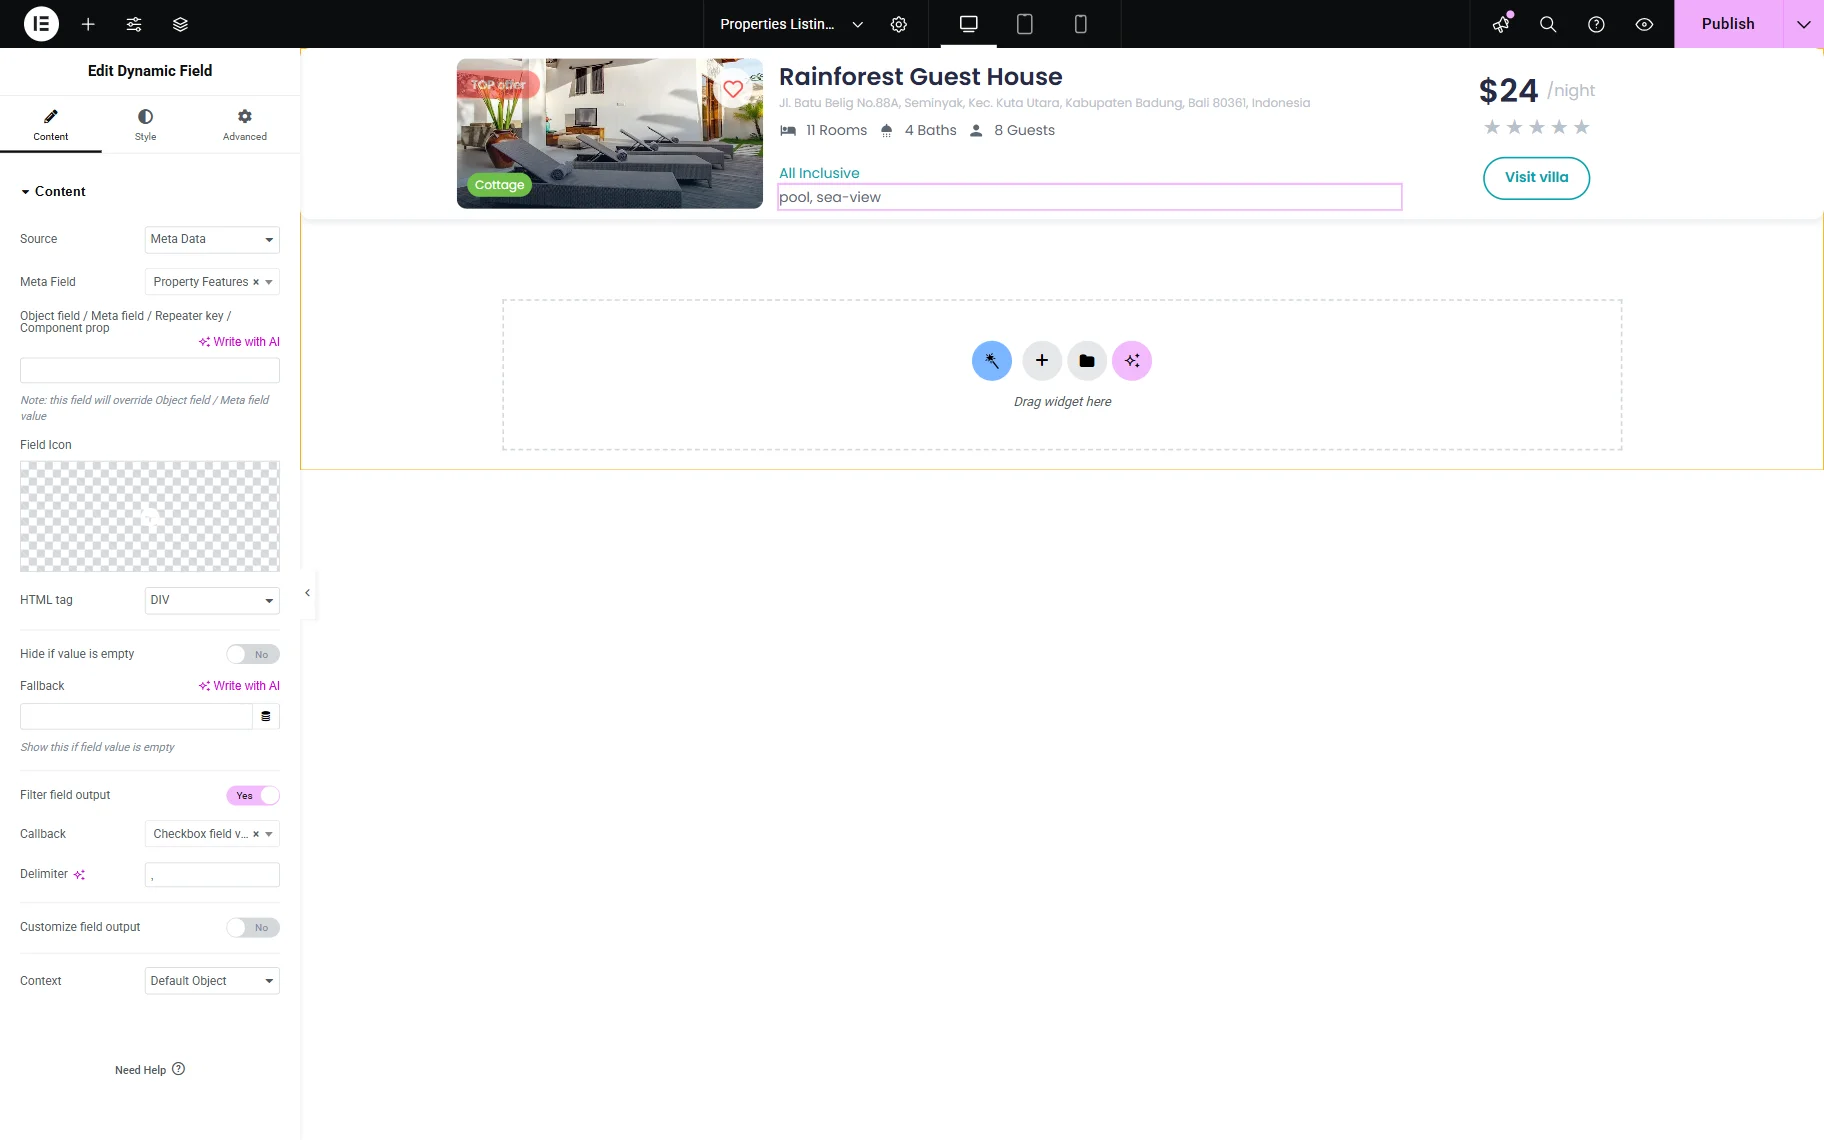
Add more content and style up the listing as needed, and press the “Publish” button when ready.
Build a Query for Including Items
Now, we should add a query that will later include only the needed items in the Listing Grid. To build it, go to WordPress Dashboard > JetEngine > Query Builder and click “Add New.”
Give the query a Name. In our case, it’s “Include Garden and Sea View”.
We leave the default “Posts Query” Query Type and move to the Posts Query section.
In the General tab, pick the Post Type you work with. In our case, it’s “Properties.”

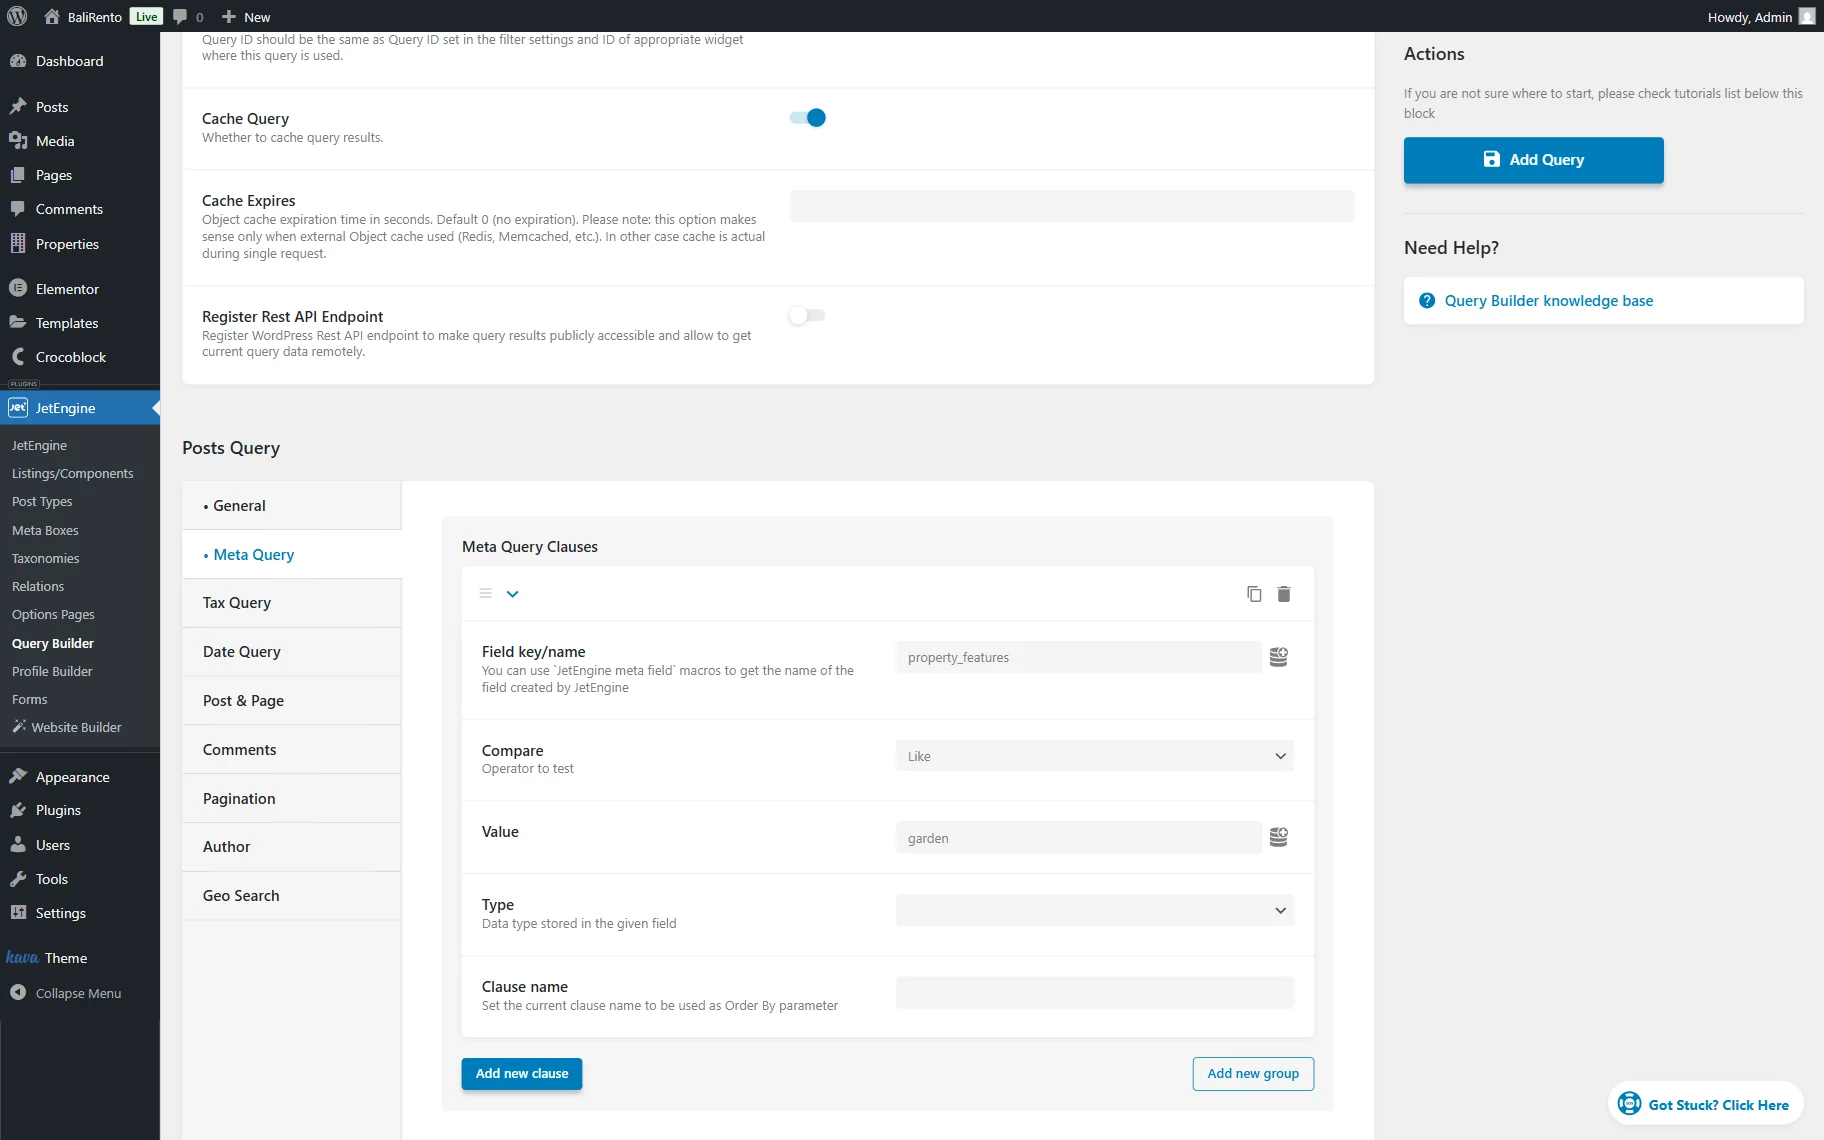
Open the Meta Query tab and press the “Add new clause” button.
In the Field key/name field, enter the Name/ID of your meta field. We enter the “property_features” value here.
Set the “Like” operator in the Compare field.
In the Value field, place the Option Value of the target meta field. In our case, “garden.”
In the same way, we add another clause, with the “sea-view” value this time.
Scrolling down below the clauses, pick the “Or” Relation. This relation allows the query to return posts that match at least one of the specified meta values. In this case, a post will be included if either the “garden” or “sea-view” option is selected.
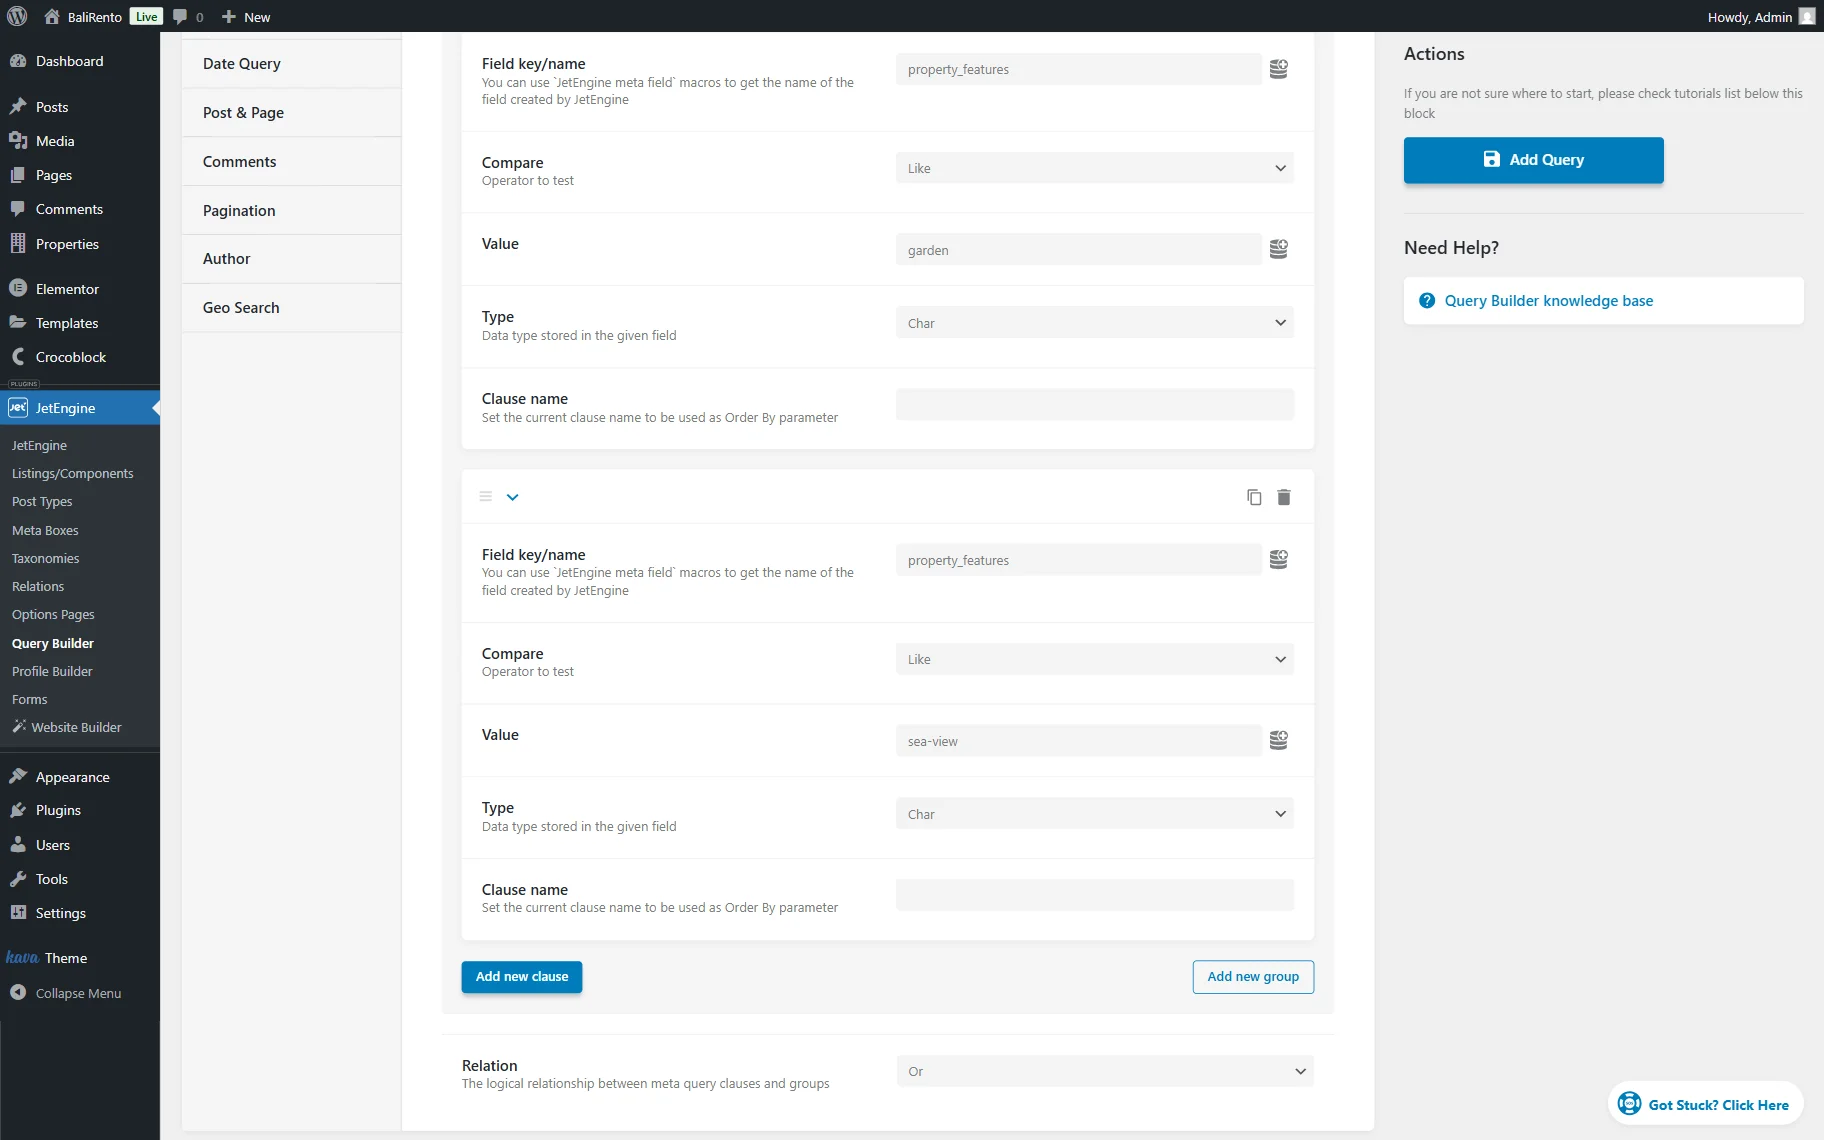
Once done, press the “Add Query” button.
Build a Query for Excluding Items
Now, we should add a second query, which will later exclude the necessary items from the Listing Grid.
So, one more time, we go to WordPress Dashboard > JetEngine > Query Builder and click the “Add New” button.
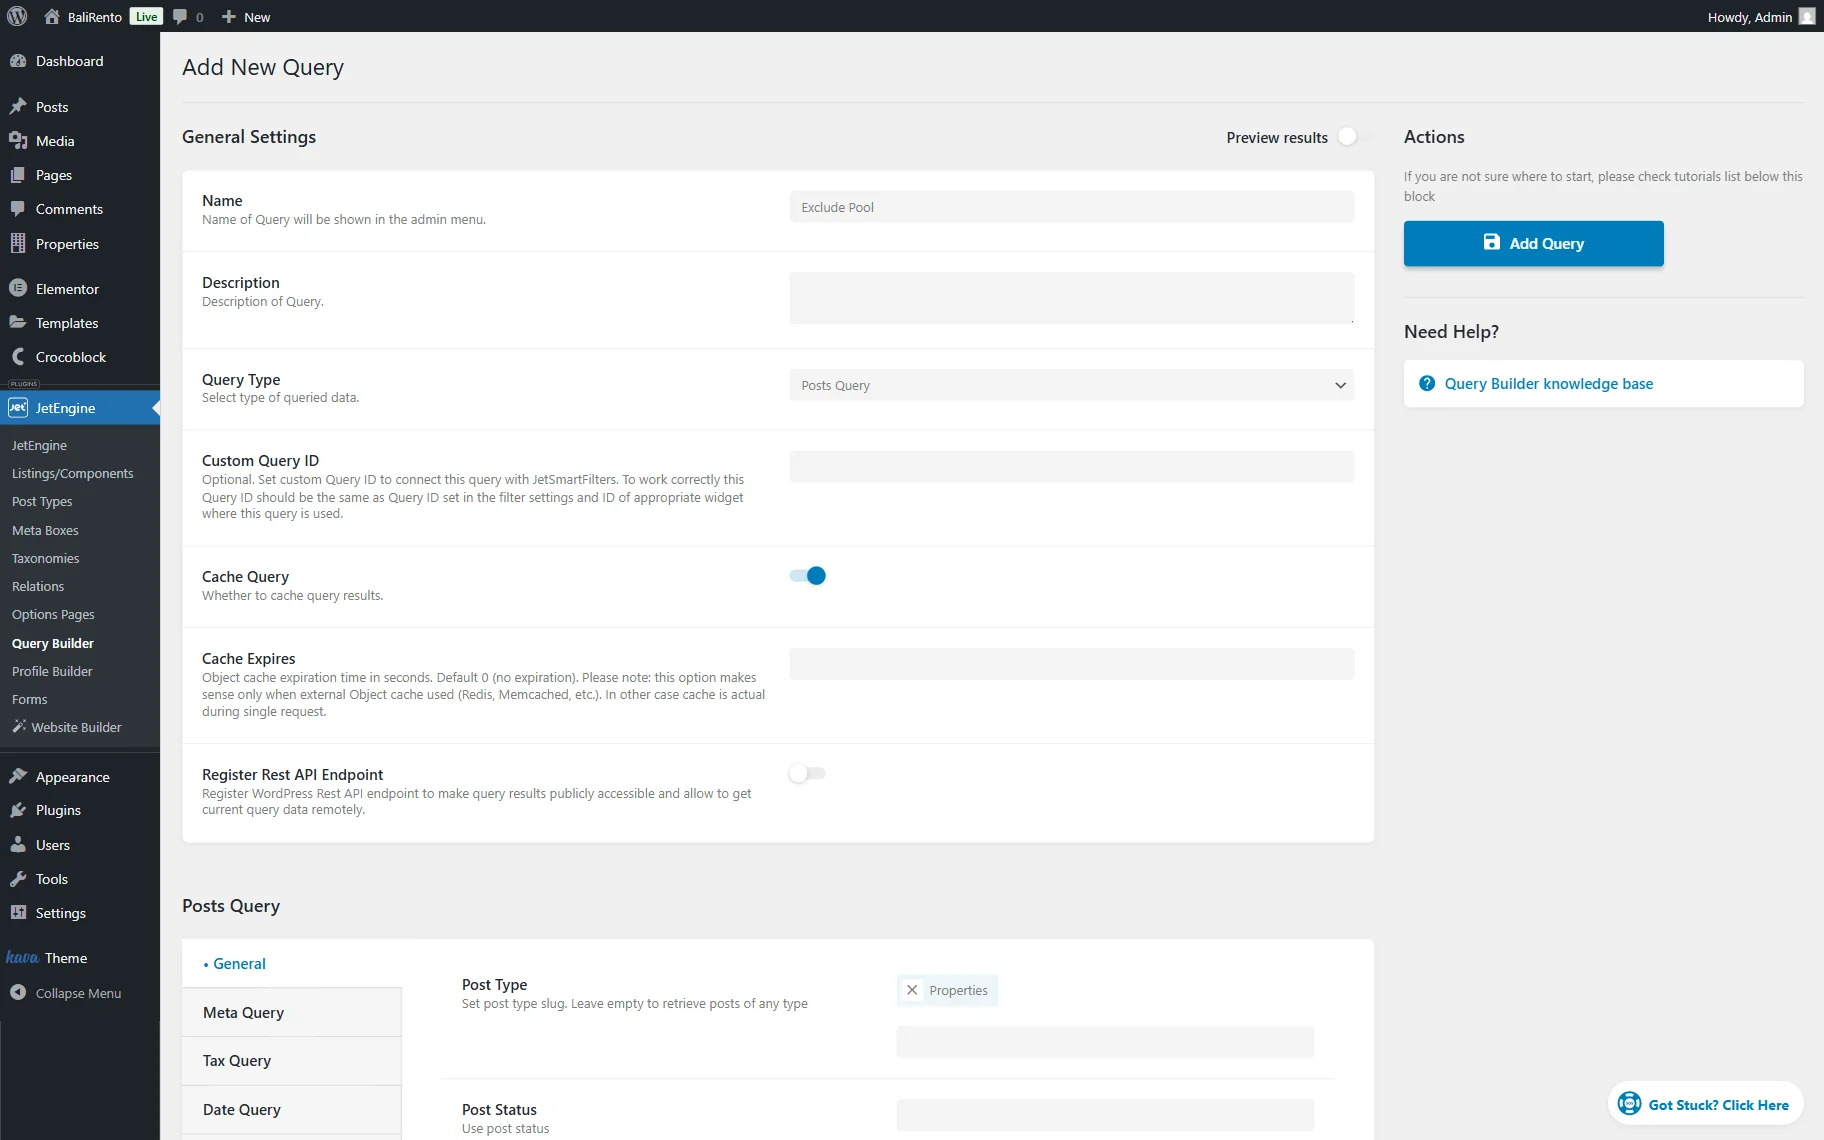
Complete the Name of the query; now, we enter the “Exclude Pool” name.
Again, the Query Type is left to “Posts Query”.
Move to the Posts Query section. Here, pick the Post Type you work with (in our case, “Properties.”)
Open the Meta Query tab and press the “Add new clause” button to adjust the meta query clause.
In the Field key/name, put the Name/ID of the meta field. In our case, we put the “property_features” value.
Set the “Not like” Compare operator and complete the Value field with the meta field’s option you want to exclude from the Listing Grid later. In our case, “pool.”

Once the query is ready, press the “Add Query” button to save the result.
Build an SQL Query
Now, it’s time to combine two built queries in one to merge their results later in one Listing Grid.
In the WordPress Dashboard > JetEngine > Query Builder directory, press the “Add New Query” button.
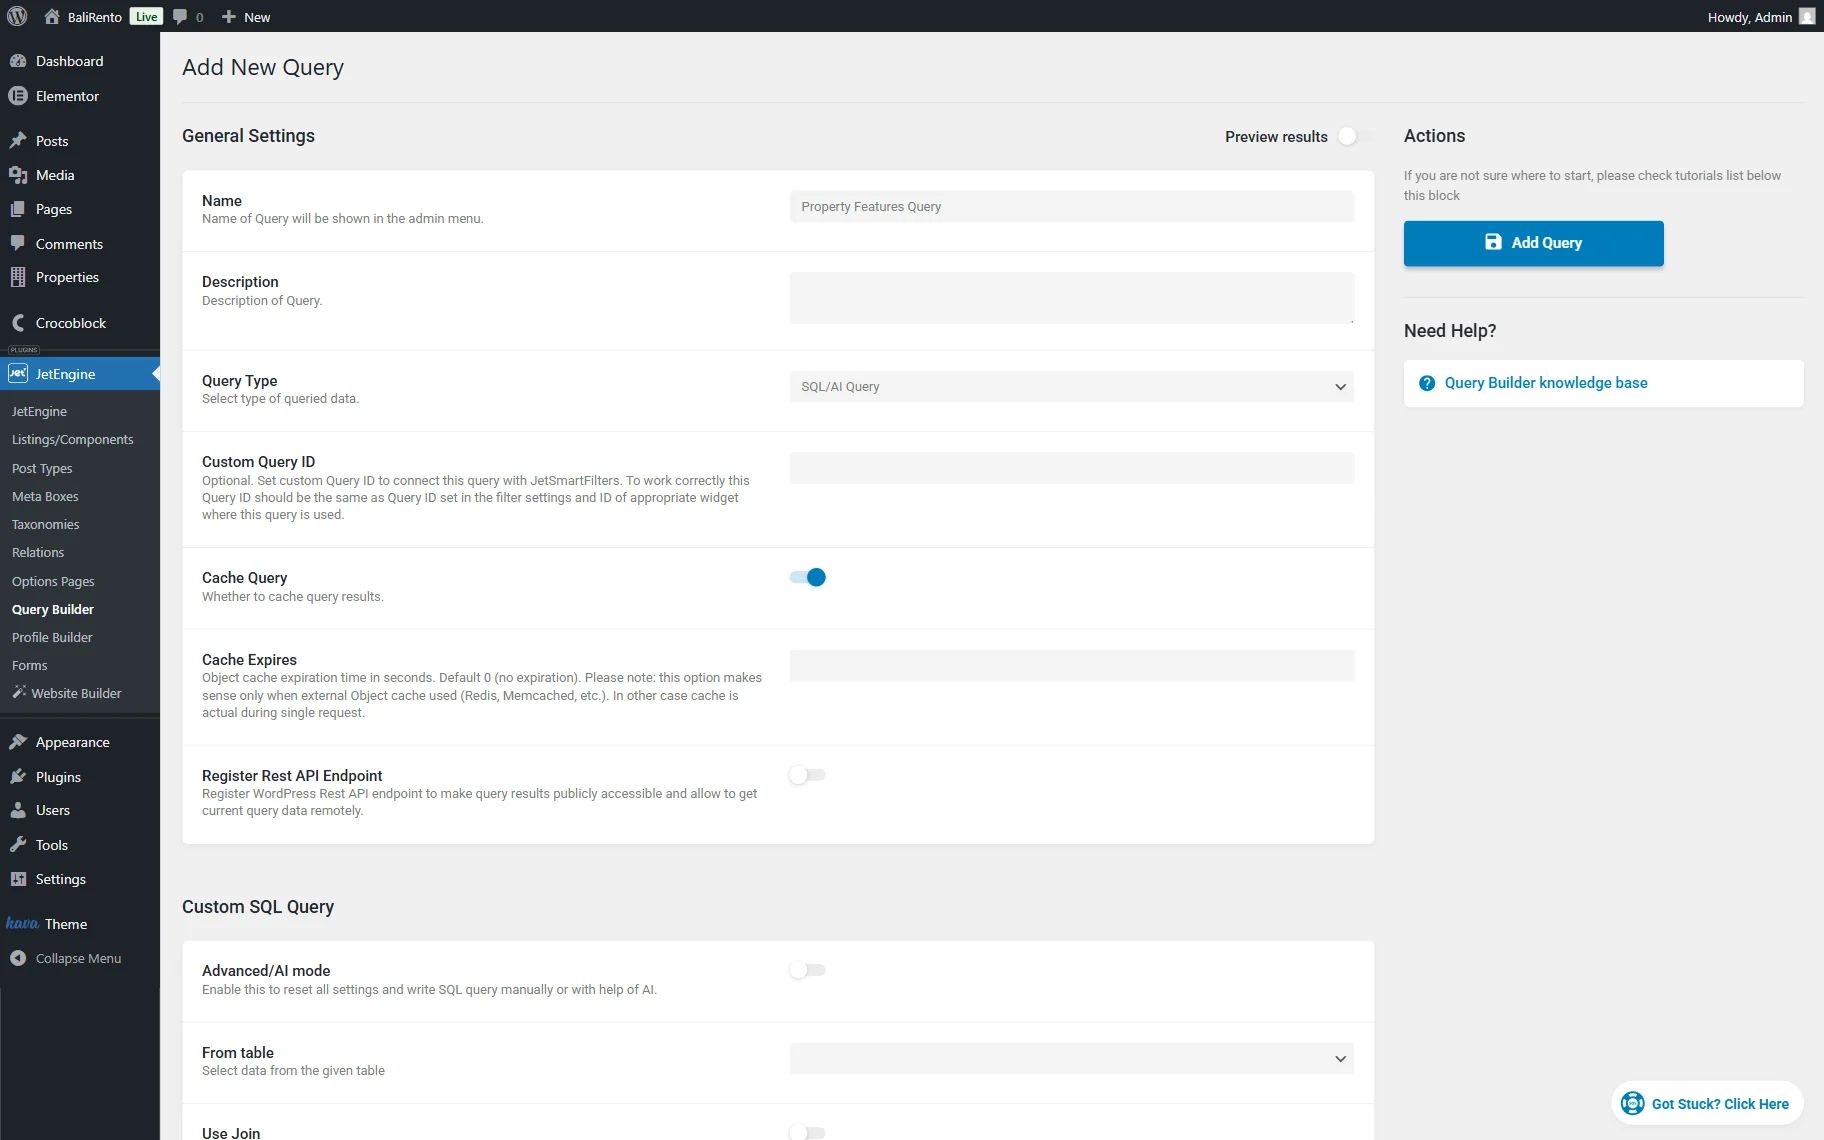
Give a Name to the Query. In our example, it’s “Property Features Query.”
Change the Query Type to “SQL/AI Query” and move to the Custom SQL Query section.
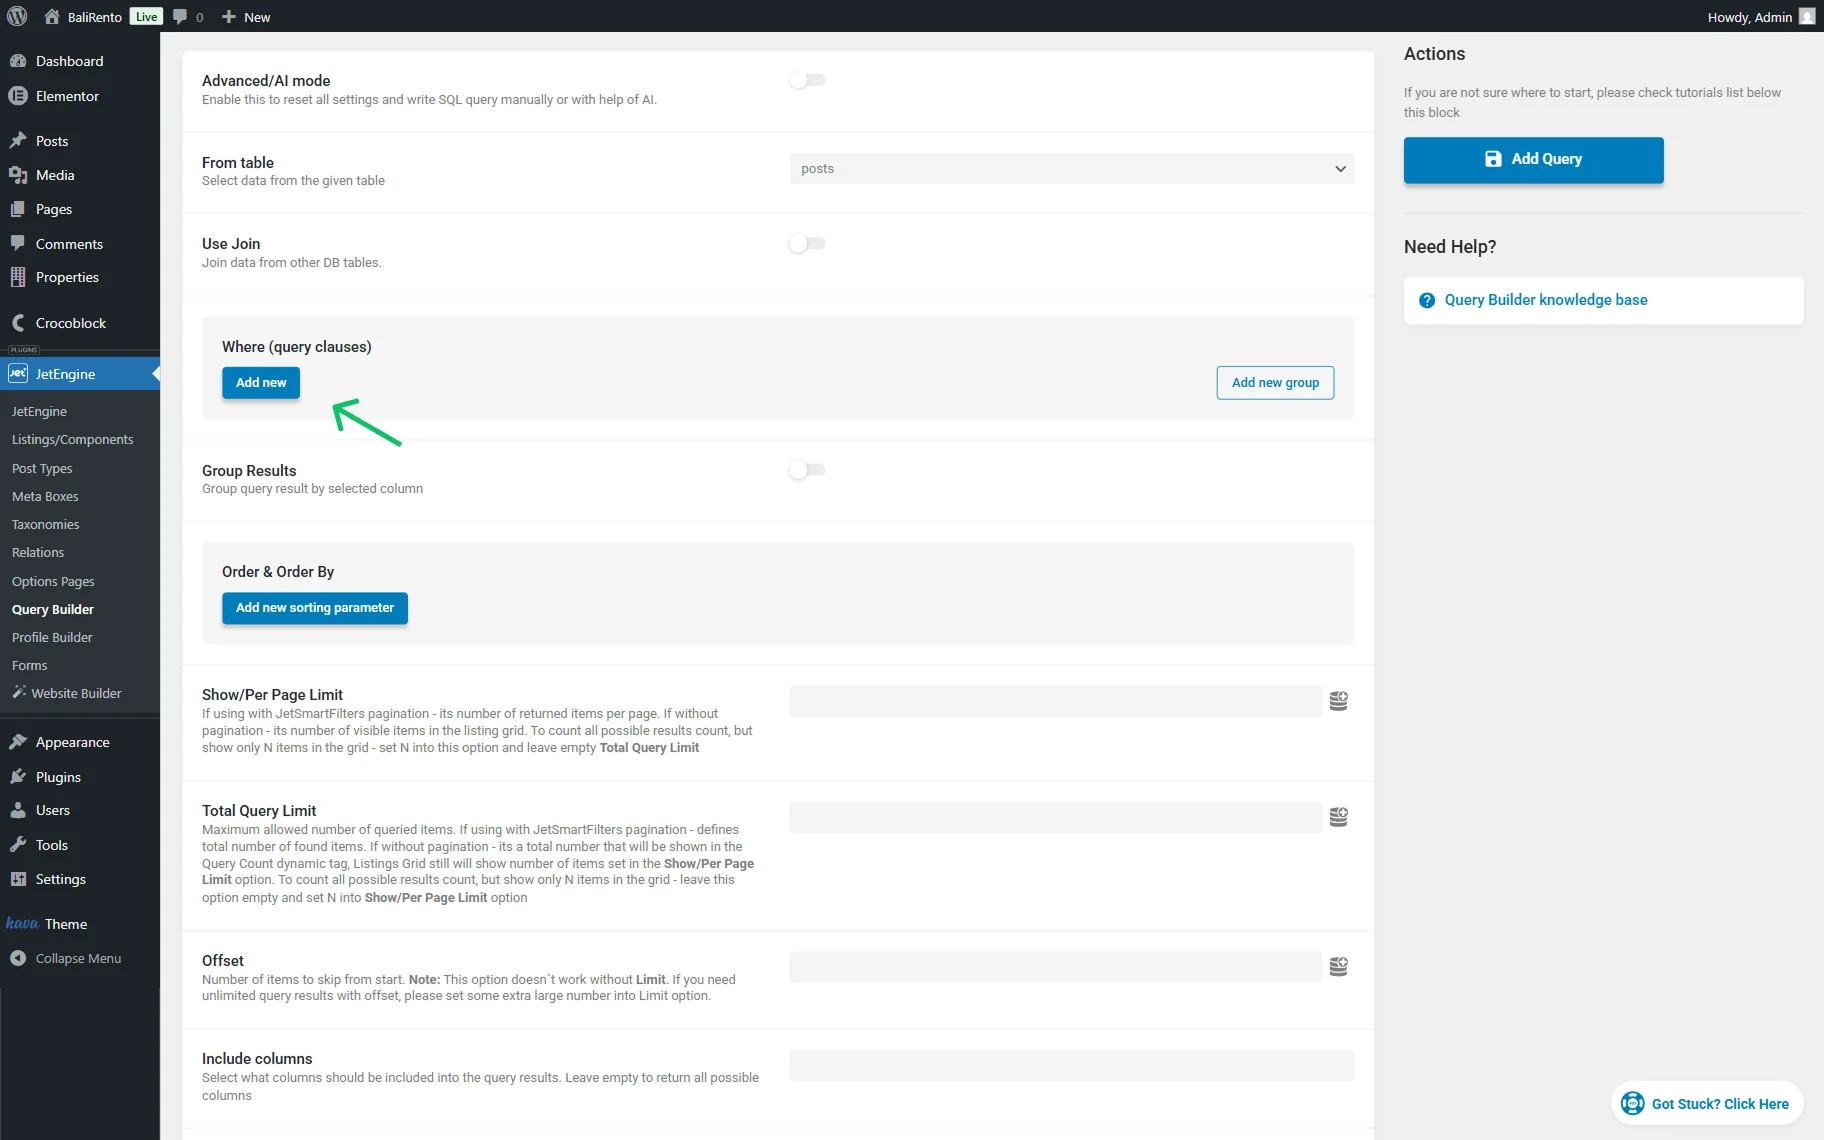
Choose the “posts” option from the From table selector. Since the Listing Grid works with WordPress posts, selecting the “posts” table allows JetEngine to retrieve standard post objects.
In the Where (query clauses) section, press the “Add new” button to add a new clause.
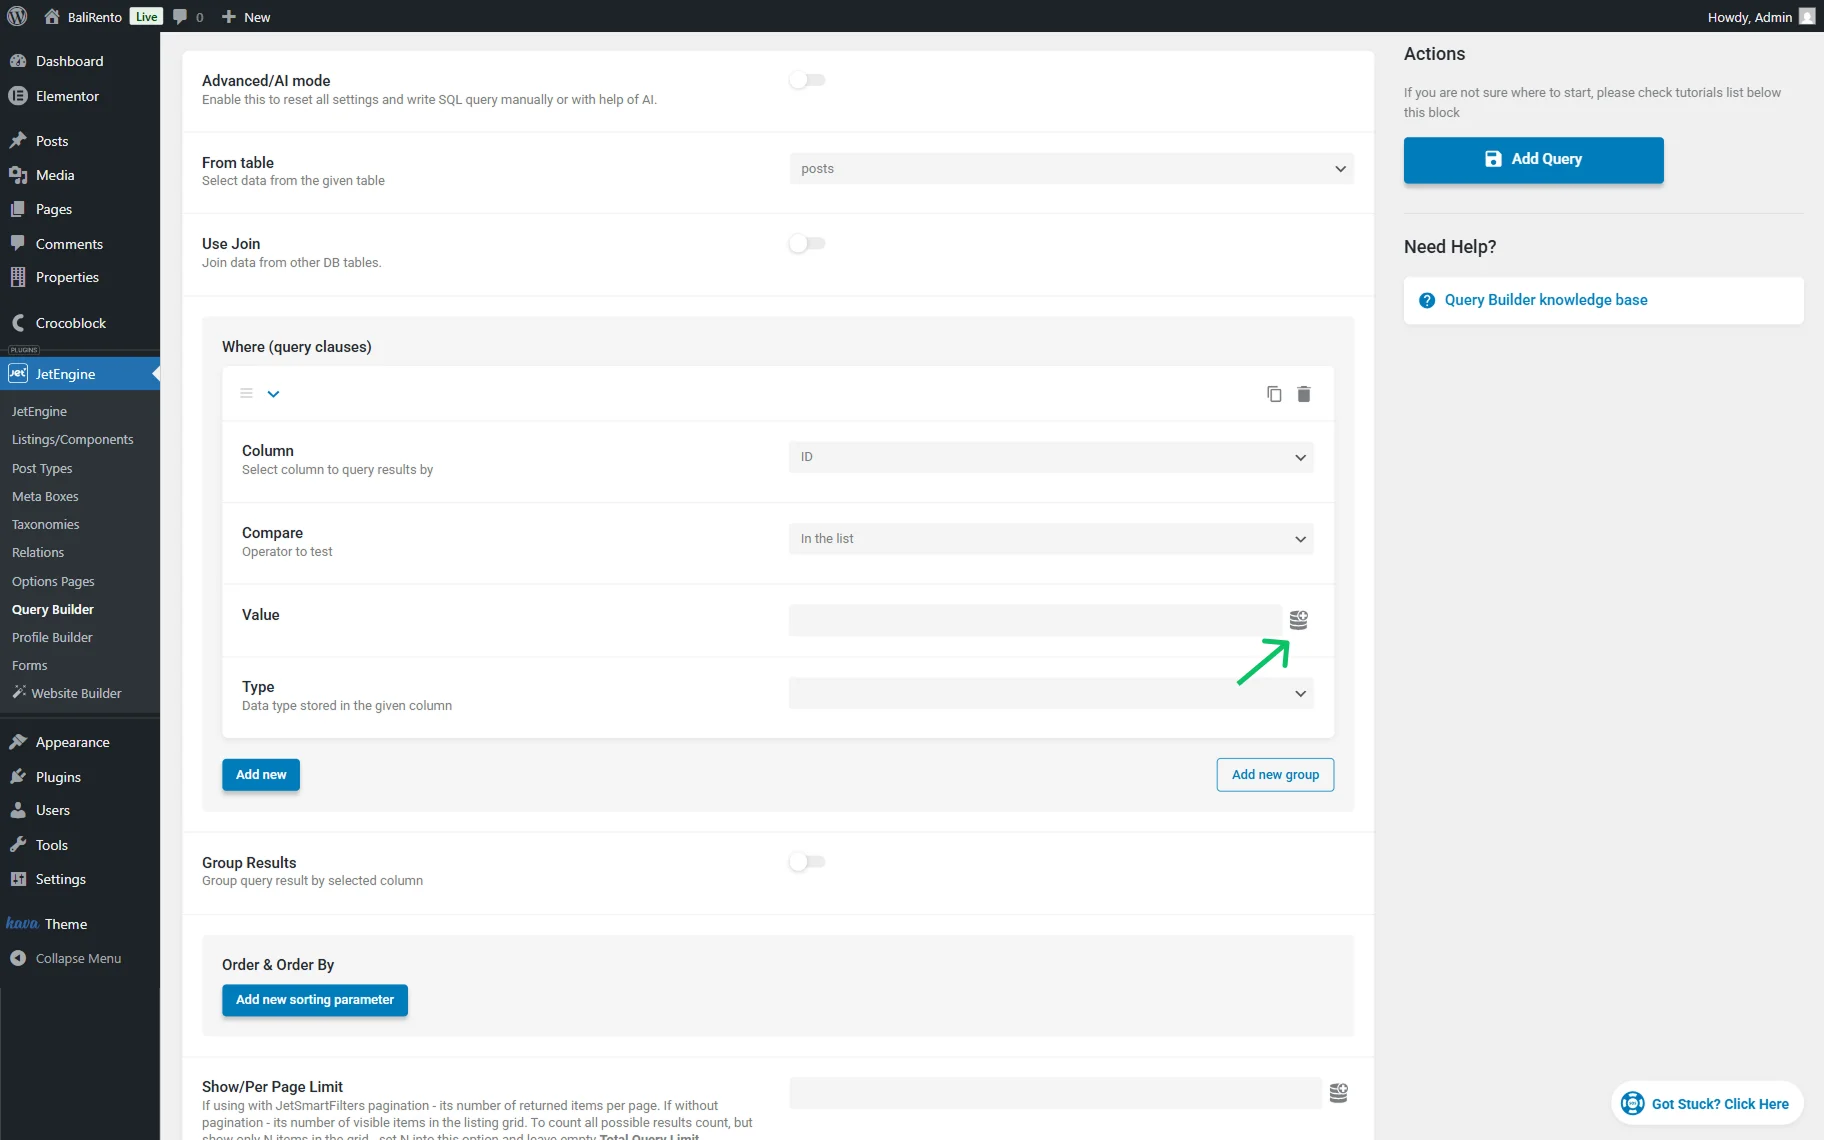
In the Column dropdown, pick the “ID” option.
Set the Compare operator to “In the list.”
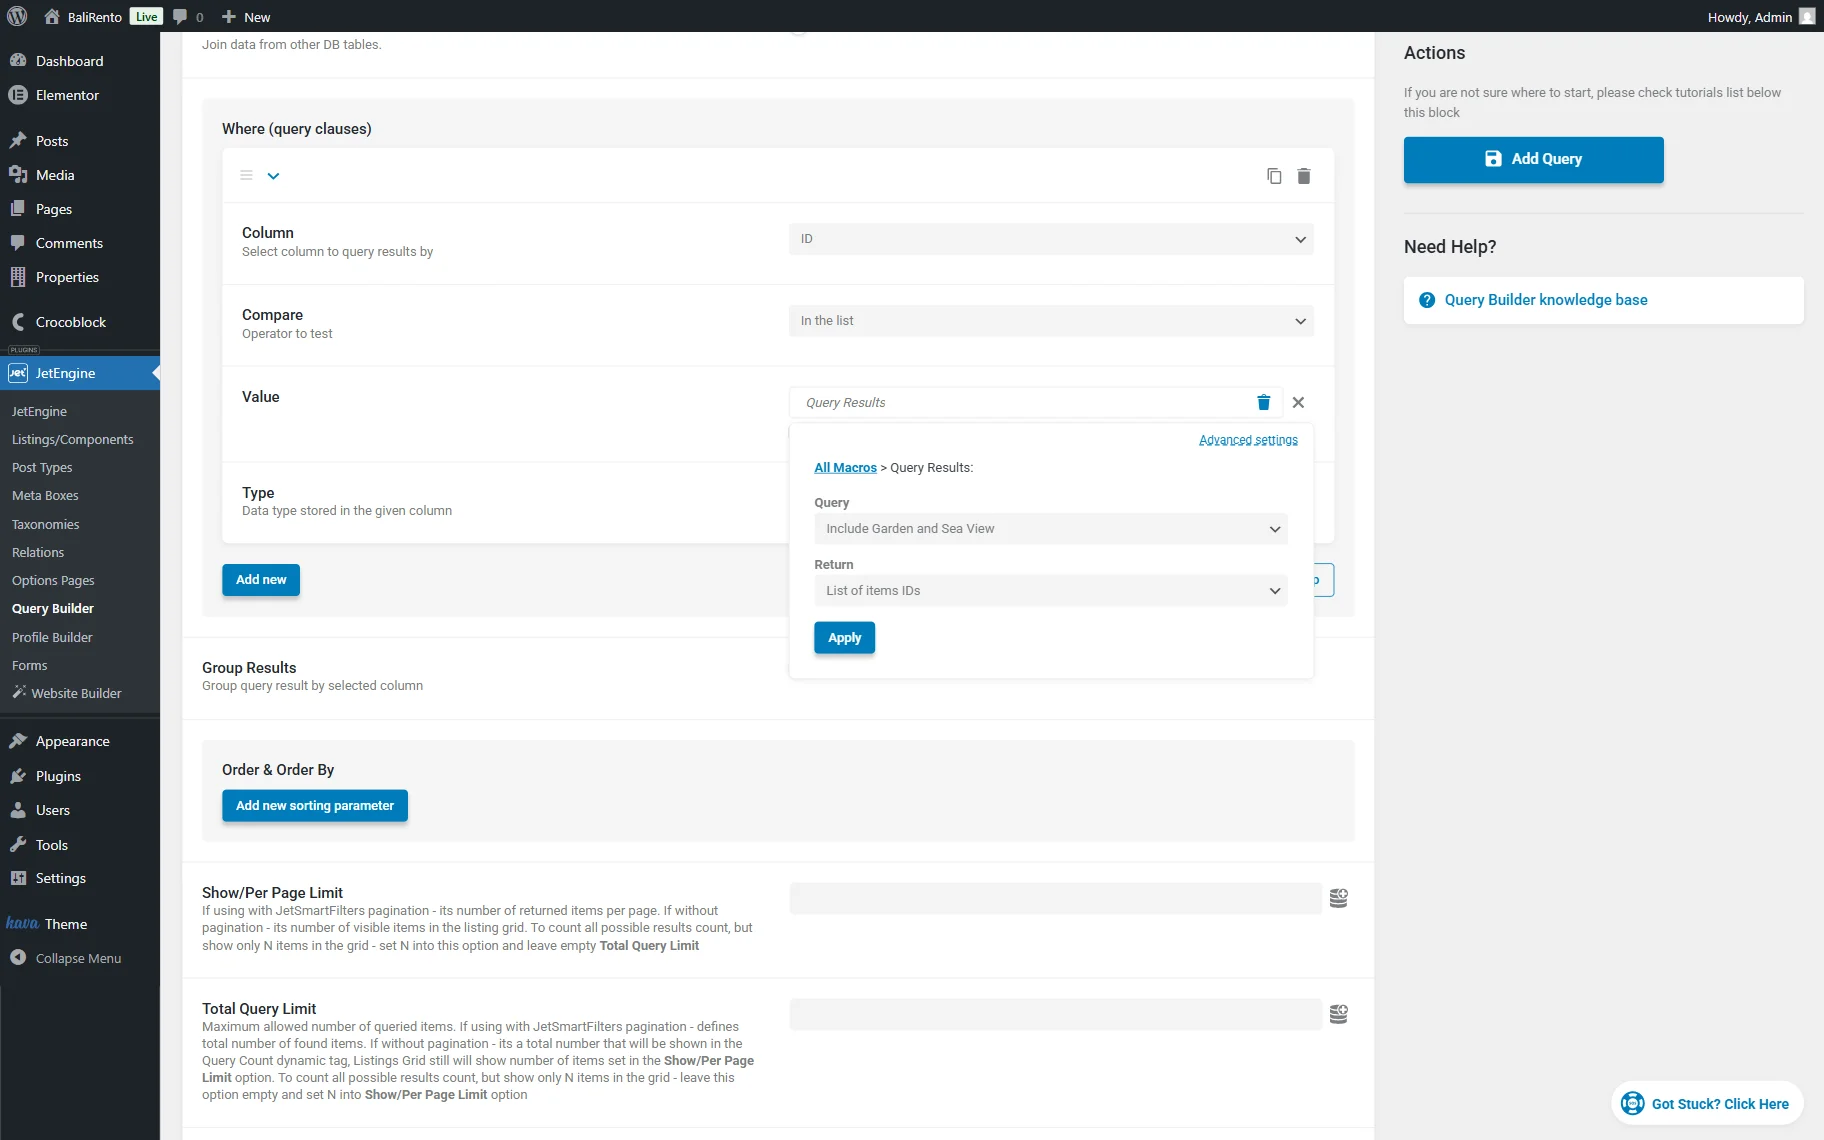
Next, press the “Dynamic tag” button next to the Value field.
Find the “Query Results” option and click it to open its settings. This dynamic tag lets you reuse the results of another query within the current SQL query.
Pick the first query you’ve built in the Query field and select the “List of items IDs” option in the Return field.
Don’t forget to click the “Apply” button to save the changes.
Now, we need to add another clause. So, push the “Add new” button to open the new clause settings.
In the Column field, pick the “ID” option and set the Compare operator to “In the list.”
Press the “Dynamic tag” button next to the Value field and find the “Query Results” option.
Click it to open its settings. Select the Query that excludes items and pick the “List of items IDs” option from the Return field.
When done, press the “Apply” button.
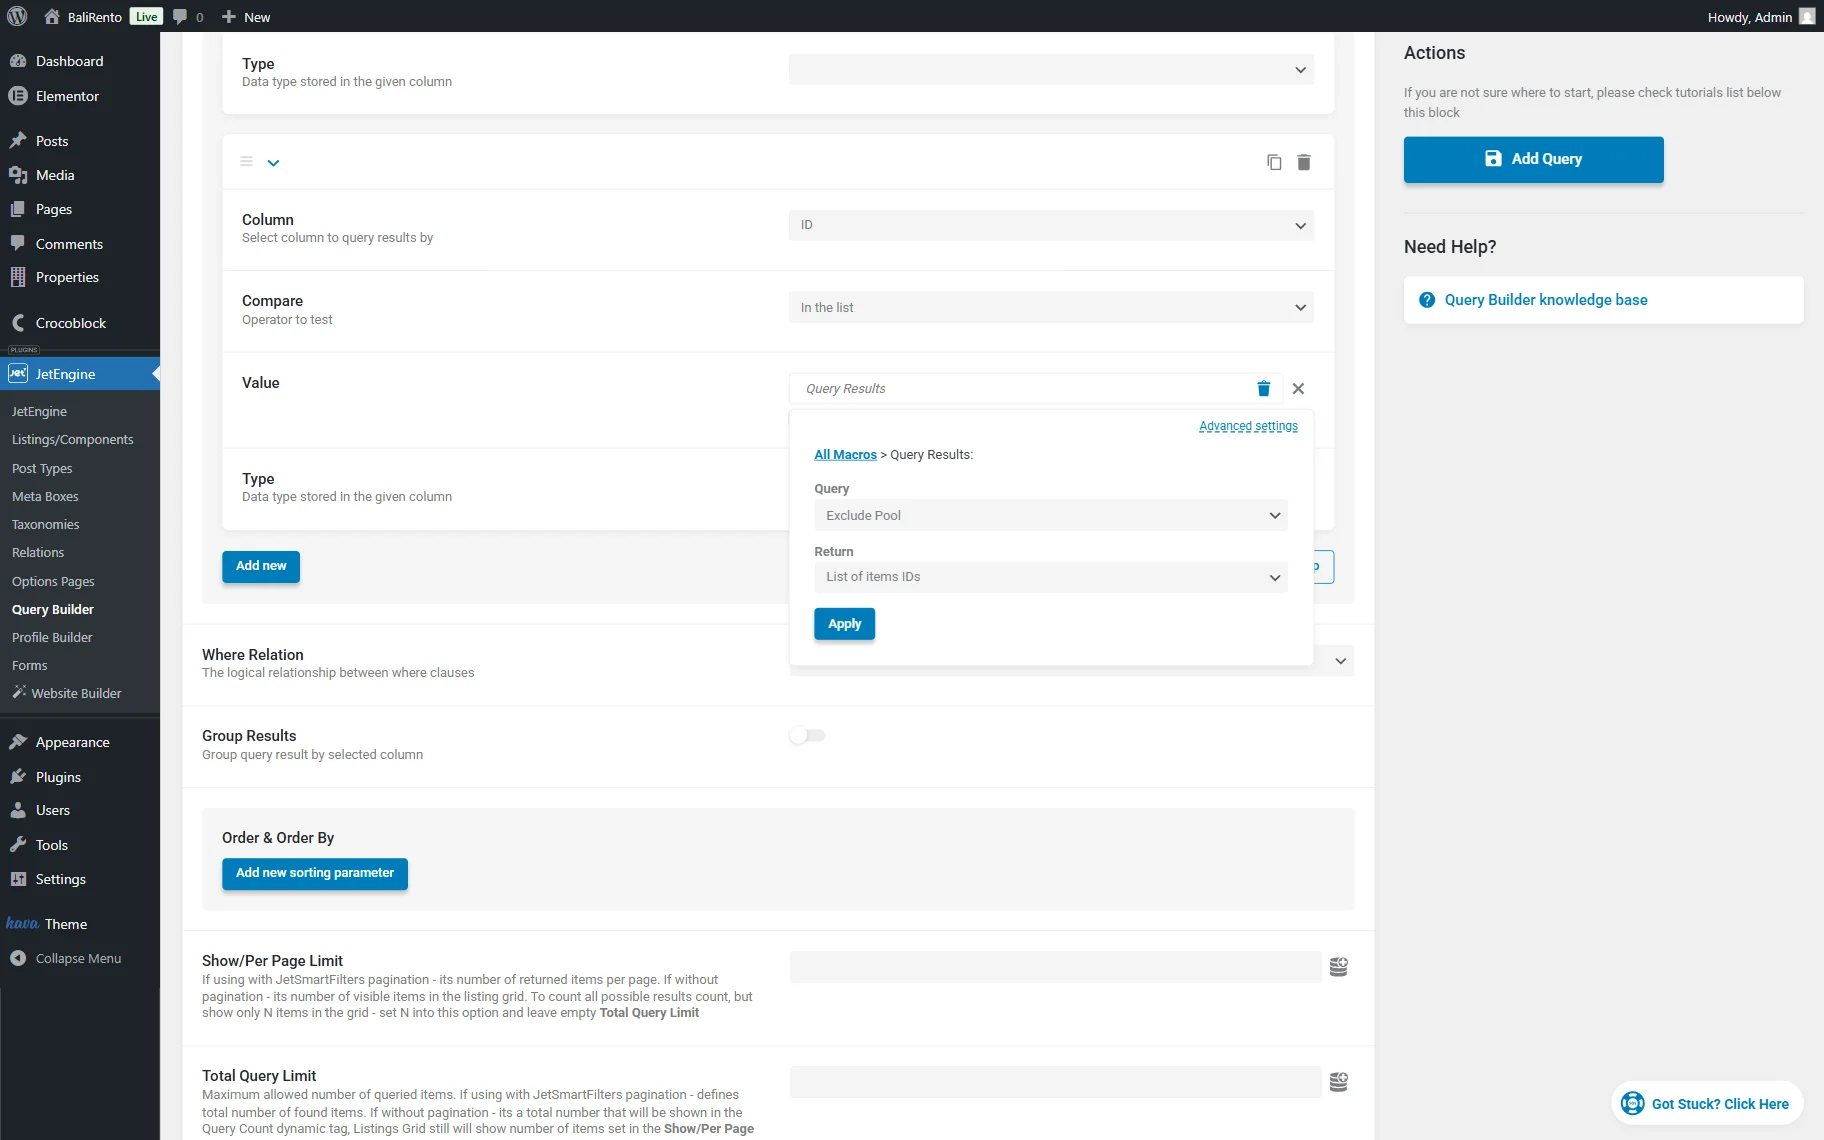
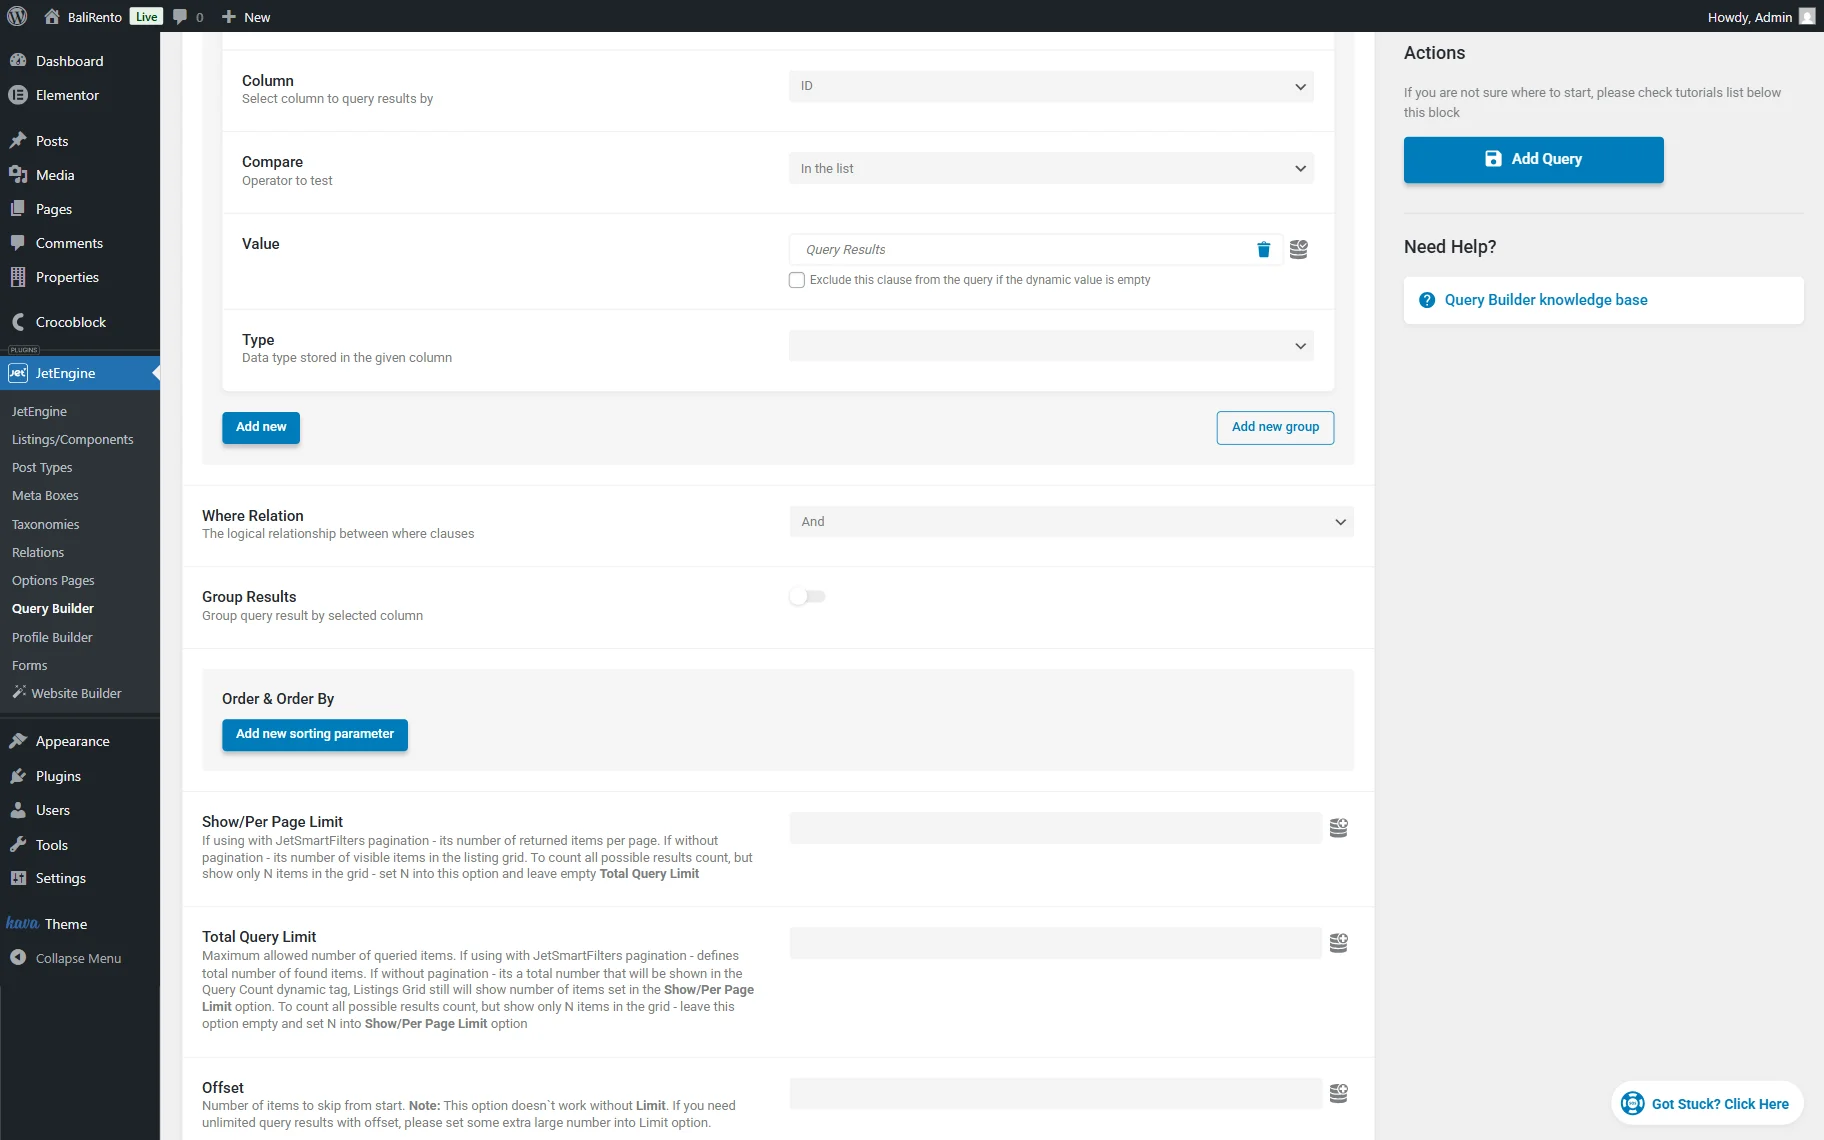
Below the Where (query clauses) section, select the “And” option in the Where Relation field. This relation ensures that both conditions are applied simultaneously.
Also, scroll down to the bottom of the settings and pick the “Post” option in the Cast result to instance of object dropdown field. It is required for the Listing Grid to recognize the results as standard posts and correctly display dynamic content such as featured images, meta fields, and checkbox values.
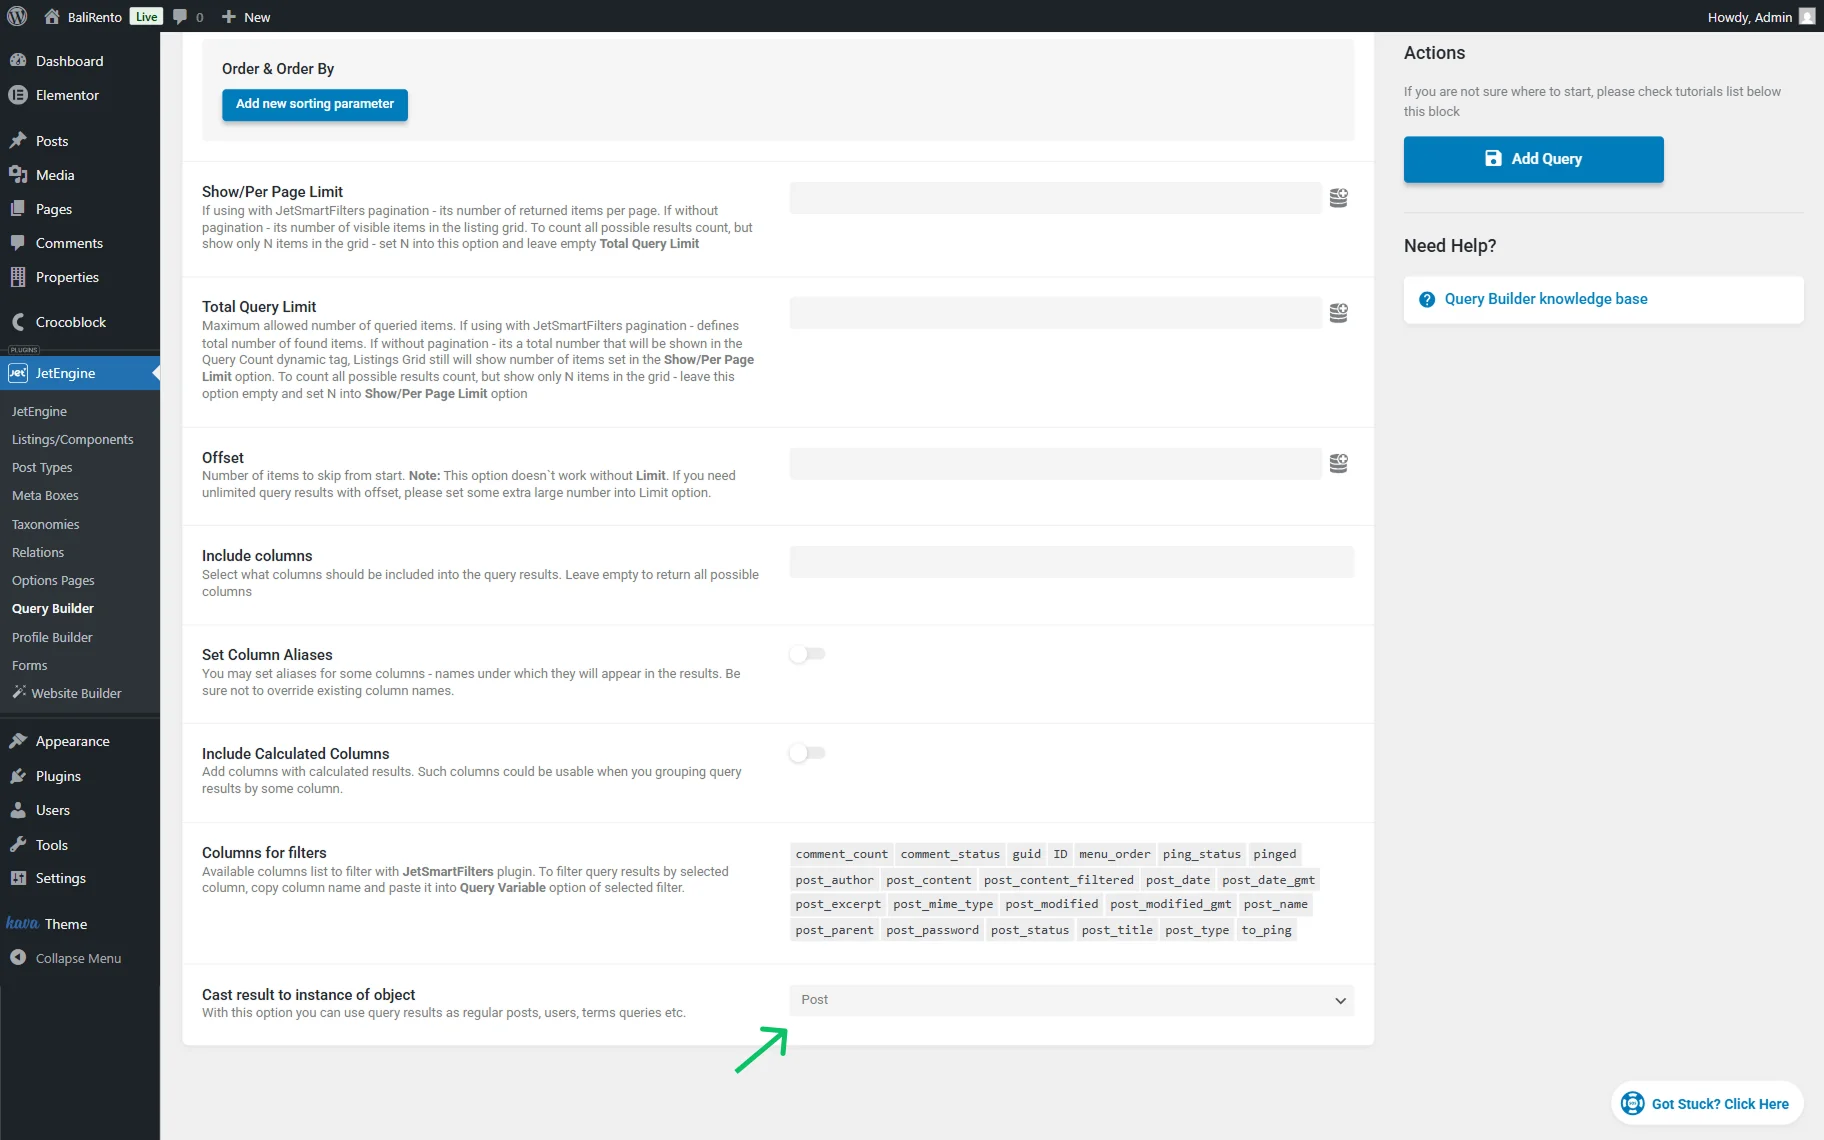
When the query is ready, press the “Add Query” button.
Edit a Page and Add a Listing to It
It’s time to add/edit the page where the Listing Grid will be placed.
Go to WordPress Dashboard > Pages > All Pages and find the page you want to edit or build a new one.
To build a new one, press the “Add Page” button. We build a page in the Elementor page builder; however, you can work in the other editor if preferred.
Find and place the Listing Grid on the page, then select the Listing you built.

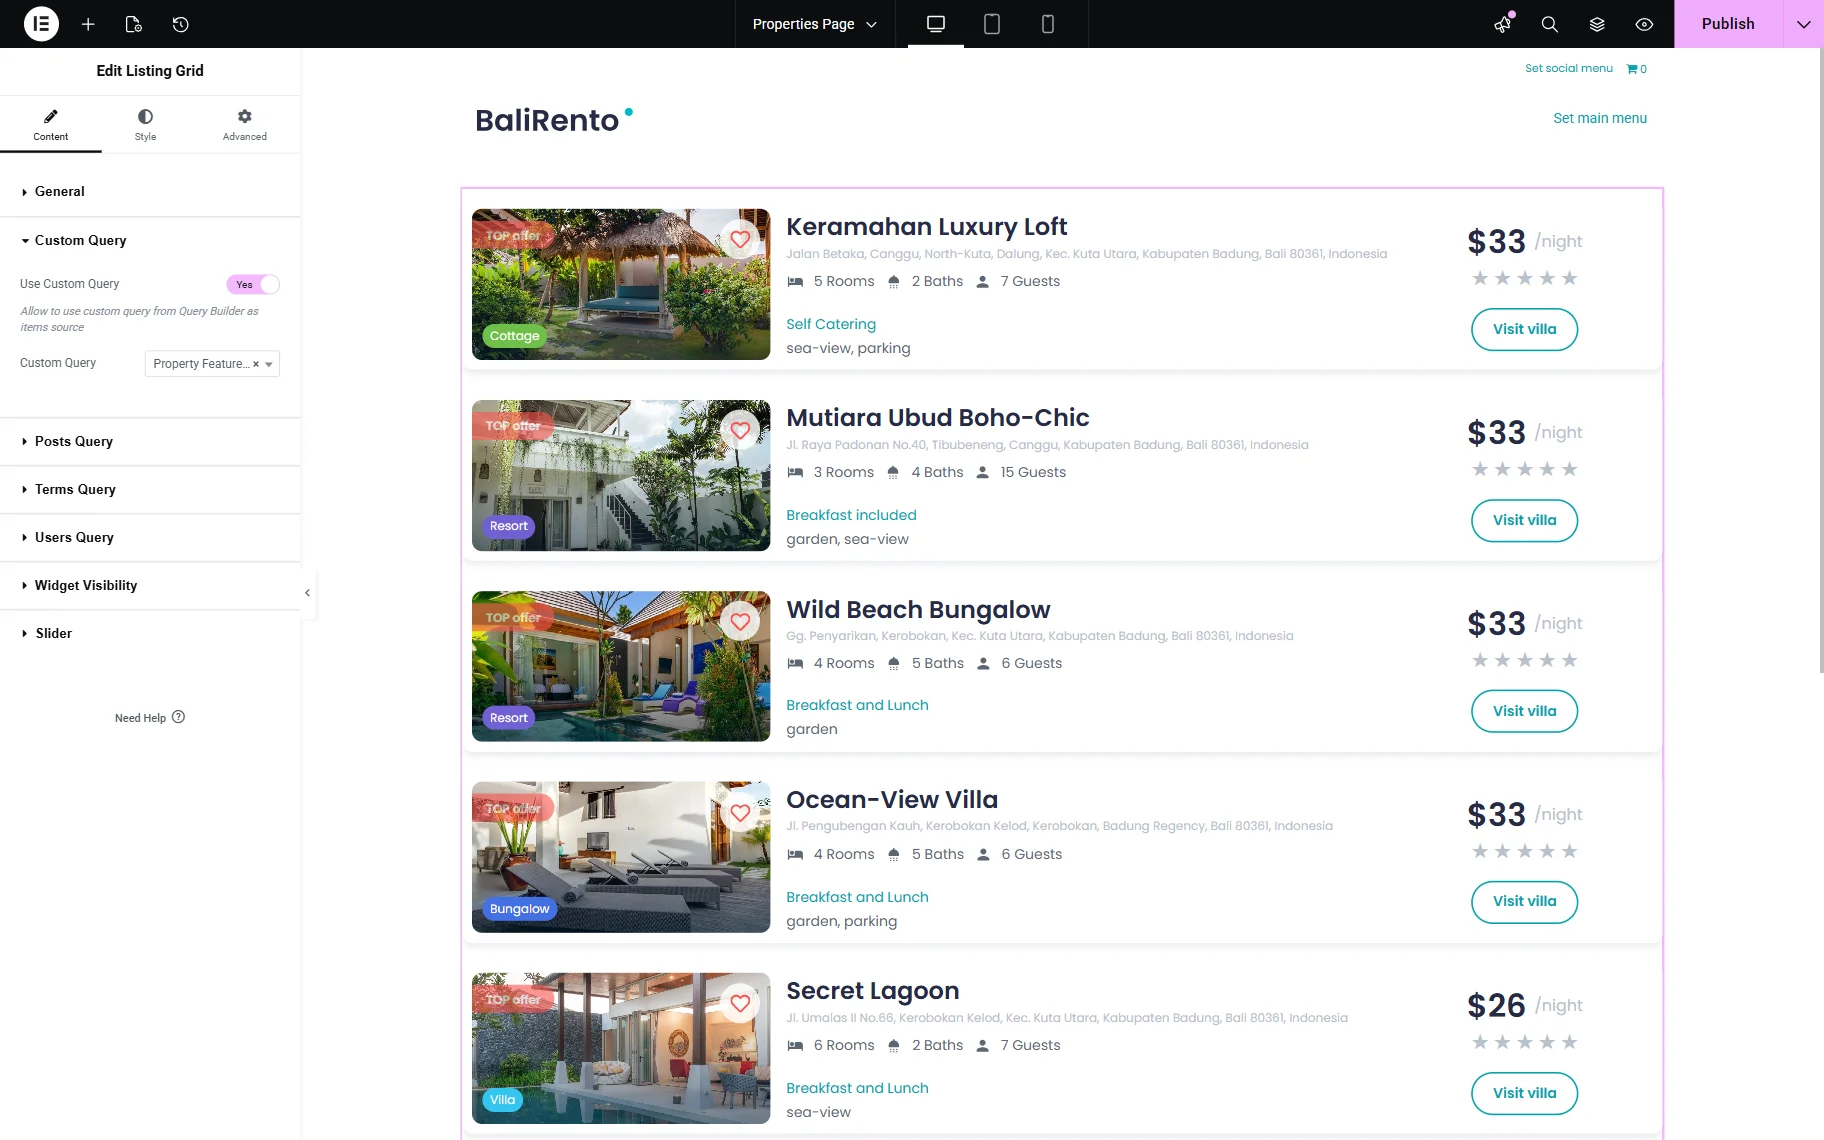
Move to the Custom Query tab and activate the Use Custom Query toggle.
In the Custom Query selector, pick the built SQL query.
Adjust and style the page, then save it.
Check the Result
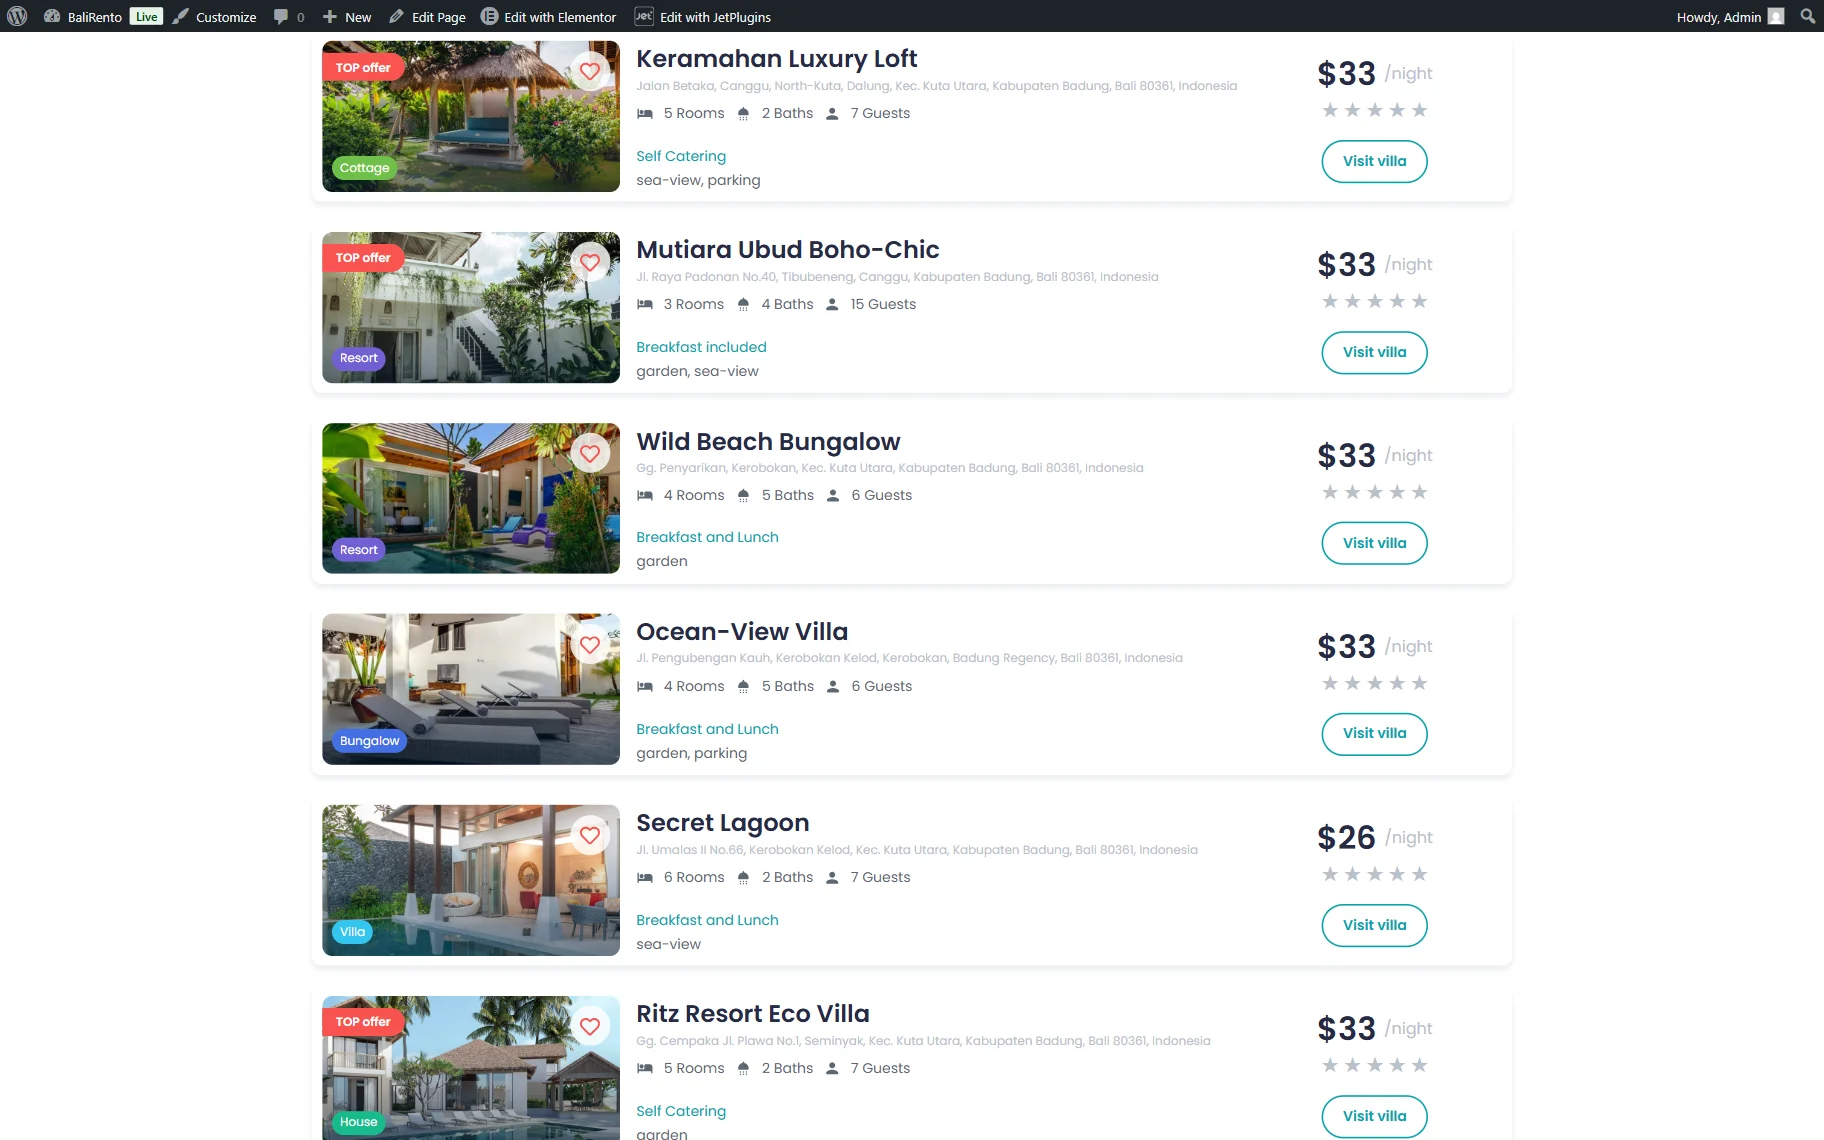
Proceed to the front end of the page you have just edited to check the result.
As you can observe, the Listing Grid now includes items with the “Garden” and “Sea View” meta field options selected, but excludes items with the “Pool” options selected.
The Listing Grid will be queried based on the meta field options you have included and excluded.
That’s all about combining “AND/OR” relational operators through SQL query by using the JetEngine plugin for WordPress websites.