Creating a Filter to Display All and Latest Posts from the Last Two Weeks
This tutorial explains how to use the “JetEngine Query Builder Switcher” Data Source to create a JetSmartFilters filter to display all and the latest posts from the last two weeks.
Before you start, check the tutorial requirements:
- Elementor (Free version), Block editor (Gutenberg), or Bricks
- JetSmartFilters plugin installed and activated
- JetEngine plugin installed and activated
The “JetEngine Query Builder Switcher” Data Source type enables the switching of JetEngine custom queries directly from the front end.
This source is available in the “Select” and “Radio” filters’ settings and requires the JetEngine plugin of 3.2.0 version and higher to be activated.
In this tutorial’s use case, the goal is to display a list of posts on a page. When a filter is applied, only the most recent posts—created within the last two weeks—should be shown.
Create Two Posts Queries
For our purpose, two “Posts Queries” should be created.
Go to WordPress Dashboard > JetEngine > Query Builder and press the “Add New” button.
The first “Posts Query” will list all posts, so we name it “All Posts.”
In each custom query, a Query ID should be defined, and it should be the same in both queries.
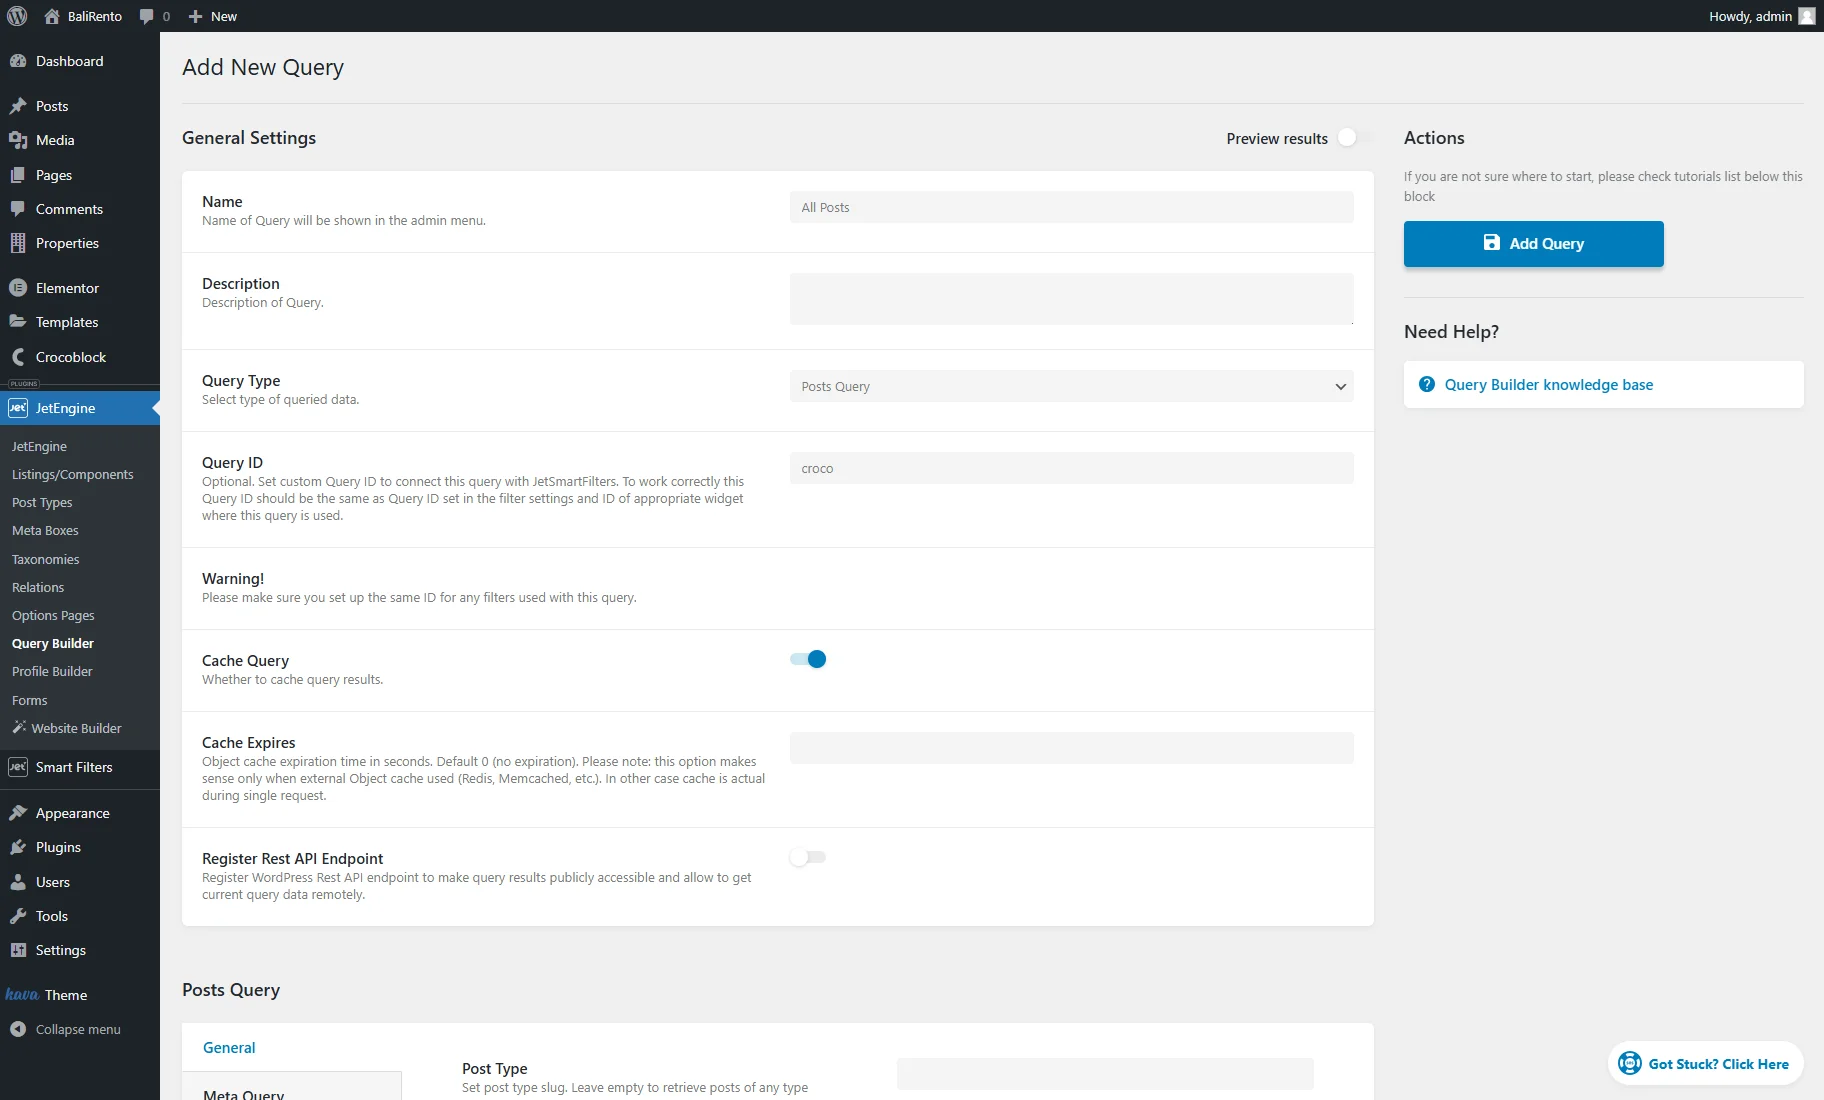
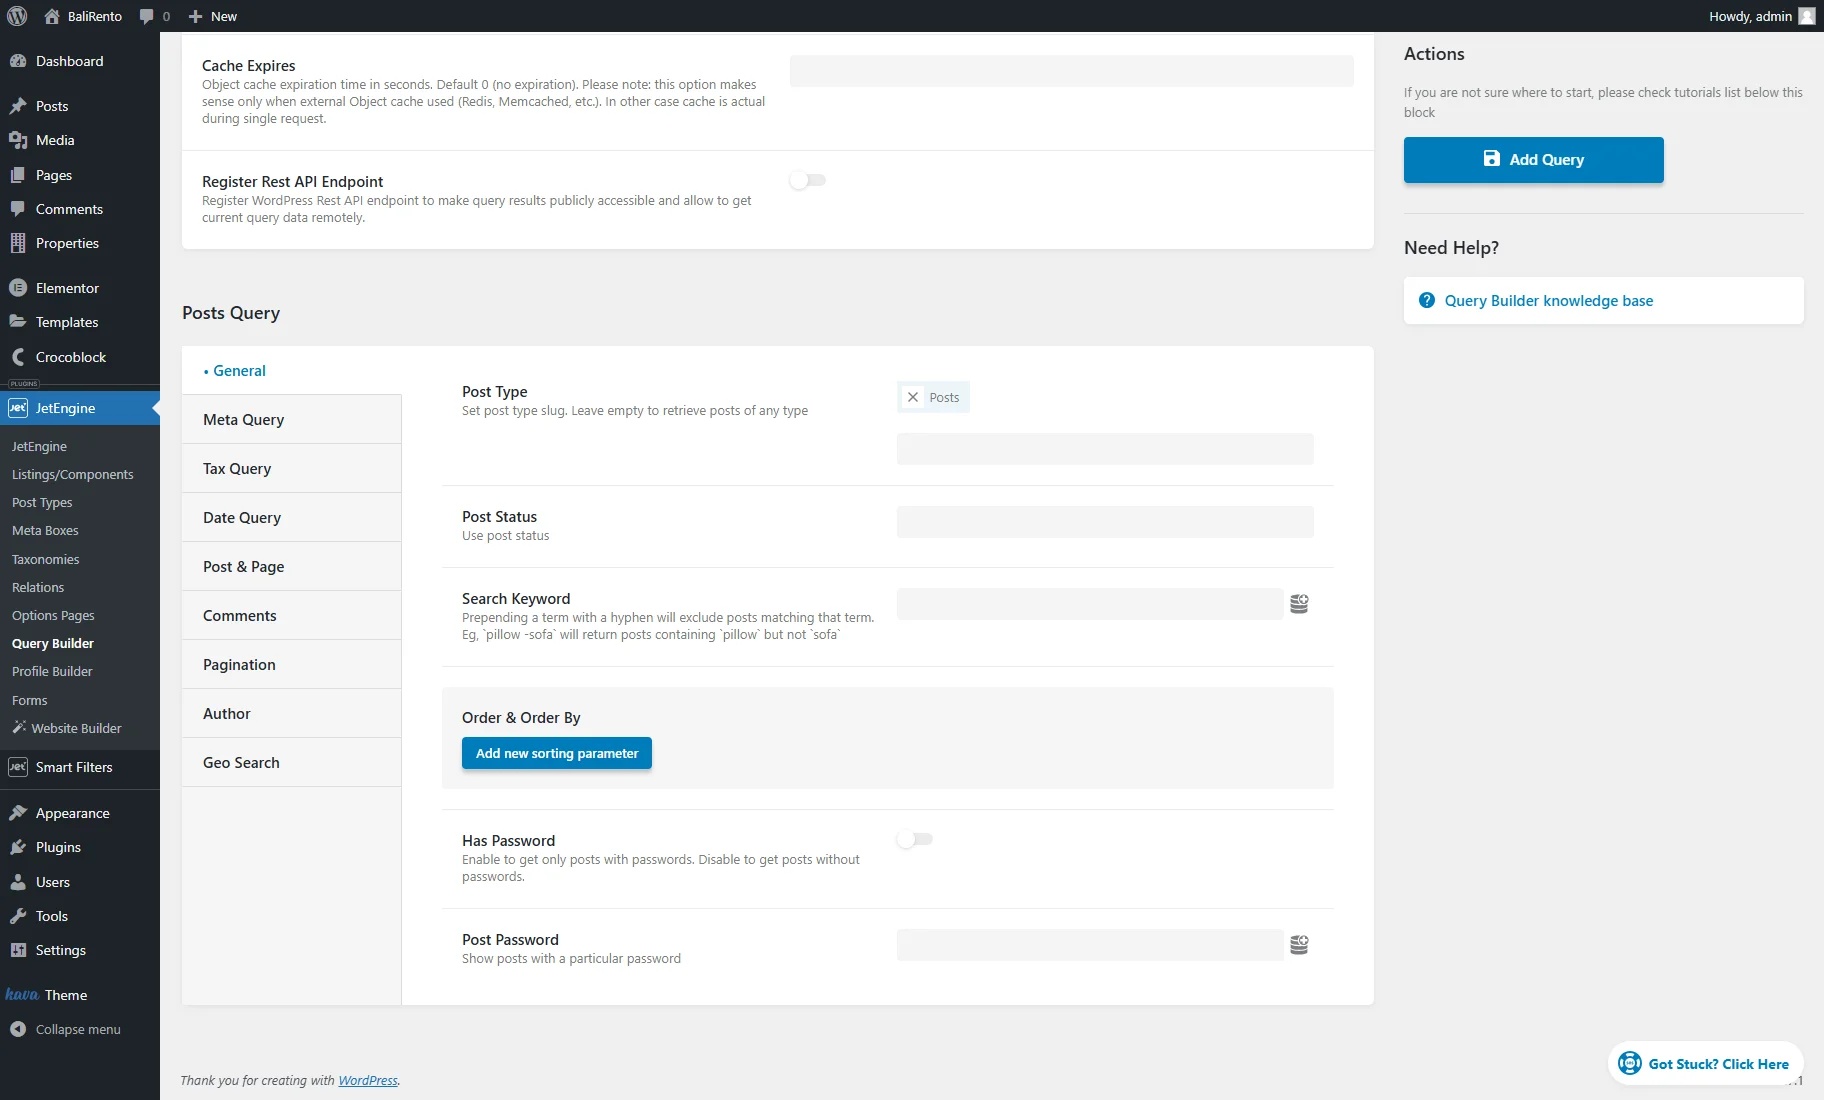
In the Posts Query section, General tab, specify the Post Type if needed. It can be one or several; for our case, we set “Posts.”
For the first query, that’s all for the customization, so press the “Add Query” button.
Return to the WordPress Dashboard > JetEngine > Query Builder tab and push the “Add New” button again.
The second “Posts Query” will list only posts created in the last two weeks, so it’s named “Latest posts.”
Set the same Query ID as for the first query.

Scroll down to the Posts Query section, and, in the General tab, set the same Post Type as for the first query.

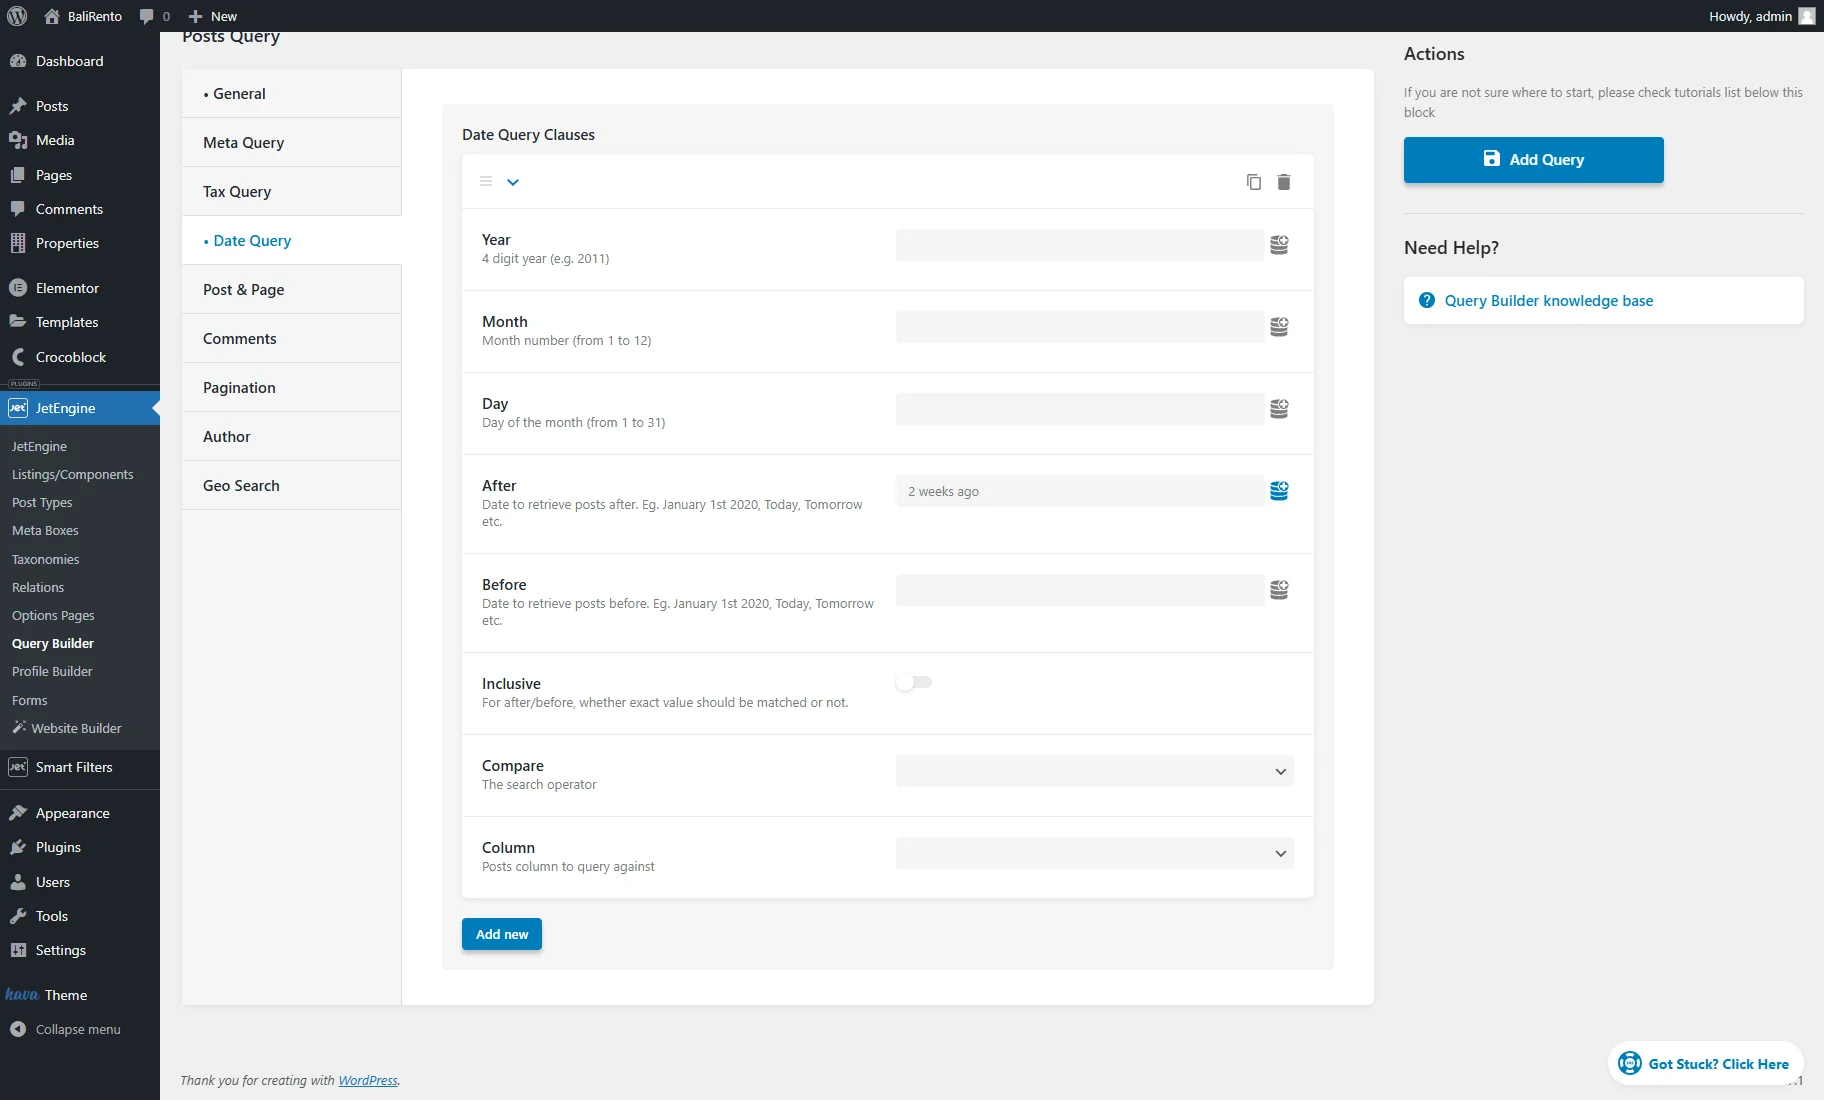
Then, open the Date Query tab and hit the “Add new” button. Into the After field, enter “2 weeks ago”.
After that, you can click the “Add Query” button to save the settings.
Create a Filter
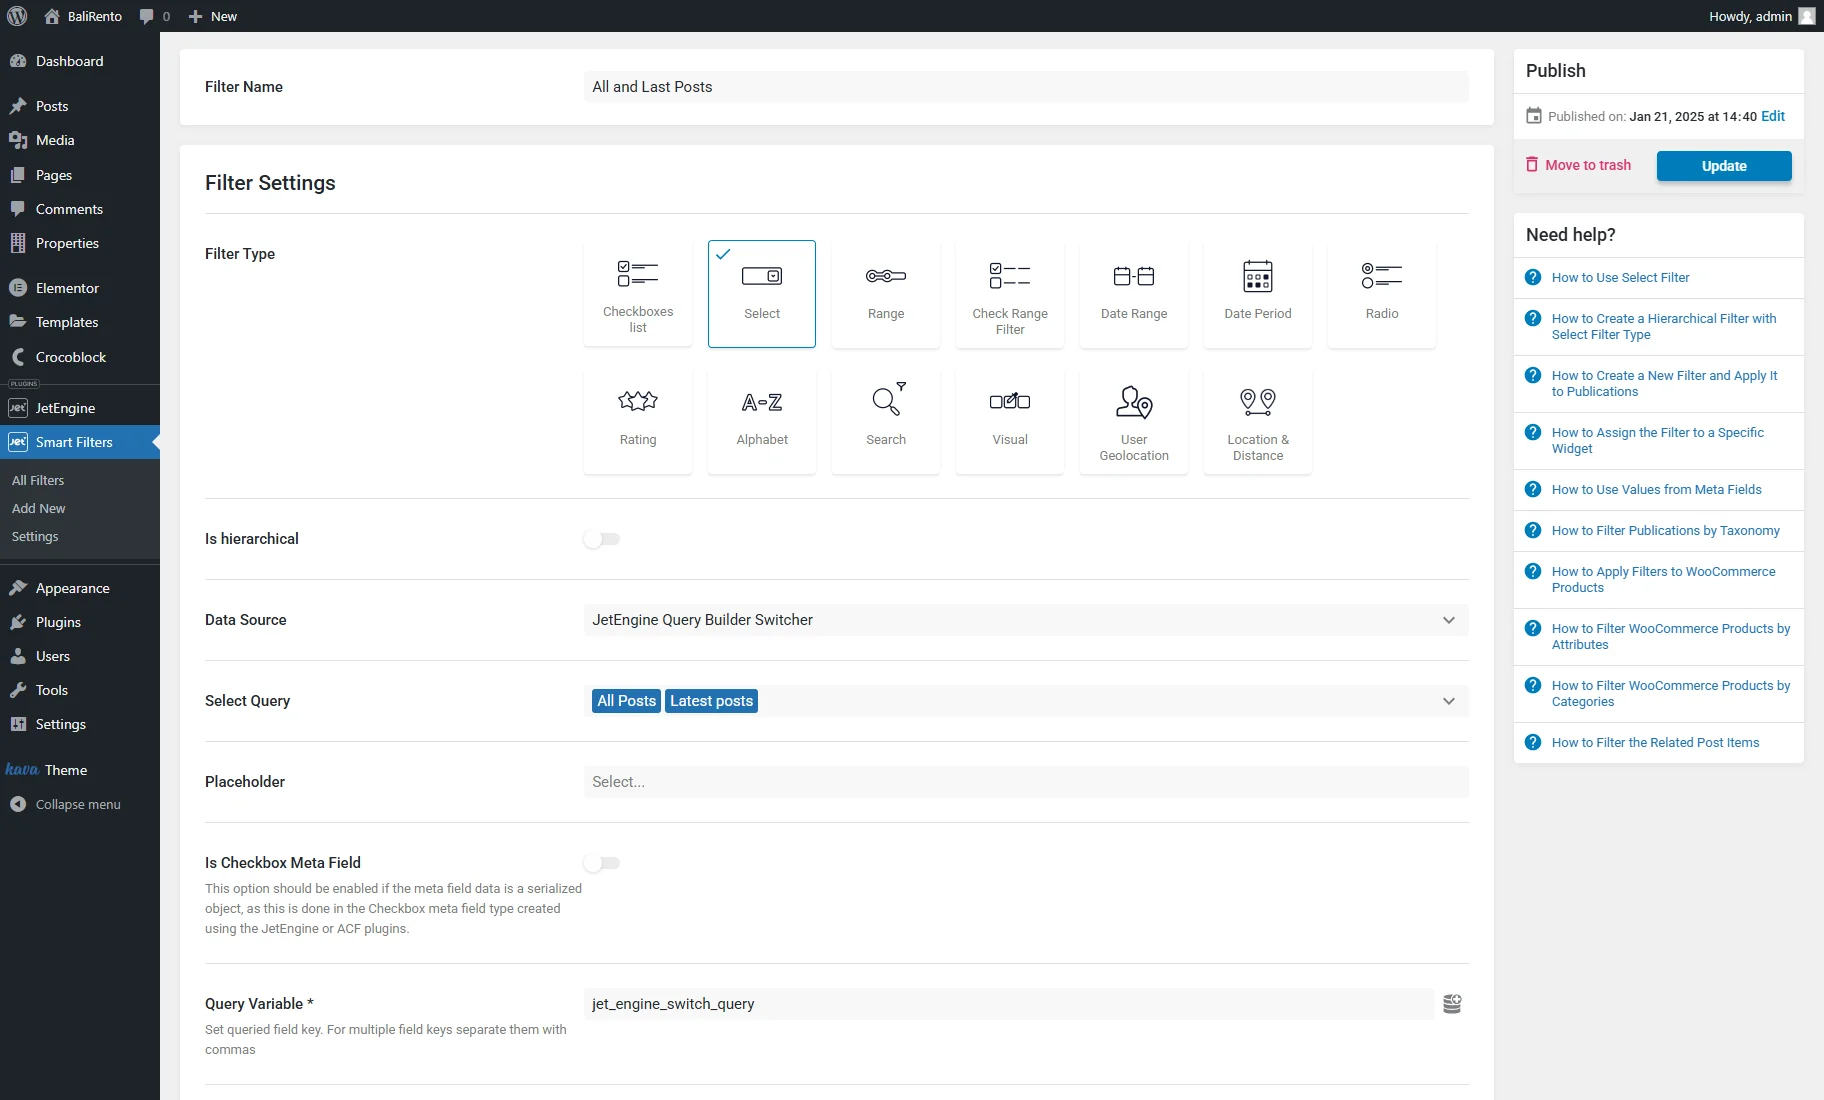
Once the queries are created, head to WordPress Dashboard > Smart Filters > Add New. Enter the Filter Name and pick the Filter Type (“Select” in this case).
Choose the “JetEngine Query Builder Switcher” Data Source. In the Select Query dropdown, set the two just-created queries.
Click the “database” icon next to the Query Variable field and pick the “Switch JetEngine query” option.
Adjust other filter settings if required and push the “Update” button.
Place the Filter and Its Provider on a Page
Now, it is time to display the items on the website. It can be done with a Listing Grid widget/block/element so that a Listing Template should be built beforehand. You can check other filter providers to select the most suitable one.
The Listing Grid and Select Filter should be placed on the needed page or template in the Elementor, WordPress block, or Bricks editor. In the Listing Grid settings, pick the created Listing.
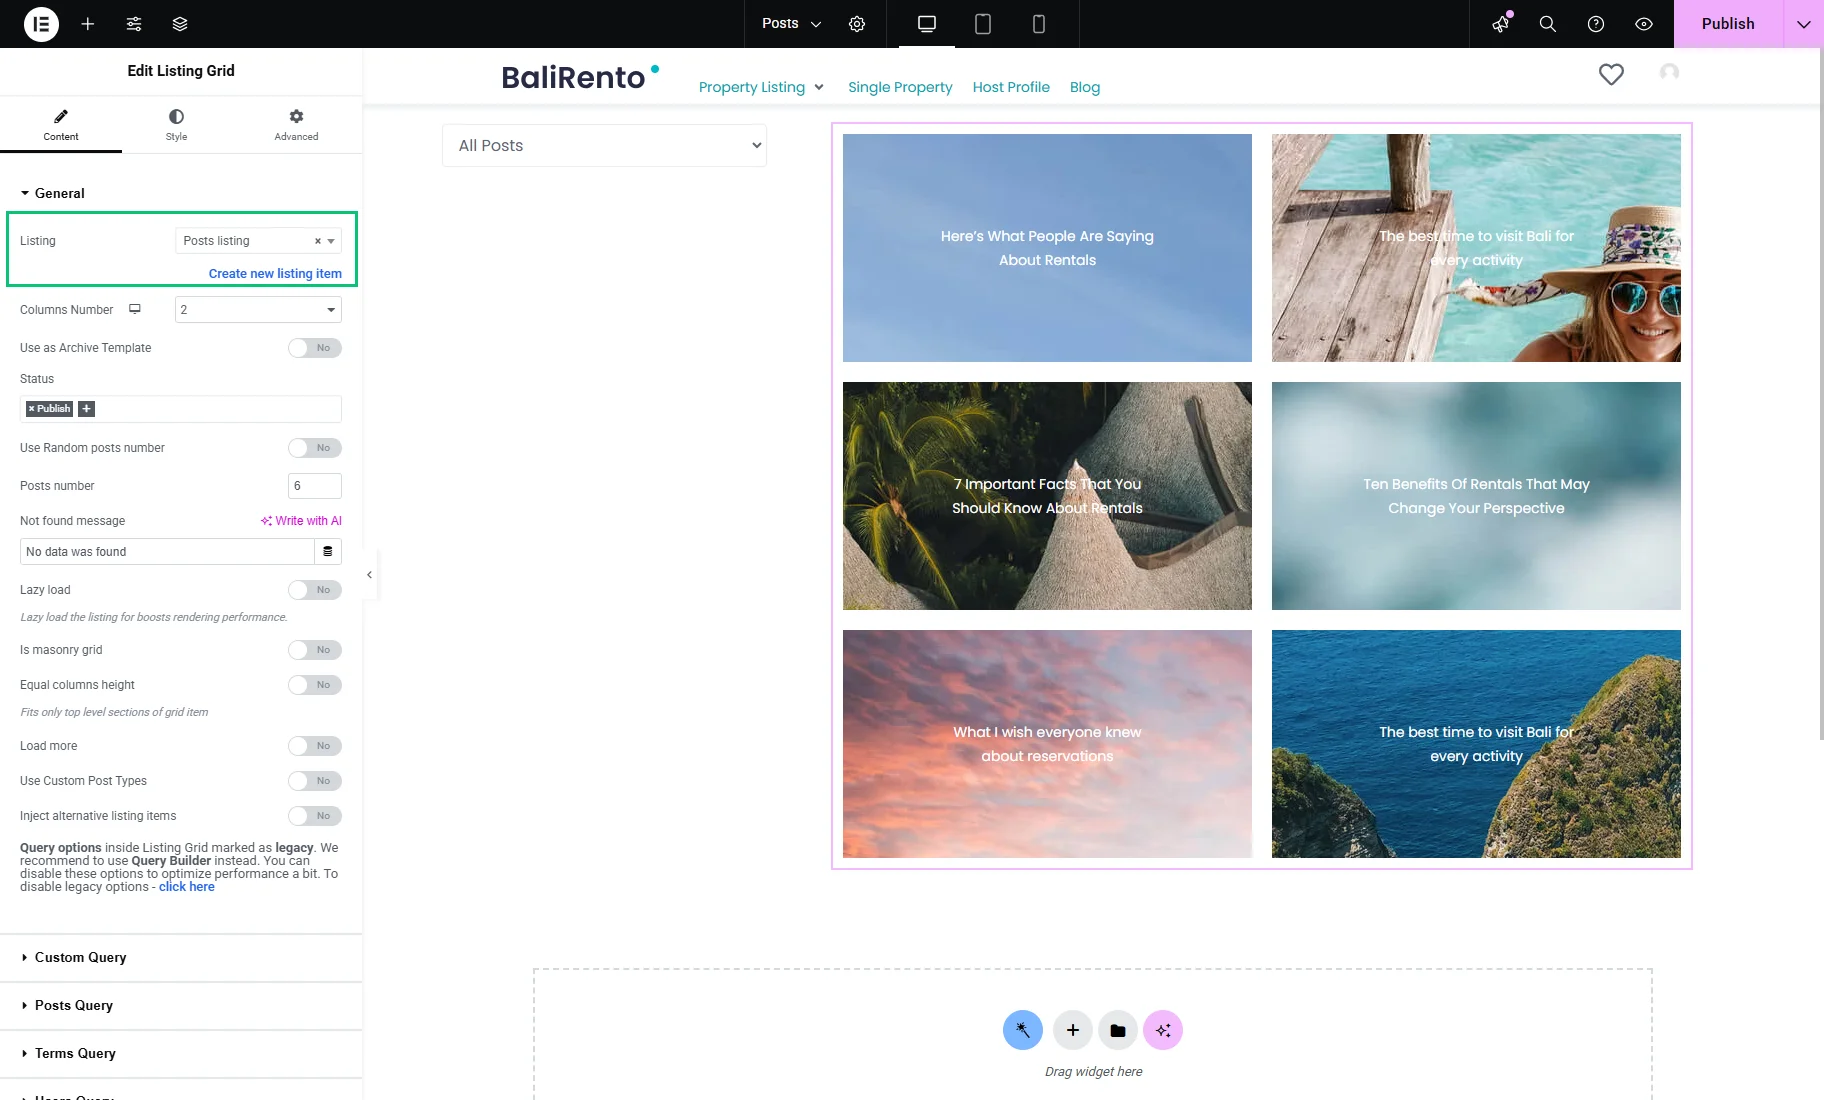
Unroll the Custom Query tab of the Listing Grid, activate the Use Custom Query toggle, and set the “All Posts” Custom Query. In this way, the listing will initially display all posts.

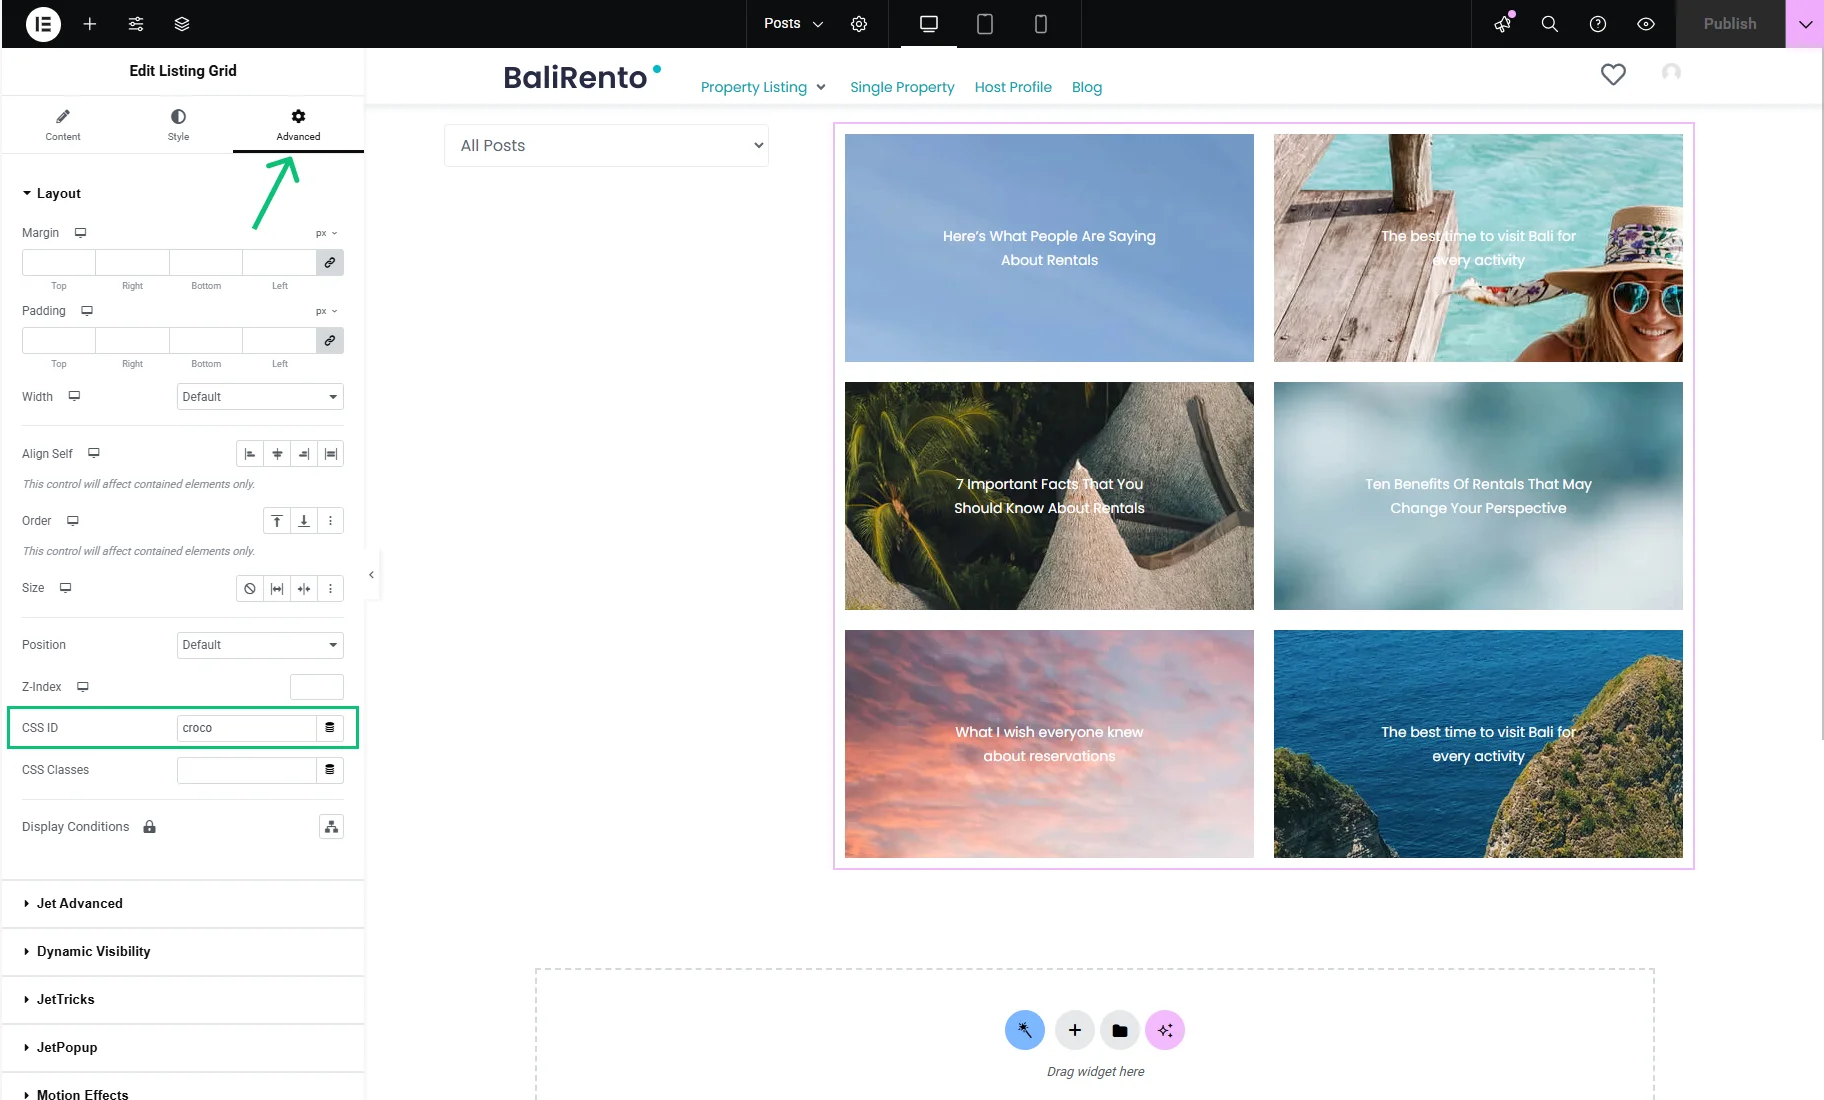
Also, the Query ID from the custom queries settings should be copied and pasted into the CSS ID field of the Advanced tab of the Listing Grid settings.
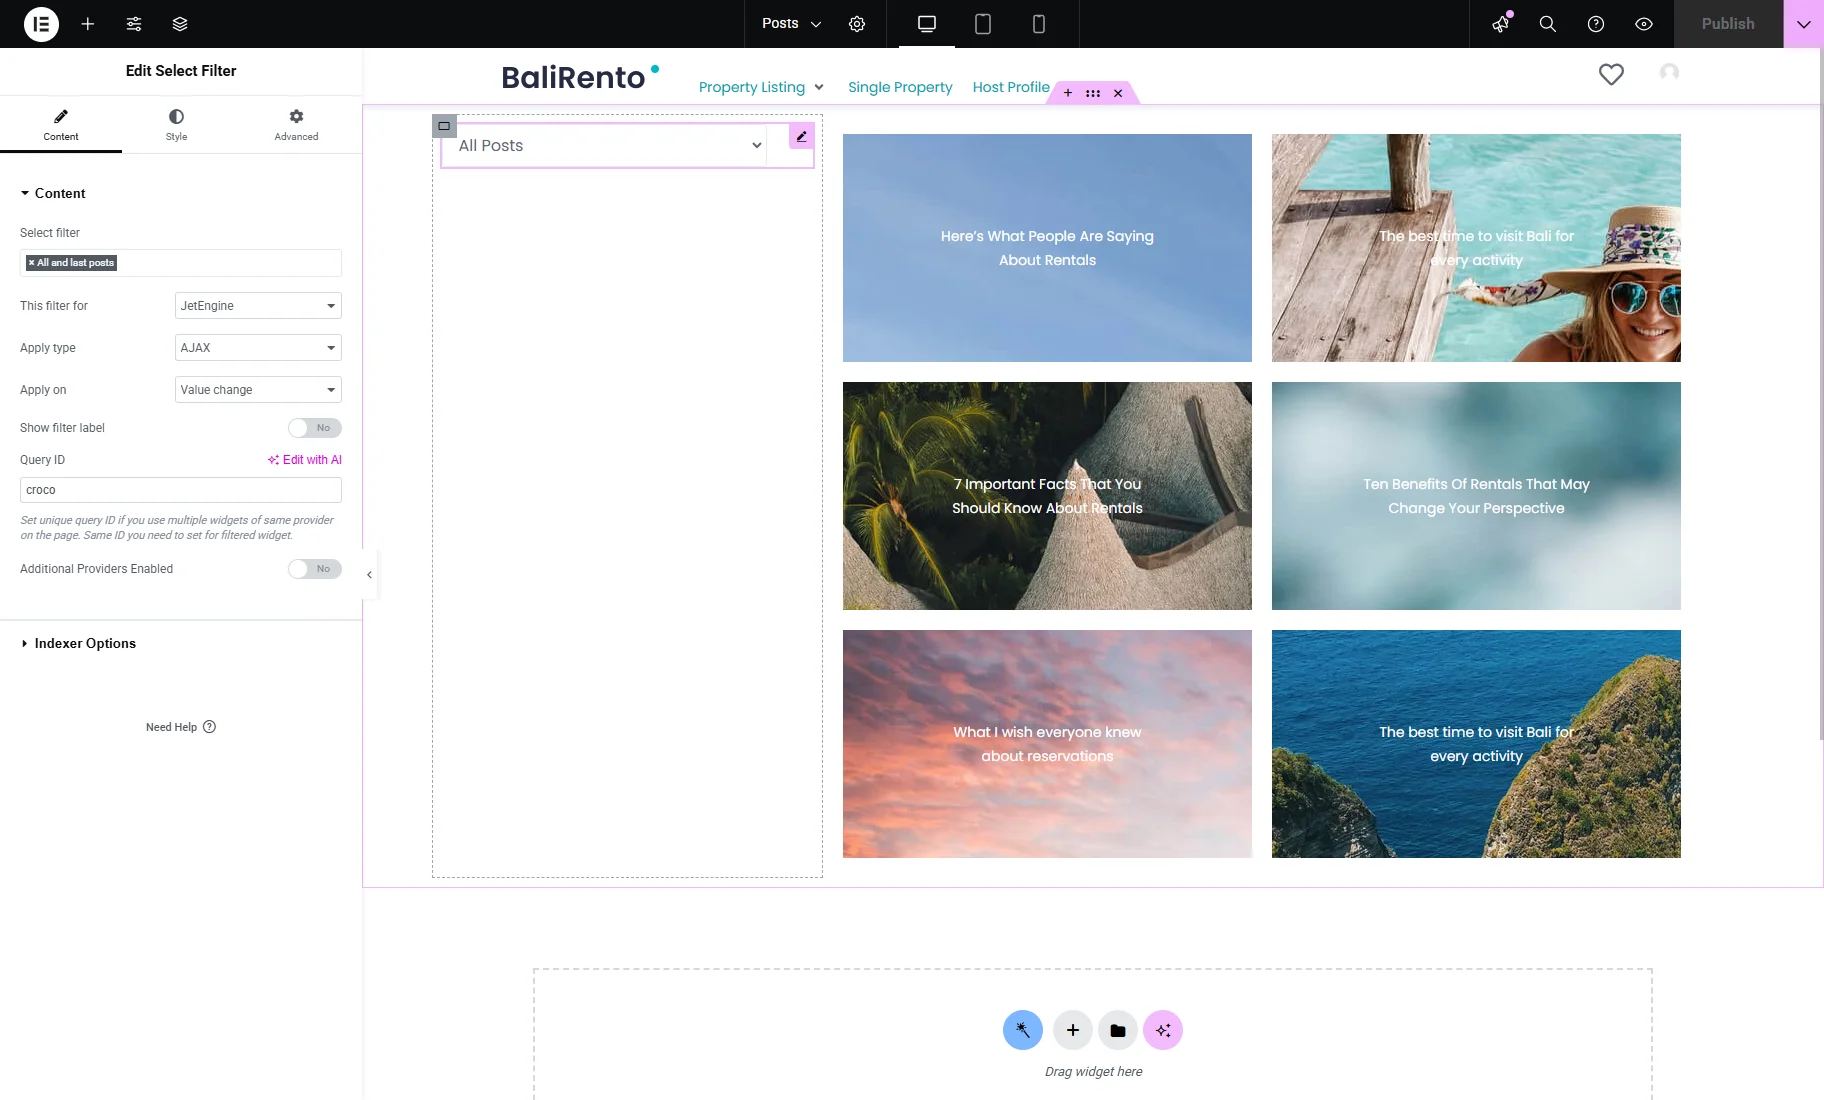
In the Select Filter settings, the created filter should be picked, the This filter for set to “JetEngine” (because the “JetEngine” provider stands for the Listing Grid),and the Query ID pasted.
Customize the page or template as needed and save it.
Check the Result
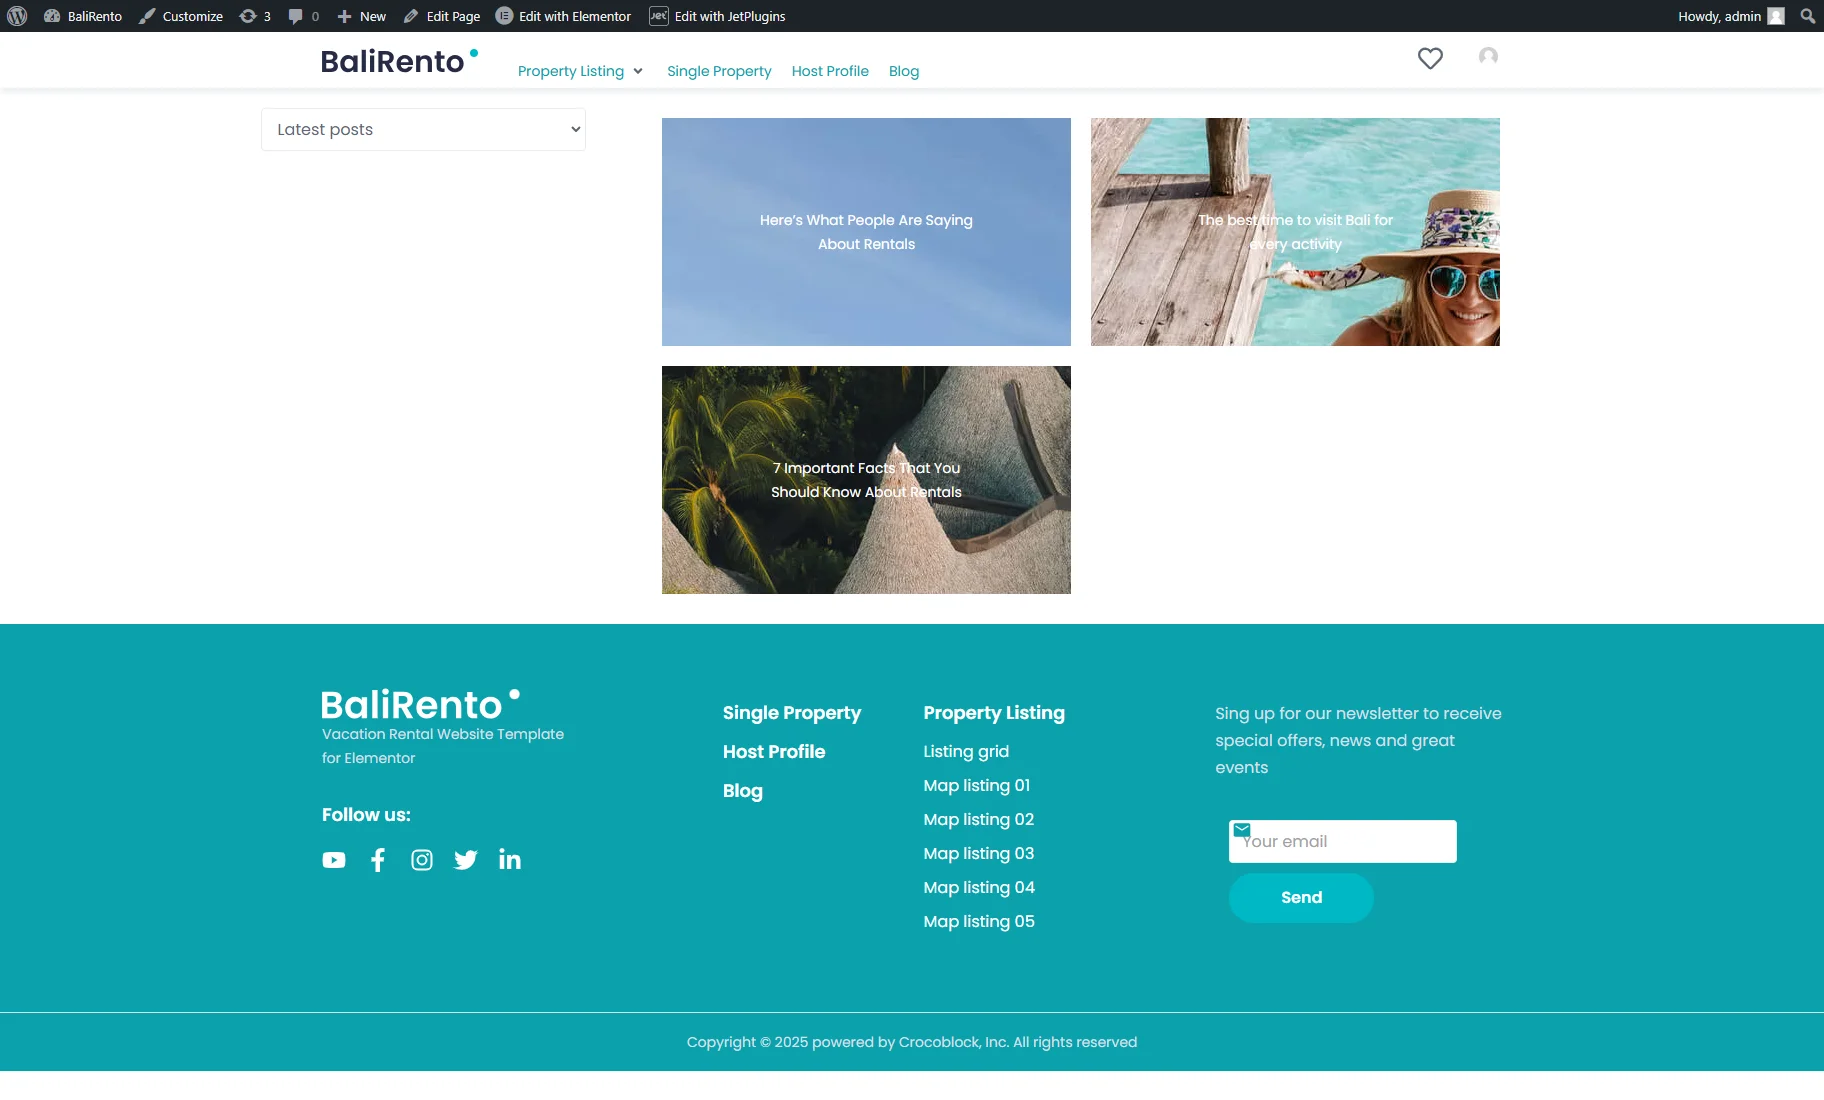
Now, the filter is ready for use. Open the page on the front end to test how it works.
When selecting the “Latest posts” option, the listing displays only the posts created in the last two weeks.
That’s all. Now you know how to use the “JetEngine Query Builder Switcher” Data Source to create a JetSmartFilters filter to display all the latest posts from the last two weeks on your WordPress website.