The use of before-and-after comparisons in marketing is a powerful technique. That’s why posting a before-and-after for most services and some products is a great idea. It allows you to compare the two options and quickly see the changes.
- Do you want to show how the interior changed after the renovation? Take a before-and-after photo and post it on the website.
- Do you want to show how the client’s weight changed after a workout? That’s also a great option for an image comparison slider.
These comparisons not only highlight the effectiveness of your offerings but also provide compelling visual evidence that can drive sales.
In this article, you will find instructions on how to make such a slider with JetElements, along with some inspiring examples from different niches.
Table of Contents
- What Is WordPress Before and After Slider?
- WordPress Before After Slider Mandatory Elements
- Best Practices for Before and After Sliders
- Quick Way to Add a Before and After Slider Using JetElements
- FAQ
- Final Words
What Is WordPress Before and After Slider?
A before-and-after slider in WordPress is an element on your website that allows visitors to evaluate changes quickly. It can be anything – different product colors, makeup service results, construction, or landscaping services.
The user can move the slider arrow and see the changes.
This tool helps a potential customer “want” your product or service and “try it on.”
Also, such a slider makes your website more interactive and engaging.
So, if you need to showcase services that lead to some changes or you have multiple product options, a before-and-after slider is a great tool.
WordPress Before After Slider Mandatory Elements
A before-and-after slider is a pretty simple tool, but it has three must-have characteristics.
- Quality images: the user should clearly see the changes side-by-side. Even if you use black-and-white elements, they should be of high quality and accentuate the desired element.
- Slider layout: it can be vertical or horizontal, but the user must understand what to click on and where to move this element to see the changes.
- Description: you can add a caption, headline, or some text to describe your service or product so that the user understands the specific changes you are showing them.
If you implement these three main elements, the slider will bring you the results you are hoping for.
Best Practices for Before and After Sliders
Now, let’s look at some great examples of how you can use an image slider comparison.
The first example is the use of a slider in the plastic surgery niche. You can use it to quickly show the results that a particular procedure or surgery can produce.
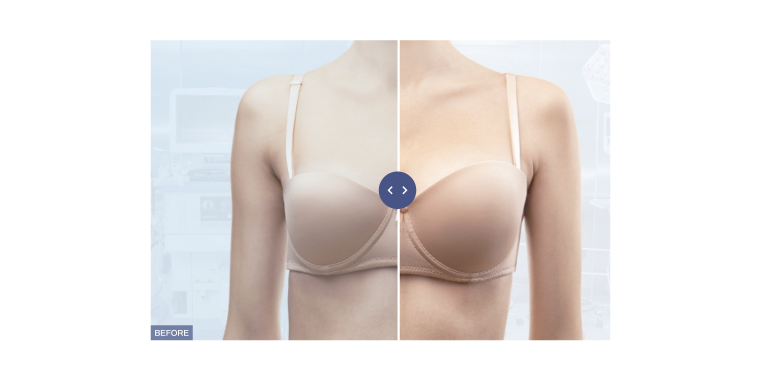
🔗 Check the live version
The following is an example of a slider used by a cosmetology clinic. Here, the “before” version is shown in black and white to highlight the changes that have occurred.
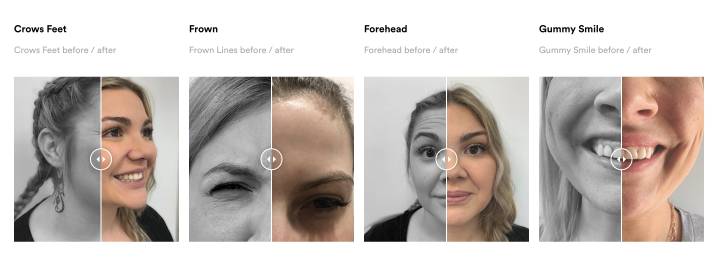
🔗 Check the live version
In the third example, the slider shows the functional features of the furniture. Instead of placing several identical pictures with open and closed doors, the developers used a slider so a user could see how the furniture looks in different states.
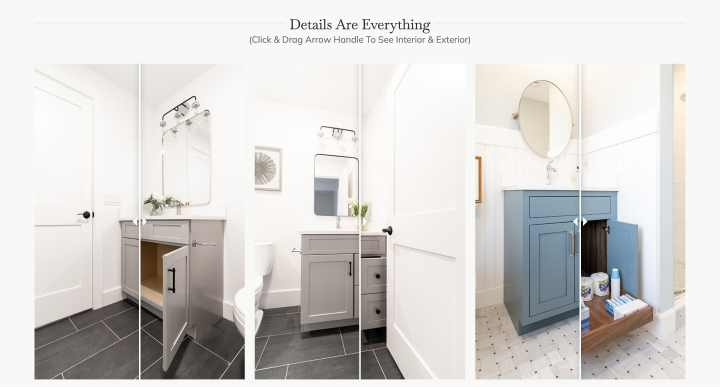
🔗 Check the live version
The slider can also show events that have led to changes in architecture, landscape, climate, etc. The fourth example, for instance, shows the Notre Dame de Paris Cathedral before and after the fire.
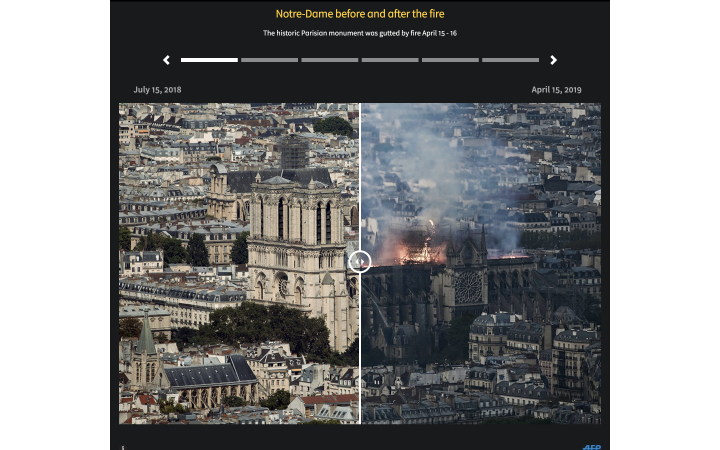
🔗 Check the live version
The fifth example of using a slider is to show changes in nature. By moving the slider, you can see how a bear in its natural habitat has changed over several months.
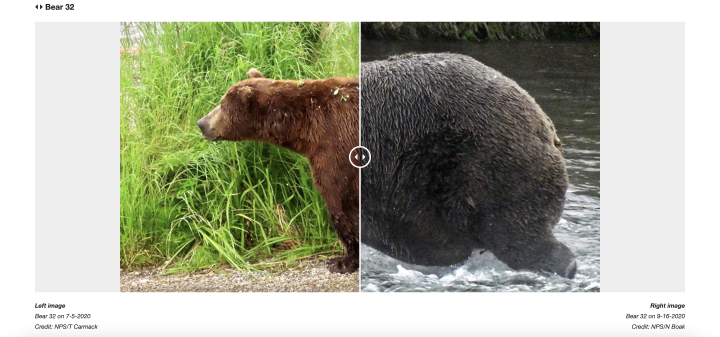
🔗 Check the live version
That is, as you can see, sliders help to show a variety of information in a convenient, compact, and interactive format for the user. You can use such a slider for sites in a wide variety of niches, adding attractive photos.
Now, let’s understand how to create a before and after slider with JetElements.
Quick Way to Add a Before and After Slider Using JetElements
To add a before and after slider, you need to install and activate the JetElements plugin.
After that, go to your Elementor website and add the Image Comparison widget to the desired location.
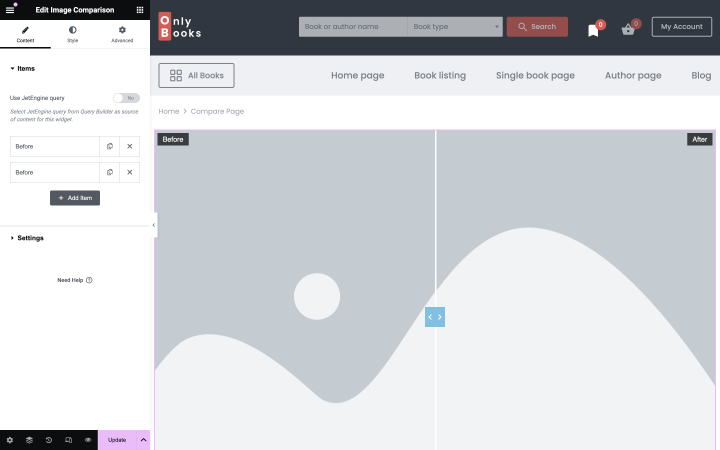
The next step is to select and upload the desired images. Place them in the correct order. As a rule, “before” is placed on the left side and “after” on the right side. Keep in mind the quality of the images.
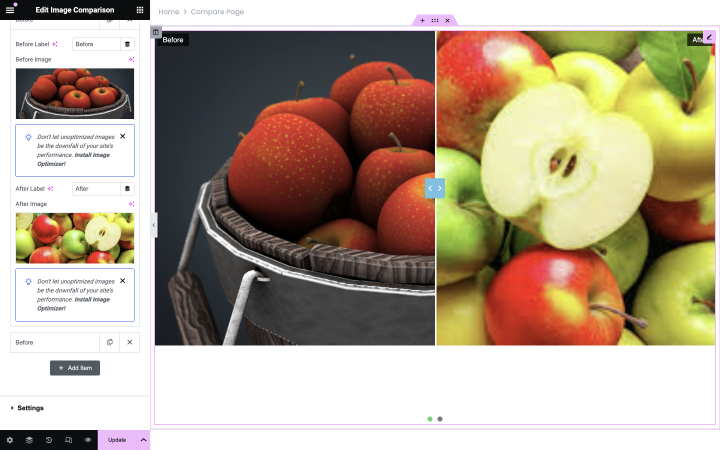
Finally, set the appropriate settings for your slider, such as the Autoplay option, Divider Starting Position, etc.
You can find detailed instructions in this article.
Once you’ve installed and tested everything, update the site and monitor the results.
FAQ
You can do it by writing code or using a WordPress plugin, such as JetElements. The second option is faster and easier.
Unfortunately, no. You need to use additional plugins.
It depends on what services or products you want to showcase on the site. If you can show some changes they lead to, then definitely install a slider to increase user engagement.
Final Words
A before-and-after slider is a handy tool for showing changes, engaging users, and avoiding placing a large number of almost identical images on the site.
These sliders are intuitive and informative, making them useful in a variety of fields, from home renovation or construction to beauty products. With creativity, you can place such a slider even in the most challenging niches.
Don’t be afraid to experiment and capture your users’ attention.
