How to Create a Custom Single Product Page for WooCommerce-Based Booking
Discover how to create a Custom Single Page for WooCommerce-Based Booking for the WordPress JetBooking plugin with the help of the JetWooBuilder and JetProductGallery plugins.
Before you start, check the tutorial requirements:
- Elementor (Free version) builder
- WooCommerce plugin installed and activated
- JetBooking plugin installed and activated
- JetWooBuilder plugin installed and activated
- JetProductGallery plugin installed and activated
This tutorial focuses on creating a custom Single Product page for the WooCommerce-based booking for JetBooking using the JetWooBuilder and JetProductGallery WordPress plugins. This layout lets you display detailed booking information and interactive forms tailored to each product.
Enable the Single Product Widgets
Once you set up the WooCommerce-based Mode Booking on your site, the Single Product Page Template should be created using the JetWooBuilder plugin.
If you are using a builder other than Elementor, you can also modify the JetWooBuilder template using alternative methods.
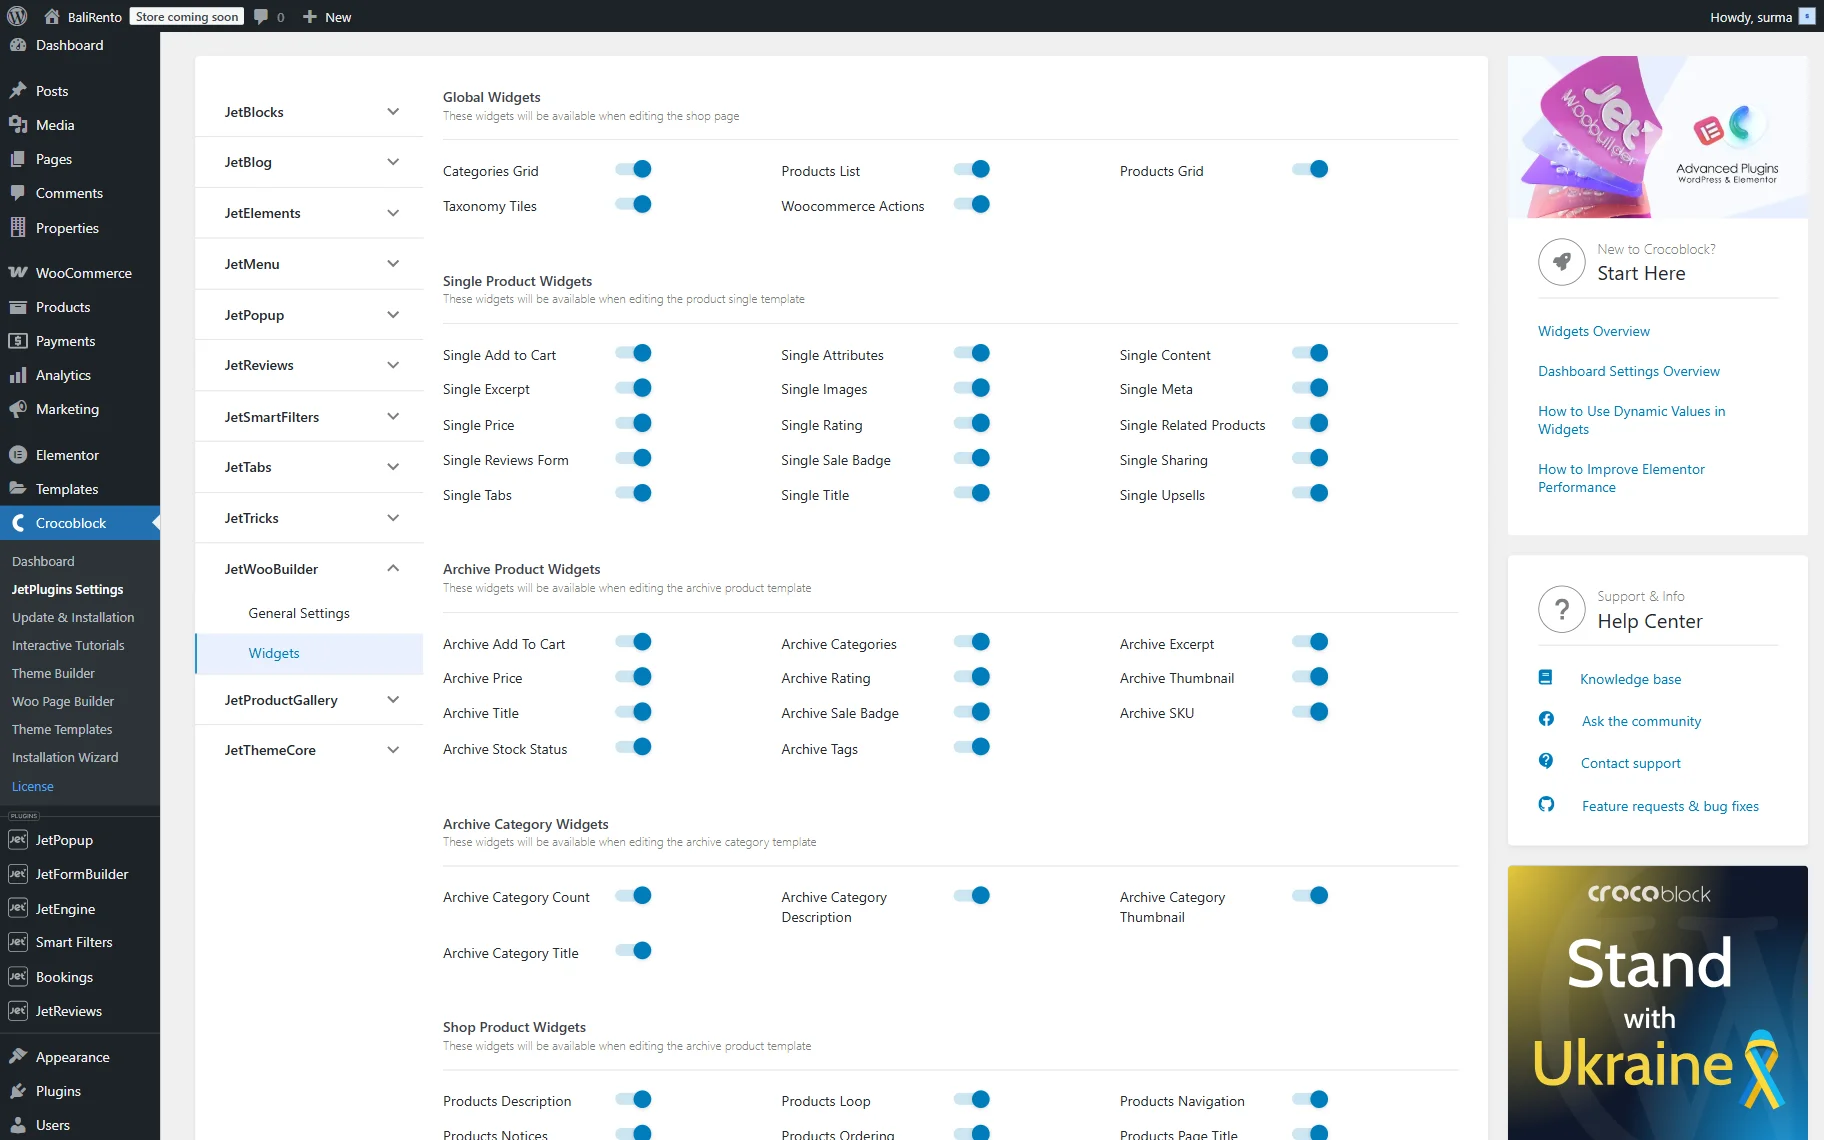
Go to WordPress Dashboard > Crocoblock > JetPlugins Settings > JetWooBuilder > Widgets, scroll to the Single Product Widgets block, and enable the widgets you will use while creating a Single Product template.
Create the Single Page Template
So, navigate to WordPress Dashboard > Crocoblock > Woo Page Builder > click the “Create New Template” button.
In the newly appeared pop-up, select the “Single” option for the This Template For field and enter the name of the template. Additionally, you can select the layout preset. Otherwise, you can set the template up from scratch.
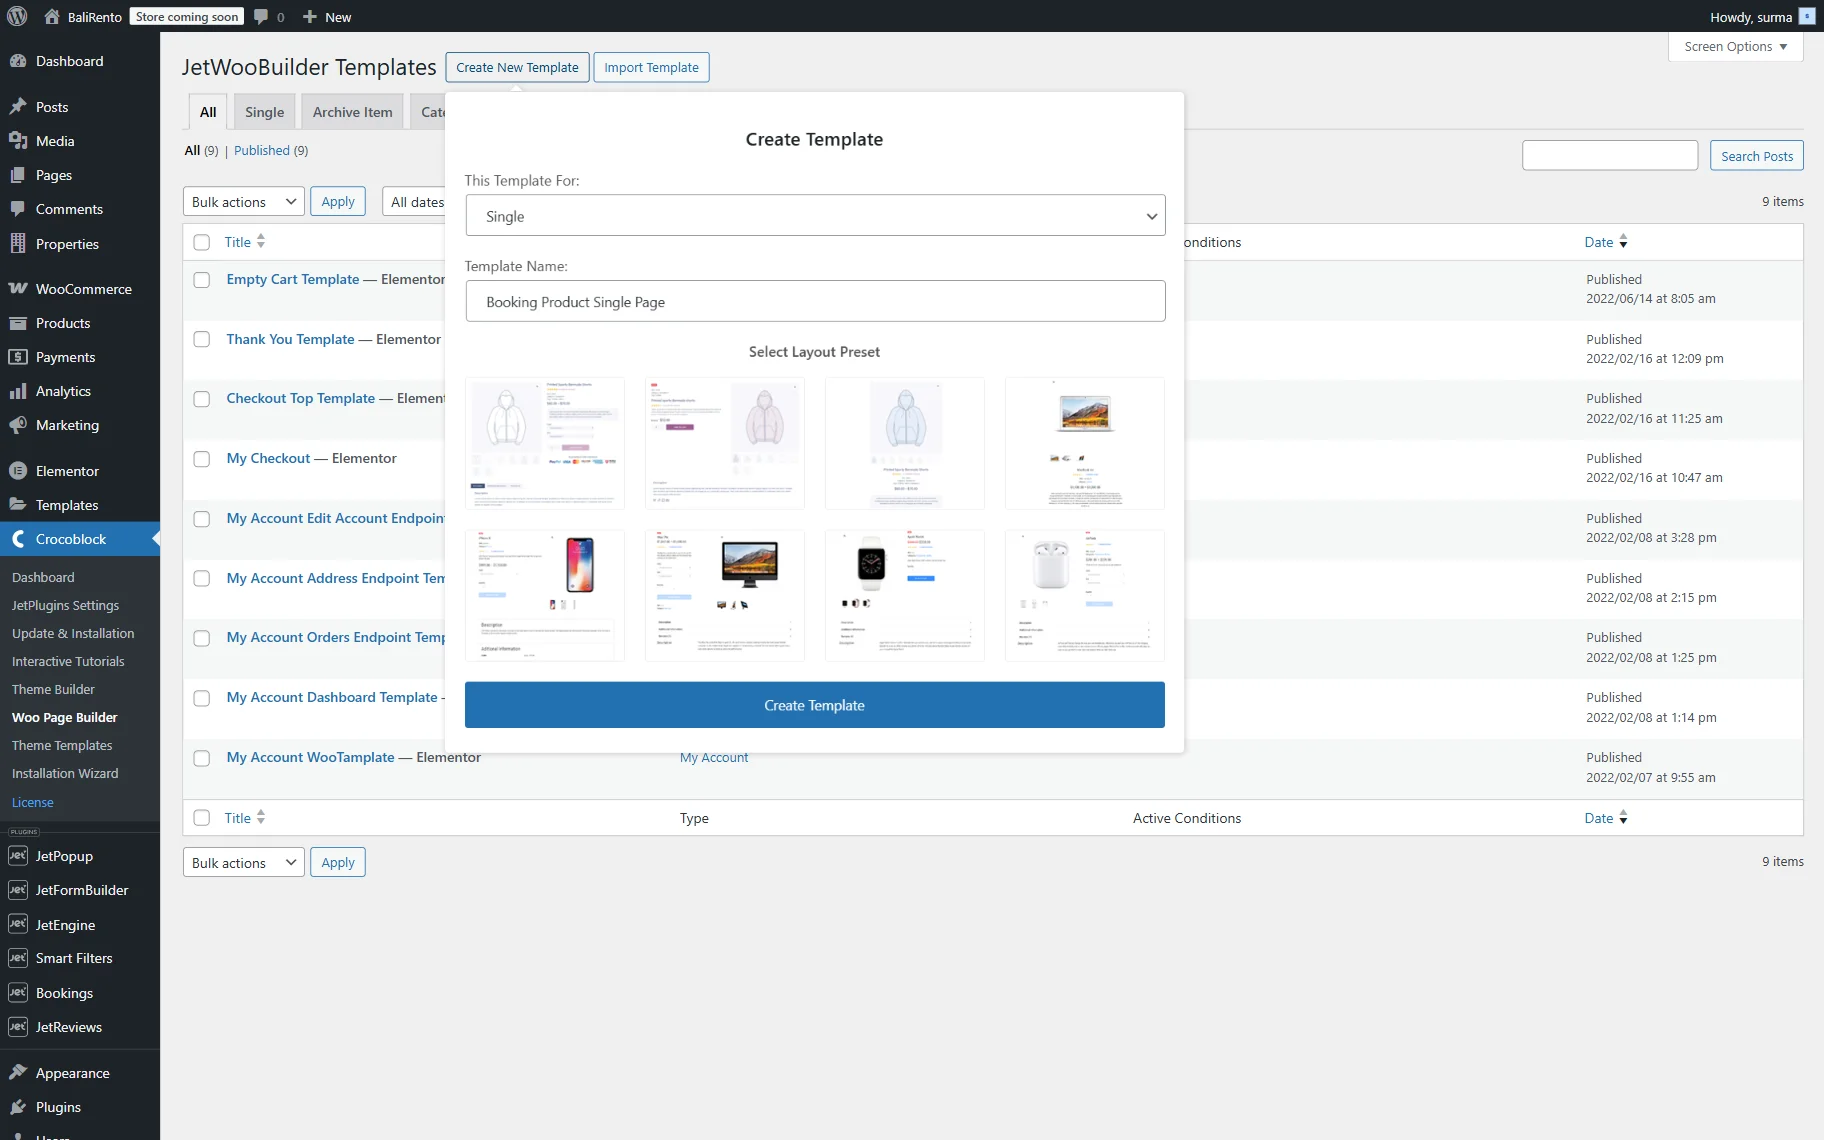
In this tutorial, we select layout #one and click the “Create Template” button.
Let’s have a closer look at the widgets used to display the product data.
To display the title of the product, add the Single Title widget.
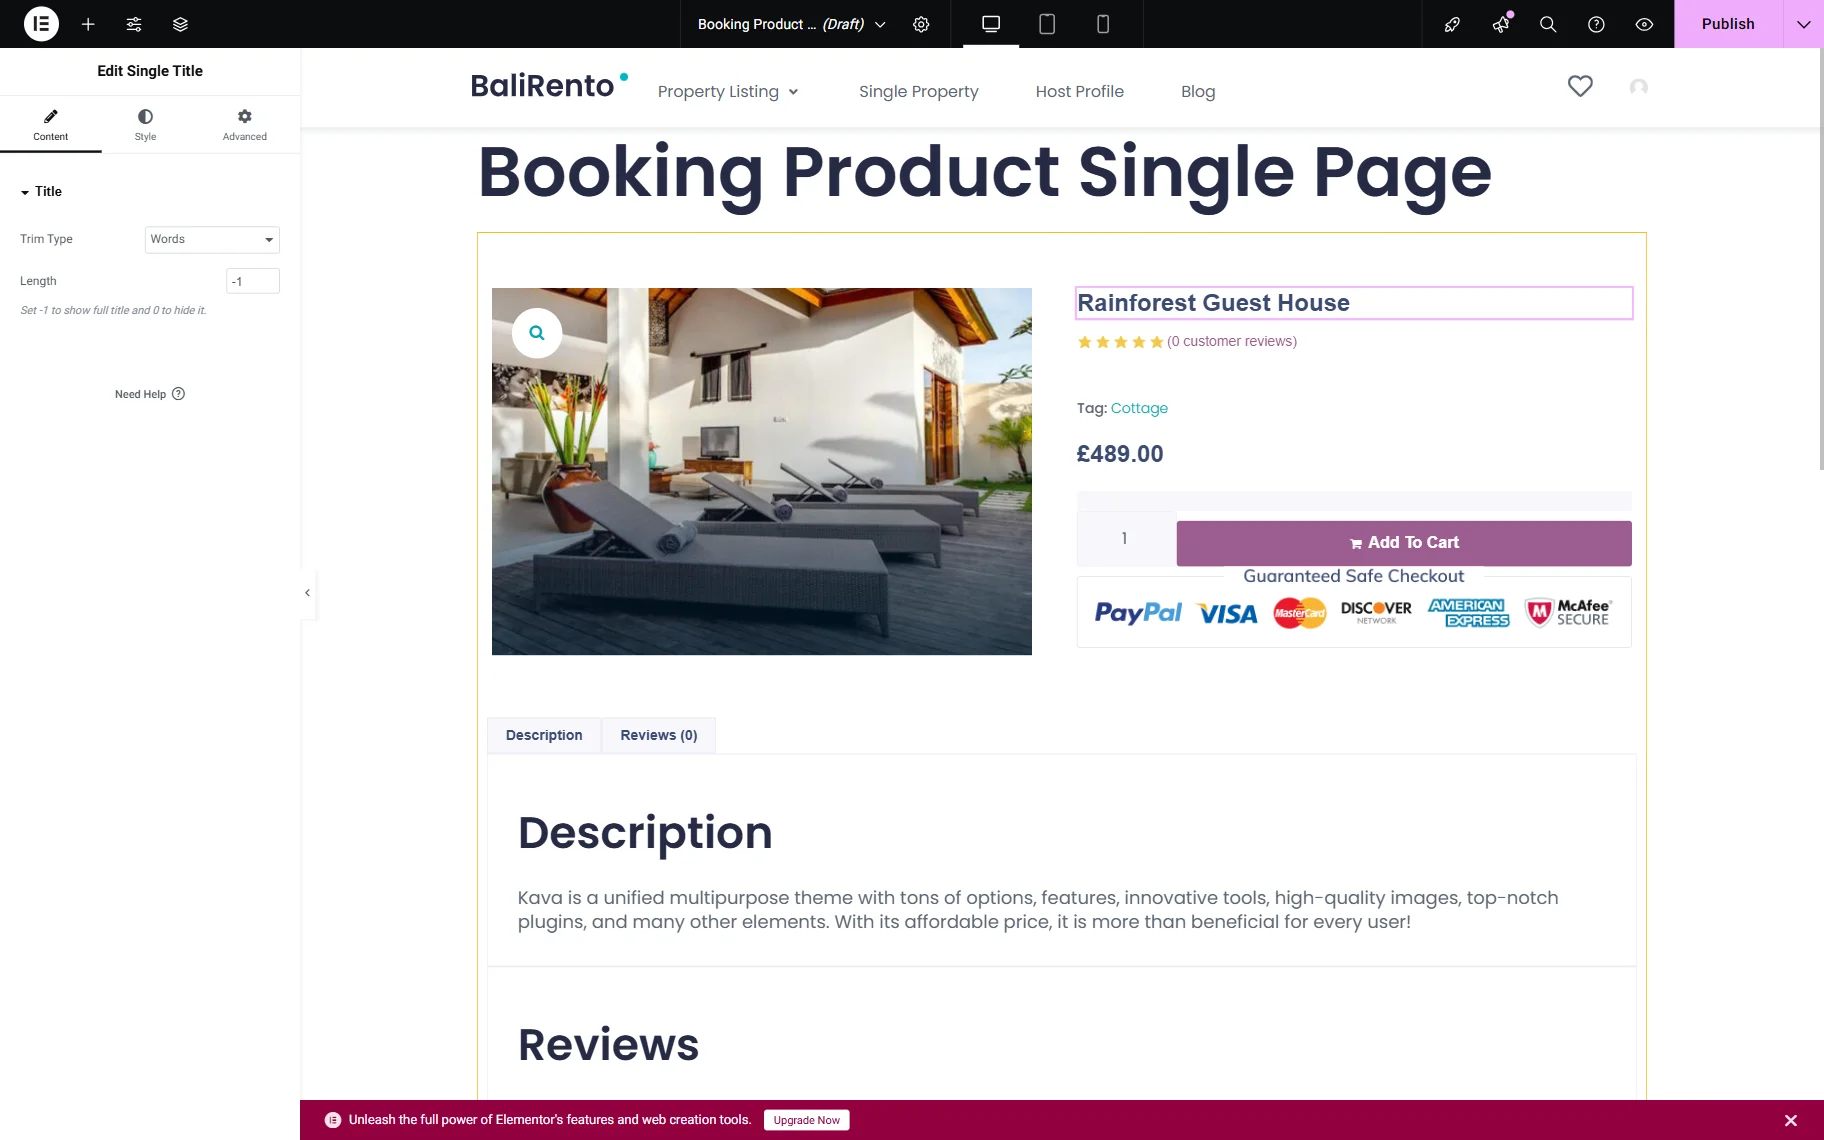
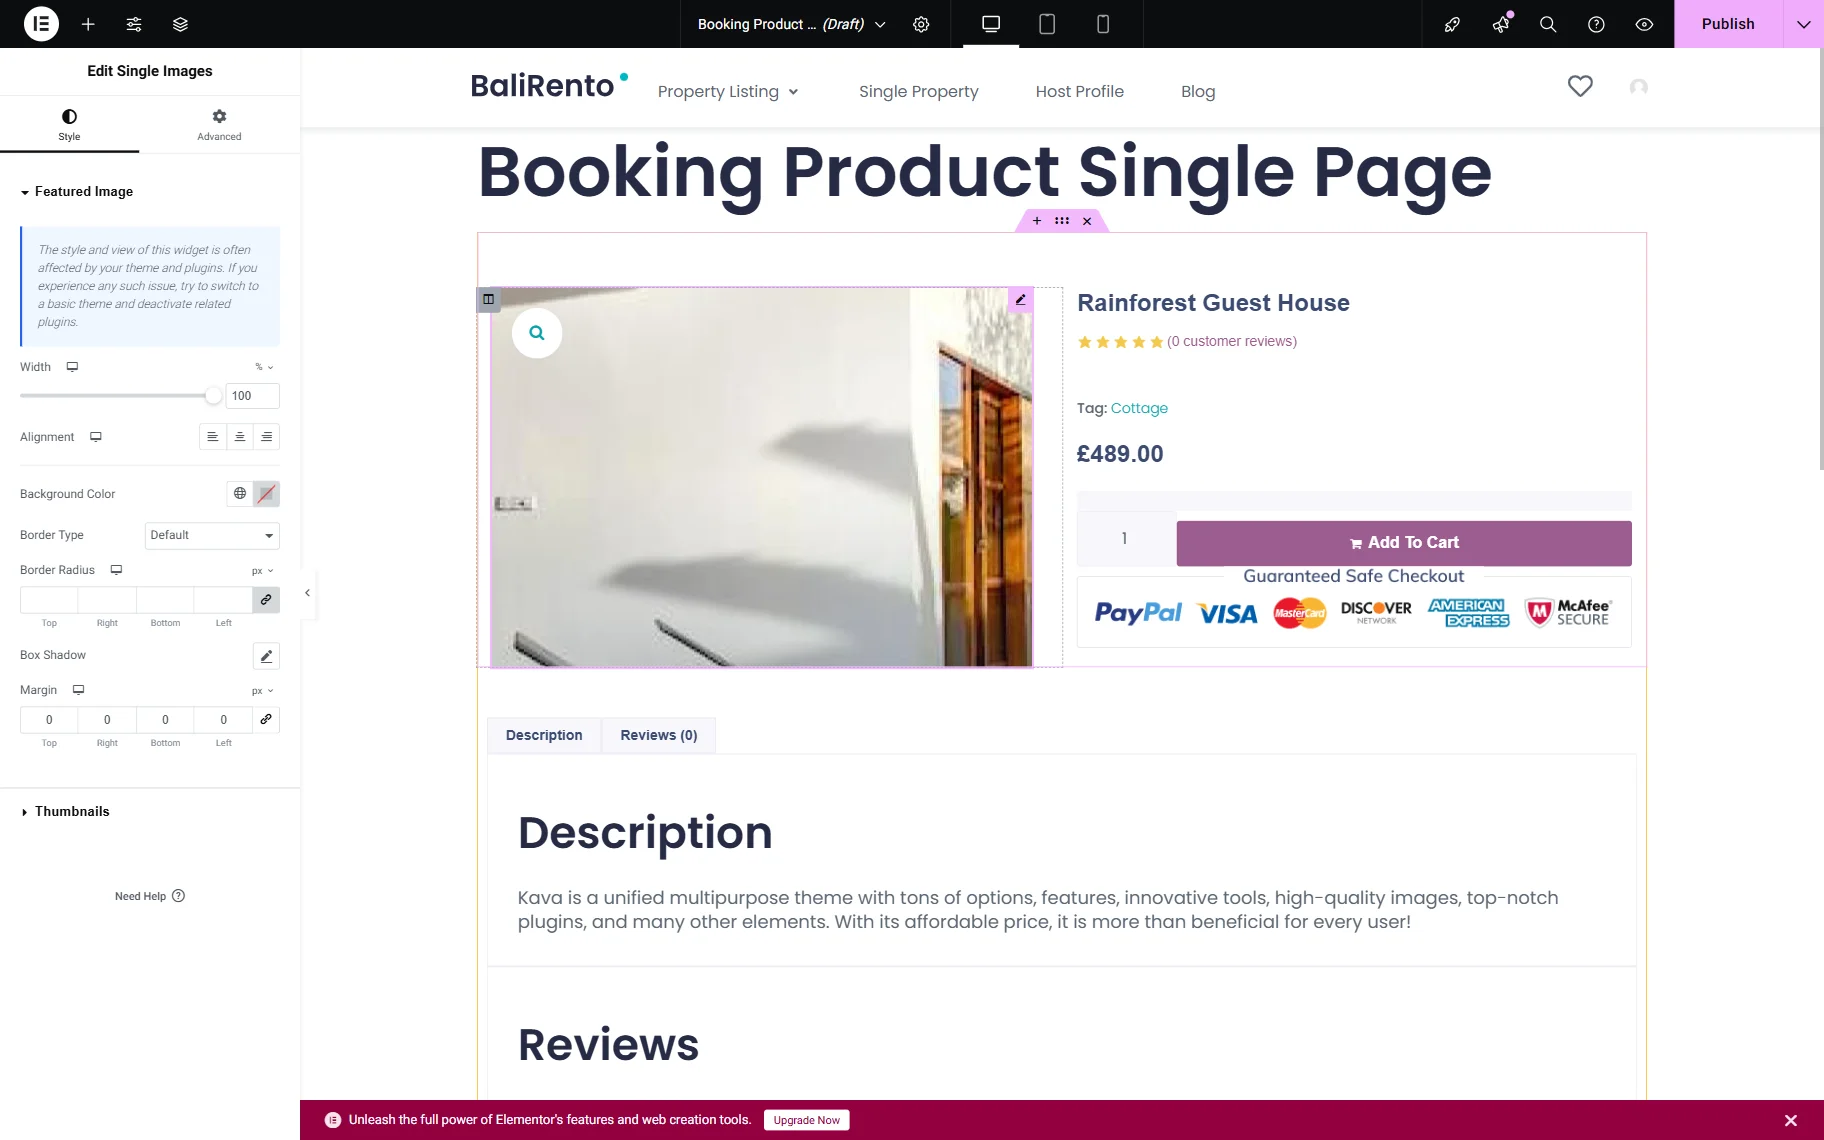
Use the Single Images widget to display the product’s thumbnail.
To display the product’s price, you can add the Single Price widget.
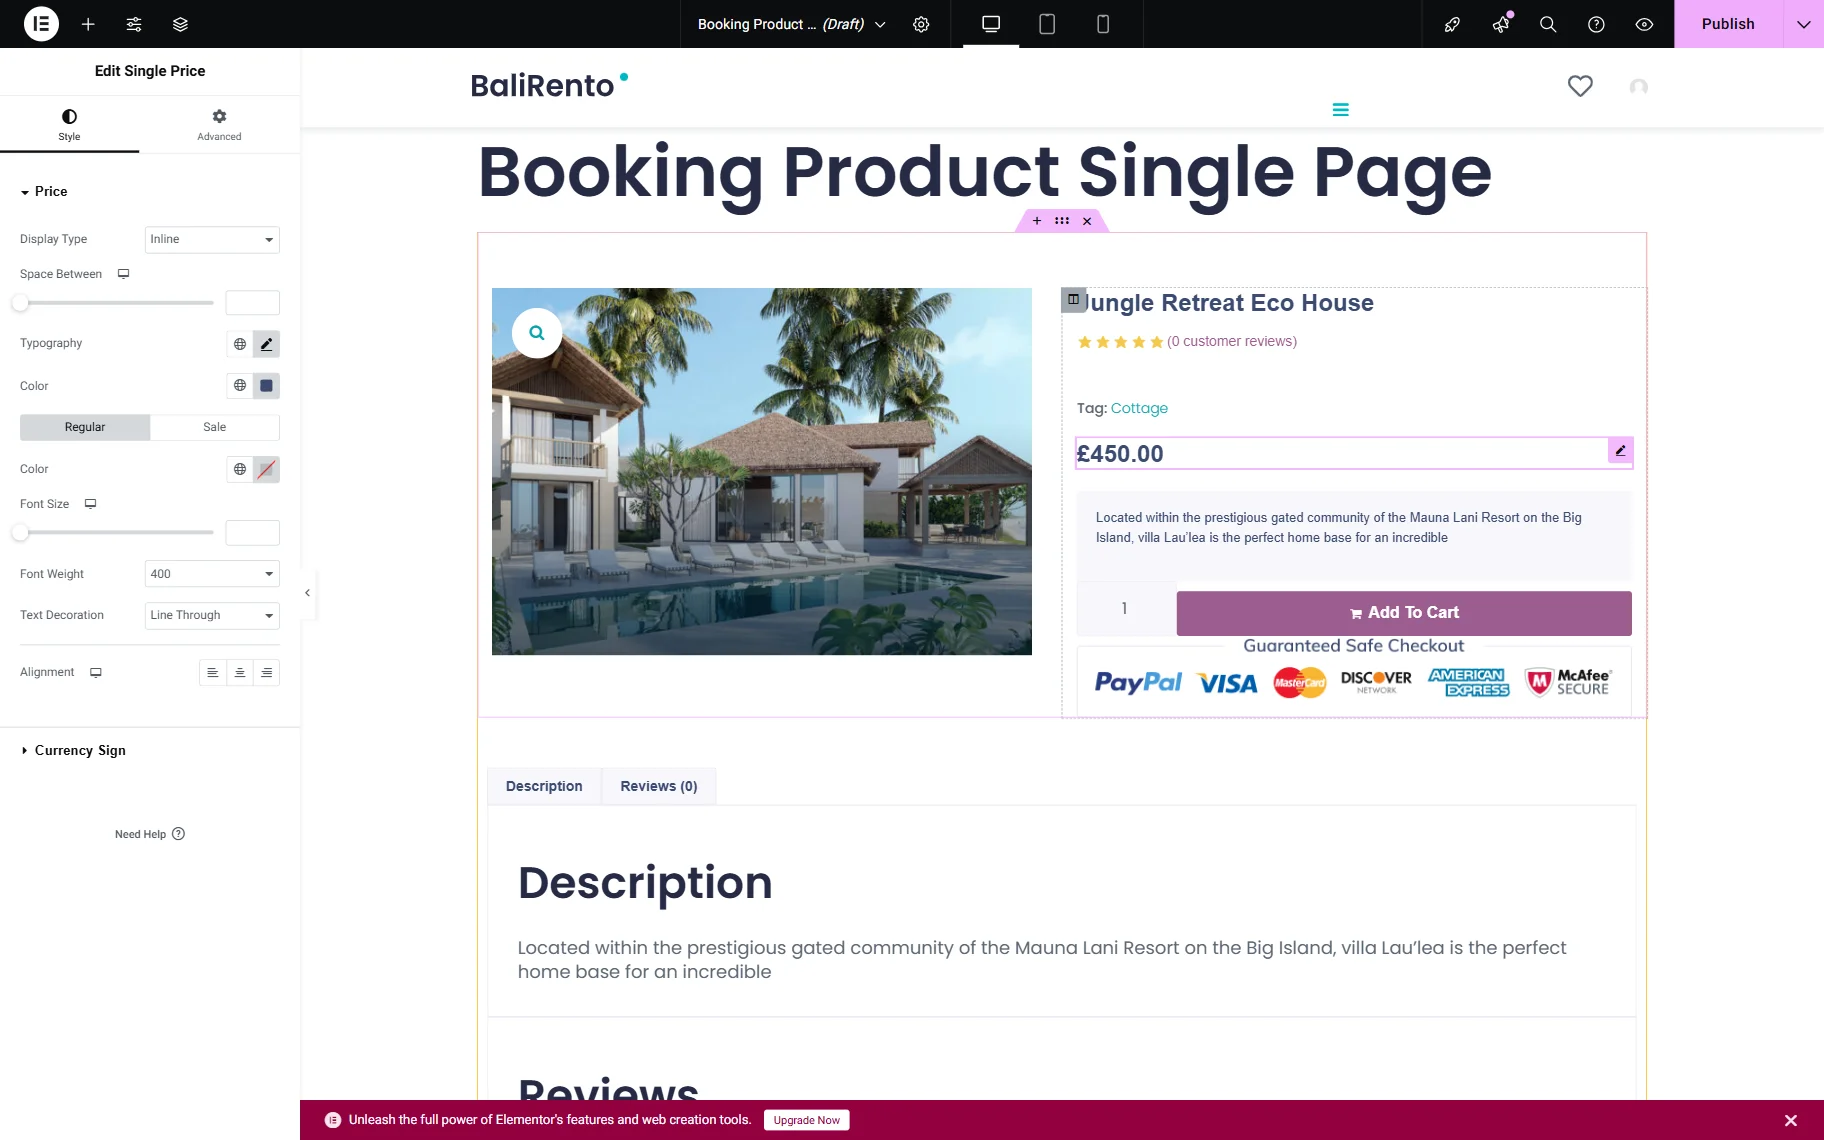
For all default data types—such as excerpt, terms, rating, price, and more—there are corresponding default widgets like Single Excerpt, Single Meta, and Single Rating.

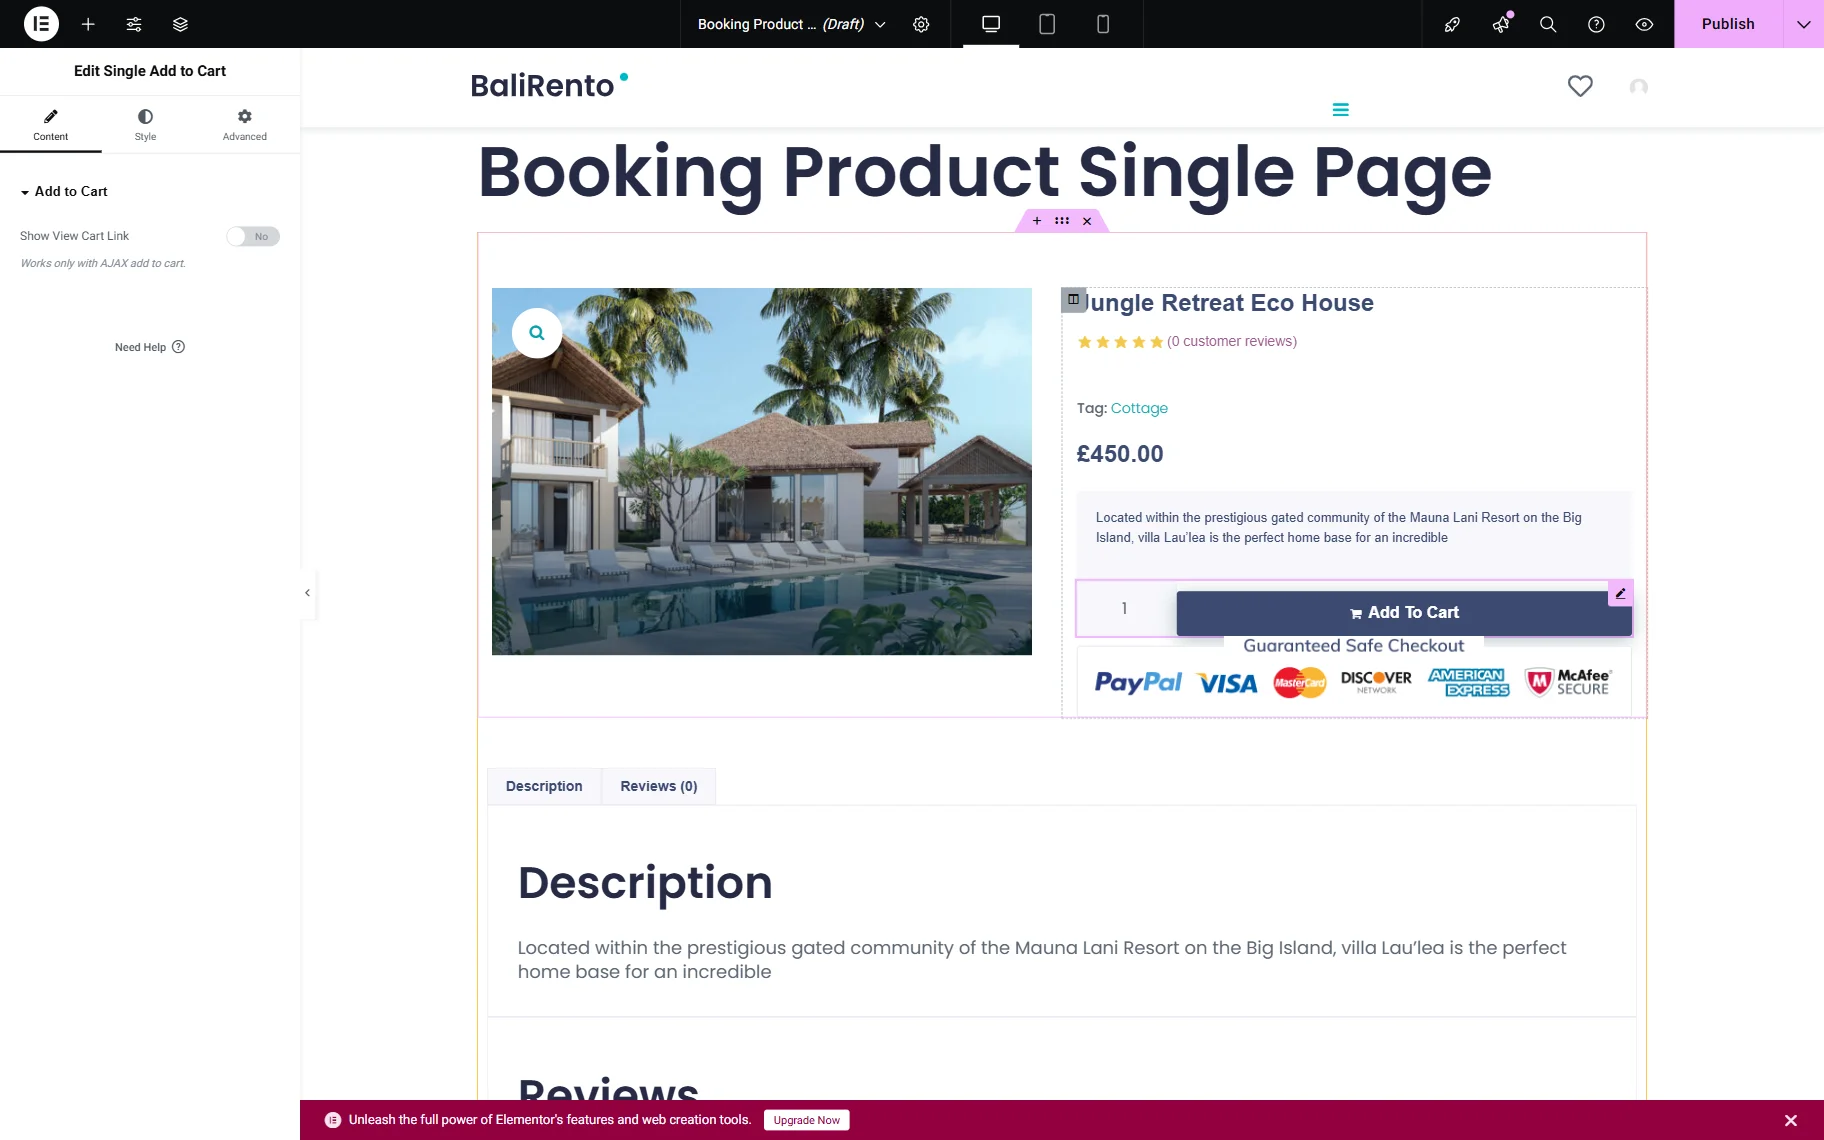
Additionally, WooCommerce allows you to add the product to the Cart before actually buying it. In this case, the Single Add to Cart widget is needed.
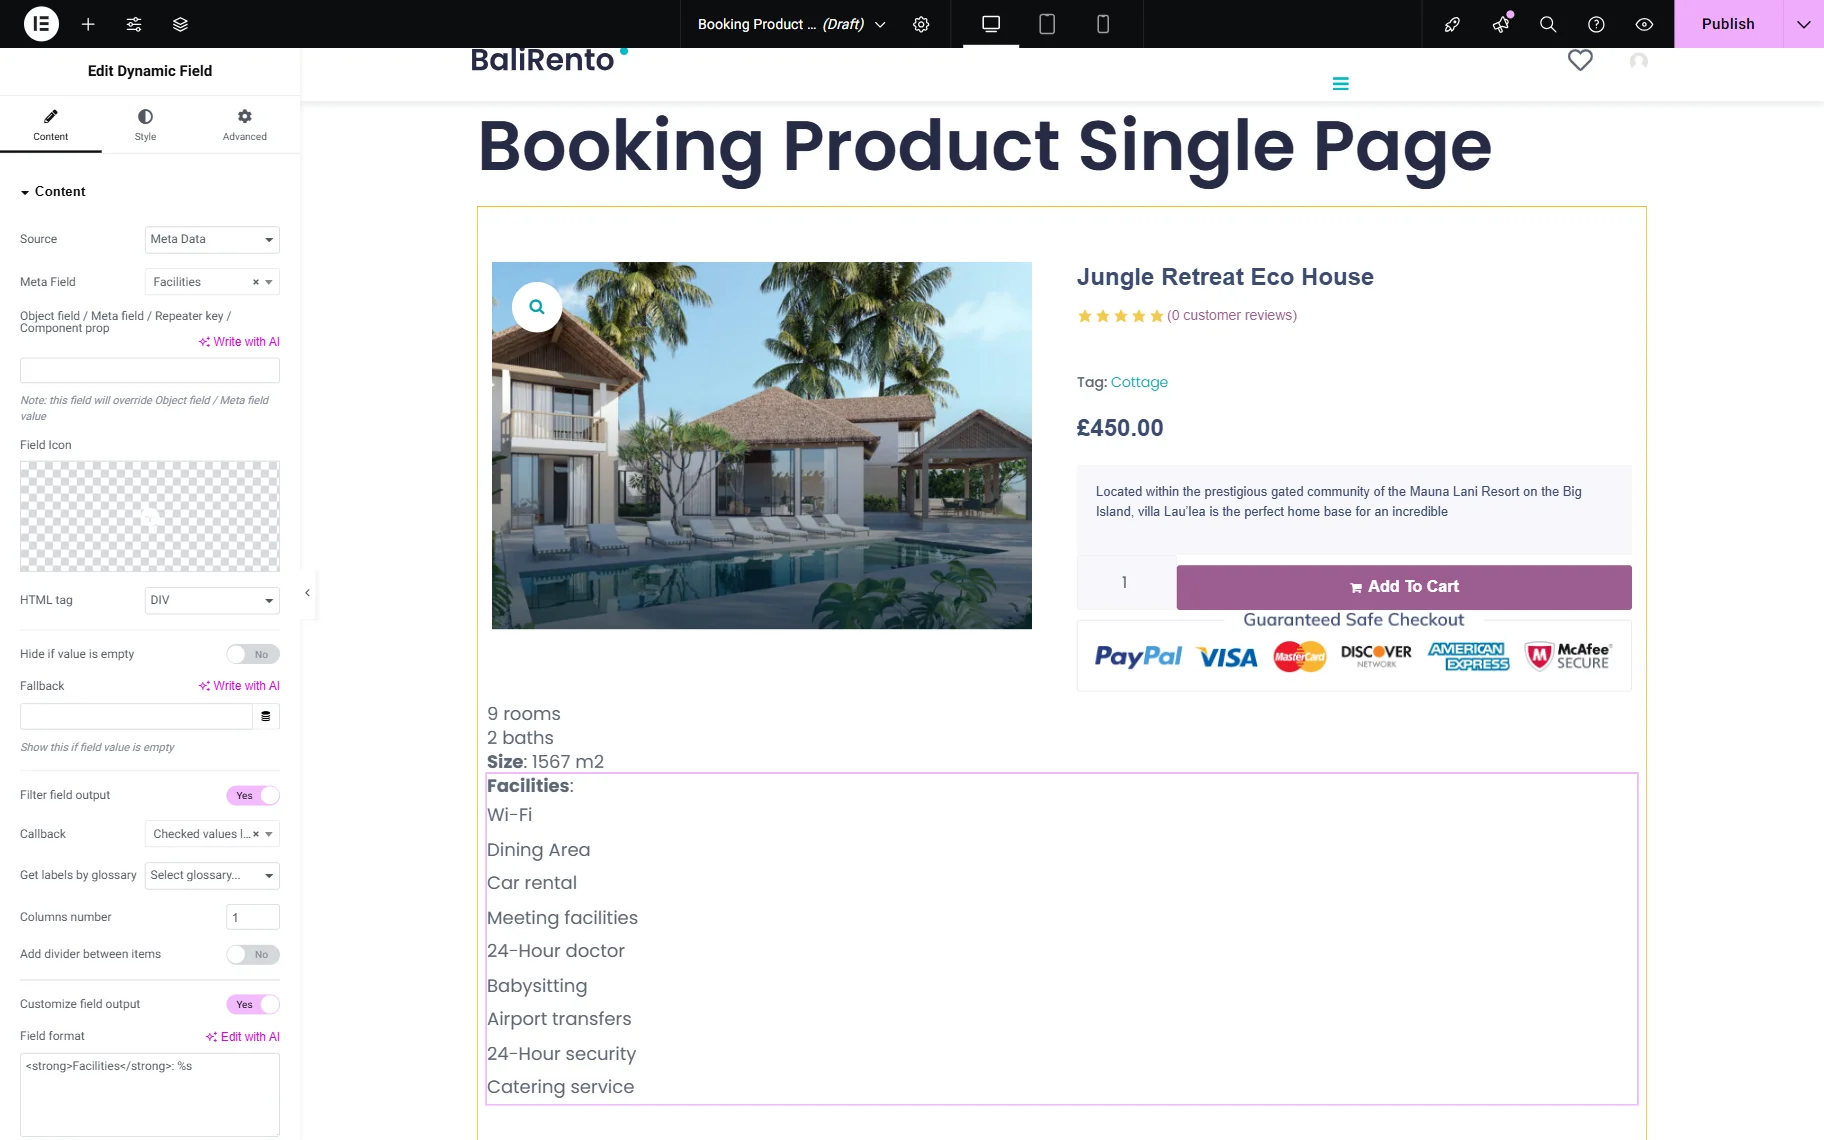
If you need to add some additional meta fields, like from the Meta Boxes, you can do it with the Dynamic Widgets from JetEngine.
For example, to display the additional information, we use the Dynamic Field widget.
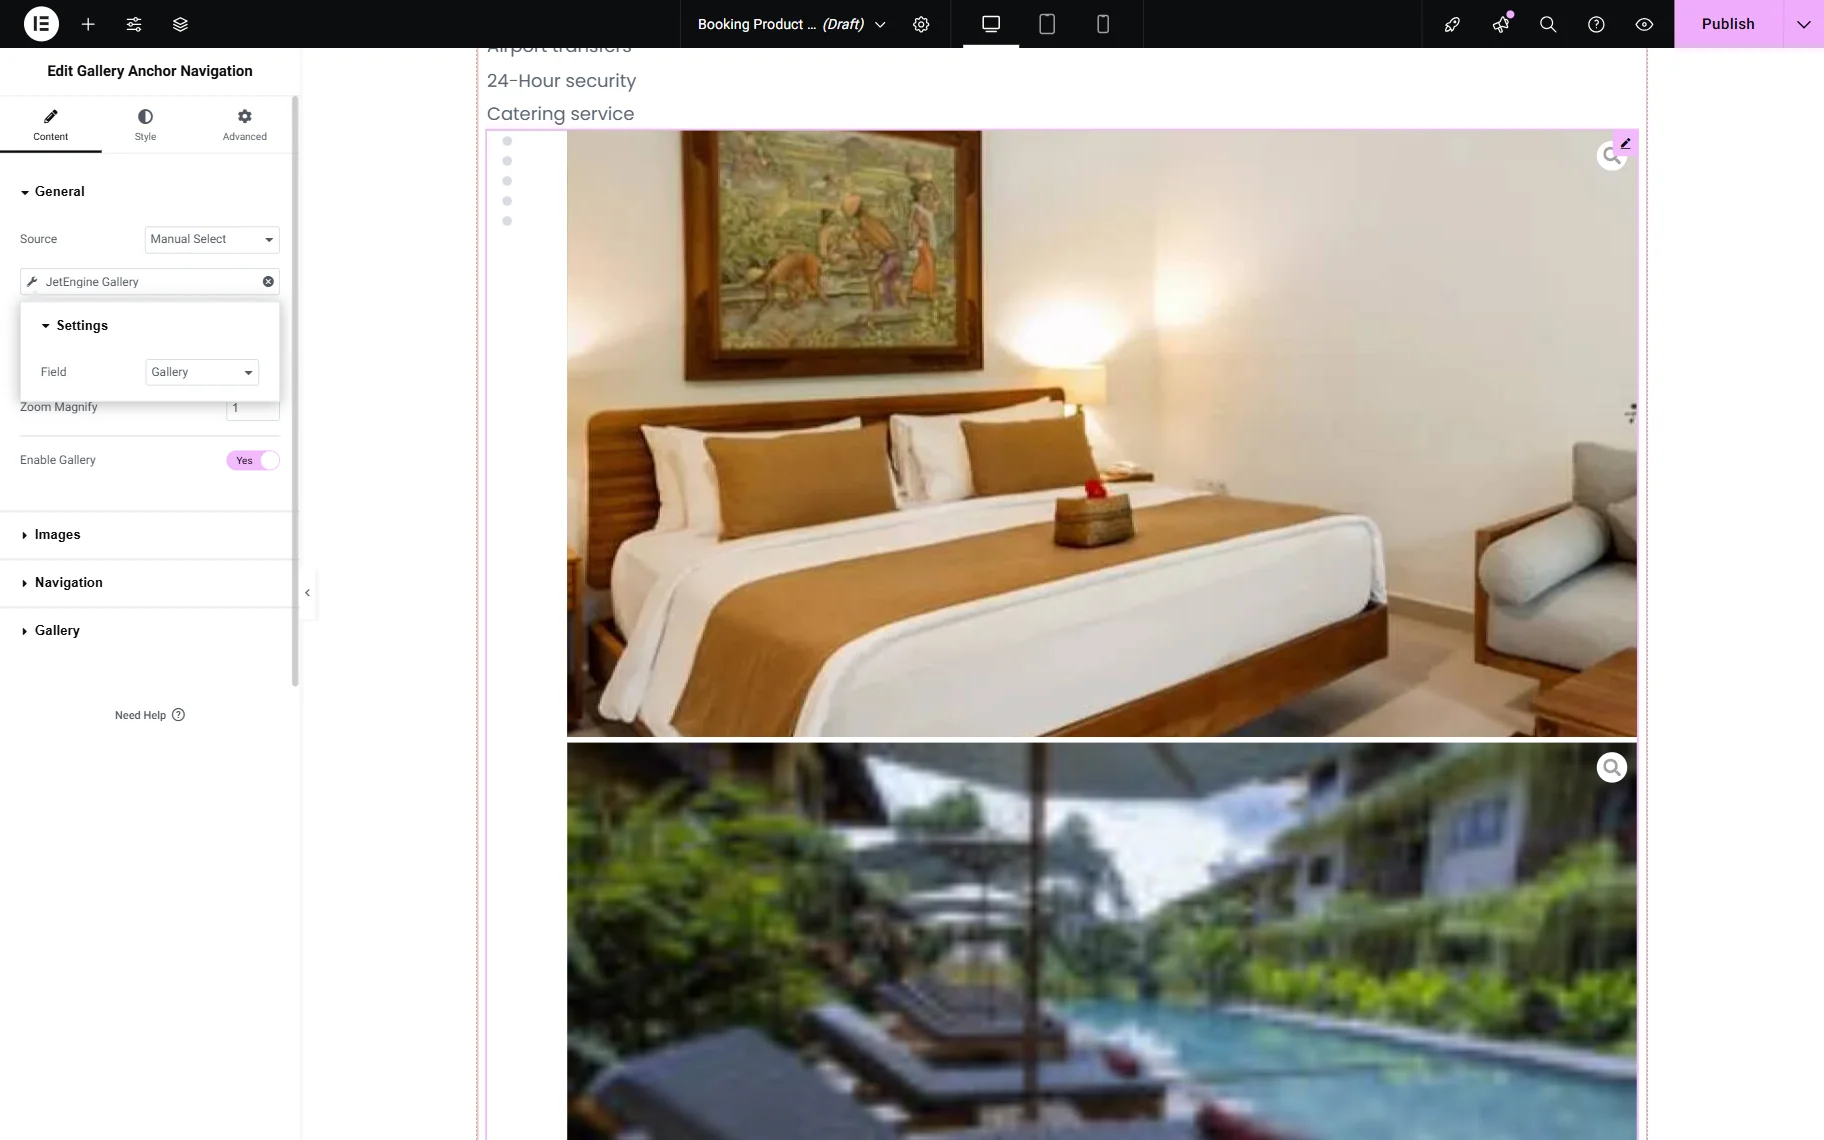
If you have a gallery you need to display, you can use the JetProductGallery widgets, for example, by using the Anchor Navigation widget. Here you can add images manually, use the WooCommerce gallery, or add the images through the Dynamic Tag.
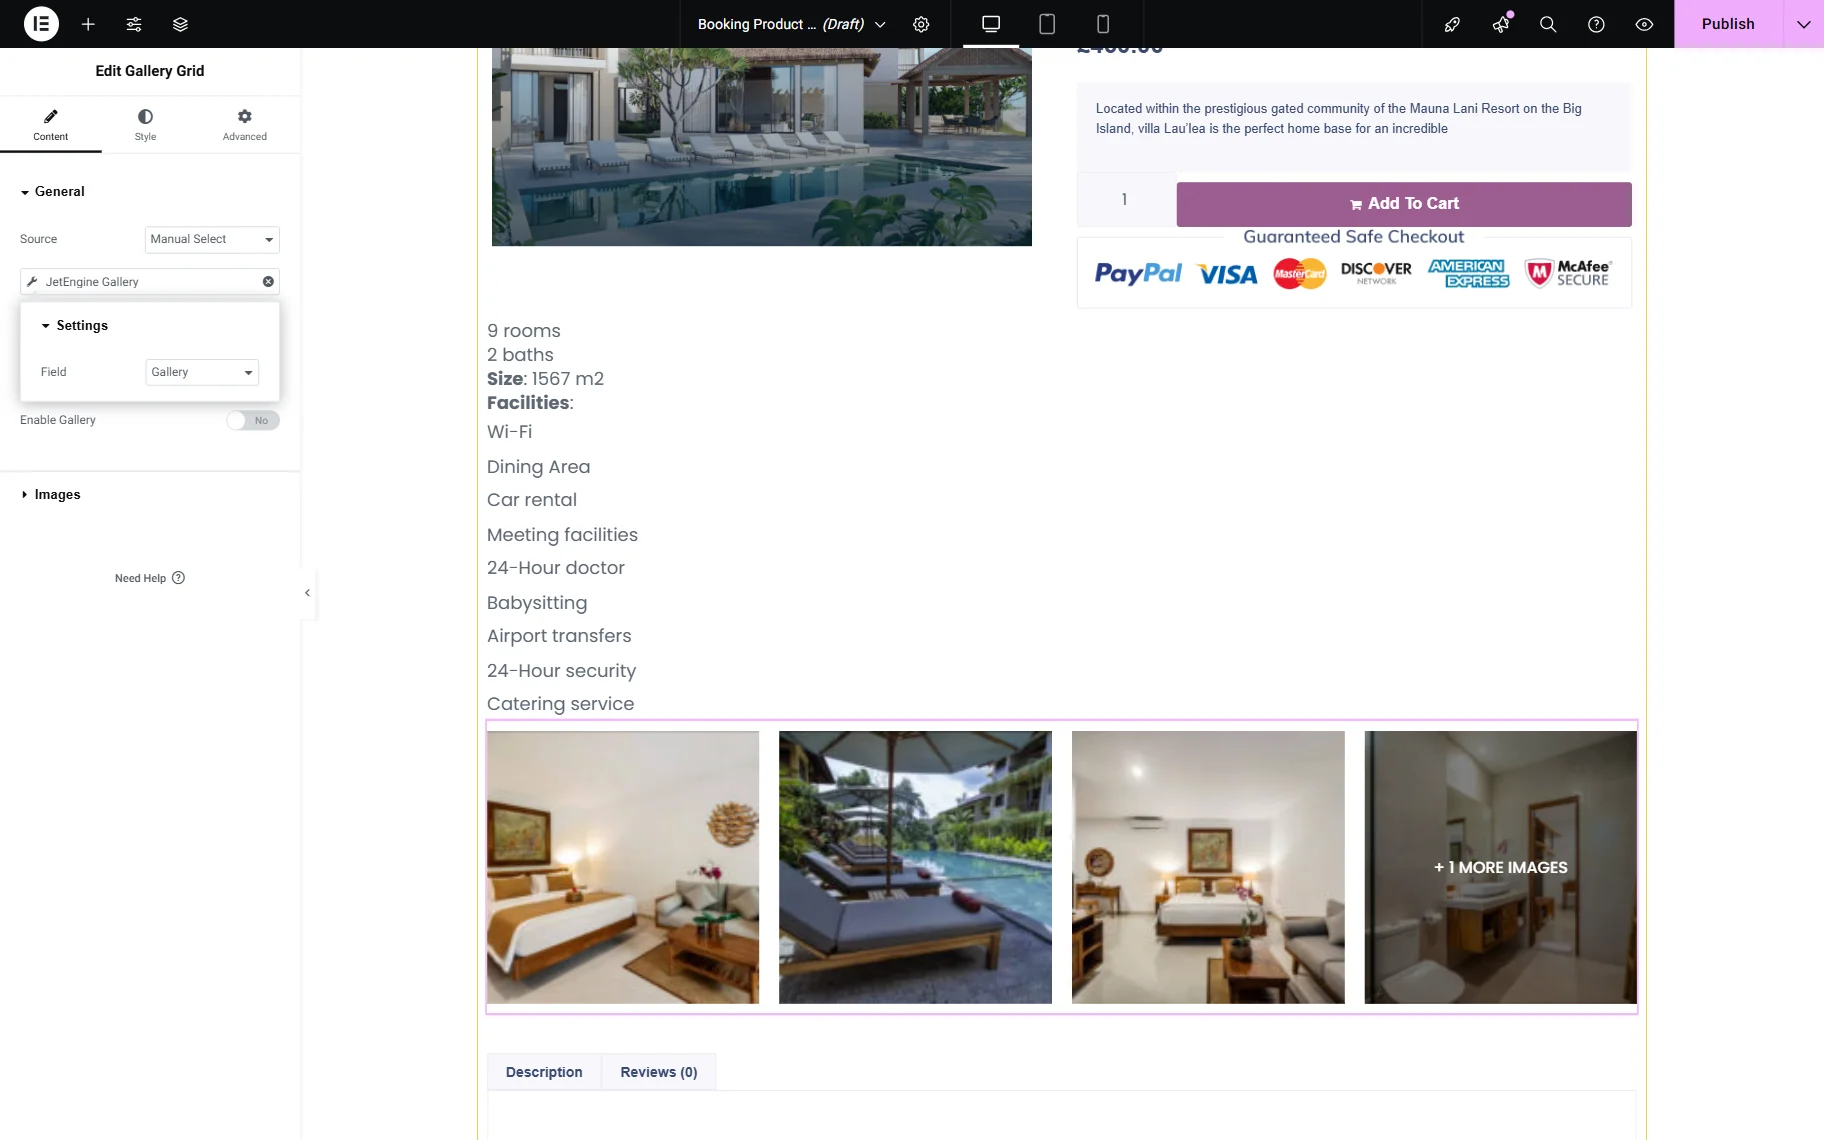
Alternatively, the Gallery Grid widget can be used.
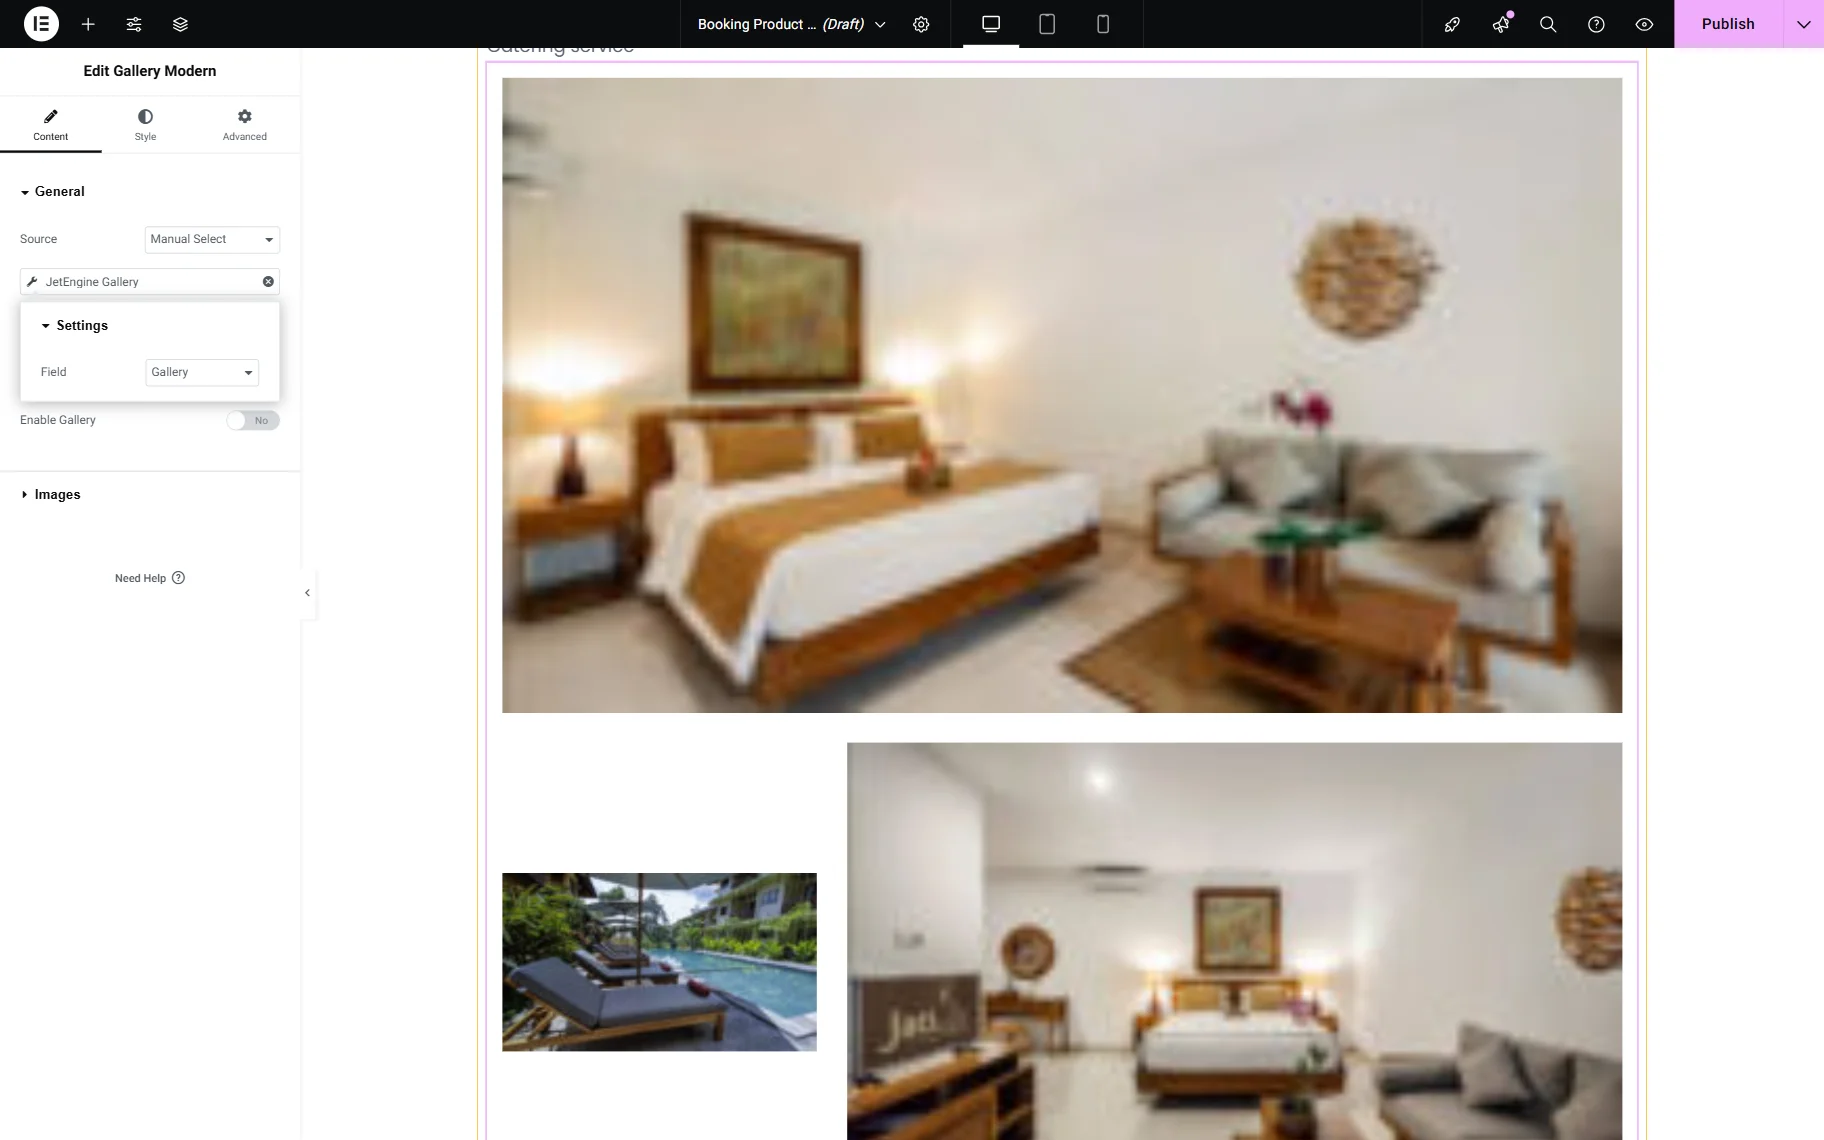
If you are looking for an unusual style, consider using the Gallery Modern widget.
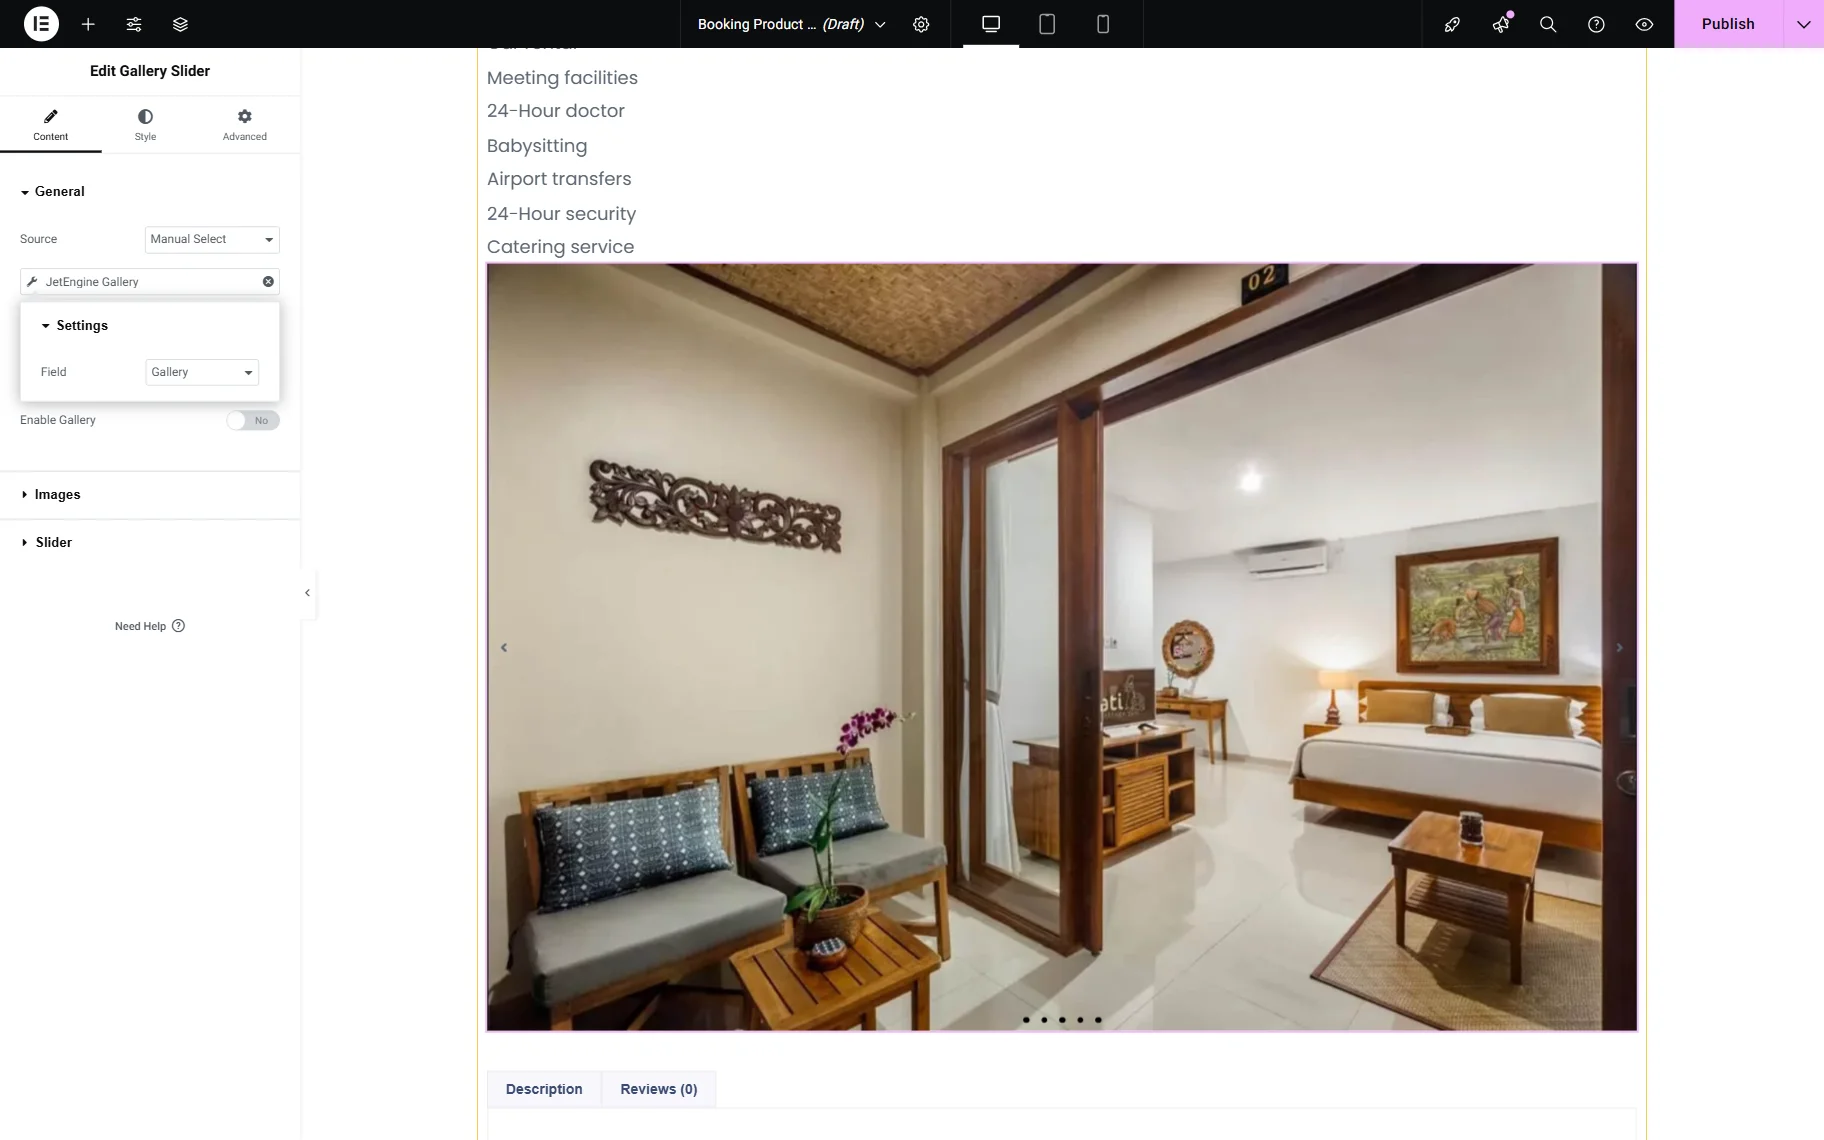
To display the gallery as a slider, you can use the Gallery Slider widget.
Once you are ready with the settings, click the “Publish” button.
Assign the template to WooCommerce
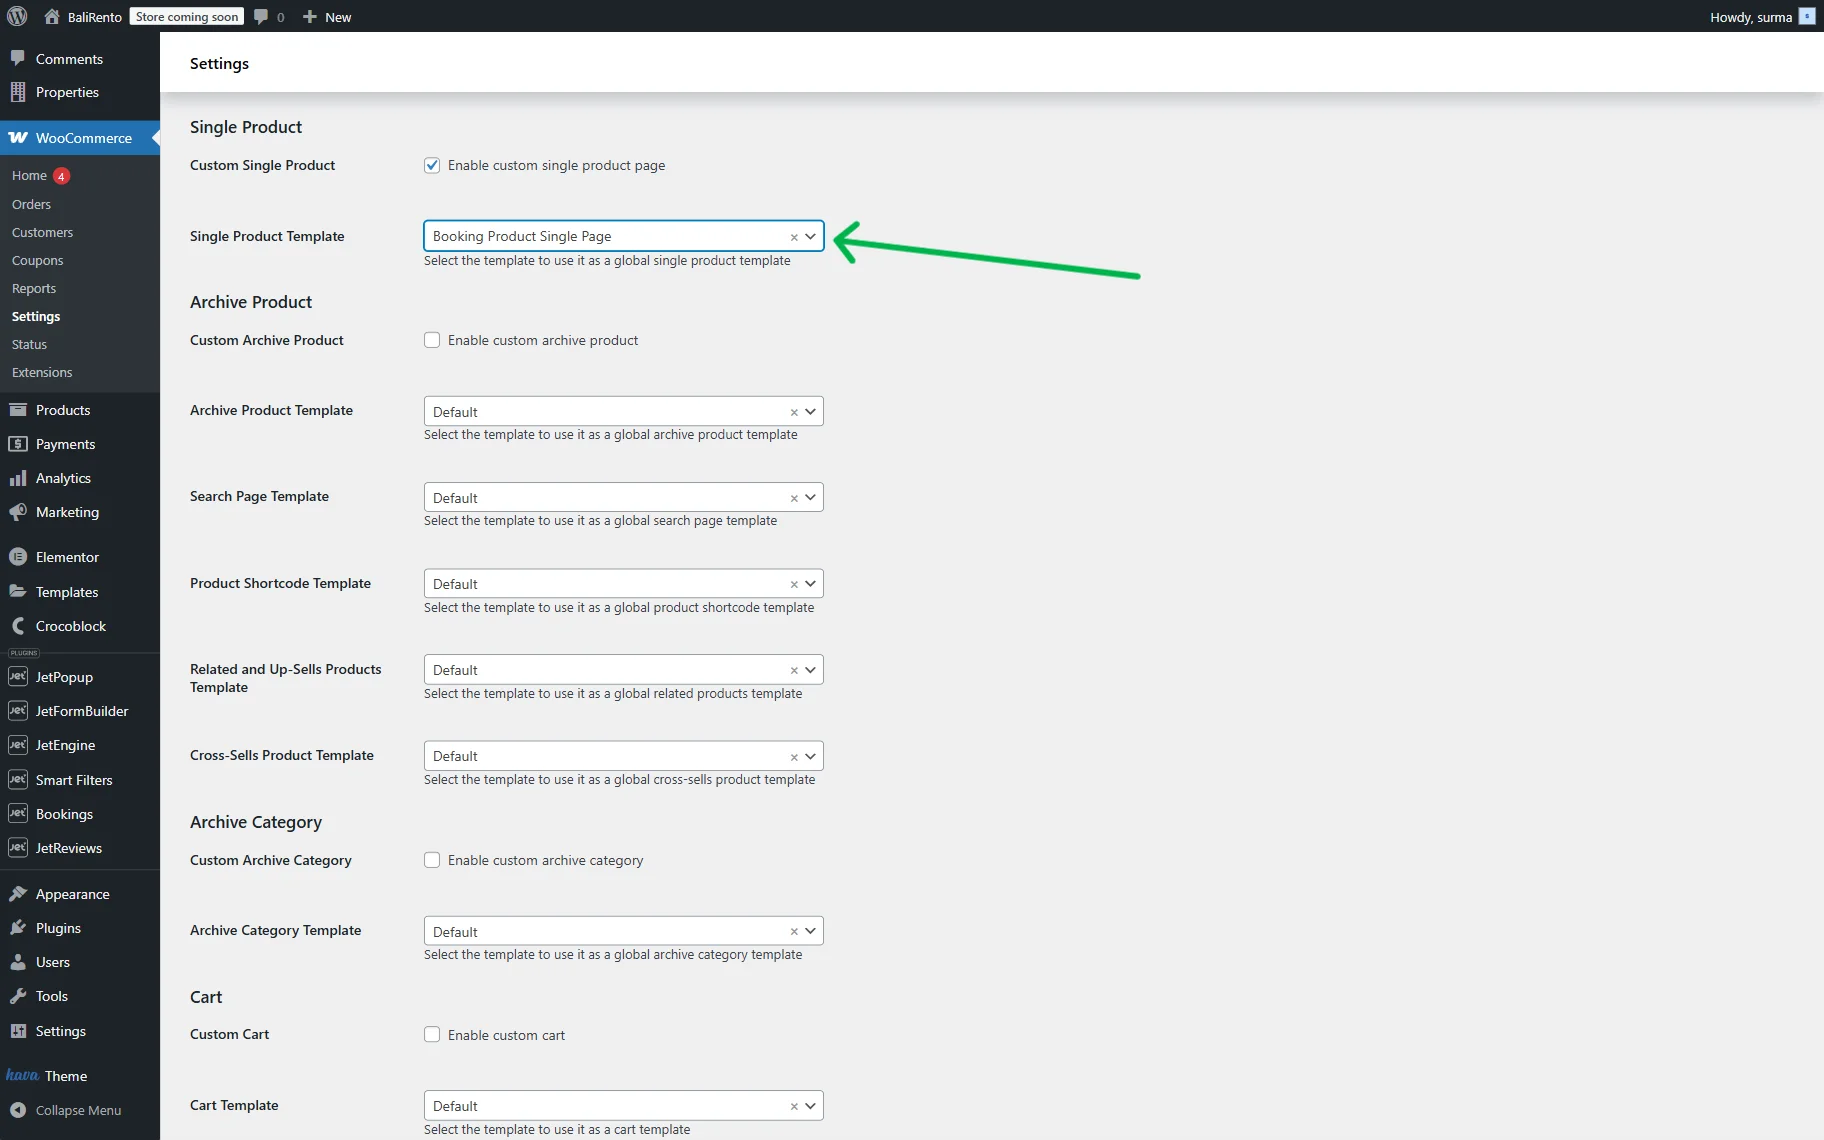
Go back to the WordPress Dashboard > WooCommerce > Settings submenu. Select the JetWooBuilder tab and scroll to the Single Product section to set a particular template for all products.
Tick the Enable custom product single page option and select a template you have recently created in the Single Product Template dropdown.
Scroll down and click the “Save changes” button.
Check the Result
Proceed to the front end and check how products look with the newly created Single Template.
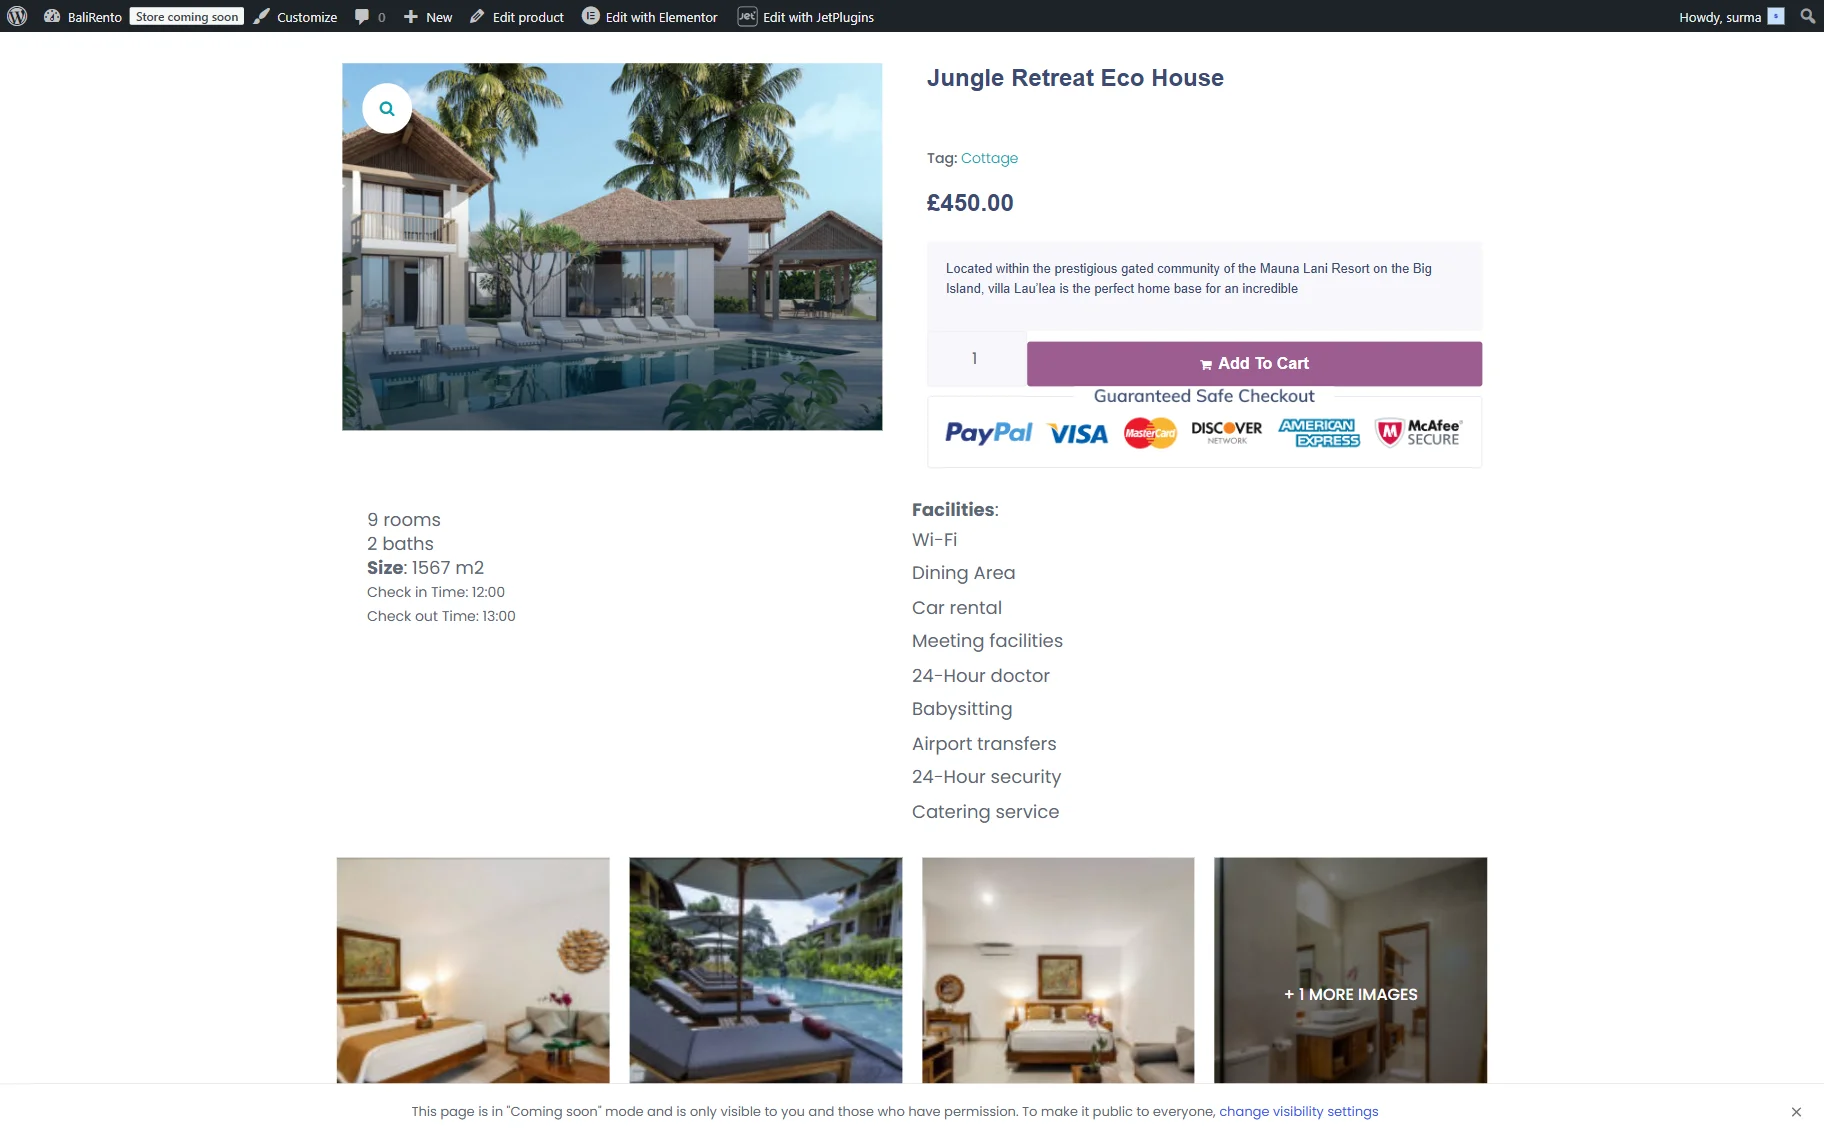
That’s it. Now you know how to create a custom Single Product page for the WooCommerce-based booking for JetBooking using the JetWooBuilder and JetProductGallery WordPress plugins.