Popup Conditions Overview
Find out how to set needed conditions for WordPress pop-ups built with the help of the JetPopup plugin.
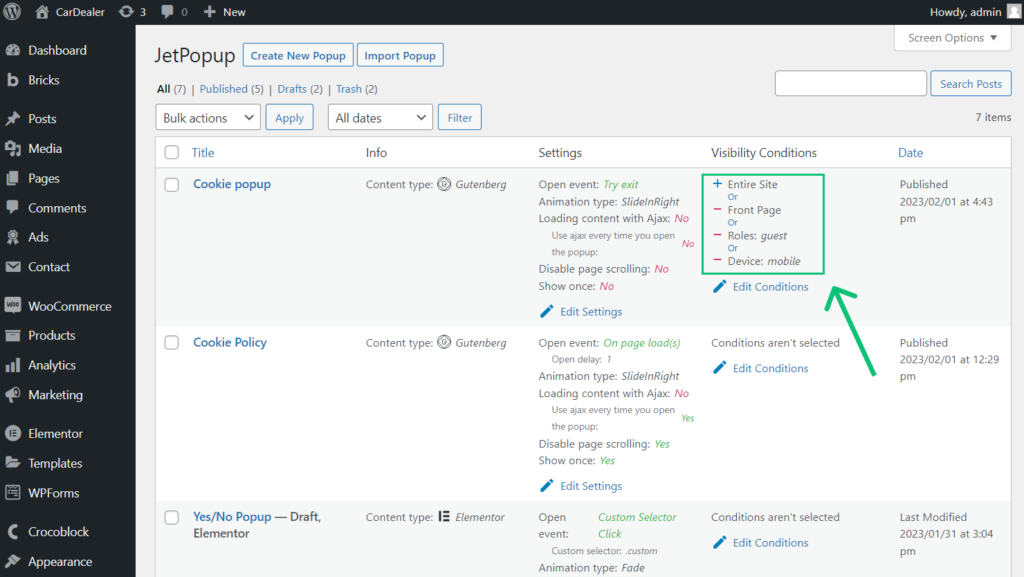
JetPopup Visibility Conditions allow you to show pop-ups on certain pages and devices for users with specific roles, etc.
To observe the pop-up conditions, proceed to the JetPopup > All Popups tab on the WordPress Dashboard and hit the “Edit Condition” button in the Visibility Conditions of any created pop-up.
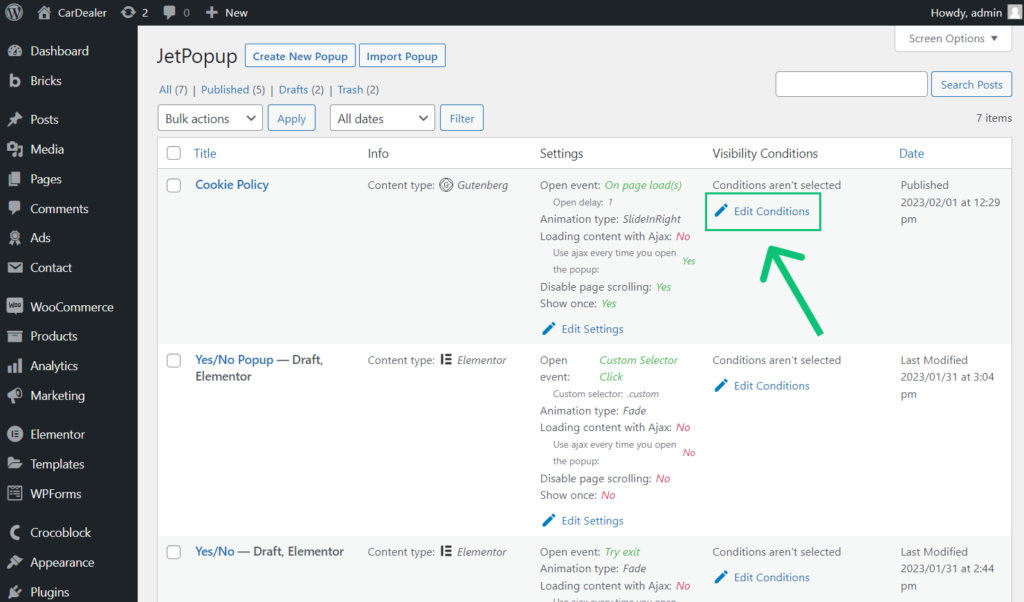
You can set the conditions in the appeared pop-up, just hit the “+ Add condition” button.

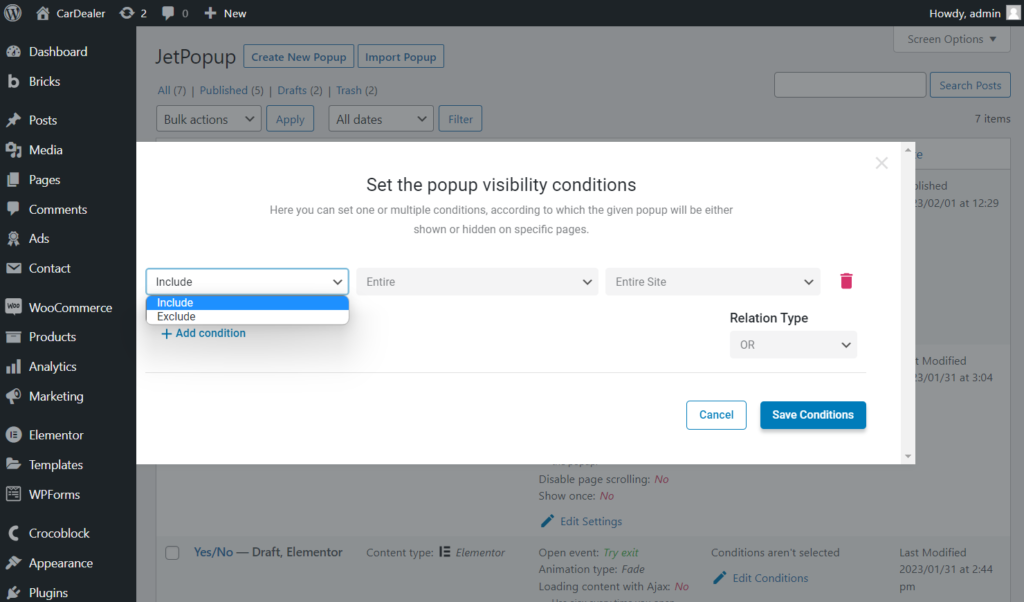
Once clicked, you can specify the condition with the help of several drop-down menus.
The first selector allows you to choose between such two options:
- Include — allows you to specify where and under what conditions a pop-up appears;
- Exclude — lets you exclude pop-up showcases for some pages, devices, user roles, etc.
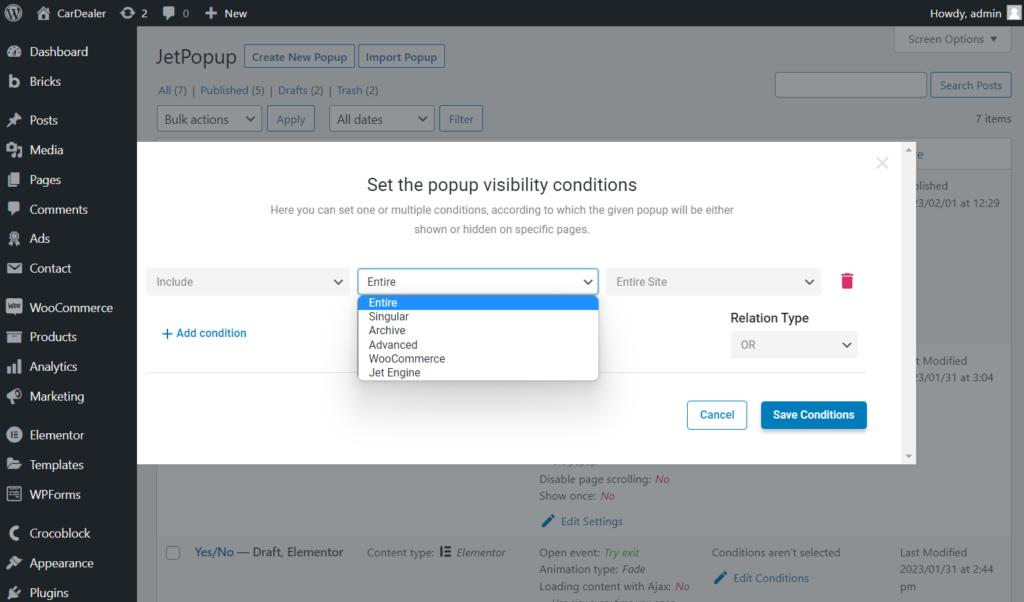
The following drop-down defines the type of source:
- Entire – for the whole site;
- Singular – for available singular pages;
- Archive – for provided archive options;
- Advanced – for URL parameter, device, and roles;
- WooCommerce – for WooCommerce products archive, single product, and pages;
- JetEngine – for the Custom Query feature from the JetEngine plugin.
Let’s examine them in more detail.
Entire
Once this value is selected, there is only one option in the third drop-down menu, “Entire Site.”

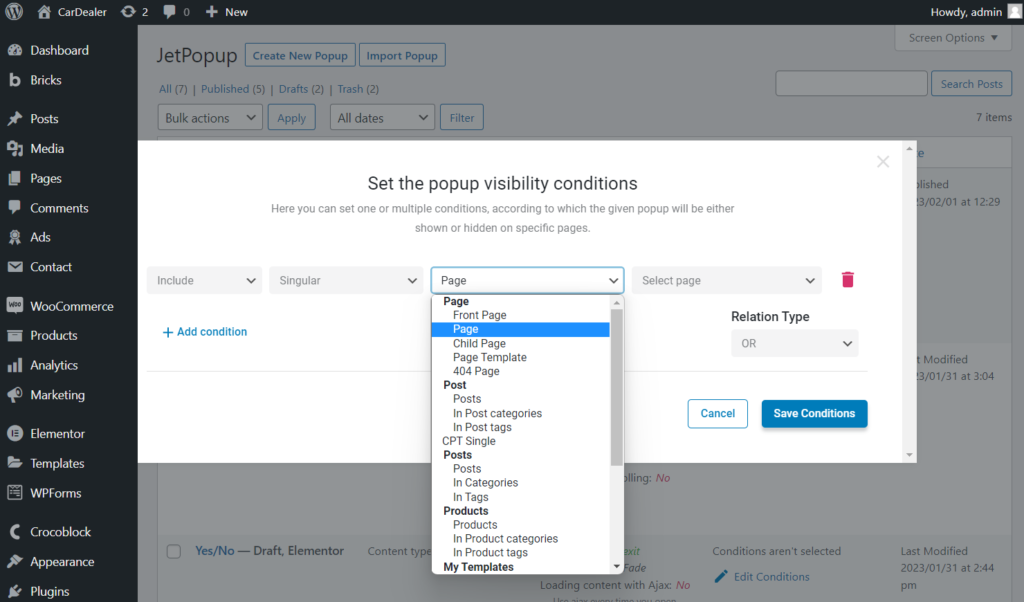
Singular
Here, you can set a condition of the singular type so that a pop-up can be shown only on the specified post or page. You can also select the needed post type and specify a post if needed.
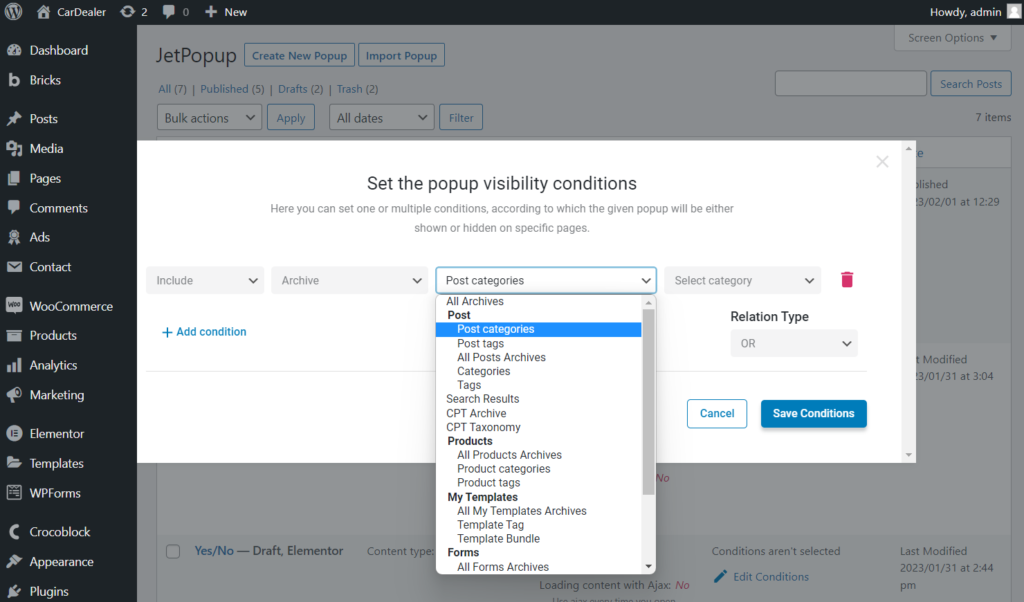
Archive
Pick the source for the archive in the selector and specify the archive if required. For example, you can display a pop-up only on posts that belong to a certain category.
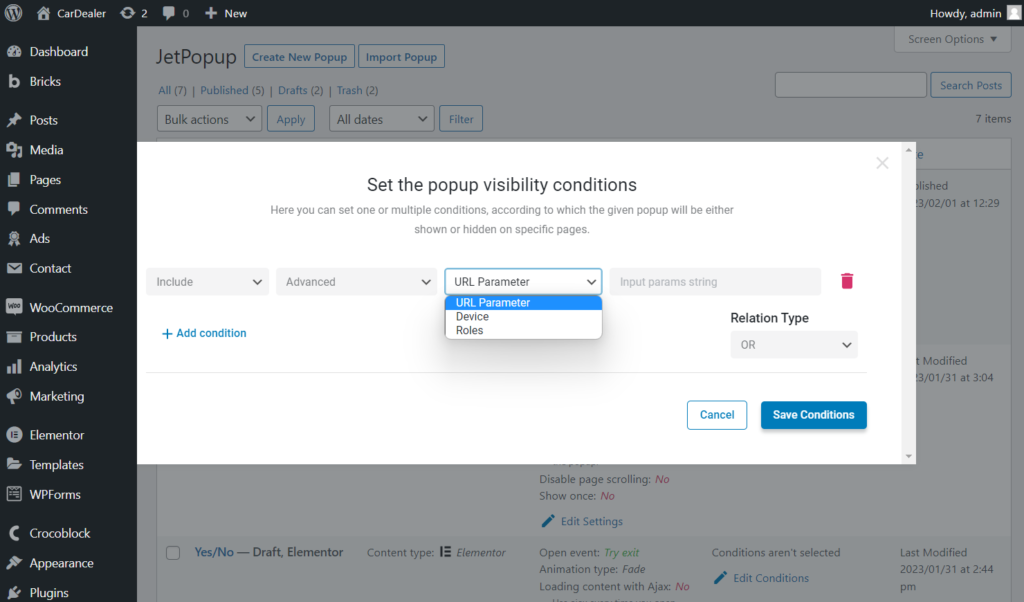
Advanced
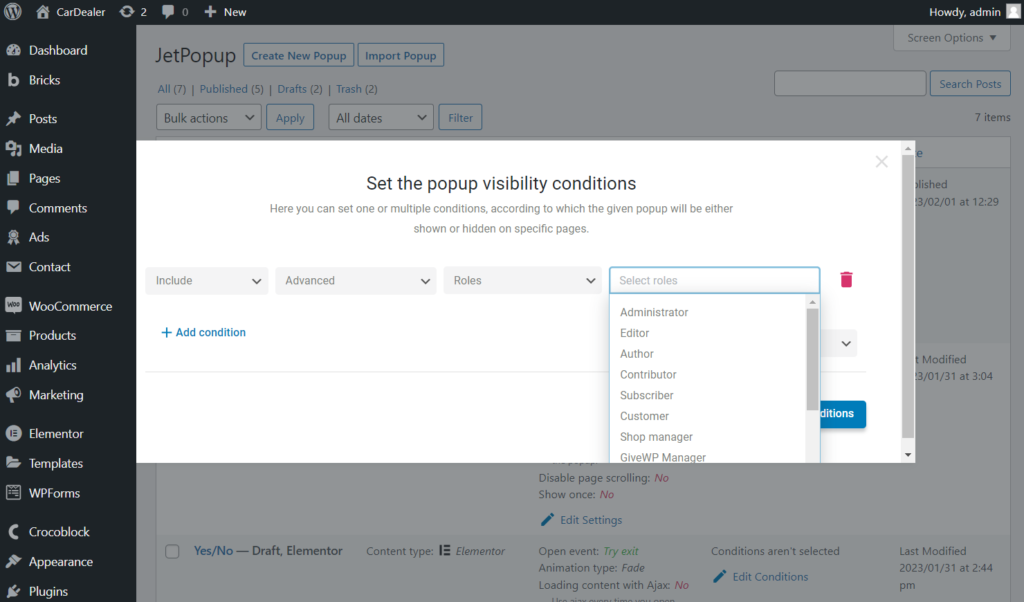
With the “Advanced” option, you can set other conditions for a template, such as “URL Parameter,” “Device,” or “Roles.”
For the “URL Parameter” condition, you may need to set the search bar on the website. You can do this with the Ajax Search widget of the JetSearch plugin or the Search Filter widget or block of the JetSmartFilters plugin.
You can set this condition so that a pop-up will appear if users enter a particular request. For example, if you have a tour website, and users enter the “France” request, you can show them a pop-up with hot tours to France.
You need to put the names and values of the URL parameters into the fourth field in the following format: param1=1¶m2=2. You can use as many parameters as you need.
For example, for the Ajax Search widget, it will be “s=france,” and for the Search Filter, it will be “jsf=jet-engine&_s=france.”
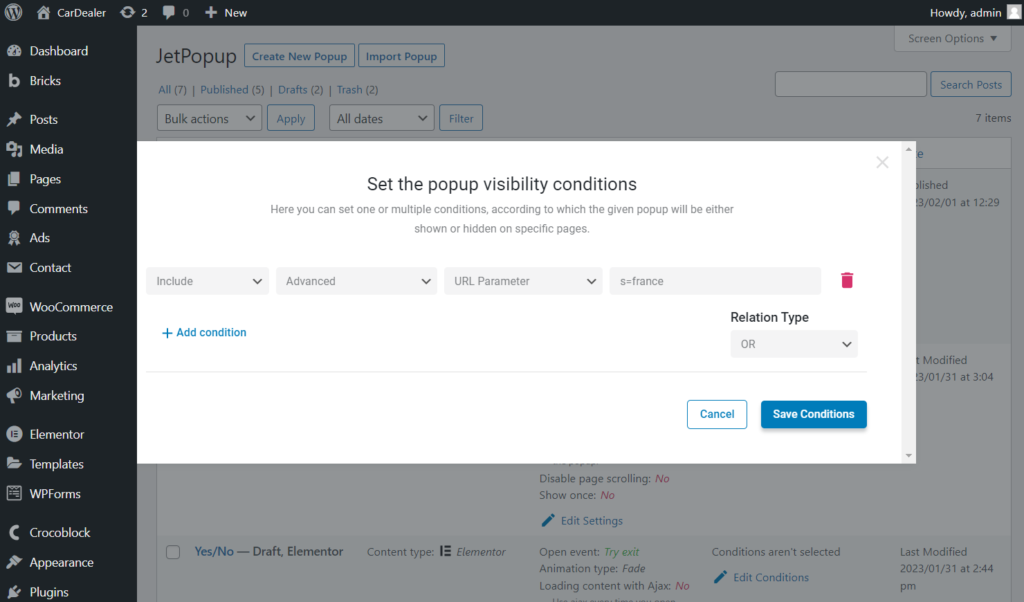
To ensure what you need to set, you can enter the needed request into the search bar, then copy the URL parameter from the search string and enter it into the fourth field of the condition pop-up.

If you’re interested in such a feature, you can become fascinated by Creating WordPress Page Template for Certain Request with the JetThemeCore plugin as well.
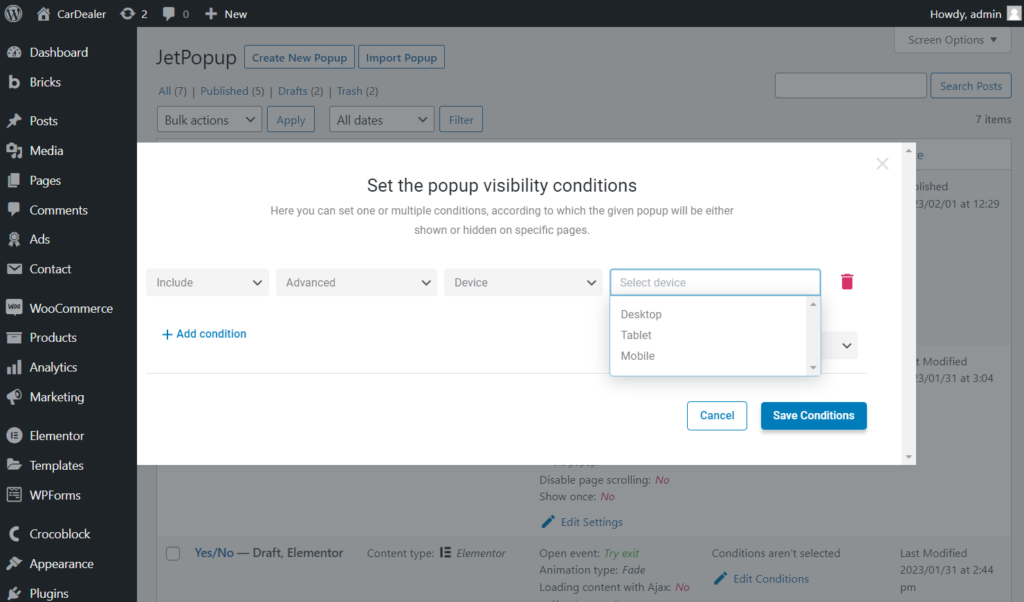
If you pick the “Device” option in the third drop-down, you can show a pop-up on a specific device, for example, only on a mobile. Select one or two required options in the fourth field.
If you pick the “Roles” option, you can show a pop-up for users with particular WordPress roles, for example, only for guests. Select one or more required options in the fourth field.
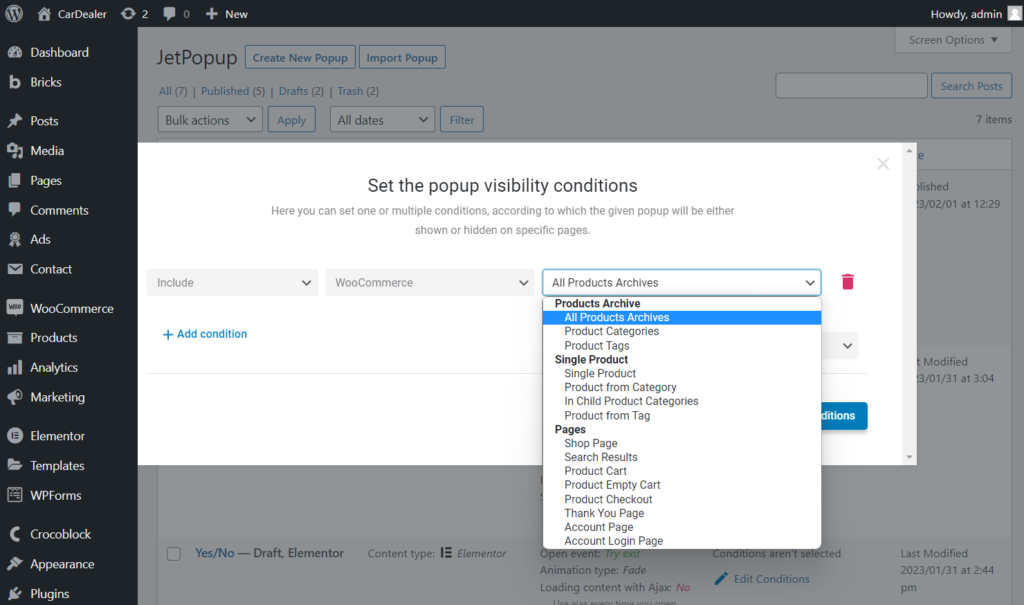
WooCommerce
With the “WooСommerce” option, you can set the source for WooCommerce pages.
If you use the WooCommerce plugin, you may take an interest in the JetWooBuilder Elementor plugin.
JetEngine
Let’s observe this option based on the example.
With the JetEngine plugin, you can build a dynamic structure for a WordPress website. For example, you can create a “Favorite Page” with the Data Store module, where users can add their favorite items. For more details, follow this tutorial.
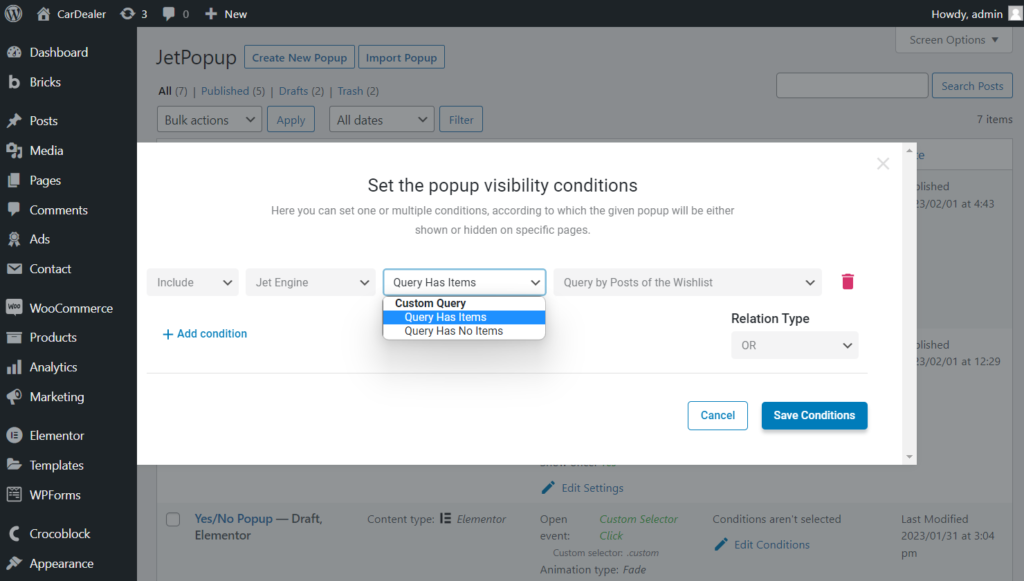
To display the favorite items on the “Favorite Page,” you need to create a Custom Query that queries items and shows on the “Favorite Page” only those users add to the store by clicking on the button.
You can create two pop-ups for the “Favorite Page”: the first (e.g., with a discount) will be shown if users add items to favorites, so in this case, select the “Query Has Items” condition for the pop-up; and the second (e.g., with the message “This page is empty, please, add some products to it”) will be displayed if the users haven’t added items yet, so in this case, select the “Query Has No Items” condition.
Remember that you can set several conditions by hitting the “+ Add condition” button above the first condition.
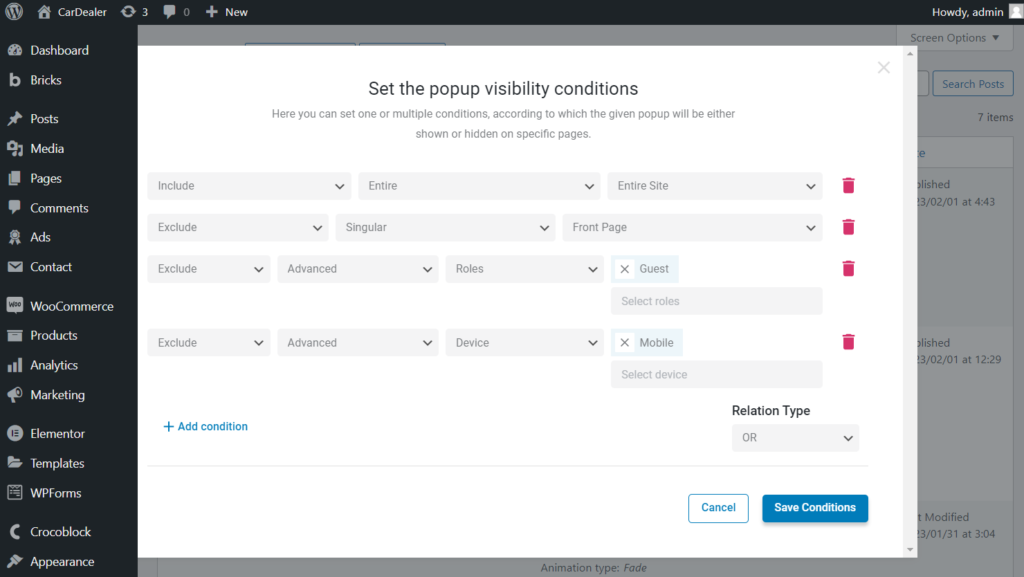
Mind that you can delete conditions by pressing the trash icon.
After you finish setting conditions, push the “Save Conditions” button.
Then, you can check all conditions in the Visibility Conditions column.
That’s all. Now you know how to set the desired conditions with the JetPopup plugin.