Filter Settings Overview
This tutorial reveals the details of settings available after the installation of the JetSmartFilters plugin.
The settings in this tutorial refer to the whole JetSmartFilters plugin, not separate filters or widgets. Those settings can be accessed in two ways after logging into the website’s dashboard:
- in the WordPress Dashboard > Crocoblock > JetPlugins Settings > JetSmartFilters directory;
- or in the WordPress Dashboard > Smart Filters > Settings directory.
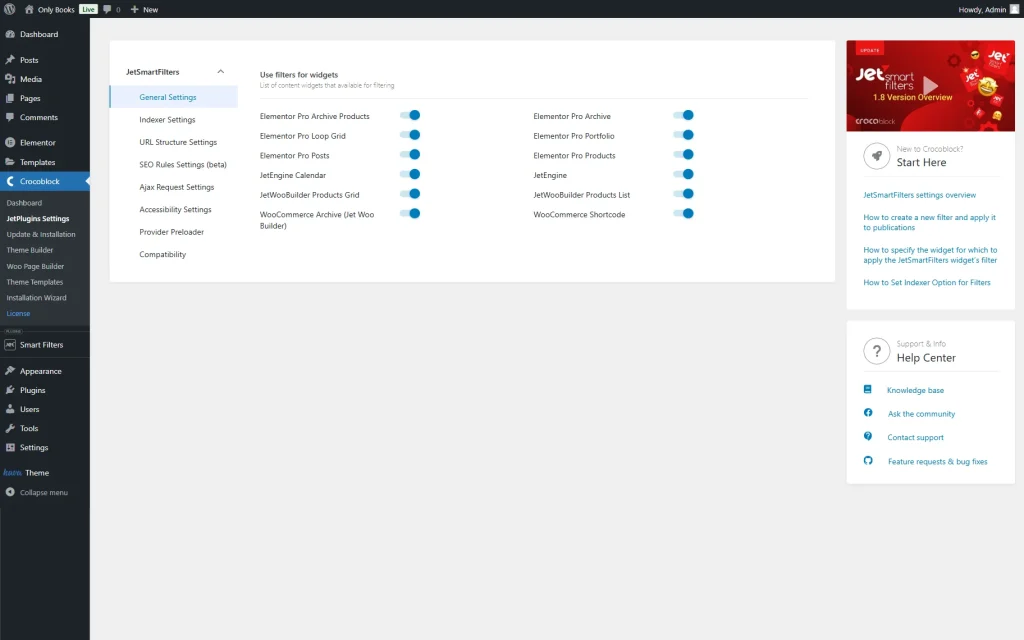
Either way, the same window will be opened. The JetSmartFilters settings include the following tabs:
General Settings
Indexer Settings
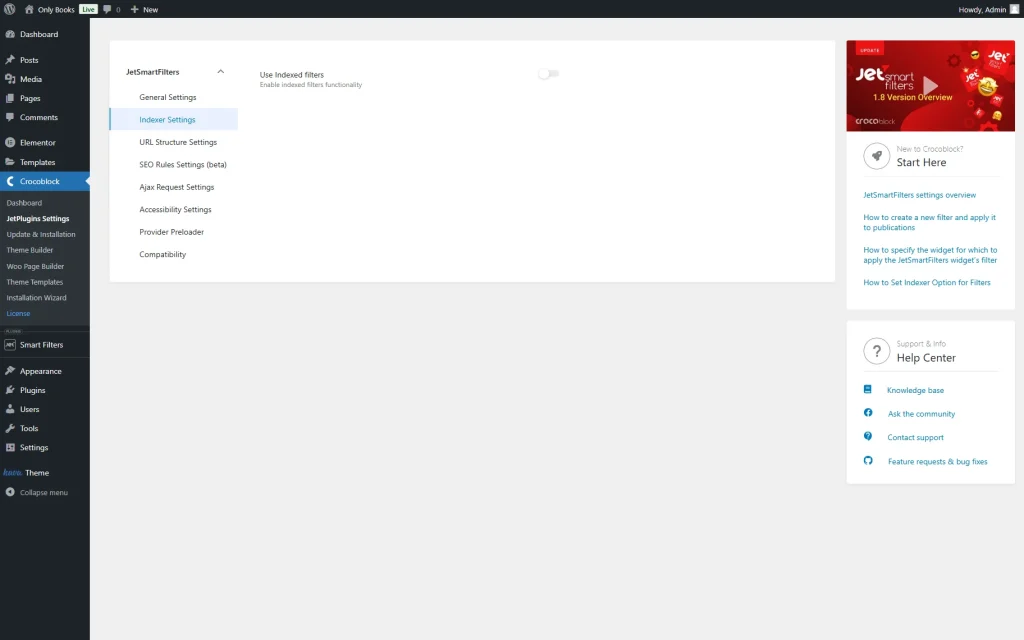
The indexer is a small counter that appears next to the filter’s label and shows the number of items shown after that filter is activated. By default, the Use Indexed Filters toggle is deactivated, so the indexer functionality is turned off.
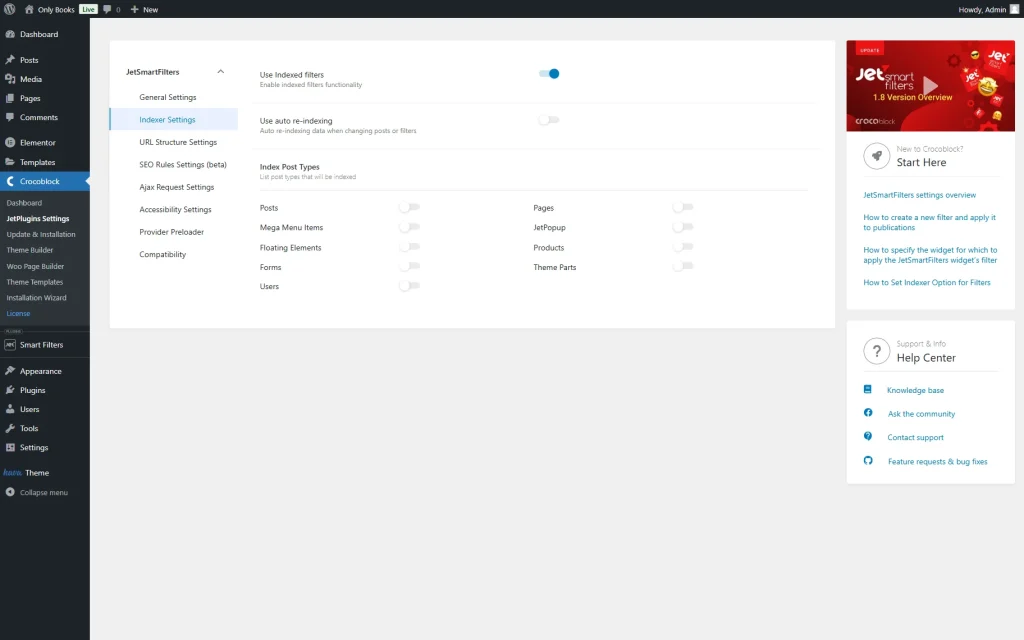
When the Use Indexed Filters toggle is activated, the Use auto re-indexing switcher appears. This feature will index itself without any further actions.
This tab also presents the list of Index Post Types; the ones that should work with the indexer should be activated.
More details can be found in the How to Set Indexer Option for Filters tutorial.
URL Structure Settings
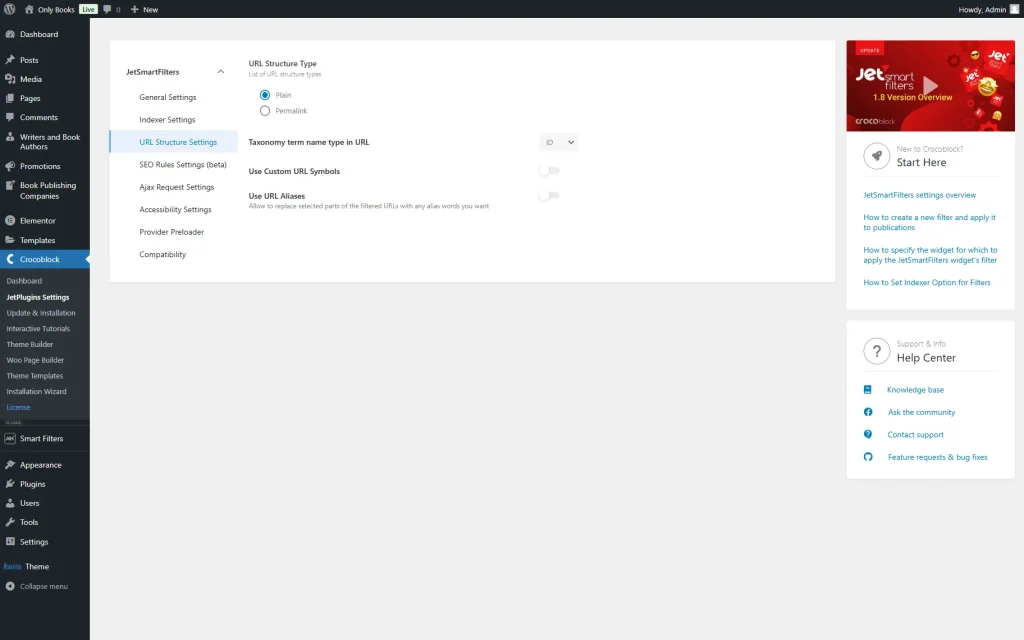
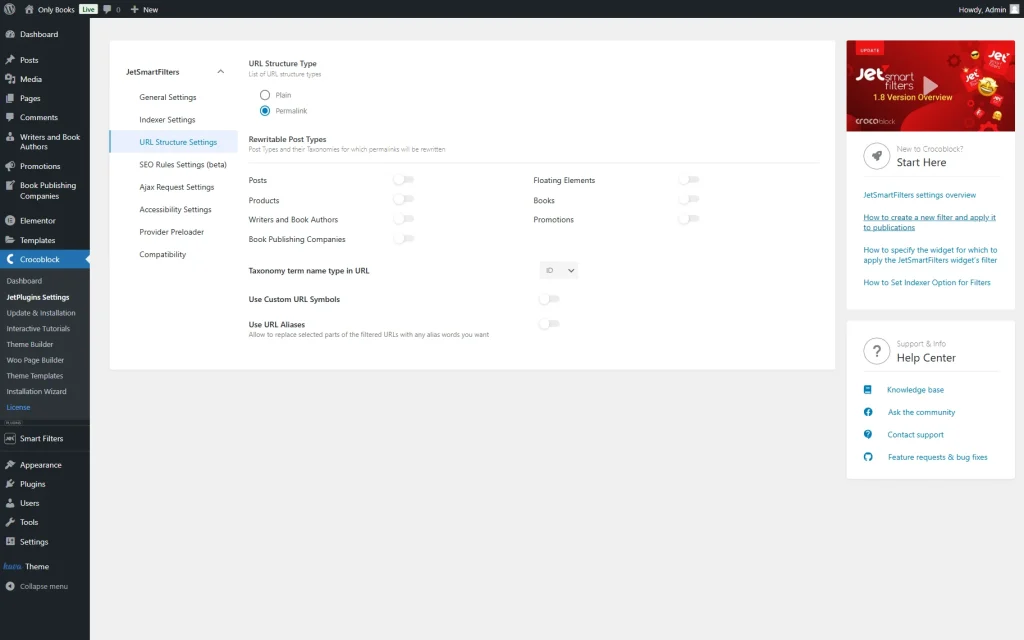
In this tab, the “Plain” or “Permalink” URL Structure Type can be selected.
The Filter URL Structure Settings Overview provides more information about what type is needed and how this option can fix some issues.
By default, the “Plain” option is activated.
If the “Permalink” option is selected, the Rewritable Post Types section appears. The toggle for the specific post type should be activated here to rewrite its URL as permalinks.
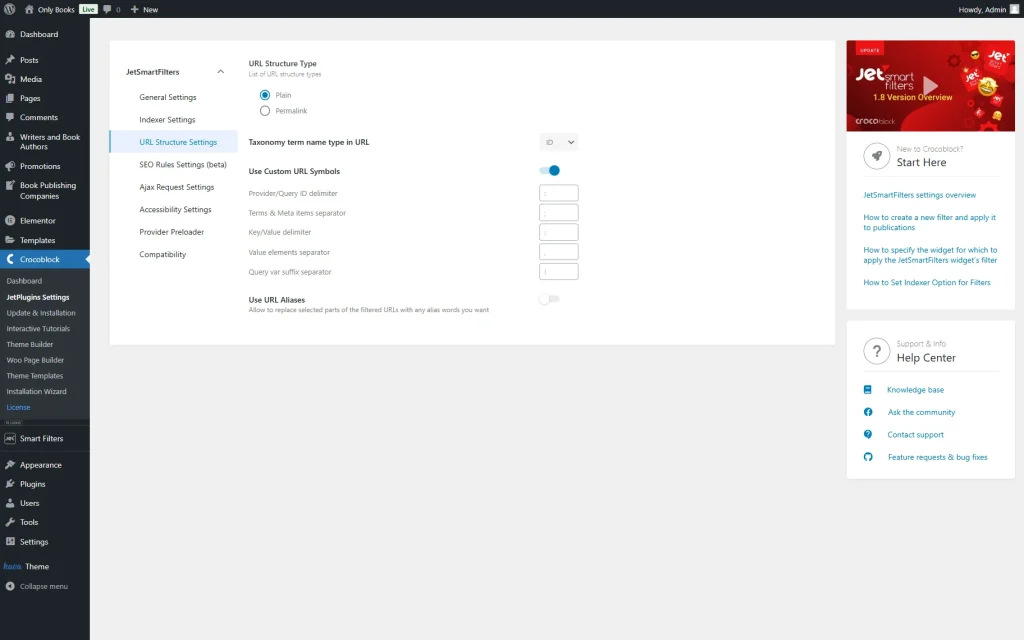
Also, in this tab, the Taxonomy term name type in URL field is available, where one can pick whether to display the “ID” or “Slug” of the selected term in the URL of the filtered page.
Next, one can activate the Use Custom URL Symbols toggle to select symbols that will be used in the URL. By default, standard symbols are used (these are shown as placeholders in corresponding fields).
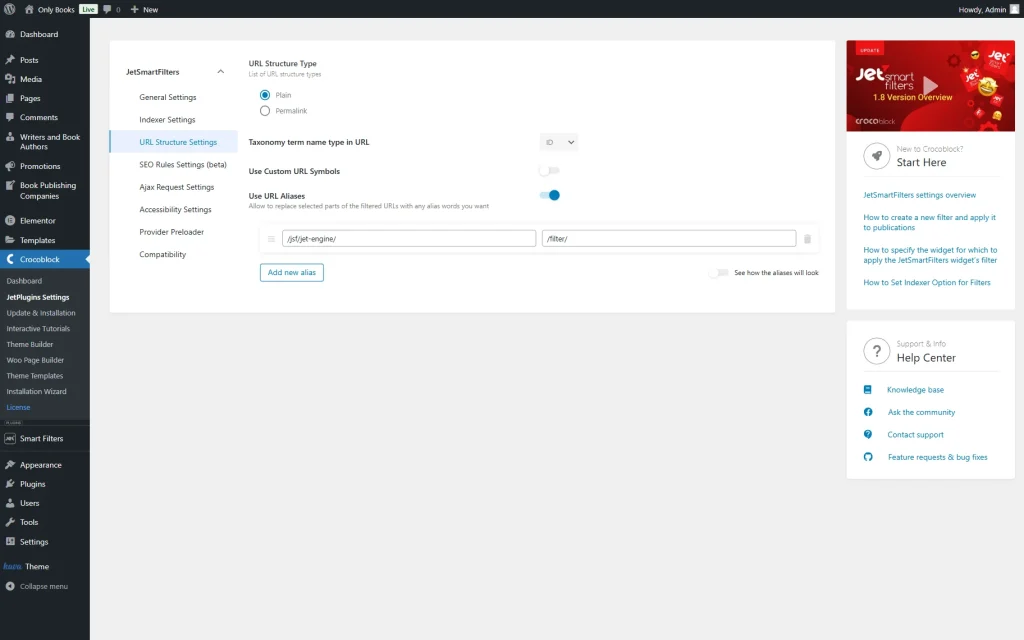
Another option available in this tab is called Use URL Aliases. This toggle can be activated to customize the URL structure.
More information about this feature can be found in the How to Create URL Aliases tutorial.
Seo Rules Settings
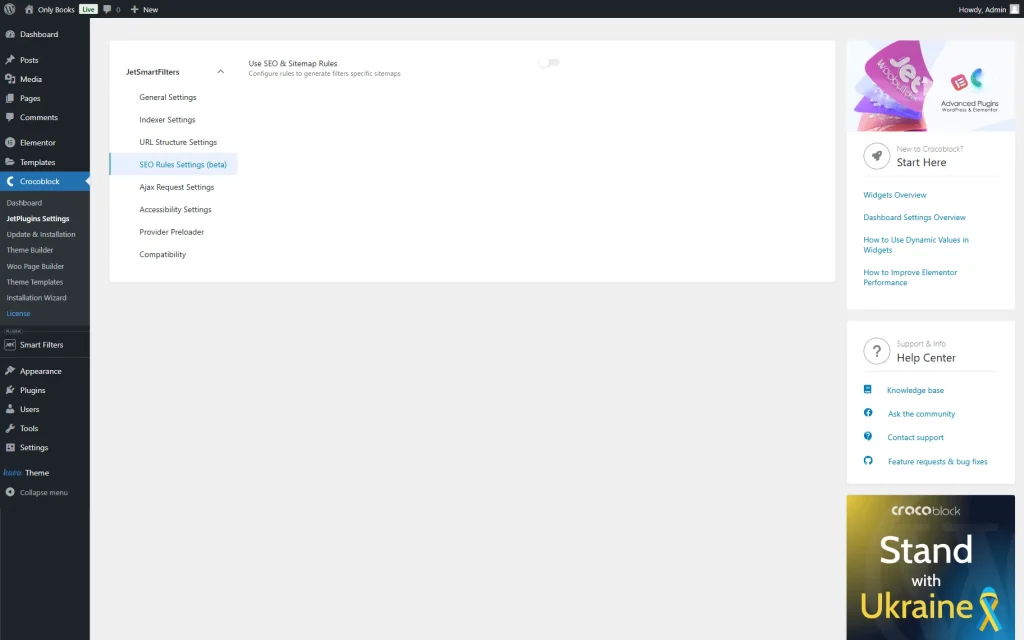
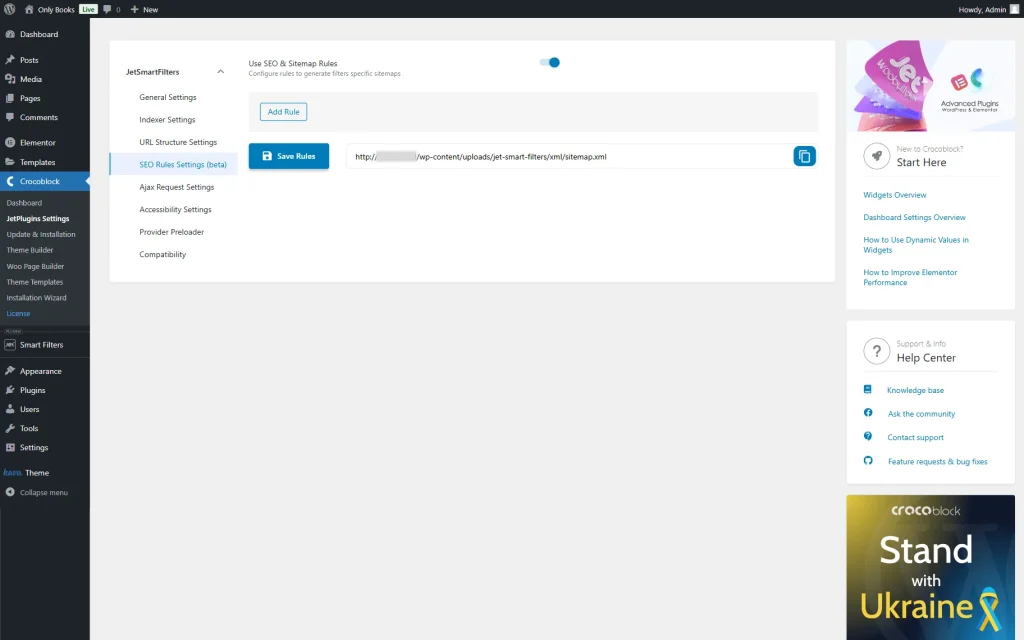
With this directory, the sitemap rules for unique pages with filters can be set. More information about this feature can be found in the How to Set up SEO Rules tutorial.
The Use SEO & Sitemap Rules toggle is deactivated by default.
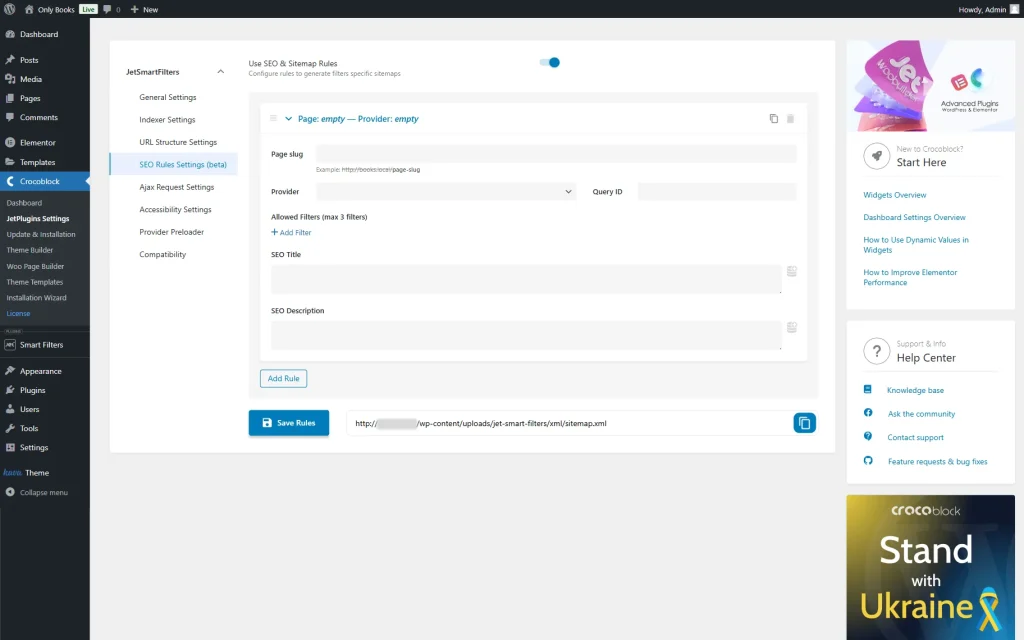
Once activated, the rule can be added by pressing the “Add Rule” button.
In the rule editing section, one can set the Page slug, Provider, Query ID, and Allowed Filters.
To attach the filter, one should press the “Add Filter” button and select the needed option in the appeared field.
A new rule can be adjusted with the “Add Rule” button.
Also, one can add an SEO Title and SEO Description for the added rule.
Once the sitemap rule editing is complete, one should press the “Save Rules” button.
Also, there is a sitemap route link next to the “Save Rules” button. By pushing the corresponding button next to the link, the link can be copied to the clipboard.
Ajax Request Settings
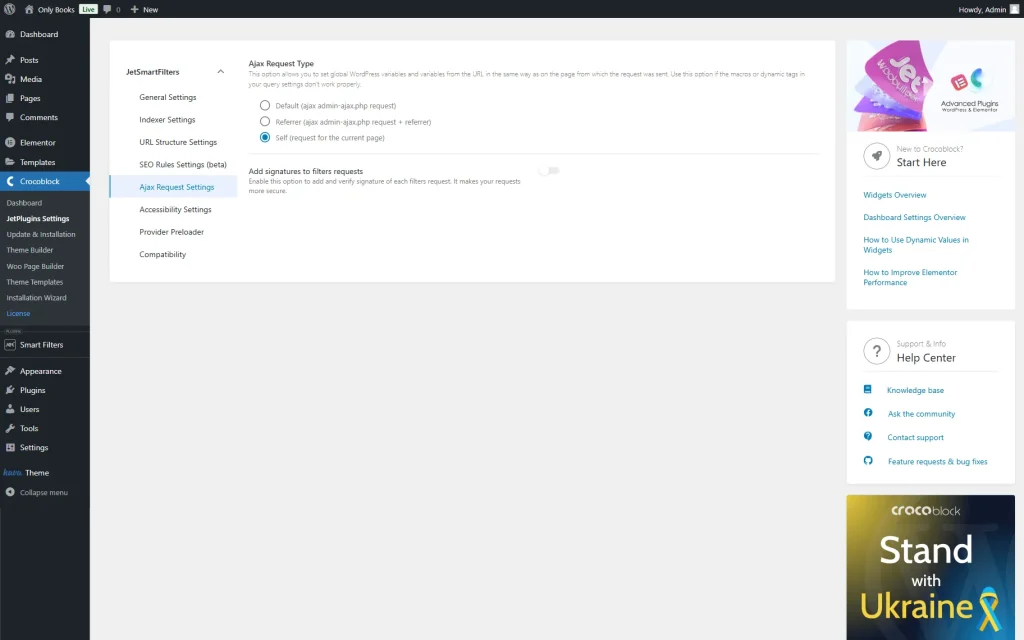
More information about the Ajax Request Settings tab can be found in the How to Set AJAX Request Type tutorial.
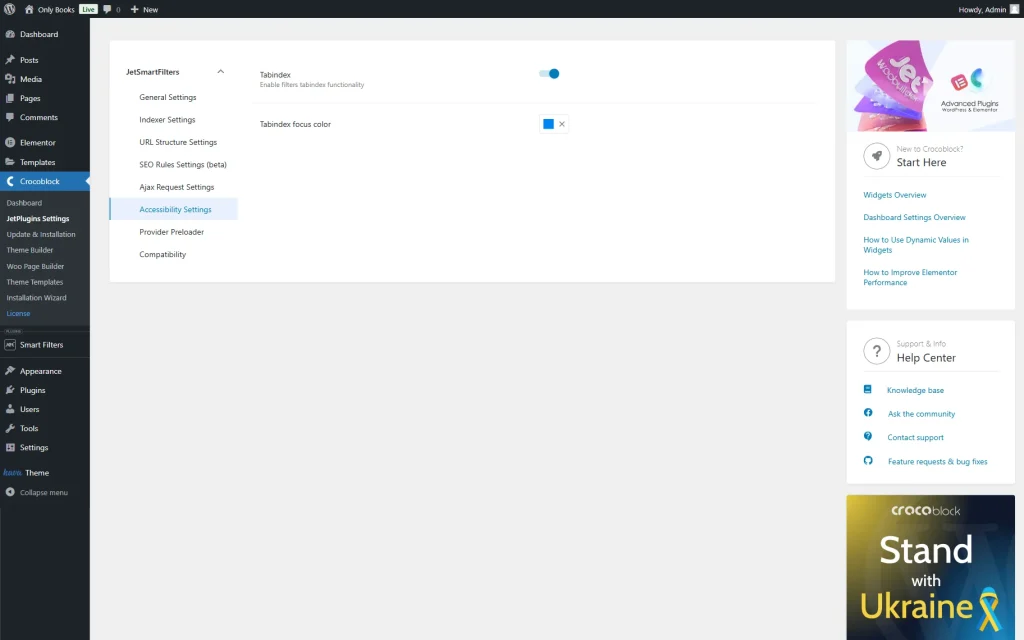
Accessibility Settings
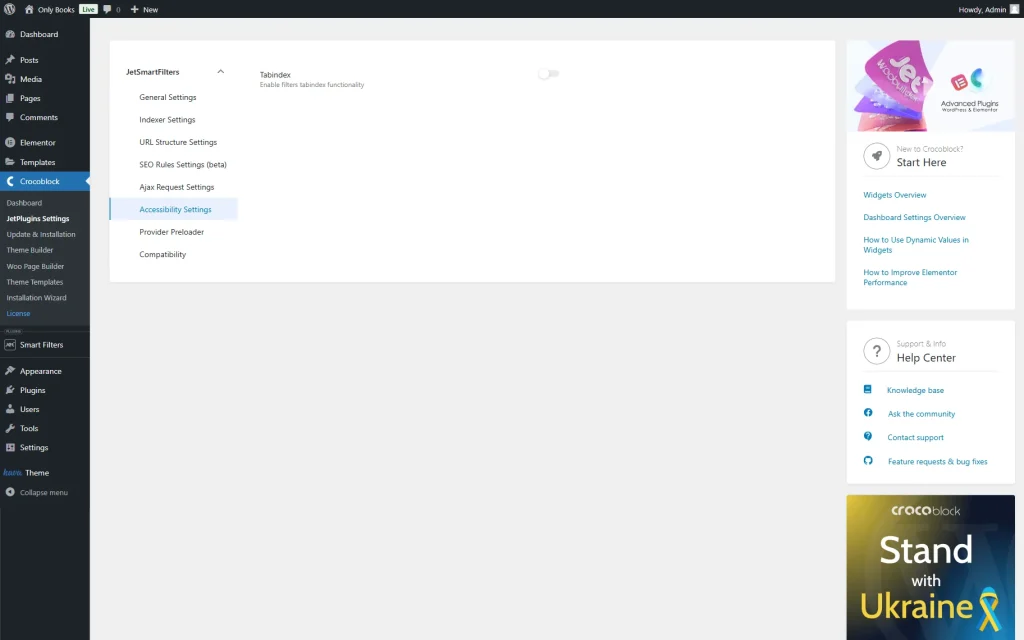
In this settings menu tab, the Tabindex toggle can be enabled.
With this option, one can filter items on the front end without pressing the mouse, using the Tab and Enter keys to move between and pick filter options.
Once the Tabindex toggle is activated, one can set the Tabindex focus color.
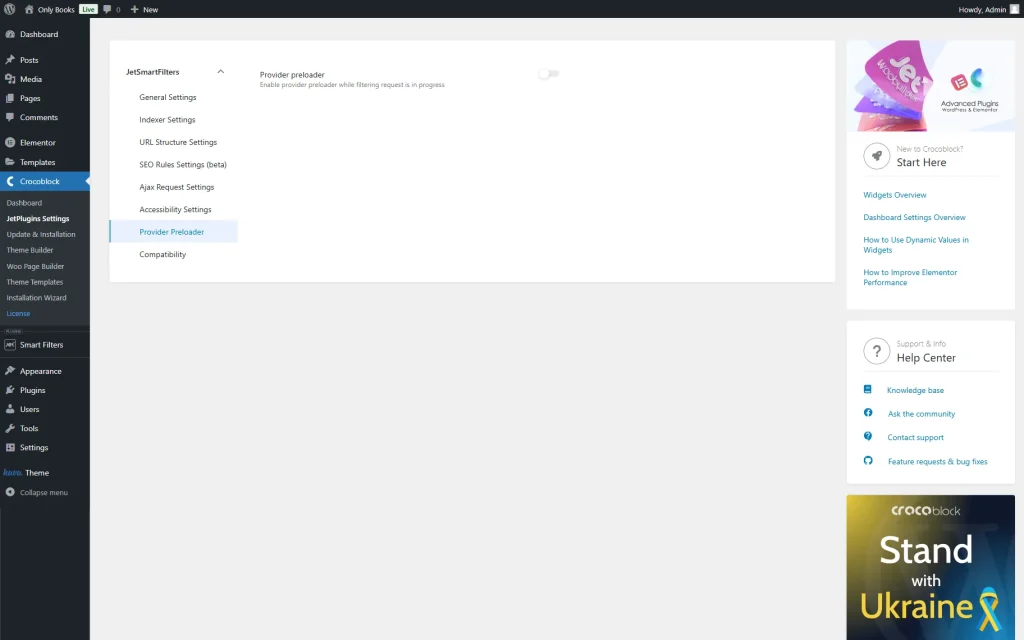
Provider Preloader
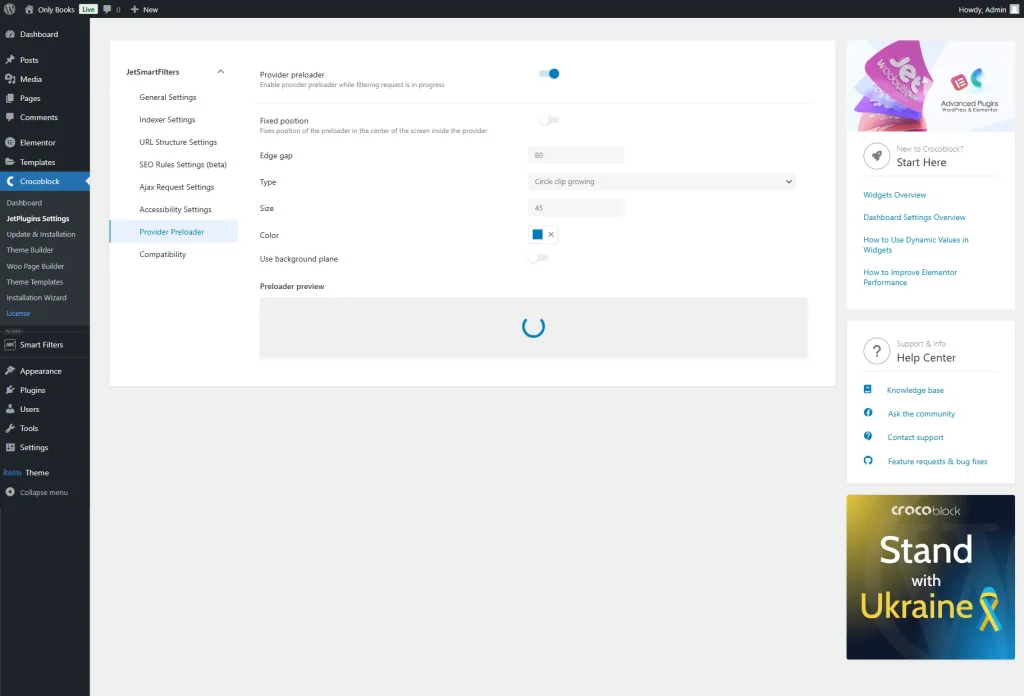
The Provider preloader toggle is deactivated by default, so the filtered content is loaded with the “fade-in” animation. However, this effect can be changed in this settings tab.
If activated, one can change the view of the preloader with the help of the provided settings. More information about these fields can be found in the How to Add a Provider Preloader to Filters on the Front End tutorial.
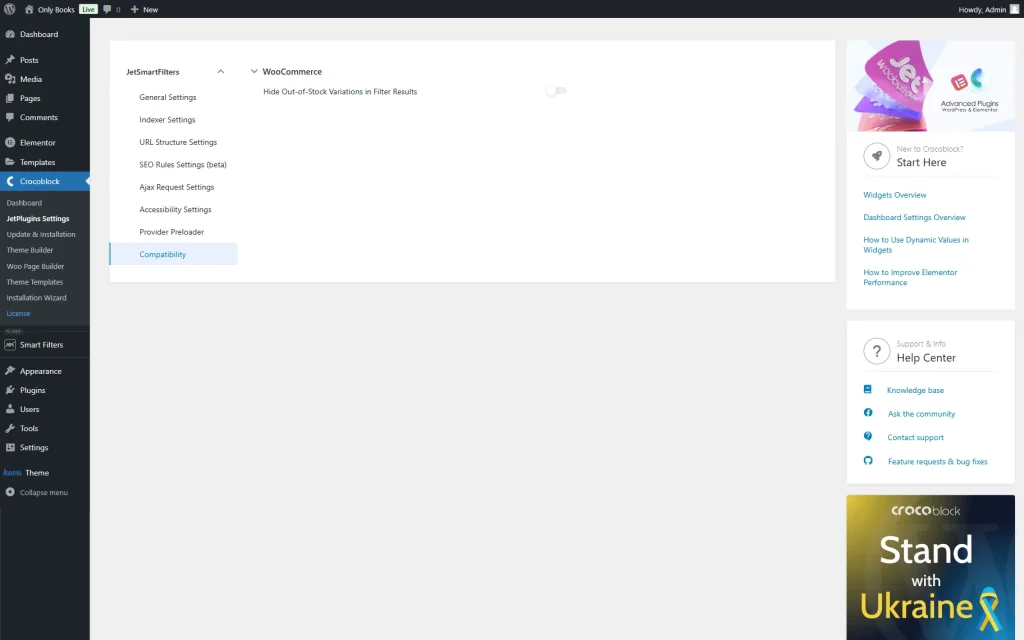
Compatibility
That’s all about the settings of the JetSmartFilters plugin available for WordPress websites.
