How to Display Items’ Availability Status Dynamically
From this guide, you will discover how to show whether items are available or reserved on your website with JetBooking for WordPress.
Before you start, check the tutorial requirements:
- Elementor (Free version) or Block editor (Gutenberg)
- JetEngine plugin installed and activated
- JetBooking plugin installed and activated with some bookings made on the website
Let’s find out how to display the availability status of the booking instance post type posts. In our case, we have a car rental website and want to showcase the presented cars with their booking status below.
So, there will be three statuses: “Available,” “Available on” (shown if the car is booked for less than seven days starting from today), and “Reserved” (shown if the car is booked for more than seven days starting from today).
We want to display the availability status in the Listing Grid, where all the cars will be presented. So, first, we should build/edit a Listing template.
Build a Listing
Head to WordPress Dashboard > JetEngine > Listings/Components. Here, select the already-built Listing item and press the corresponding button to edit it. Or, build a listing from scratch by pressing the “Add New Listing Item” button at the top of the page.
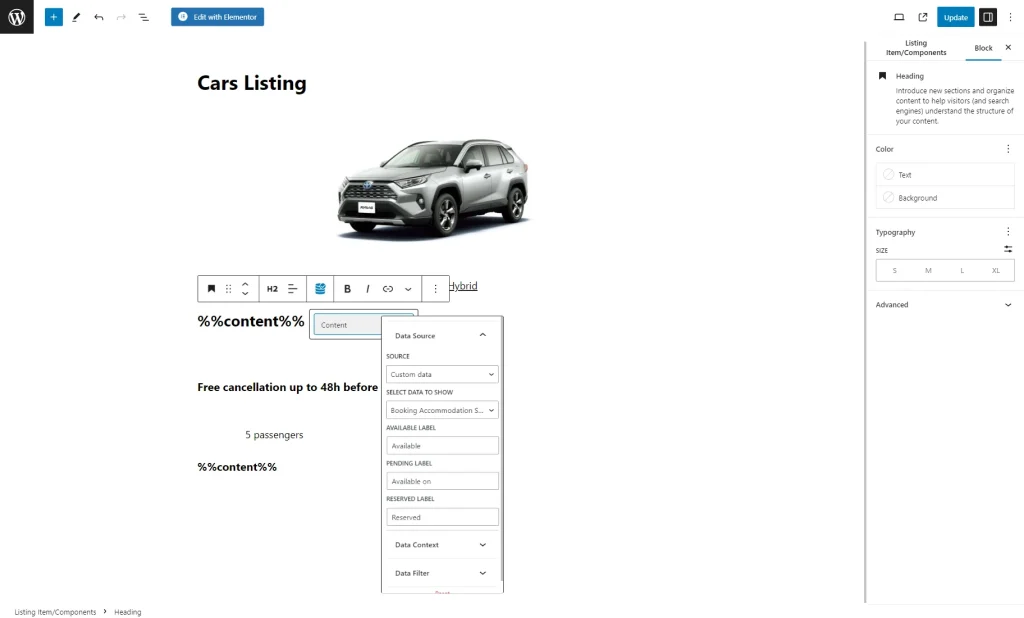
We open the listing built beforehand with Elementor. However, you can edit your listing in the Block Editor if you prefer.
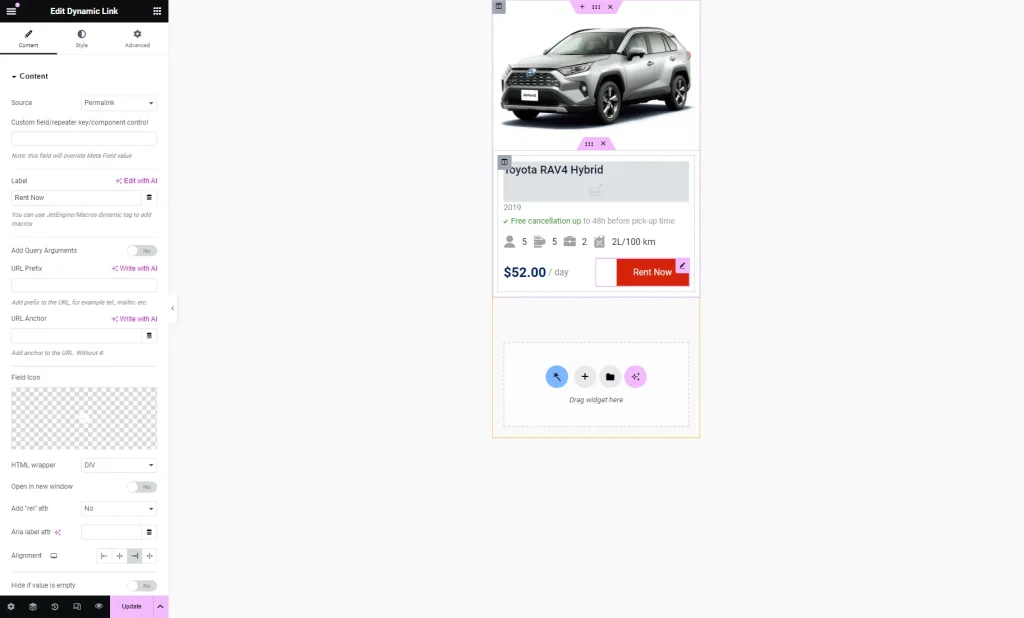
Our Listing item includes the following widgets:
- Dynamic Image — a picture of a car;
- Dynamic Link — the name of the car model;
- Dynamic Field — a year when the car was manufactured;
- Headline — a notice about the cancellation policy;
- Icon List — a list of the car characteristics with their icon indicators;
- Headline — a price per day;
- Dynamic Link — a “Rent Now” button.
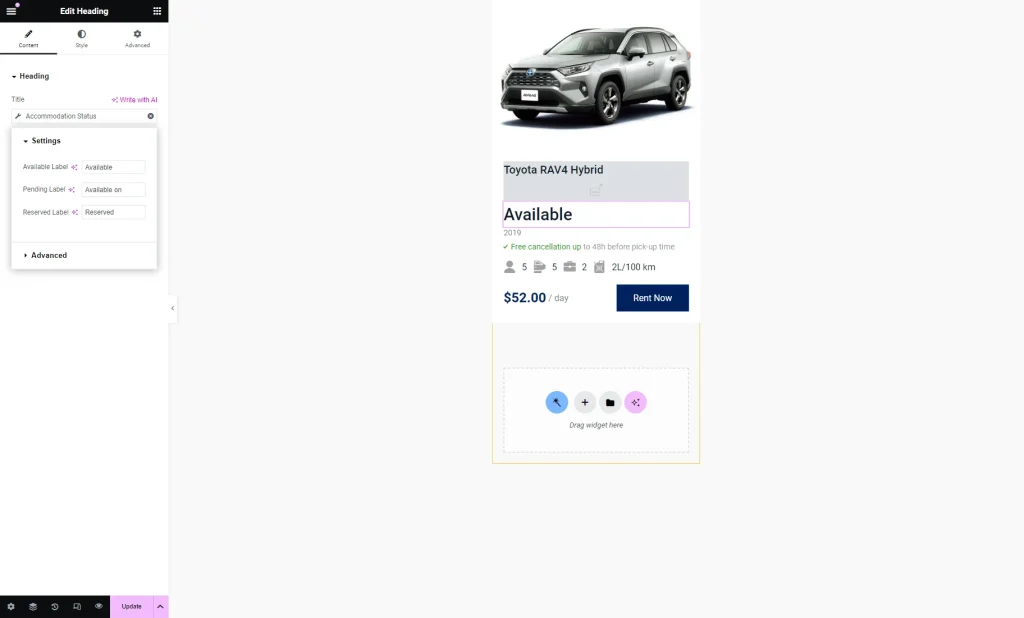
We also add a Heading widget to display the booking availability status. However, you can add any other widget that supports dynamic macros using.
Click the “Dynamic Tags” button next to the Title field and select the “Accommodation Status” macro (JetBooking section.)
Then, press the just-selected macro name to open its settings. Here, you can change the default values put in the Available Label, Pending Label, and Reserved Label fields.
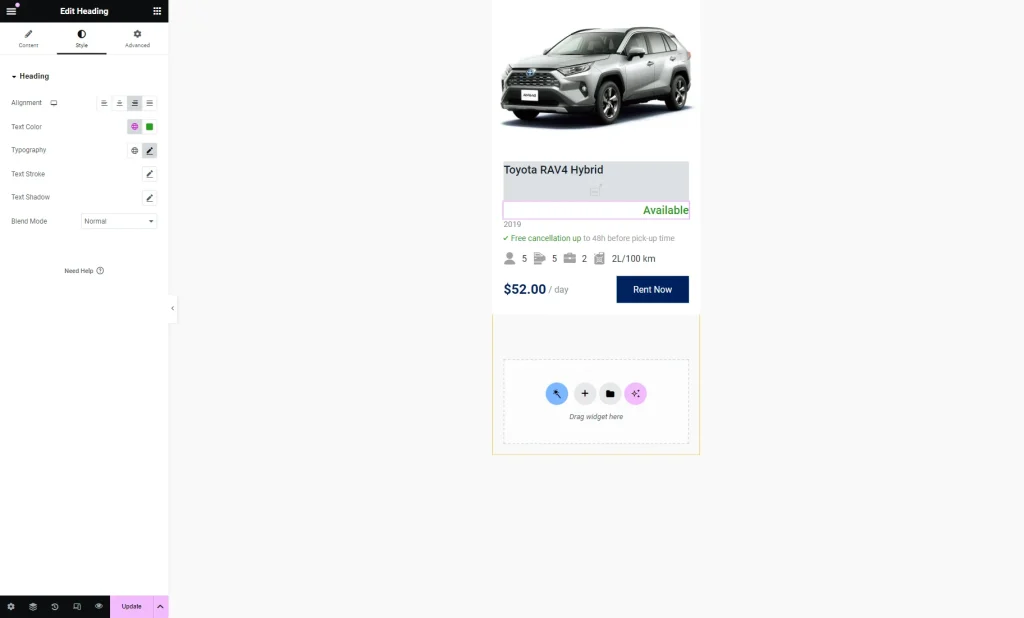
Adjust the Style settings and press the “Update” button to save the listing.
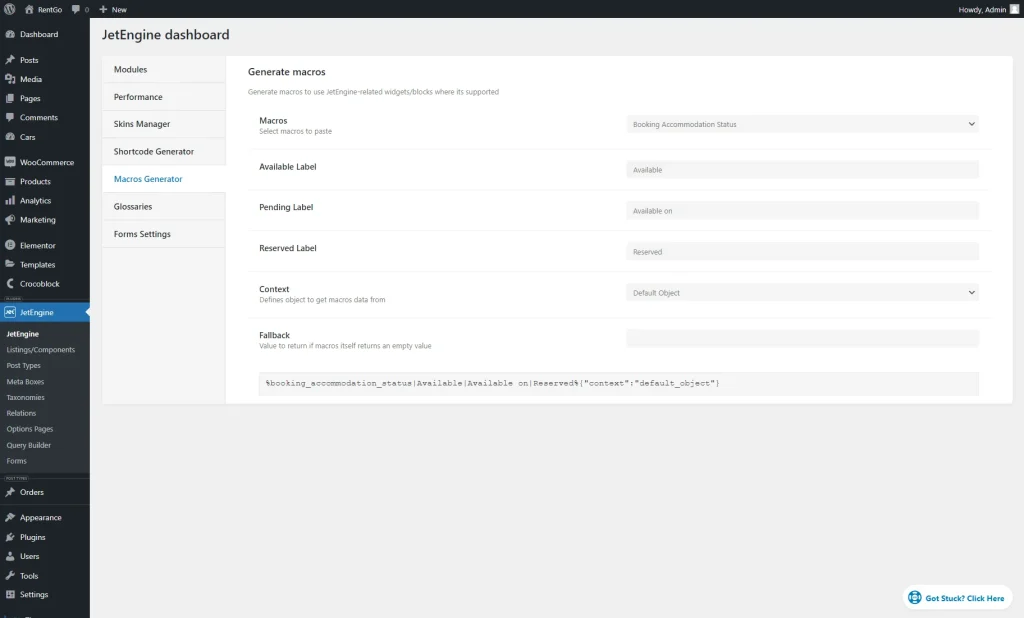
The “Booking Accommodation Status” macro can also be adjusted and generated with the JetEngine’s Macros Generator.
You can adjust the Available Label, Pending Label, and Reserved Label there. You can also set the Context and the Fallback.
The macro itself can be copied below.
Place Listing on the Page
Proceed to WordPress Dashboard > Pages and open the page where you want the Listing Grid to be displayed. Alternatively, you can create a new page by pressing the corresponding button at the top of the page.
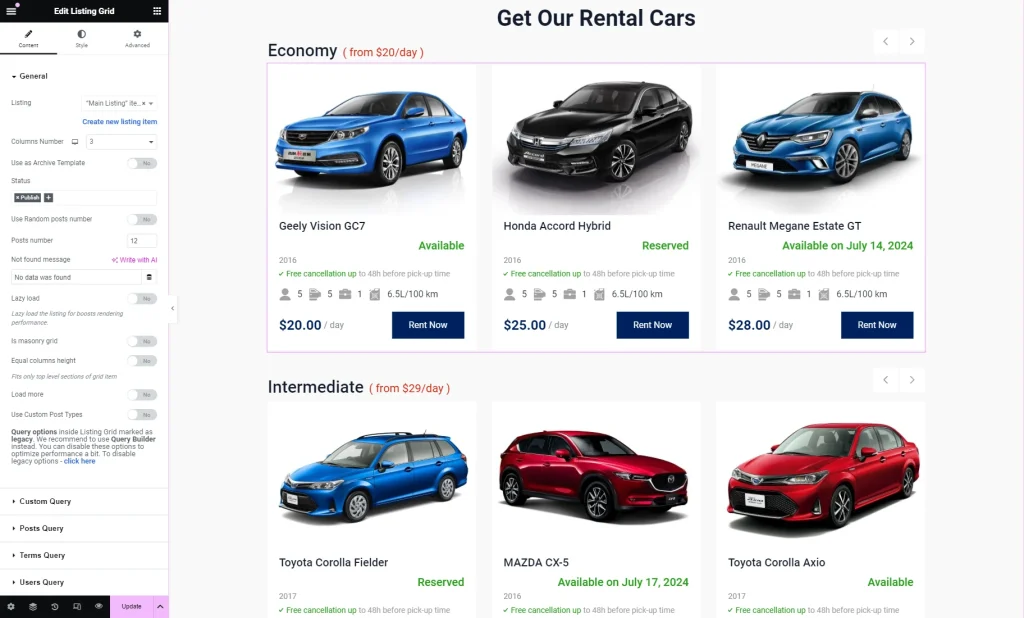
In the page editor, find and place the Listing Grid widget/block/element on the page.
Select the just-edited Listing.
Customize the page additionally if needed and press the “Publish/Update” button.
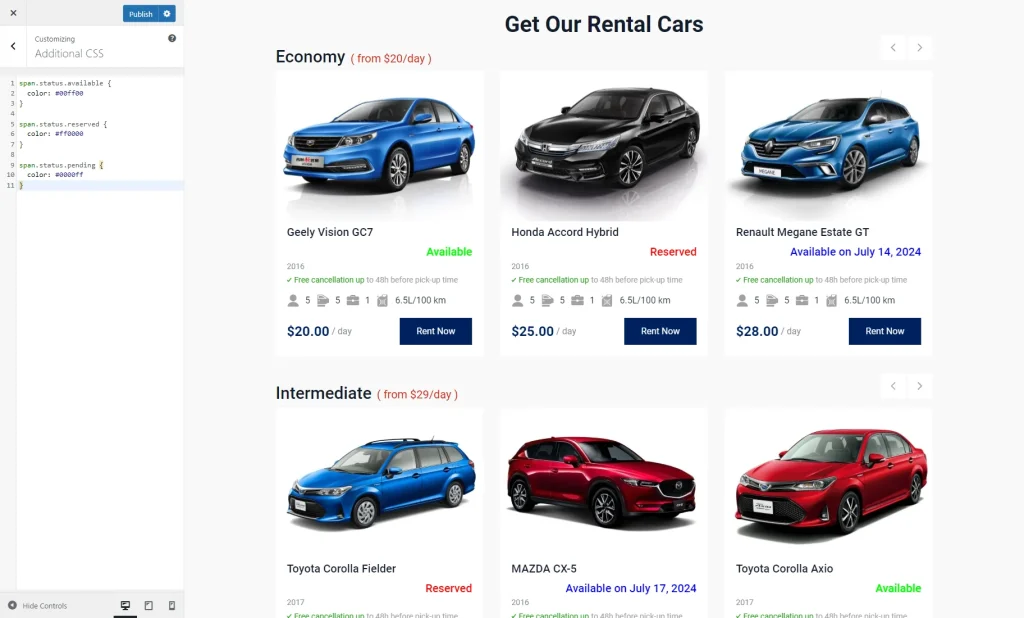
For instance, we add a CSS code to change the color of the text depending on the set status:
span.status.available {
	color: #00ff00
}

span.status.reserved {
	color: #ff0000
}

span.status.pending {
	color: #0000ff
}
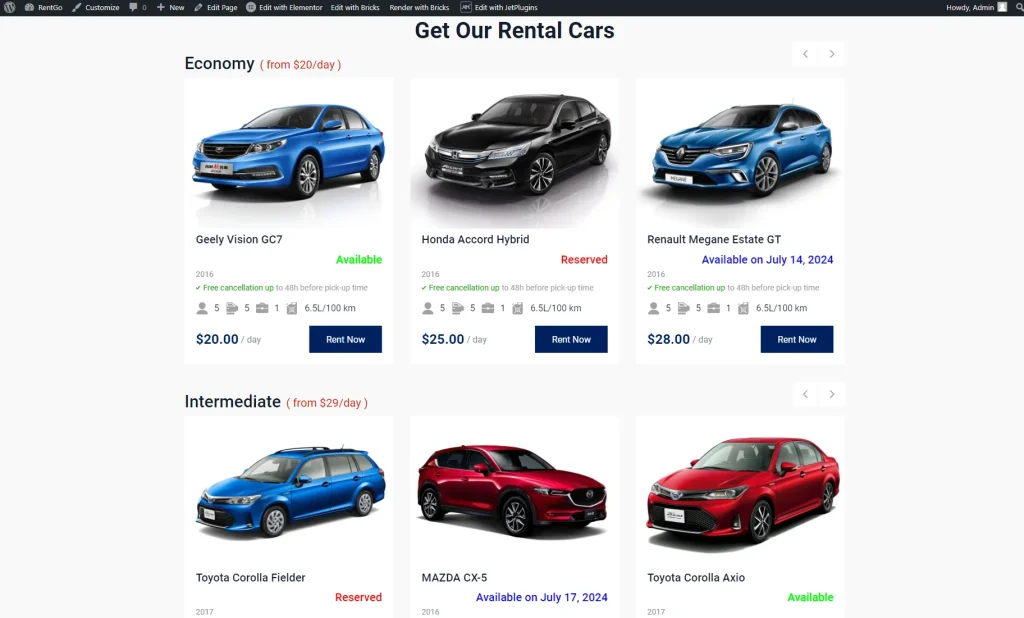
Check the Result
That’s all; now you know how to show the availability status of the booking items built with the JetBooking plugin for WordPress.
