How to Create Custom Listing Layouts Using Twig and Extramural Components
From this tutorial, you will learn how to build a Listing template within the Timber/Twig view using the extramural components. We provide an example of HTML and CSS code integration with the JetEngine plugin to use them on the WordPress website.
Within the Timber/Twig view, you can create a Listing template using HTML and CSS and additional tools, such as presets, dynamic data buttons, filters, and conditional tags.
To avoid building a listing from the ground up, you can enhance it with superb layouts using extramural components. For example, you can find such components in this article.
Creating a Listing Template Within the Timber/Twig View
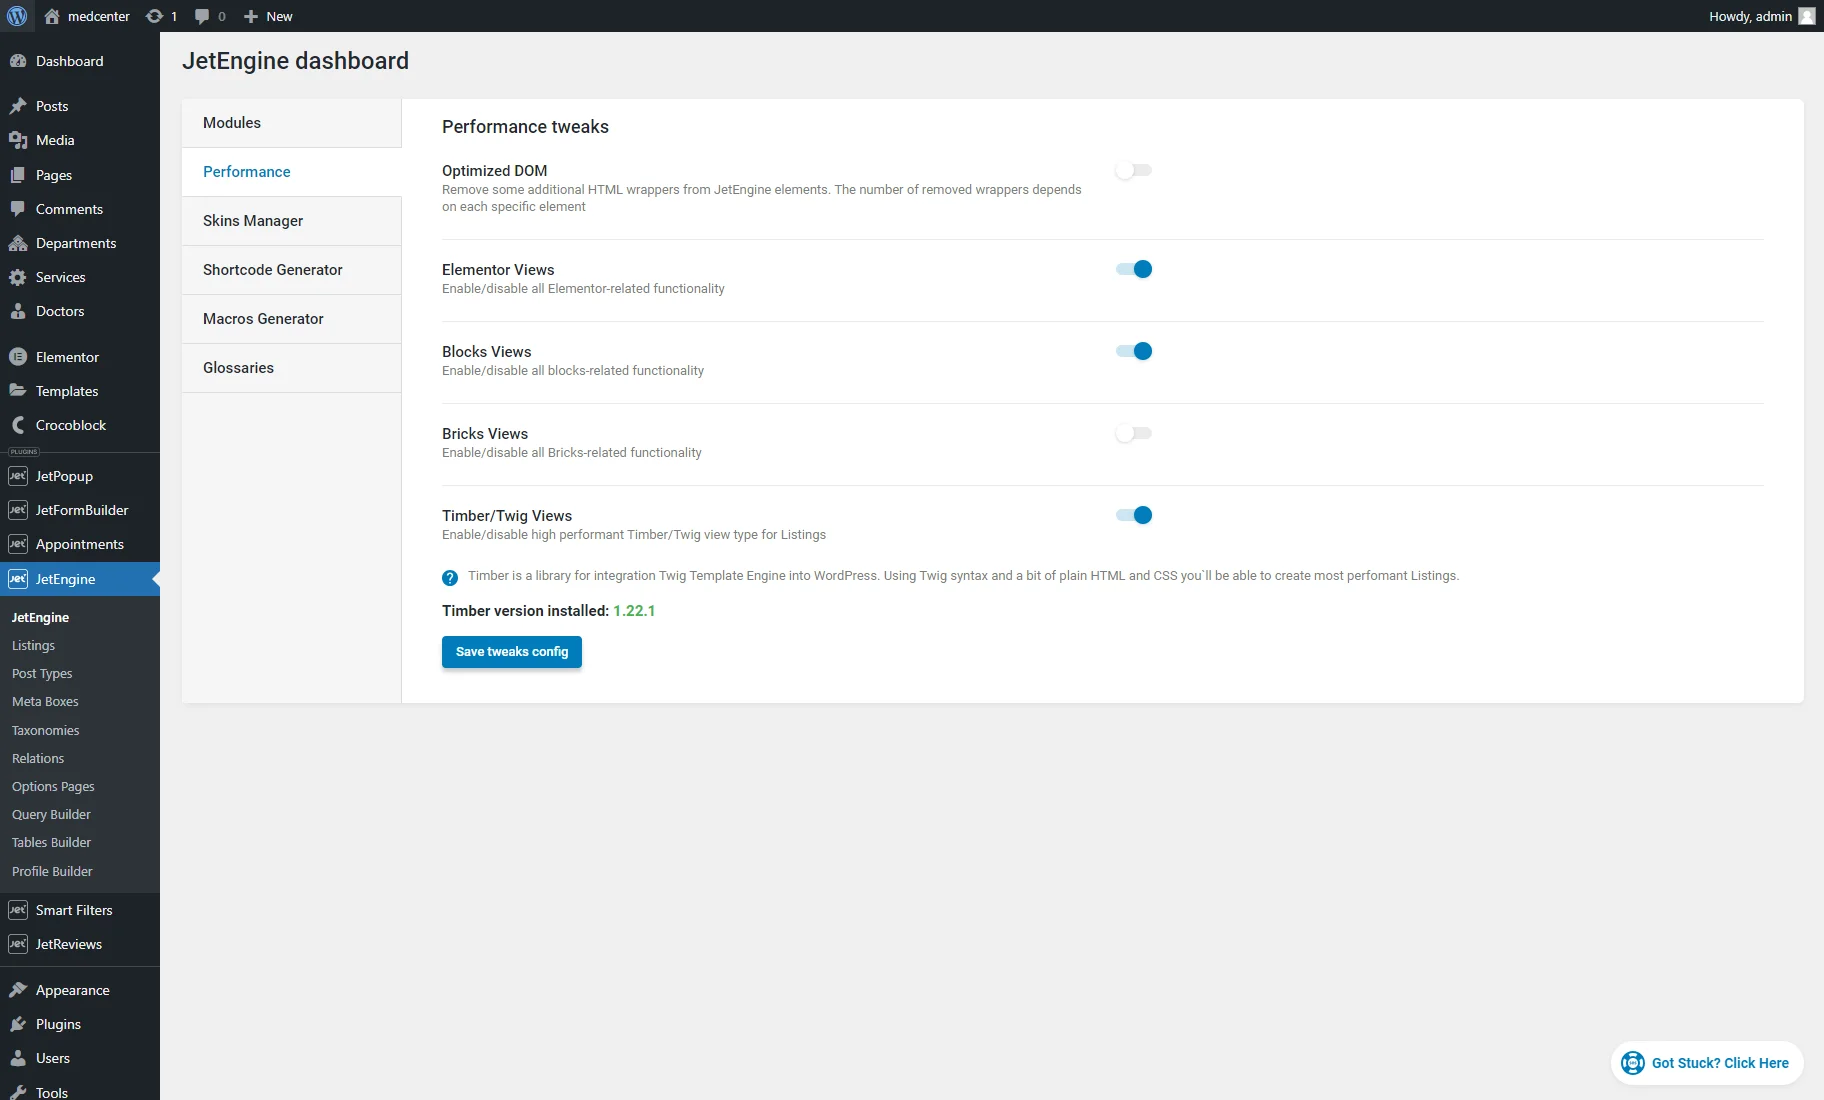
First, we proceeded to the JetEngine > JetEngine > Performance tab, enabled the Timber/Twig Views toggle, picked and installed the Timber plugin, and clicked the “Save tweaks config” button. After that, the Timber/Twig view was available for listings.
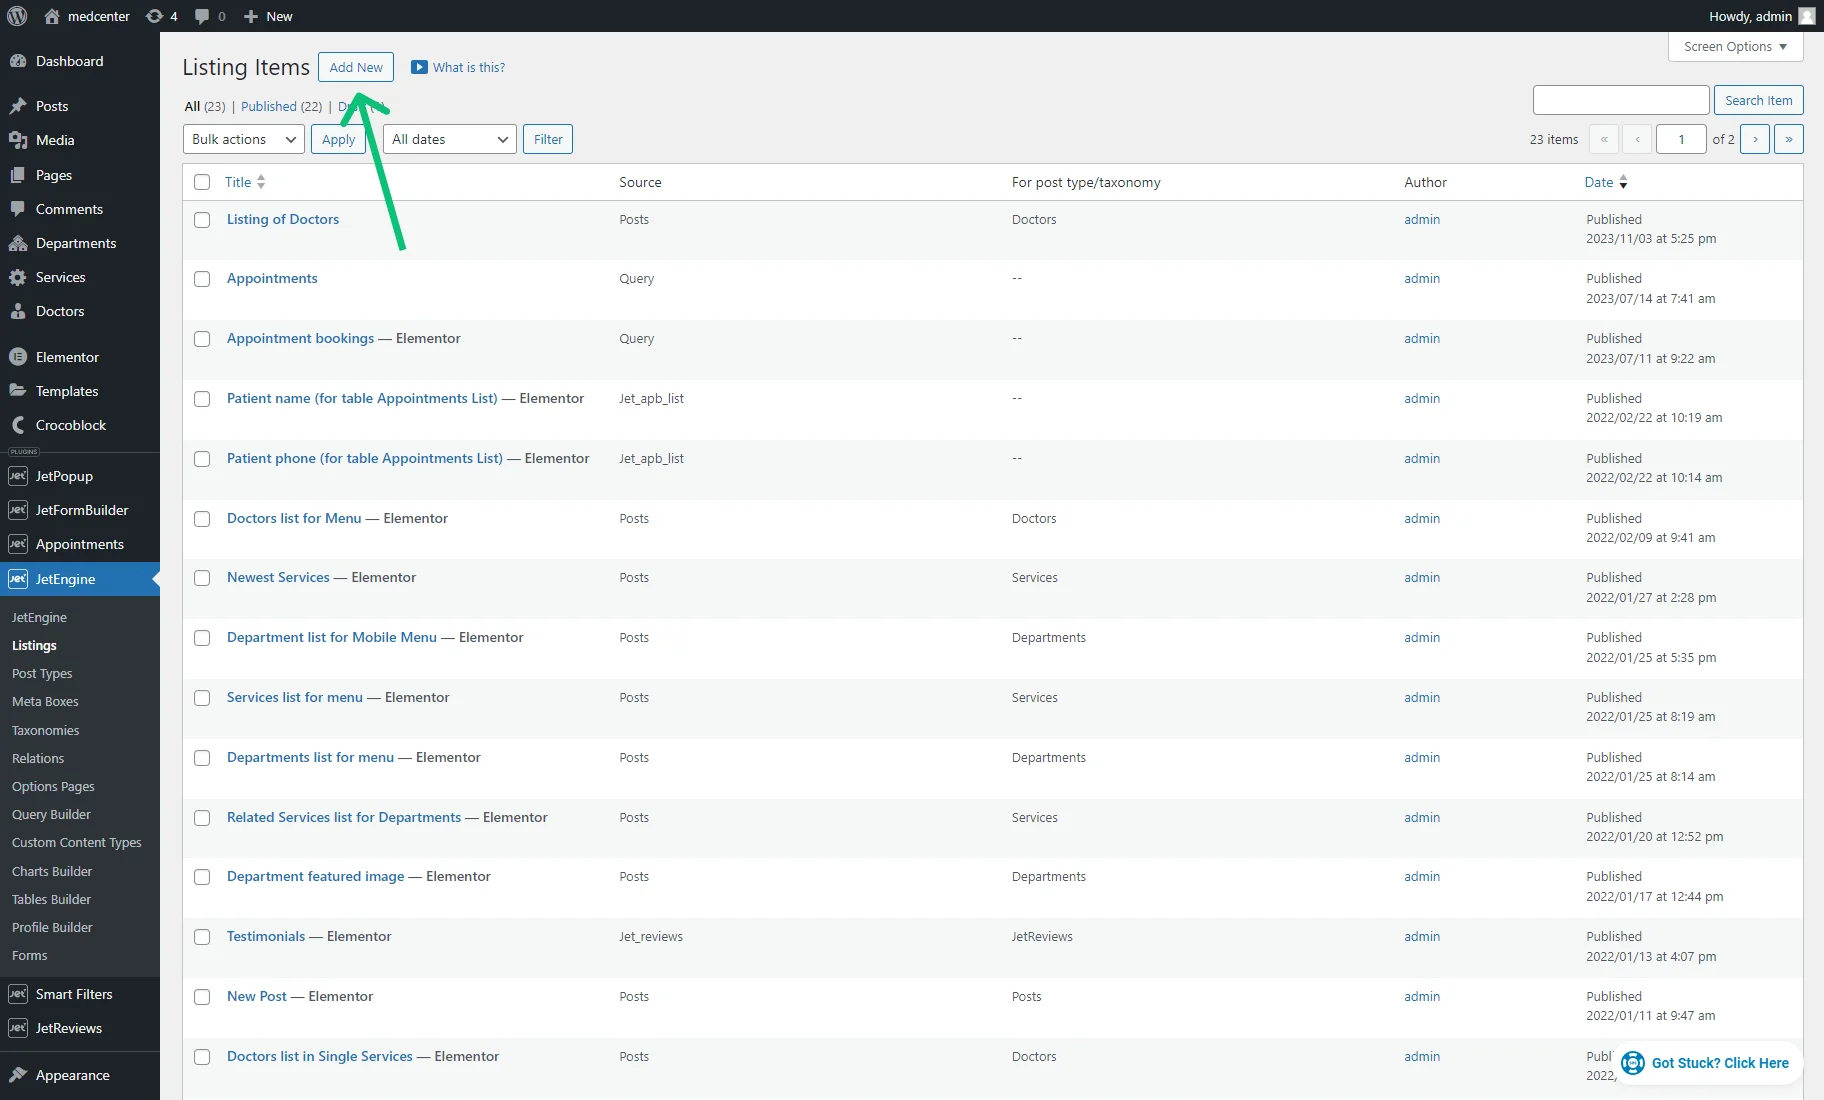
Then, we headed to the JetEngine > Listings tab and hit the “Add New” button.
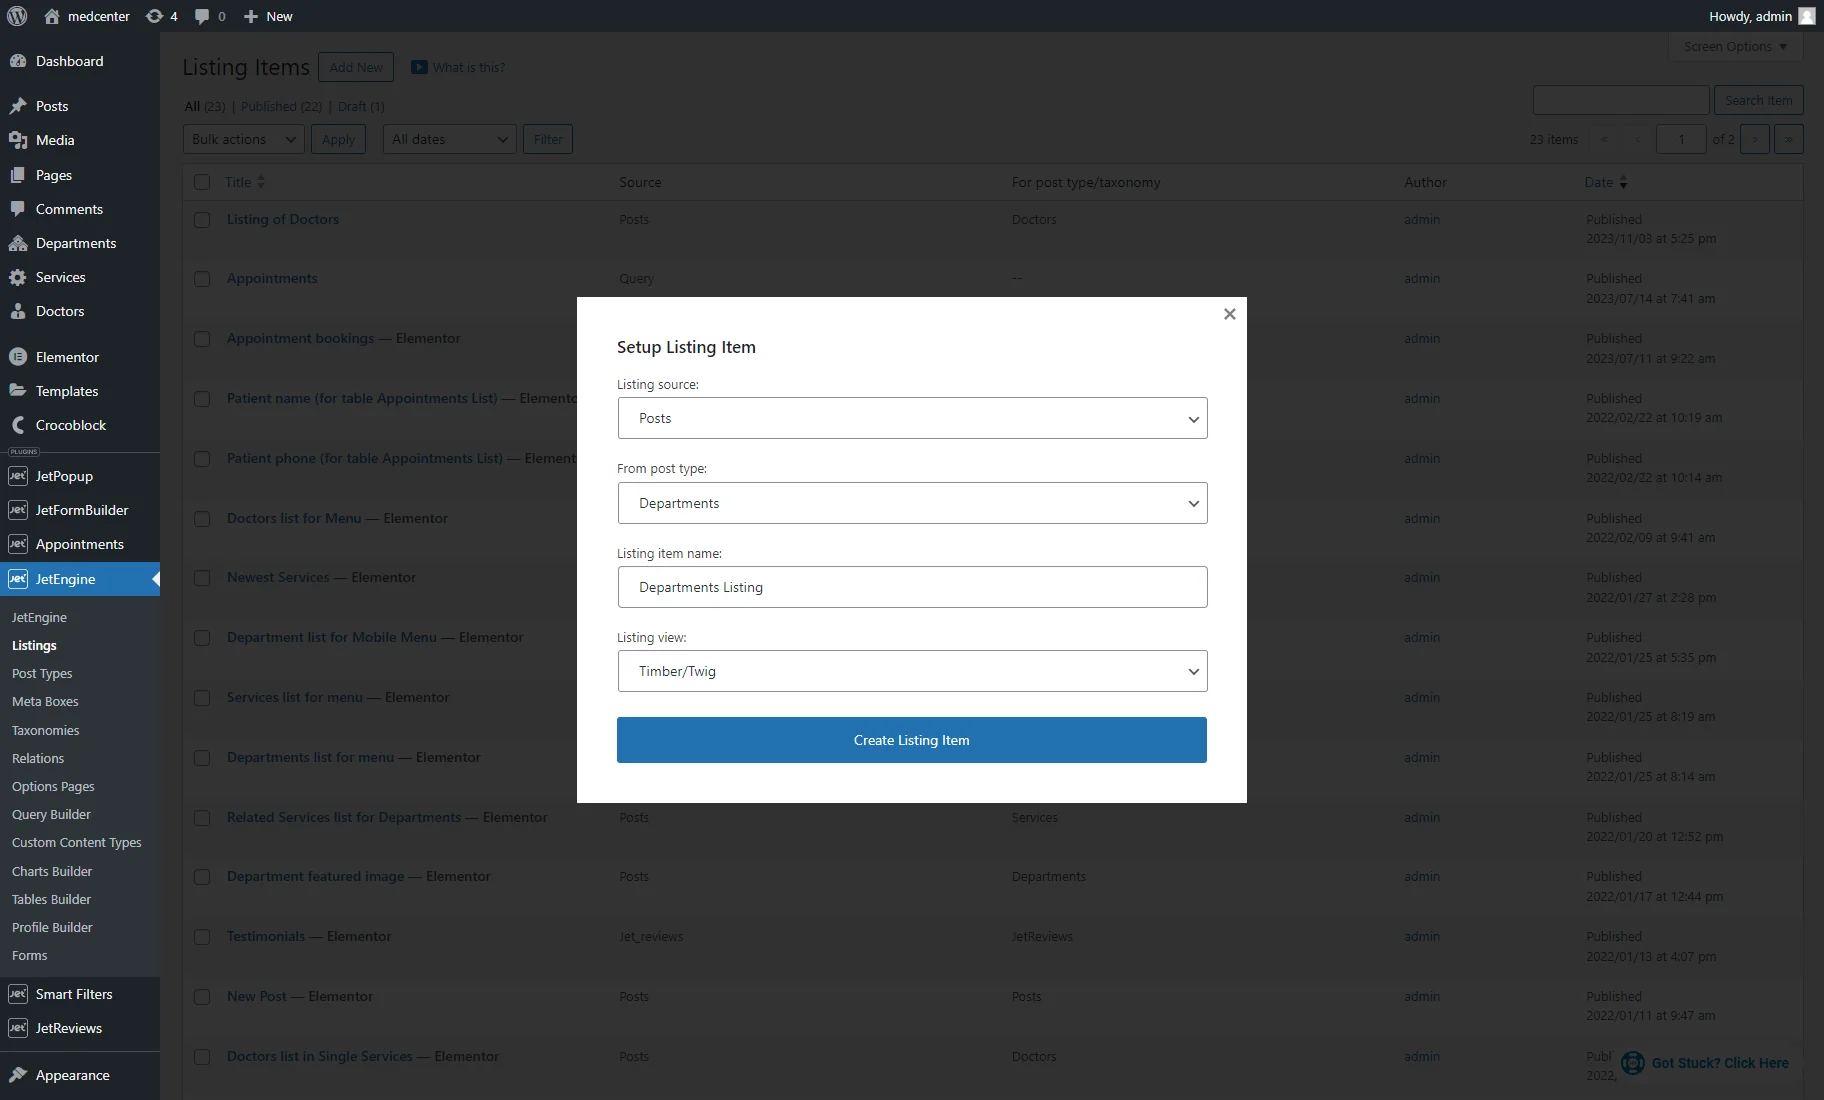
As the Listing source, posts, users, terms, relations, Options Pages data, Query Builder data, Repeater fields, Custom Content Type items, and REST API endpoint items can be chosen.
We picked the “Posts” Listing source and set a Custom Post Type in the following field, but a listing can be created for the default WordPress posts as well.
Choosing the Desired Layout for the Listing Template
We selected a layout with the hover effect from the article with a selection of components.

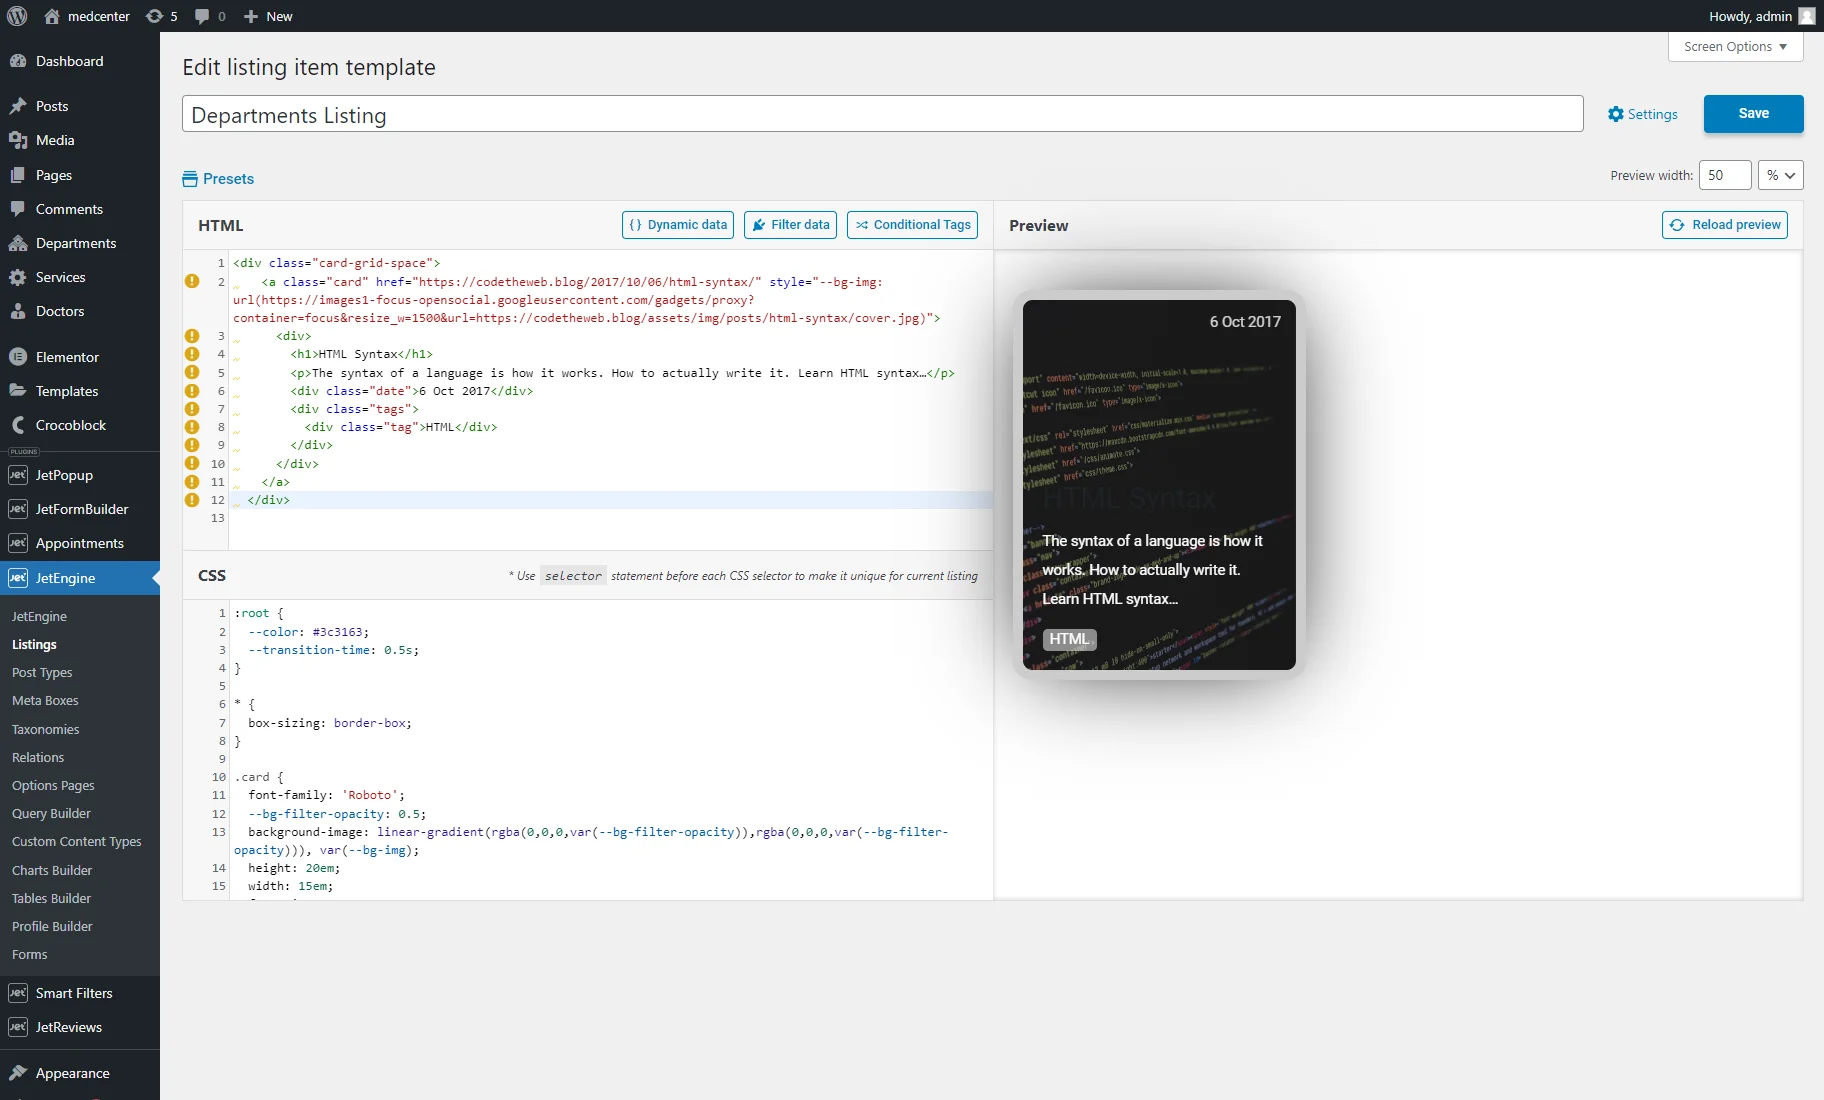
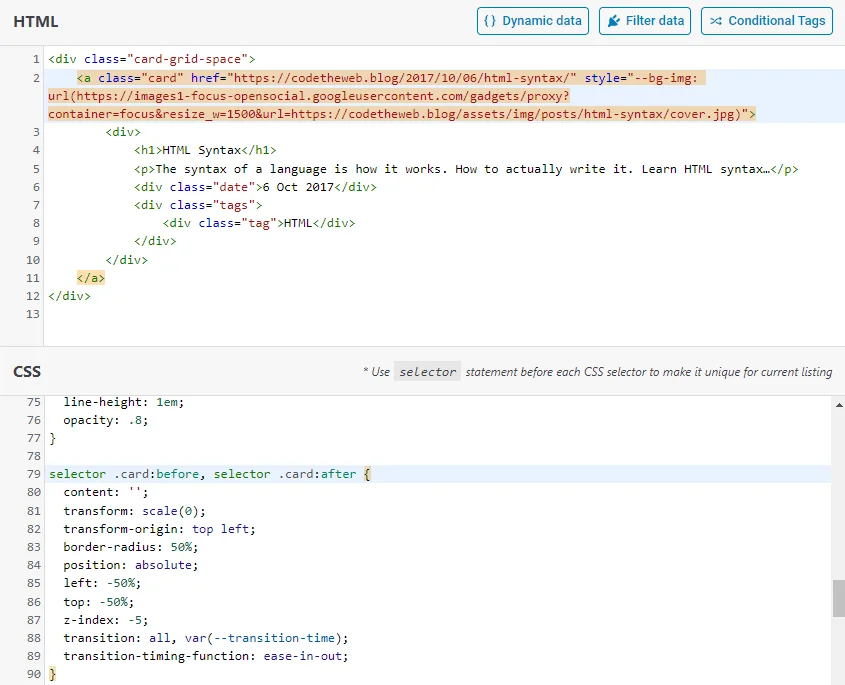
Since the listing template defines the layout of one item, we removed all unnecessary elements, like the info banner, wrapper component, and numbering, from the HTML area and copied only the first card layout:
<div class="card-grid-space">
    <a class="card" href="https://codetheweb.blog/2017/10/06/html-syntax/" style="--bg-img: url(https://images1-focus-opensocial.googleusercontent.com/gadgets/proxy?container=focus&resize_w=1500&url=https://codetheweb.blog/assets/img/posts/html-syntax/cover.jpg)">
      <div>
        <h1>HTML Syntax</h1>
        <p>The syntax of a language is how it works. How to actually write it. Learn HTML syntax…</p>
        <div class="date">6 Oct 2017</div>
        <div class="tags">
          <div class="tag">HTML</div>
        </div>
      </div>
    </a>
  </div>
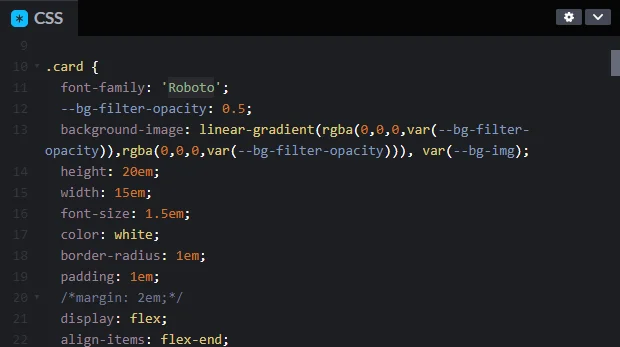
In the CSS sheet, we removed the ‘.info’ and ‘.cards-wrapper’ rules since they had been applied to the deleted elements in the HTML sheet. Also, we eliminated the ‘body,’ ‘a,’ ‘@media,’ and ‘@import’ rules for providing style isolation, avoiding style conflicts, and reducing unnecessary overheads that might slow down the website.
Then, we replaced the ‘Heebo’ and ‘Open Sans’ font families with ‘Roboto.’
Pasting HTML and CSS into the Corresponding Areas
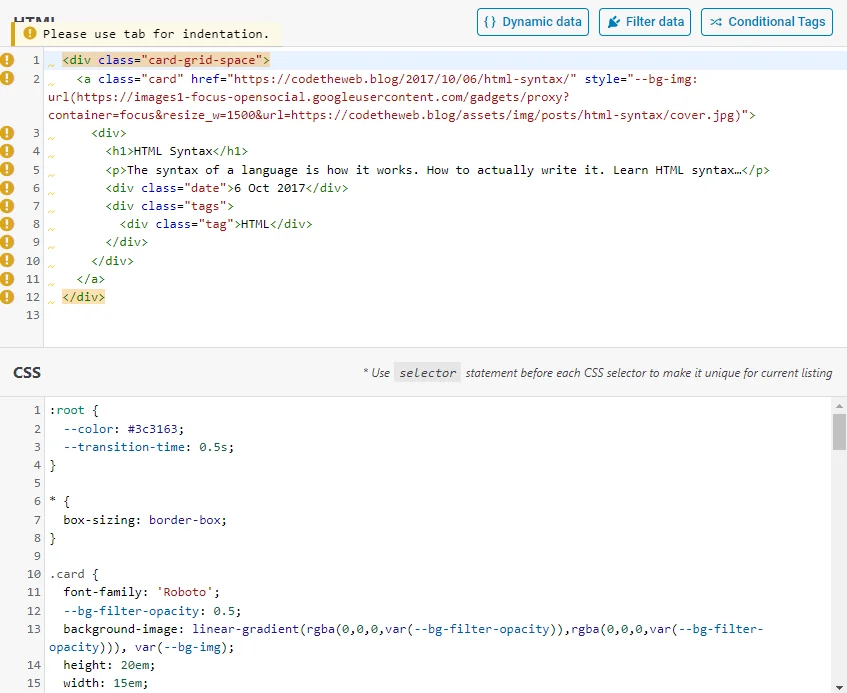
We pasted the codes into the HTML and CSS sheet accordingly.
We hit the “Reload preview” button and obtained a result that contained static data that needed to be replaced with JetEngine dynamic data.
In the HTML area, we replaced spaces with tabs to eliminate errors.
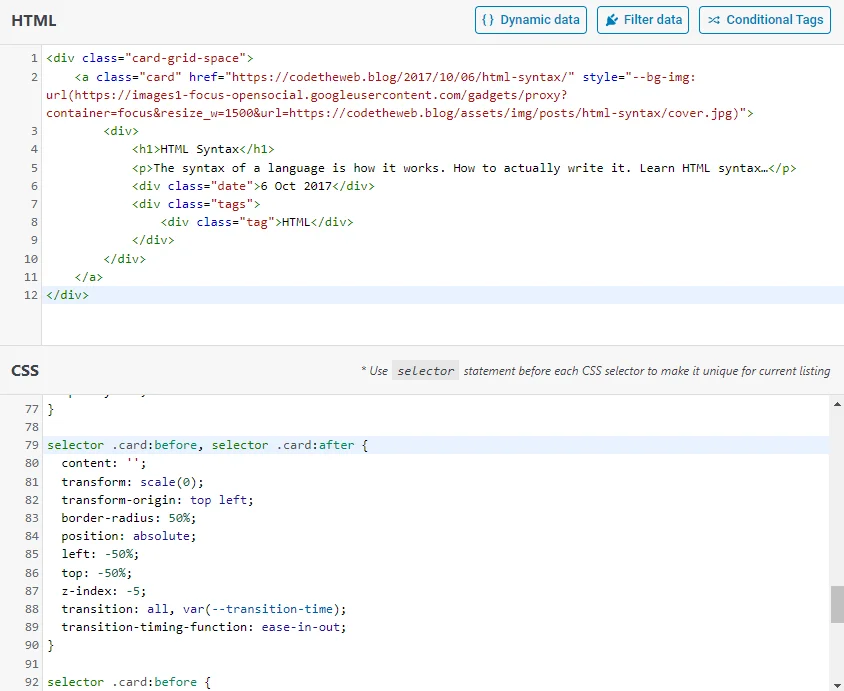
In the CSS sheet, we entered the ‘selector’ statement before each CSS selector to apply CSS styles only to the current listing so they wouldn’t impact the whole website.
selector .card:before, selector .card:after {
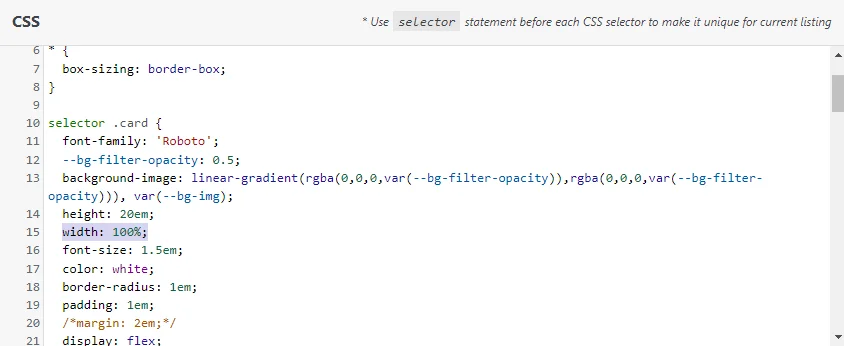
Also, we changed the ‘width: 15em;’ style to ‘width: 100%;’ for the ‘.card’ rule that defines the card-like container’s style. We did this to avoid problems while resizing. Also, the ‘width: 15em;’ style might be simply removed.
Replacing Static Data with Dynamic
Firstly, we needed to display the post thumbnail, so we edited a code:
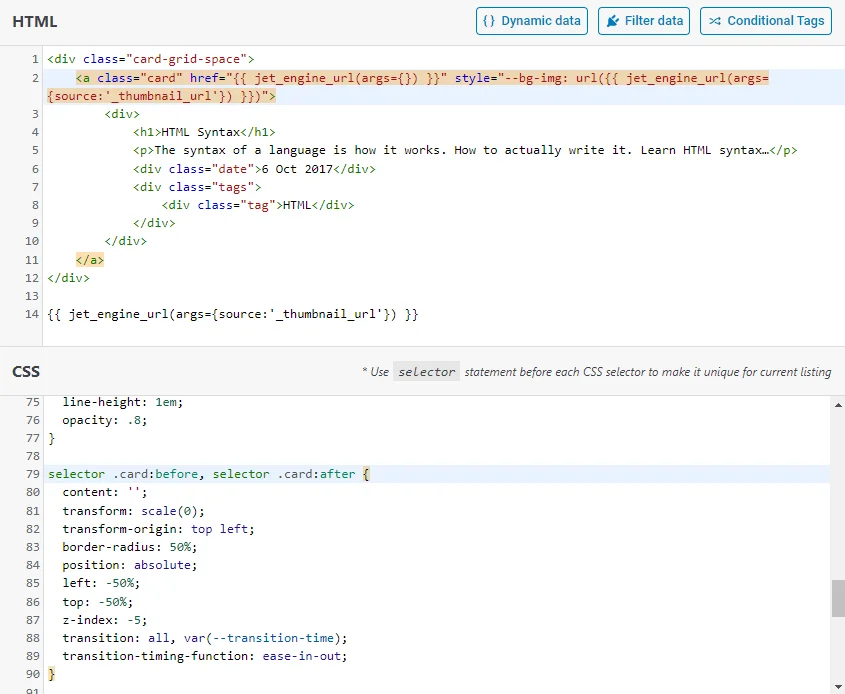
<a class="card" href="{{ jet_engine_url(args={}) }}" style="--bg-img: url({{ jet_engine_url(args={source:'_thumbnail_url'}) }})">
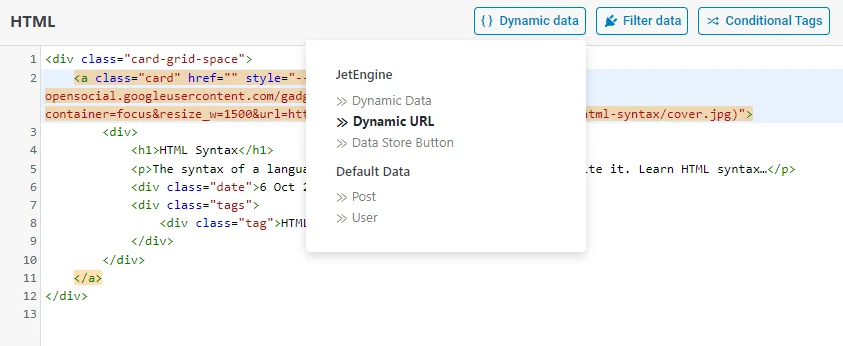
We deleted the URL from the ‘href’ attribute, hit the “Dynamic data” button, and selected the “Dynamic URL” option.
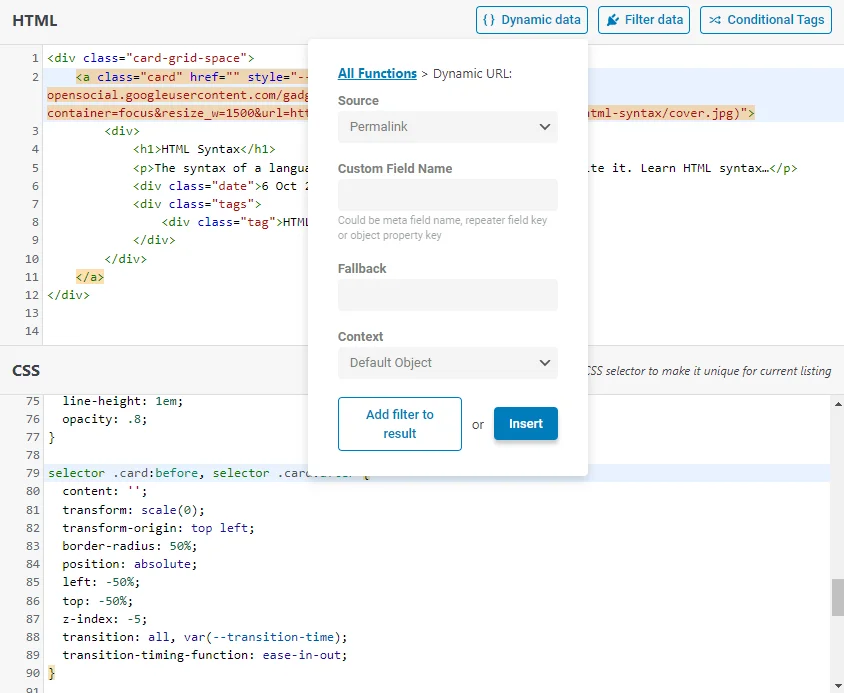
We picked the “Permalink” option as the Source and pushed the “Insert” button. In that way, we inserted the tag:
{{ jet_engine_url(args={}) }}
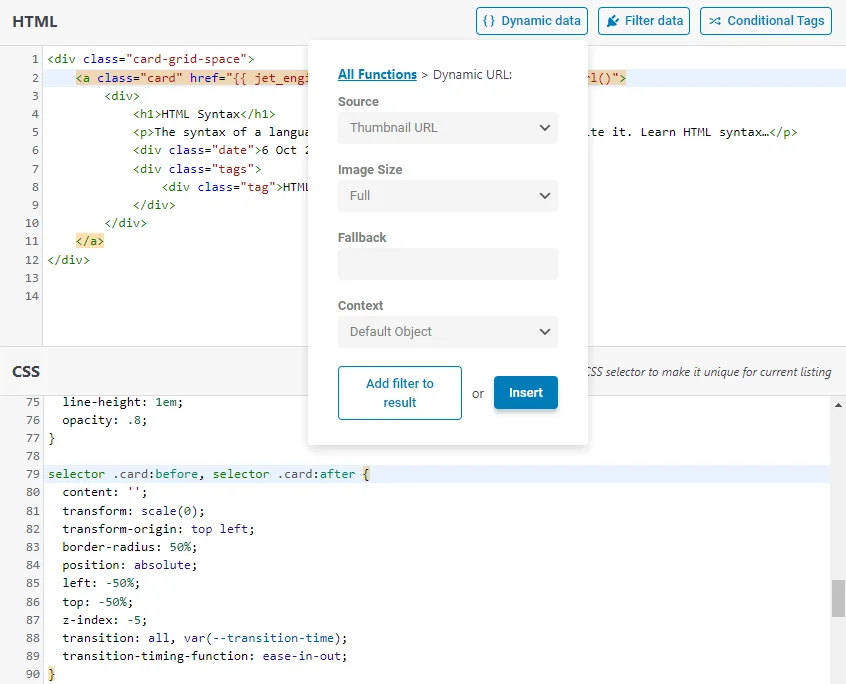
Then, we inserted the ‘{{ jet_engine_url(args={source:’_thumbnail_url’}) }}’ tag into the ‘style=”–bg-img: url()”’ CSS variable instead of the URL.
We achieved that by hitting the “Dynamic data” button, selecting the “Dynamic URL” option again, picking the “Thumbnail URL” as the Source, and pushing the “Insert” button.
Eventually, we got such a code to display the post thumbnail:
<a class="card" href="{{ jet_engine_url(args={}) }}" style="--bg-img: url({{ jet_engine_url(args={source:'_thumbnail_url'}) }})">
Next, we edited the code for the post title:
<h1>HTML Syntax</h1>
Since the <h1> element would disturb the semantic hierarchy on the page, we replaced it with the <div> element.
Also, we added the ‘class’ attribute with the ‘title’ value.
Then, we deleted the ‘HTML Syntax’ text, hit the “Dynamic data” button, picked the “Post” option, selected the “Post Title” data, and pushed the “Insert” button.
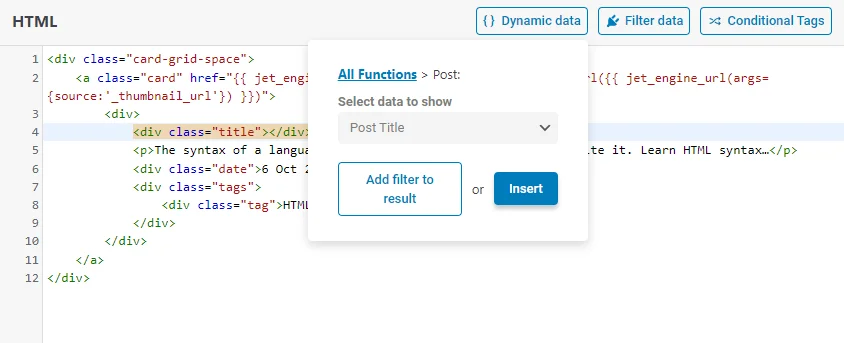
We obtained such a placeholder:
<div class="title">{{ post.title }}</div>
Also, we found the ‘selector .card h1 {‘ line in the CSS sheet and replaced ‘h1’ with the ‘.title’ class:
selector .card .title {
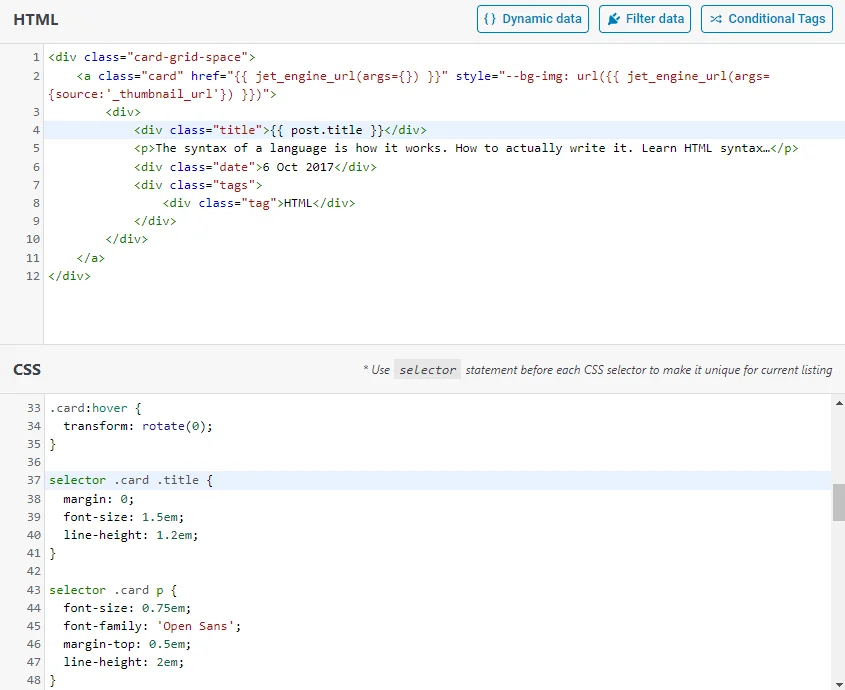
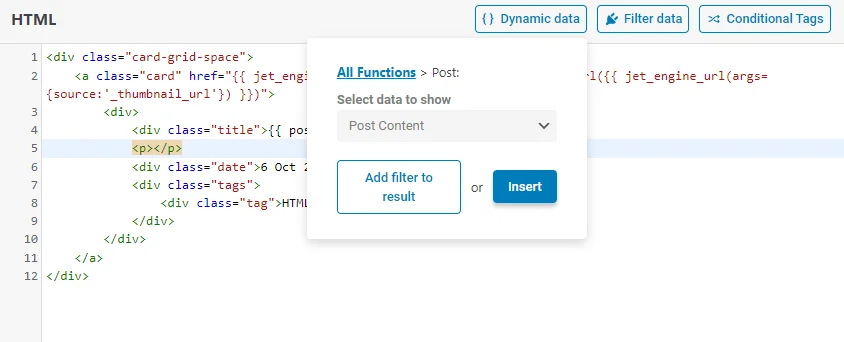
Then, we replaced the static text in this code:
<p>The syntax of a language is how it works. How to actually write it. Learn HTML syntax…</p>
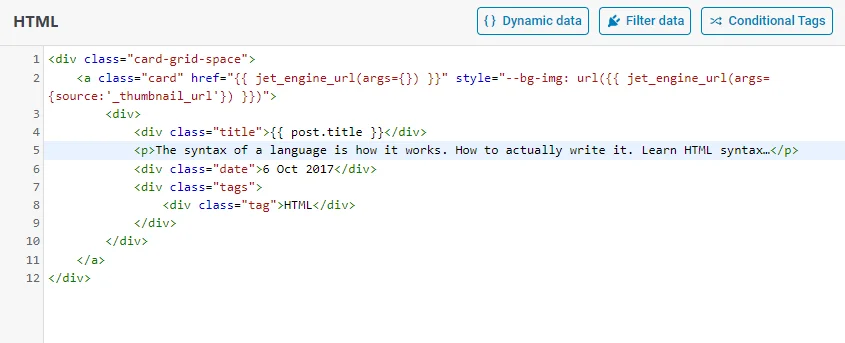
For that, we hit the “Dynamic data” button, picked the “Post” option, and selected the “Post Content” data.
Then, we pressed the “Add the filter to result” button, picked the “Trim text by words” option, typed the “20” Number of words, set “…” in the More string field, and clicked the “Insert” button.
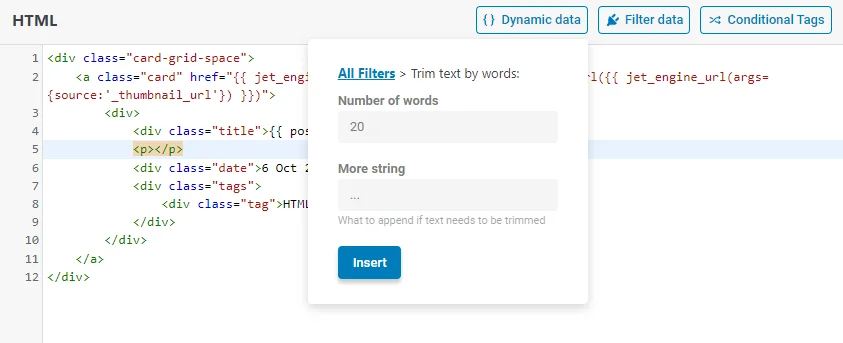
We received this element:
<p>{{ post.content|excerpt('20','...') }}</p>
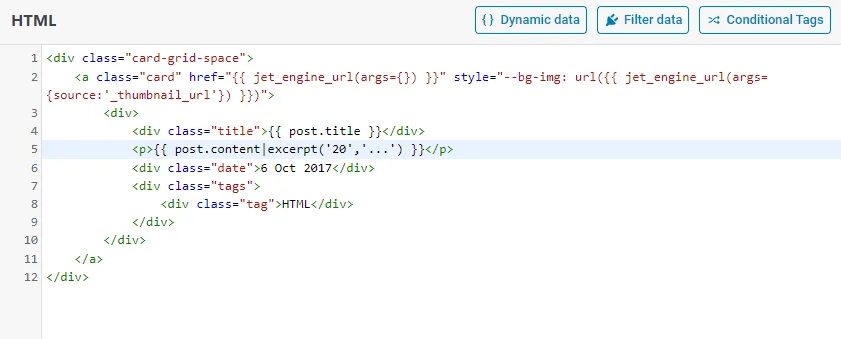
Then, we edited the code for the post date:
<div class="date">6 Oct 2017</div>
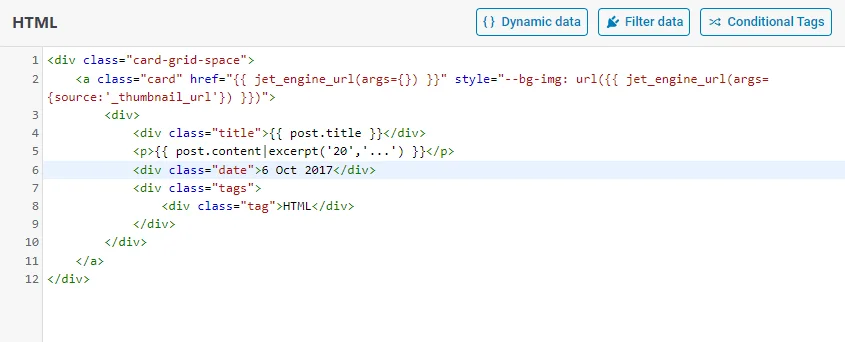
We hit the “Dynamic data” button, picked the “Post” option, and selected the “Post Date” data.
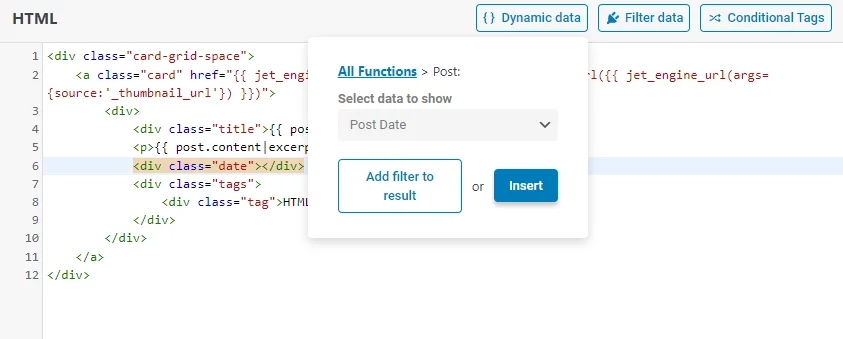
Then, we pressed the “Add the filter to result” button, picked the “JetEngine Callback” option, selected the “Format date” callback, and pressed the “Insert” button.
The description of all JetEngine callbacks can be found here.
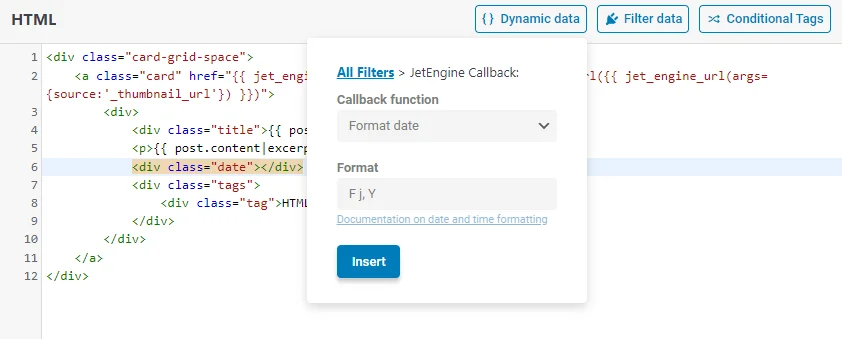
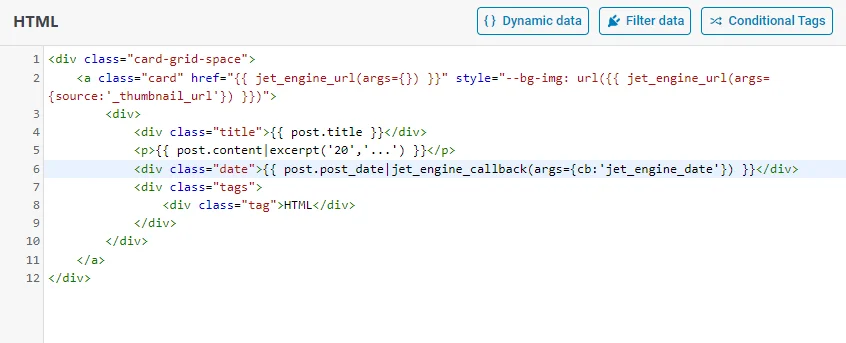
We obtained such an element:
<div class="date">{{ post.post_date|jet_engine_callback(args={cb:'jet_engine_date'}) }}</div>
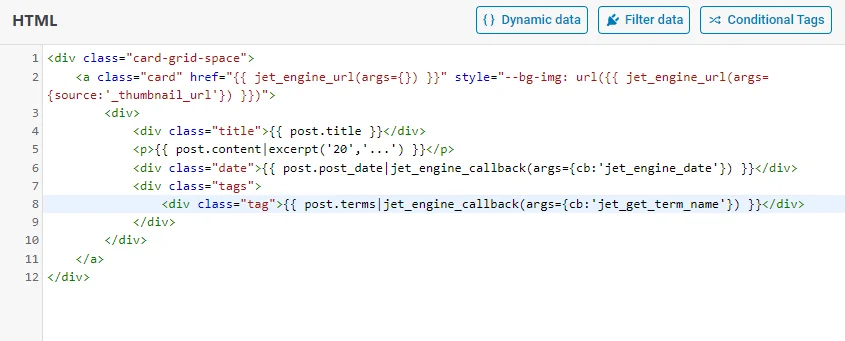
Then, we replaced the static text in this code with the term name of the custom taxonomy assigned to the CPT:
<div class="tag">HTML</div>
We hit the “Dynamic data” button, picked the “Post” option, and selected the “Post Terms” data. Then, we pressed the “Add the filter to result” button, picked the “JetEngine Callback” option, selected the “Get term name” callback, pressed the “Insert” button, and received this:
<div class="tag">{{ post.terms|jet_engine_callback(args={cb:'jet_get_term_name'}) }}</div>
When we hit the “Reload preview” button, we saw the entire result except for the picture because the JetEngine dynamic data can be checked only on the page with the Listing Grid or on the front end.
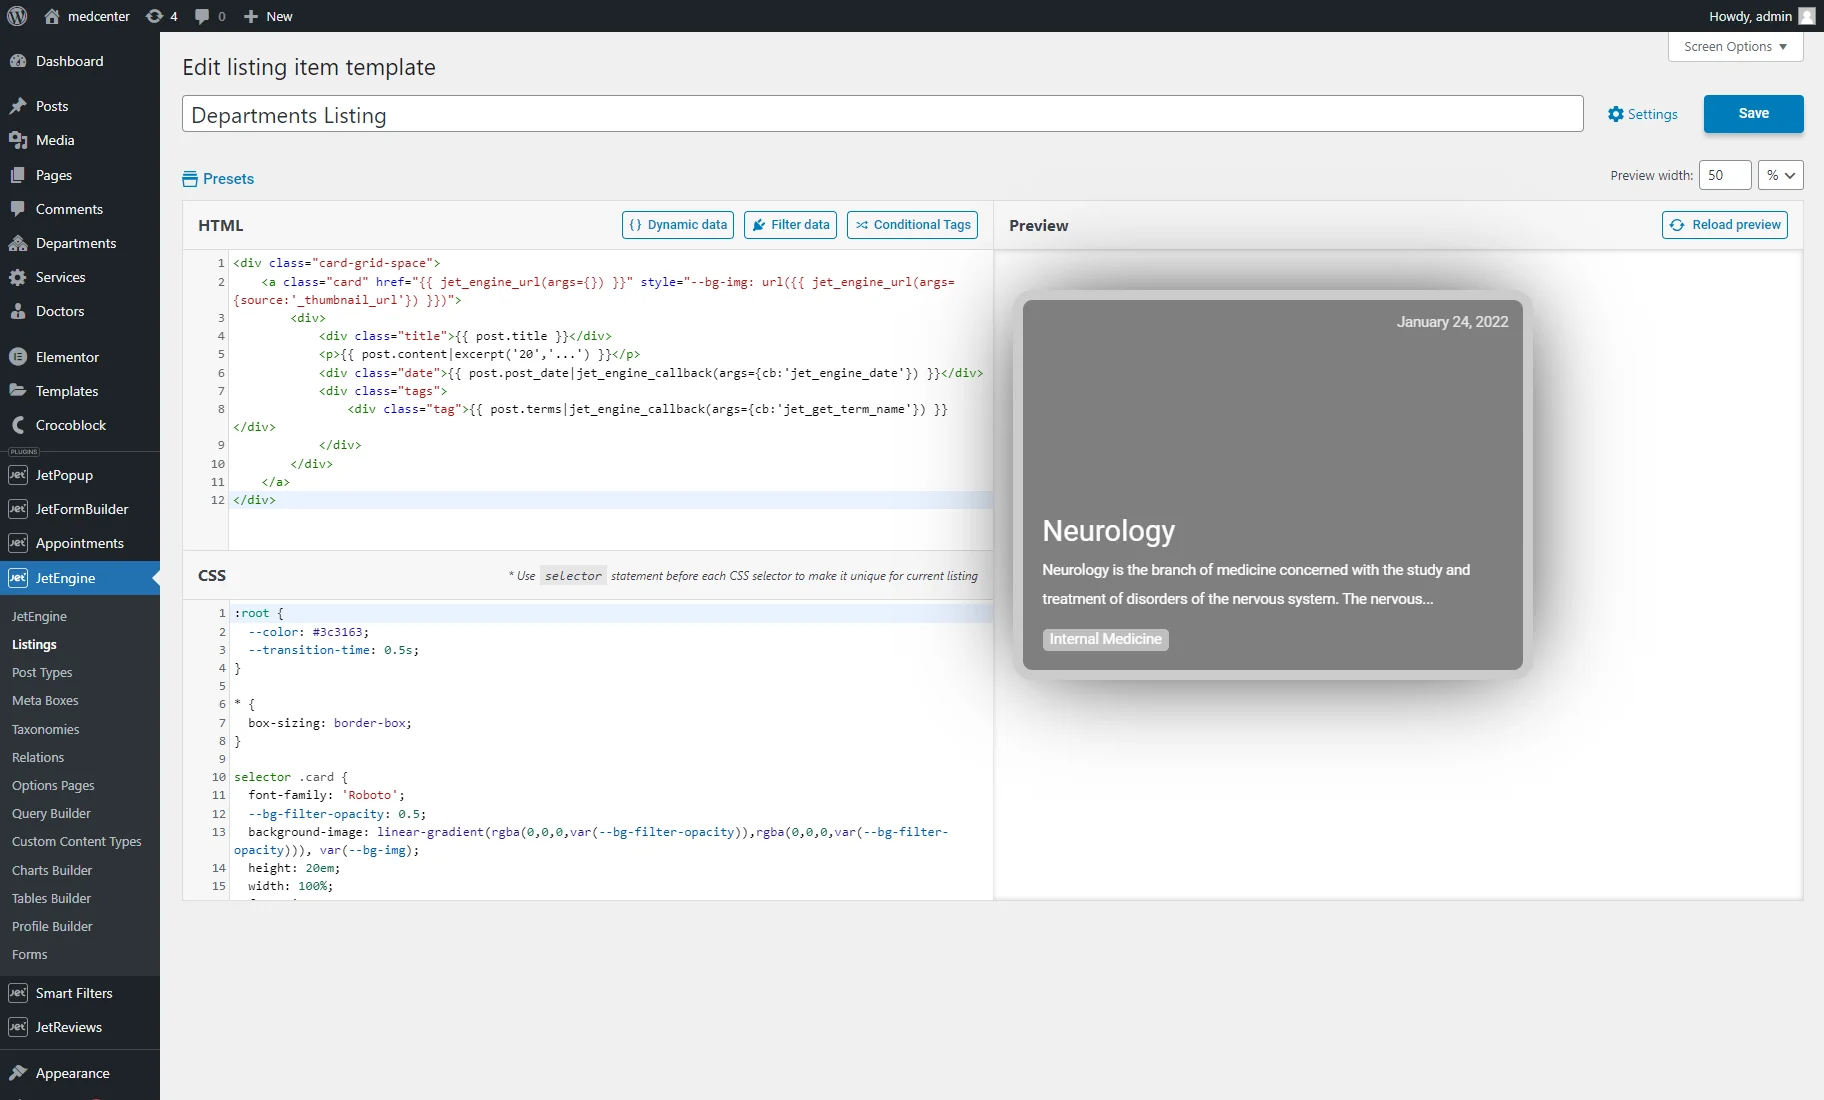
Eventually, we get such a code in the HTML area:
And such a code in the CSS area:
Observe Results in the Listing Grid
To display the listing template in the listing grid, a page should be created in the WordPress block, Elementor, or Bricks editors.
We went to the WordPress Dashboard > Pages > Add New tab, placed the Listing Grid block, and selected the recently created Listing from the drop-down menu.
In the Listing Grid, we observed the static layout with the post data, such as thumbnail, title, content, date, and term.

We hit the “Publish/Update” button and opened the page on the front end to check the hover effect.

That’s all. Now you know how to build a listing template with the JetEngine plugin within the Timber/Twig view using the extramural components.