How to Create a Listing Template Using Timber/Twig View
From this tutorial, you will learn how to build a Listing template with the Timber/Twig view.
With the Listing template, you can display posts, users, terms, relations, Options Pages data, Query Builder data, Repeater fields, Custom Content Type items, and REST API endpoint items.
Timber is a WordPress plugin that allows you to write HTML using the Twig Template Engine, separate from PHP files.
With the Timber/Twig view, you can create a high-performance listing template using HTML and CSS. Also, you can use additional tools, such as presets, dynamic data buttons, filters, and conditional tags, to ease the listing creation process.
Refer to our video guide for a visual explanation of how to create a Listing Item in the Timber/Twig view.
Preparations and Listing Template Creation
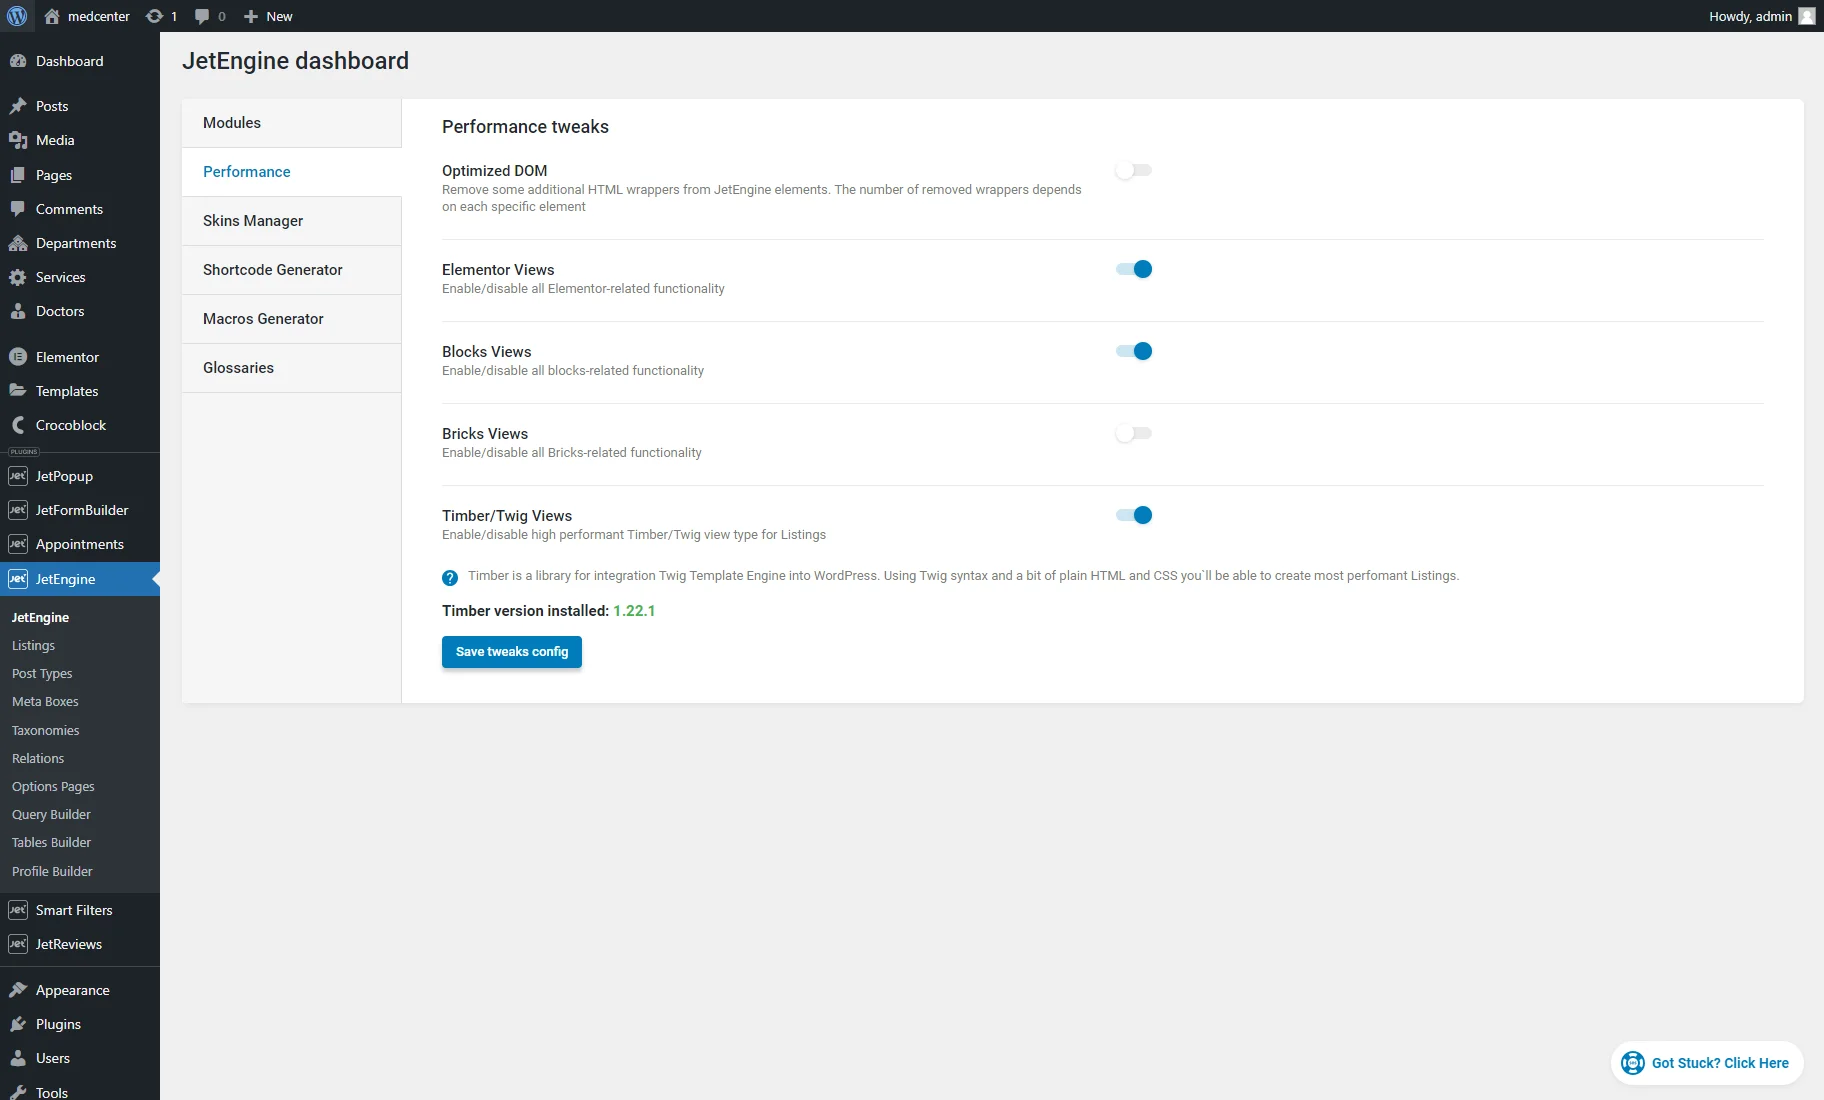
First of all, proceed to the JetEngine > JetEngine > Performance tab, enable the Timber/Twig Views toggle, and click the “Save tweaks config” button. After that, the Timber/Twig view will be available for listings.
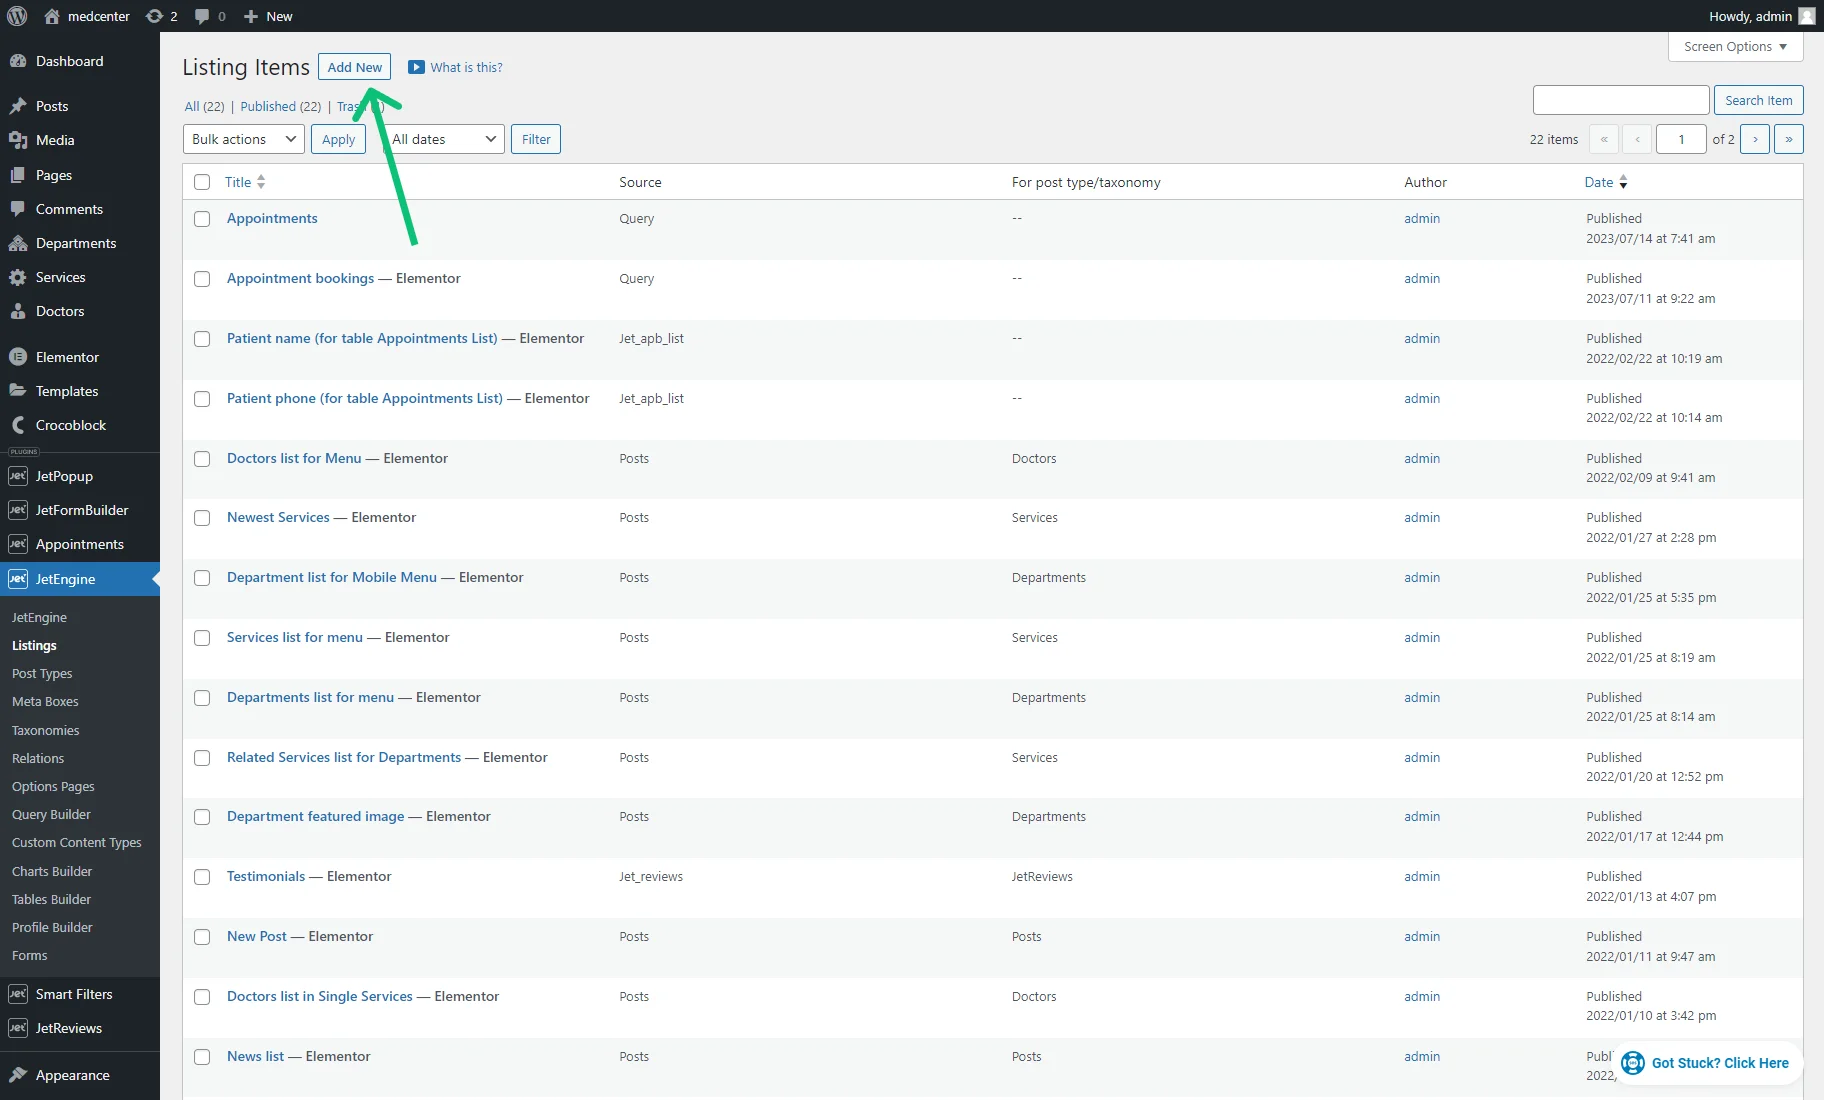
Then, head to the JetEngine > Listings tab and hit the “Add New” button.
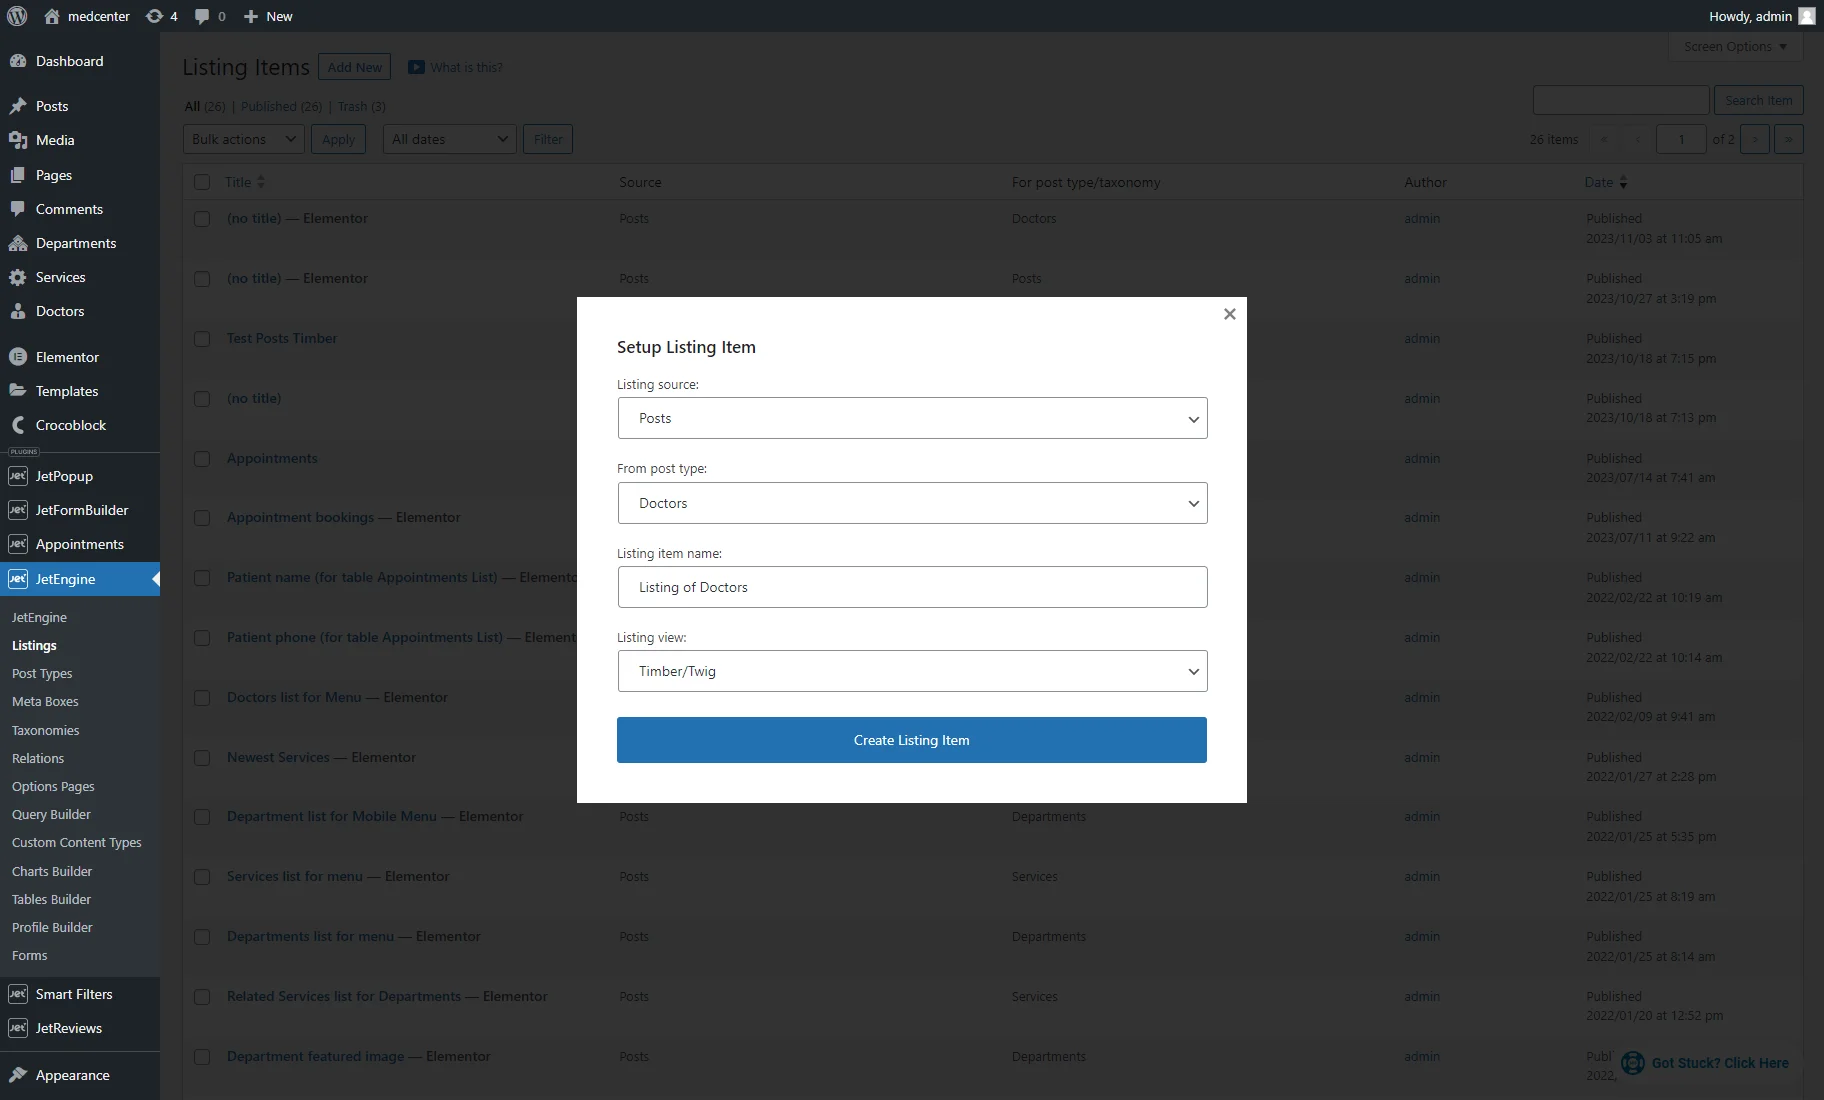
Select the needed Listing source. As an example, you can create a listing for default WordPress posts. We picked the “Posts” source and the “Doctors” Custom Post Type.
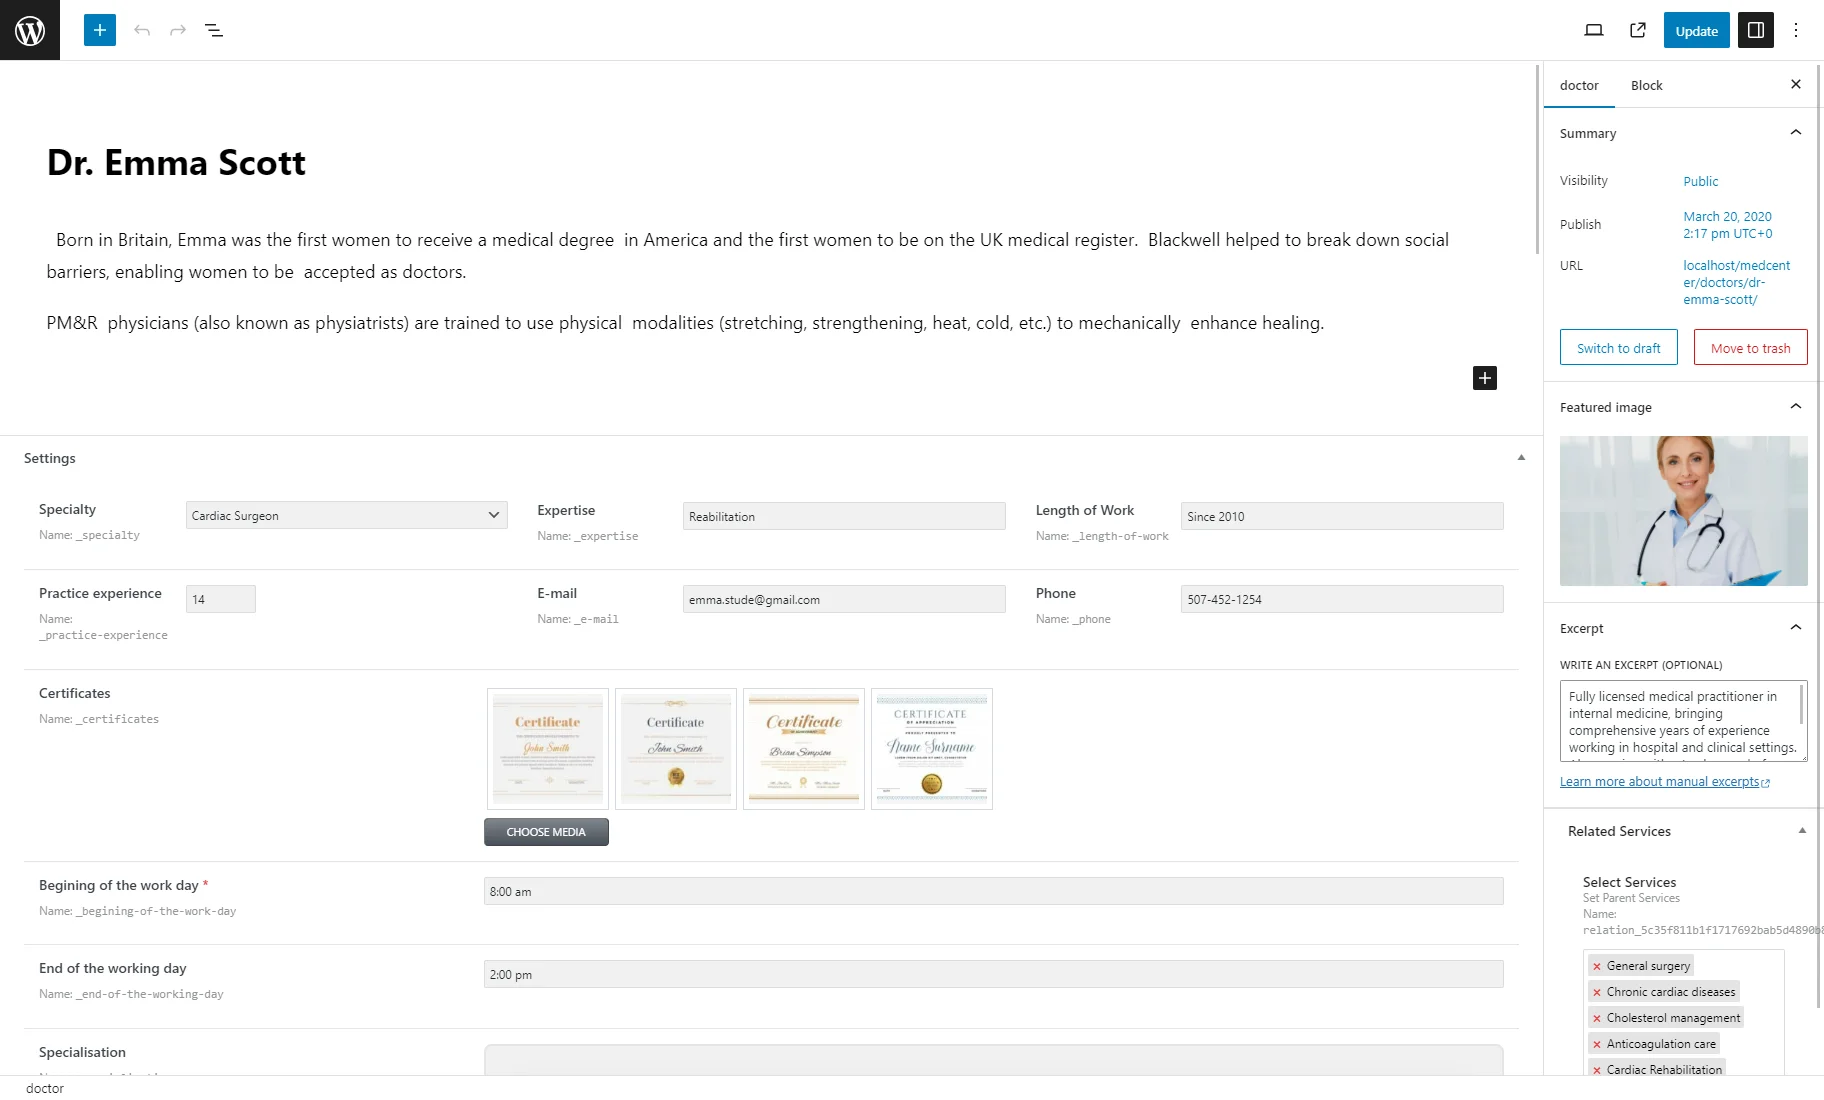
For that, we previously created the Custom Post Type with custom meta fields and added several posts.
We filled the post title with the doctor’s name, the post content with the doctor’s info, and the post thumbnail with the doctor’s photo. Also, we completed custom fields with additional information, such as the doctor’s specialty, practice experience, email, etc.
Then, enter the Listing item name (unrequired), select the “Timber/Twig” Listing view, and push the “Create Listing Item” button.
After creating the Listing, you’ll be redirected to the Timber/Twig editor.

Displaying the Dynamic and Default Data
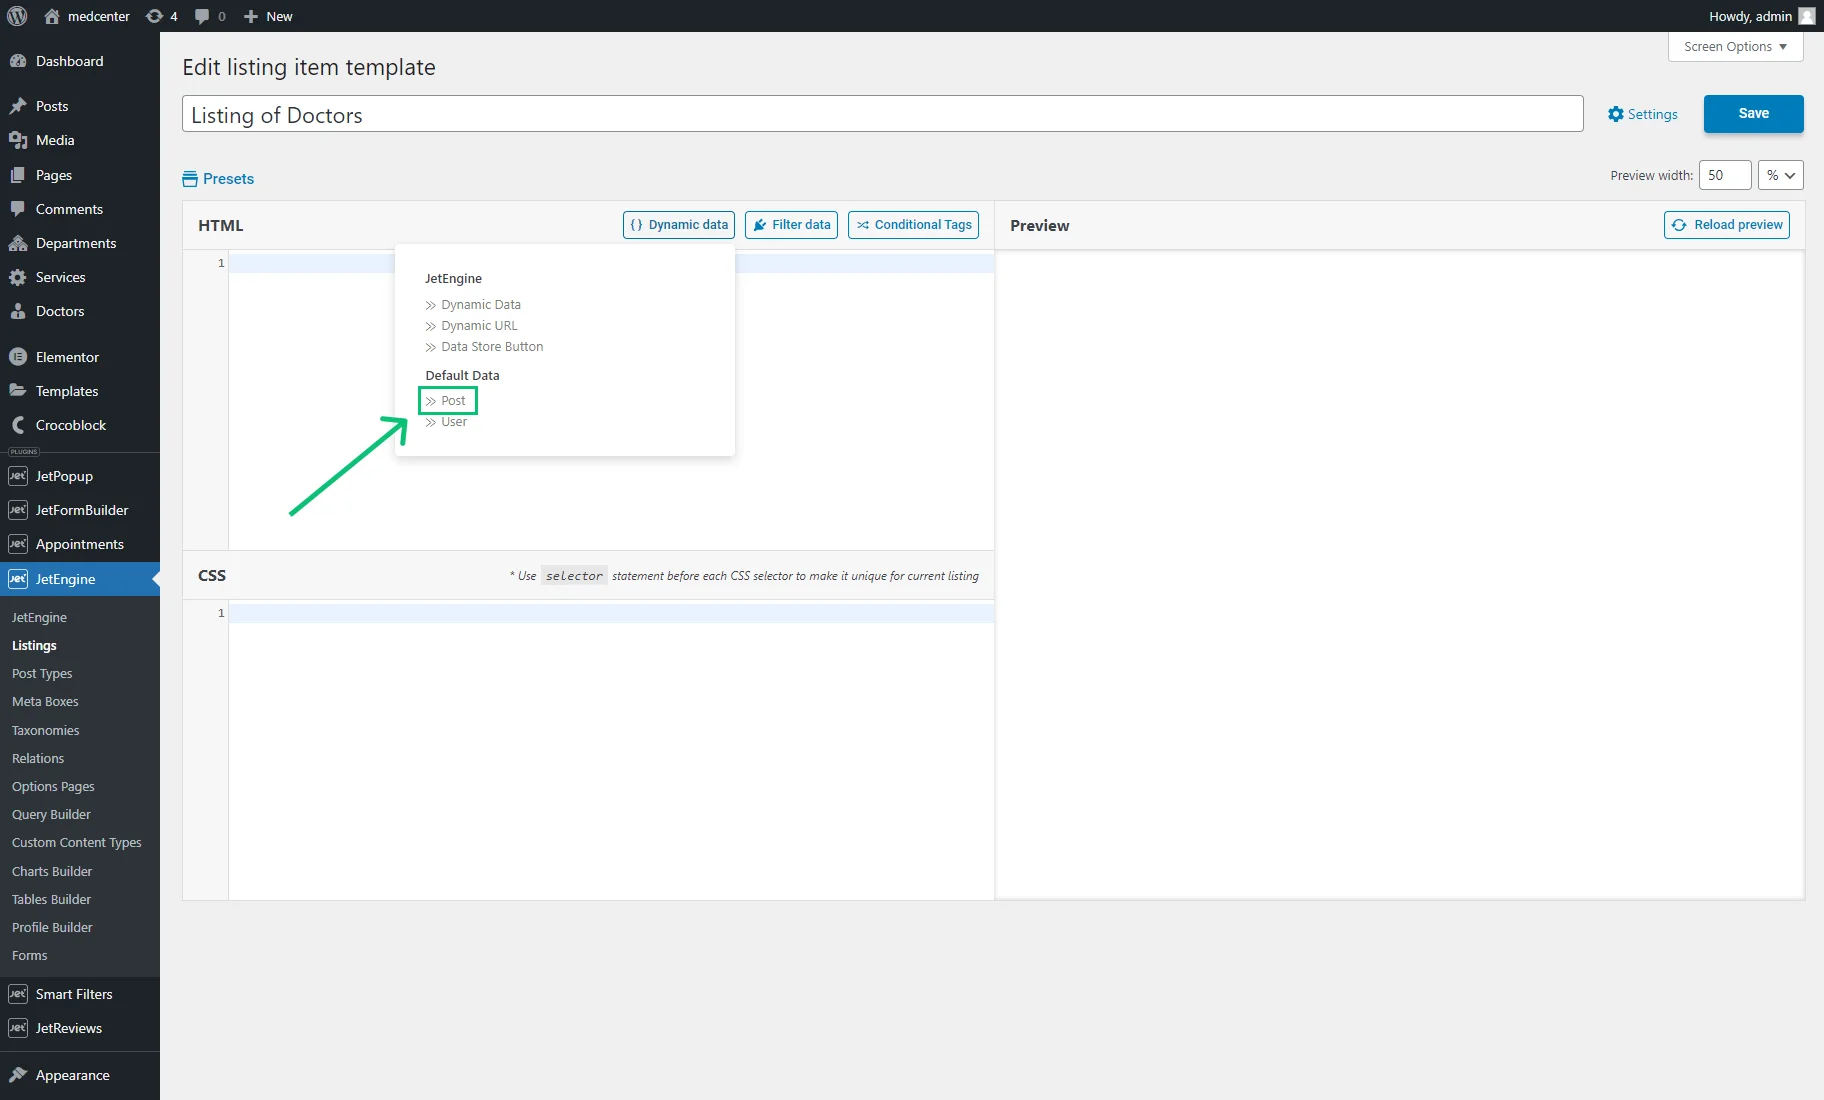
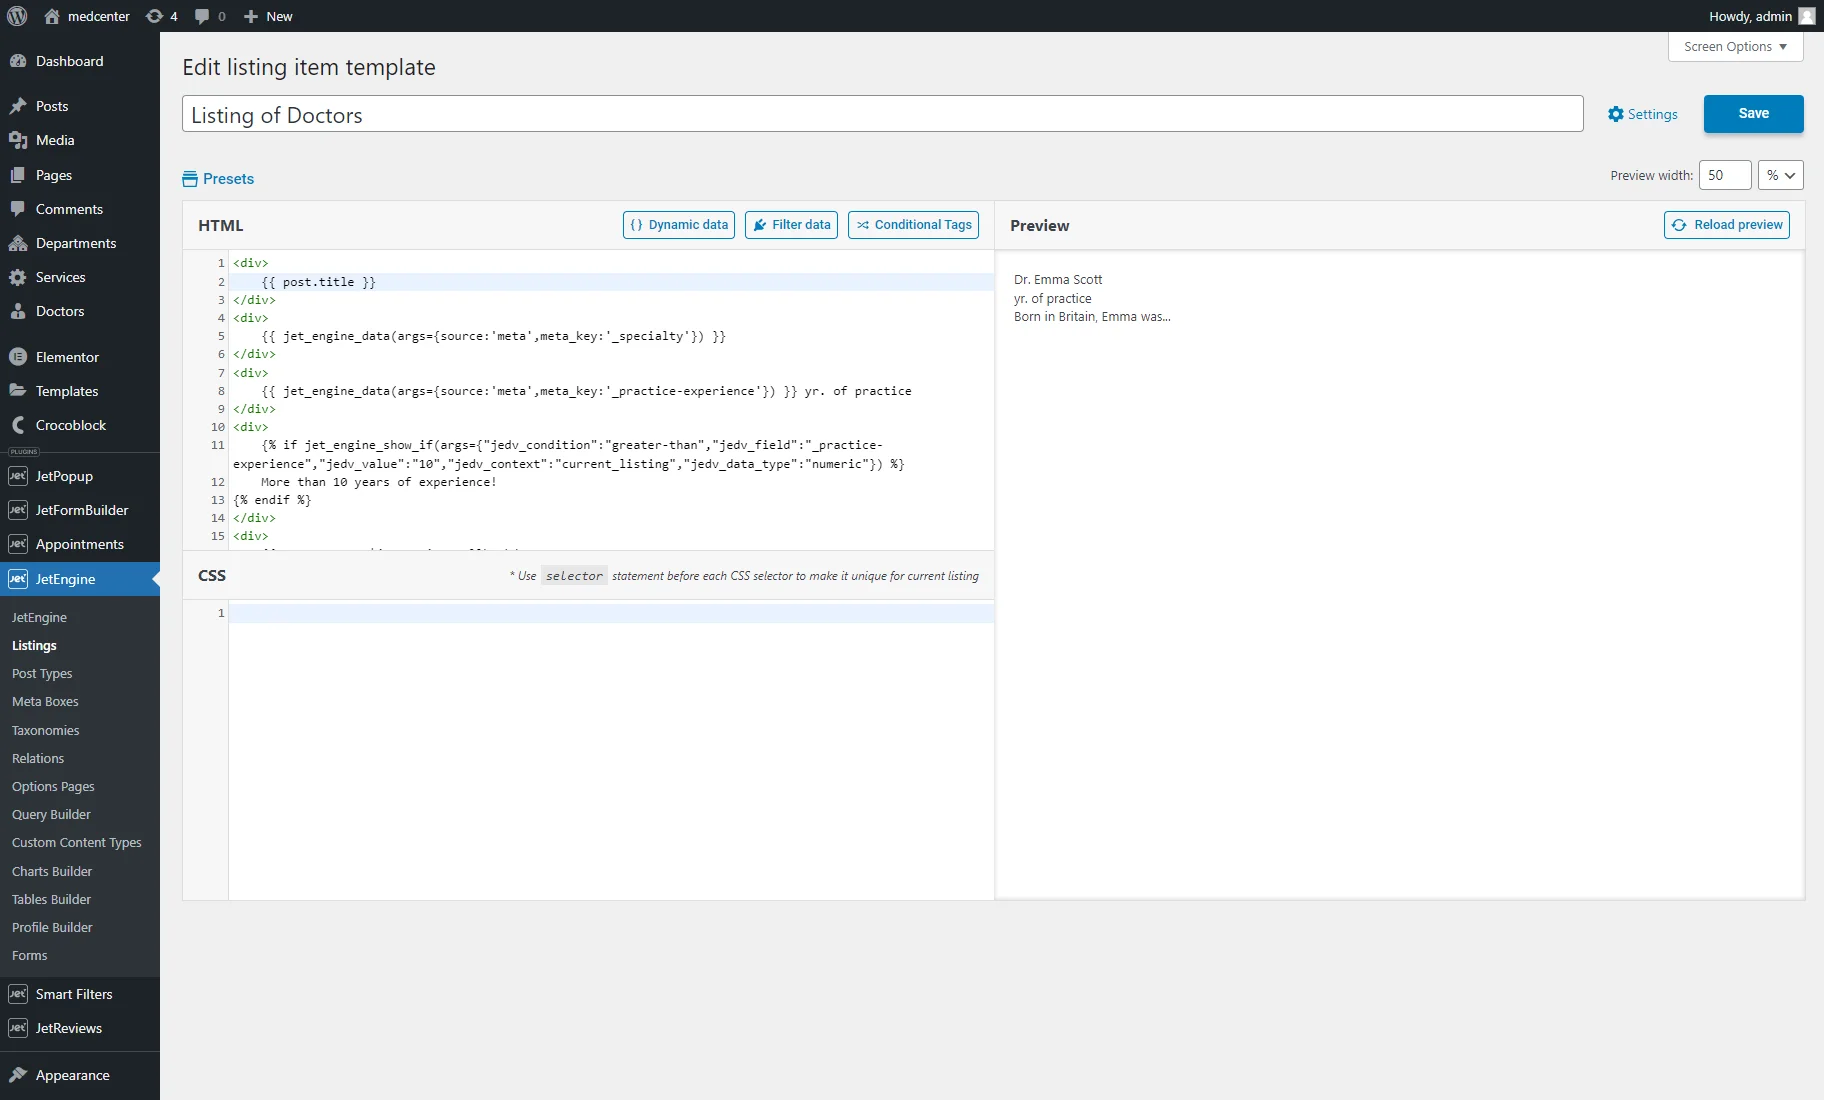
We will create a Listing template to display the doctors’ information. Firstly, we will display the post title (doctor’s name). For that, we hit the “Dynamic Data” button and pick the “Post” option.
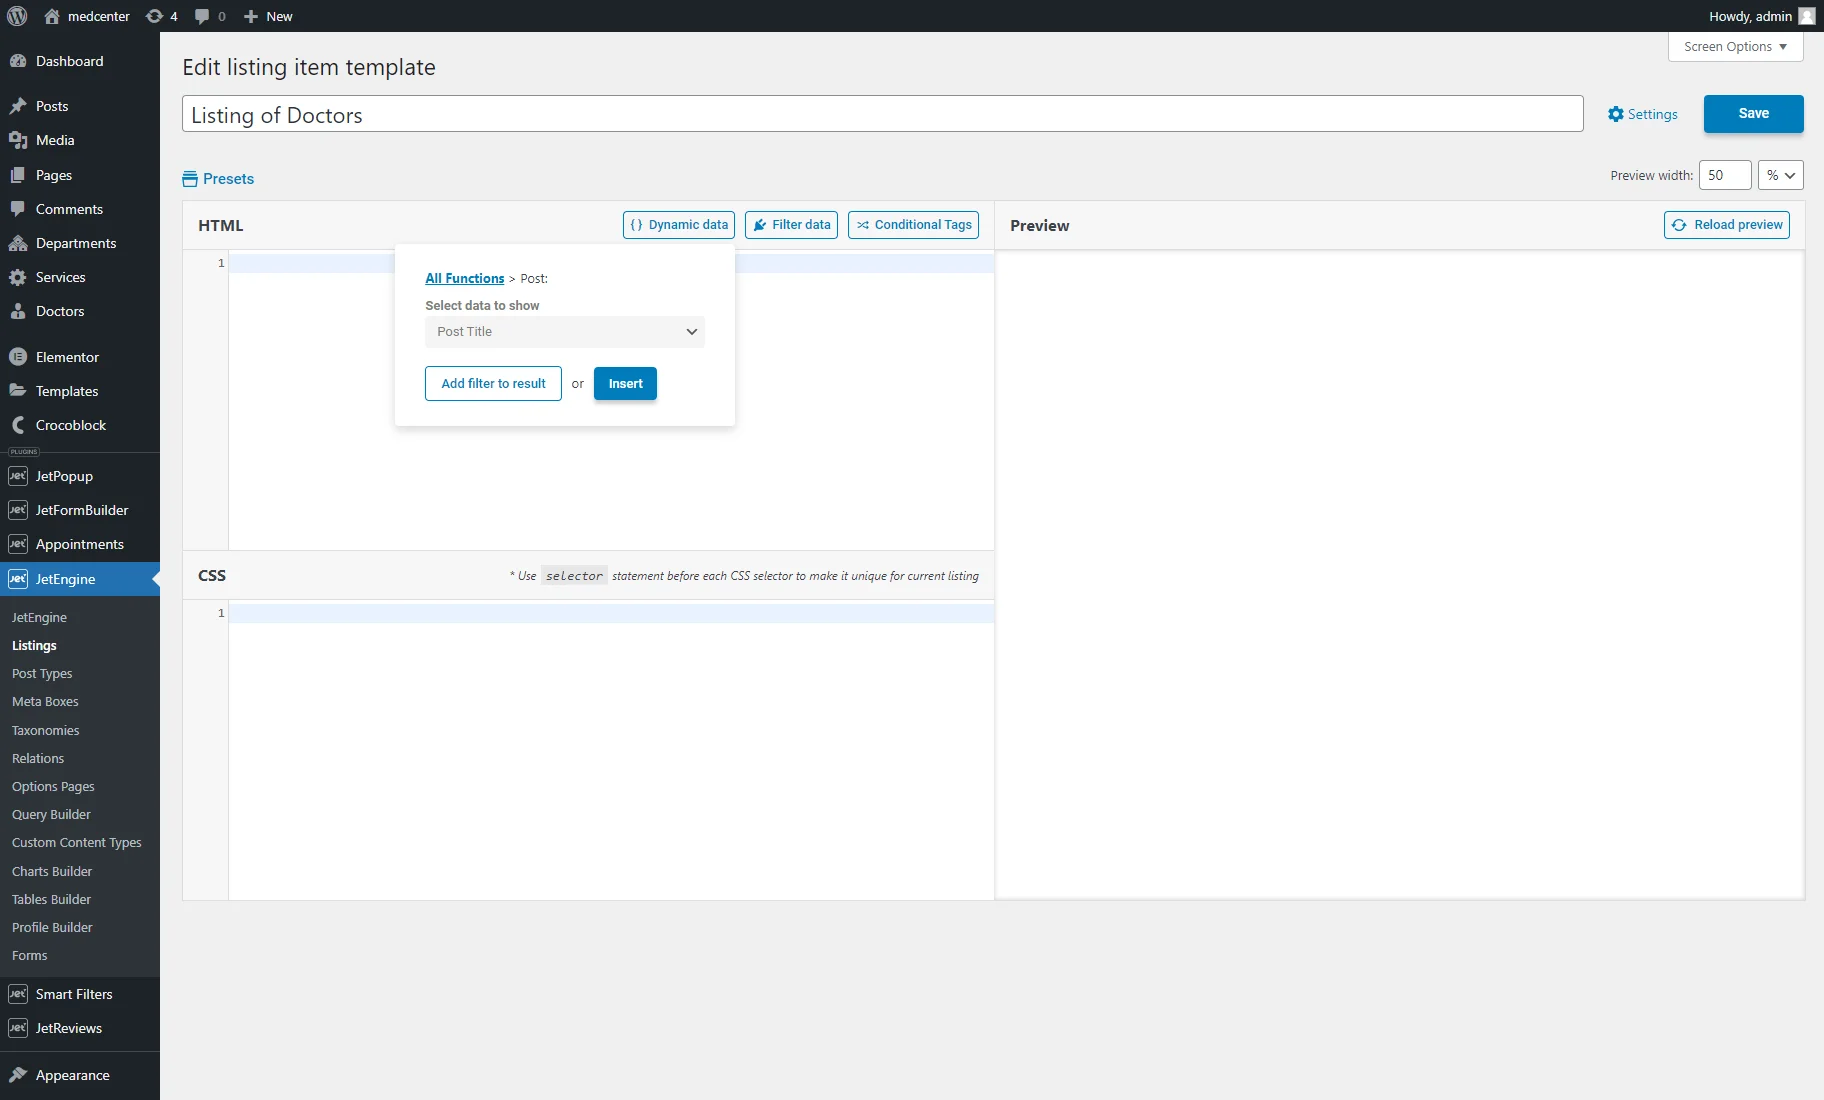
We selected the “Post Title” field from the drop-down menu and hit the “Insert” button.
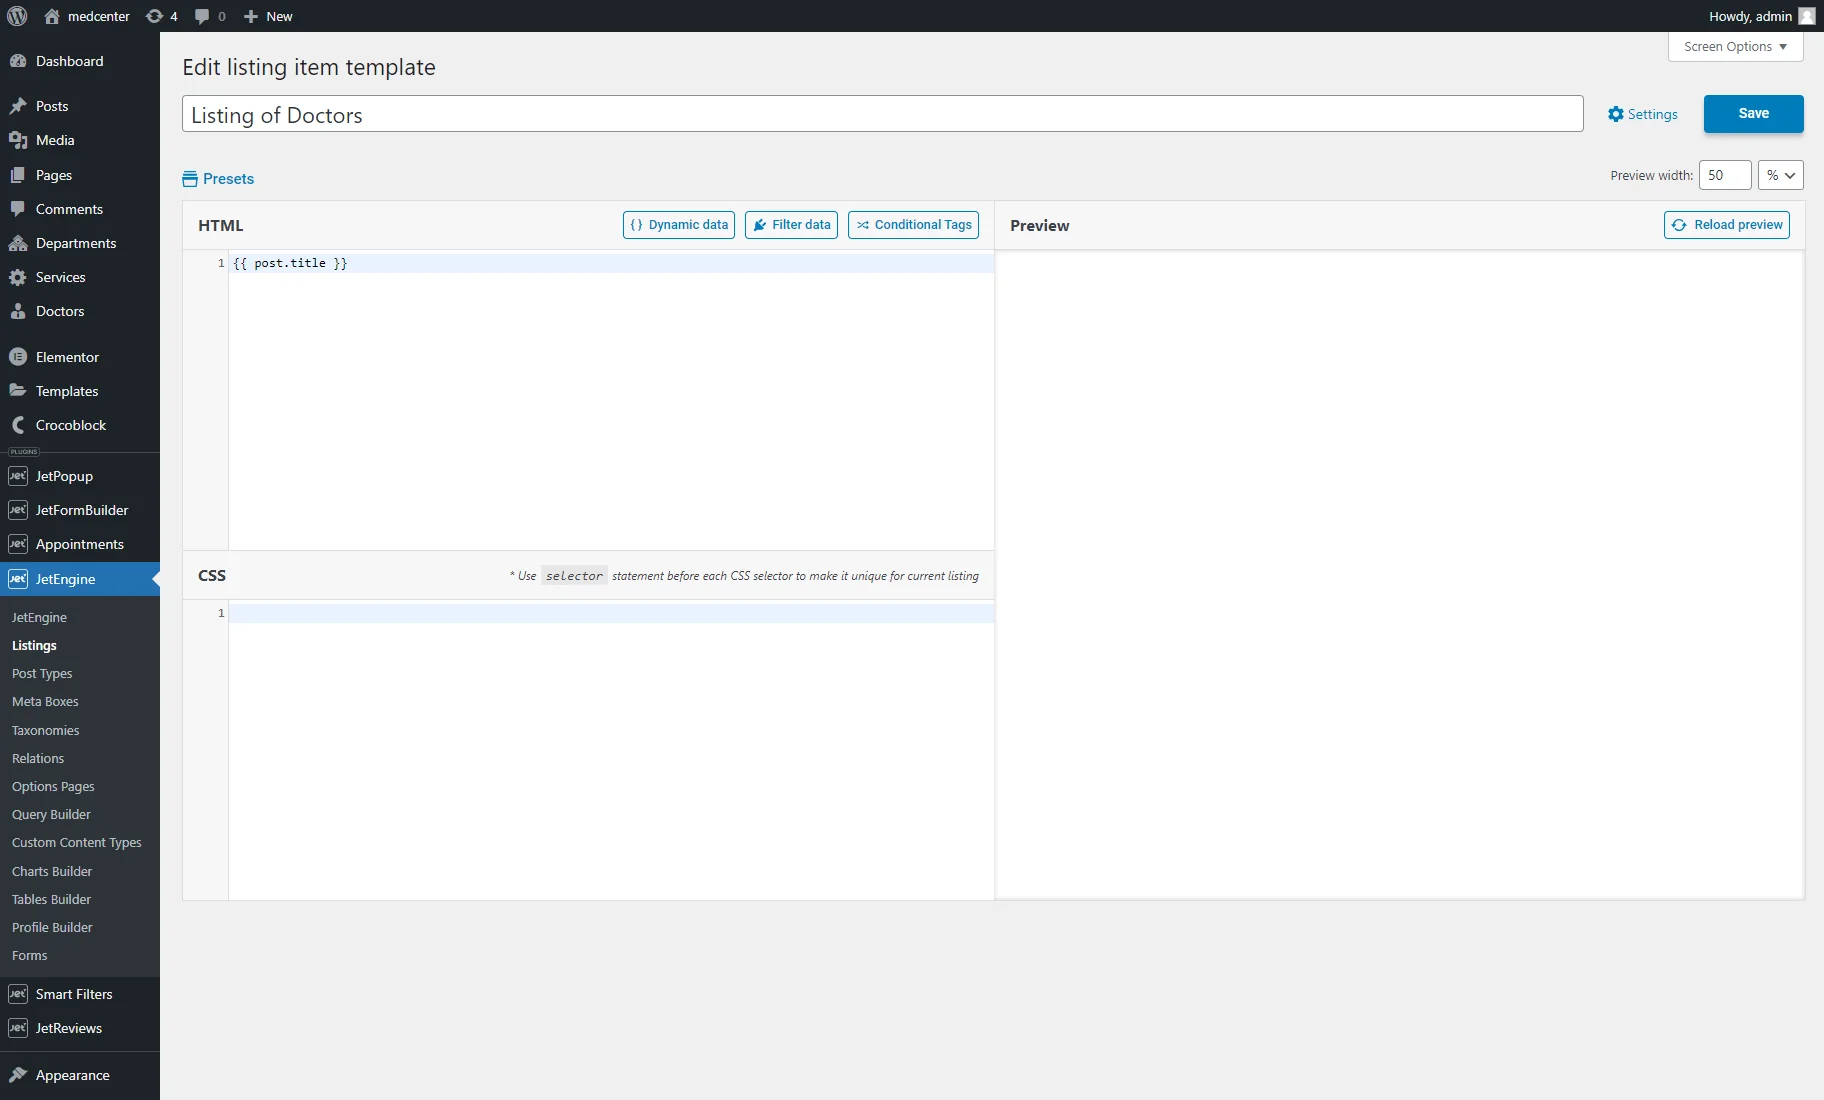
The {{ post.title }} placeholder will be inserted into the sheet. Also, it can be typed manually without using the “Dynamic Data” functionality.
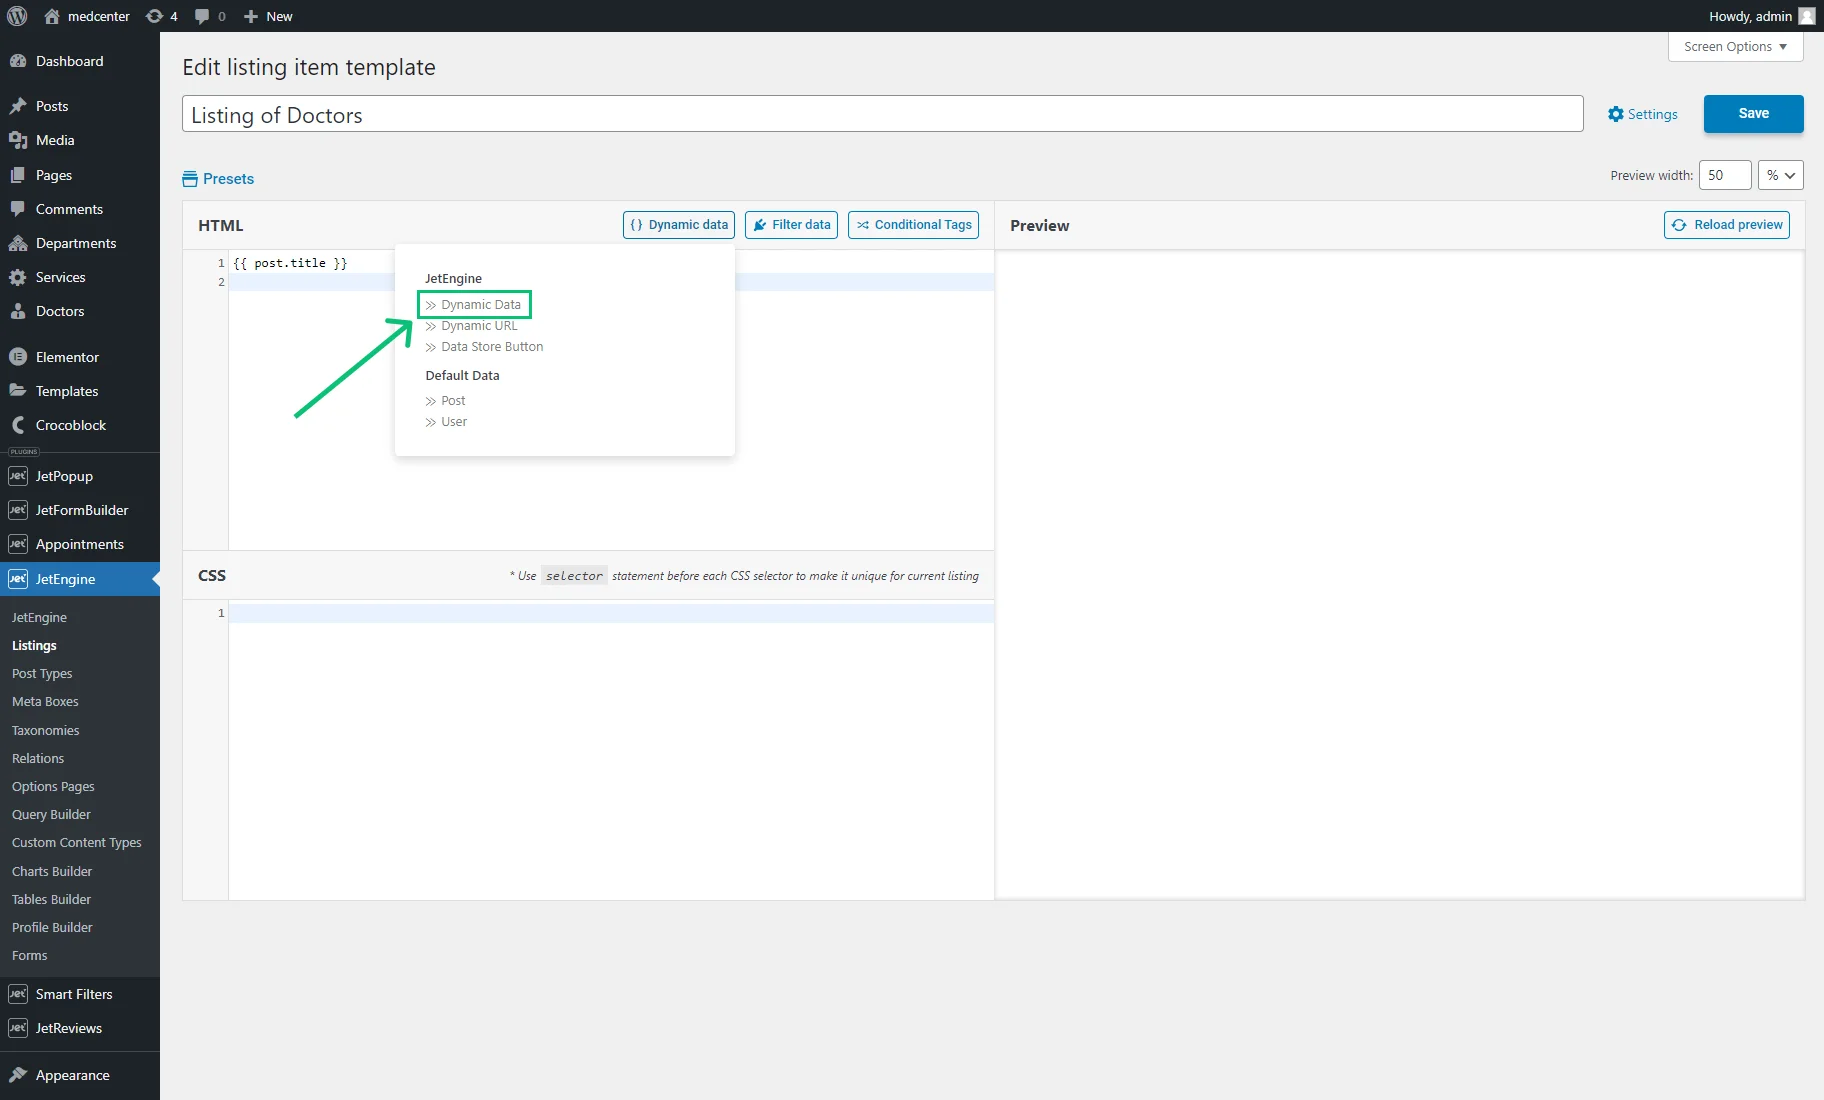
Secondly, we will display the custom meta field value. We hit the “Dynamic data” value and chose the “Dynamic Data” option.
We selected the “Meta Data” Source and picked the needed Meta Field (“Specialty” Text meta field). Then, we hit the “Insert” button.
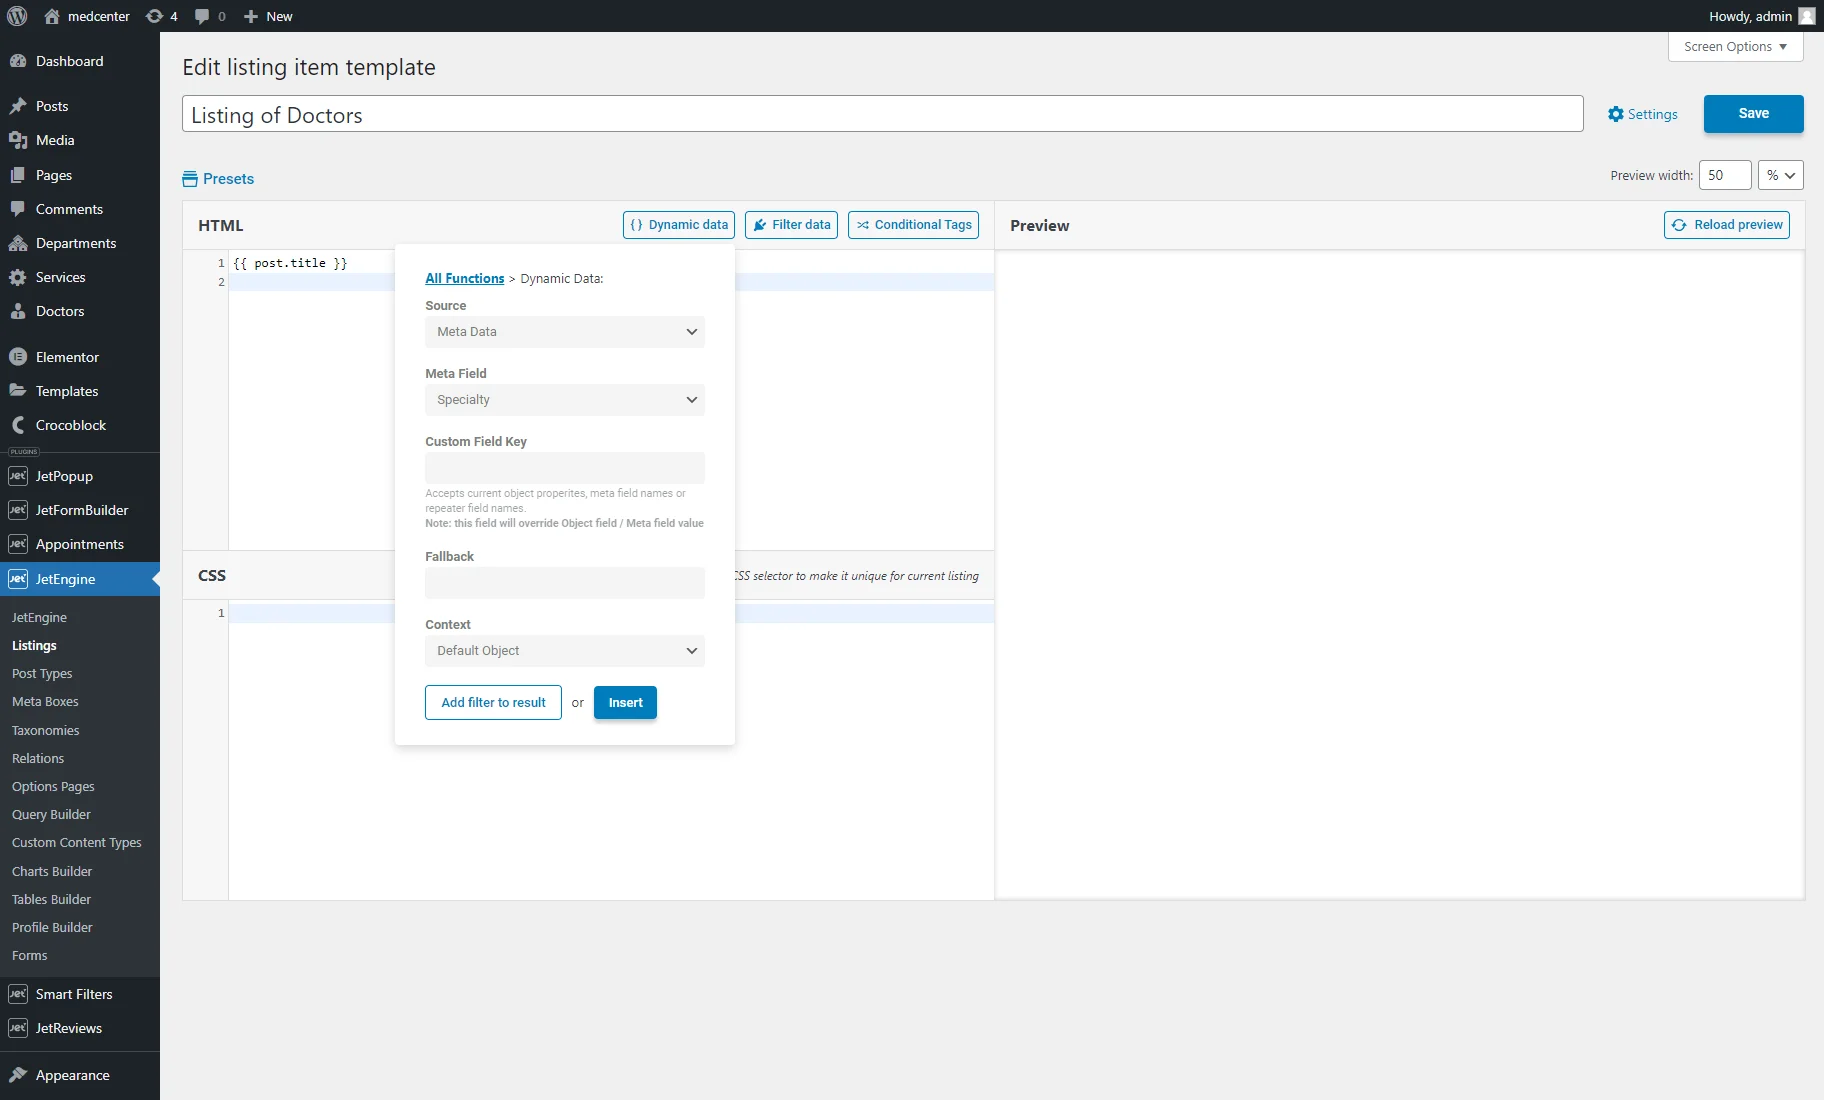
It inserts the placeholder for the custom meta field value:
{{ jet_engine_data(args={source:'meta',meta_key:'_specialty'}) }}

Also, we inserted the “Practice experience” Number meta field. We added the “yr. of practice” custom text after the placeholder:
{{ jet_engine_data(args={source:'meta',meta_key:'_practice-experience'}) }} yr. of practice

Applying Filters to Results
Next, we clicked the “Dynamic data” button, picked the “Post” option, and selected the “Post Content” field. Then, we pushed the “Add filter to result” button.
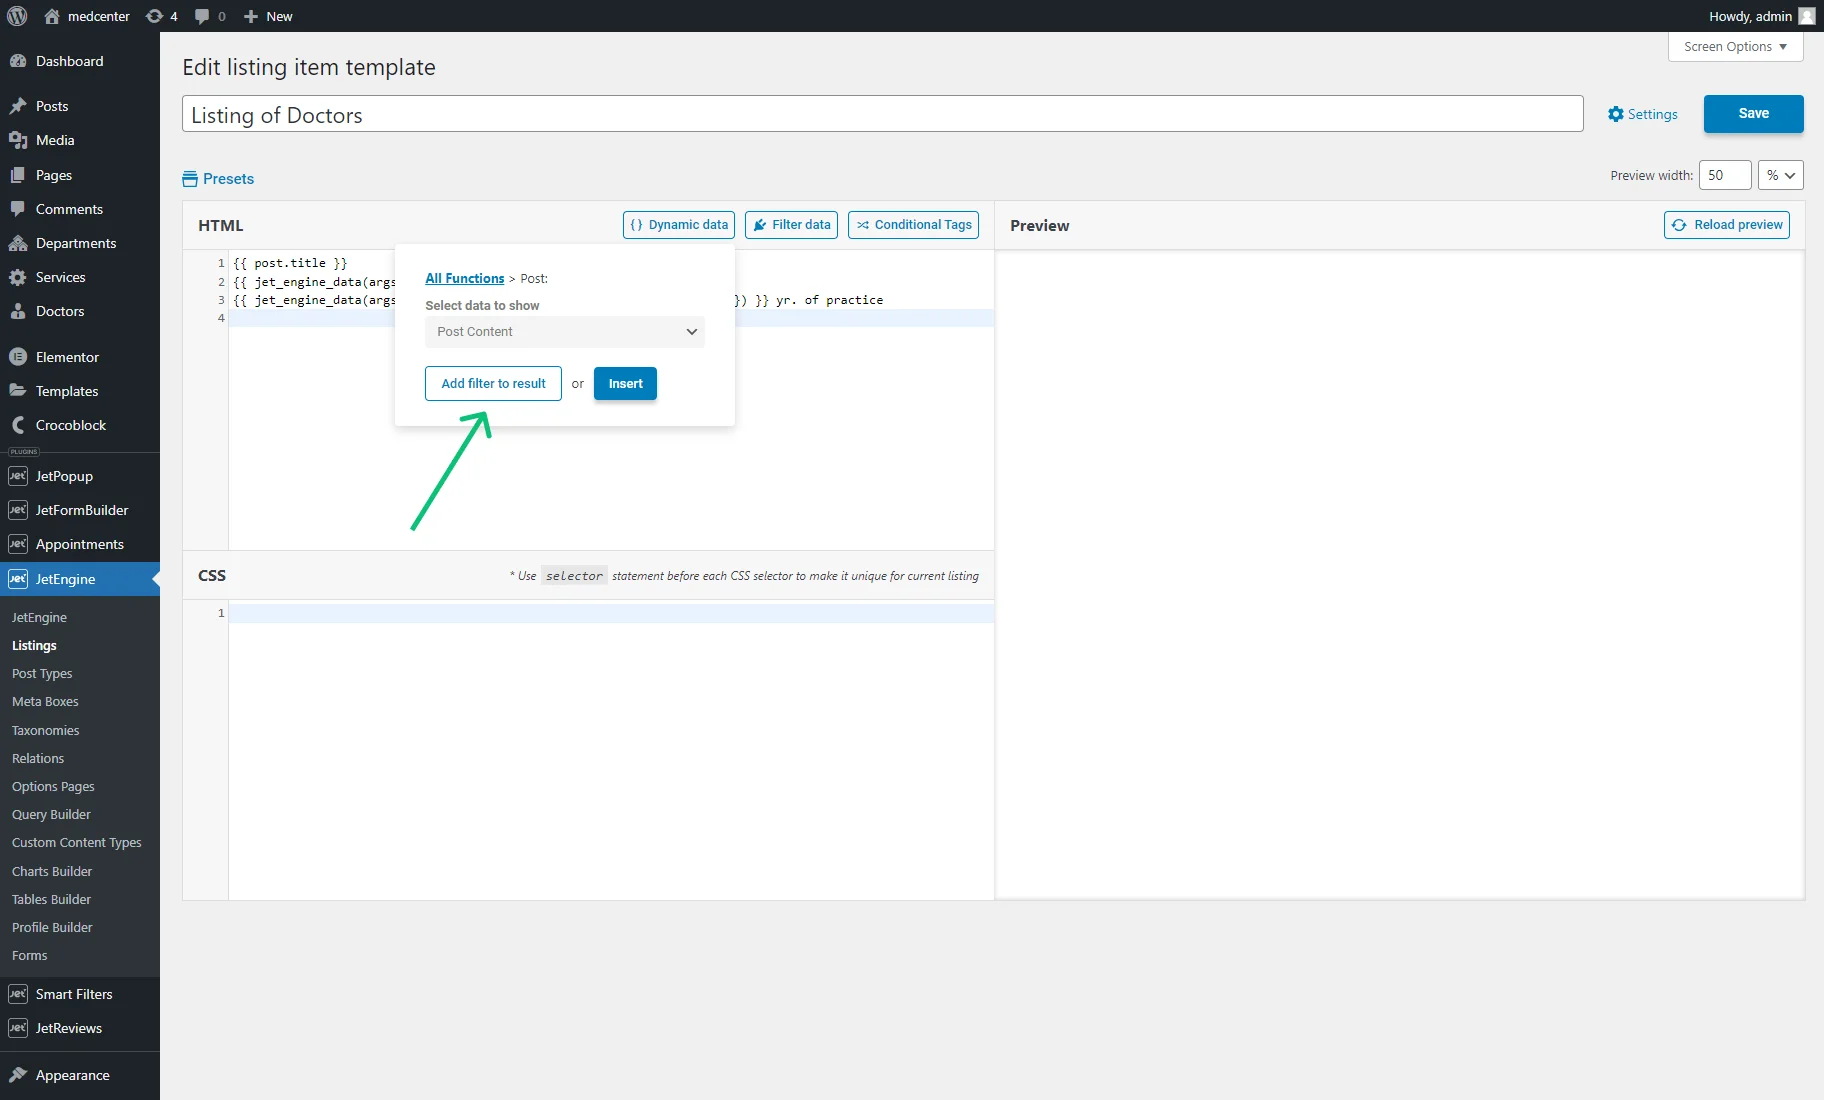
This option allows changing the dynamic data or displaying it in the needed format.
Since the text in the post content field is too long for the listing item, we will shorten it.
For that, we opted for the “JetEngine Callback.”

From the Callback function drop-down menu, we picked the “Trim string by charts or words” callback.
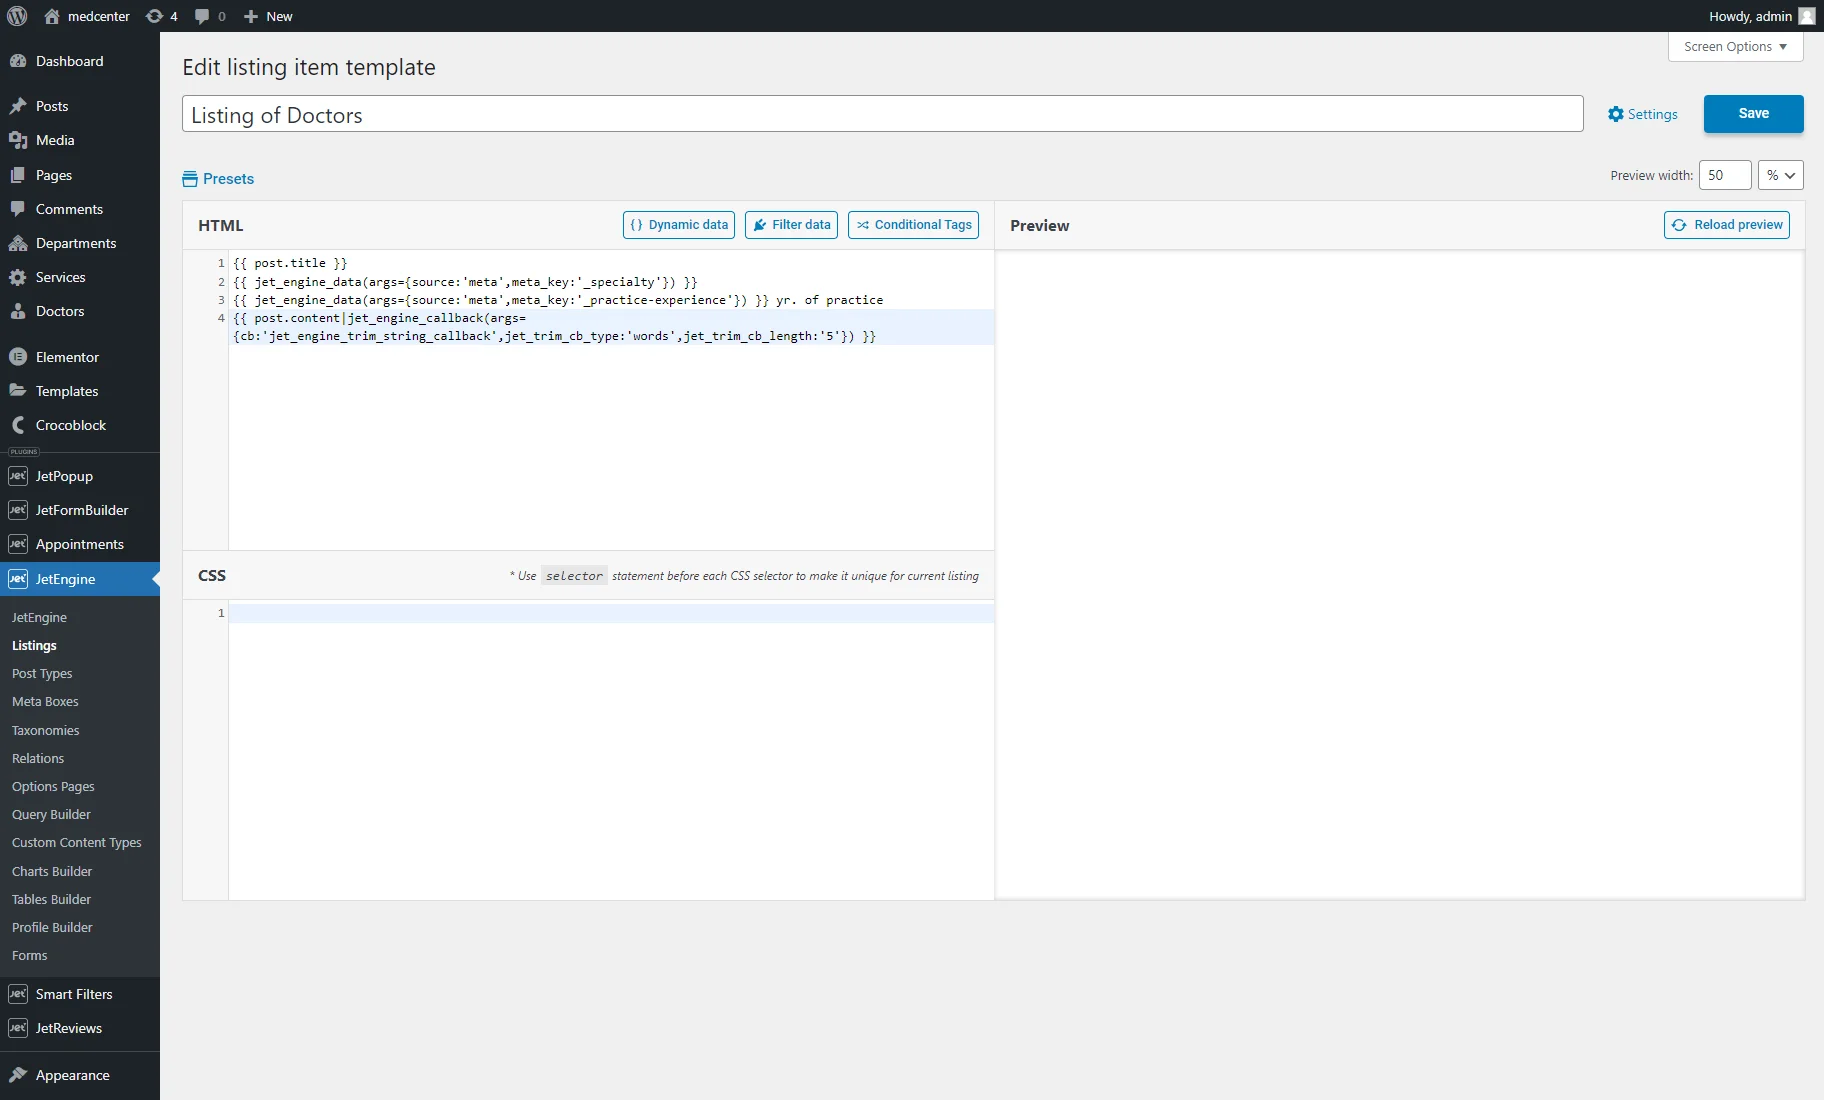
From the Trimmed Type drop-down menu, you can select if you want to shorten a text to a certain number of words or characters. We selected the “Words” Trimmed Type and entered the desired number (“5”) into the String length field. Then, we hit the “Insert” button.

It inserts such a placeholder:
{{ post.content|jet_engine_callback(args={cb:'jet_engine_trim_string_callback',jet_trim_cb_type:'words',jet_trim_cb_length:'5'}) }}
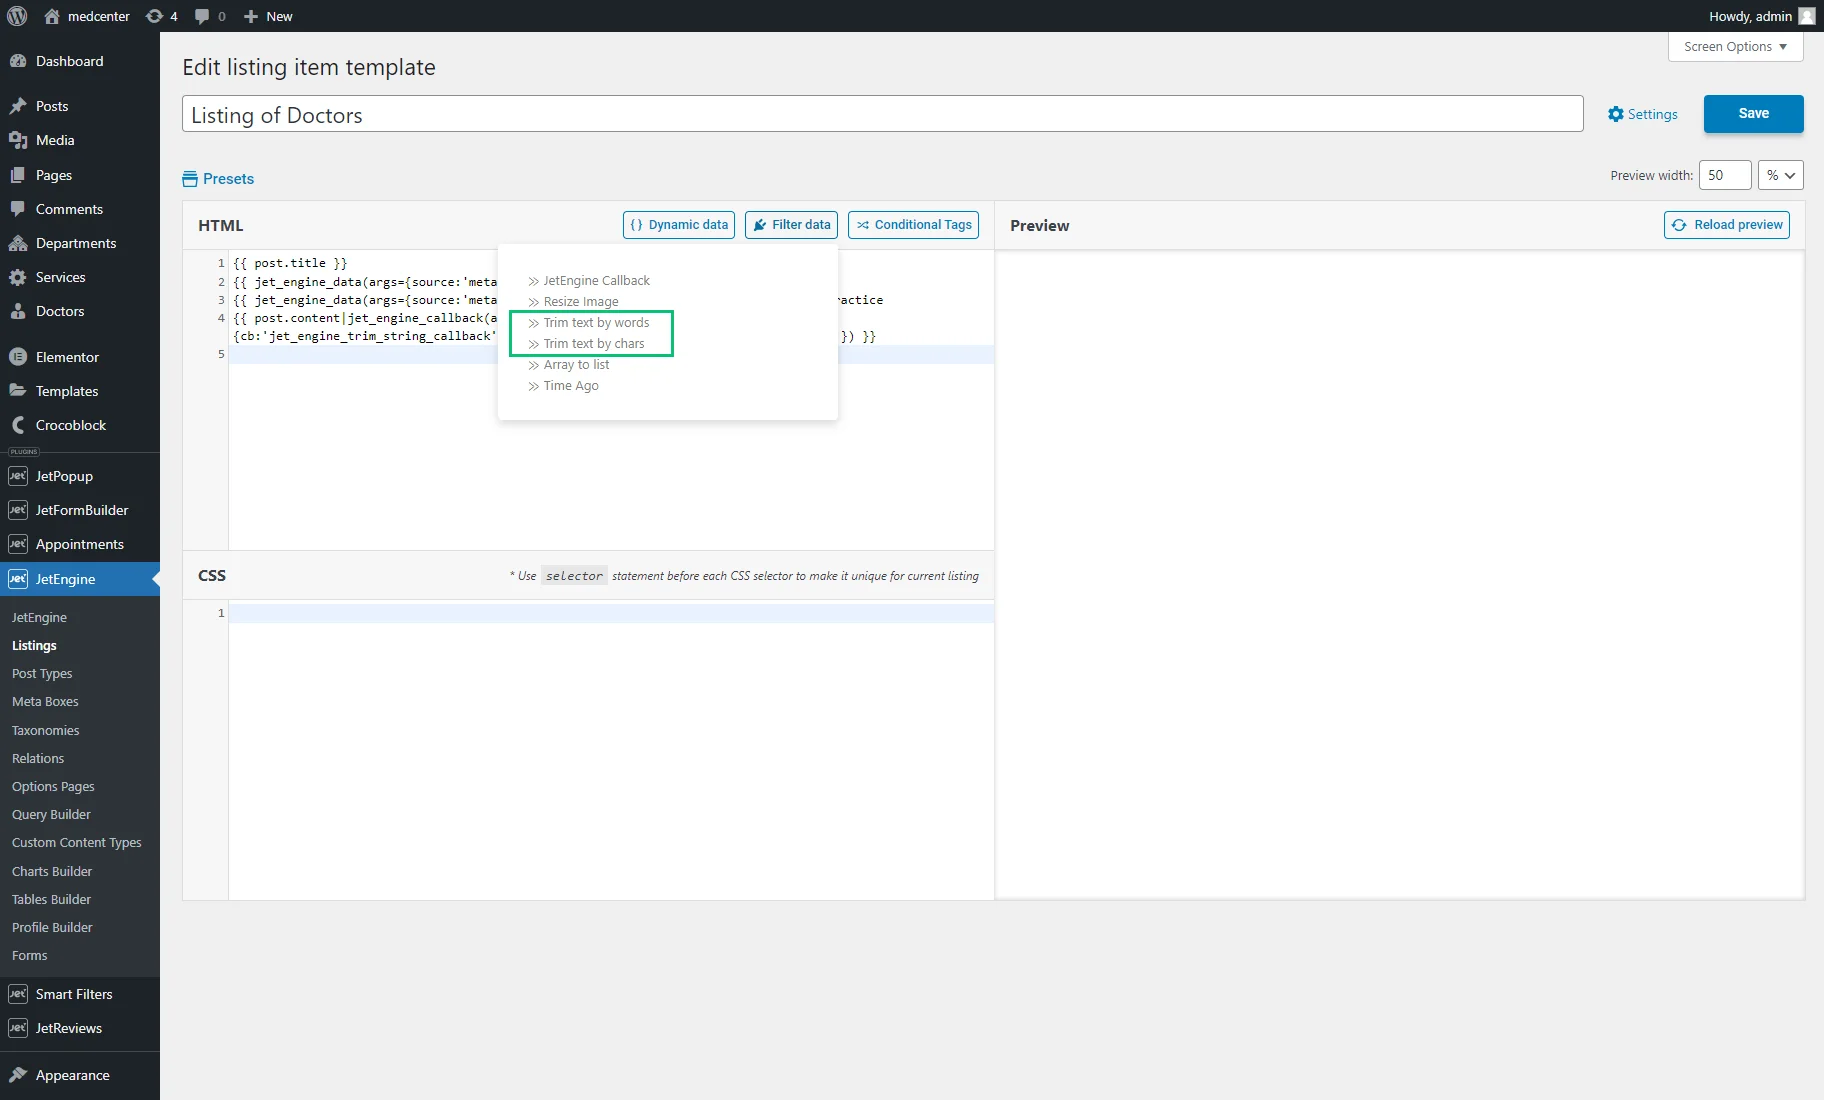
Also, text can be shortened with the “Trim text by words” and “Trim text by chars” Timber filters.
We employed the <div> element to segment placeholders, ensuring that each of them appears on a distinct line within the listing item.
Now, let’s add the post thumbnail. We will achieve this using the following method: by hitting the “Dynamic data” button and picking the “Dynamic Data” option. In the pop-up, we selected the “Meta Data” Source and entered the “_thumbnail_id” Custom Field Key. Then, we hit the “Add filter to result” button.
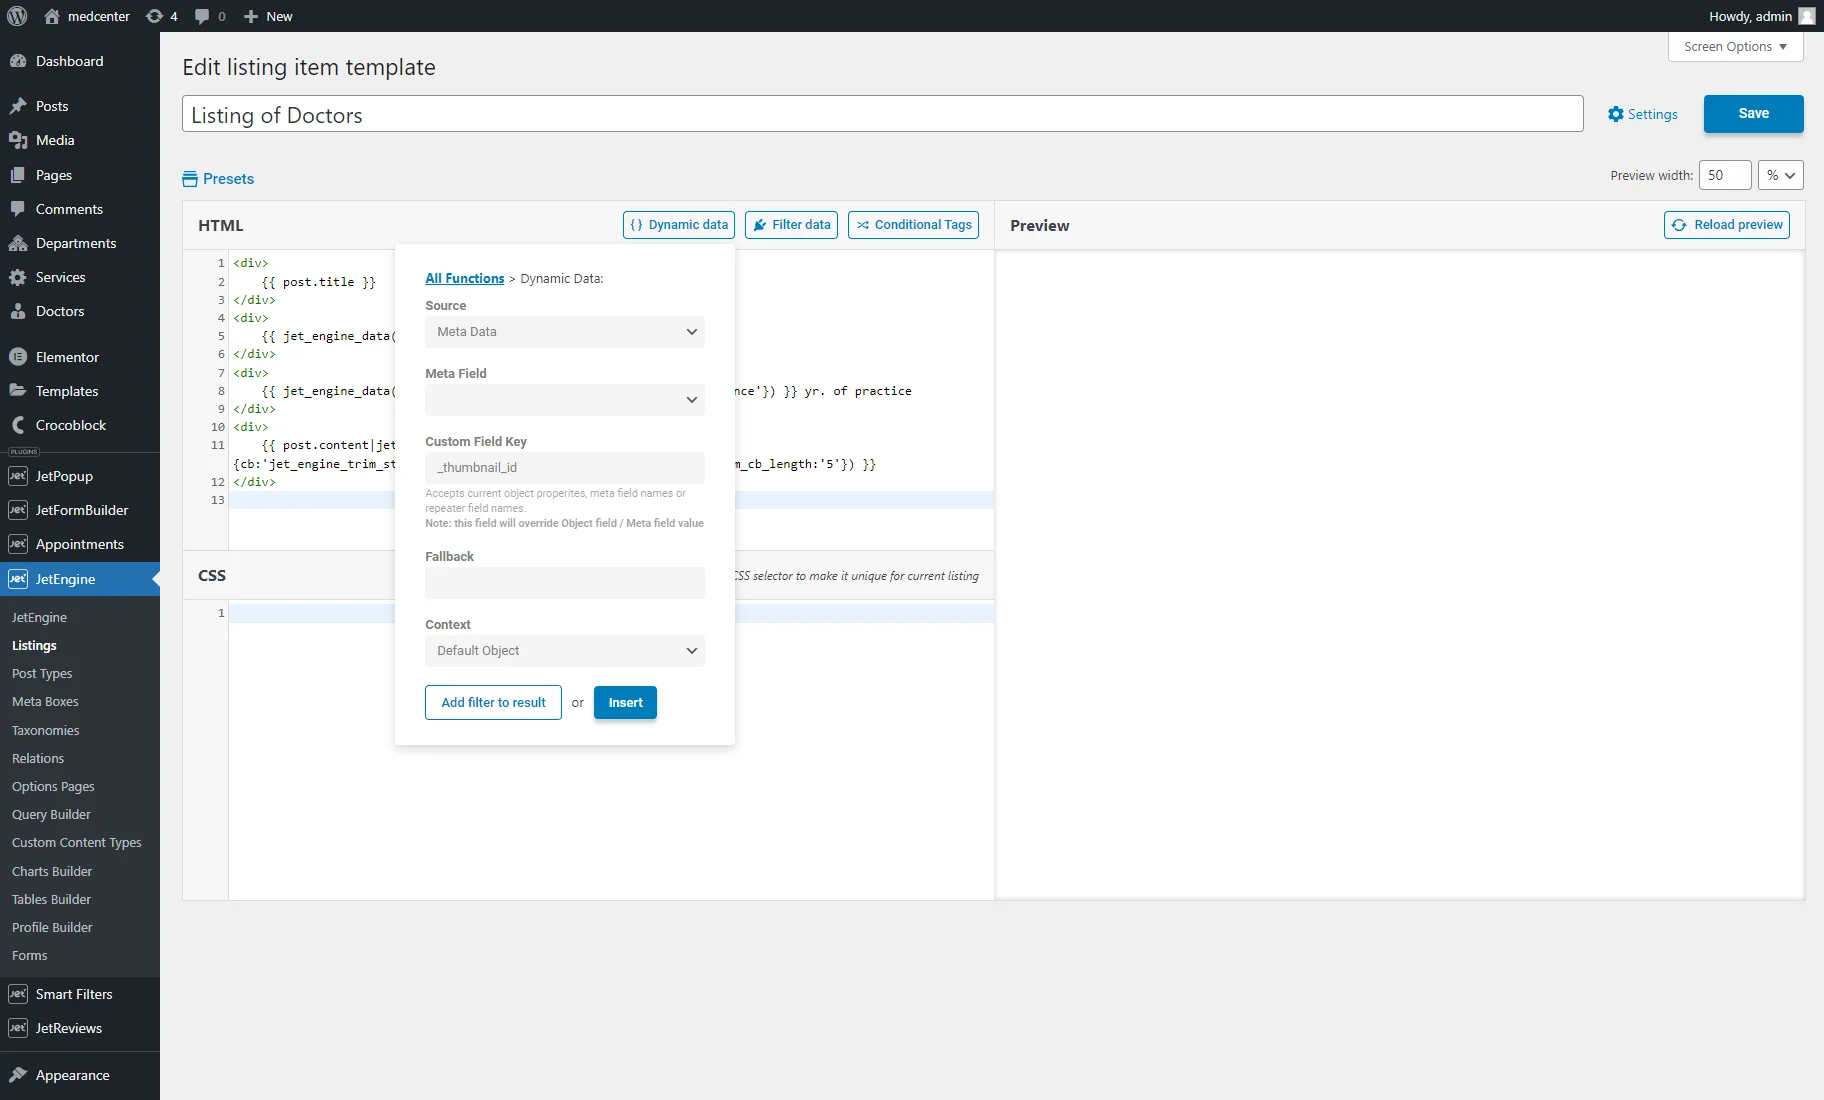
We picked the “JetEngine Callback.” Then, we selected the “Get image by ID” from the Callback function drop-down menu. This option also allows us to pick the Image size.
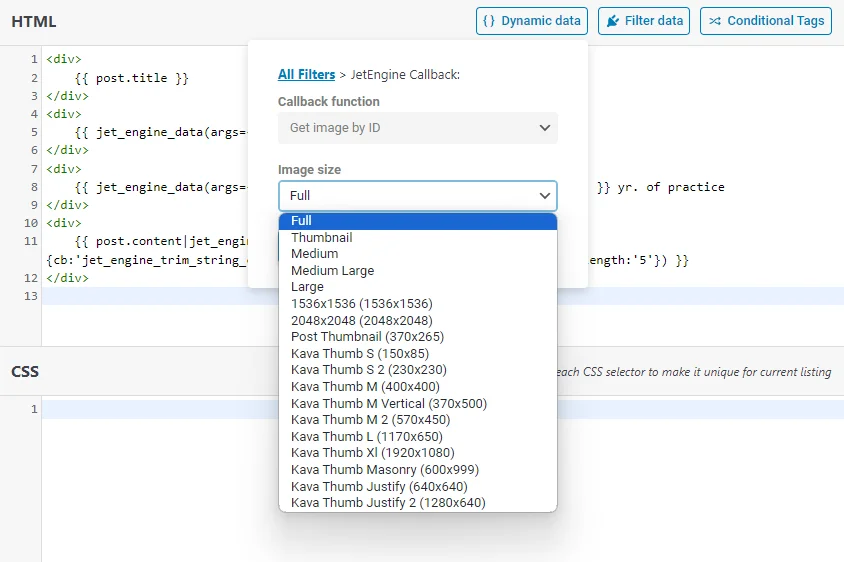
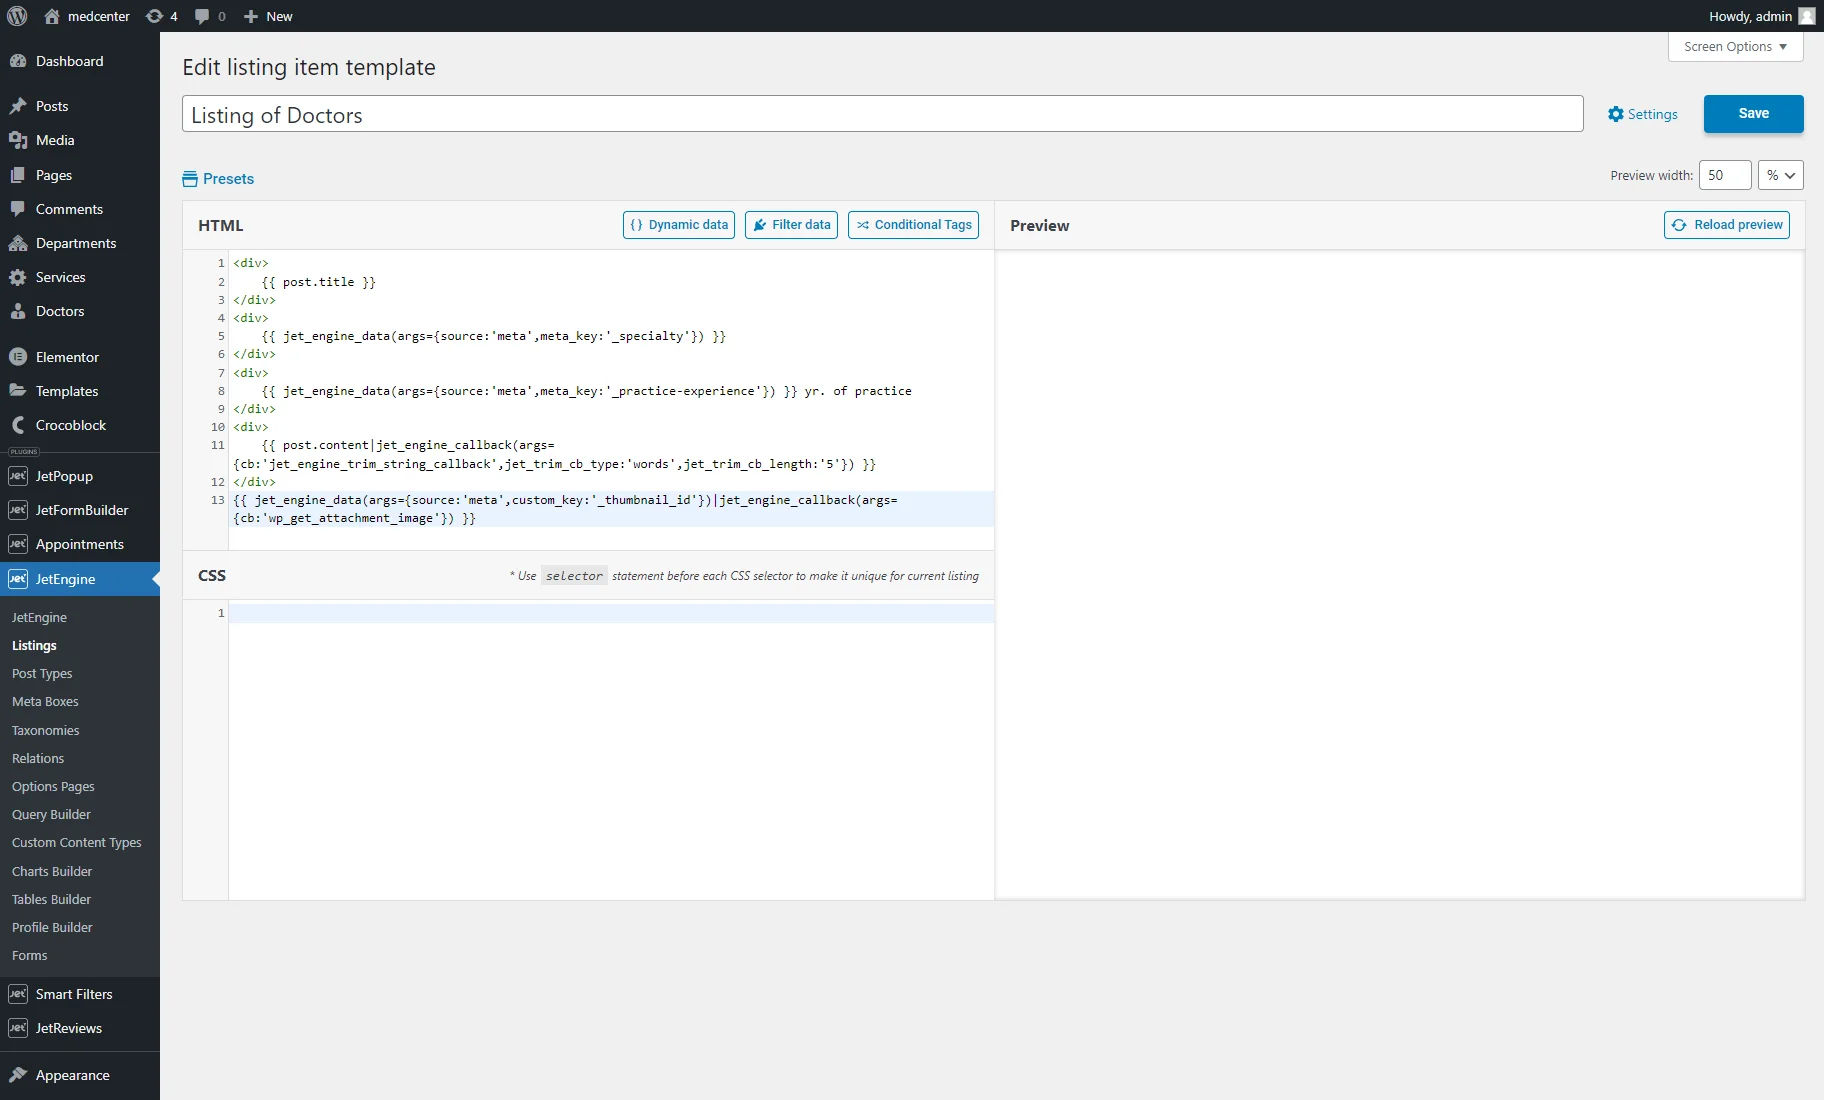
Then, we hit the “Insert” button and got such a placeholder:
{{ jet_engine_data(args={source:'meta',custom_key:'_thumbnail_id'})|jet_engine_callback(args={cb:'wp_get_attachment_image'}) }}The description of all JetEngine callbacks can be found here.
Conditional Tags
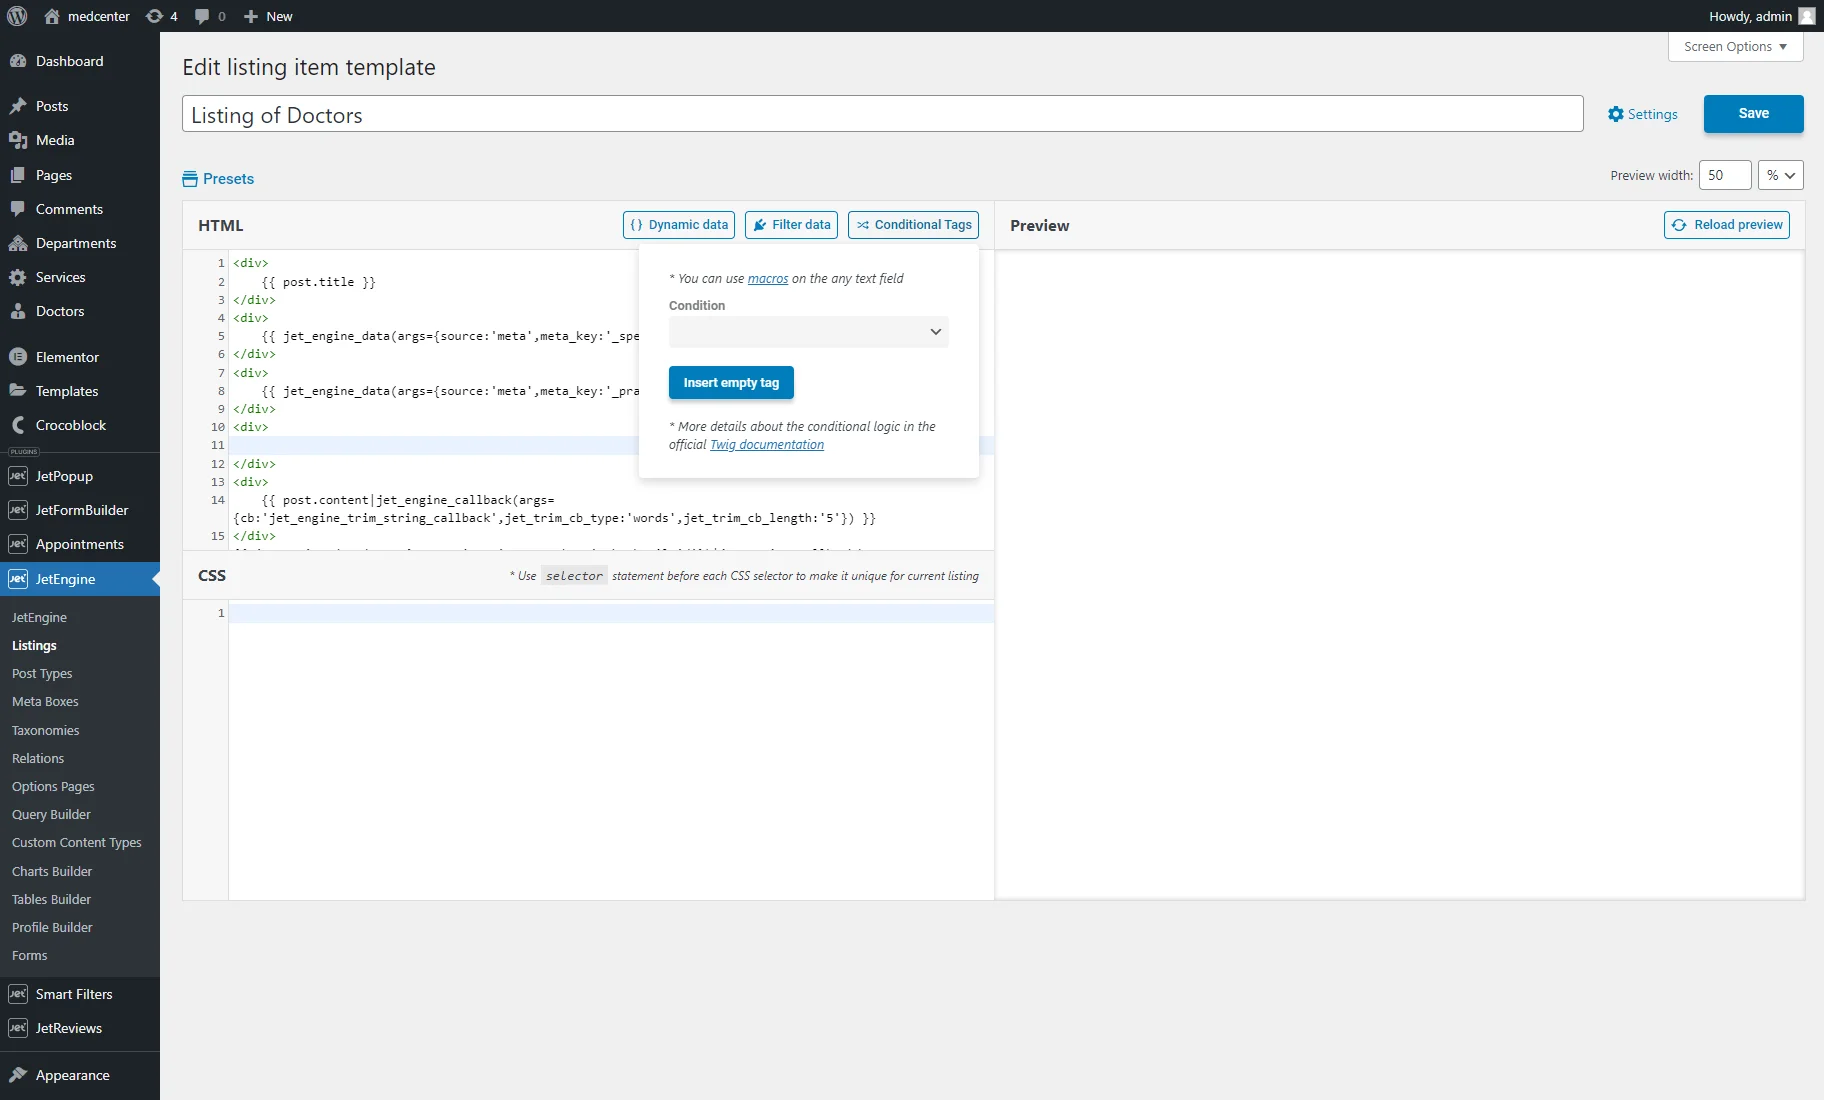
Now, let’s observe the “Conditional Tags” button.
The way the Conditional Tags’ operate is much like the JetEngine Dynamic Visibility feature, displaying elements when the specified conditions are met.
Conditional logic in Twig is available with such a construction:
{% if statement_to_check %}
<!-- Paste your HTML here -->
{% endif %} }}
To learn more about the conditional logic, proceed to the Twig documentation.
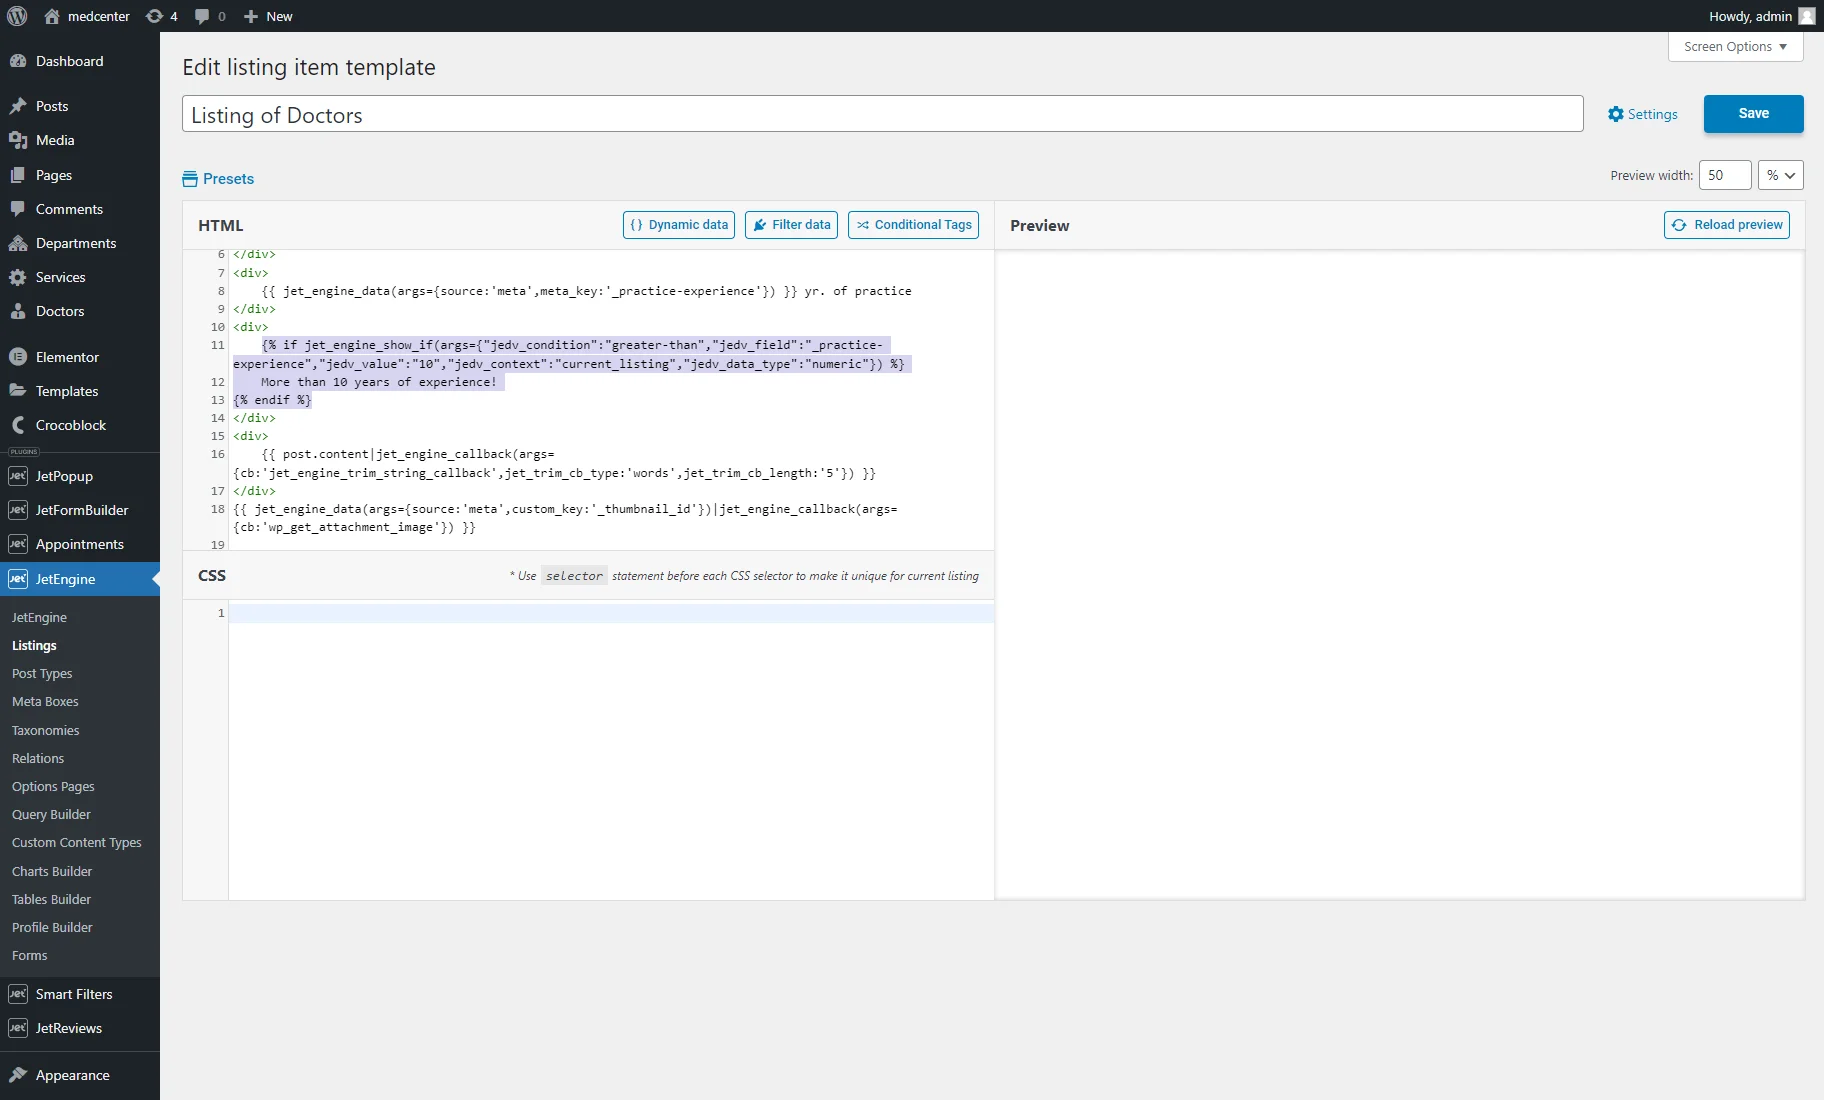
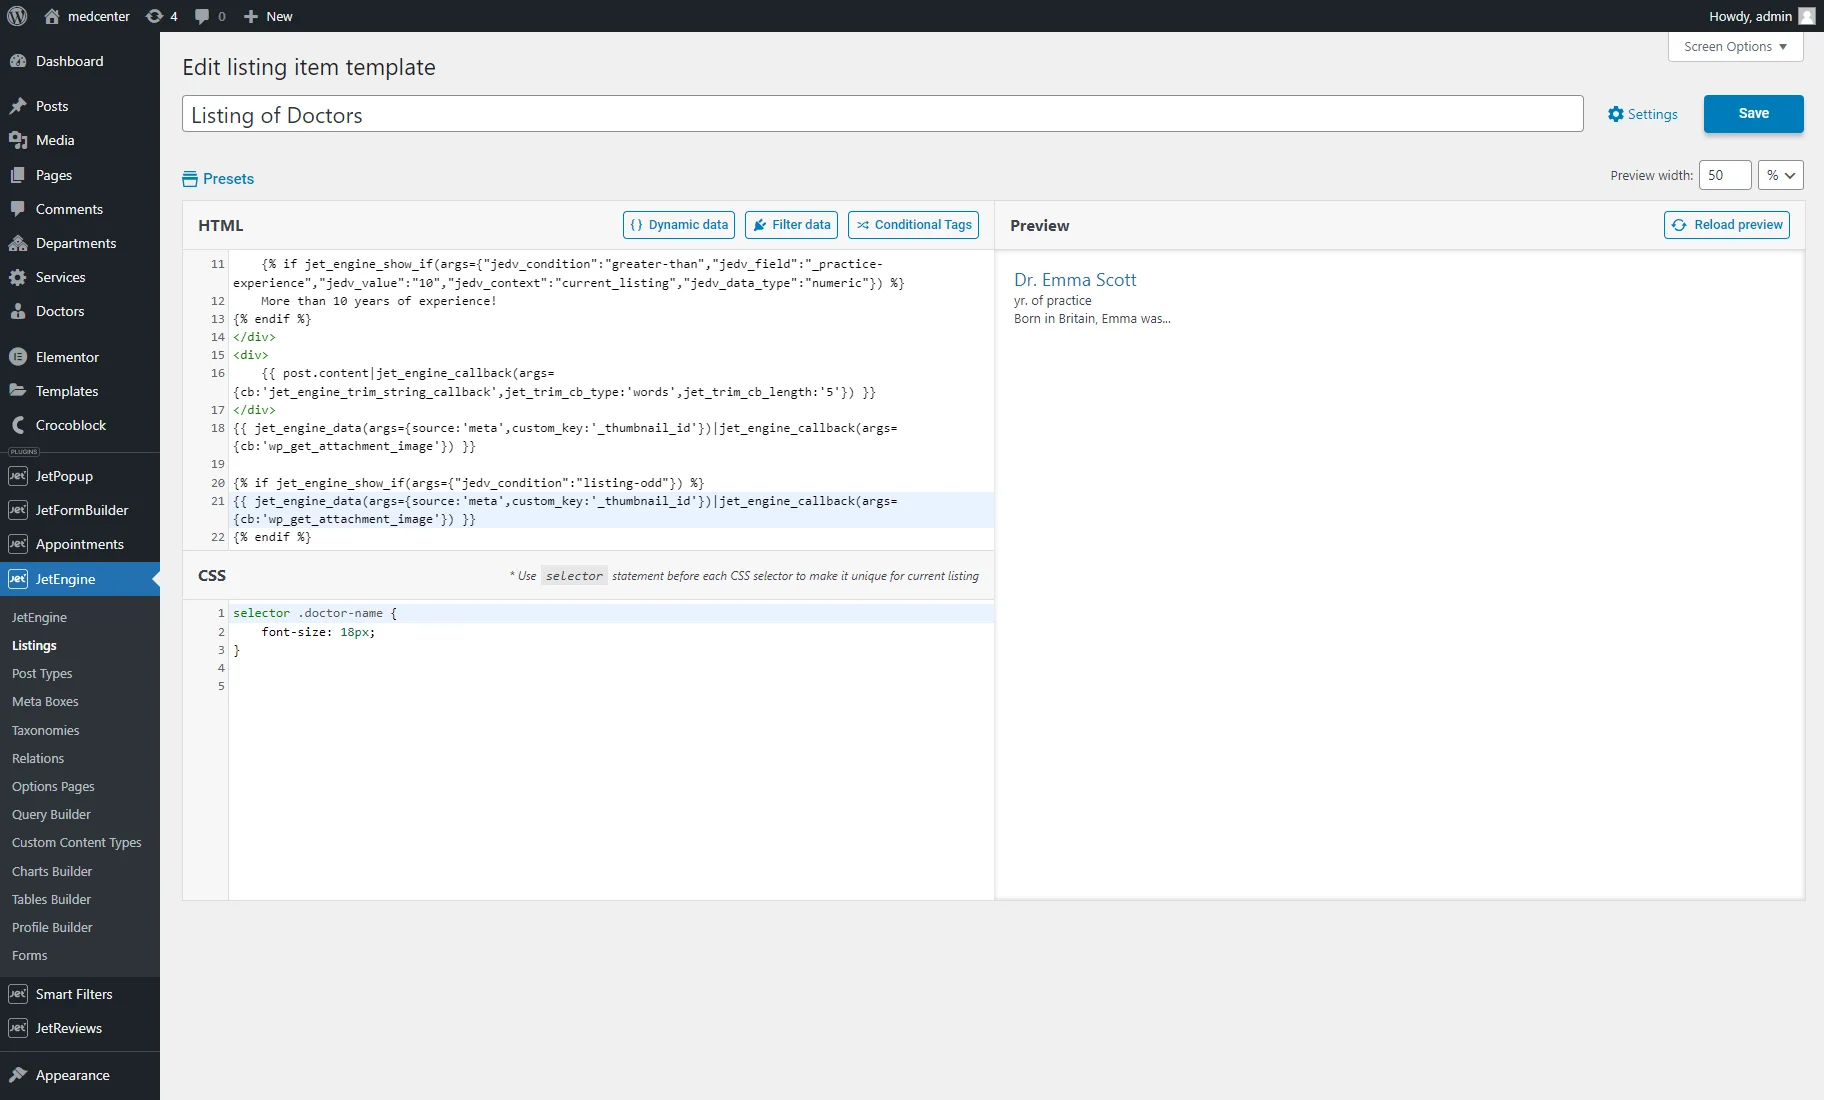
Now, let’s add a custom label that will appear in the listing Item if the value in the “Practice experience” Number field is more than “10.”
Initially, we hit the “Conditional Tags” button.
We picked the “Greater than” Condition. Then, we entered the field name into the Field, entered “10” into the Value, chose the “Current listing item object” Context, and set the “Numeric” Data type. Eventually, we pressed the “Insert” button.

It inserted such a construction:
{% if jet_engine_show_if(args={"jedv_condition":"greater-than","jedv_field":"_practice-experience","jedv_value":"10","jedv_context":"current_listing","jedv_data_type":"numeric"}) %}
<!-- Paste your HTML here -->
{% endif %}
Instead of <!– Paste your HTML here –> we typed “More than 10 years of experience!”
After inputting all essential constructions into the HTML sheet, we can hit the “Reload preview” button to display the result in the Preview area. It shows only the default post data; the JetEngine data can be checked on the page with the Listing Grid or on the front end.
CSS Style Settings
Now, let’s explore the CSS style settings.
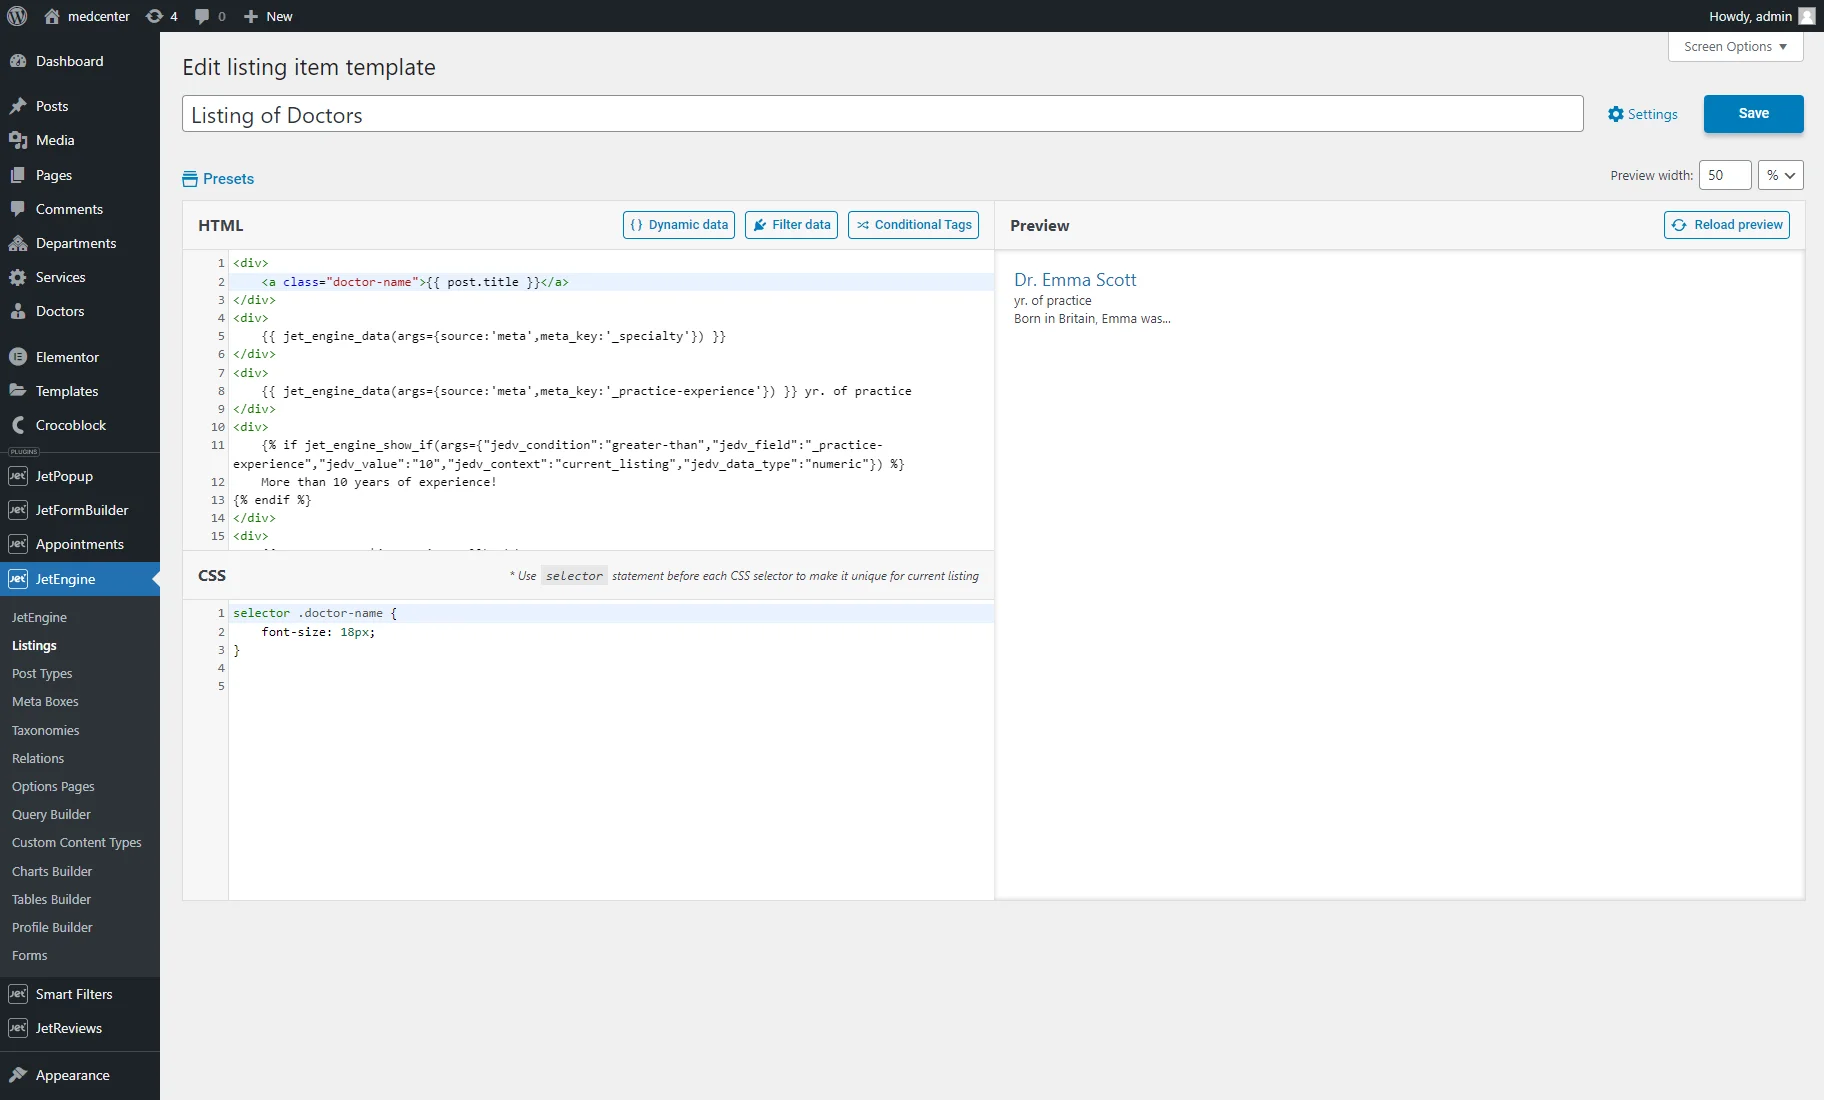
For that, we added a “class” attribute with the “doctor-name” value to the {{ post.title }} placeholder:
<a class="doctor-name">{{ post.title }}</a>
In the CSS sheet, we typed:
selector .doctor-name {
	font-size: 18px;
}
We used the “selector” statement before the CSS selector to make it unique for the current listing.
After reloading the preview, we can see that changes are applied to the post title (doctor’s name).
Conditional Tags with CSS
The conditional tags can also be applied to the style settings.
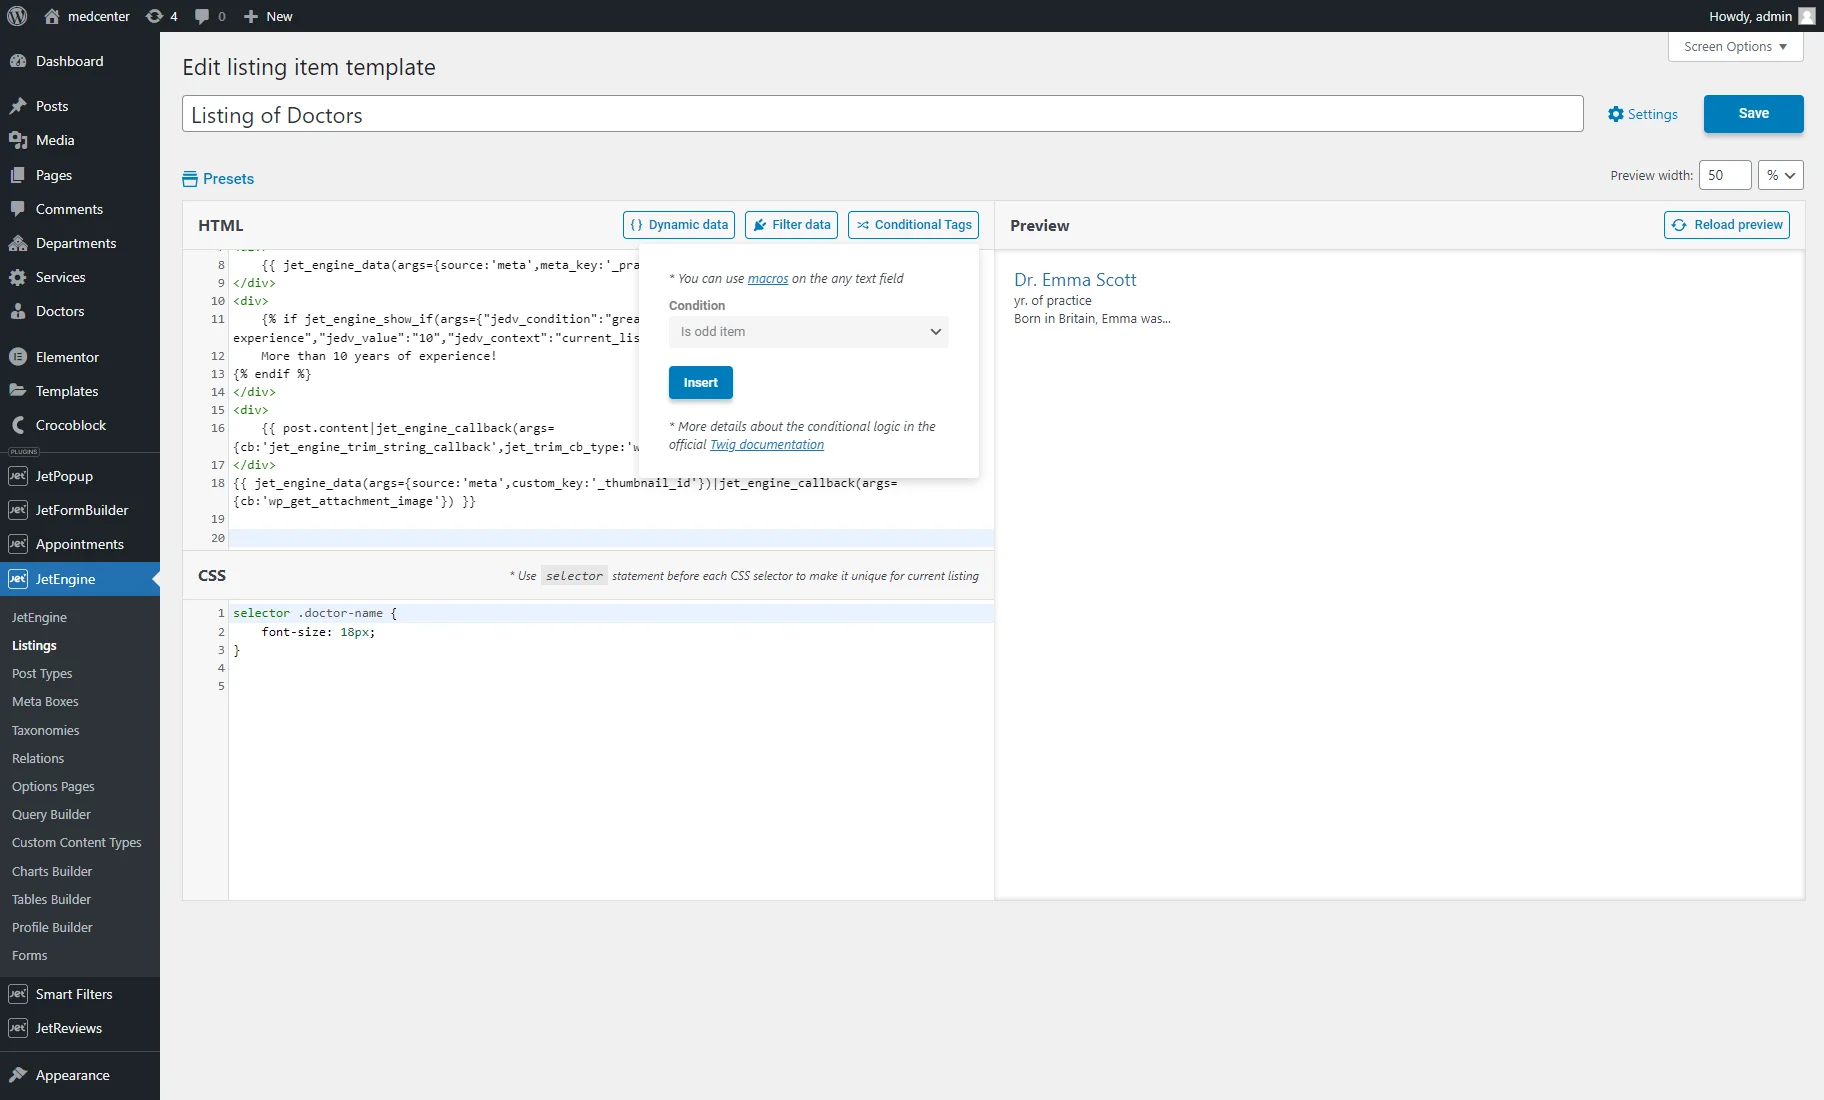
To check it, let’s add a border to the image if the listing item’s position in the Listing Grid is an even number.
We hit the “Conditional Tags” button, selected the “Is odd item” Condition, and pushed the “Insert” button.
We received such a structure:
{% if jet_engine_show_if(args={"jedv_condition":"listing-odd"}) %}
<!-- Paste your HTML here -->
{% endif %}
We copied the post thumbnail placeholder and pasted it instead of <!– Paste your HTML here –>:
{% if jet_engine_show_if(args={"jedv_condition":"listing-odd"}) %}
{{ jet_engine_data(args={source:'meta',custom_key:'_thumbnail_id'})|jet_engine_callback(args={cb:'wp_get_attachment_image'}) }}
{% endif %}
Then, we hit the “Conditional Tags” button again, selected the “Is even item” Condition, and pushed the “Insert” button.
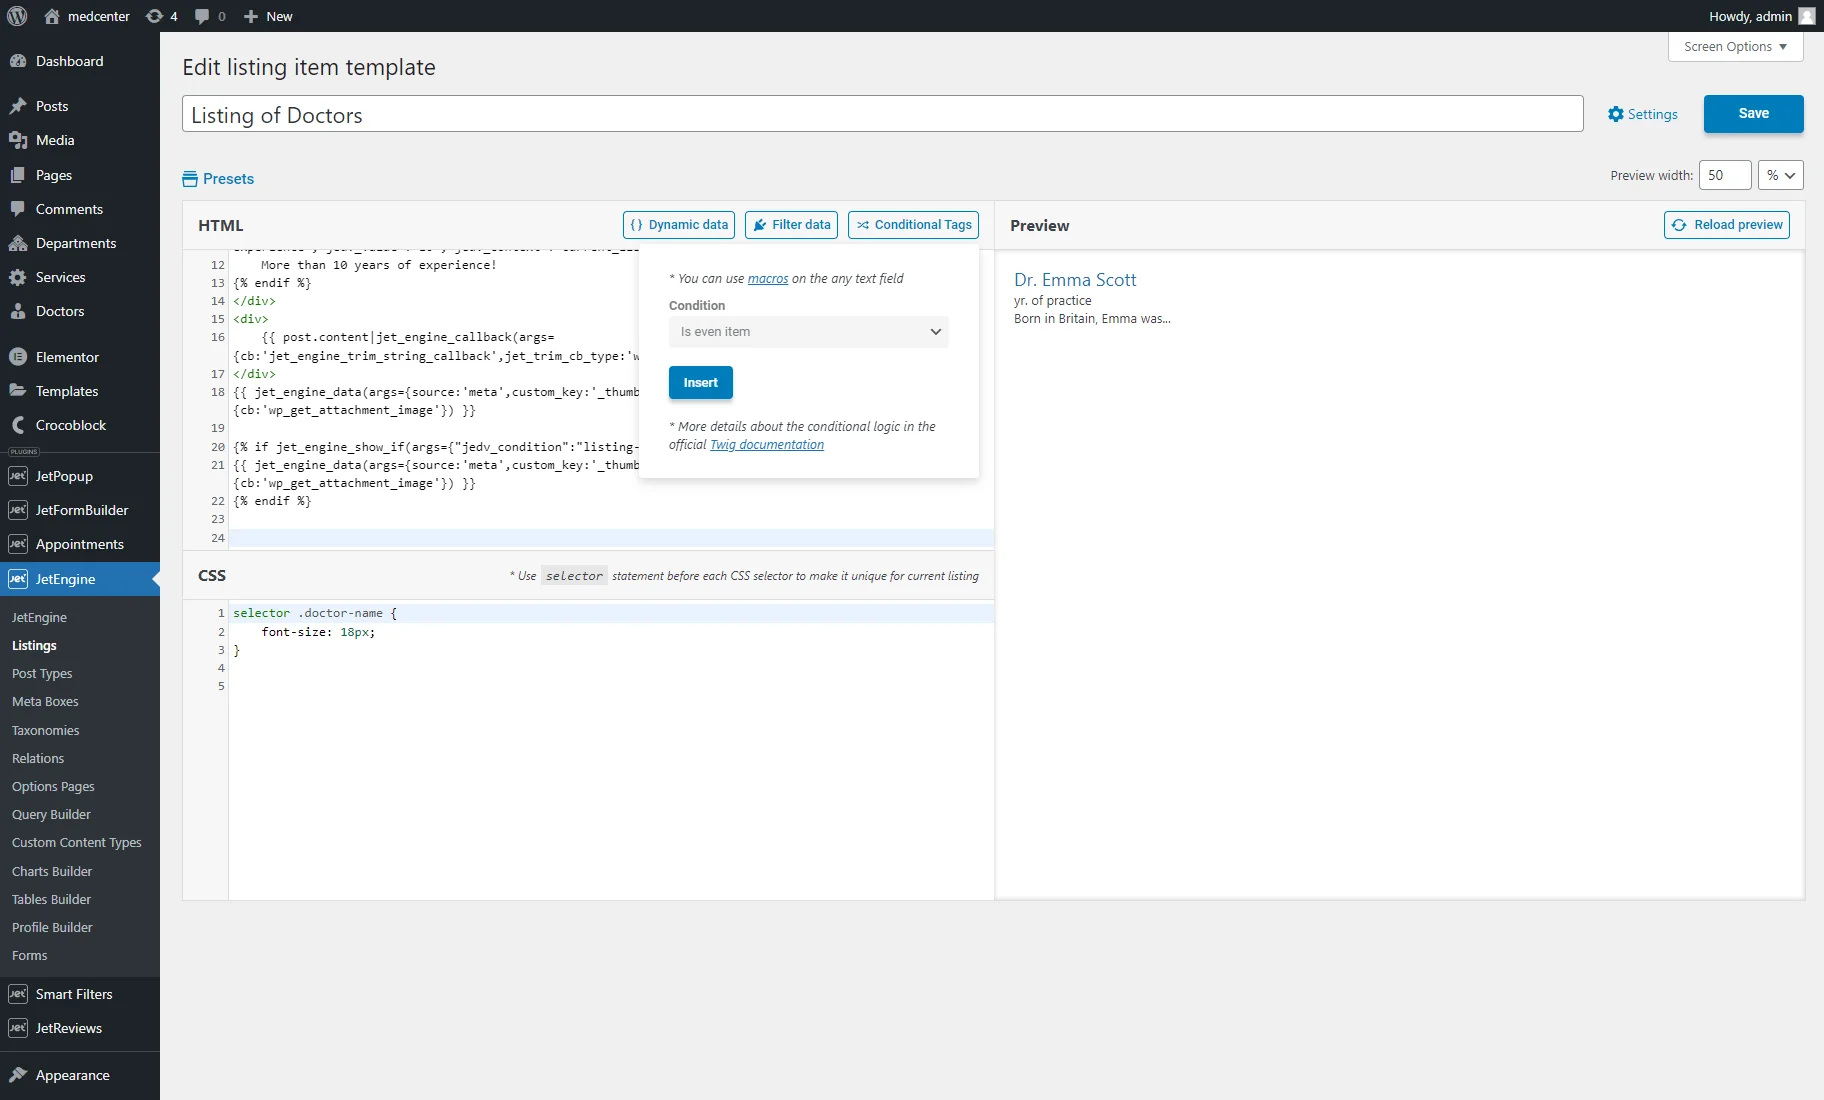
We received such a structure:
{% if jet_engine_show_if(args={"jedv_condition":"listing-even"}) %}
<!-- Paste your HTML here -->
{% endif %}
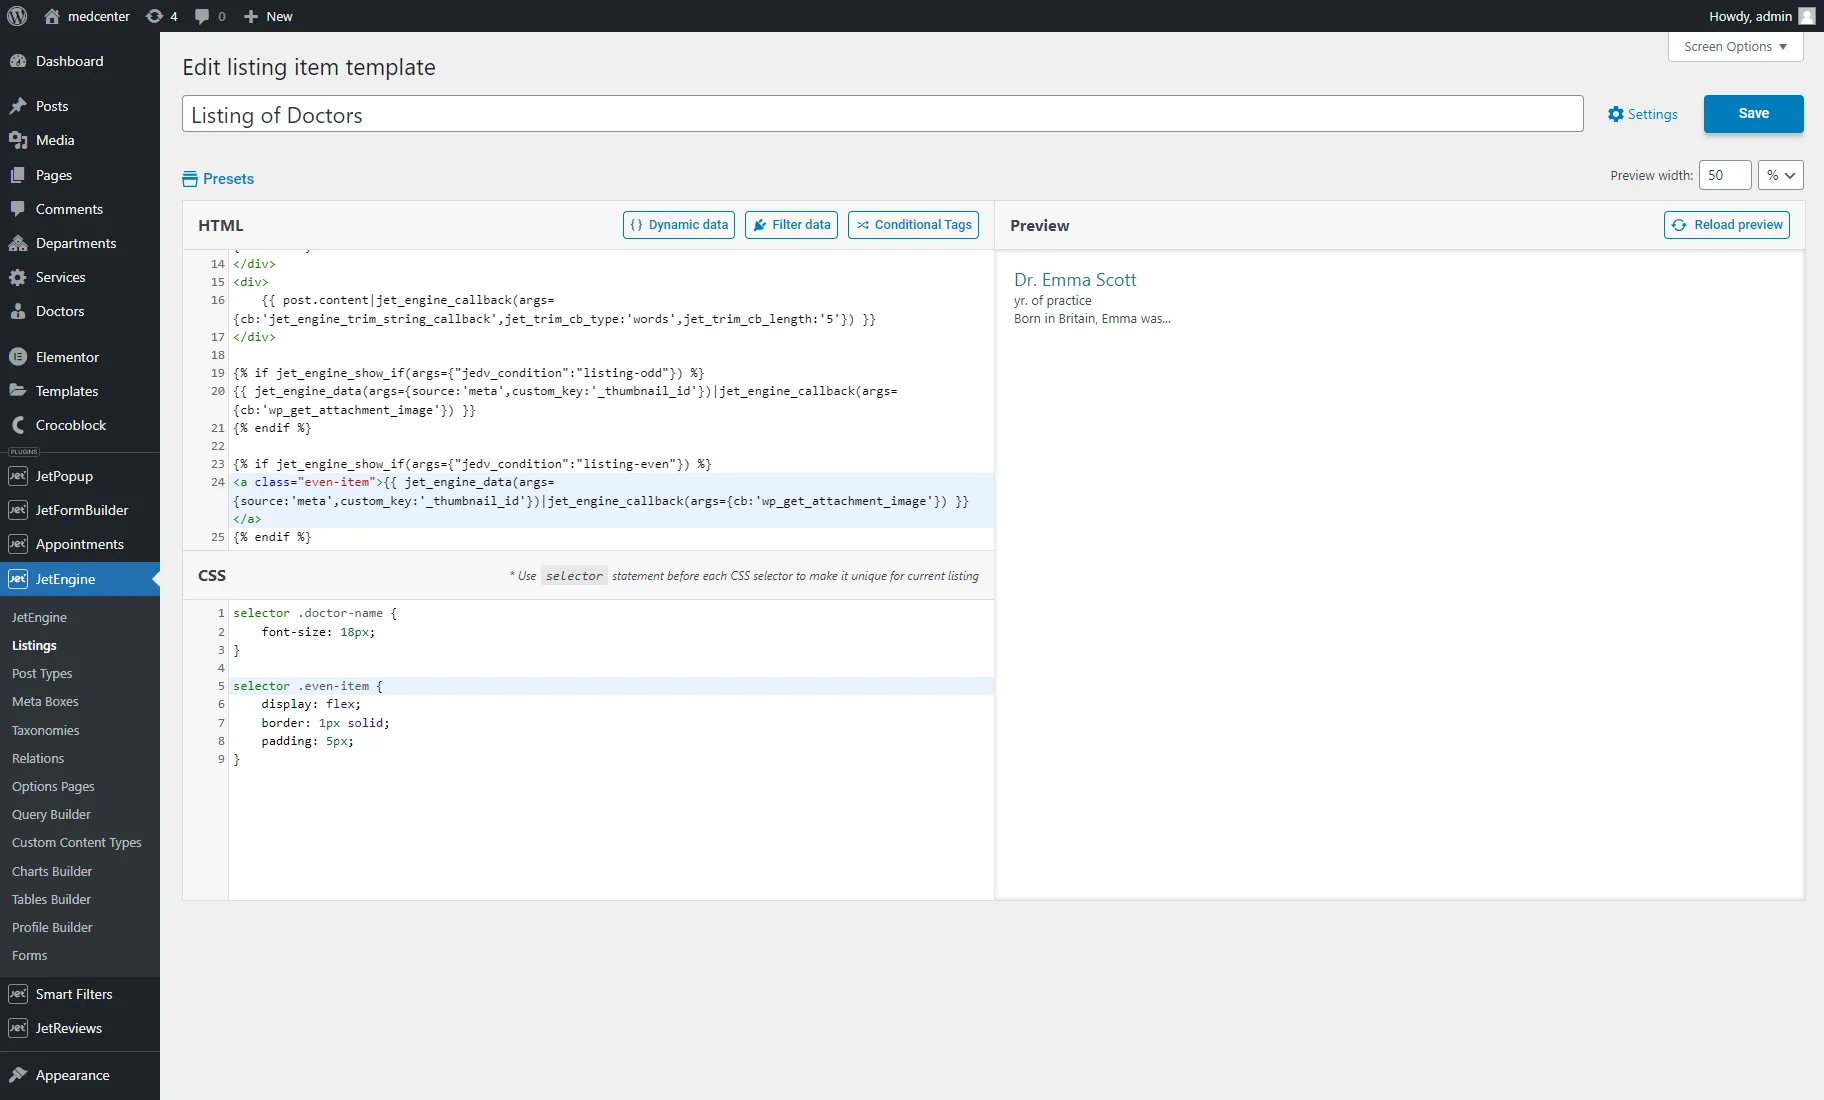
We cut the post thumbnail placeholder and pasted it instead of <!– Paste your HTML here –>. Also, we added a “class” attribute with the value of “even-item” to it:
{% if jet_engine_show_if(args={"jedv_condition":"listing-even"}) %}
<a class="even-item">{{ jet_engine_data(args={source:'meta',custom_key:'_thumbnail_id'})|jet_engine_callback(args={cb:'wp_get_attachment_image'}) }}</a>
{% endif %}
At last, we typed such a style into the CSS sheet:
selector .even-item {
	display: flex;
	border: 1px solid;
	padding: 5px;
}
To preserve the alterations, we hit the“Save” button.
Observing Results in the Listing Grid
To display the listing template in the Listing Grid, you can create a page in the WordPress block, Elementor, or Bricks editor. We used the WordPress editor.
For that, we went to the WordPress Dashboard > Pages > Add New tab, placed the Listing Grid block, and selected the recently created Listing from the drop-down menu.
The Listing template in the Listing Grid displays the values from the meta fields we inserted into the HTML sheet. Also, CSS styles are applied to the post titles and the images in every even Listing item.

That’s all. Now you know how to create the Listing Template with Timber/Twig view, available with the JetEngine plugin for your WordPress website.