How to Add Taxonomy to Custom Content Type
Learn how to connect the Custom Content Type Item with custom WordPress categories and display the needed terms and related data on the front end.
Before you start, check the tutorial requirements:
- Elementor (Free version), Block editor (Gutenberg), or Bricks
- JetEngine plugin installed and activated, with a Custom Content Type created and a Custom Taxonomy built
Create a Relation
Let’s add a WordPress relation. Proceed to WordPress Dashboard > JetEngine > Relations and click the “Add New” button.
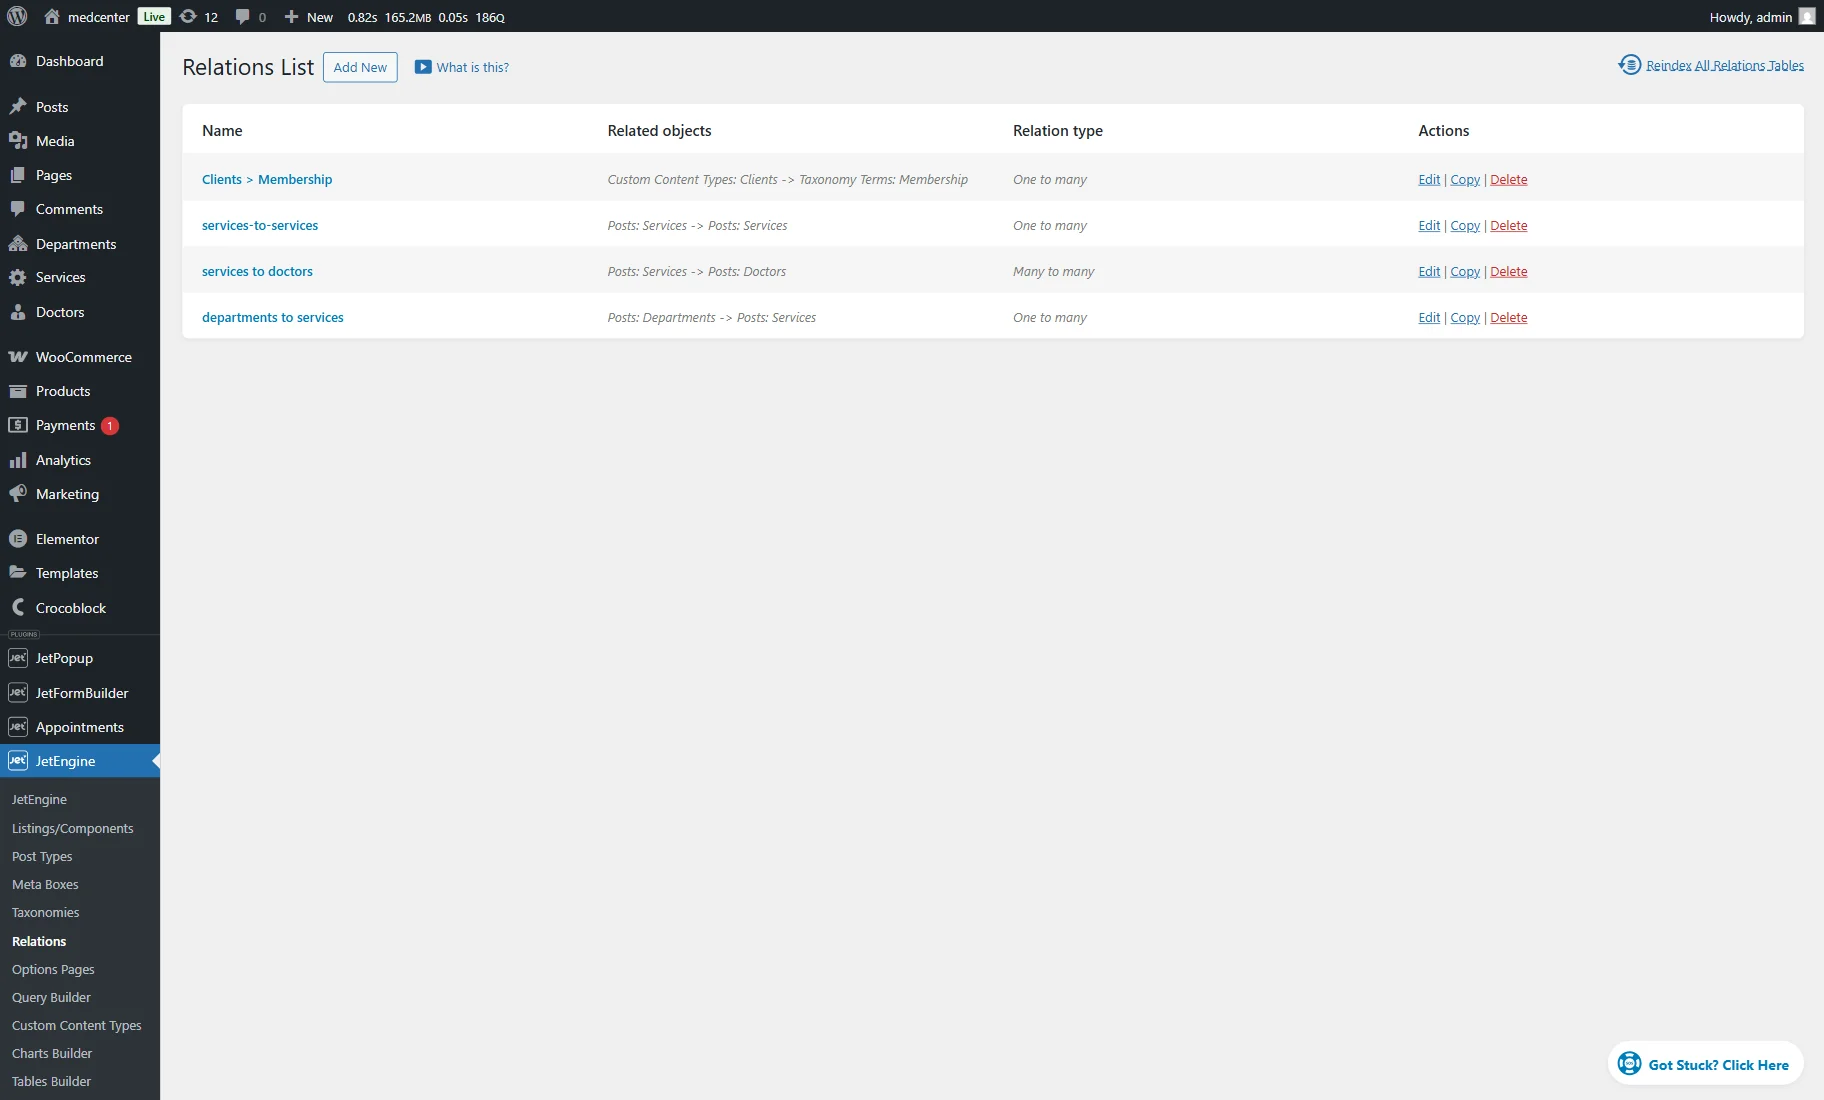
Give a Name to the relation, and set the Parent and Child objects.
Now, the “Clients” Custom Content Type will be the parent, and the “Membership” taxonomy is the child object. Also, select the “One to many” Relation type.

You can adjust other fields in the General Settings section if needed. For example, we leave the Register controls for the parent object and Register controls for child object toggles activated.
Then, we move to the Labels section and alter the default values. However, you can leave them unchanged.
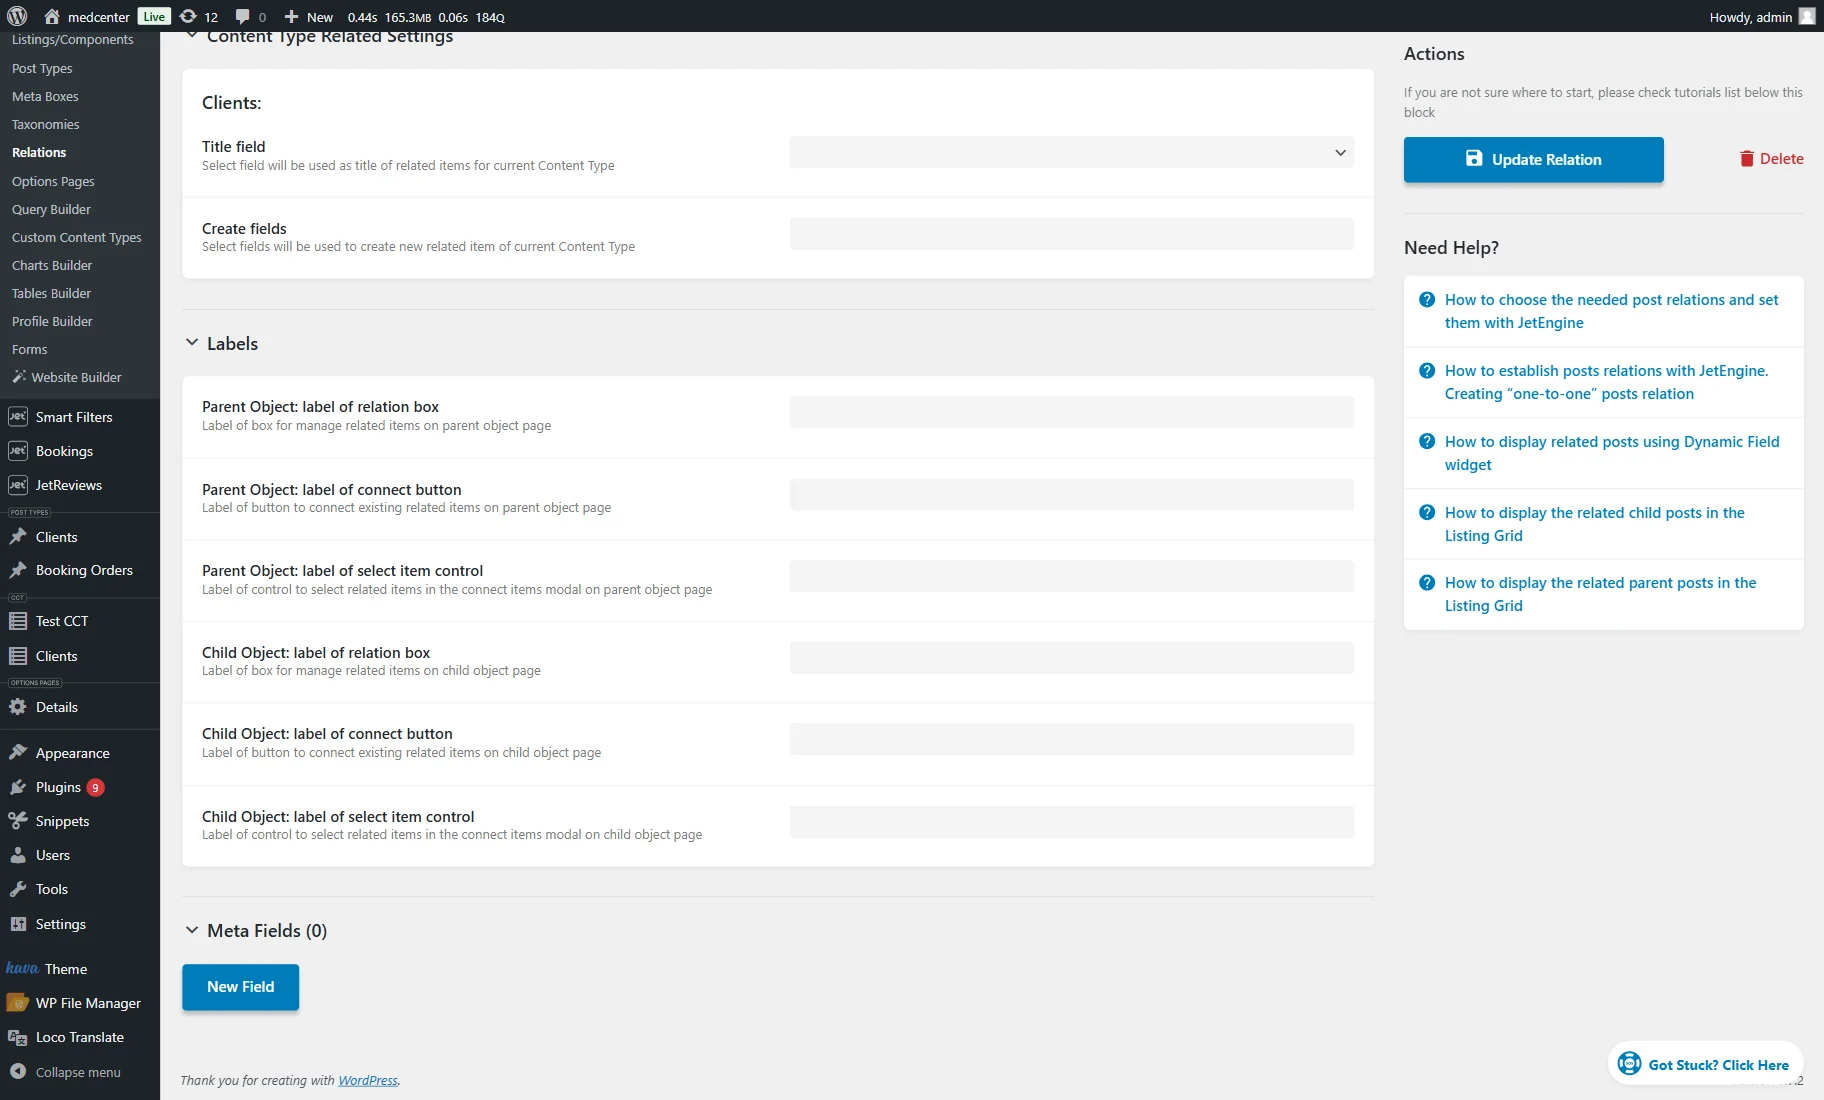
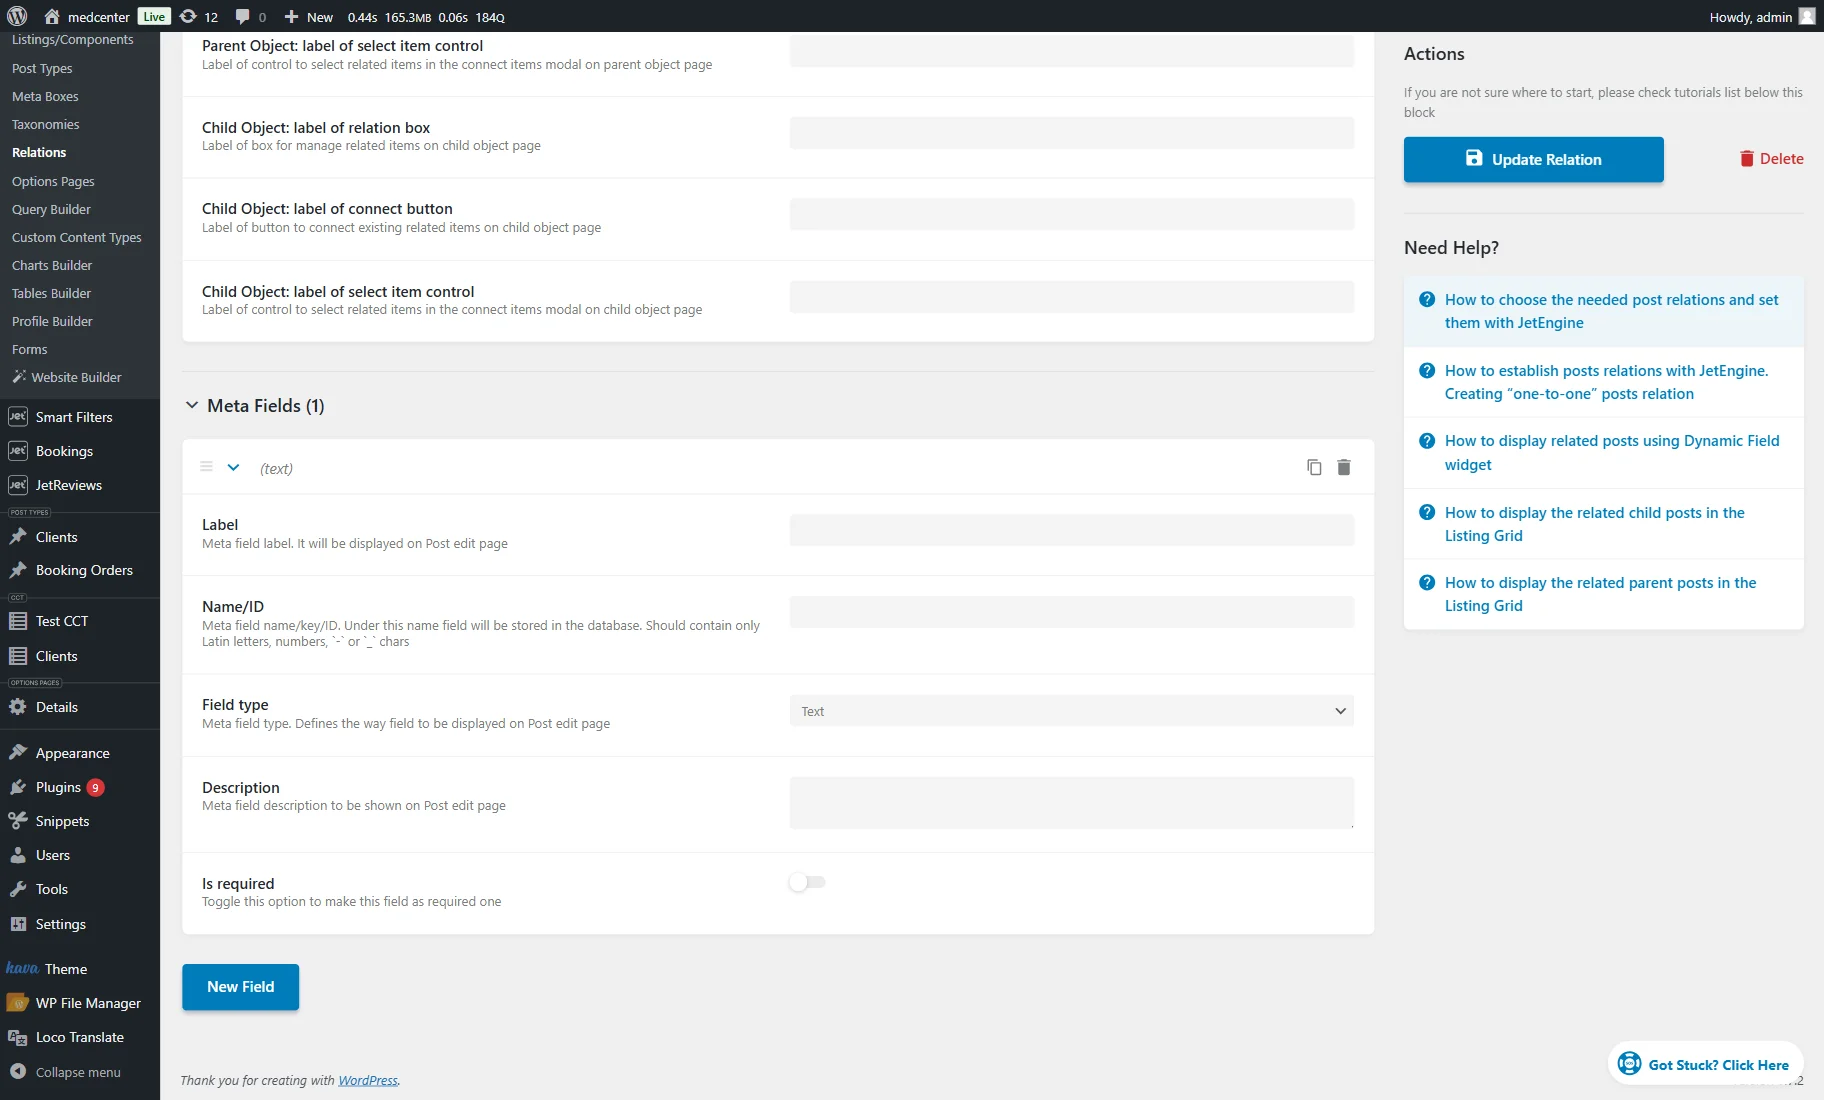
In the next tab, you can add a meta field for the relation. In our case, we do not need them.
When you are ready with the settings, click the “Add/Update Relation” button.
Connect CCT Items with Categories
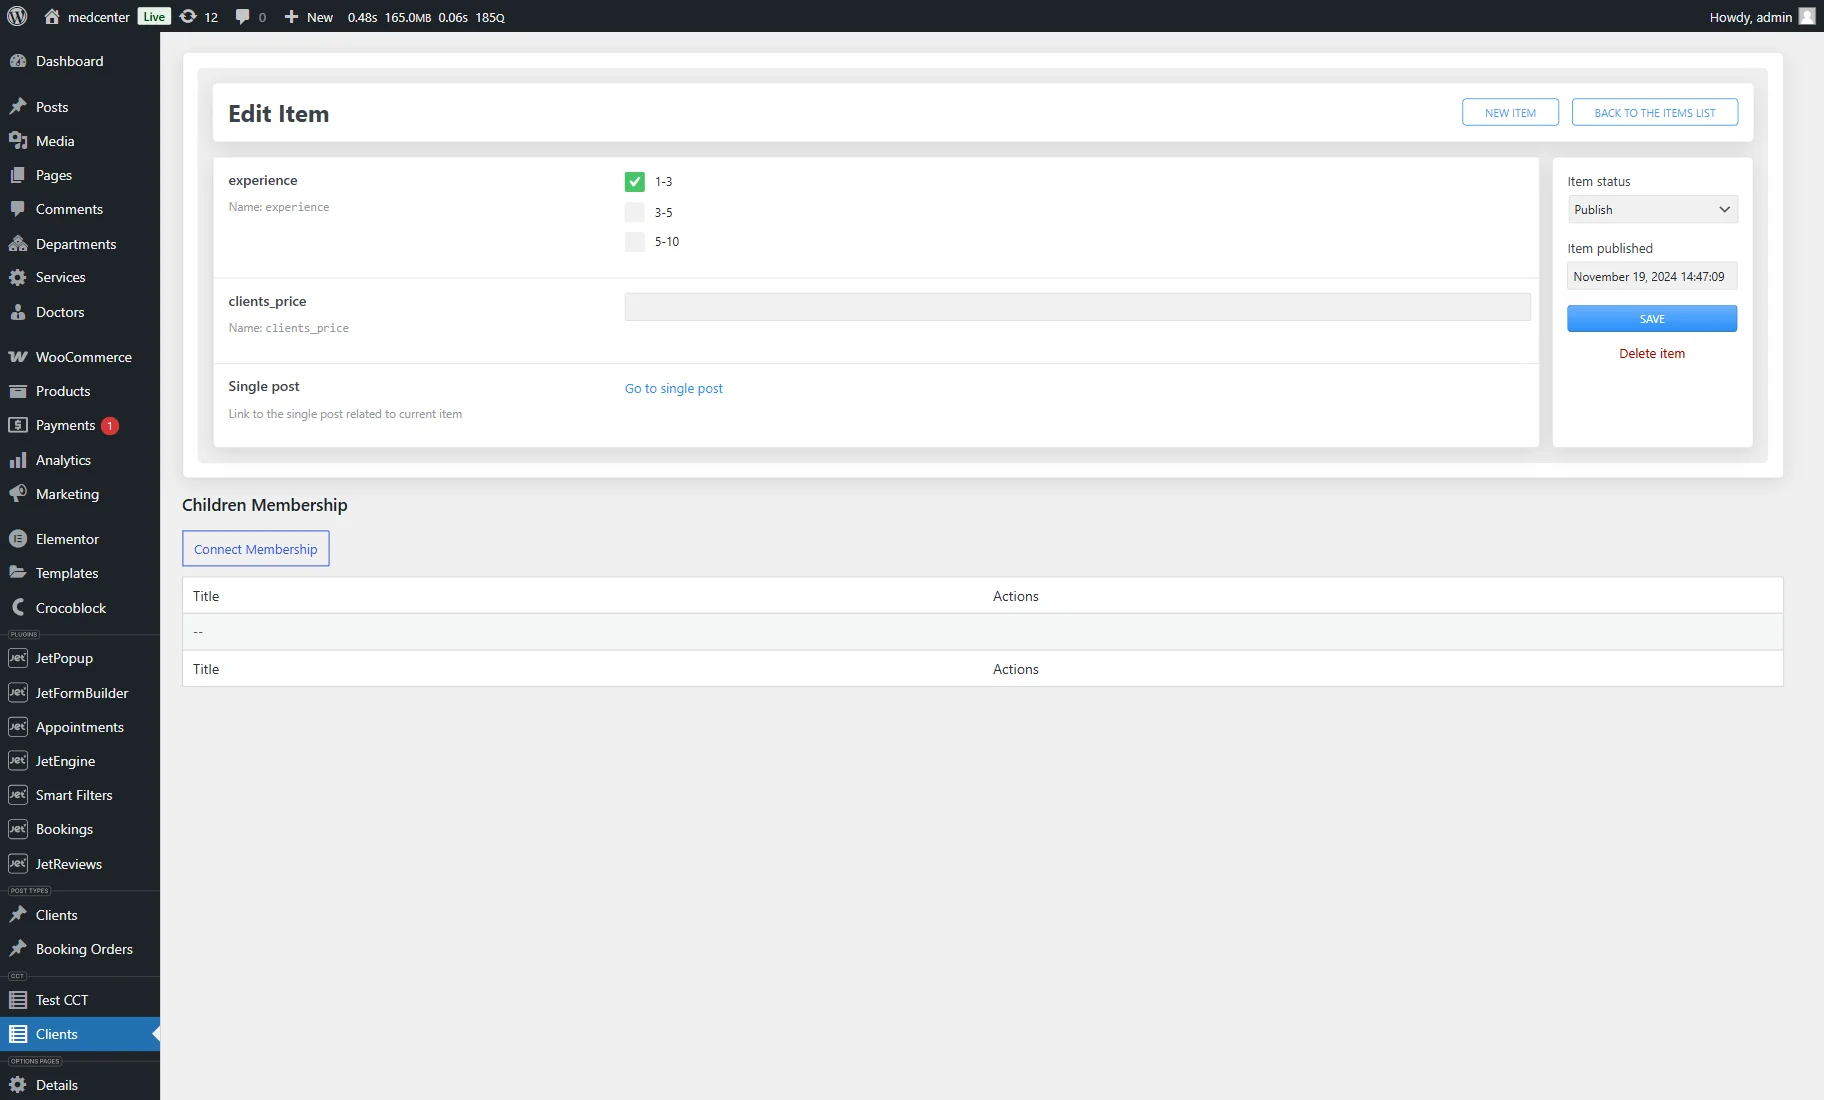
Go to WordPress Dashboard > Your CCT Name and click the “Edit” button next to the desired item.
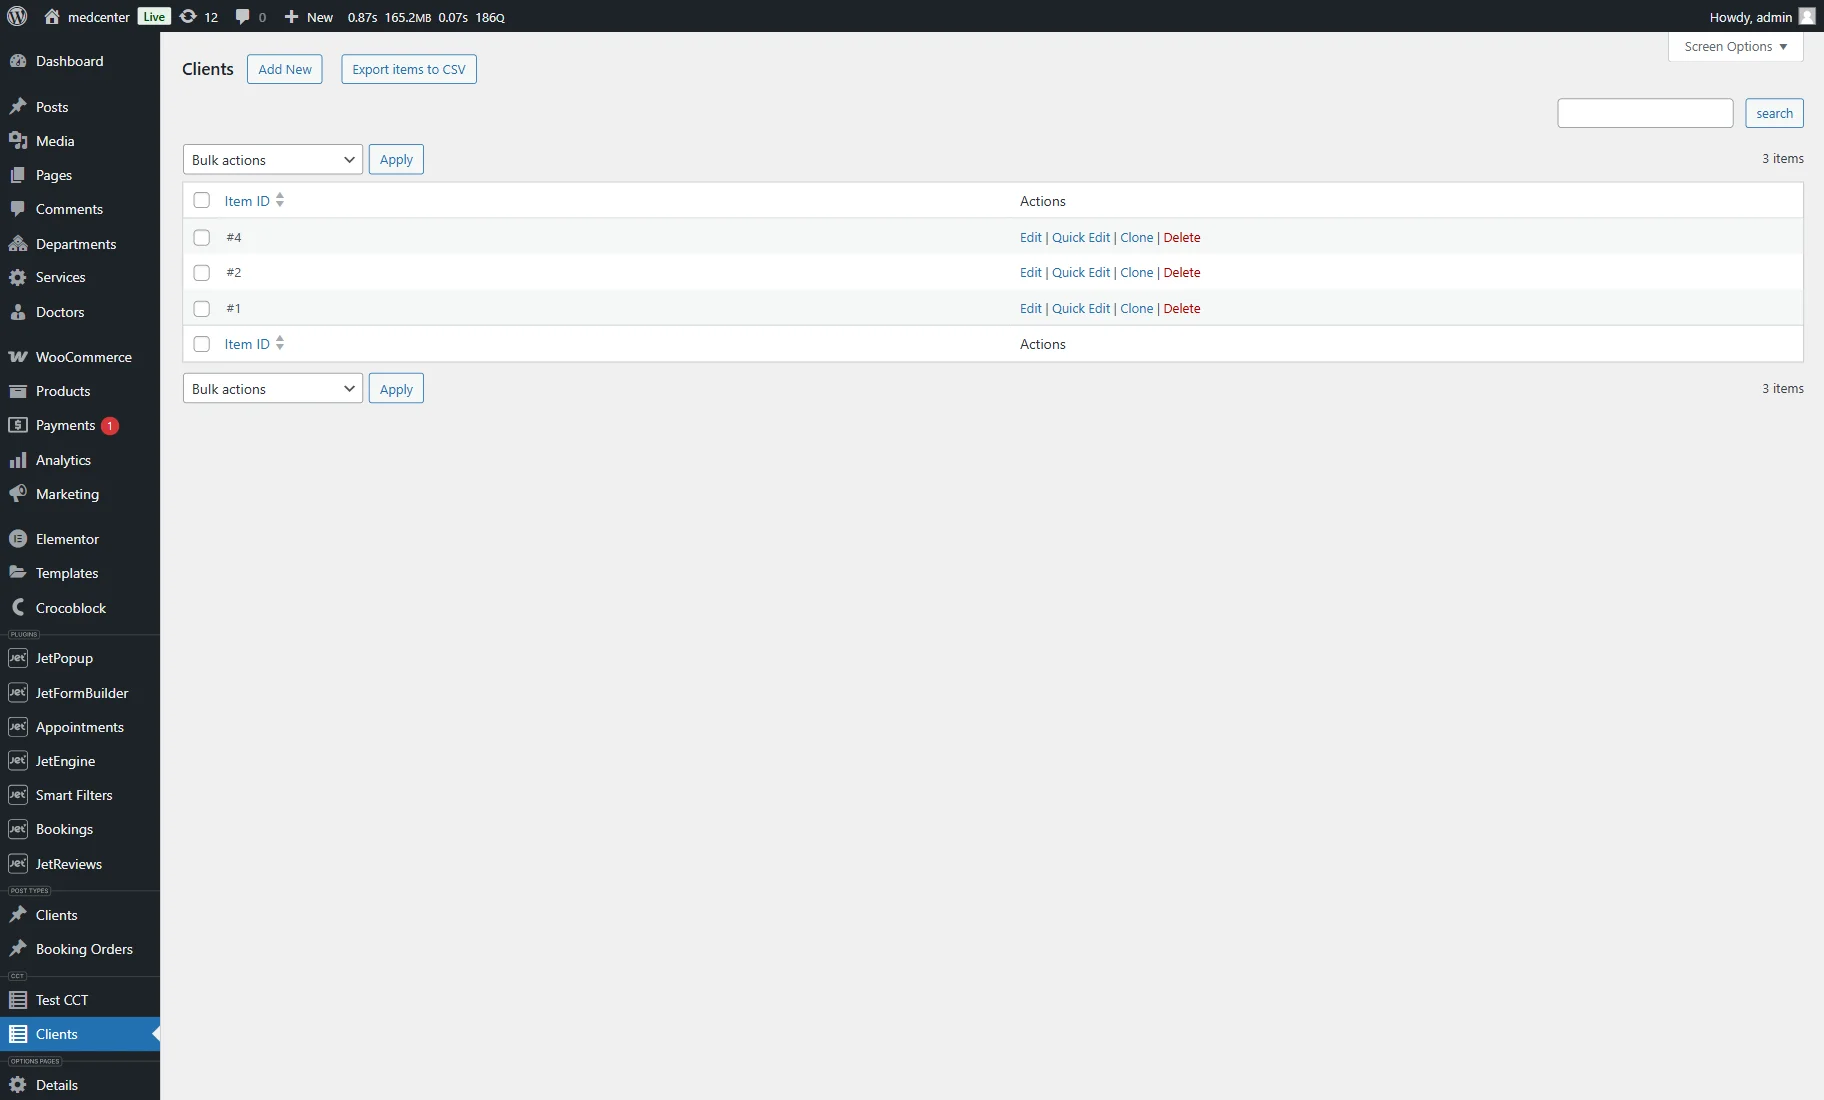
Scroll down to the relation section and press the “Connect …” button (the name of the button depends on the child object’s name and relation labels).
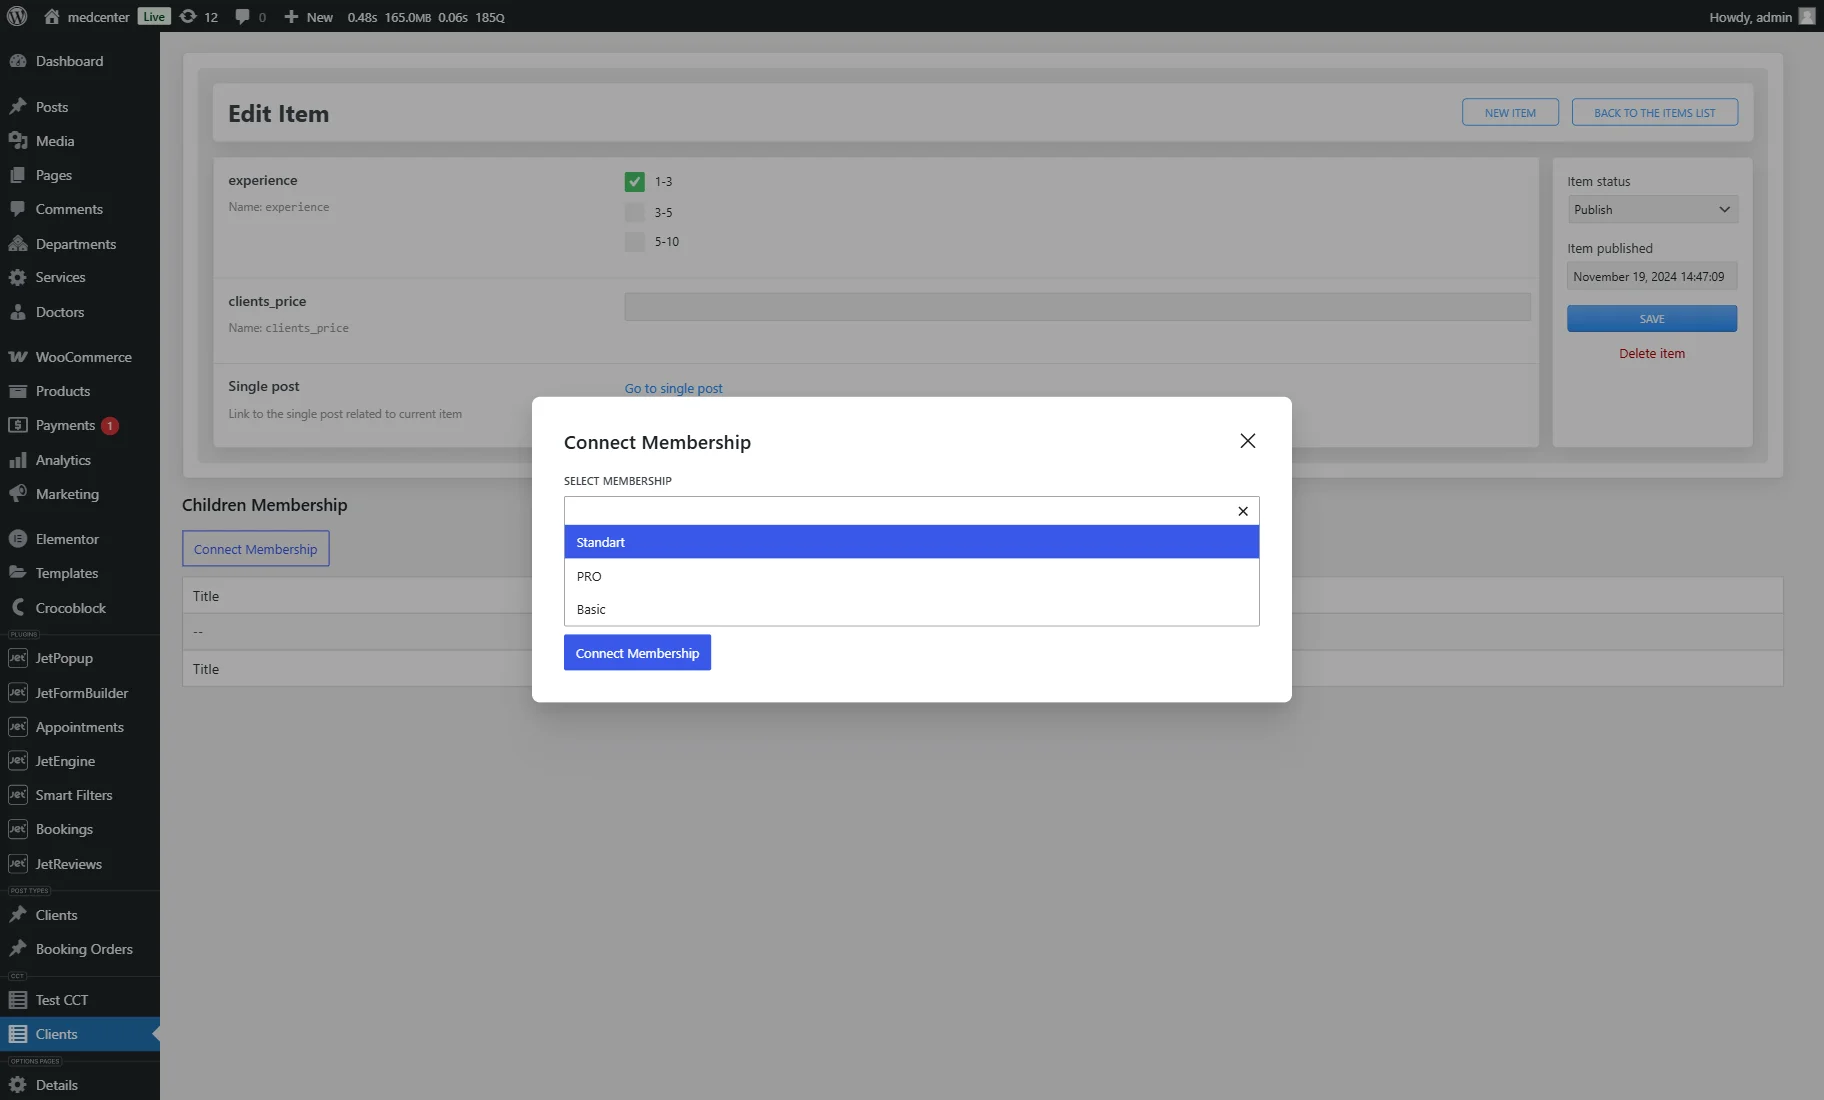
Now, select the needed option from the dropdown list and click the “Connect …” button.
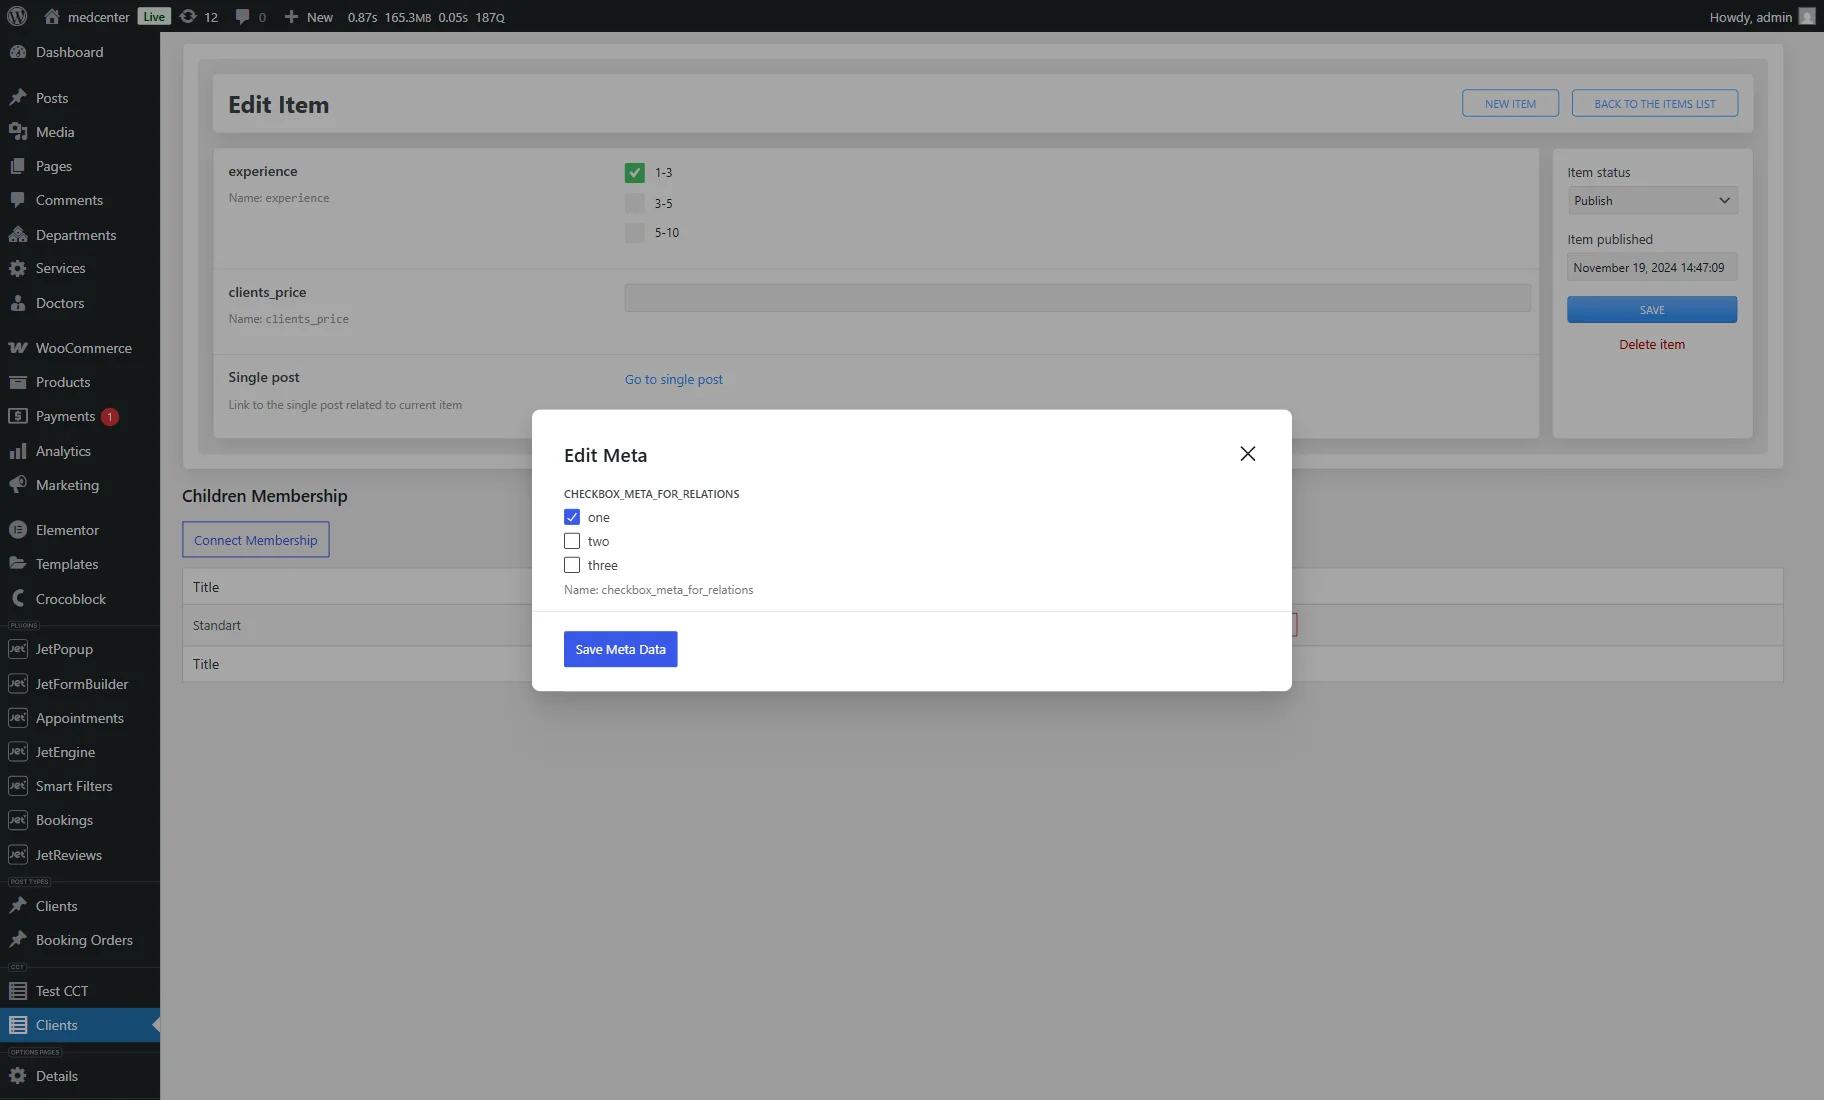
If you added meta data to your relation, you can set it for the selected term.
Don’t forget to press the “Save Meta Data” button.
Work on other fields if needed, and click the “Save” button. Add relation to all needed CCT Items by taking the steps described above.
Display Data in the Listing
Now, we need to create a terms listing to display clients’ membership (categories of our CCT).
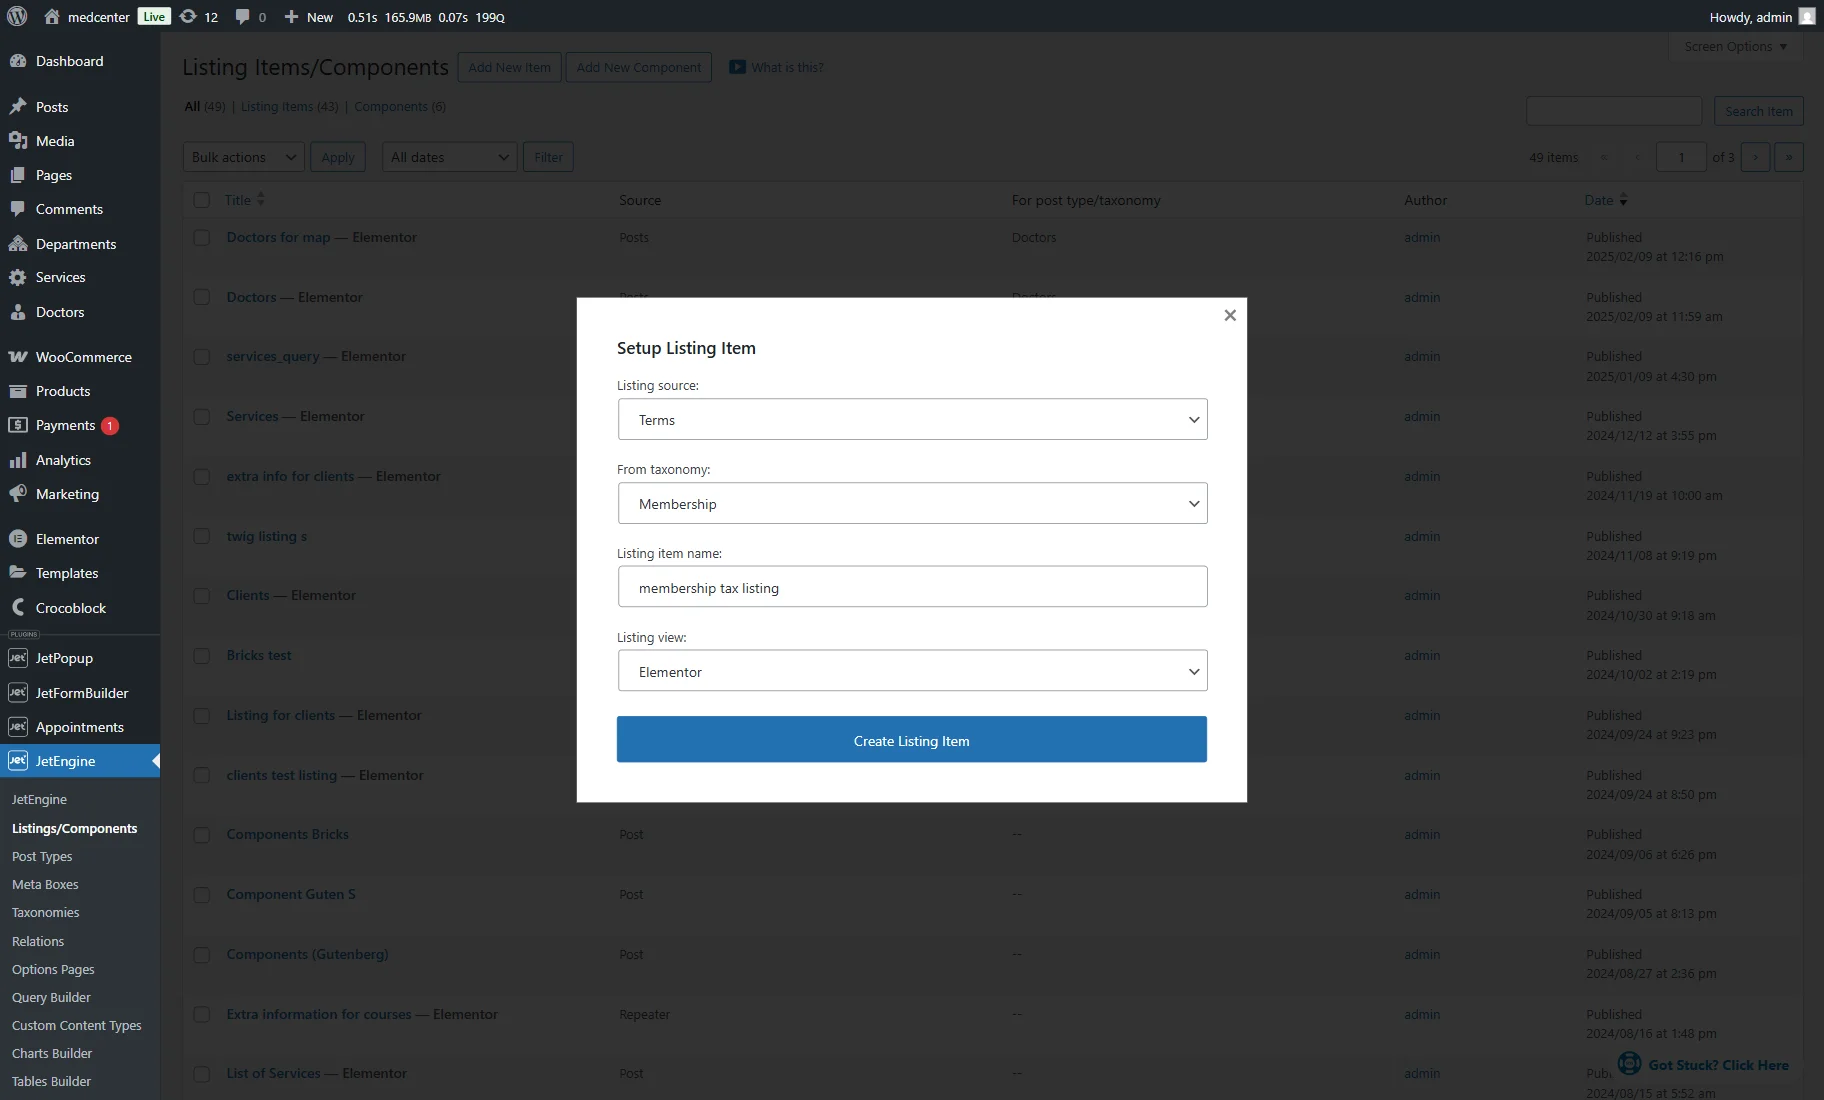
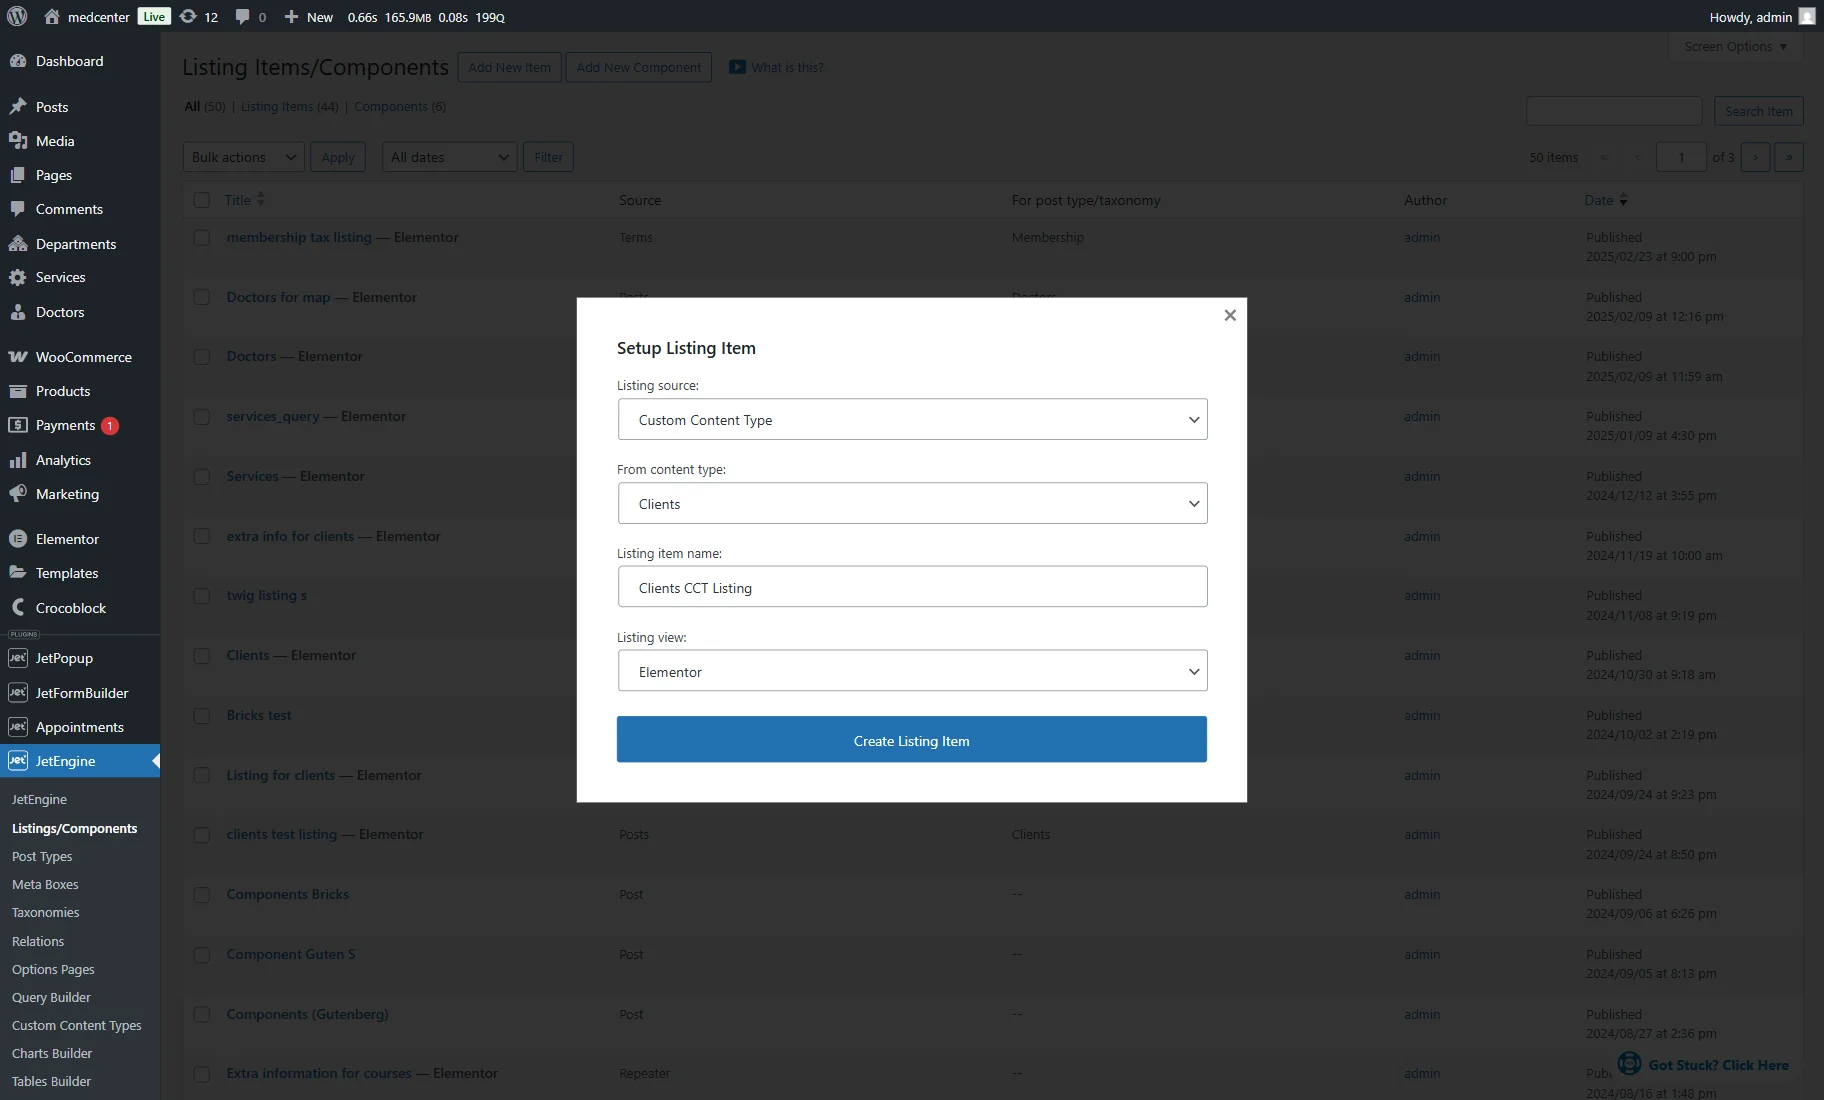
Navigate to the WordPress Dashboard > JetEngine > Listings/Components directory. Select an already built listing for editing or click the “Add New Item” button.

In the pop-up, select the “Terms” Source, select the needed taxonomy in the From Taxonomy dropdown, fill in the Listing item name, and pick the needed Listing view. We will review Elementor, Gutenberg, and Bricks.
Press the “Create Listing Item” button to open the editor.
Elementor display
Add the Dynamic Field widget to display the term name related to the CCT Item. This time, we choose the “Post/Term/User/Object Data” Source and the “Term name” Object Field.

To display the relation’s meta data (if you have any), add one more Dynamic Field and pick the “Relation Meta Data” Source. Select the name of the relation Meta Field.

Now, you can work on other settings and press the “Publish” button once you finish.
Then, head to WordPress Dashboard > JetEngine > Listings/Components again and create one more listing with the “Custom Content Type” Listing source this time.
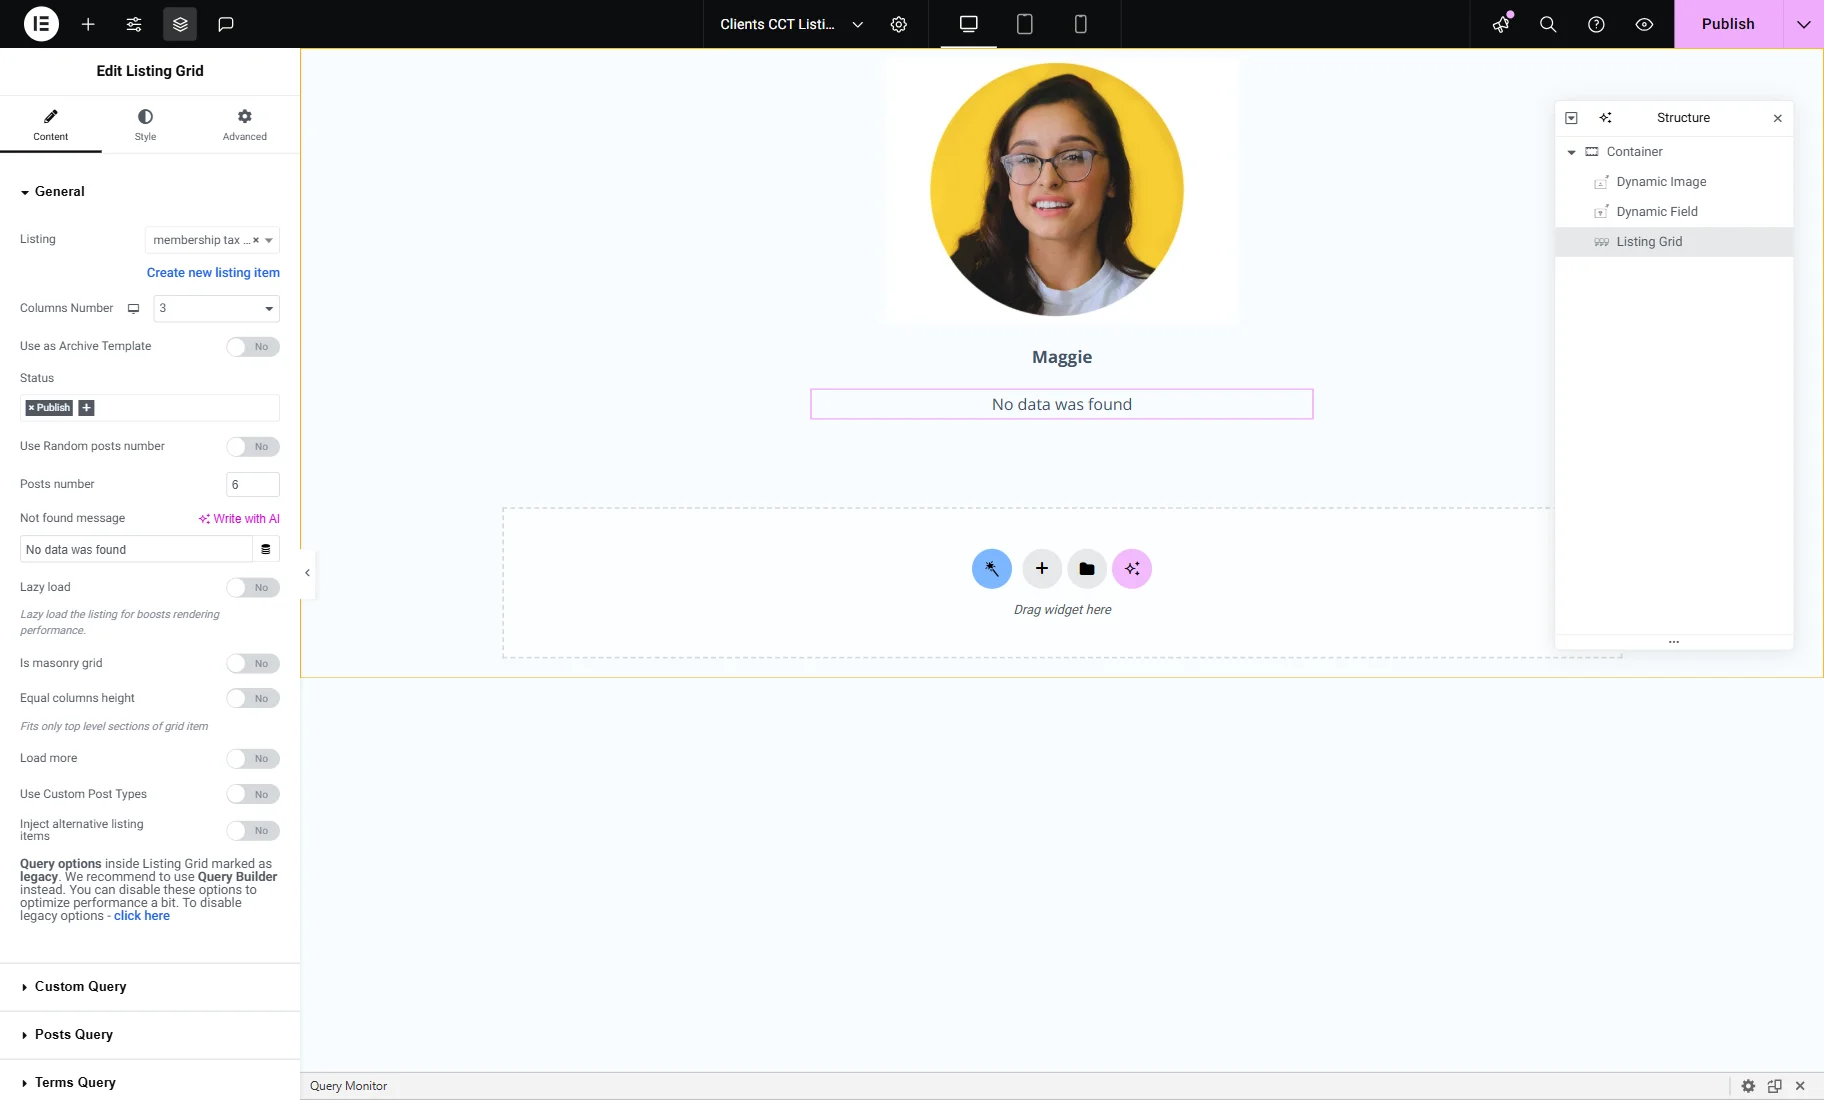
Add the desired widgets for display. You can check the details of the settings listing template for CCT in the How to Create Custom Content Type Listing Template in the Elementor tutorial. For instance, we have added a Dynamic Image widget to show the сlient’s pic and a Dynamic Field for their name.

Then, find the Listing Grid widget for terms and place it on the page. Select the newly built Listing. Be aware that the data will not be displayed until you set a query.
Now, you can open the WordPress Dashboard > JetEngine > Query Builder tab to build a new query.
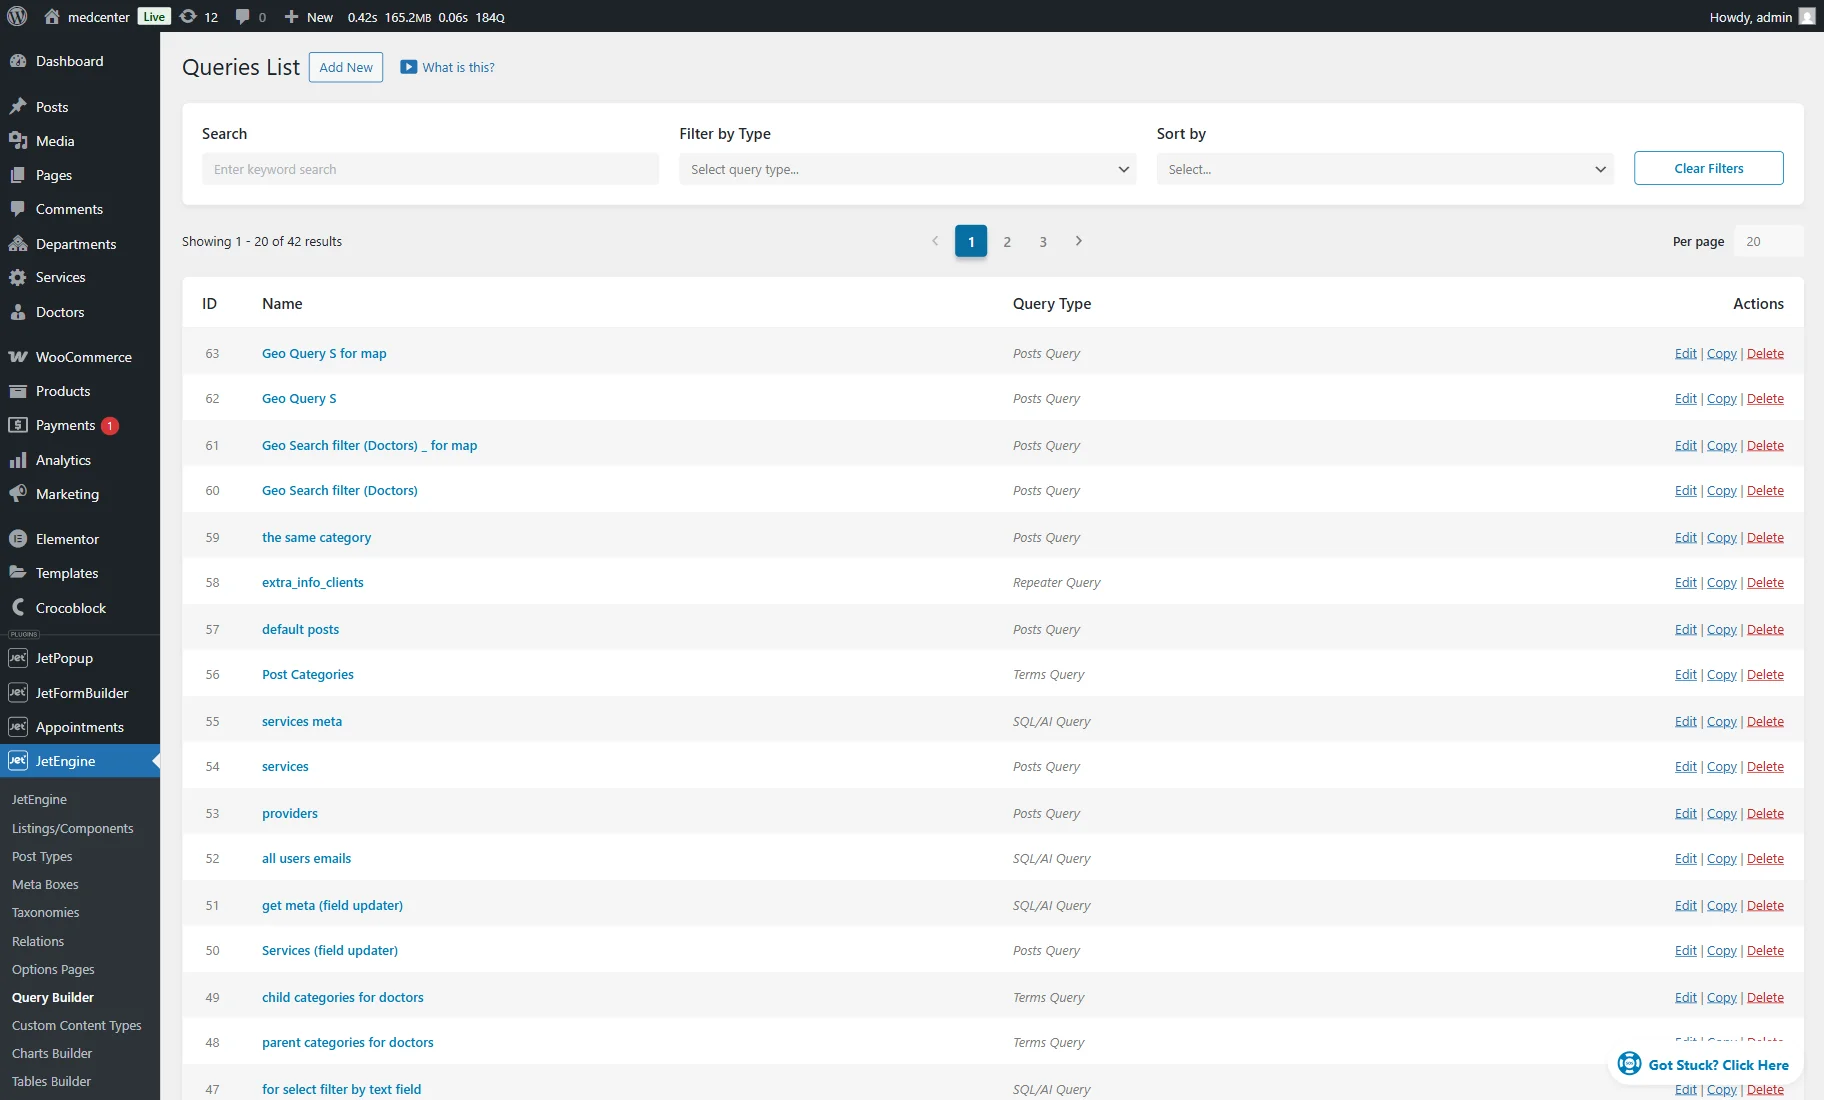
Complete the Name field and select “Terms Query” as the Query Type.
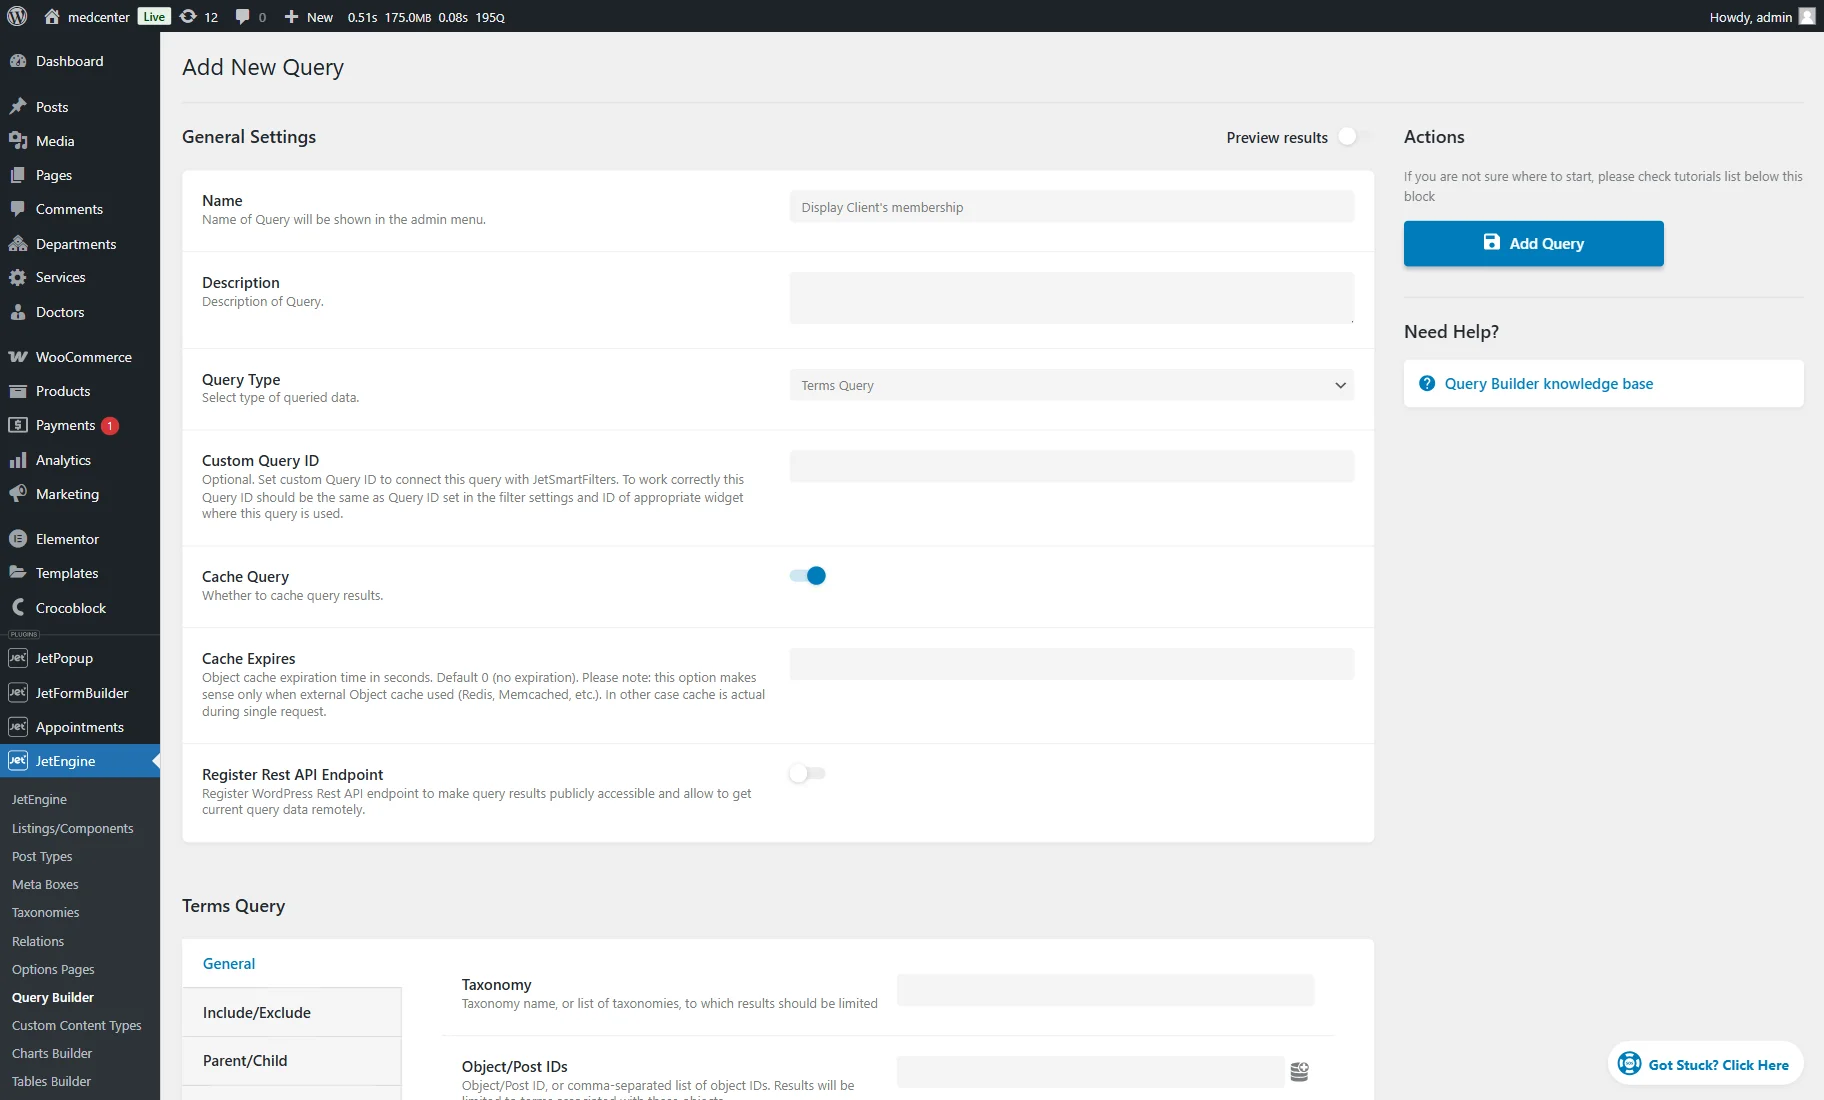
Scroll down to the General tab and select the Taxonomy.

Open the Include/Exclude tab and press the “Dynamic Tags” button to set the “Related Items” macro in the Include field. Then, select the needed relation in the From Relation field. Choose the “Child Object” as From Object (as from the “CCT to Taxonomy” relation, we need to show the term, which is a child) and set the “Current Object ID” option in the Initial Object ID From field.
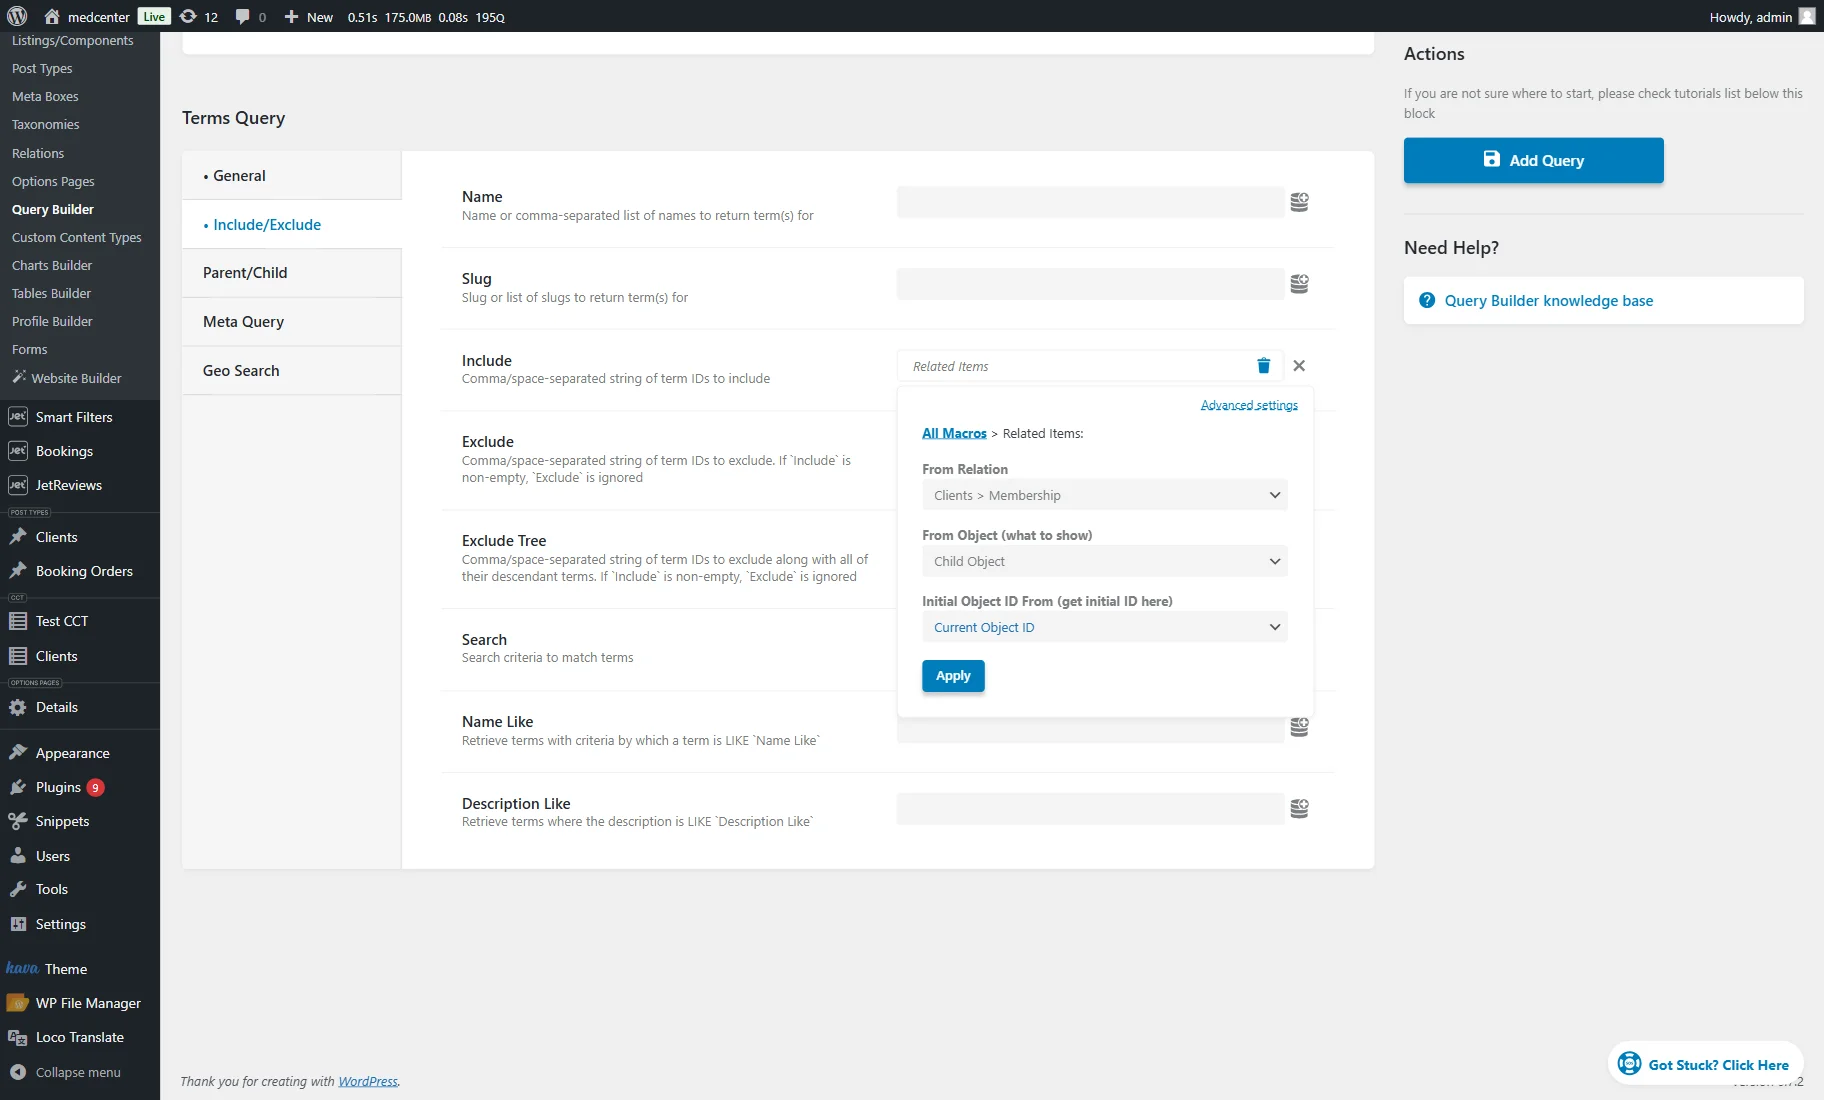
Push the “Add Query” button.
Return to the CCT listing and head to the Custom Query section in the Content settings tab of the Terms listing. Here, enable the Use Custom Query toggle and choose the built Custom Query item.
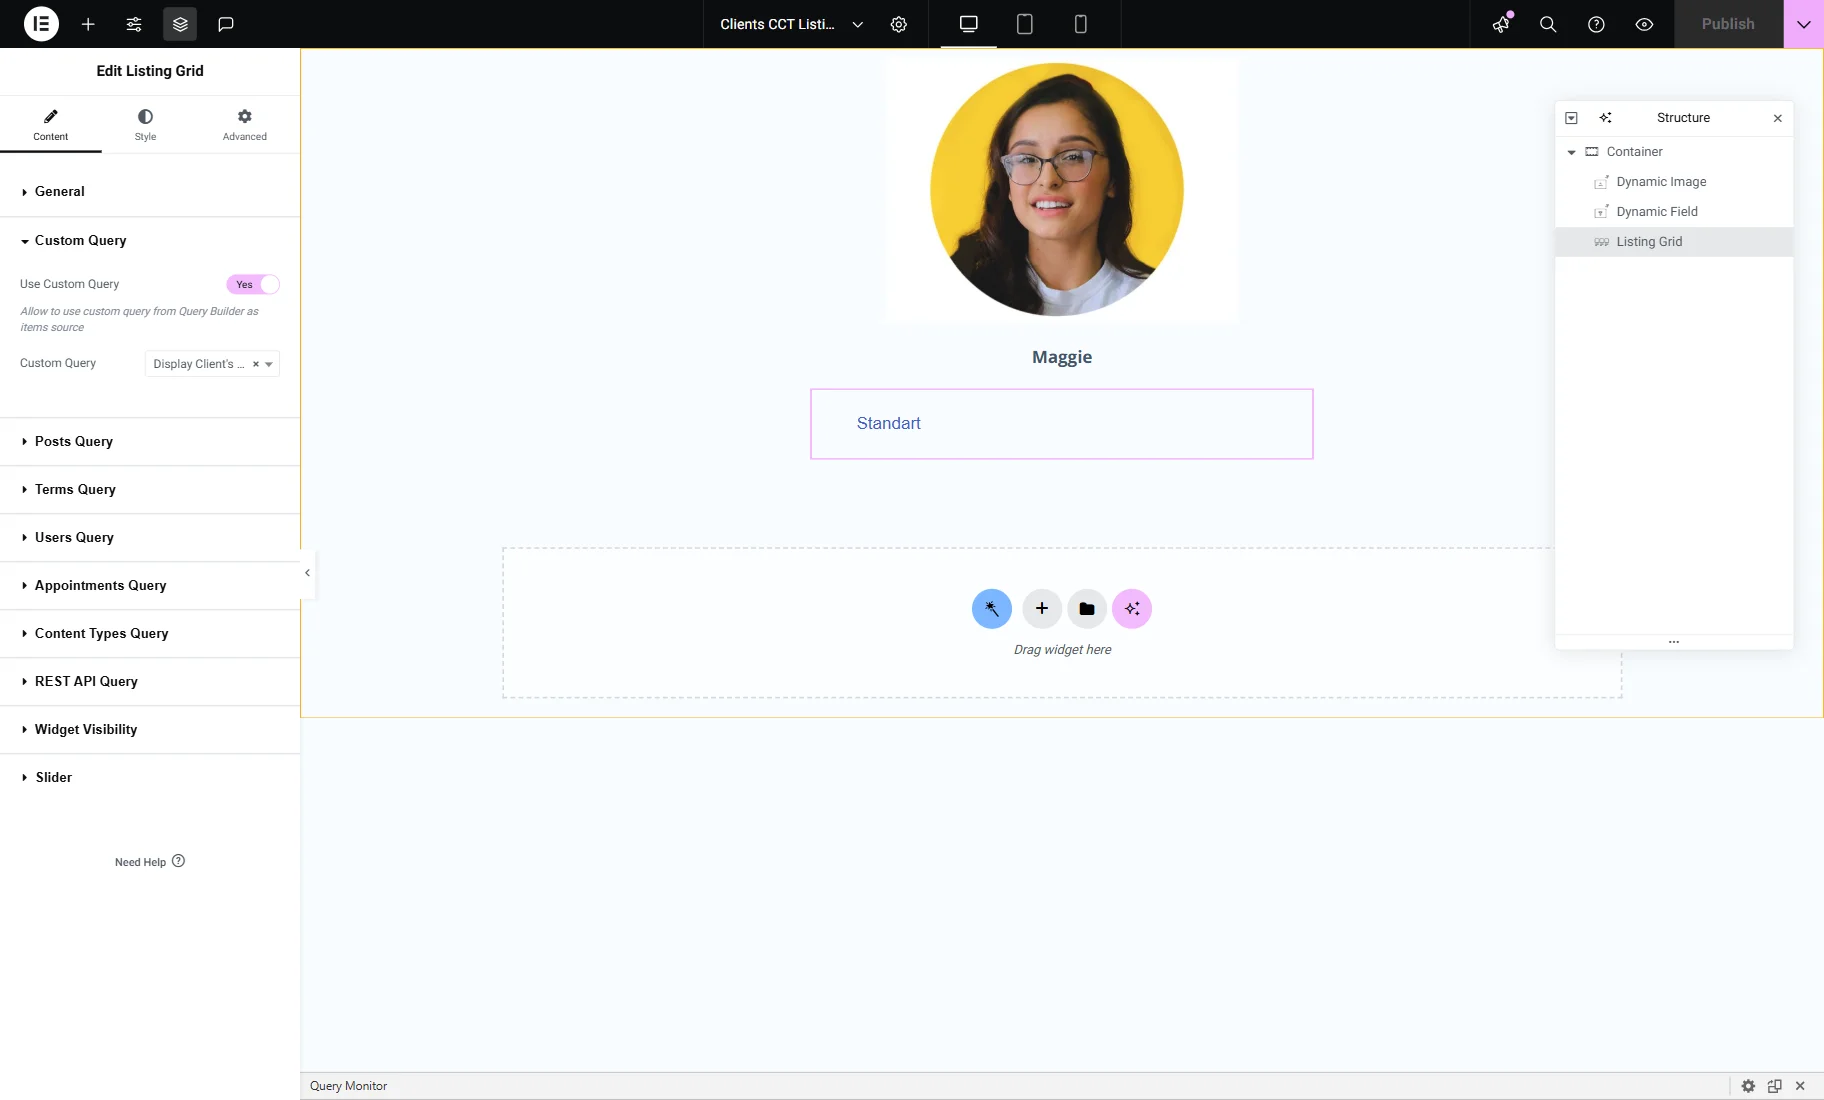
Everything will be displayed now. Adjust the listing as desired, and press the “Publish” button.
Block Editor (Gutenberg) display
The same settings are available if you pick “Gutenberg” as the Listing view.
Mind creating both “Terms” and “CCT” listings with the help of similarly named blocks. Also, use the previously built query.
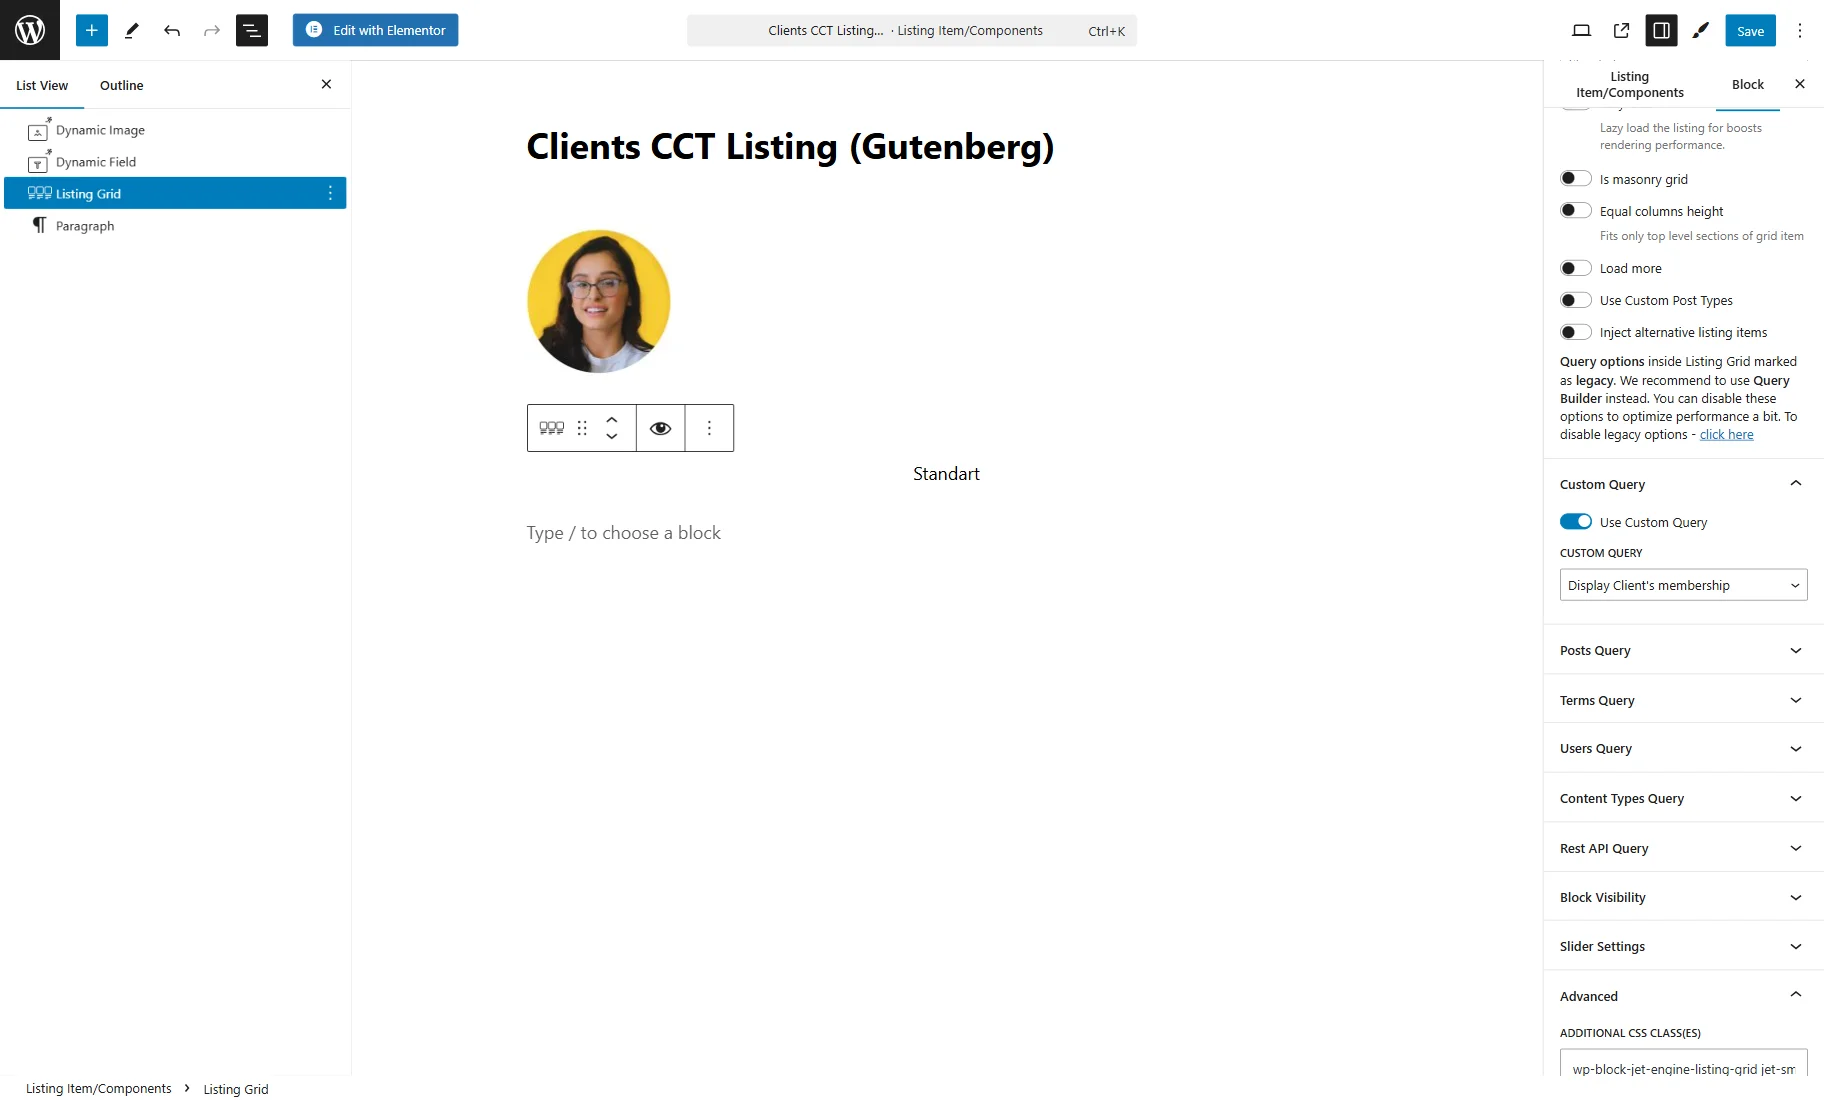
Mind pressing the “Save” button to save the listing.
Bricks display
You can check the specifics of displaying CCT meta fields in the Bricks Builder in the How to Showcase CCT Meta Fields Using Dynamic Tag in Bricks tutorial if needed.
Make sure you created two listings for terms and CCT. Here, the same query we created earlier should be used. When all the settings are done, ensure that the listing template is saved.
Place the Listing on the Page
Open WordPress Dashboard > Pages and select the page you want to edit. Otherwise, create a new one by clicking the “Add New” button. The new page can also be built with Elementor Page Builder, Gutenberg, or Bricks Builder.
Drag and drop the Listing Grid widget/block/element onto the page. Choose the created listing in the Listing field. Now that everything is displayed, you can save the changes by clicking the “Publish” button.
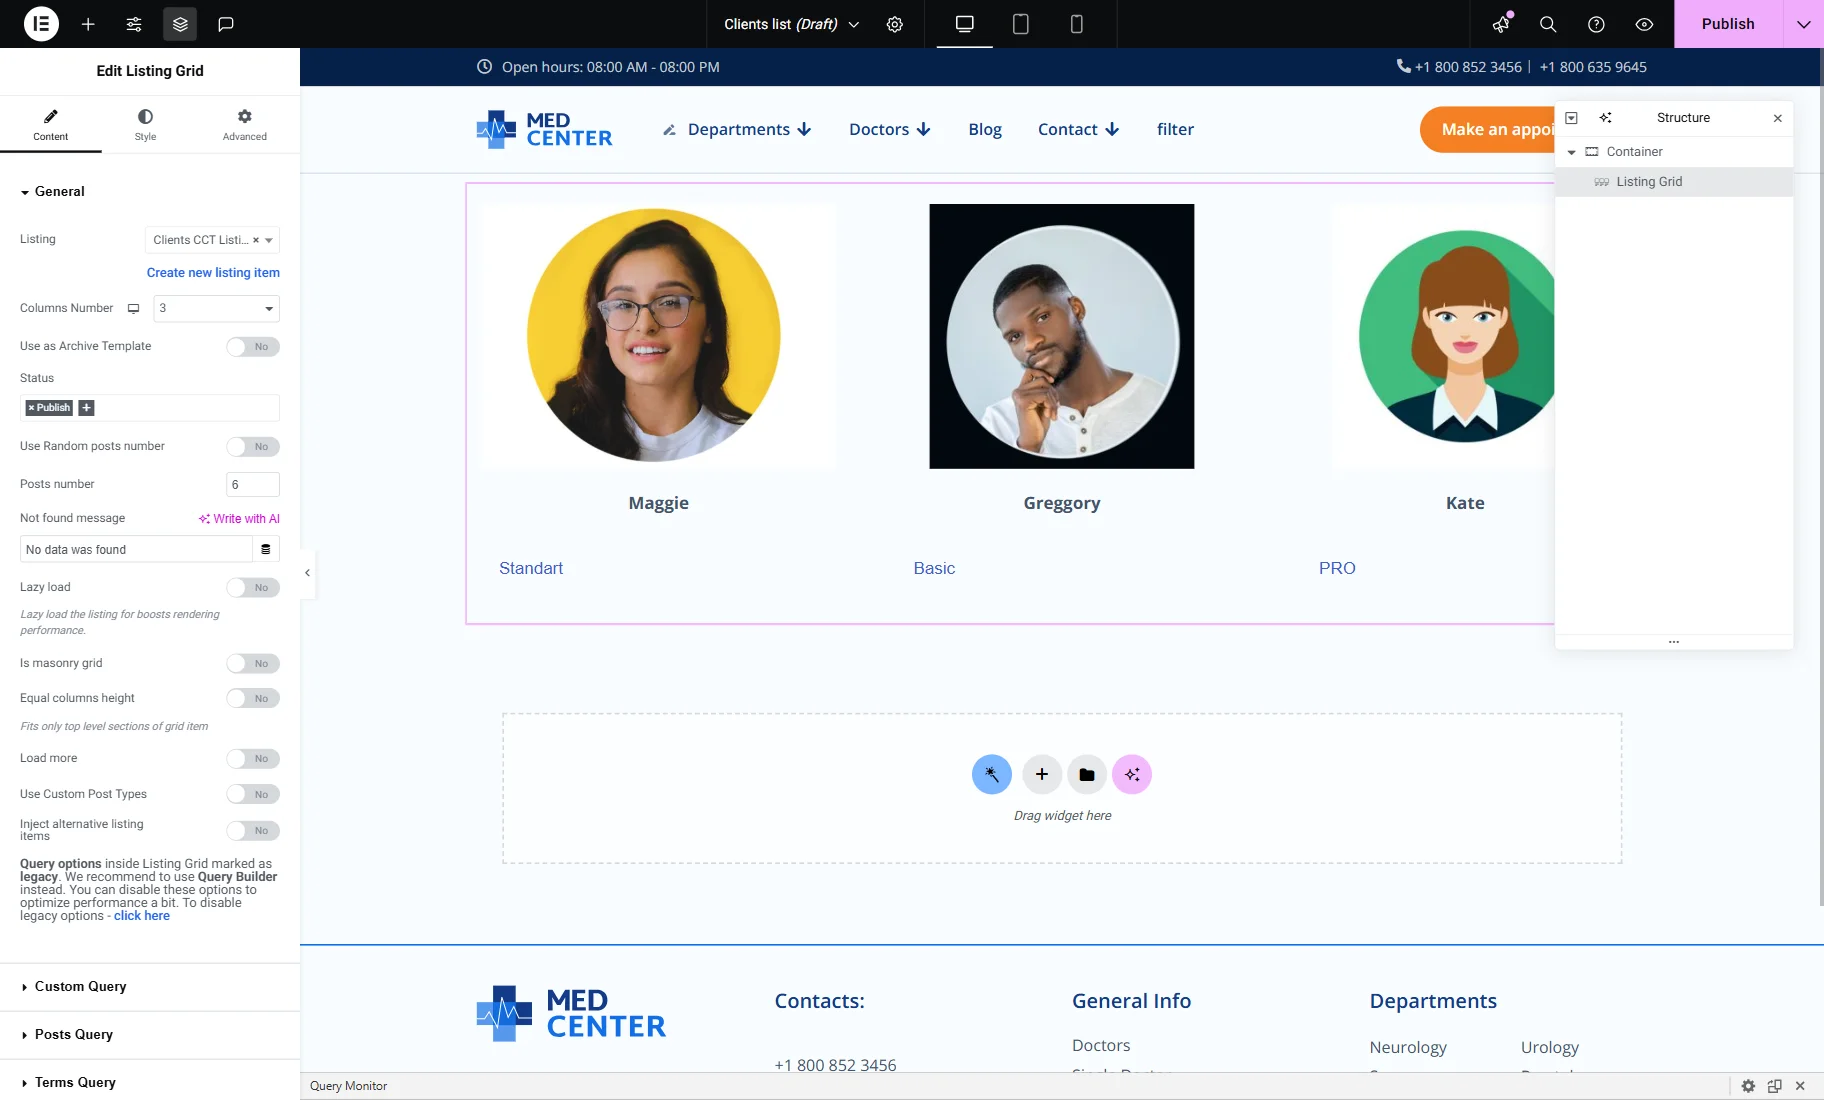
Check the Result
Head to the page on the front end. Here, you can observe the result.

Also, we recommend watching our How to Create Custom Content Types YouTube guide.
Now you know how to connect custom categories and metadata with Custom Content Type Items and show them with the Listing Grid from the JetEngine plugin in WordPress.