How to Update Map Listing on Pan/Zoom
Discover how to sync Map Listing posts display with the Map Sync widget/block/element.
Before you start, check the tutorial requirements:
- Elementor (Free version), Block editor (Gutenberg), or Bricks
- JetSmartFilters plugin installed and activated
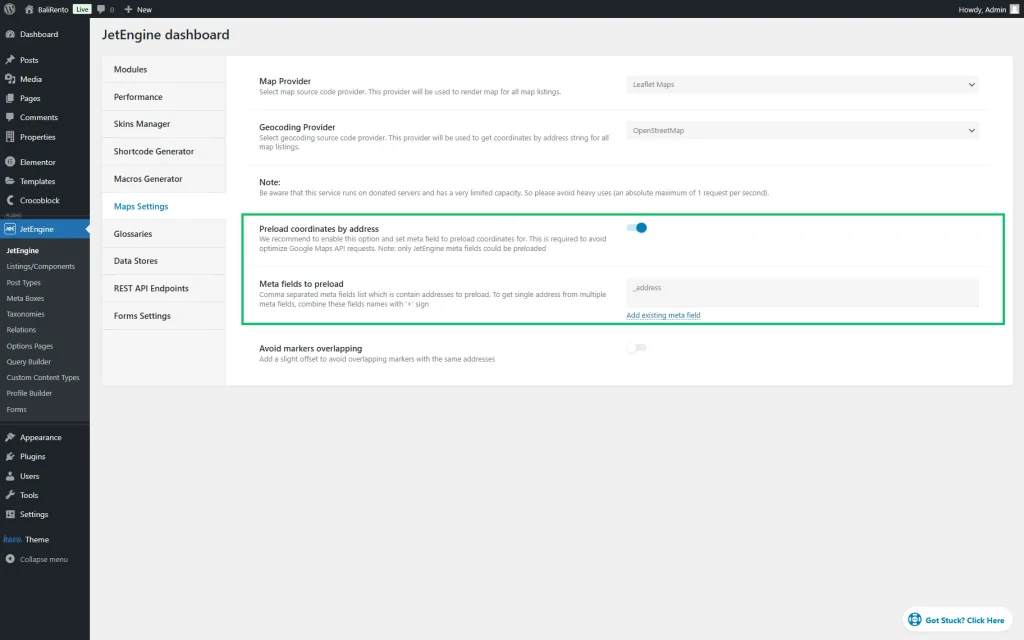
- JetEngine plugin installed and activated with the Map Listing module activated and listing item(s) for posts and map built. Also, the meta field that stores the address created and the data for this field completed in the connected post type.
Filter Map Listing on Zoom
First, we will describe how to apply Map Sync to the Map Listing widget/block/element so that whenever the map is moved, only the posts within the visible area will be displayed.
Add Map Sync to a page/template
Head to the page/template editor you work with. In our case, it’s Elementor.
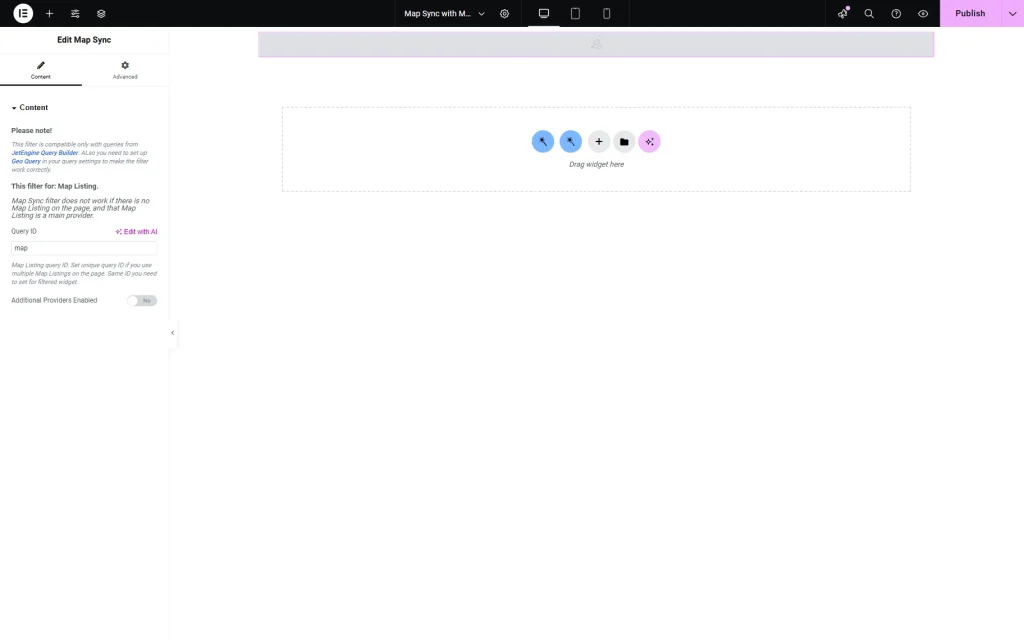
Add the Map Sync widget/block/element to the page and set the Query ID — the ID that will connect Map Sync with Map Listing.
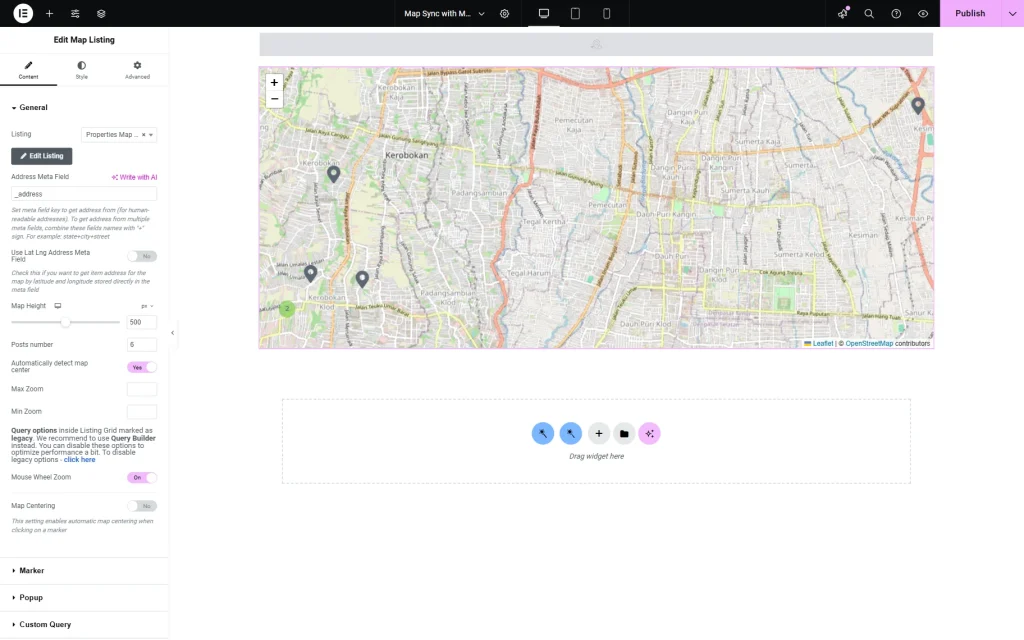
Add the Map Listing widget/block/element to the page.
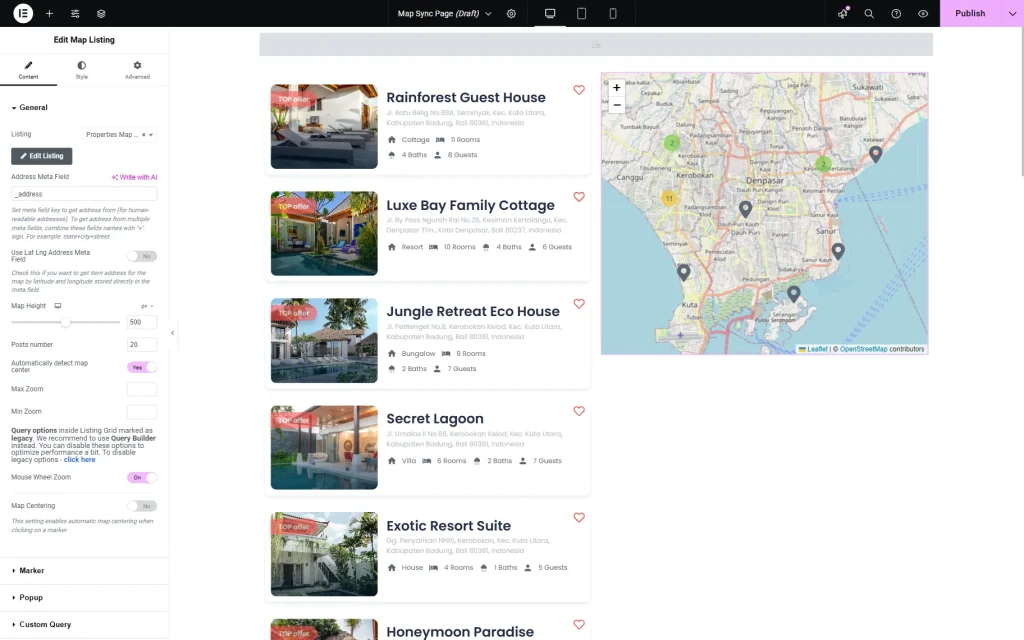
Pick the Listing you built for the map beforehand and complete the Address Meta Field with the name of the meta field you use to store addresses.
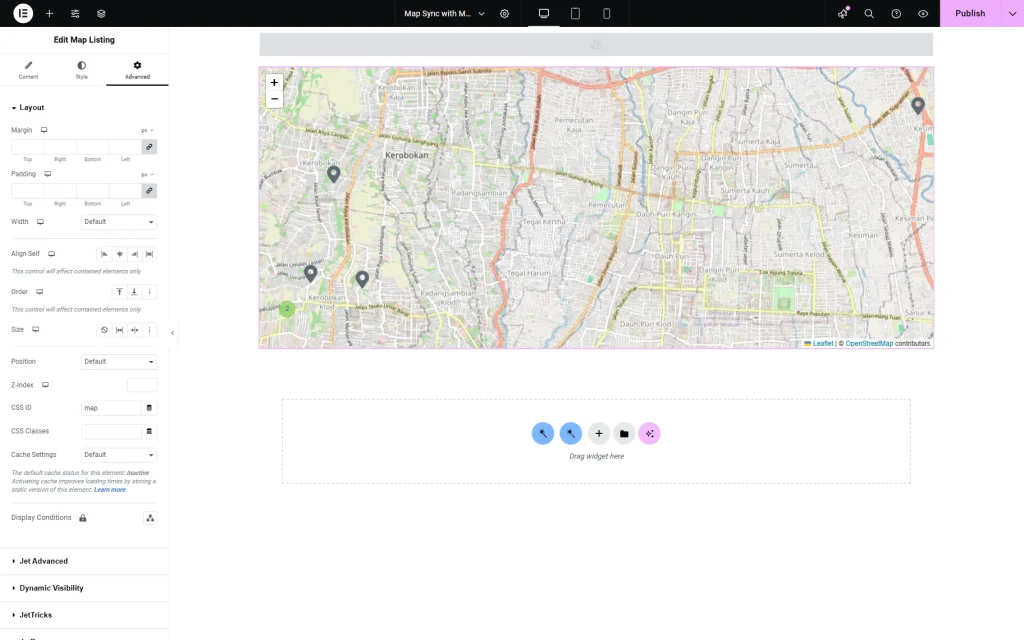
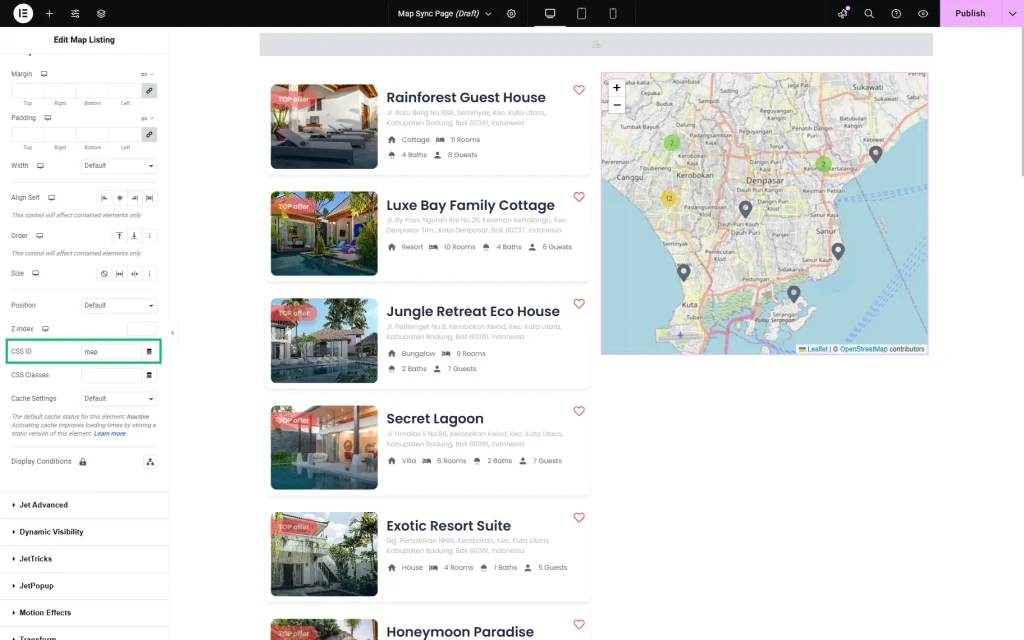
Head to the Advanced settings tab. In the opened Layout section, find the CSS ID field and paste there value you entered in the Query ID field of the Map Sync widget/block/element before.
Now, when you make all the changes, you can publish the page.
Check the front end
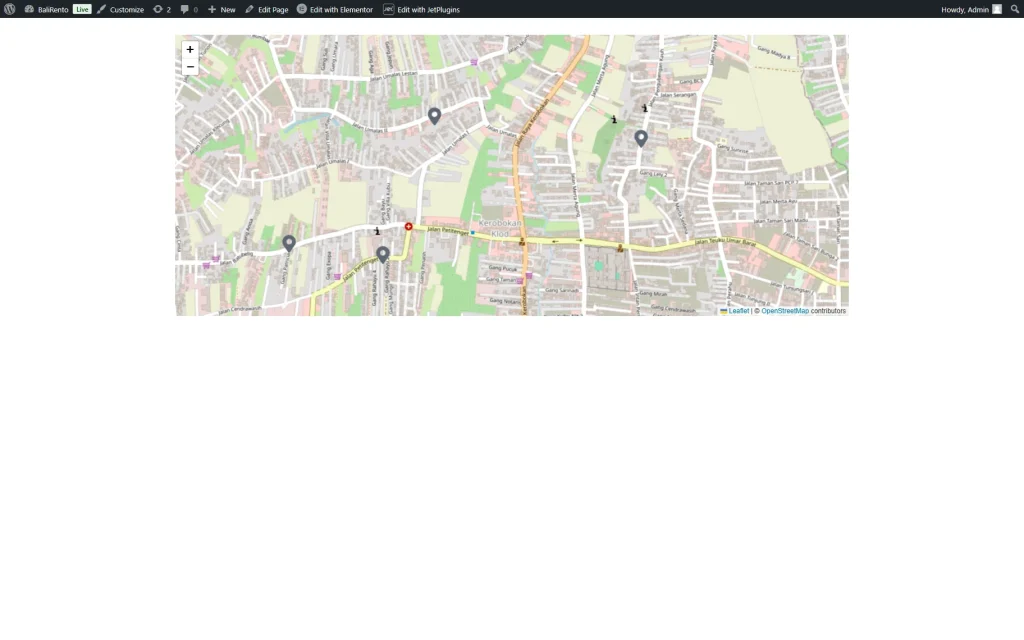
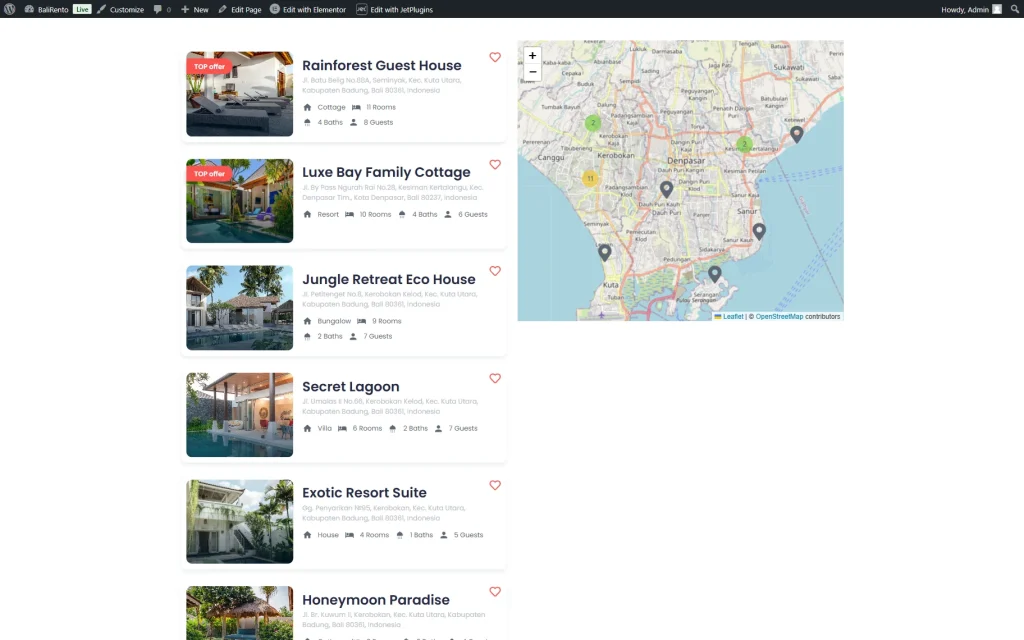
Open the just-built page.
As you pan or zoom the map, the posts within the visible boundaries will be shown, while those outside will be hidden.
Filter Map Listing and Additional Providers on Zoom
Now, let’s check how to use Map Sync not only with Map Listing but also with other providers.
In the described tutorial, we want to sync Map Listing with the Listing Grid, so depending on the zoomed area, the posts will be synched between these two widgets.
Build a query
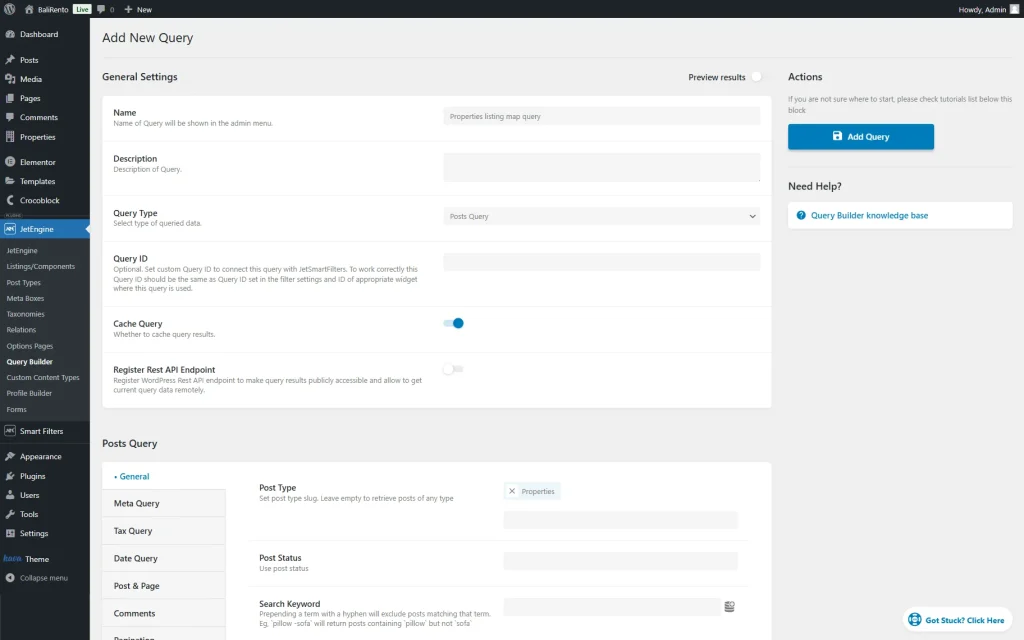
Head to WordPress Dashboard > JetEngine > Query Builder and press “Add New” to build a new query.
Set the Name; for instance, in our case, it is “Properties listing map query.”
Leave the default “Posts Query” Query Type and head to the Posts Query section.
Here, pick the Post Type you work with. In our case, we select the “Properties” Custom Post Type.
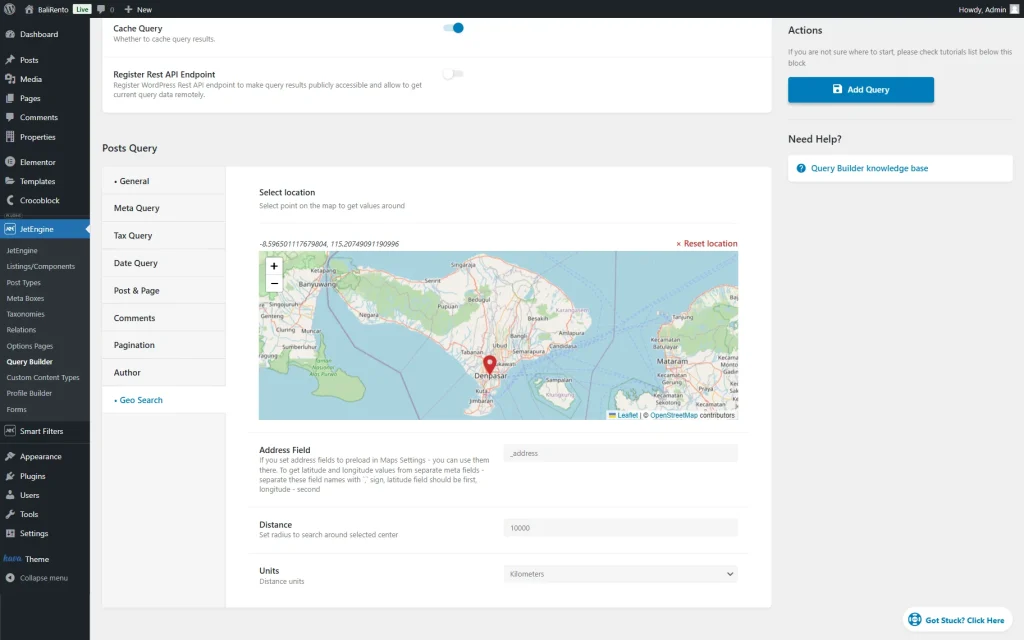
Open the Geo Search tab. Here, pick the point on the displayed map to get values around it when you open the page.
Then, complete the Address Field with the Name/ID value of the meta field that stores the address. In our case, it’s “_address.”
Also, set the Distance and pick the desired Units.
Press the “Add Query” button.
Add Map Sync and additional provider to page/template
Head to the page/template where you want to display the synchronized Listing Grid and Map Listing.
This page/template can be edited with Elementor, Gutenberg (Block editor,) or Bricks. In this case, we use Elementor, but the customization process will be the same for all mentioned builders.
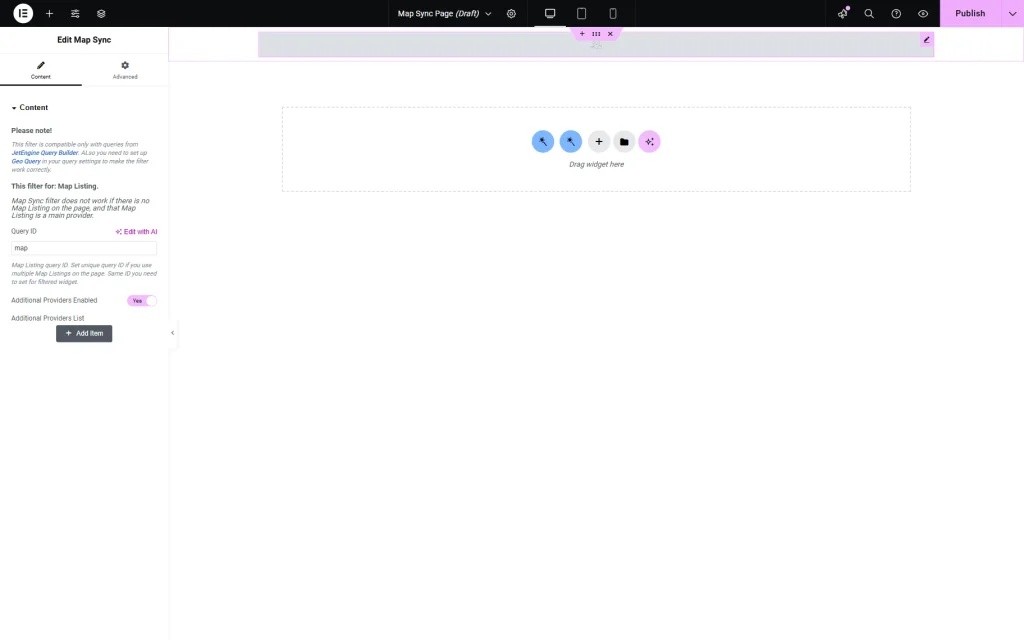
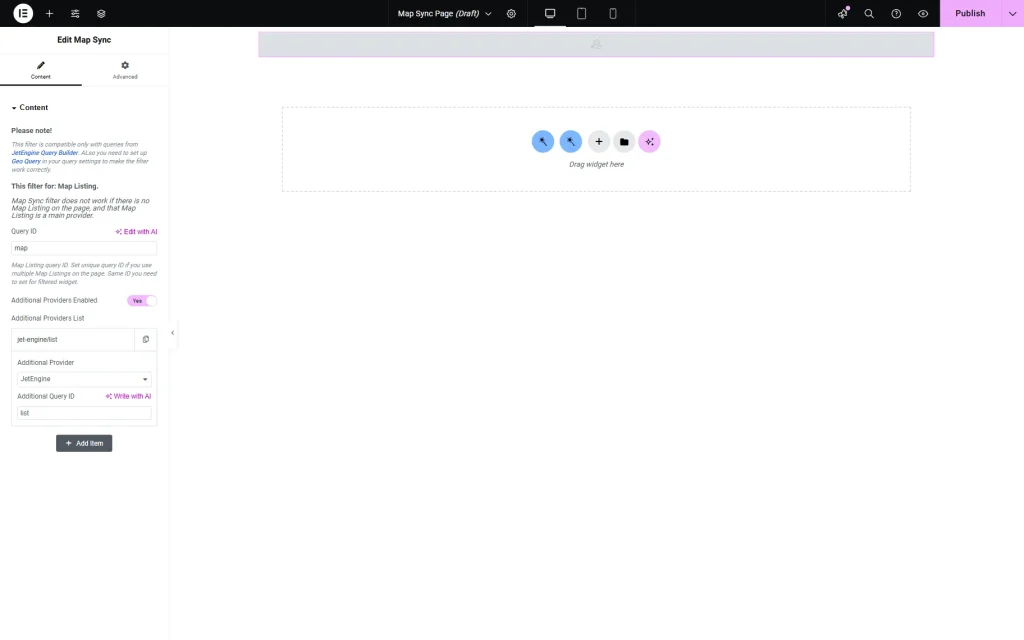
Place the Map Sync widget/block/element on the page.
Set the Query ID, which will be later attached to the Map Listing widget. For instance, “map.”
Then, activate the Additional Providers Enabled toggle.
Pick the provider in the Additional Provider field. In this case, “JetEngine.”
Also, set the Additional Query ID so it can be later attached to the Listing Grid. In our case, “list.”
If more than one provider is needed, press the “Add Item” button once again.
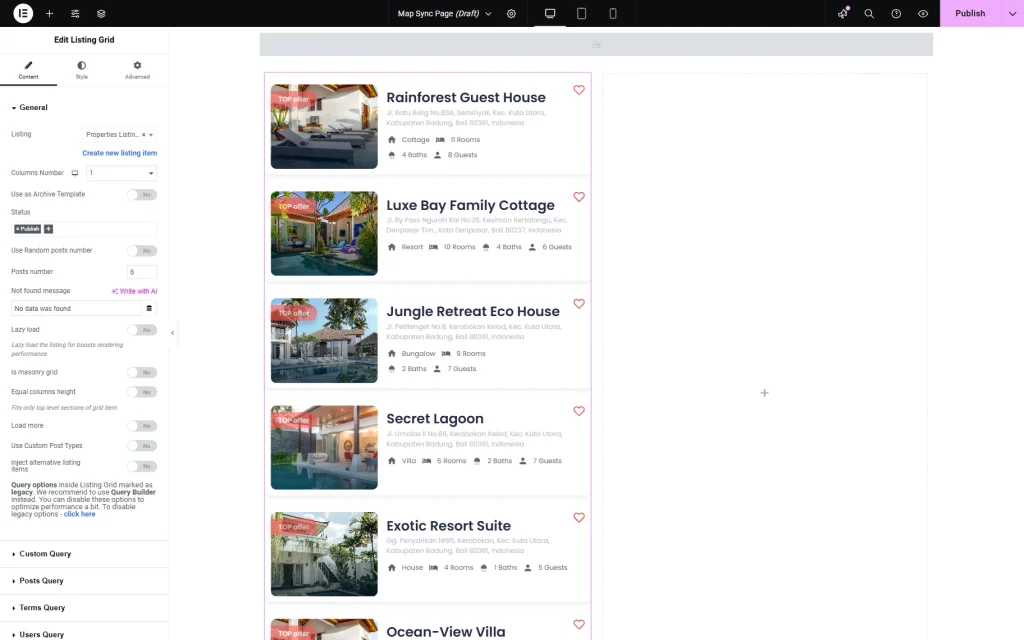
Next, we add a two-column layout and place the Listing Grid widget in the first column.
Pick the desired Listing. In this case, the “Properties Listing Item” option.
We also set the Columns Number to “1” and move to the Custom Query tab.
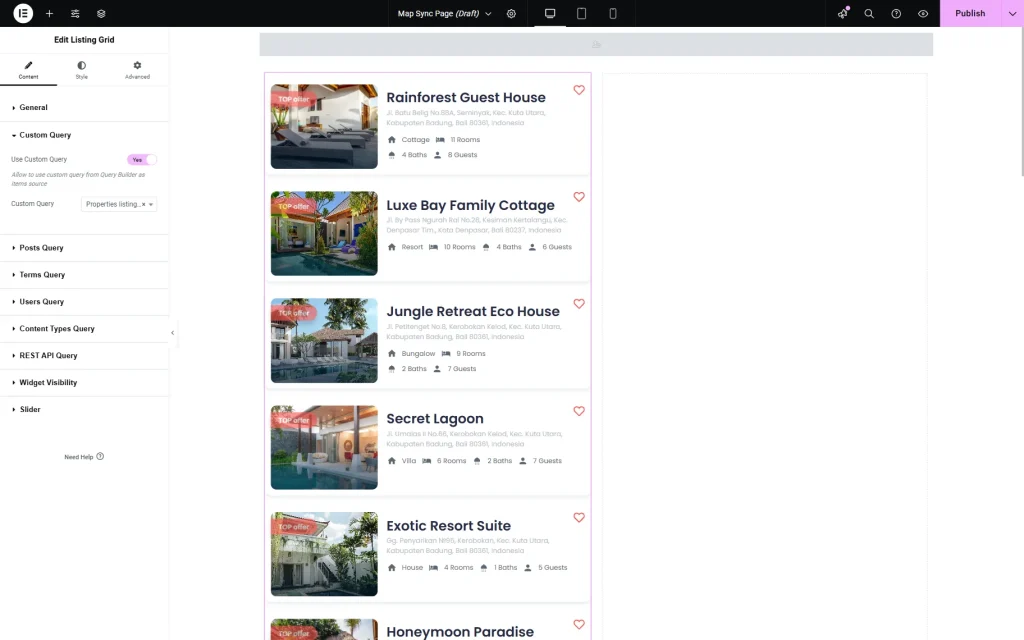
Activate the Use Custom Query toggle and pick the added query in the Custom Query dropdown.
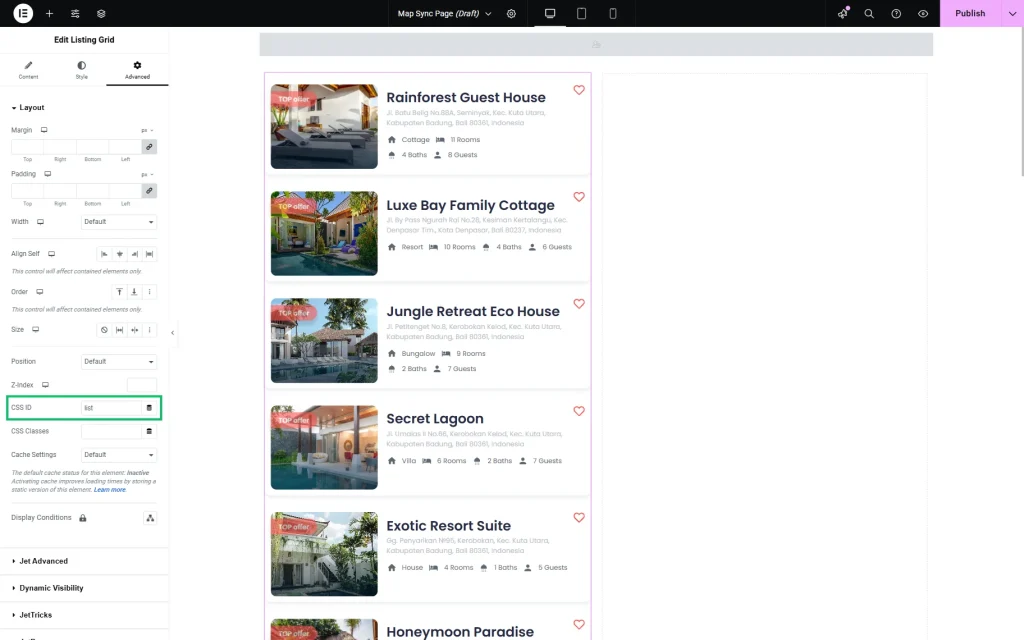
Open the Advanced tab of the widget settings. In the opened Layout sub-tab, complete the CSS ID field with the value you added to Map Sync’s Map Listing ID field before. In this case, it’s the “list” value.
Next, add the Map Listing widget to the page. Pick the Listing you want to display; in this case, it’s the “Properties Map Listing” listing item.
Also, complete the Address Meta Field with the meta field’s Name/ID value where the address is stored.
We also change the Posts Number to “20” to display more points on the map.
Navigate to the Advanced tab and complete the CSS ID field with the value you added to Map Sync’s Query ID field before.
Now, save the page by pressing the corresponding button.
Check the result
Open the just-edited page on the front end. As you can observe, the Map Listing is centered according to the set query.
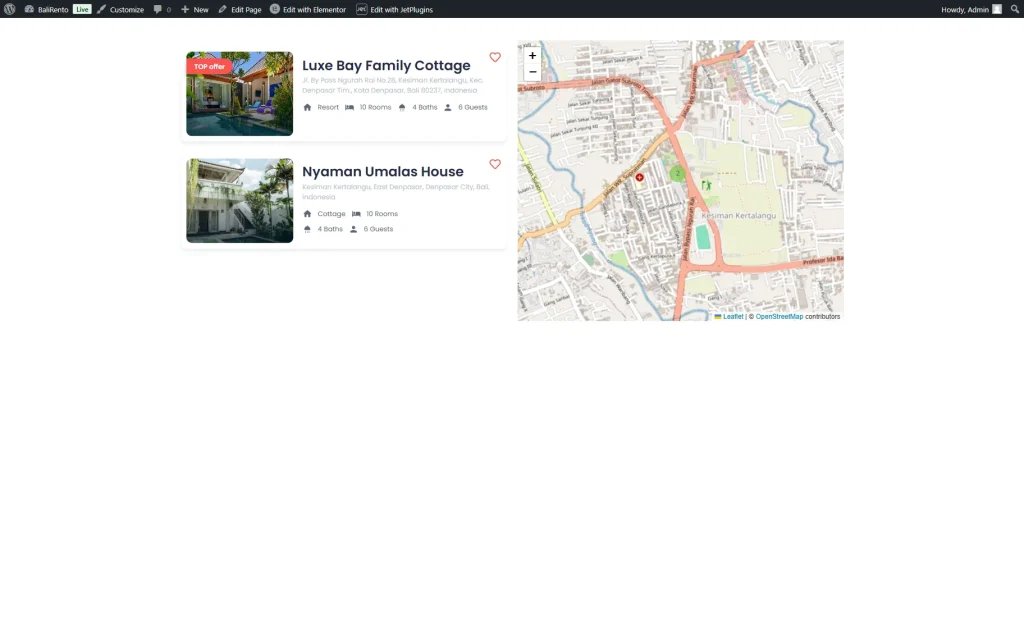
It is not yet synced with the Listing Grid. The synchronization will work only when you move the map.
If you zoom in on a random place on the map, you will observe that the listing items will be filtered, and only those that are displayed on the Map Listing will be shown in the Listing Grid.
That’s all; now you know how to sync the Listing Grid and Map Sync posts with the help of the Map Sync widget/block/element from the JetEngine plugin for WordPress.
