
Sorting Filter Overview
Find out how to manage the JetSmartFilters WordPress plugin Sorting Filter's settings in Elementor/Block editor/Bricks to display posts, products, meta fields, and queried data.
The JetSmartFilter’s plugin Sorting Filter functionality is implemented directly via the widget/block/element in Elementor/Block editor/Bricks theme without additional settings in the WordPress Dashboard. The Sorting Filter is applicable to posts, meta fields, products, and queried data.
Additional and more specific information about the Types of Filters you can find in our Filters Overview.
Sorting Filter Widget in Elementor
Content settings
The Content settings section includes the Content and Sorting List tabs.
The Content tab has the following settings:
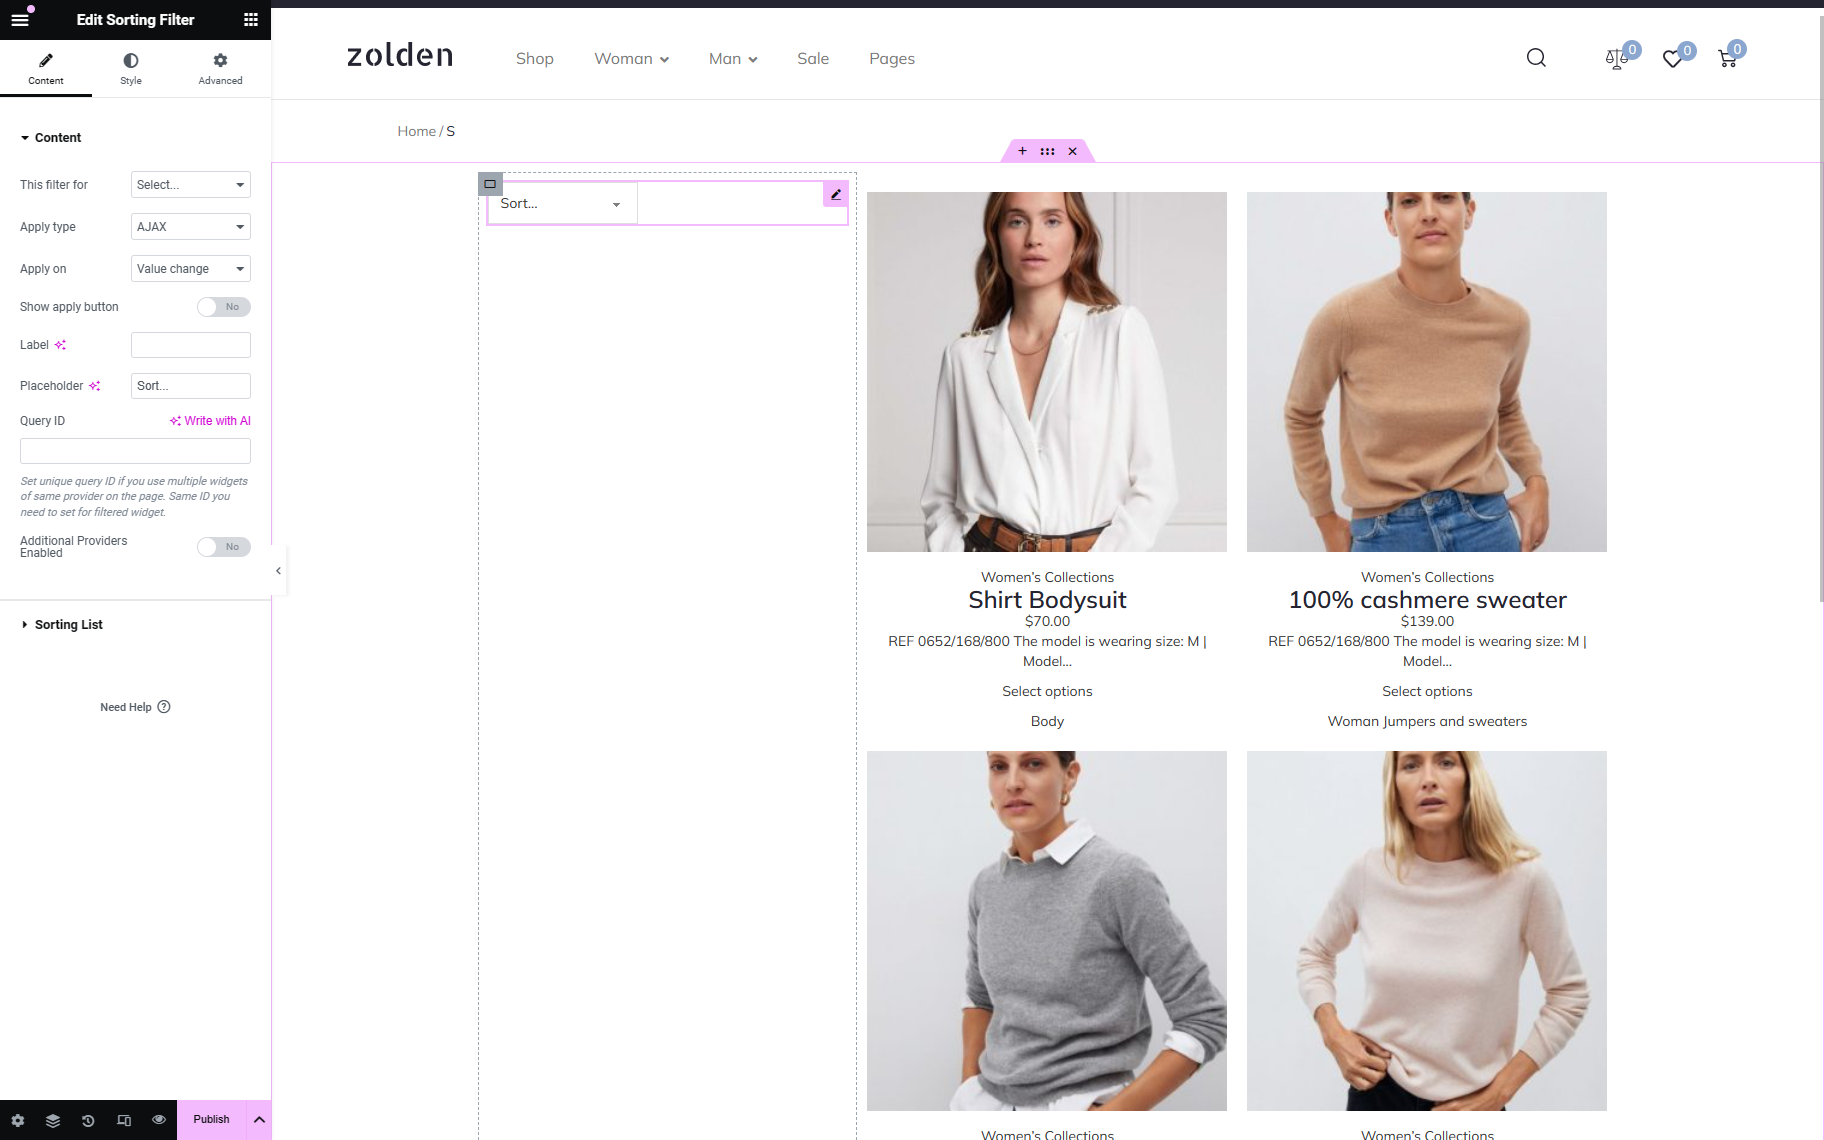
- This filter for 一 a drop-down menu that allows selecting the filter’s provider and has such options as “JetEngine,” “JetEngine Calendar,” “Elementor Pro Archive Products,” “Elementor Pro Products,” “JetWooBuilder Products Grid,” “JetWooBuilder Products List,” “WooCommerce Archive,” or “WooCommerce Shortcode,” etc., depending on the plugin used to build the listing. The selected provider is associated with the widgets that can be connected to the page;
- Apply type 一 a drop-down menu that allows selecting the preferred filter type for this filter: the “AJAX” (filtering using the AJAX method without reloading the page, which makes the filtering products much faster for the visitors), “Page Reload” (reloads the page each time the visitor applies the filter), or “Mixed” (adds values to the page’s URL without reloading the page. Therefore, the URL can be copied to send the search results);
- Apply on 一 a drop-down menu that allows selecting the way of the filter application on value change (the “Value Change” option) or after clicking on the “Apply” button (the “Click on apply button” option);
- Show apply button 一 a toggle that adds a button under the filter to start filtering. This toggle should be activated if the “Click on apply button” option in the Apply on drop-down menu is selected. Enabling this toggle activates the Apply button text field for typing the text on the appropriate button;
- Show filter label — a toggle that turns the filter label on or off;
- Query ID — a field for selecting a query, allowing to assign a filter widget to a specific Listing Grid or to apply a filter to one of the widgets on the page. To learn more about applying the needed widget to the Listing Grid, read the How to Attach Filter to Widget tutorial. Also, if required to apply some widgets on the page, the Applying Filters to Several Widgets on Page tutorial details how to do it;
- Additional Providers Enabled — a toggle that turns on the Additional Providers List button to apply the filter to some providers. The tutorial details How to Apply One Filter to Different Providers.
The Sorting List tab adds the sorting criteria.
Unrolling the tab and pressing the “Add Item” button activates the sorting criteria menu with the following options:
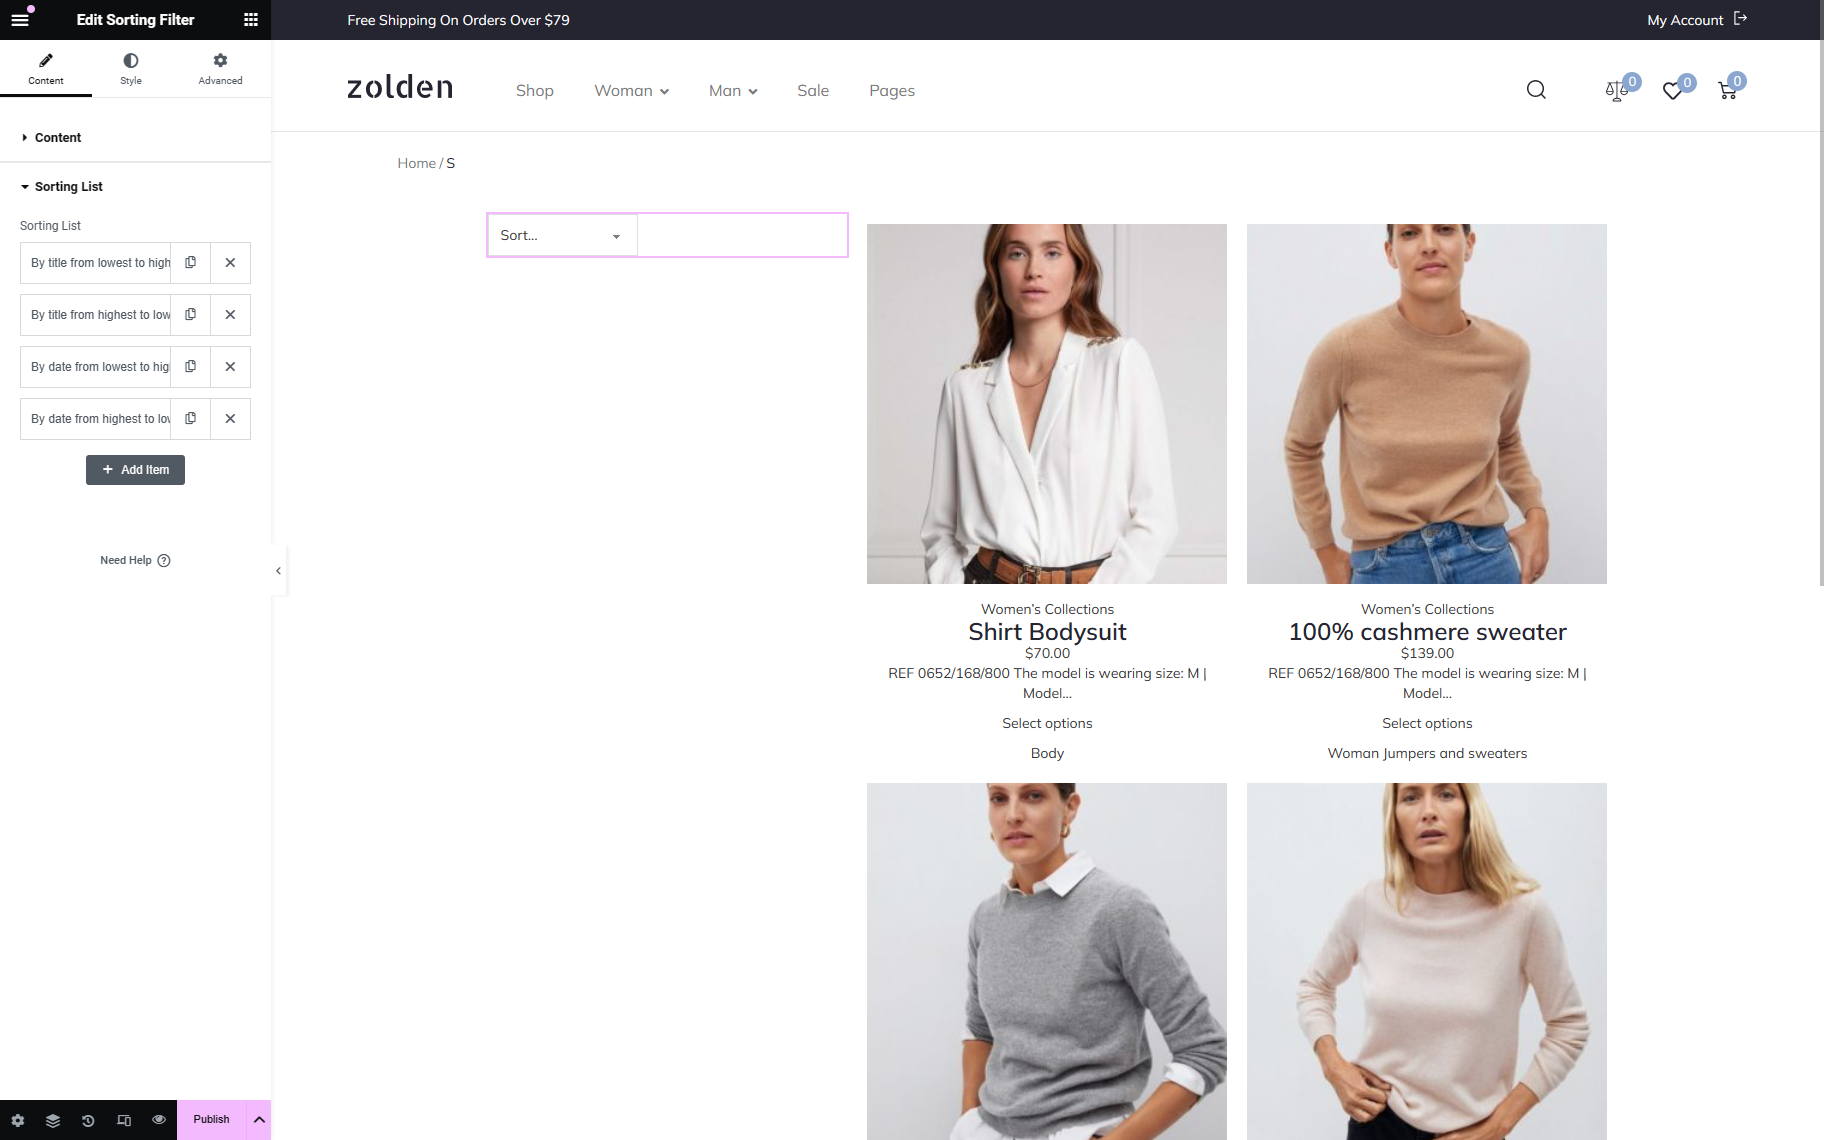
- Title 一 a text field for typing the option name;
- Order By 一 a drop-down menu allowing users to specify the criteria to filter the items. It includes the following options:
- No order (by ID) 一 an option that turns off any sorting and can be applied if the customer needs to drop it at all. The posts will be listed according to their ID number in descending order;
- Random kind 一 an option that makes it possible to arrange the items randomly;
- Author 一 an option that orders posts based on the author’s name;
- Title 一 an option that sorts the items based on the title in alphabetical order;
- Name (post slug) 一 an option that works almost the same as the previous one but implies using the slug name instead of the displayed title;
- Date 一 an option that sorts the items based on the date of creation;
- Last modified date 一 an option that, compared with the preceding one, orders the items by the latest (or oldest) modified dates;
- Number of comments 一 an option that sorts the items based on the number of comments (which is WordPress’s default feature);
- Product price 一 an option that ranges the products on the price values set in the Product > General > Price field tab;
- Products sales number 一 an option that shows the products on the order by the number of sales;
- Product rating 一 an option that displays items by the number of ratings which is specified in the default WooCommerce settings;
- Product reviews number 一 an option that arranges products by the number of reviews. This pickup works the same way as the number of comments;
- Meta key 一 an option that activates the additional Key text field and Order drop-down menu. The Key text field is intended to add the meta key for sorting. The Order drop-down menu allows selecting the “ASC” or “DESC” sorting order:
- Meta key numeric 一 an option that involves the text type of the meta field but with the numeric value, sorted accordingly; the option can be used for the “Numeric” field type only;
- Clause key 一 an option that activates the additional Key text field. This option allows sorting according to a specified key of a custom query clause;
- Order 一 a drop-down menu with two options: “ASC” and “DESC” order.
Style settings
The Style Settings manages the typography, colors, background, borders, padding, alignment options, etc., with the help of the Content, Select, Label, and Button.
Advanced settings
The Advanced settings customize the Layout settings (i.e., Margins, Padding, Width, and more), Dynamic Visibility, Motion Effects, Transformation, etc.
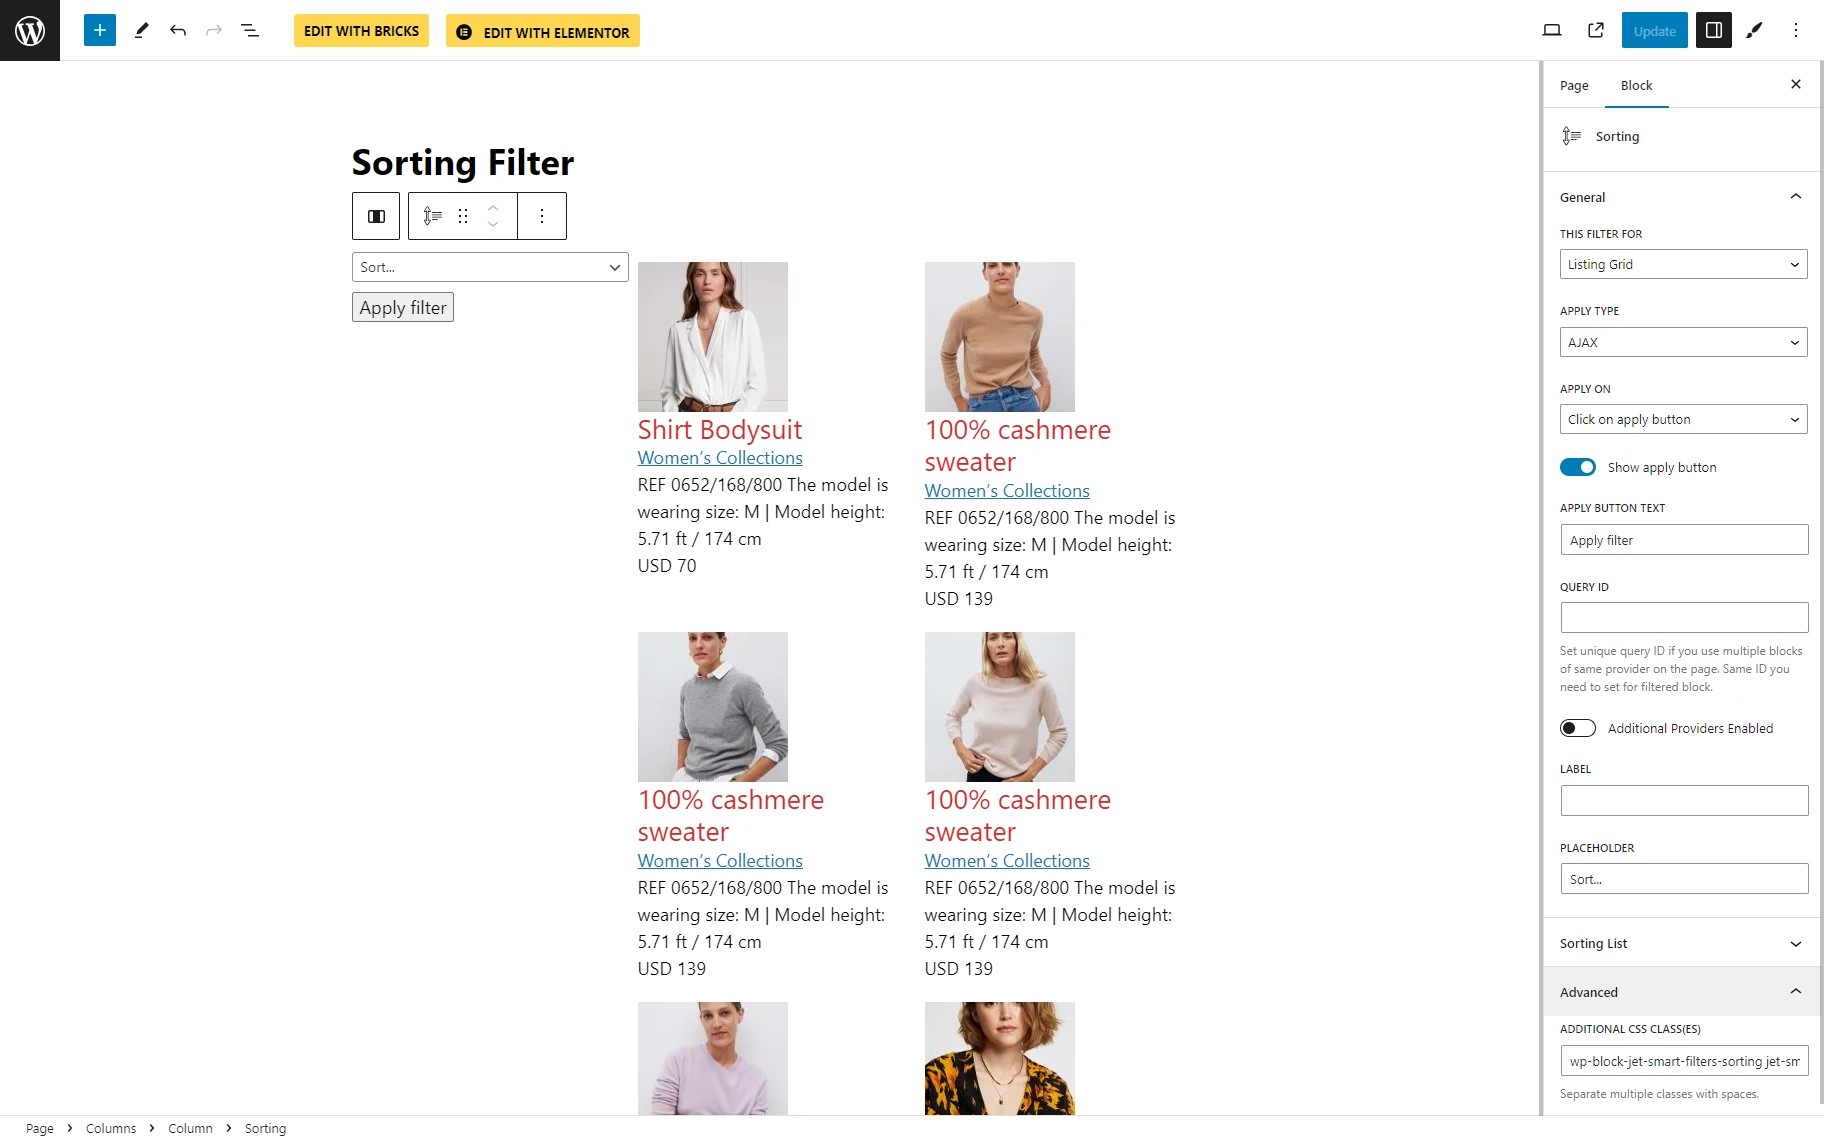
Sorting Filter Block in Block Editor (Gutenberg)
In the Block Editor, the Select Filter block has the same settings as in Elementor.
The only exception is the Advanced tab, which has the ADDITIONAL CSS CLASS(ES) field intended for adding CSS class(es) to change the block’s appearance.
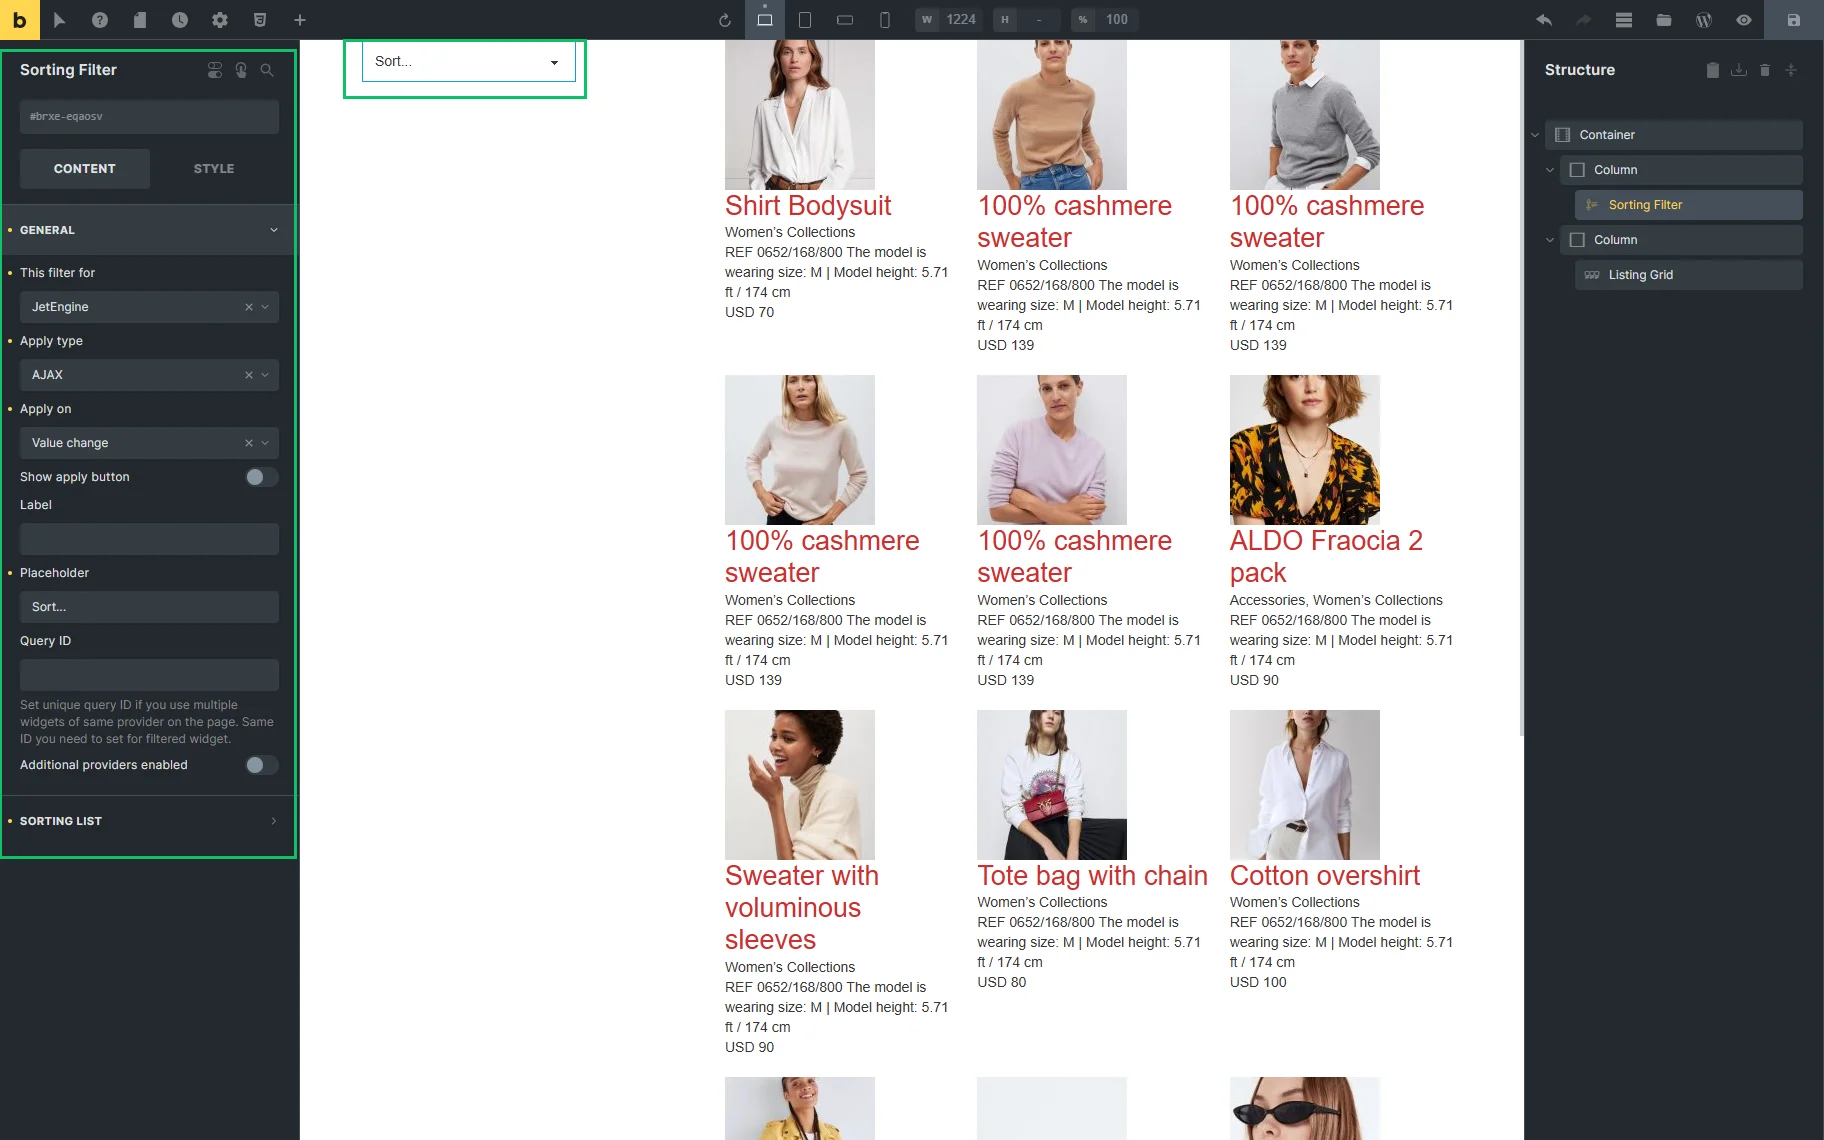
Sorting Filter Element in Bricks
In the Bricks theme, the Select Filter element has the same settings as in Elementor.
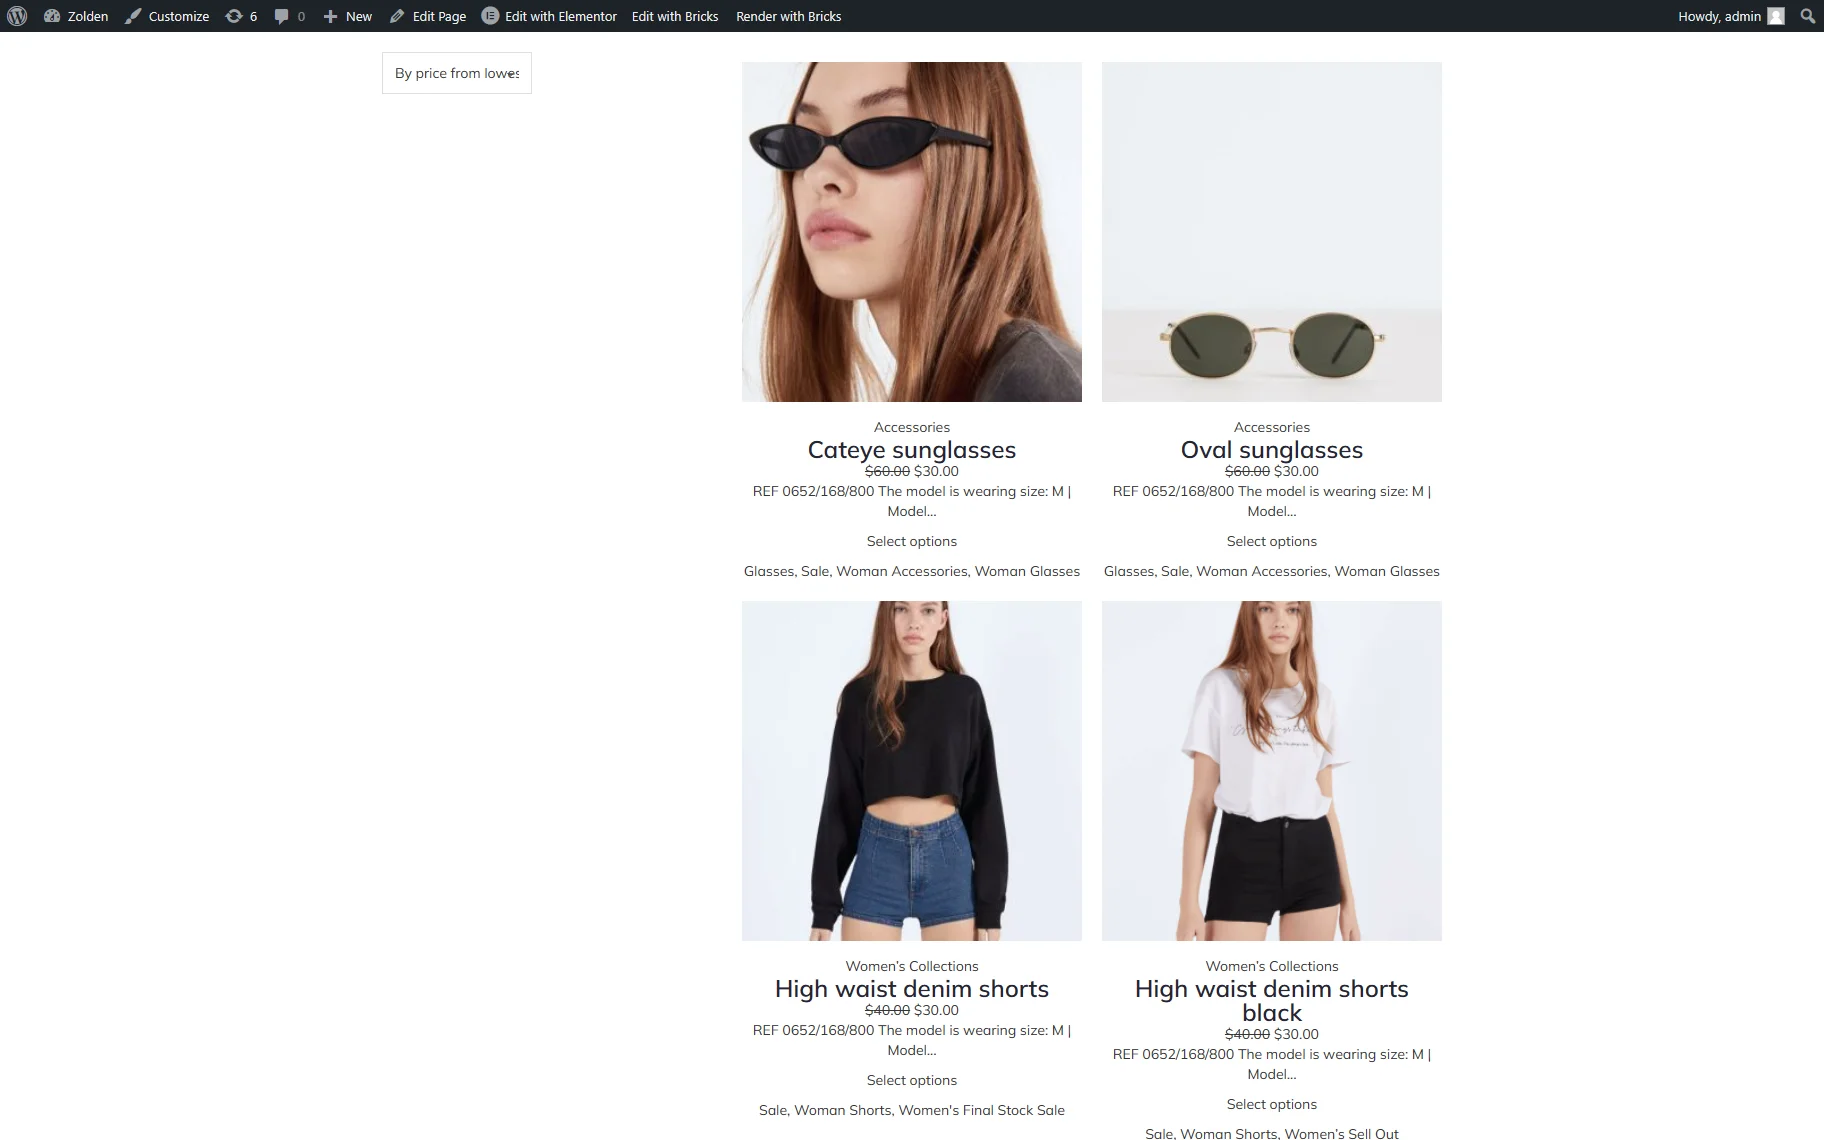
Front End Result
The result can be later checked on the front end. Now, the Sorting Filter is active.
That’s it; now you know how to use the Sorting filter available with the JetSmartFilters plugin.