Pagination Overview
This overview explains the Pagination widget available with the JetSmartFilters plugin for WordPress websites.
Pagination is an element on the page that allows users to switch between the pages with posts/products/items presented on the page. This feature is available with the JetSmartFilters plugin for Elementor, Gutenberg, and Bricks editors.
Pagination Widget in Elementor
The Pagination widget is available in the Elementor Page Builder and includes two tabs for editing.
Content settings
The first Content tab includes the following settings to adjust:
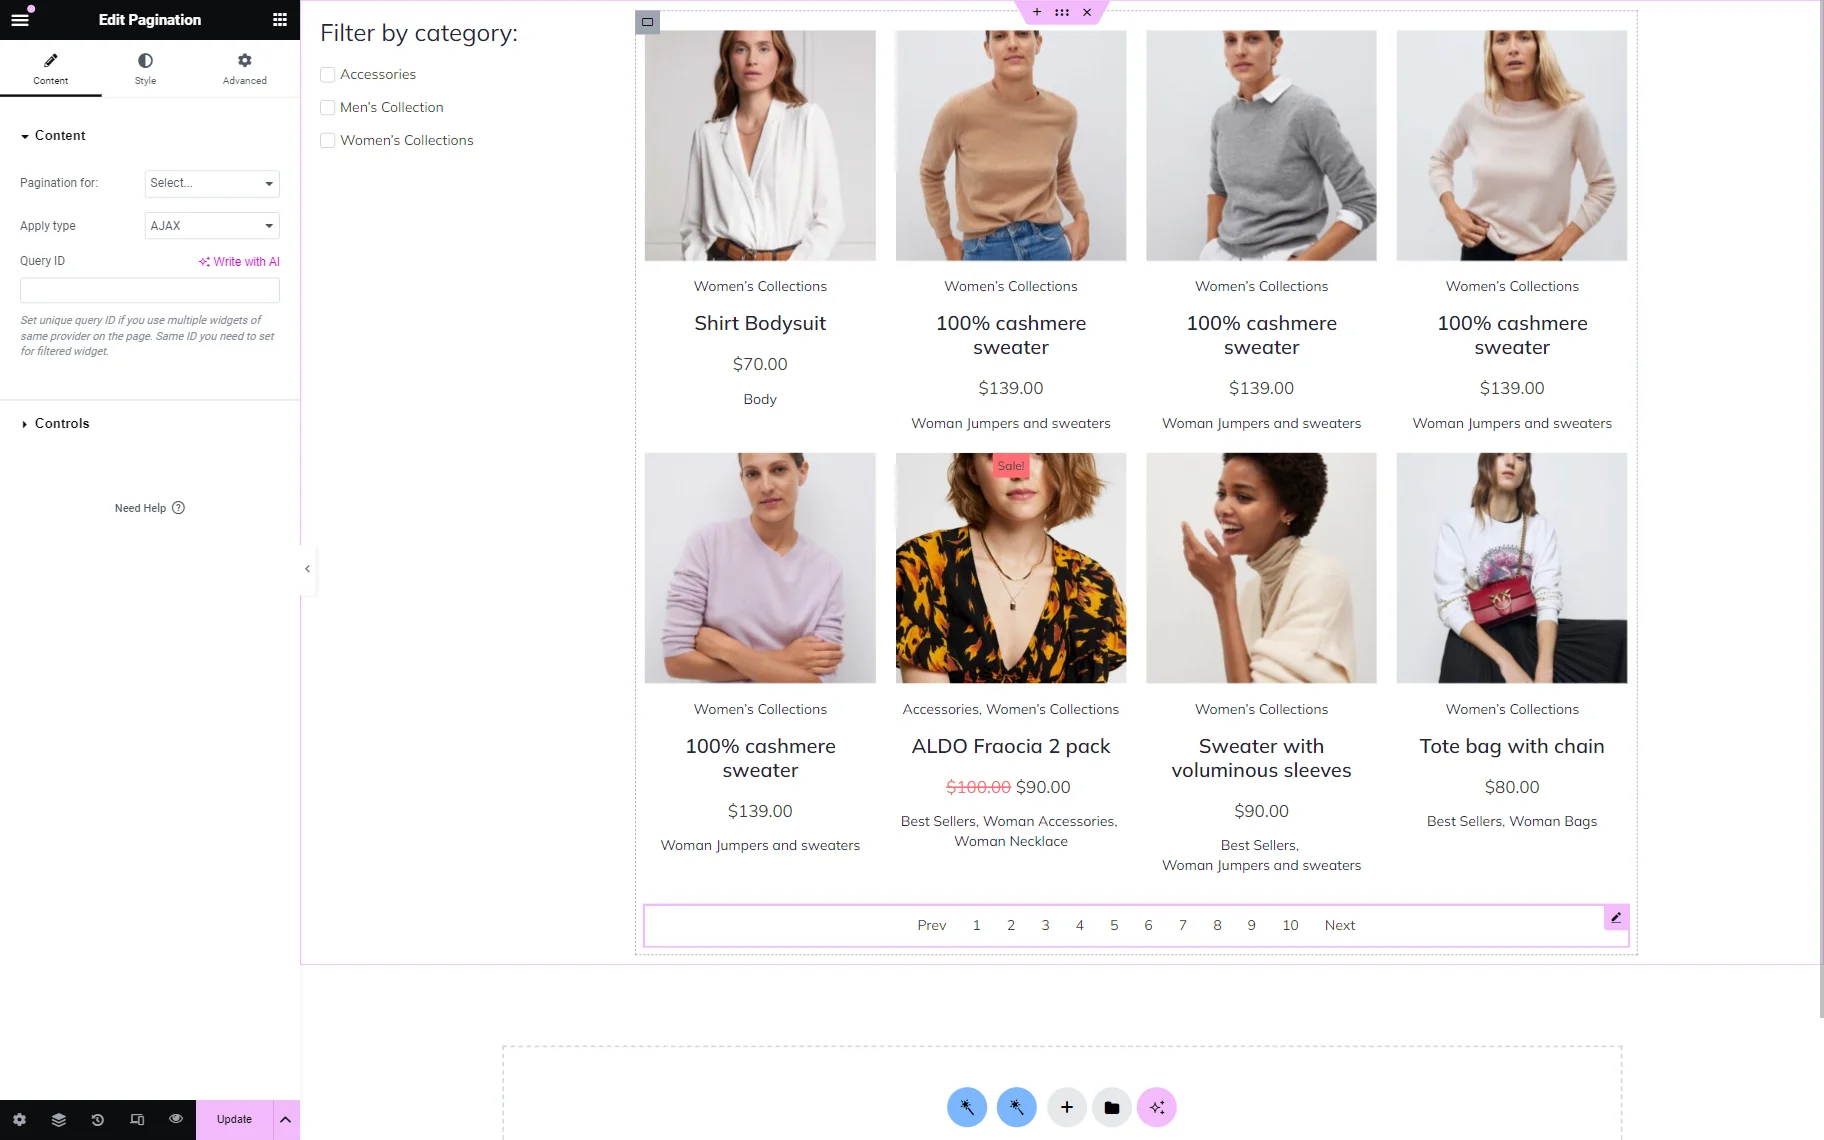
- Pagination for — a field that includes several providers for the Pagination widget. Once the option is selected, the provider will be attached to the pagination widget. Among the presented providers are:
- Elementor Pro Archive Products;
- Elementor Pro Archive;
- Elementor Pro Loop Grid;
- Elementor Pro Portfolio;
- Elementor Pro Posts;
- Elementor Pro Products;
- JetEngine Calendar;
- JetEngine;
- JetWooBuilder Products Grid;
- JetWooBuilder Products List;
- WooCommerce Archive (by JetWooBuilder);
- WooCommerce Shortcode;
- JetEngine Dynamic Chart;
- JetEngine Dynamic Table;
- Dynamic Maps.
- Apply type — a setting that allows selecting between three presented options:
- AJAX – shows results without reloading the page;
- Page reload – reloads the page;
- Mixed – will not reload the page but transform its URL. This can be used if a user wants to copy the link with filtering results and send it to somebody else.
- Query ID — a field that lets users complete the field with a unique ID of the provider used on the page.
For instance, a user wants to attach pagination to the specific Listing Grid or Products Grid, but there are several of them on the page.
To make pagination work only with the needed widget, the user needs to set the CSS ID field in the Advanced tab of the required provider and then specify the same value in the Query ID field so these two widgets become connected.

Controls settings
The Enable Items switcher displays numbers for navigating through pages. There are also Items center offset and Items edge offset settings presented.
The Items center offset makes a list shorter if a user completes a field with a value. For instance, the “2” value will show only two items on both sides of the central number. The Items edge offset works only with the Items center offset and displays the written number of items on the pagination edges at the start and end.
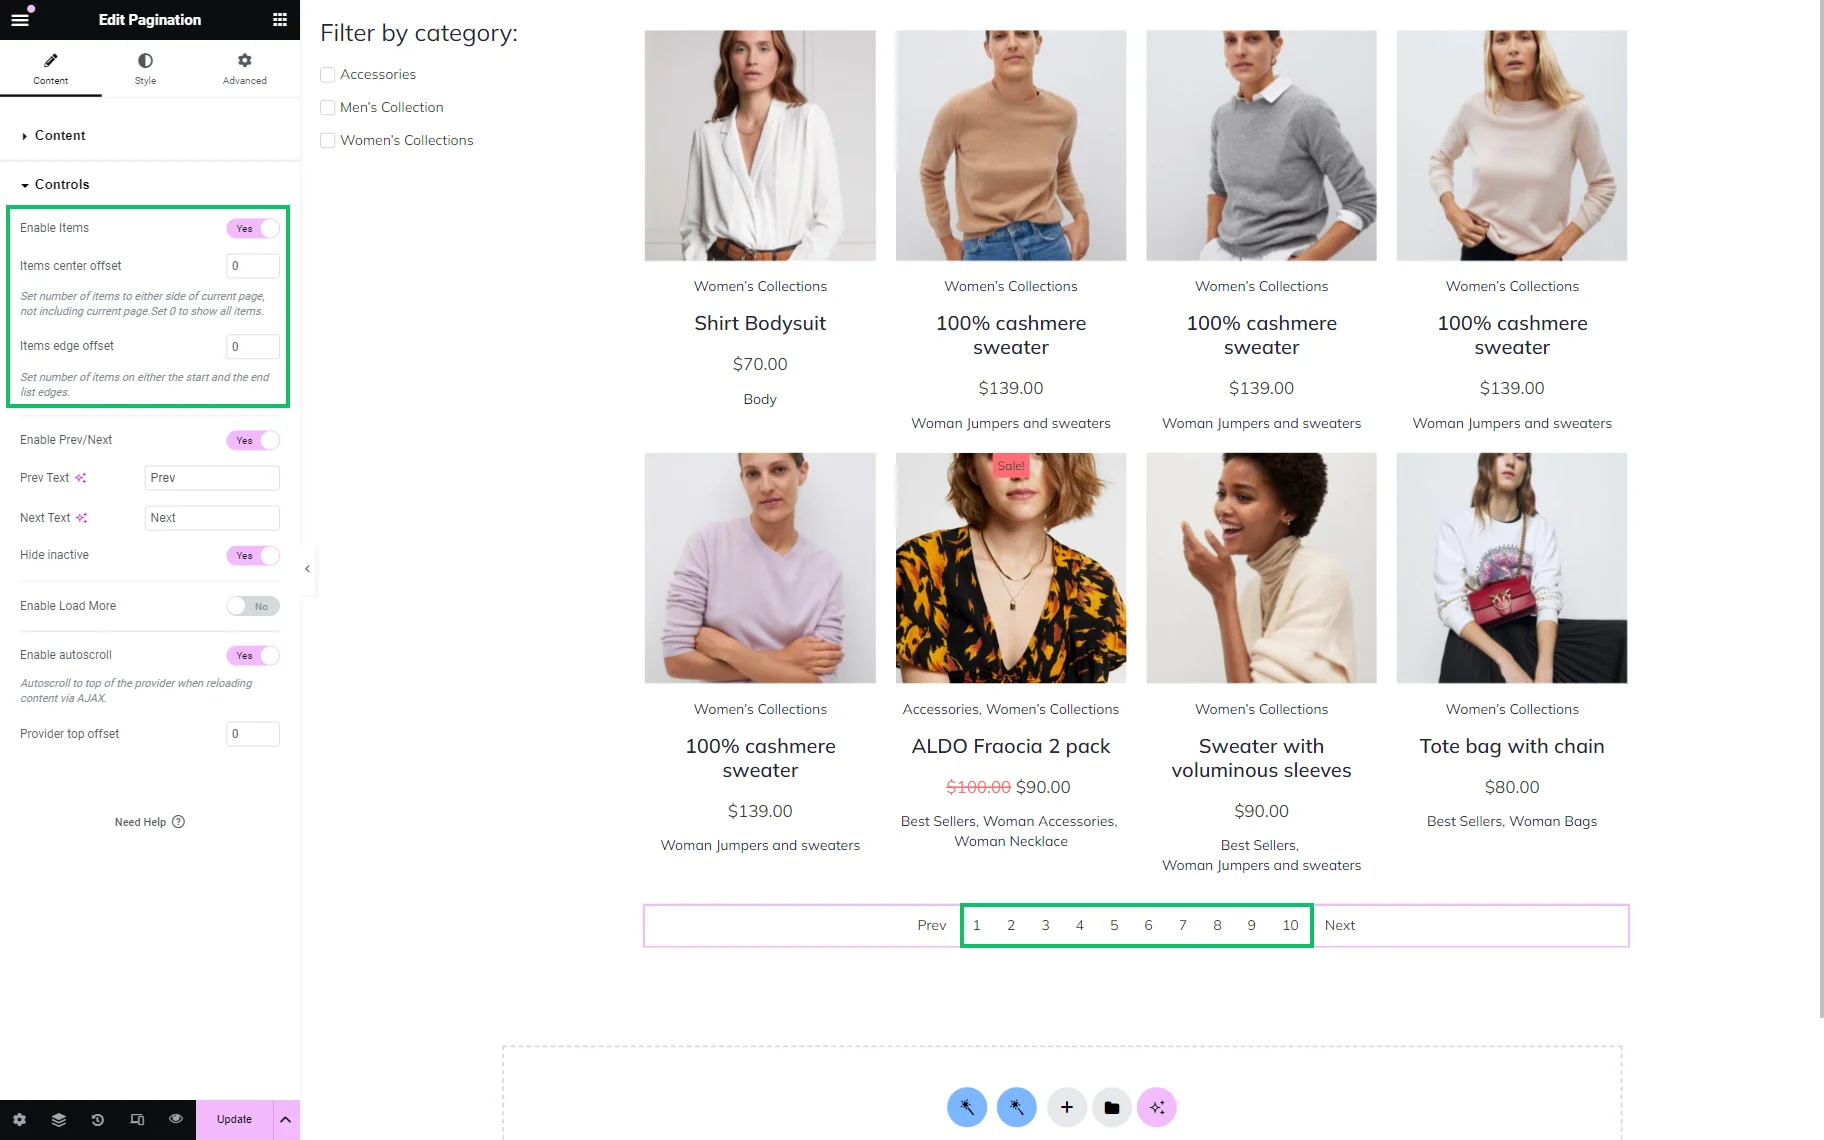
The Enable Prev/Next toggle shows the “Prev” and “Next” buttons on the page.
The text of these two buttons can be changed in the Prev Text and Next Text fields accordingly.
The following Hide inactive toggle is activated by default; it hides the inactive “Prev” or “Next” buttons. That means on the first page, there will be no “Prev” button displayed, and on the last page, there will be no “Next” button.

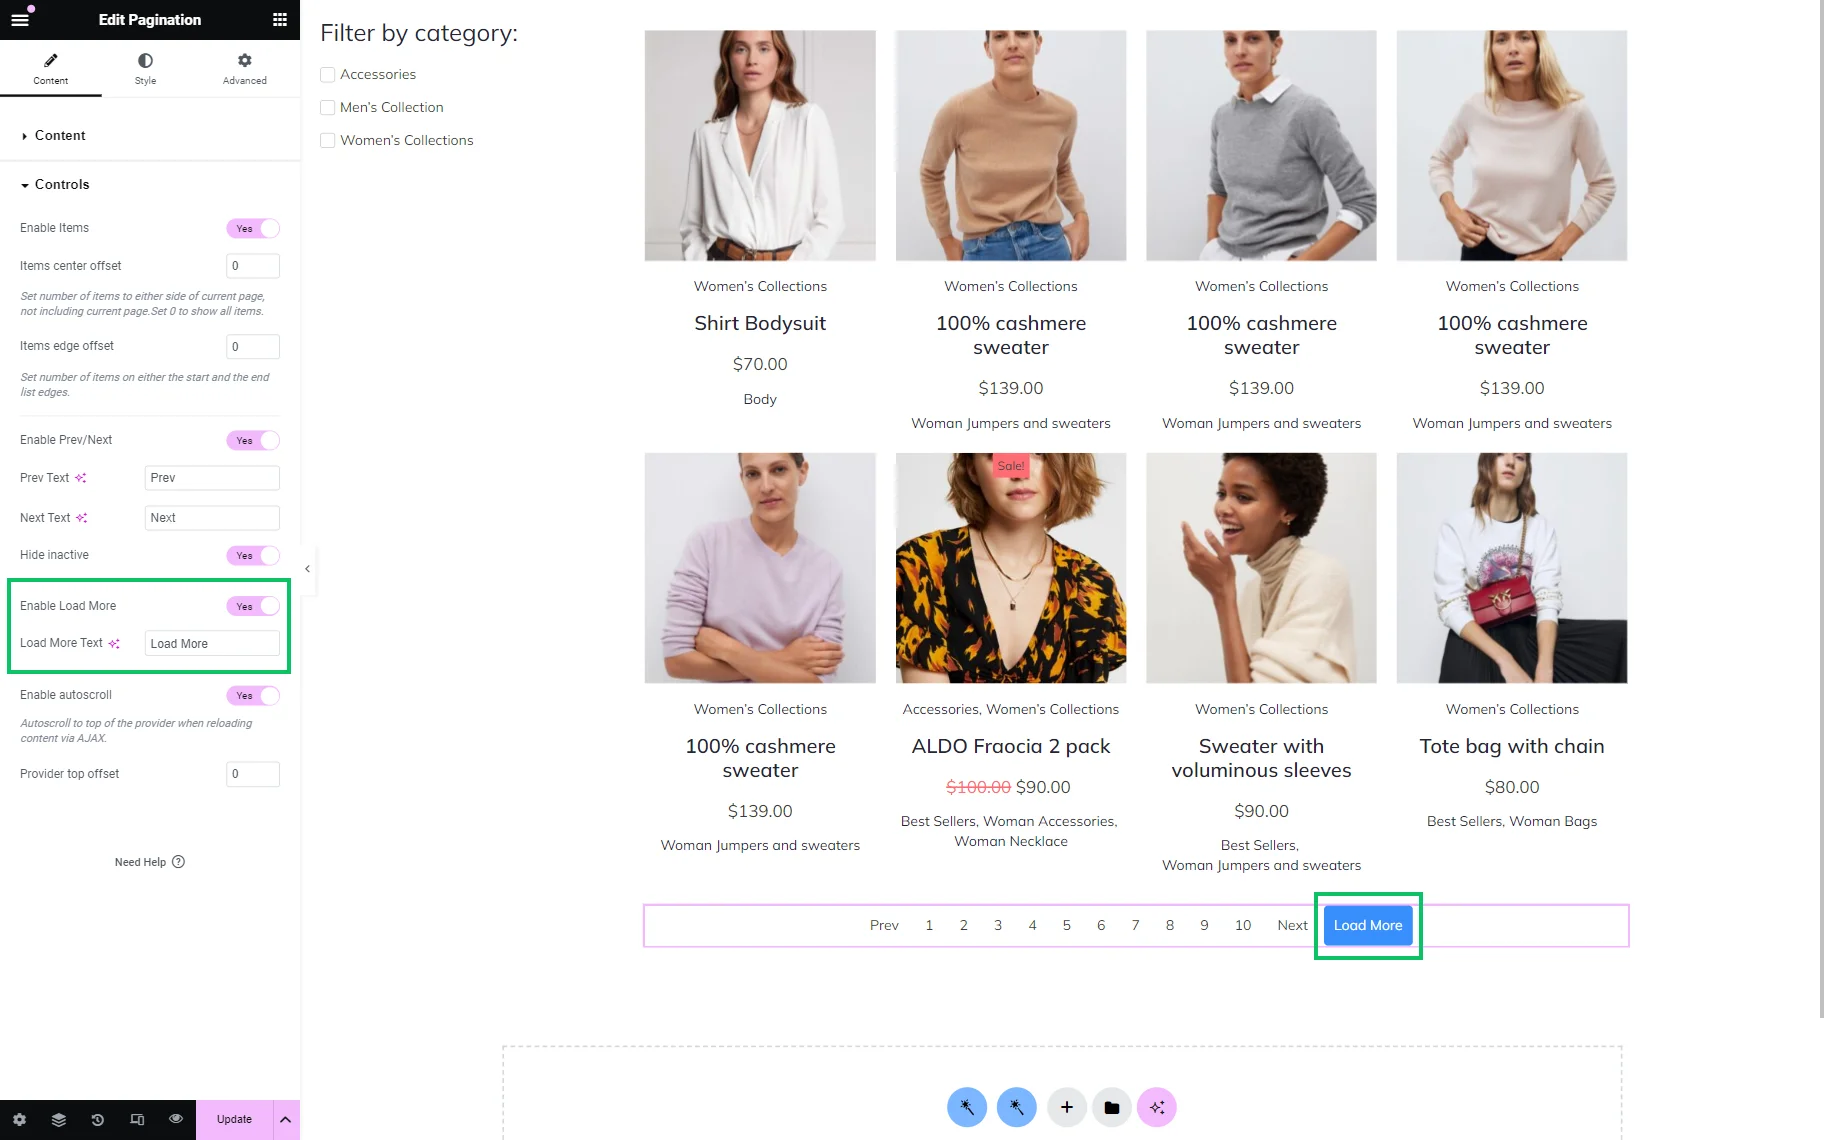
The Enable Load More switcher adds a “Load More” button to pagination, which loads more items on the page without reloading the page itself. There are as many posts added as are already displayed in the provider.
The Load More Text can also be customized in the corresponding field.
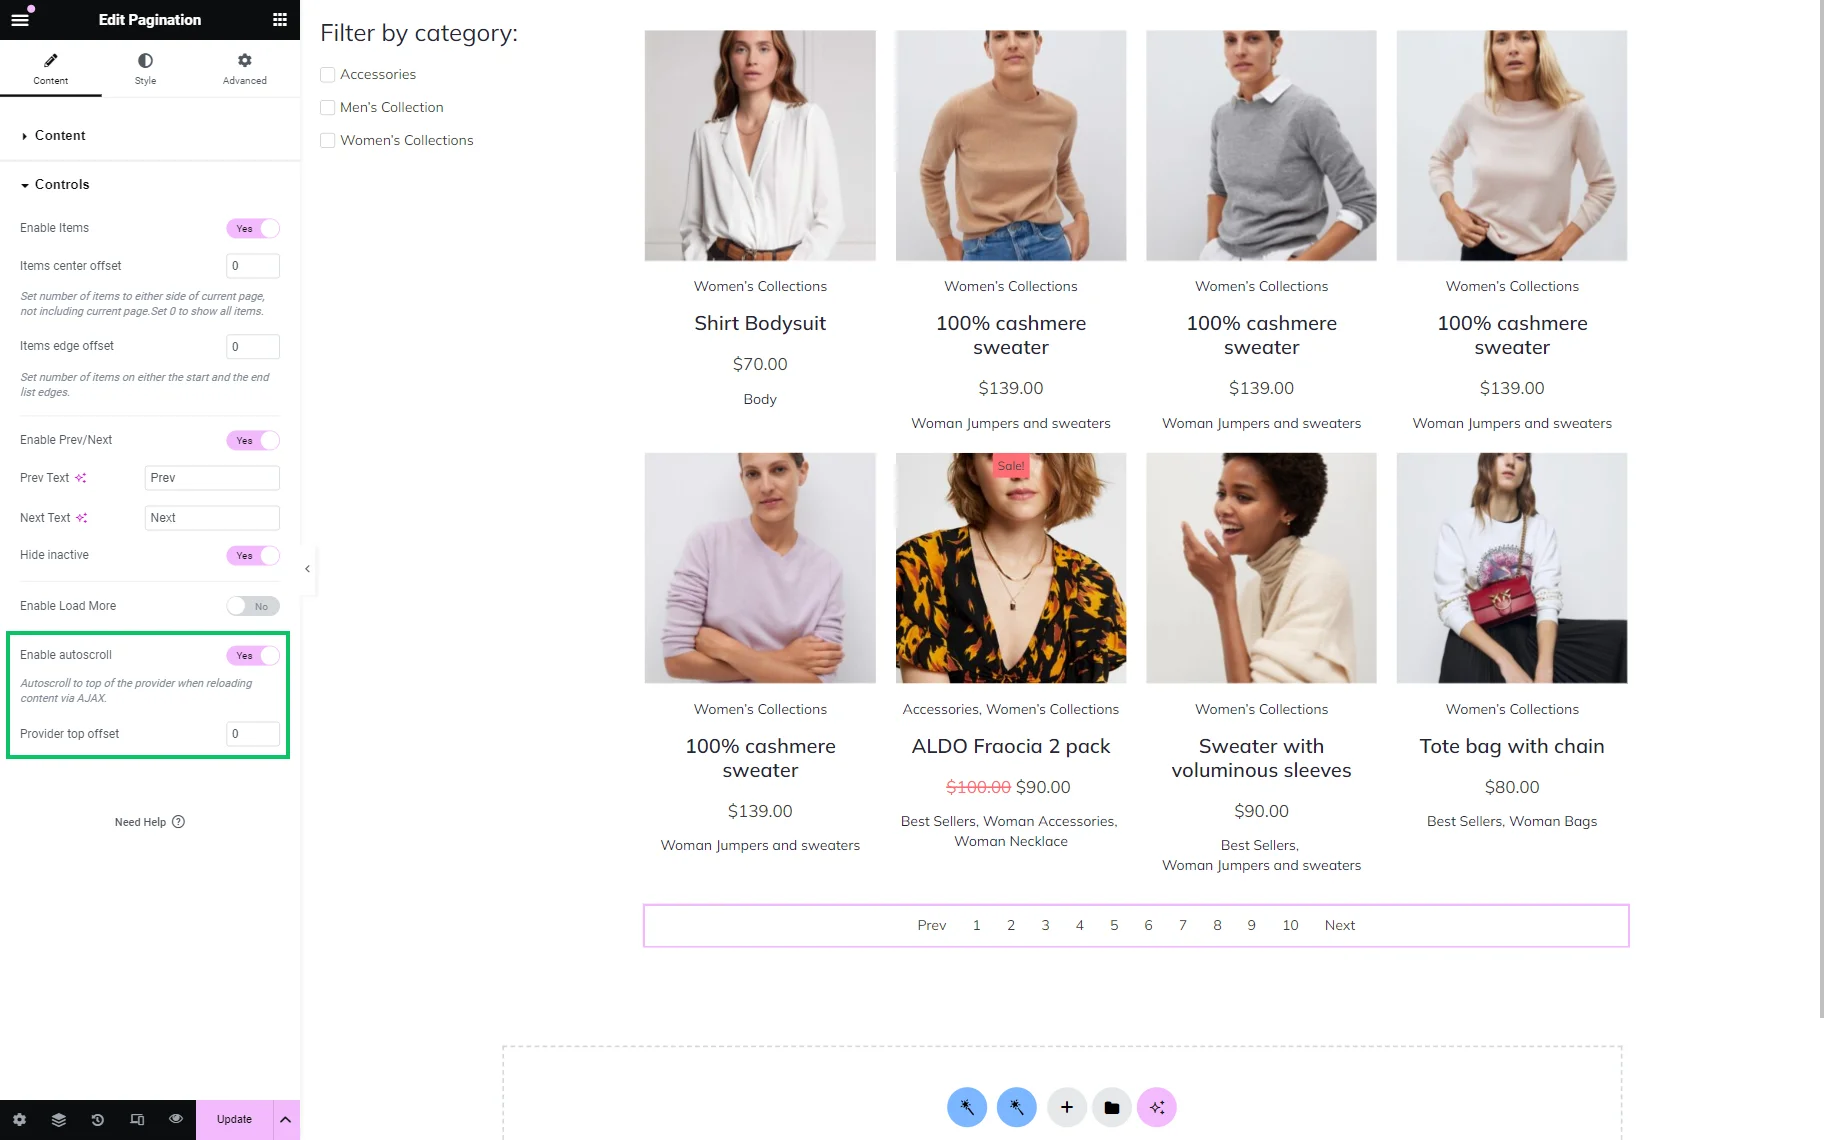
The Enable Autoscroll feature auto-scrolls the page to the top once a user clicks the page number.
There is also a Provider top offset bar where the number of the top offset can be pointed.
Pagination Block in Gutenberg
The Pagination block is also presented in the Gutenberg editor. The block settings are almost the same as provided in Elementor.
Advanced settings
The only difference between Elementor and Gutenberg is the Advanced tab added. Here, one field is presented:
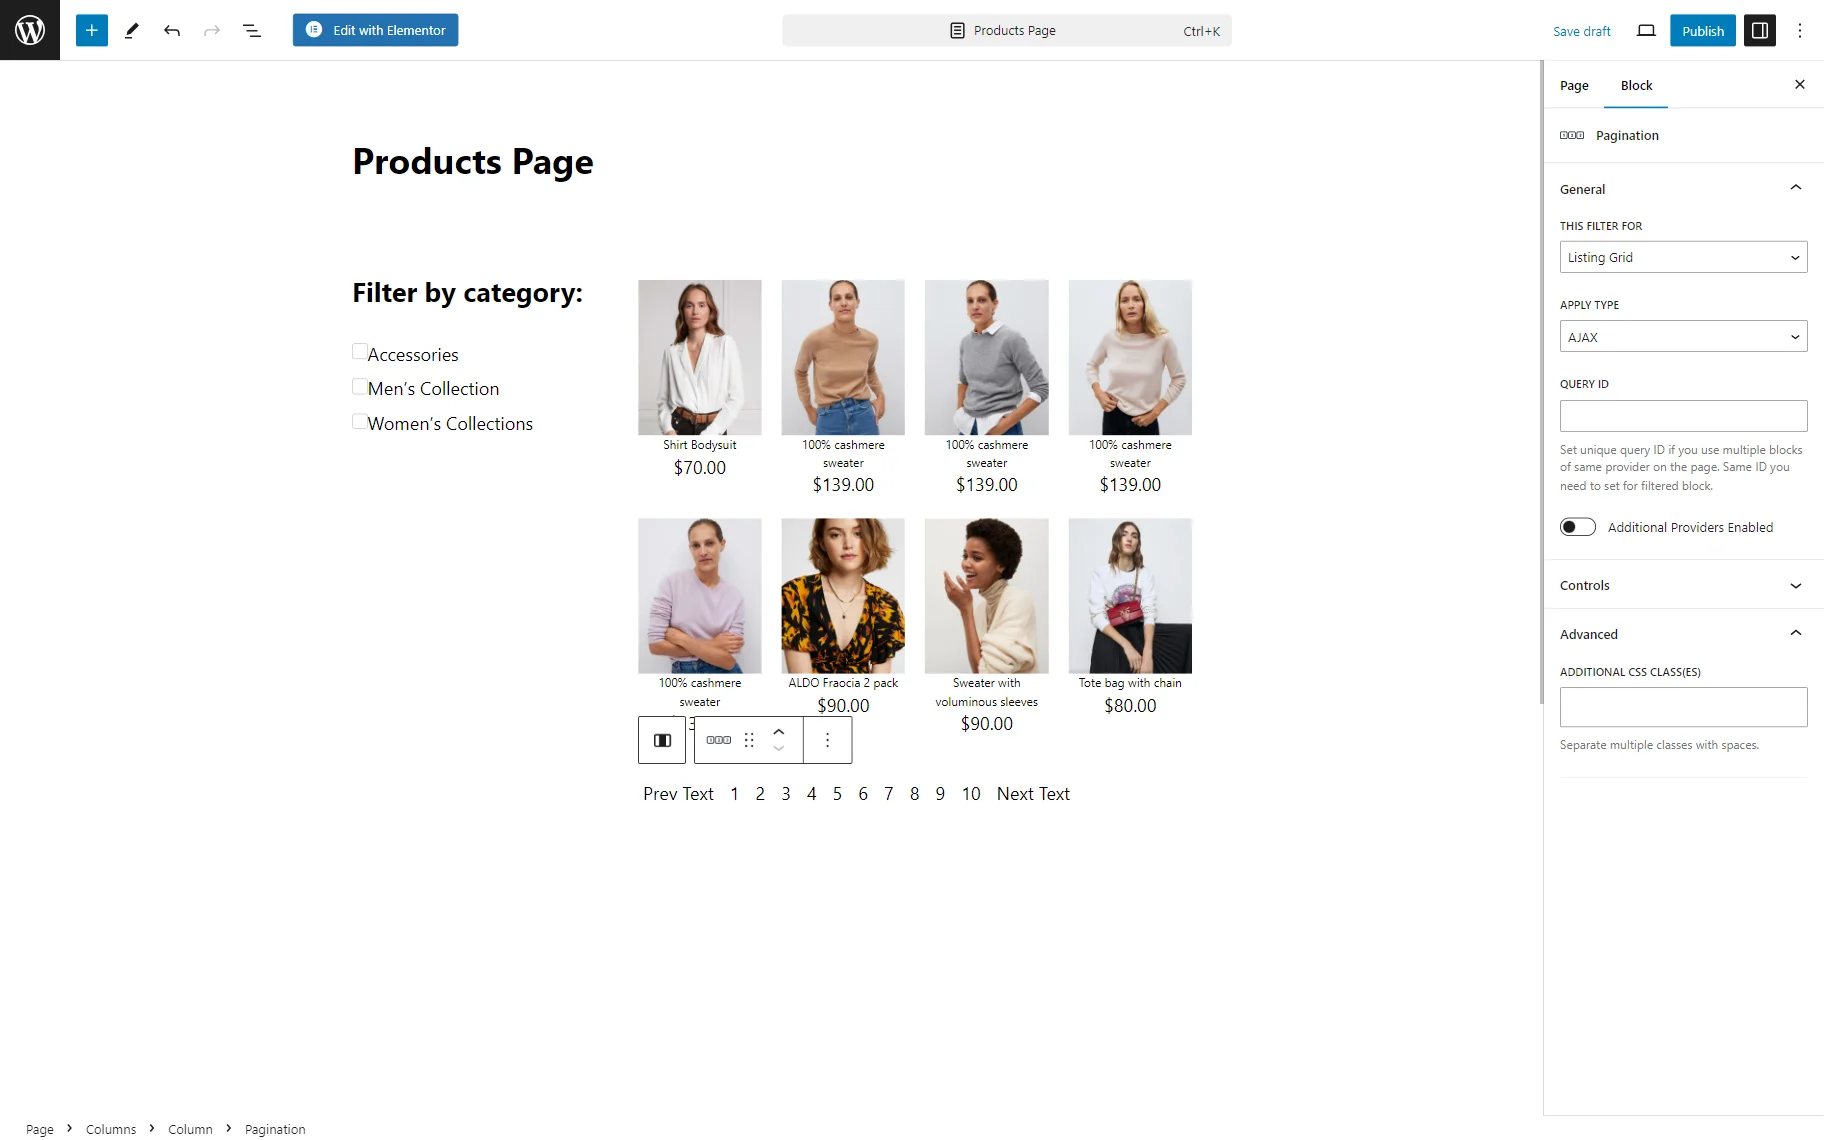
- ADDITIONAL CSS CLASS(ES) — a field that allows setting CSS classes for the current block to customize its appearance.
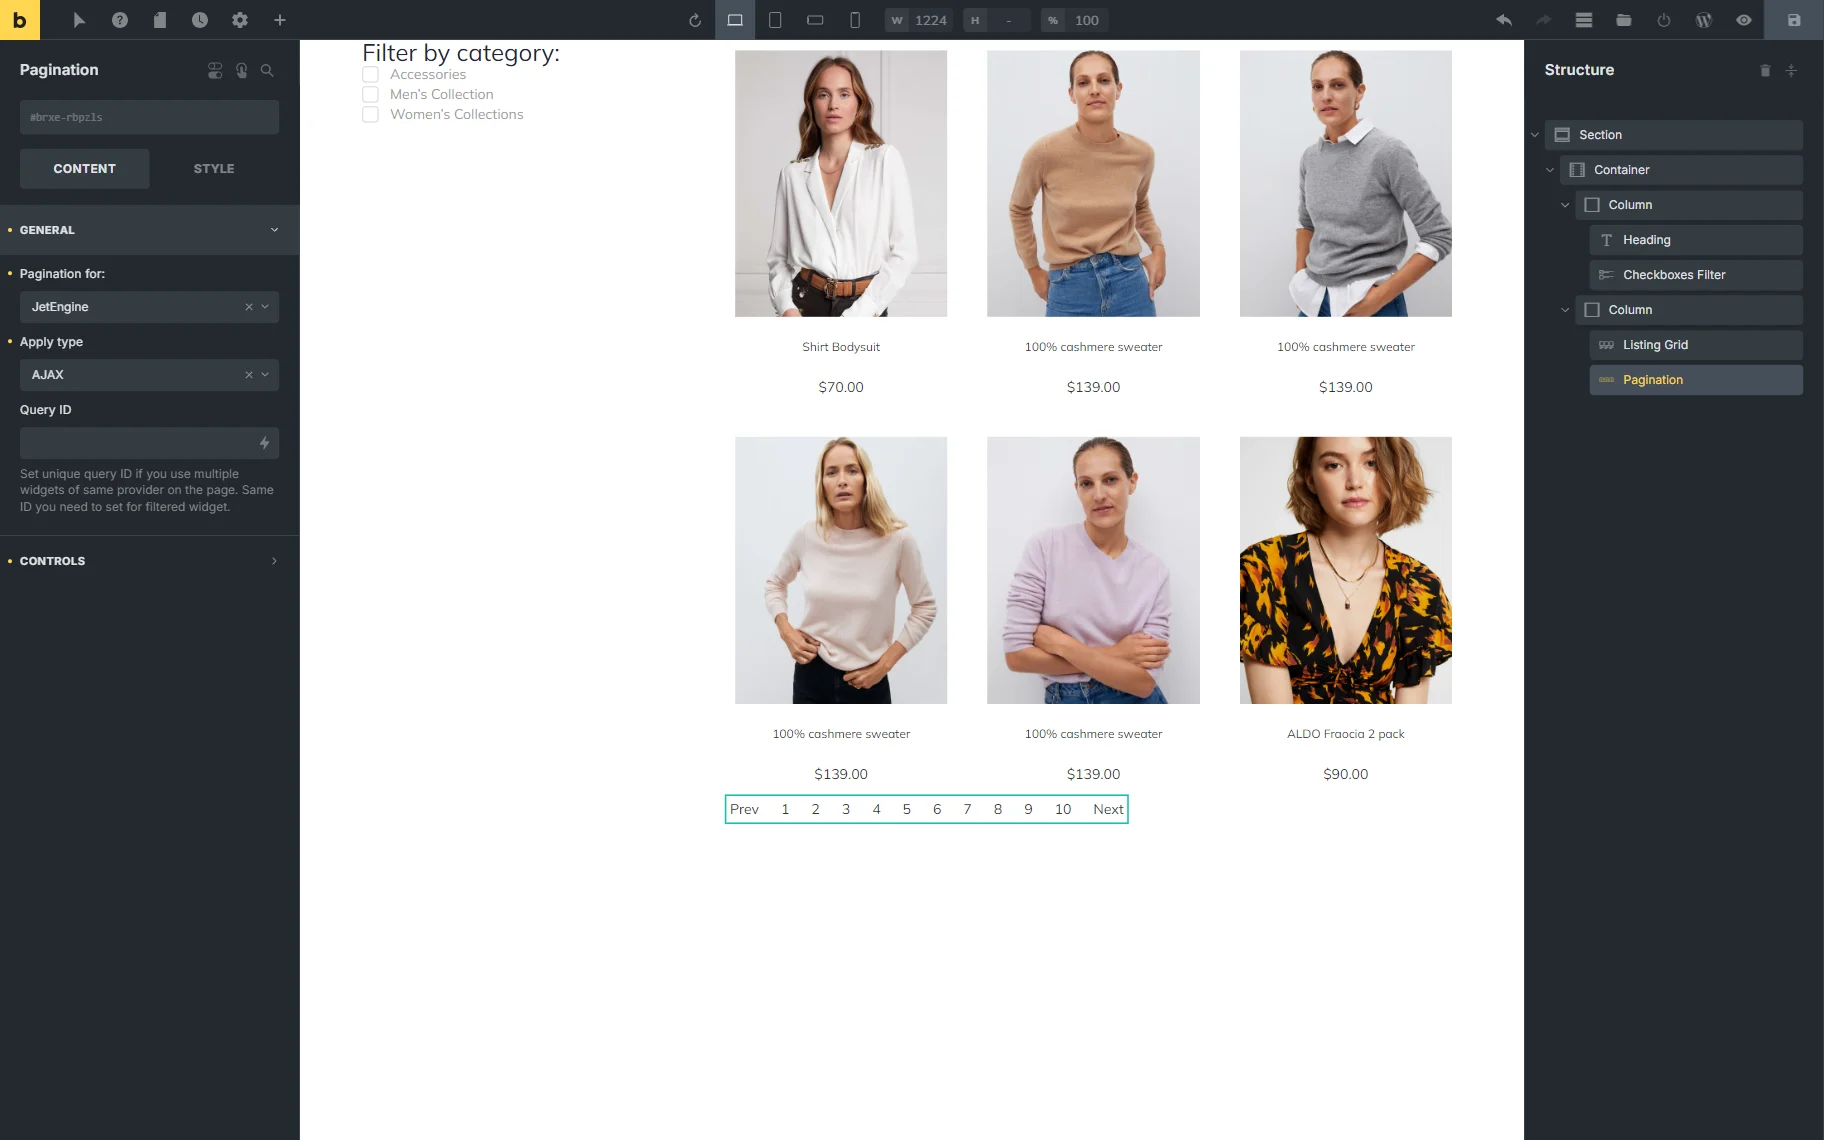
Pagination Element in Bricks
The Pagination element in Bricks has the same settings as the Pagination widget in Elementor.
That’s all for the JetSmartFilters Pagination widget/block/element available in the Elementor Page Builder on your WordPress website.