Displaying Add to Cart Dynamic Link in the Listing Item
Learn how to insert Add to Cart link with the JetEngine dynamic link widget to the WooCommerce product listings.
Before you start, check the tutorial requirements:
- Elementor (Free version) or Block editor (Gutenberg)
- WooCommerce plugin installed and activated
- JetWooBuilder plugin installed and activated
with a Shop Page Template created
- JetEngine plugin installed and activated
The “Add to Cart” Source of the Dynamic Link widget will allow displaying the “Add to Cart” button on the single product page (for simple products) and in the listing of products.
To add the Add to Cart Dynamic Link to the Listing Item, follow these steps:
Create WC Product Query
Proceed to the JetEngine > Query Builder tab on the WordPress Dashboard and hit the “Add New” button.
Type the query Name and pick the “WC Product Query” Query Type.
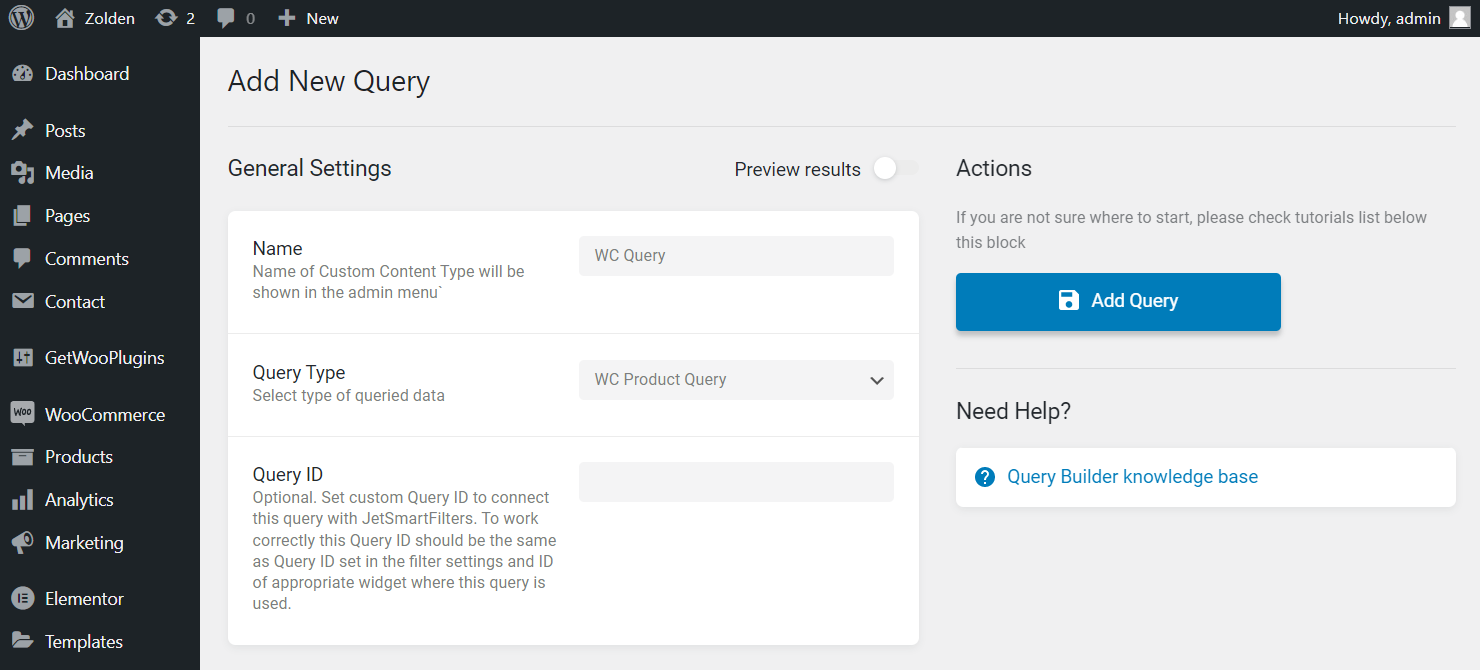
You can learn more about the other settings from the Query Builder WC Product Query Type tutorial.
When you finish customizing, push the “Add/Update Query” button.
Create Listing Item
To learn more about the listing items, go to the What is a Listing Template? tutorial.
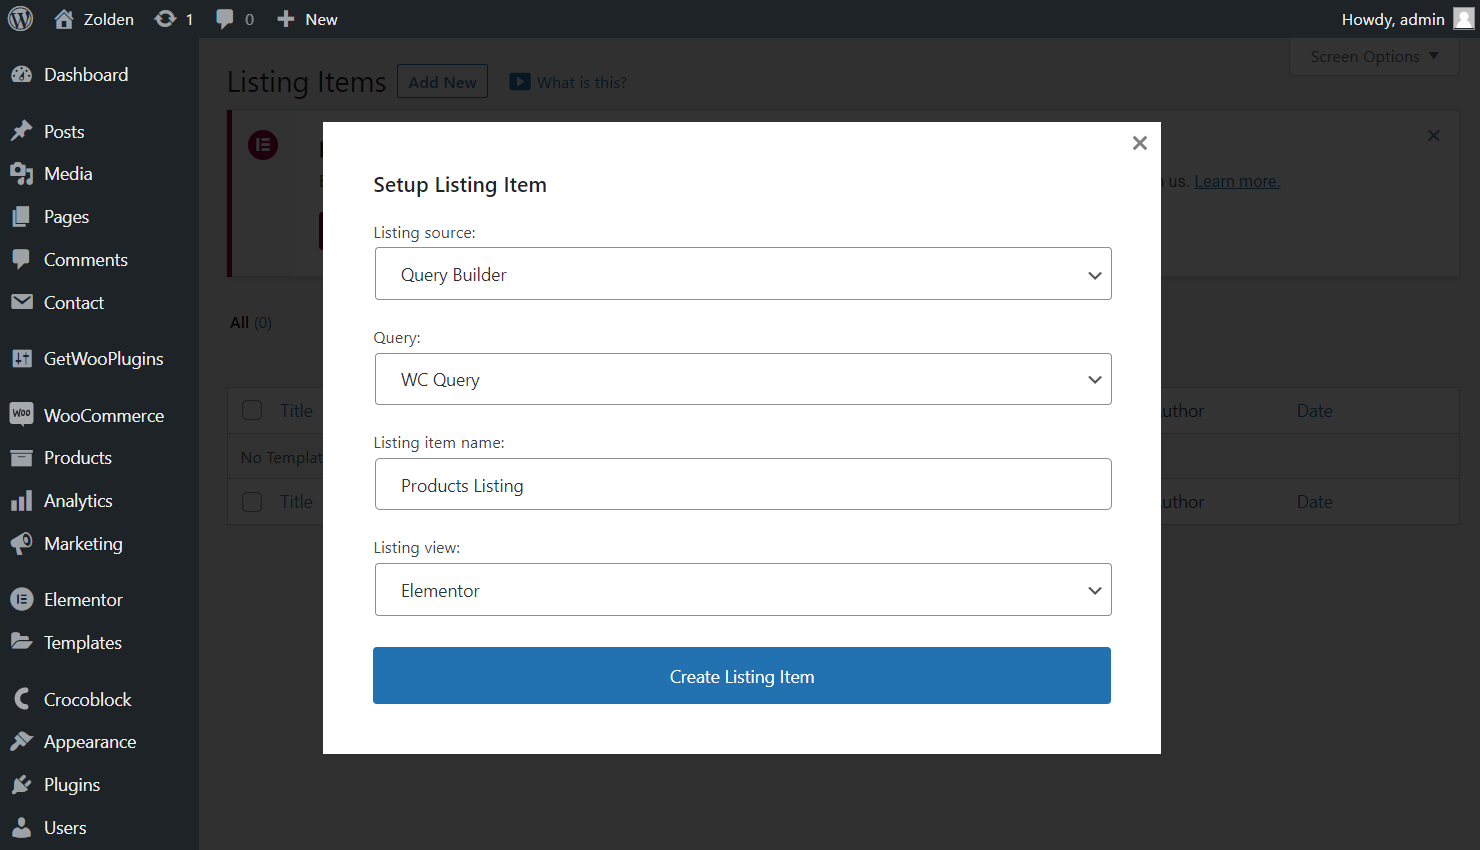
Go to JetEngine > Listings and click the “Add New” button.
In the Setup Listing Item pop-up, choose the “Query Builder” Listing source and the recently created Query, type the Listing item name, and pick the “Elementor” or “Blocks (Gutenberg)” Listing view. Then, hit the “Create Listing Item” button.
Fill the Listing Item with the widget like the Archive Thumbnail, Archive Categories, Archive Title, Archive Price, etc.
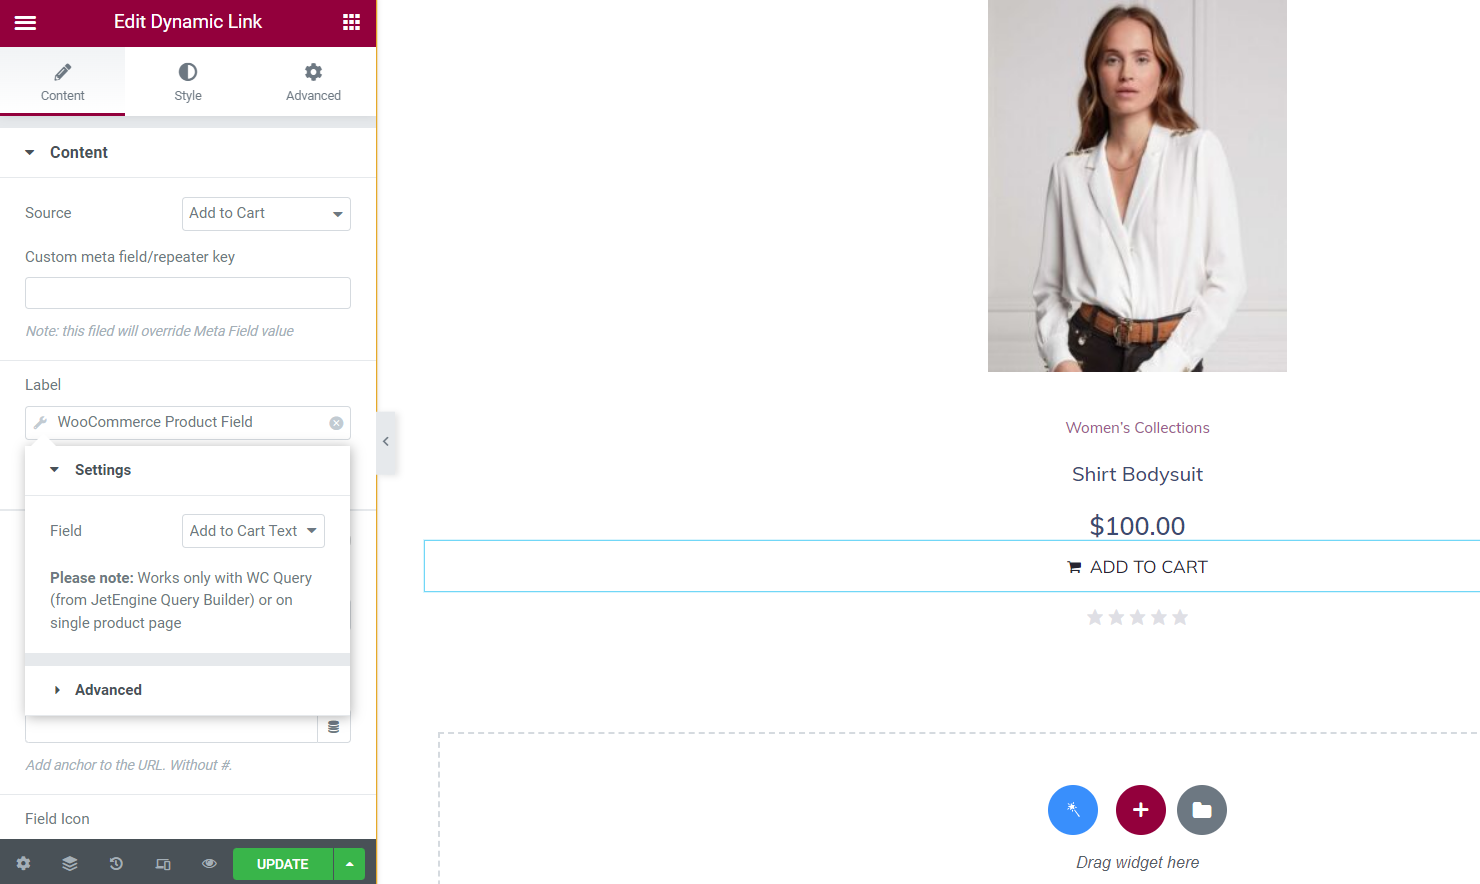
Drag-n-drop the Dynamic Link widget and pick the “Add to Cart” Source. In the Label field, hit the “Dynamic Tags” button and choose the “WooCommerce Product Field” option. In the Settings pop-up, set the “Add to Cart Text” Field.
Proceed to the Advanced tab of the Dynamic Link widget. For applying the WooCommerce “Add to Cart” button styles, add the “woocommerce” class to the CSS Classes field.
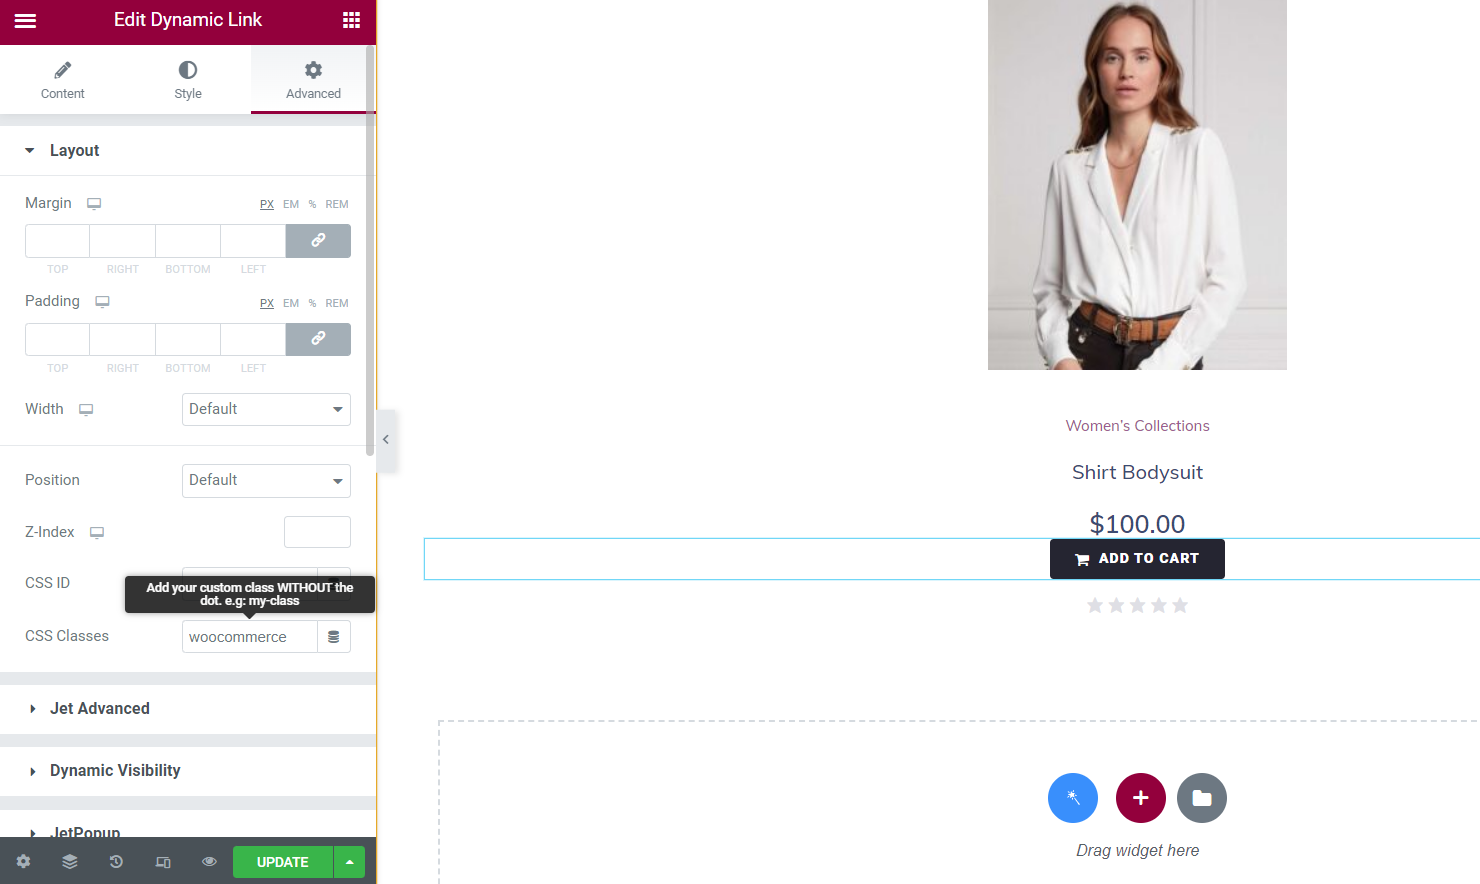
After you finish, hit the “Update” button.
Display Listing Item with Listing Grid Widget
Navigate to the JetWooBuilder template (e.g., Shop Page), where you want to display the listing item, and click to edit it with the Elementor editor.
Place the Listing Grid widget and select the needed Listing in the General settings. To learn more about this widget, move to the Listing Grid Widget Overview.

Finally, hit the “Update” button and observe the page with the Listing Grid on the front end.
That’s all. Now you know how to set the Add to Cart Dynamic Link in the JetEngine Listing Item with the WooCommerce “Add to Cart” button styles.