Displaying Best Seller Products of WooCommerce
Learn how to display the best seller products of WooCommerce with the JetEngine plugin on your WordPress website.
Before you start, check the tutorial requirements:
- Elementor (Free version) or Block editor (Gutenberg)
- JetEngine plugin installed and activated
- Listing Сounter free addon installed and activated.
With the WC Product Query type of the JetEngine Query Builder module, it is possible to sort the products by the total number of sales to show only the best sellers. You can also display the number of sales in the products listing and rank your products using the free Listing Сounter addon for JetEngine.
Building Query
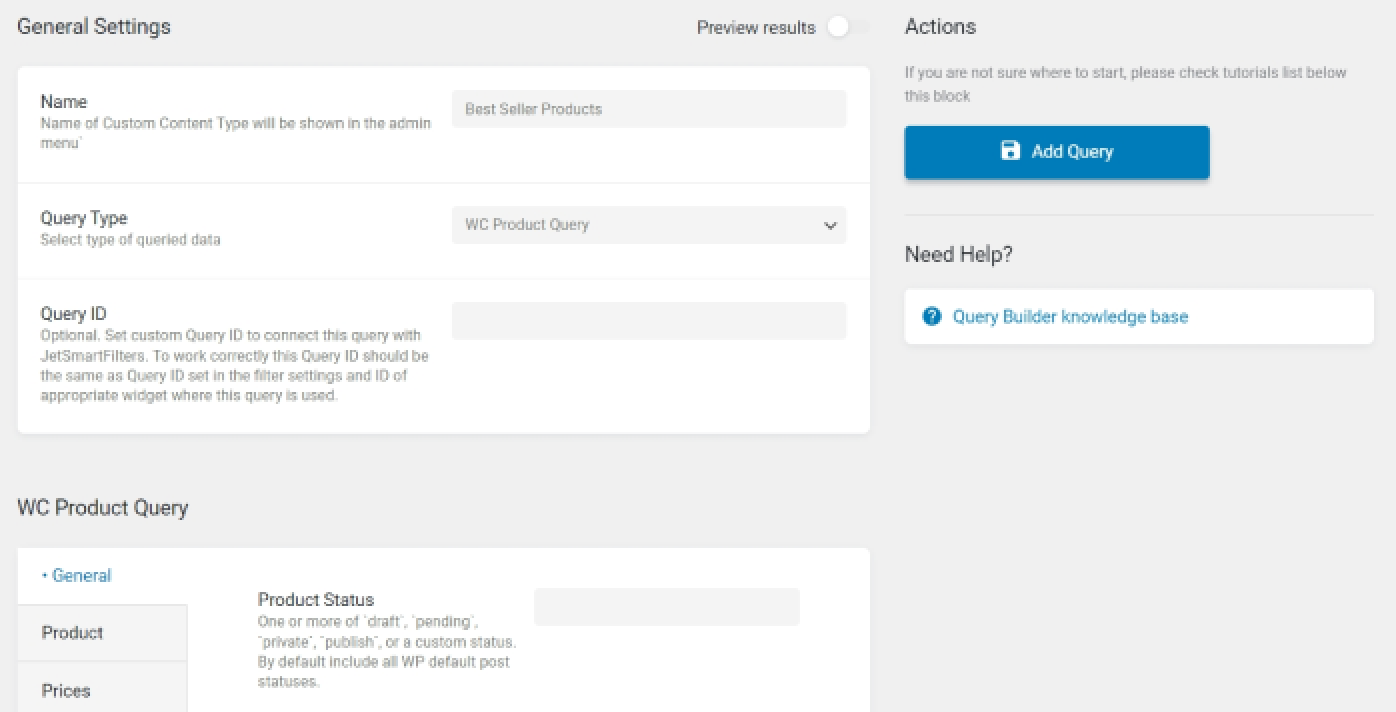
To display best seller products, we need to create a query. Open the Query Builder module in WordPress Dashboard > JetEngine > Query Builder. Add a new query by clicking on the “Add New” button.
Since we are going to query WooCommerce Products, choose the type – WC Product Query. Give a name to your query.
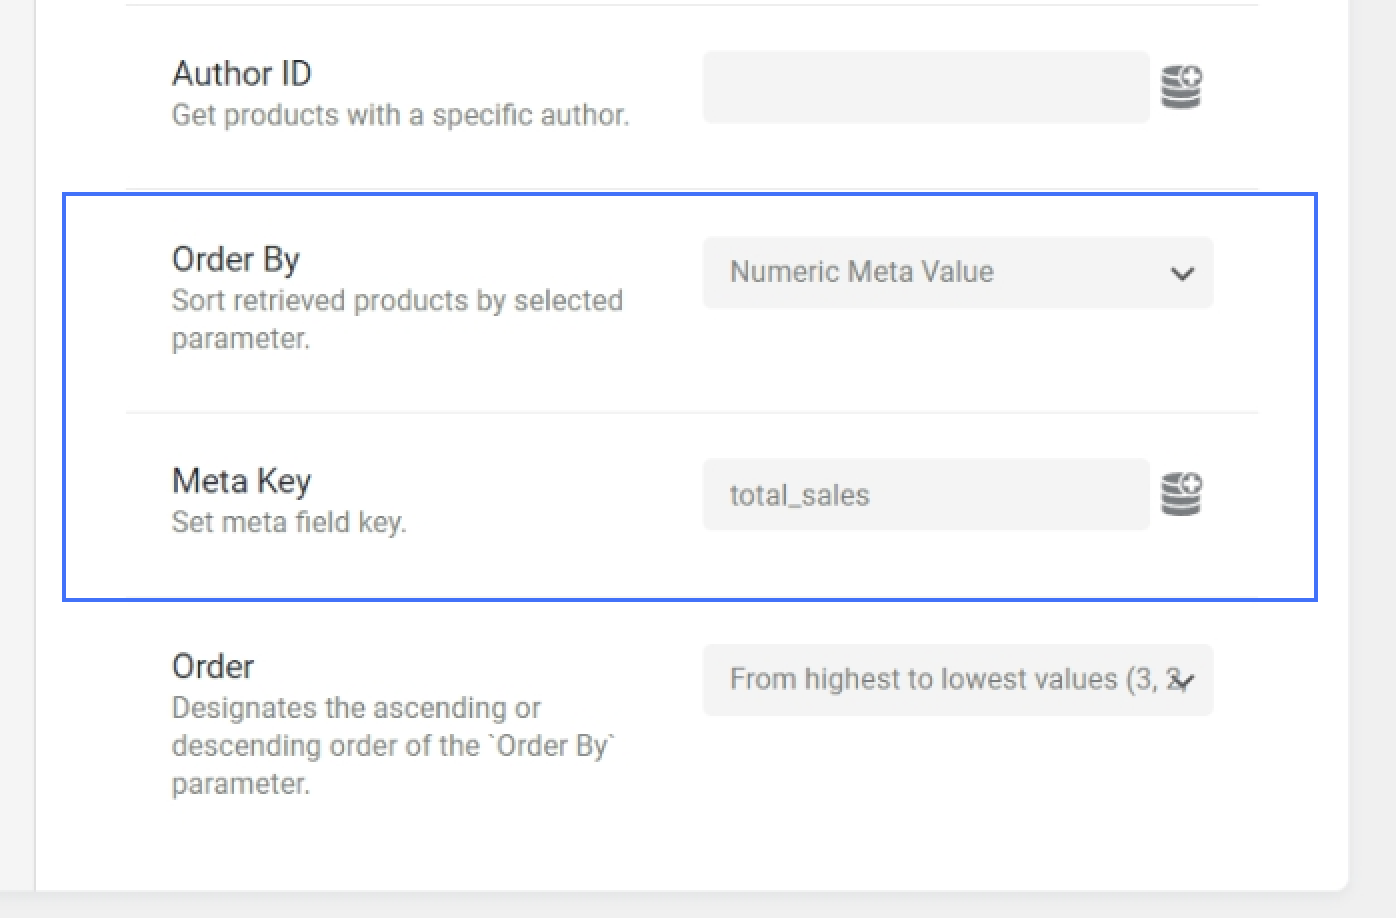
Scroll down to the Order By field. Here, choose the Numeric Meta Value option. In the Meta Key field below, insert this meta key: total_sales.
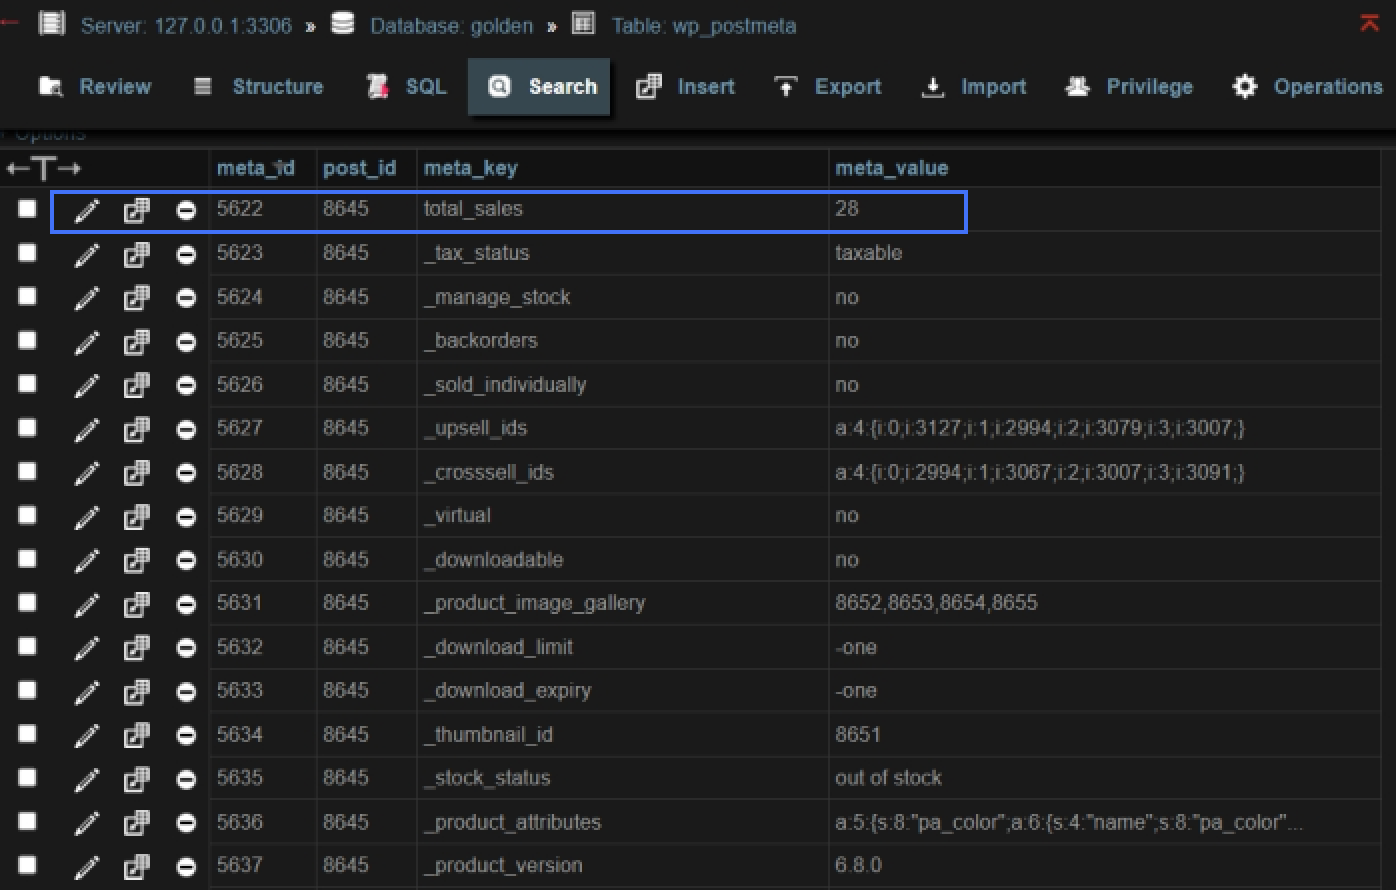
This is the meta key that the WooCommerce plugin uses to store the number of sales for each product. If you want to see other product meta keys, open your database with phpMyAdmin, find the wp_postmeta table, and search it by any product ID. You will see a list of other meta fields that WooCommerce uses to store product data.
Now, let’s finish the setup of the custom query. After you insert the total_sales meta key, choose Order – “From highest to lowest values” that will allow you to order the products by the number of sales from the best selling products to the least.
Then, scroll up and navigate to the Pagination tab of settings; through the Limit field, limit the number of products per page. For example, ten products.

Don’t forget to press the “Add Query” button to save the query.
Creating Listing Item Template
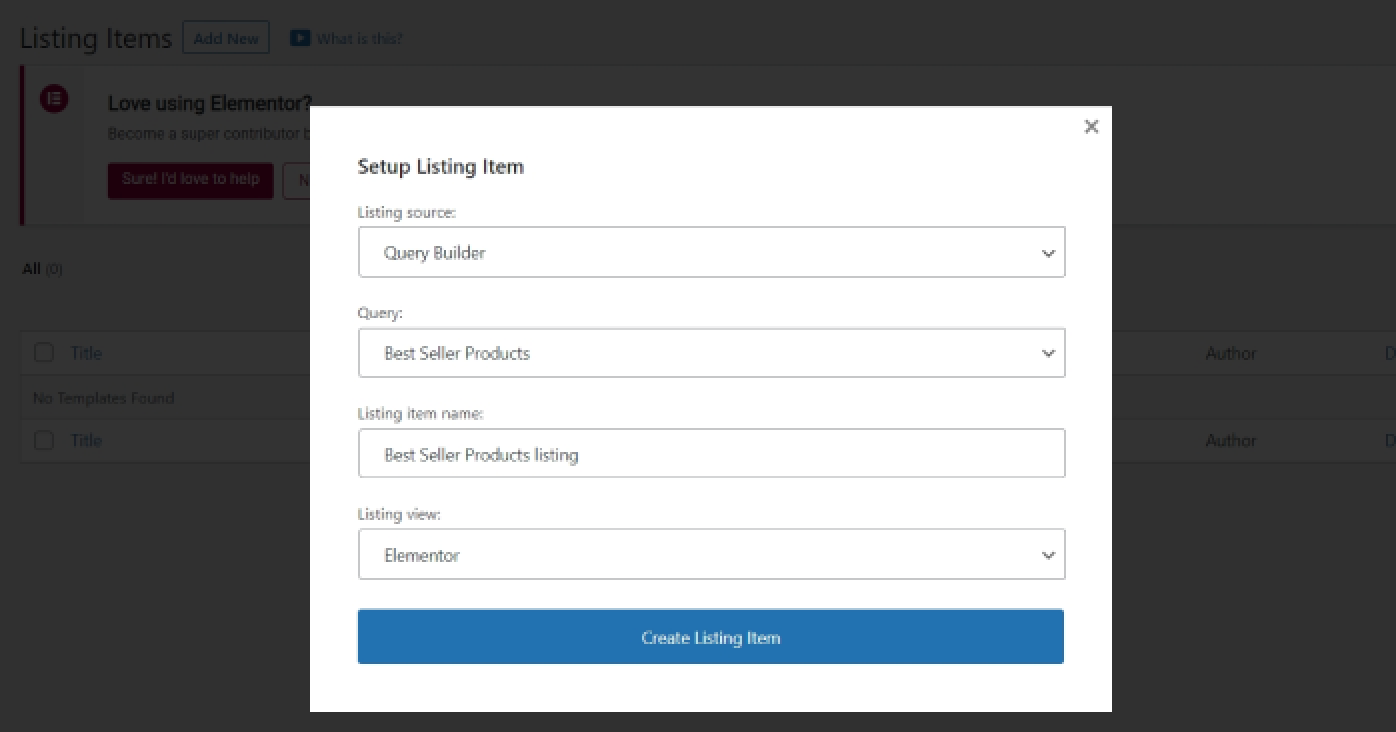
It is necessary to create a new Listing Item template for the WC Product Query type. If you apply it to the existing Listing Grid widget or block, the query will not work correctly.
Navigate to JetEngine > Listings > “Add New” to create a new listing. For the Source, choose the “Query Builder” option; then, select the created custom query and give a name to your Listing Item template.
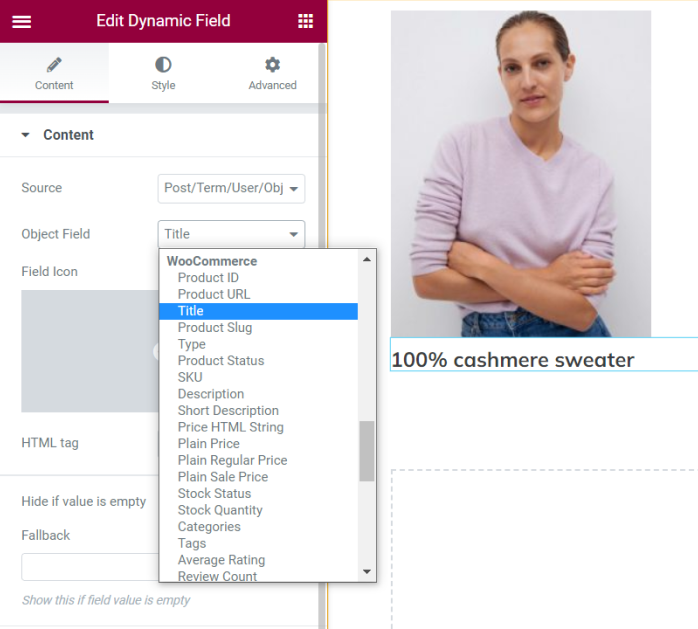
It’s time to fill the listing with content. Add the product data through the Dynamic Field widget or block – choose “Post/Term/User/Object Data” as a source and select the necessary fields under the WooCommerce section.
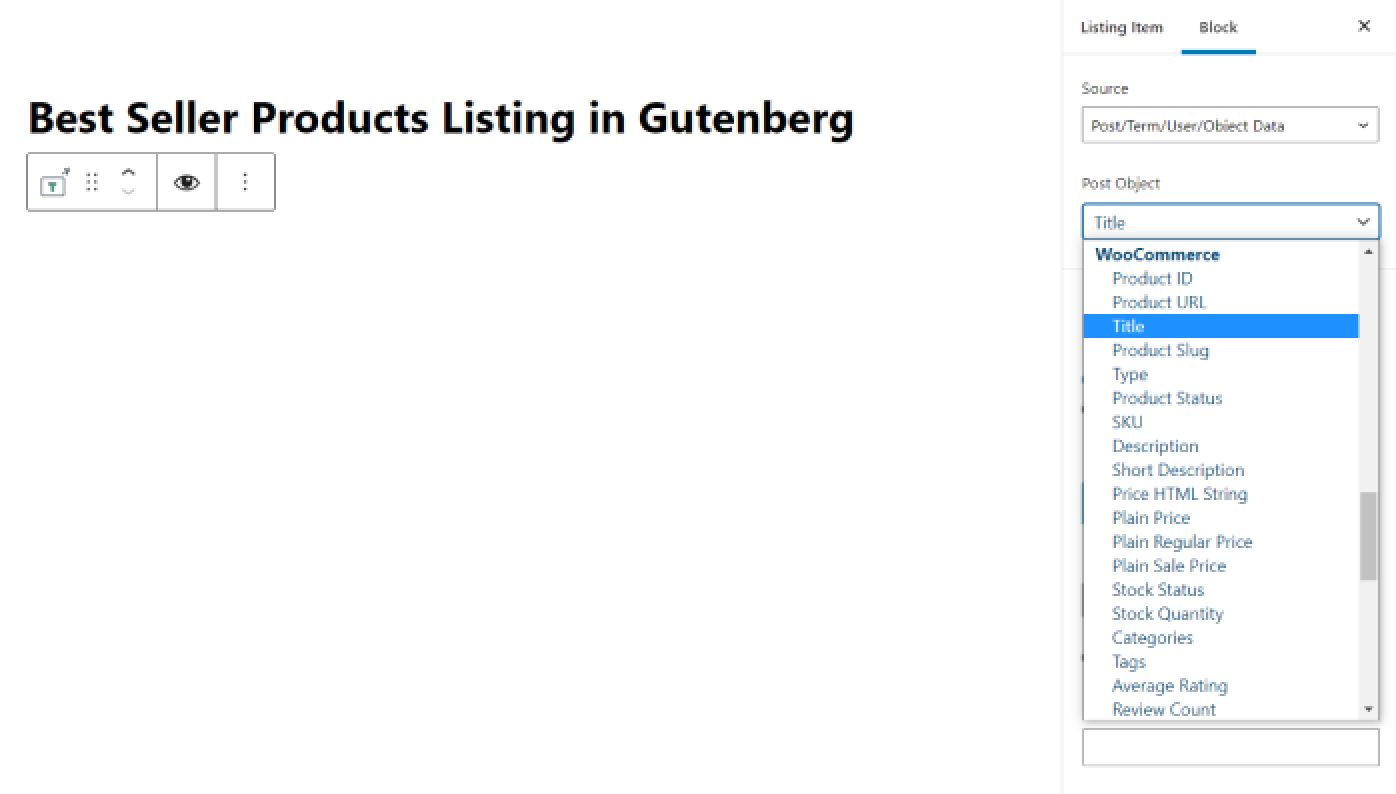
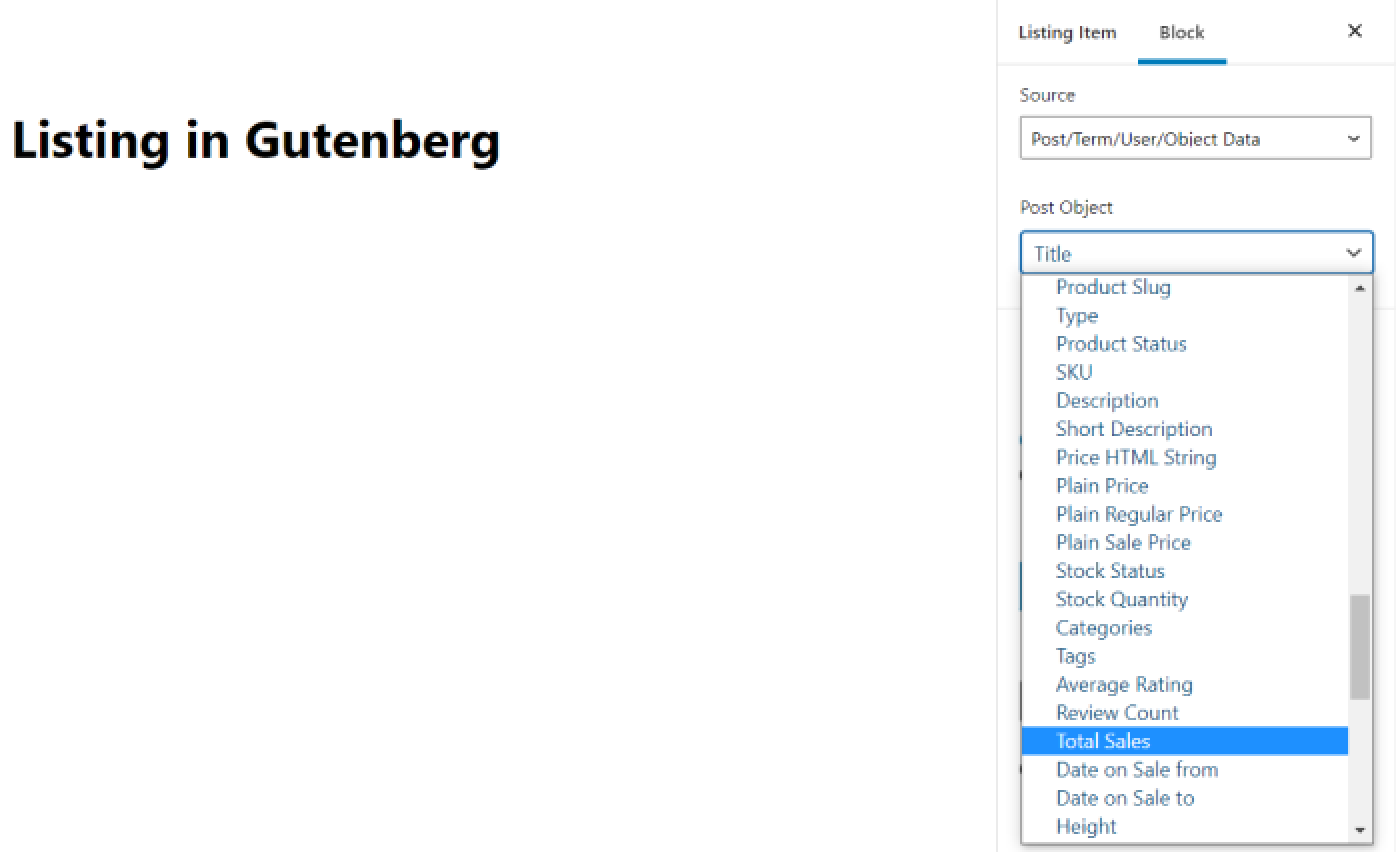
If you are designing your template in Gutenberg, the setup will look like this.
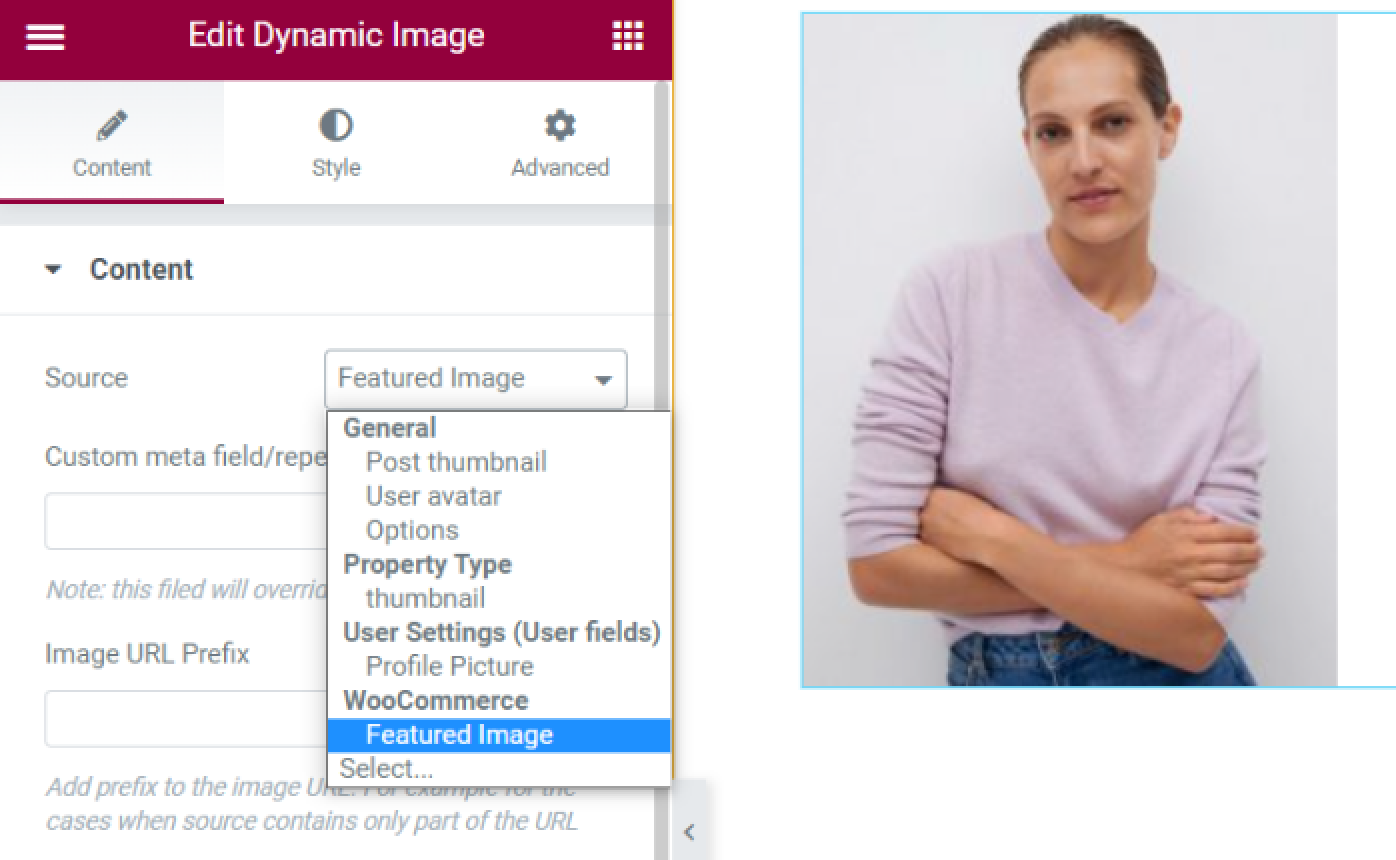
To display an image, use the Dynamic Image widget.
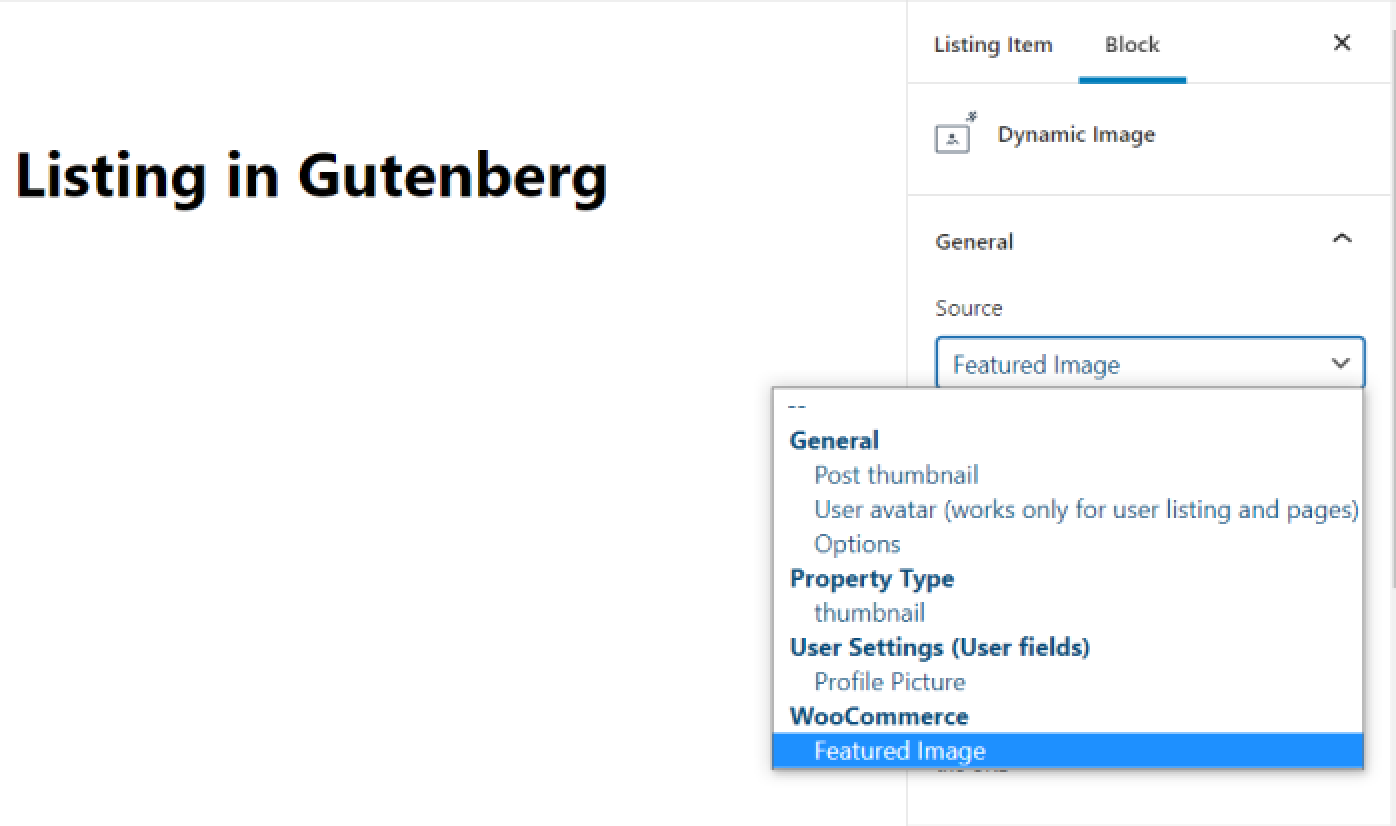
In Gutenberg, use these settings:
Displaying Number of Sales in Listing Item Template
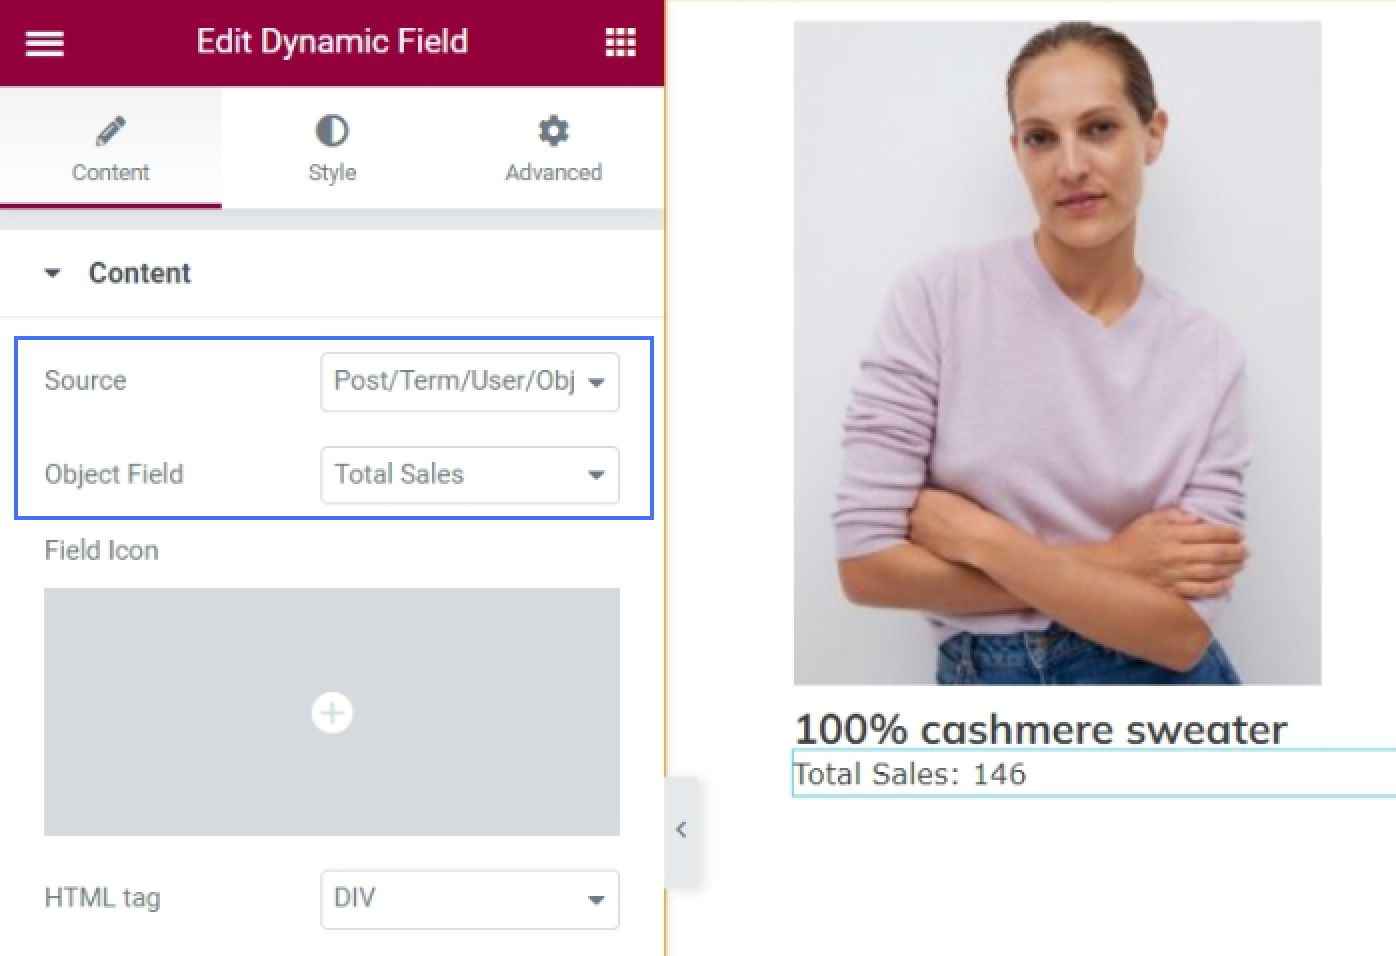
You might want to display the number of sales for each best seller product. To achieve this, use the Dynamic Field widget. Choose “Post/Term/User/Object Data” as a source and then pick the “Total Sales” option in the Object Field dropdown.
Same in the Dynamic Field block:
Creating Ranking List of Best Seller Products
It can be useful to add a counter to the listings to rank your products from the best selling to the least. For this purpose, download our free Listing Сounter addon from the DevTools page. This addon makes it possible to display the listing items in the form of an ordered list by adding a counter to each item.

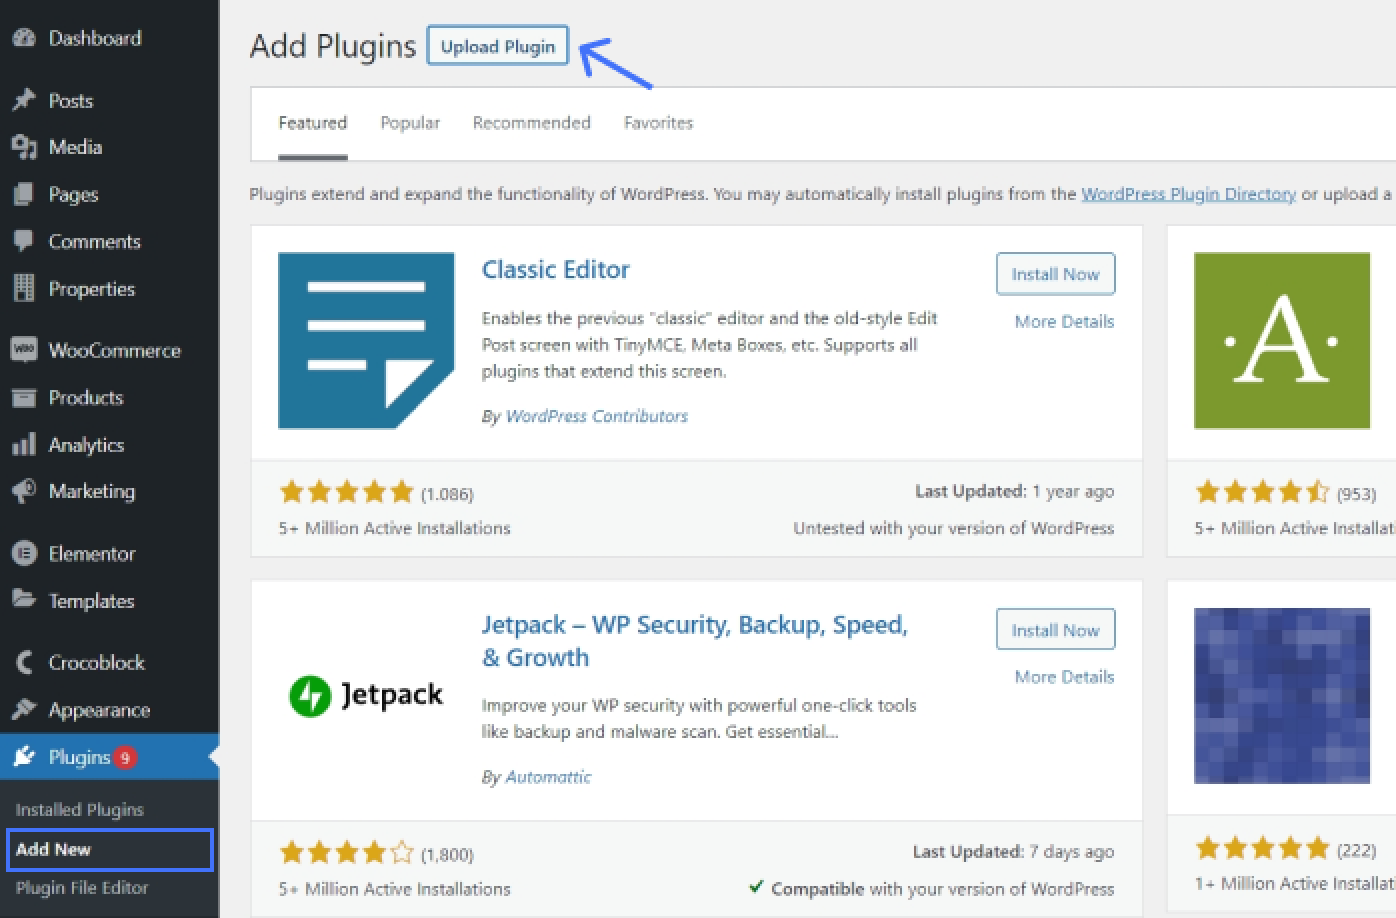
Once you download the addon, install it to your website in the Plugins WordPress directory.
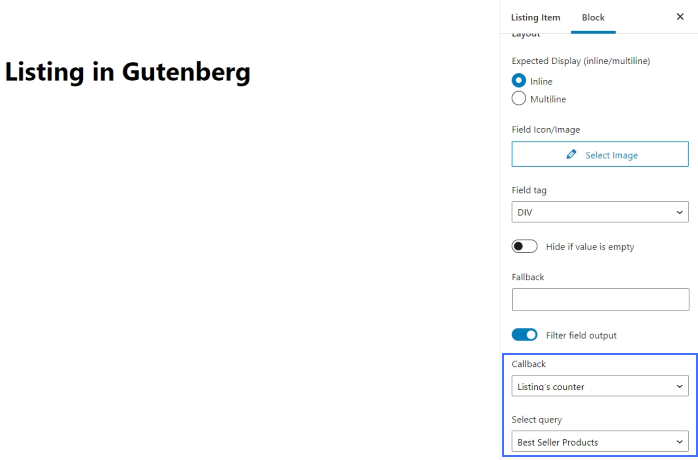
After the plugin is installed and activated, return to the Listing Item template. To display a counter, drag and drop the Dynamic Field widget to the Elementor editing area. Scroll down the widget’s settings to the Filter field output – toggle this setting on. Select the “Listing’s Counter” callback from the dropdown list below; then, select the created query.
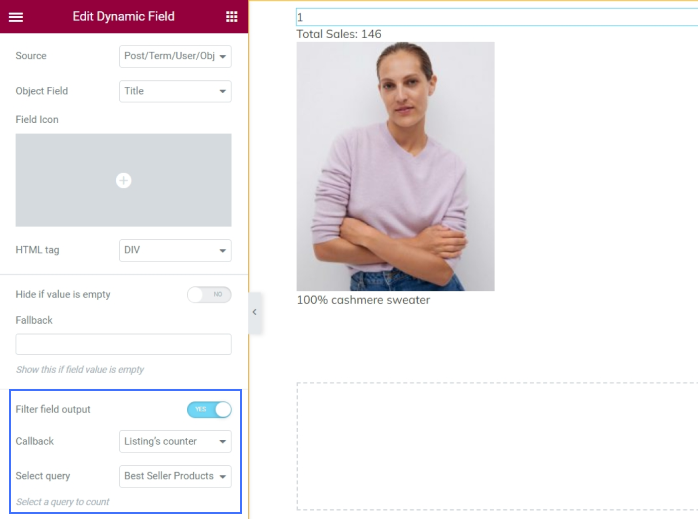
Follow the same procedure for the Gutenberg editor:
For more guidance and use cases of this addon’s functionality, visit our GitHub page.
Now, play around with the Style settings and customize the Listing Item template according to your needs. Once you are finished, save the template by pressing the “Update” button.
Displaying Best Seller Products on Front End
Proceed to the page where you wish to display the best seller products. If you are using Elementor editor, open the page with Elementor and locate the Listing Grid widget.
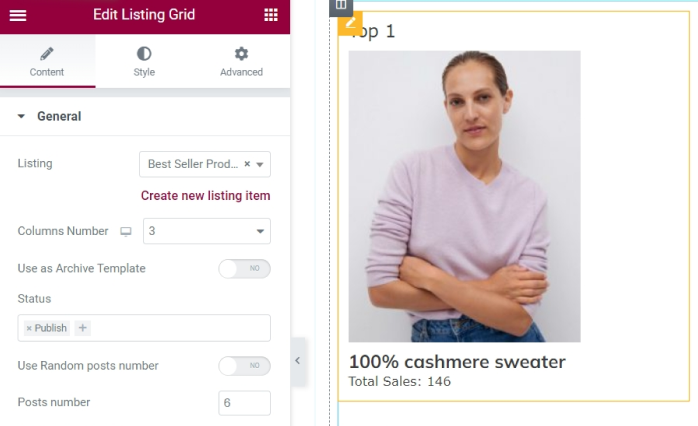
Or open the page in Gutenberg and add the Listing Grid block to the editing area.
Choose the created Listing Item template as a source.
You can see the products are now ordered by the number of sales and ranked.
