Smart Posts List Widget Overview
The tutorial overviews the Smart Posts List widget settings to arrange the various posts (posts and CPTs) in a list layout (e.g., customizes the number of rows and columns, post image sizes, positions, and width; shows some post options; makes it possible to filter and order posts; specifies post types to display, and others).
Activation of the Smart Posts List Widget
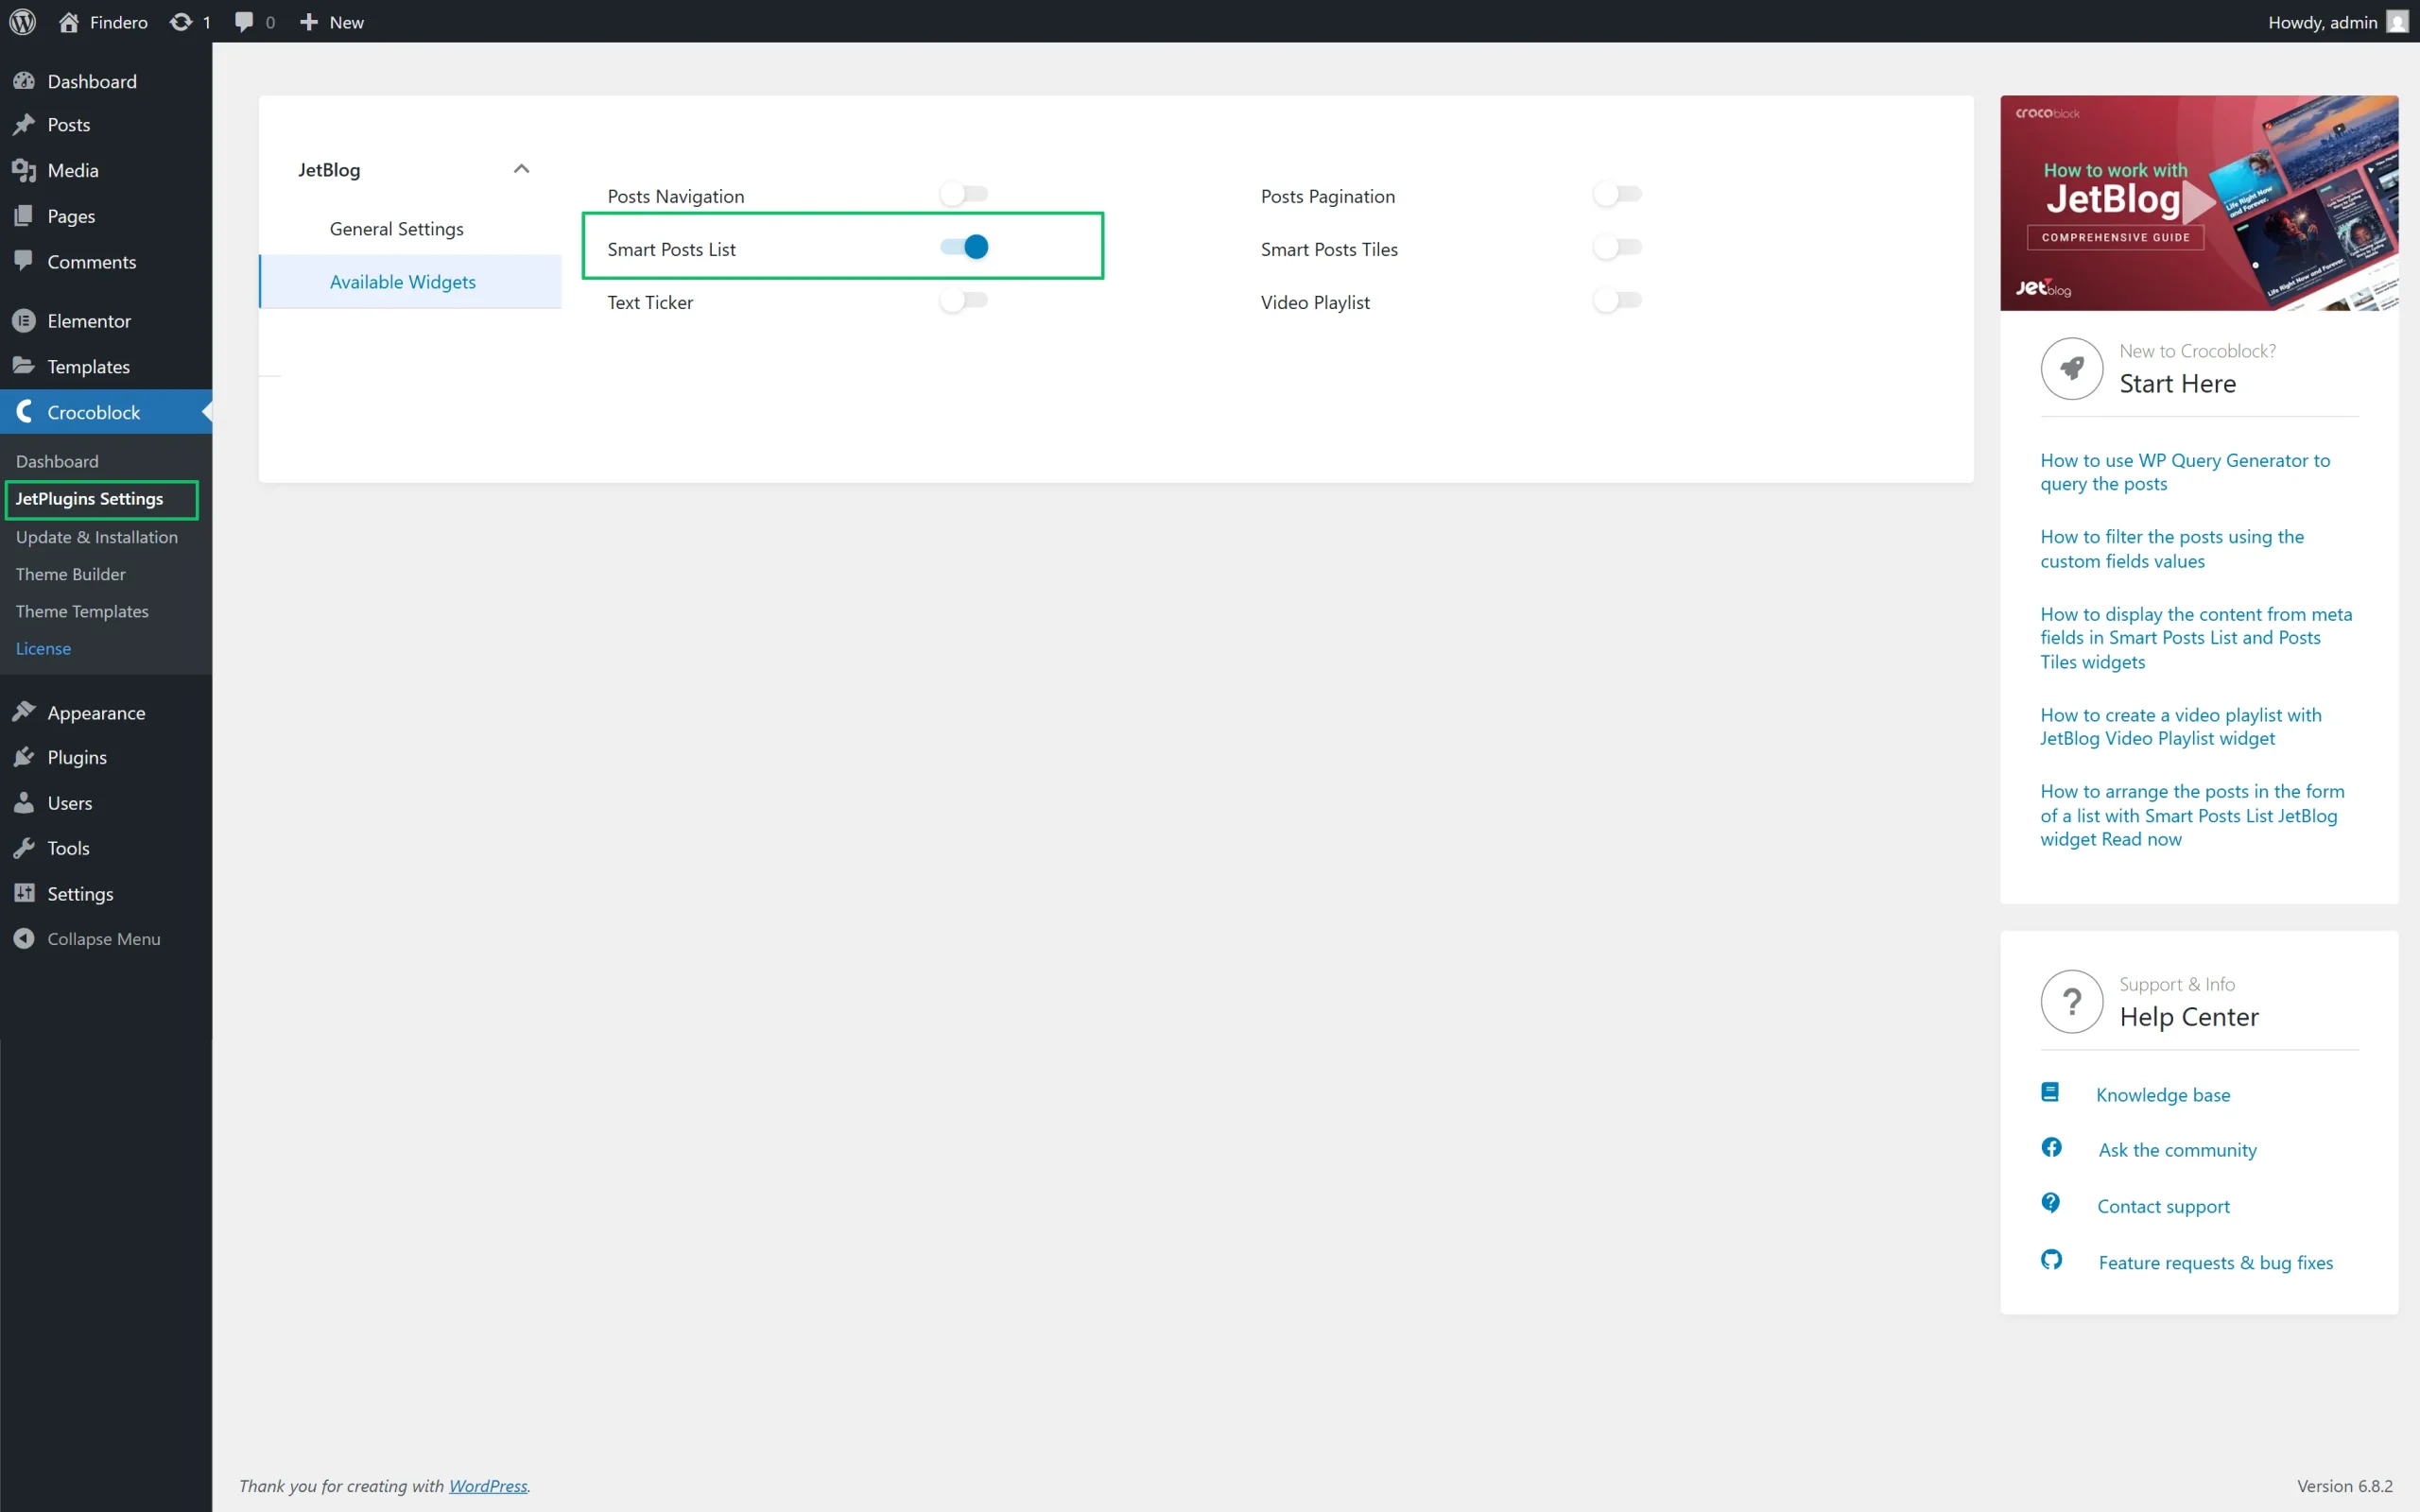
The widget can be activated by moving the Smart Posts List toggle on the WordPress Dashboard > Crocoblock > JetPlugins Settings > JetBlog > Available Widgets tab.
Inserting the Widget
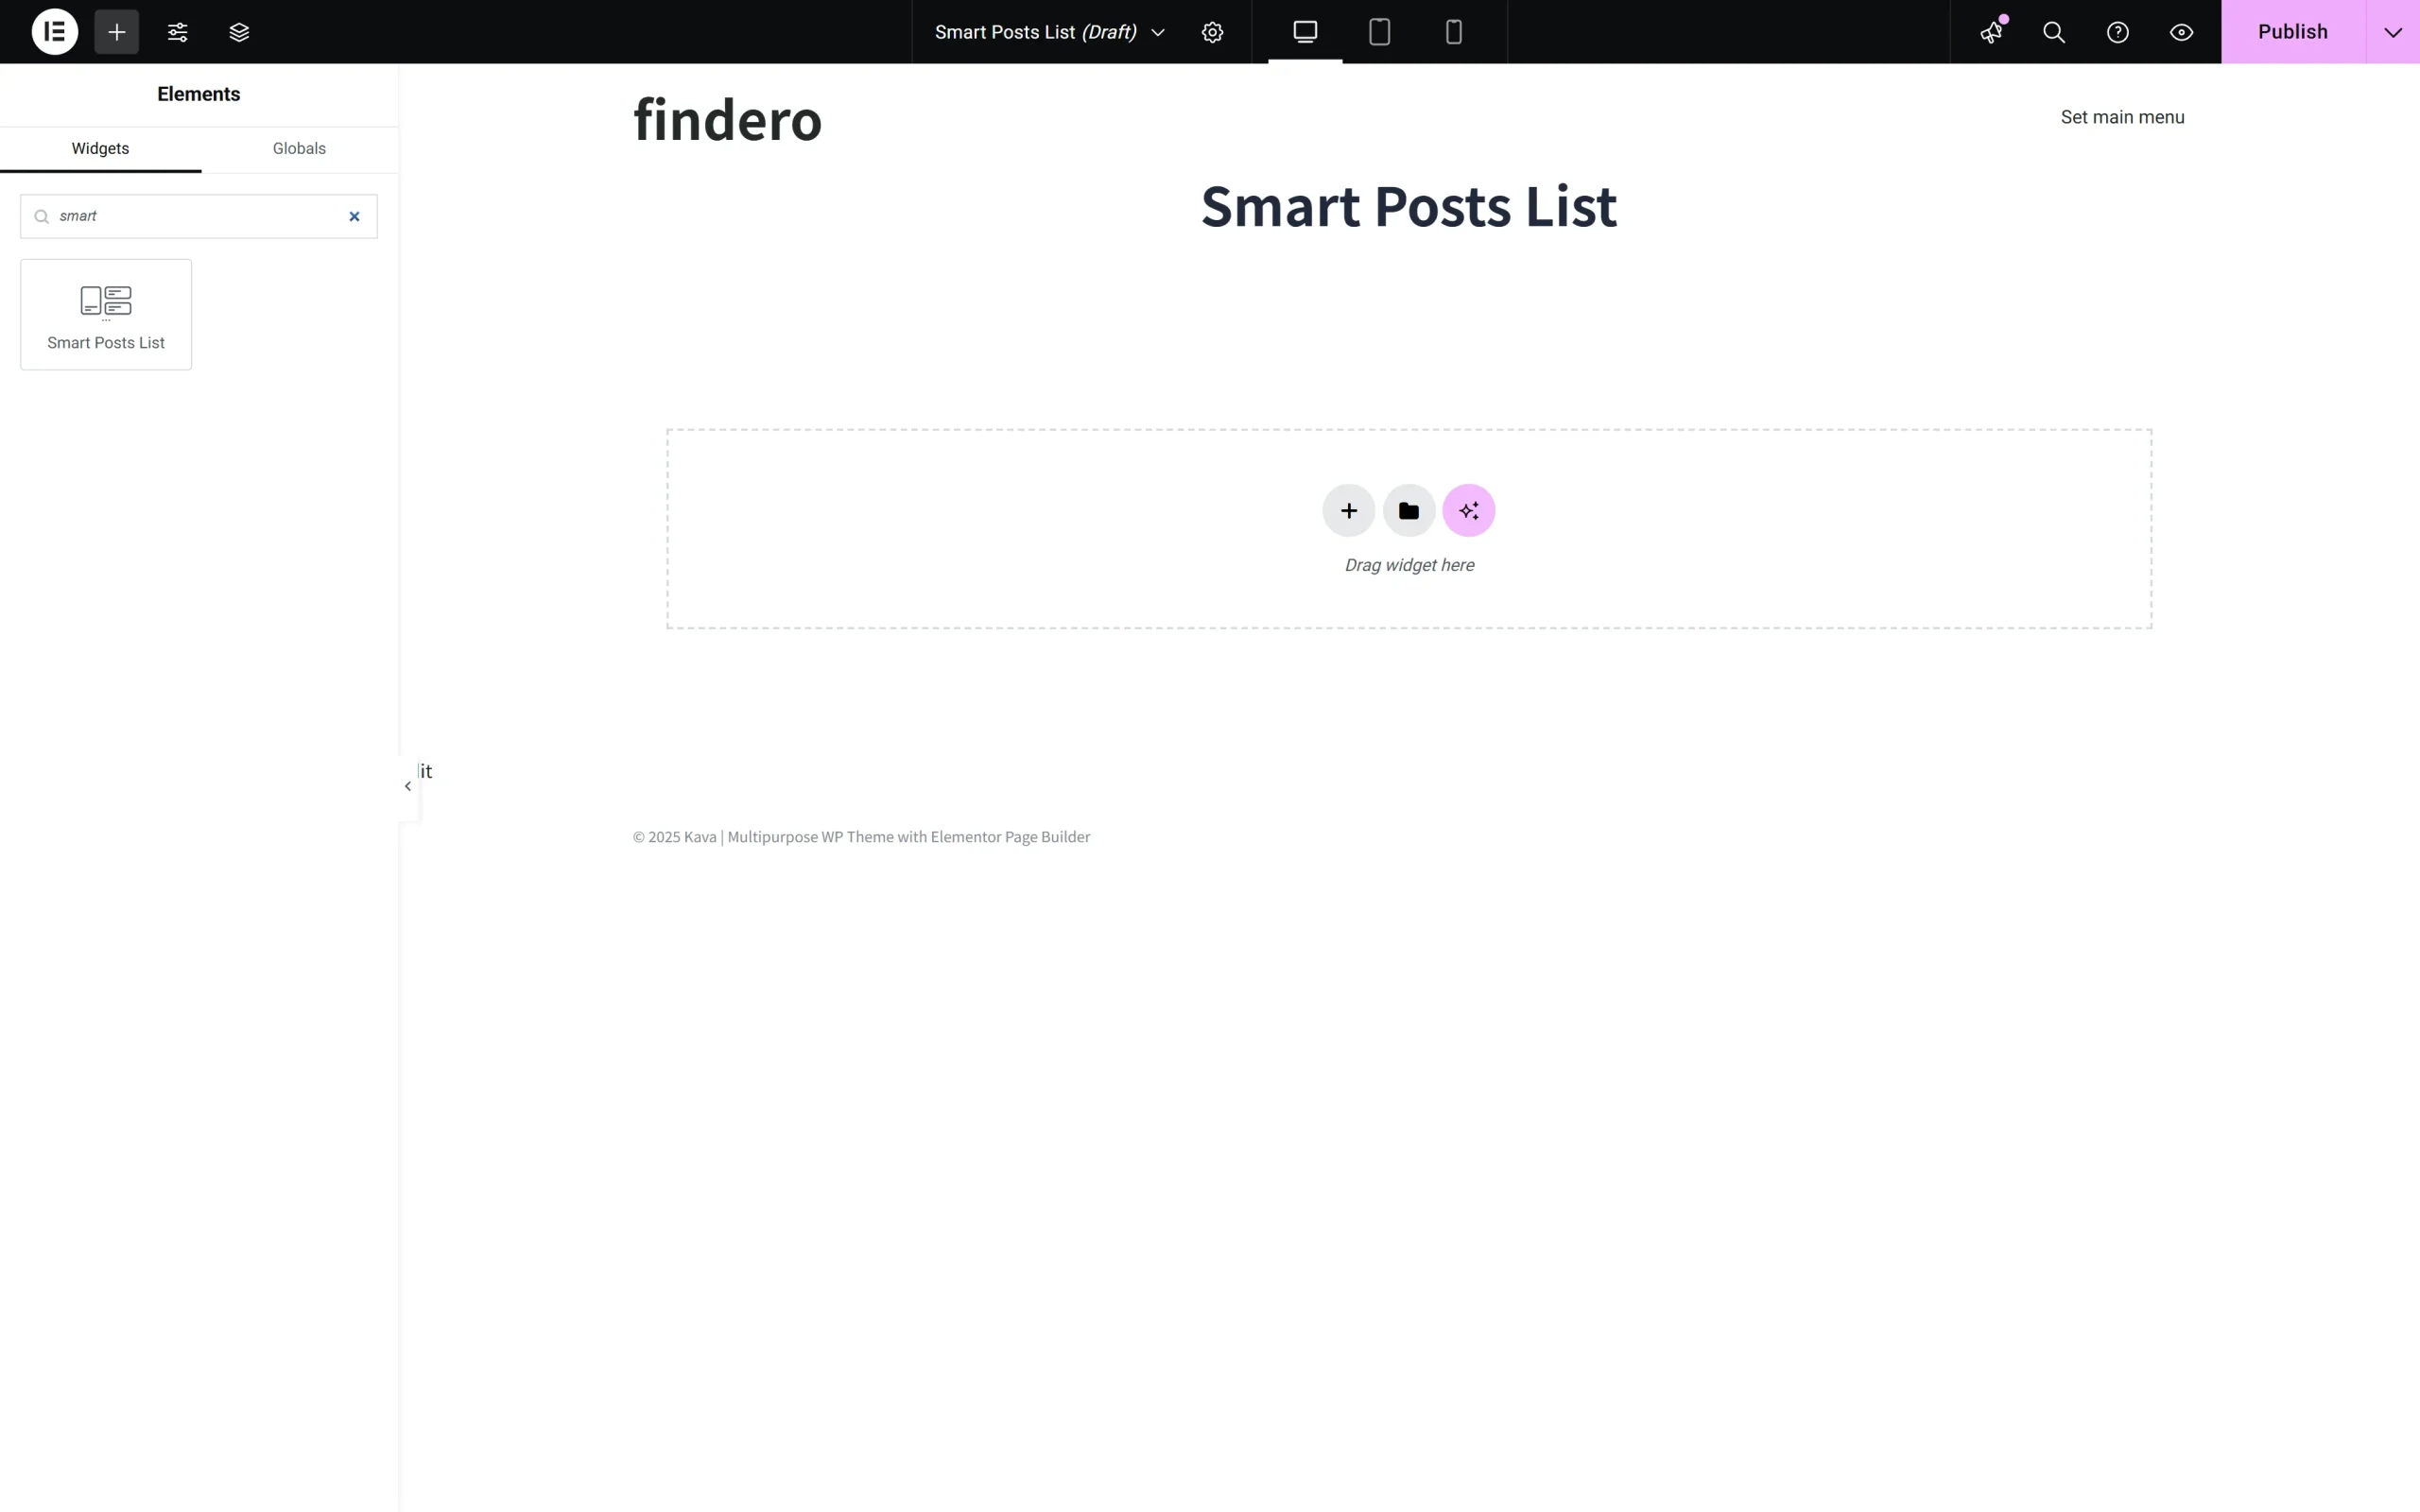
The widget can be inserted as any widget for Elementor by finding it in the search bar and dragging and dropping it where needed on a page, post, or template.
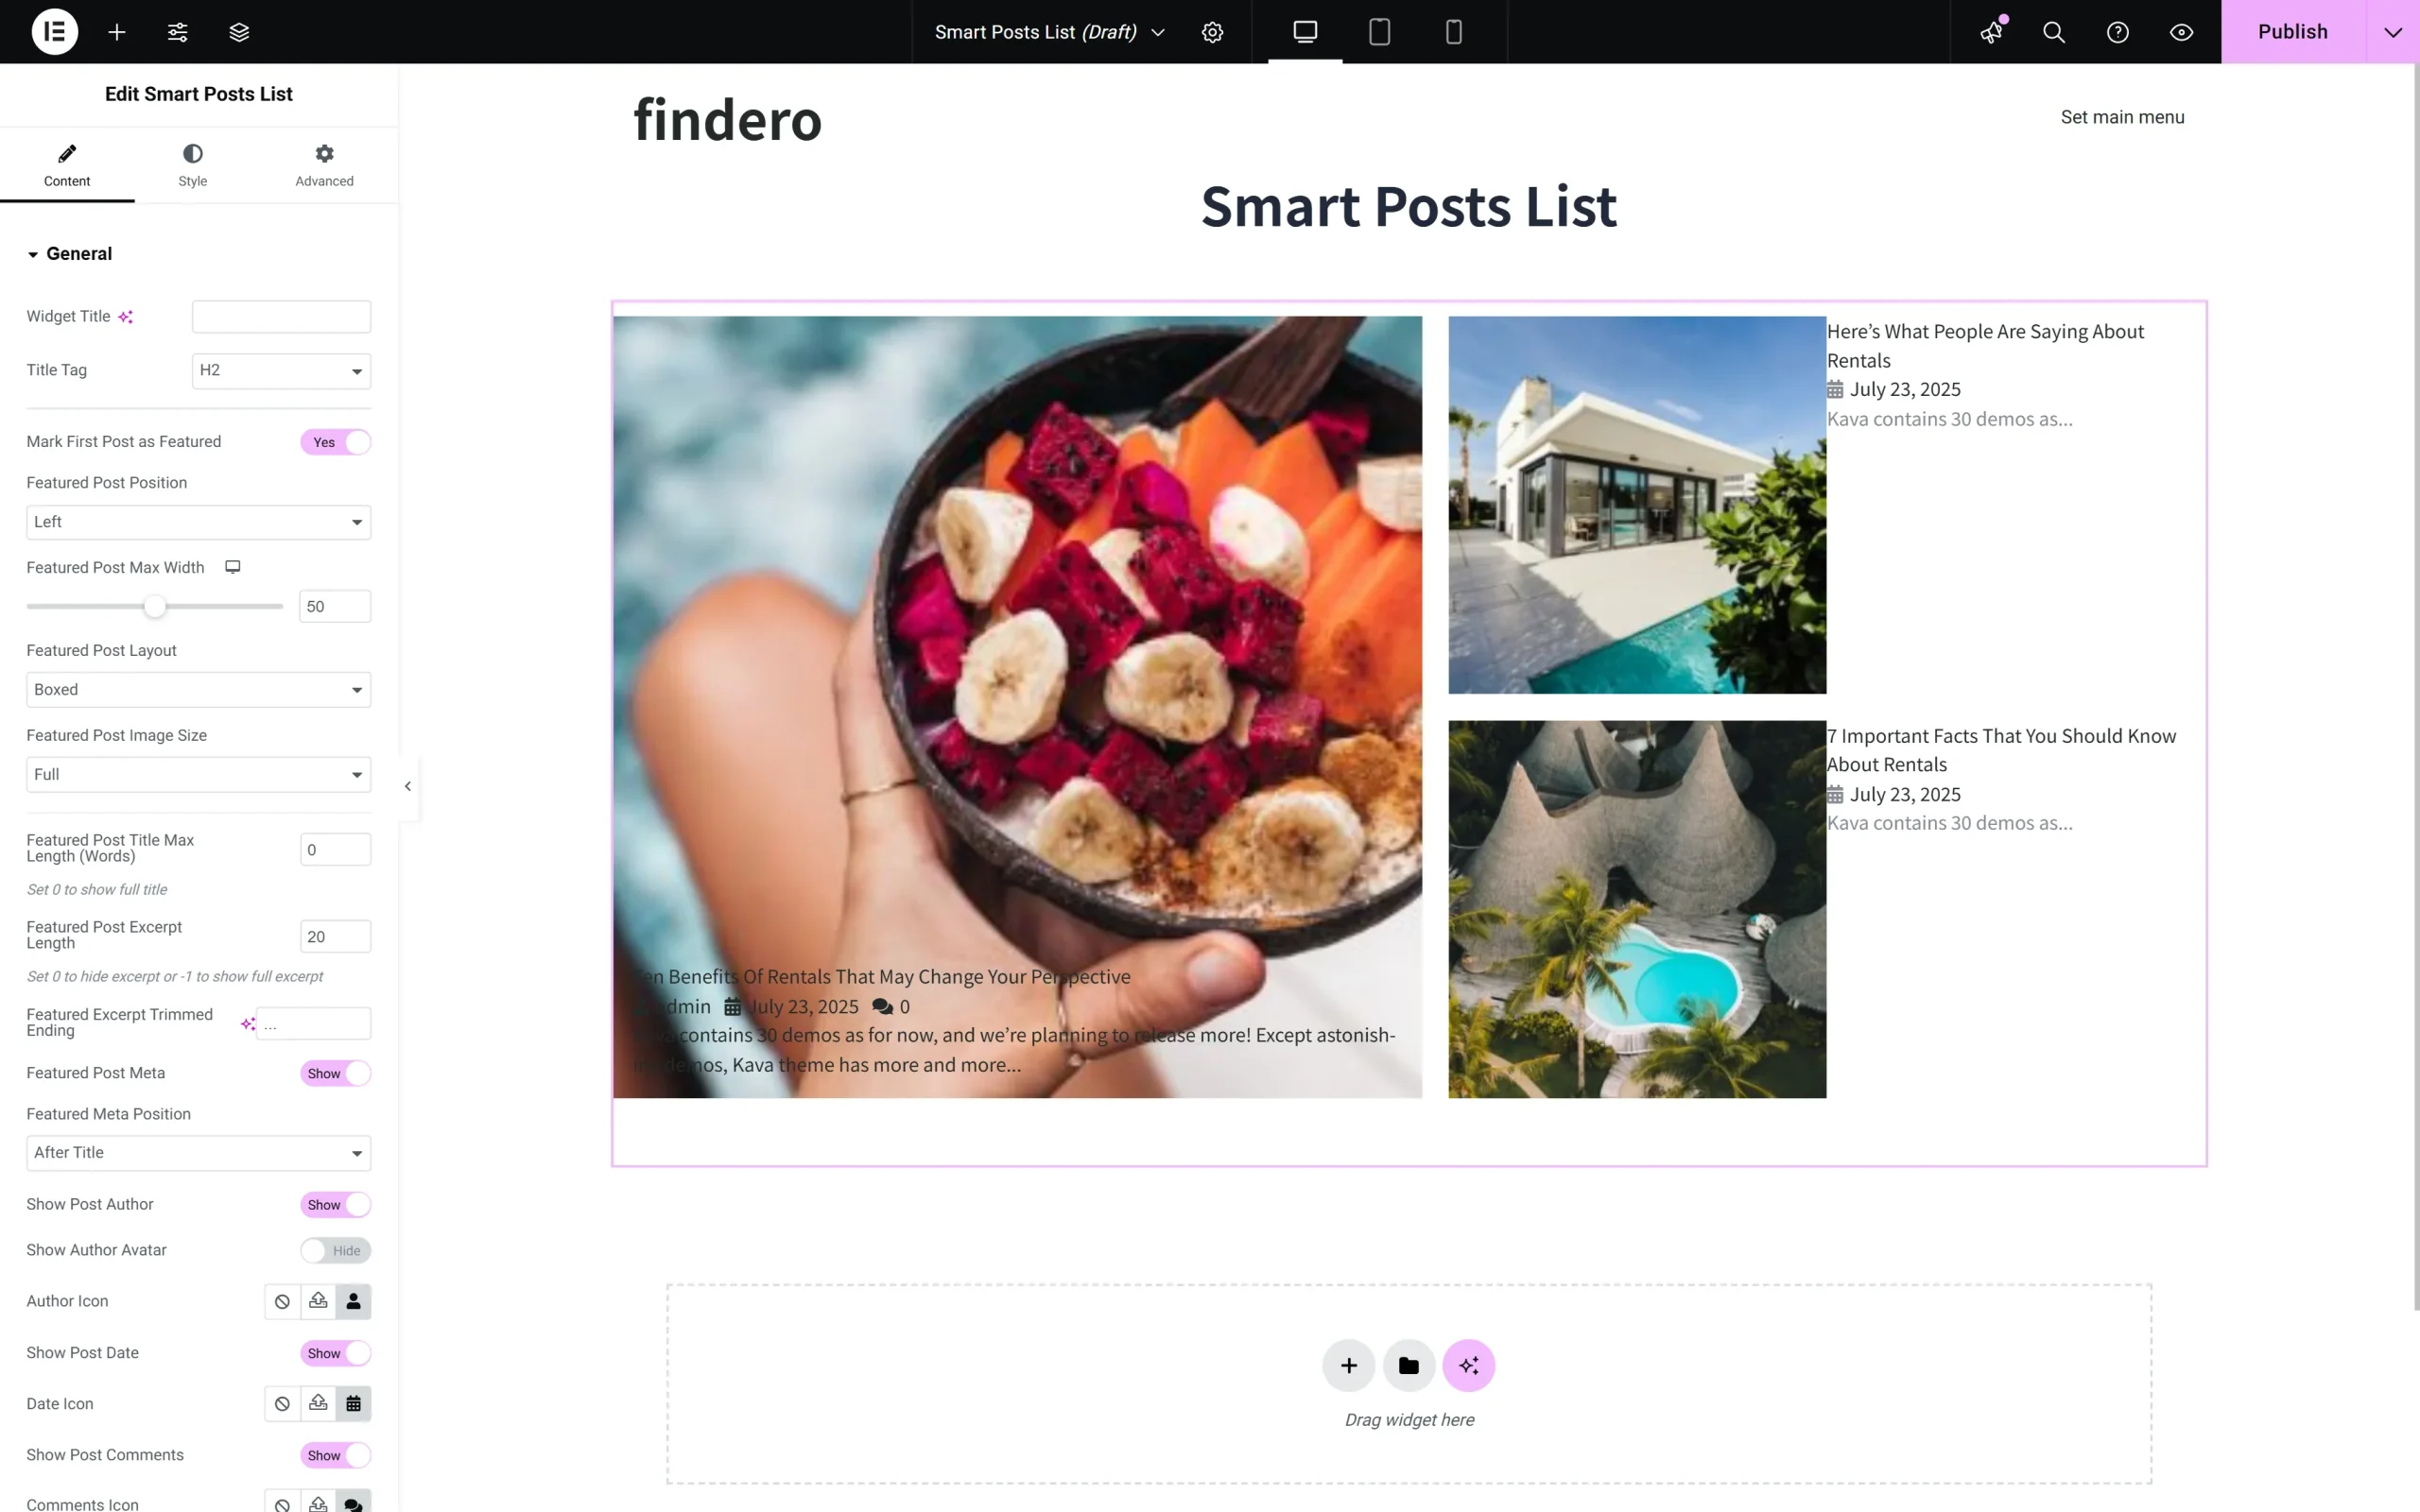
Once the widget is added, the current posts will be displayed by default, and the General tab of the Content settings will be unrolled.
Content Settings of the Widget
General tab
The General tab is presented by the following settings:
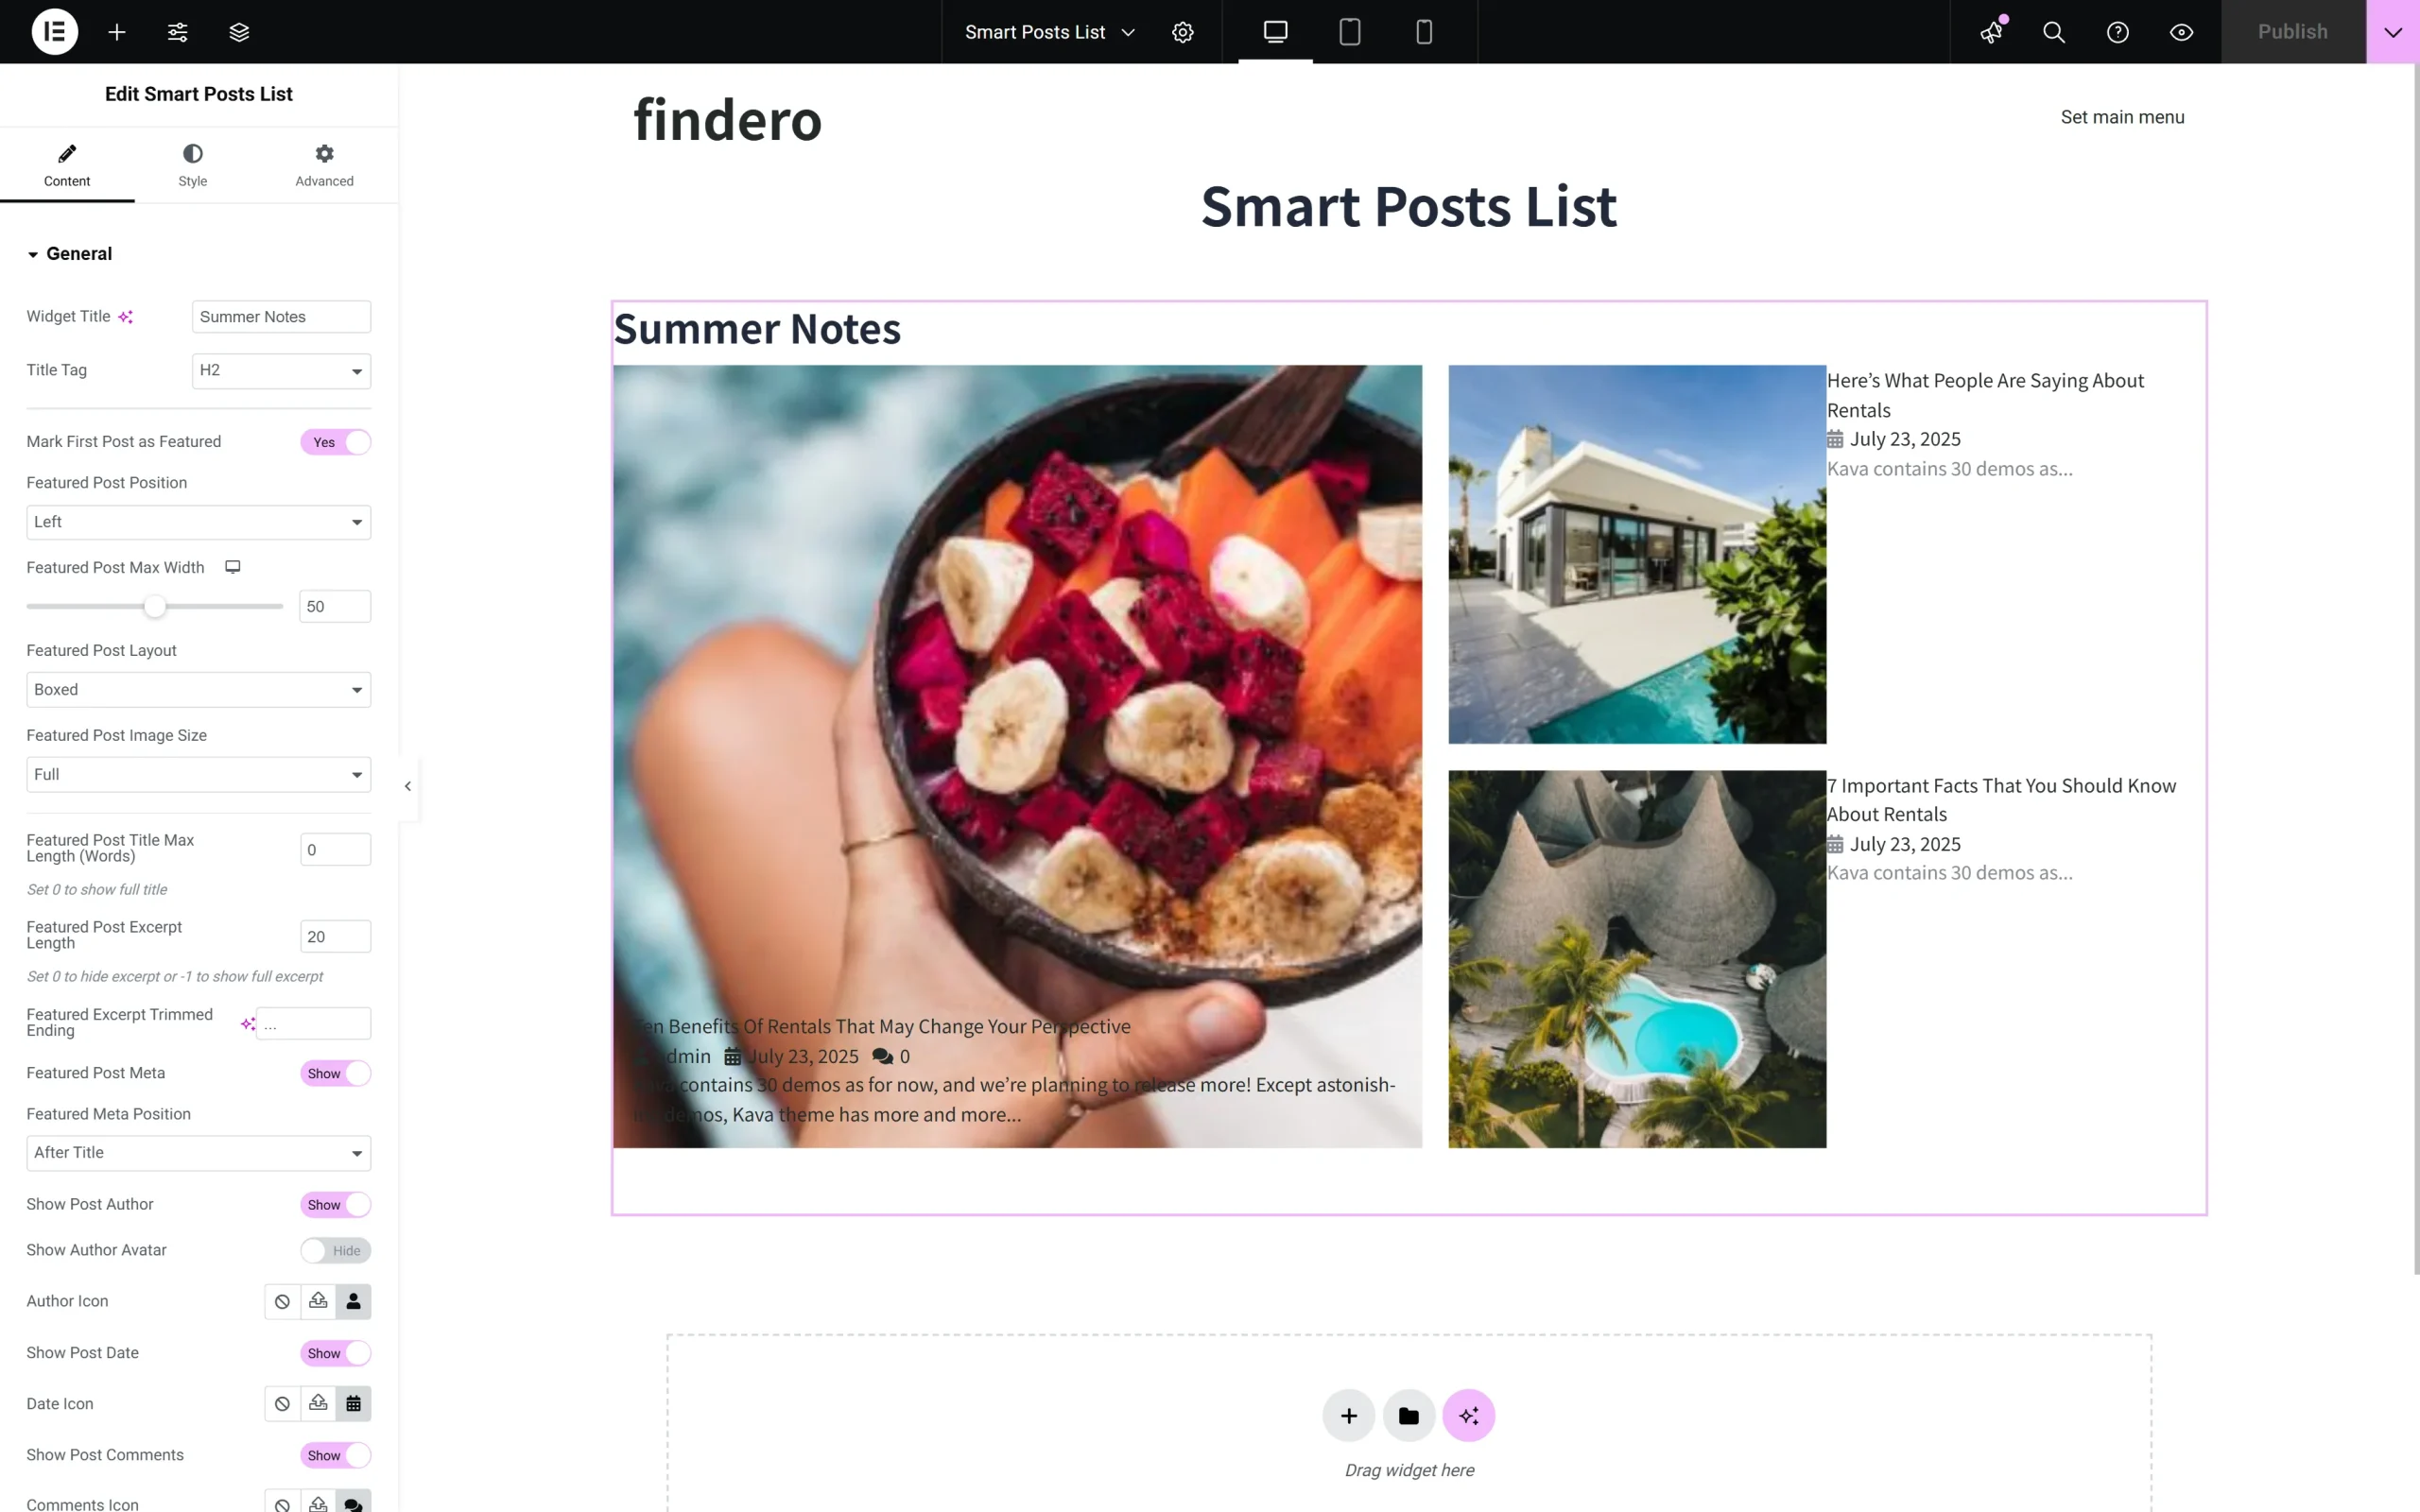
- Widget Title 一 a text field to insert the text to be displayed as a title of the widget;
- Title Tag 一 a drop-down list to select the heading level from H1 to DIV;
- Mark First Post as Featured 一 a toggle, that if enabled, transforms the first post into a featured post and activates the following fields:
- Featured Post Position 一 a drop-down list to place the featured post, e.g., “Top,” “Left,” “Right;”
- Featured Post Max Width 一 a switcher to specify the max width of the featured post’s image in pixels for different devices;
- Featured Post Layout 一 a drop-down list to set the “Simple” or “Boxed” layout;
- Featured Post Image Size 一 a drop-down list to select the needed size of the featured image, e.g., “Full,” “Large,” “Custom,” and more;
- Featured Post Title Max Length (Words) 一 a text field to insert the number of the featured post’s words to be presented in the list; setting zero means showing the full title;
- Featured Post Excerpt Length 一 a text field to insert the number of the featured post excerpt’s words; setting zero means hiding the text, and typing minus one means showing the full excerpt;
- Featured Excerpt Trimmed Ending 一 a text field to insert the ending of the excerpt instead of the “…” set by default;
- Featured Post Meta 一 a toggle for including or excluding this data in the featured post. It turns on the Featured Meta Position drop-down menu to choose the position of the metadata from the “Before Title,” “After Title,” and “After Except;”
- Show Post Author, Show Post Date, and Show Post Comments 一 toggles that, if enabled, turn on/off the possibility to add the icons from the media library or upload the SVG files to show the appropriate data from the Author Icon, Date Icon, and Comments Icon libraries. In addition, if enabled, the Show Post Author toggle displays the Show Post Avatar for selecting the way of getting the corresponding data via the Get Avatar From drop-down list, which has the “Default Avatar” and “Get from Custom Field” options. In turn, choosing the “Default Avatar” enables the Avatar Size switcher, and the “Get from Custom Field” option enables the Field Name text field;
- Show Post Terms 一 toggle, if enabled, allows one to Show Terms From Categories drop-down list (to show the “Categories,” “Tags,” “Formats”) and Max Terms to Show drop-down list to choose the needed number of terms for displaying;
- Columns Number and Rows Number 一 fields intended to arrange the posts in the list according to the specified number of responsive columns (ranges from zero to eight) and rows (ranges from one to six);
- Post Thumbnail 一 a toggle that, if enabled, turns on the following fields and drop-down menus:
- Post Image Size 一 a drop-down list to set the post image size from the list of 20+ possible sizes, e.g., “Full,” “Large,” “Custom,” and more;
- Post Image Position 一 a drop-down list to place the featured post, e.g., “Top,” “Left,” “Right;”
- Post Image Max Width 一 a switcher to set the max width of the image in pixels or percentages;
- Title Max Length (Words) 一 a text field to insert the max width of the post texts in pixels, and the zero width means the full width of the texts.
- Excerpt Length 一 a text field to insert the number of post words shown on the page; the zero-length hides the text, and the minus one length shows the entire excerpt.
- Excerpt Trimmed Ending 一 a text field to insert the signs showing the post end, for example, the “…” (ellipsis) set by default.
- Read More Button 一 a toggle that, if enabled, shows this button and allows one to change the appropriate label in the Read More Button Label field.
- Post Meta 一 a toggle that, if enabled, shows the metadata to the posts. It turns on the Meta Position drop-down menu for choosing the position of the metadata “Before Title,” “After Title,” and “After Except;”
- Show Post Author, Show Post Date, and Show Post Comments 一 toggles that, if enabled, allow adding the icons from the media library or uploading SVG files to show the appropriate data from the Author Icon, Date Icon, and Comments Icon libraries. Also, if enabled, the Show Post Author toggle displays the Show Post Avatar for selecting the way of getting the corresponding data via the Get Avatar From drop-down list, which has the “Default Avatar” and “Get from Custom Field” options. In turn, choosing the “Default Avatar” enables the Avatar Size switcher, and the “Get from Custom Field” option allows the Field Name text field;
- Show Post Terms 一 a toggle, if enabled, allows one to Show Terms From Categories drop-down list (to show the “Categories,” “Tags,” “Formats”) and the Max Terms to Show drop-down list to choose the needed number of terms for displaying.
Query & Controls tab
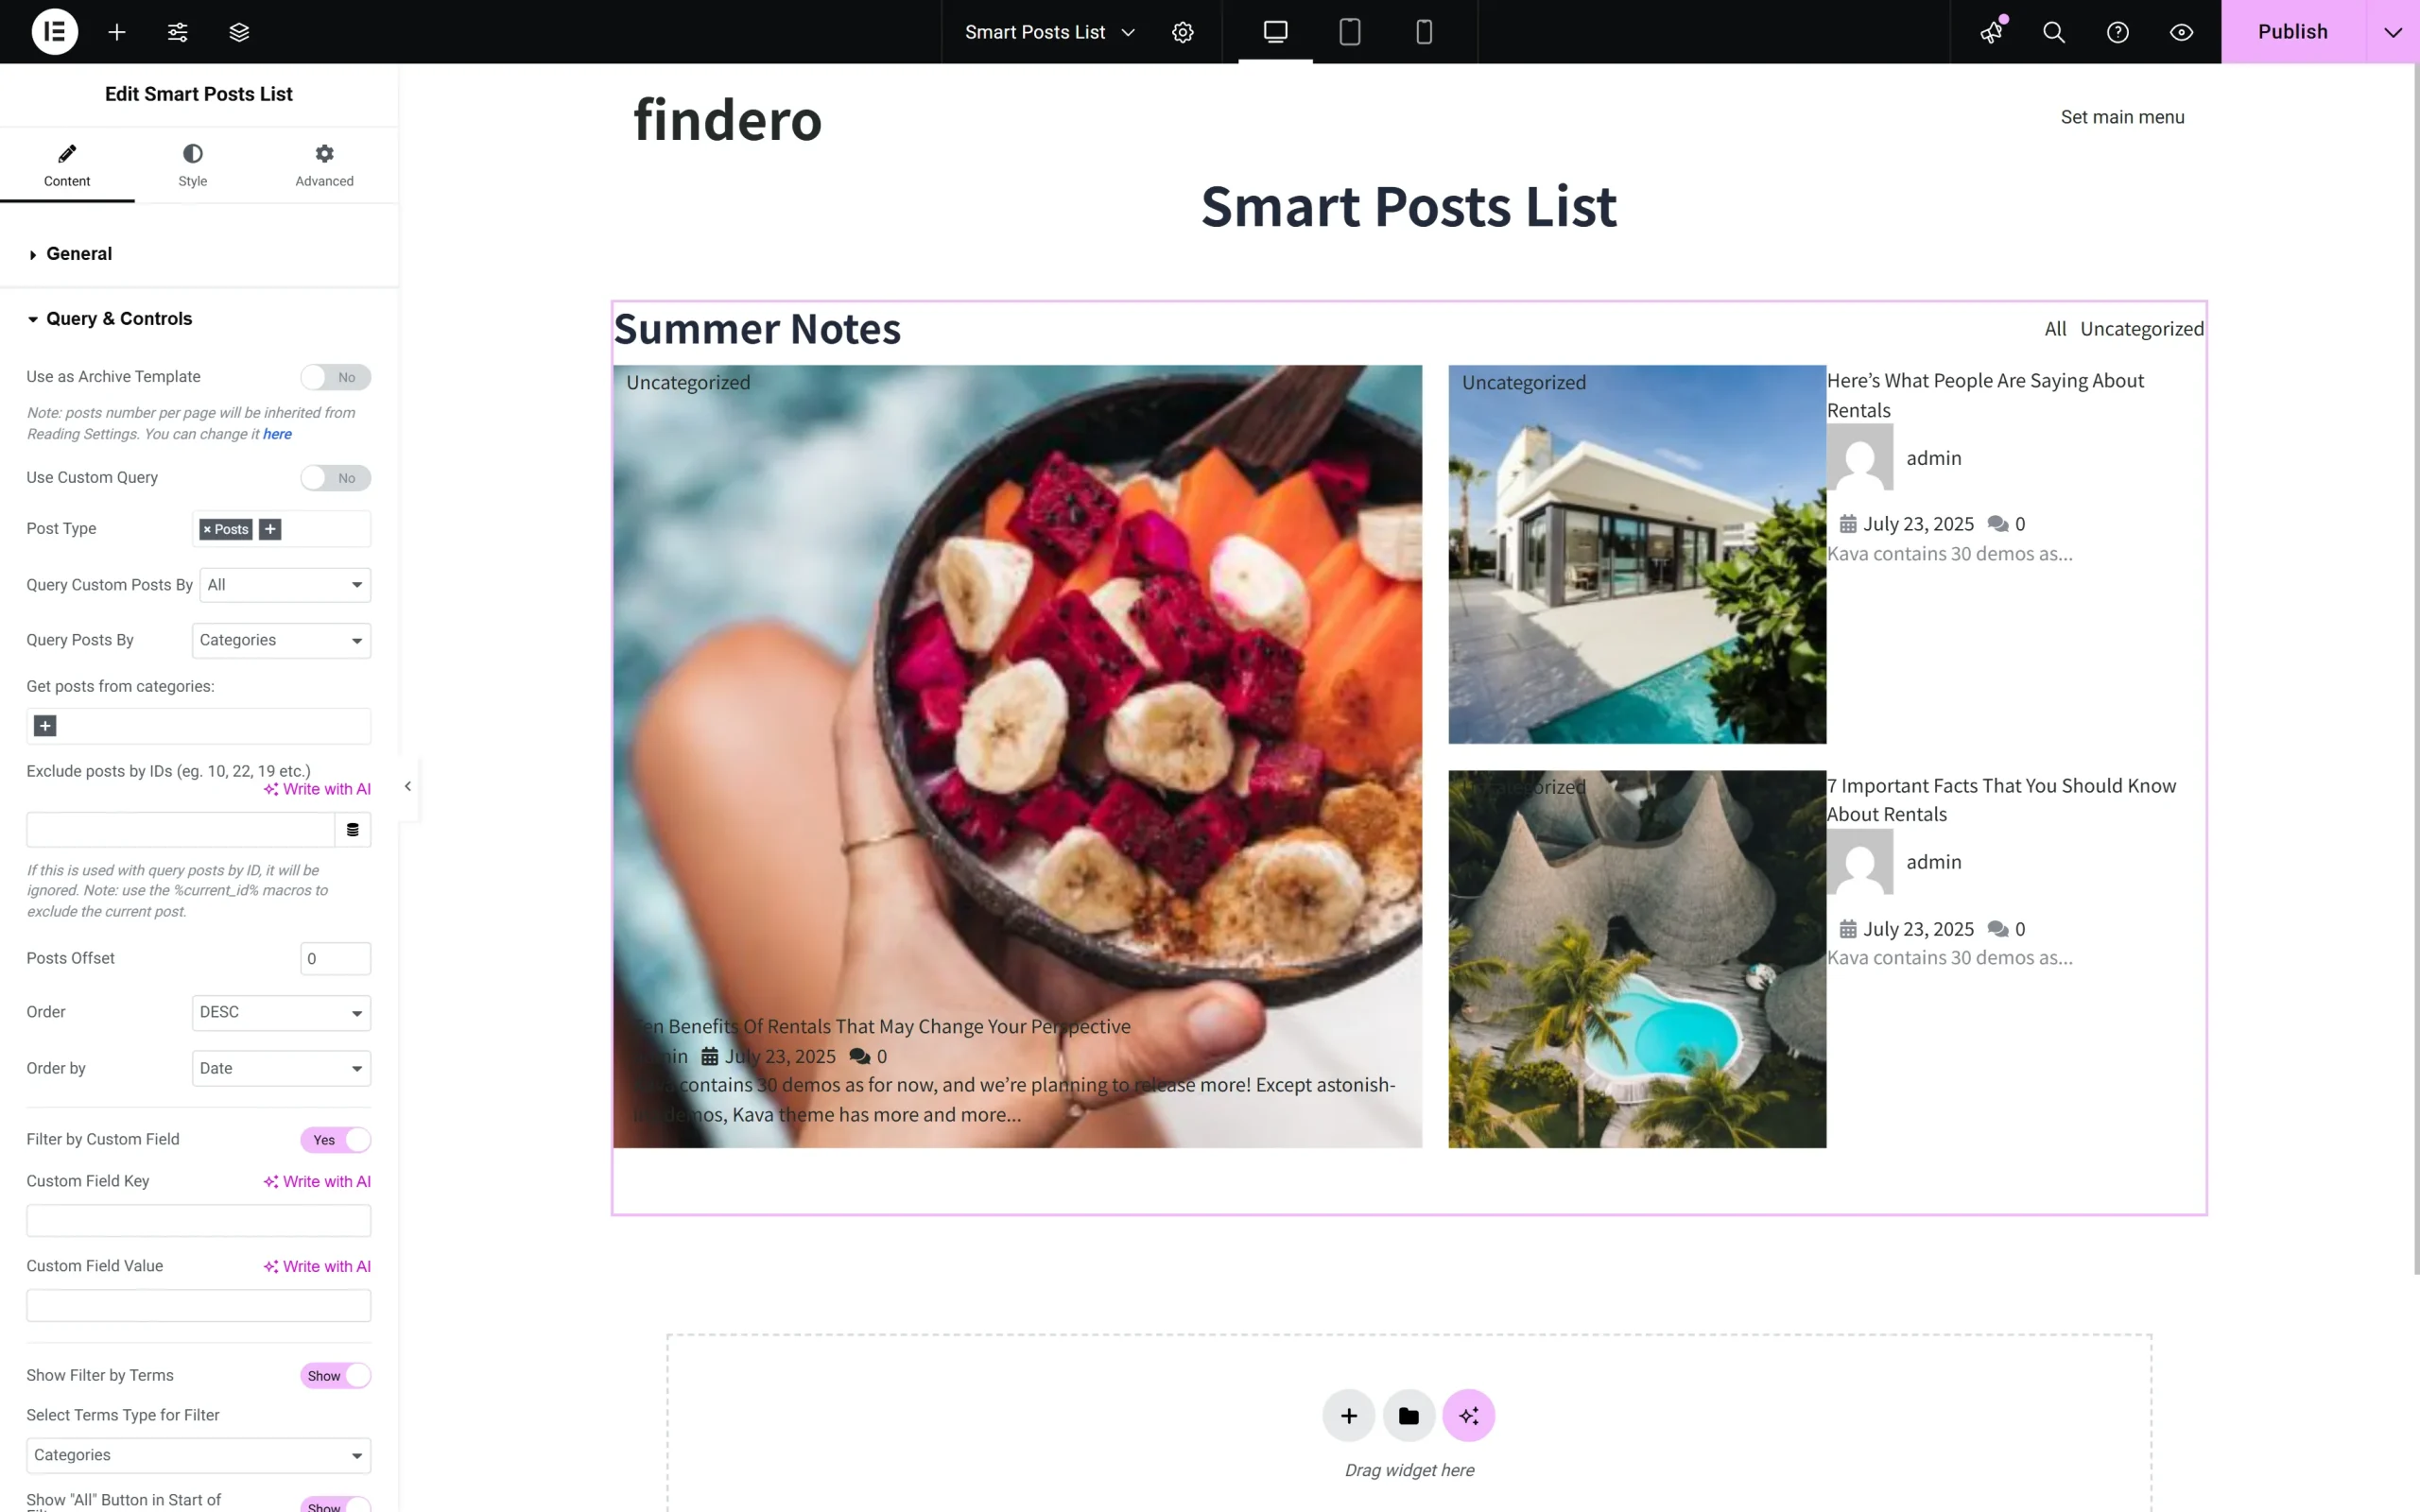
This is the second group of Content settings, which focuses on the types of posts to be included or excluded from the list. The tab is presented by the following fields:
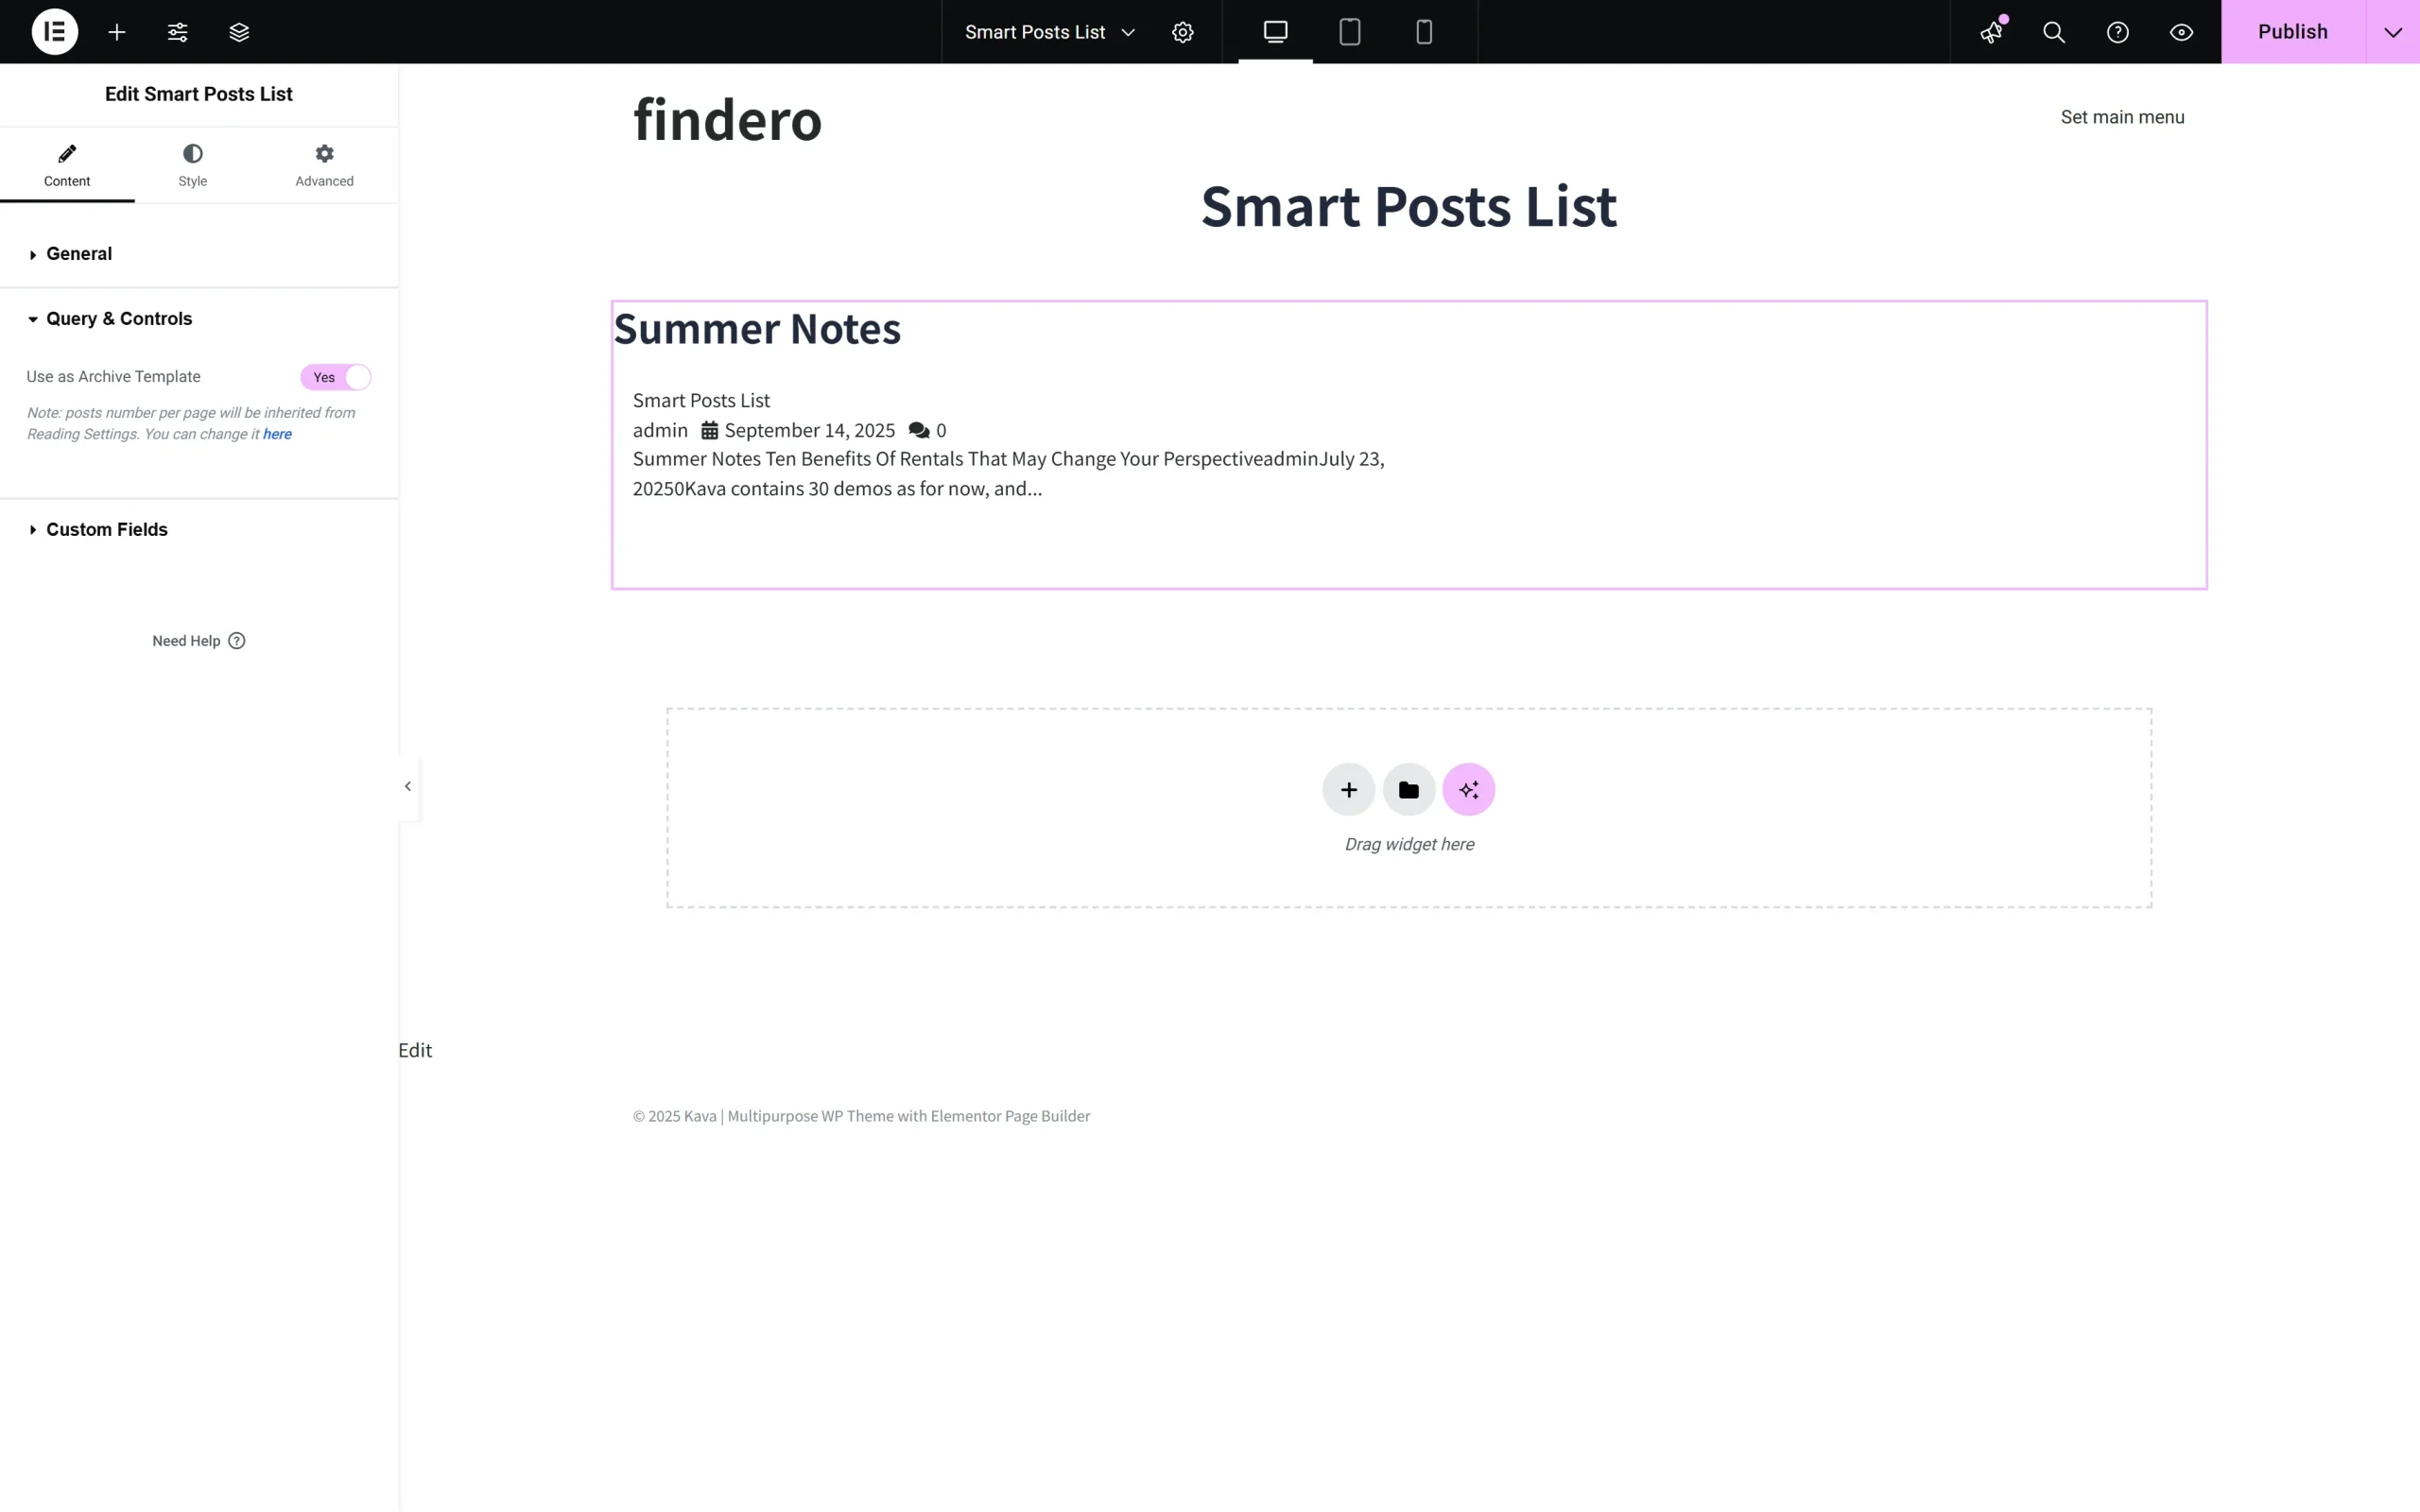
- Use as Archive Template 一 a toggle, that if enabled, allows using an Archive Template for filtering by various criteria (e.g., by a specific author, with particular tags, taxonomies, and categories. The setting is available only for Archive Templates, created by the JetThemeCore plugin. This toggle disables all other Query & Controls settings and prompts users to navigate to the WordPress dashboard to specify the number of blog pages displayed. Also, it enables the Hide Paging Control On drop-down list with the “Desktop,” “Tablet,” and “Mobile” options;
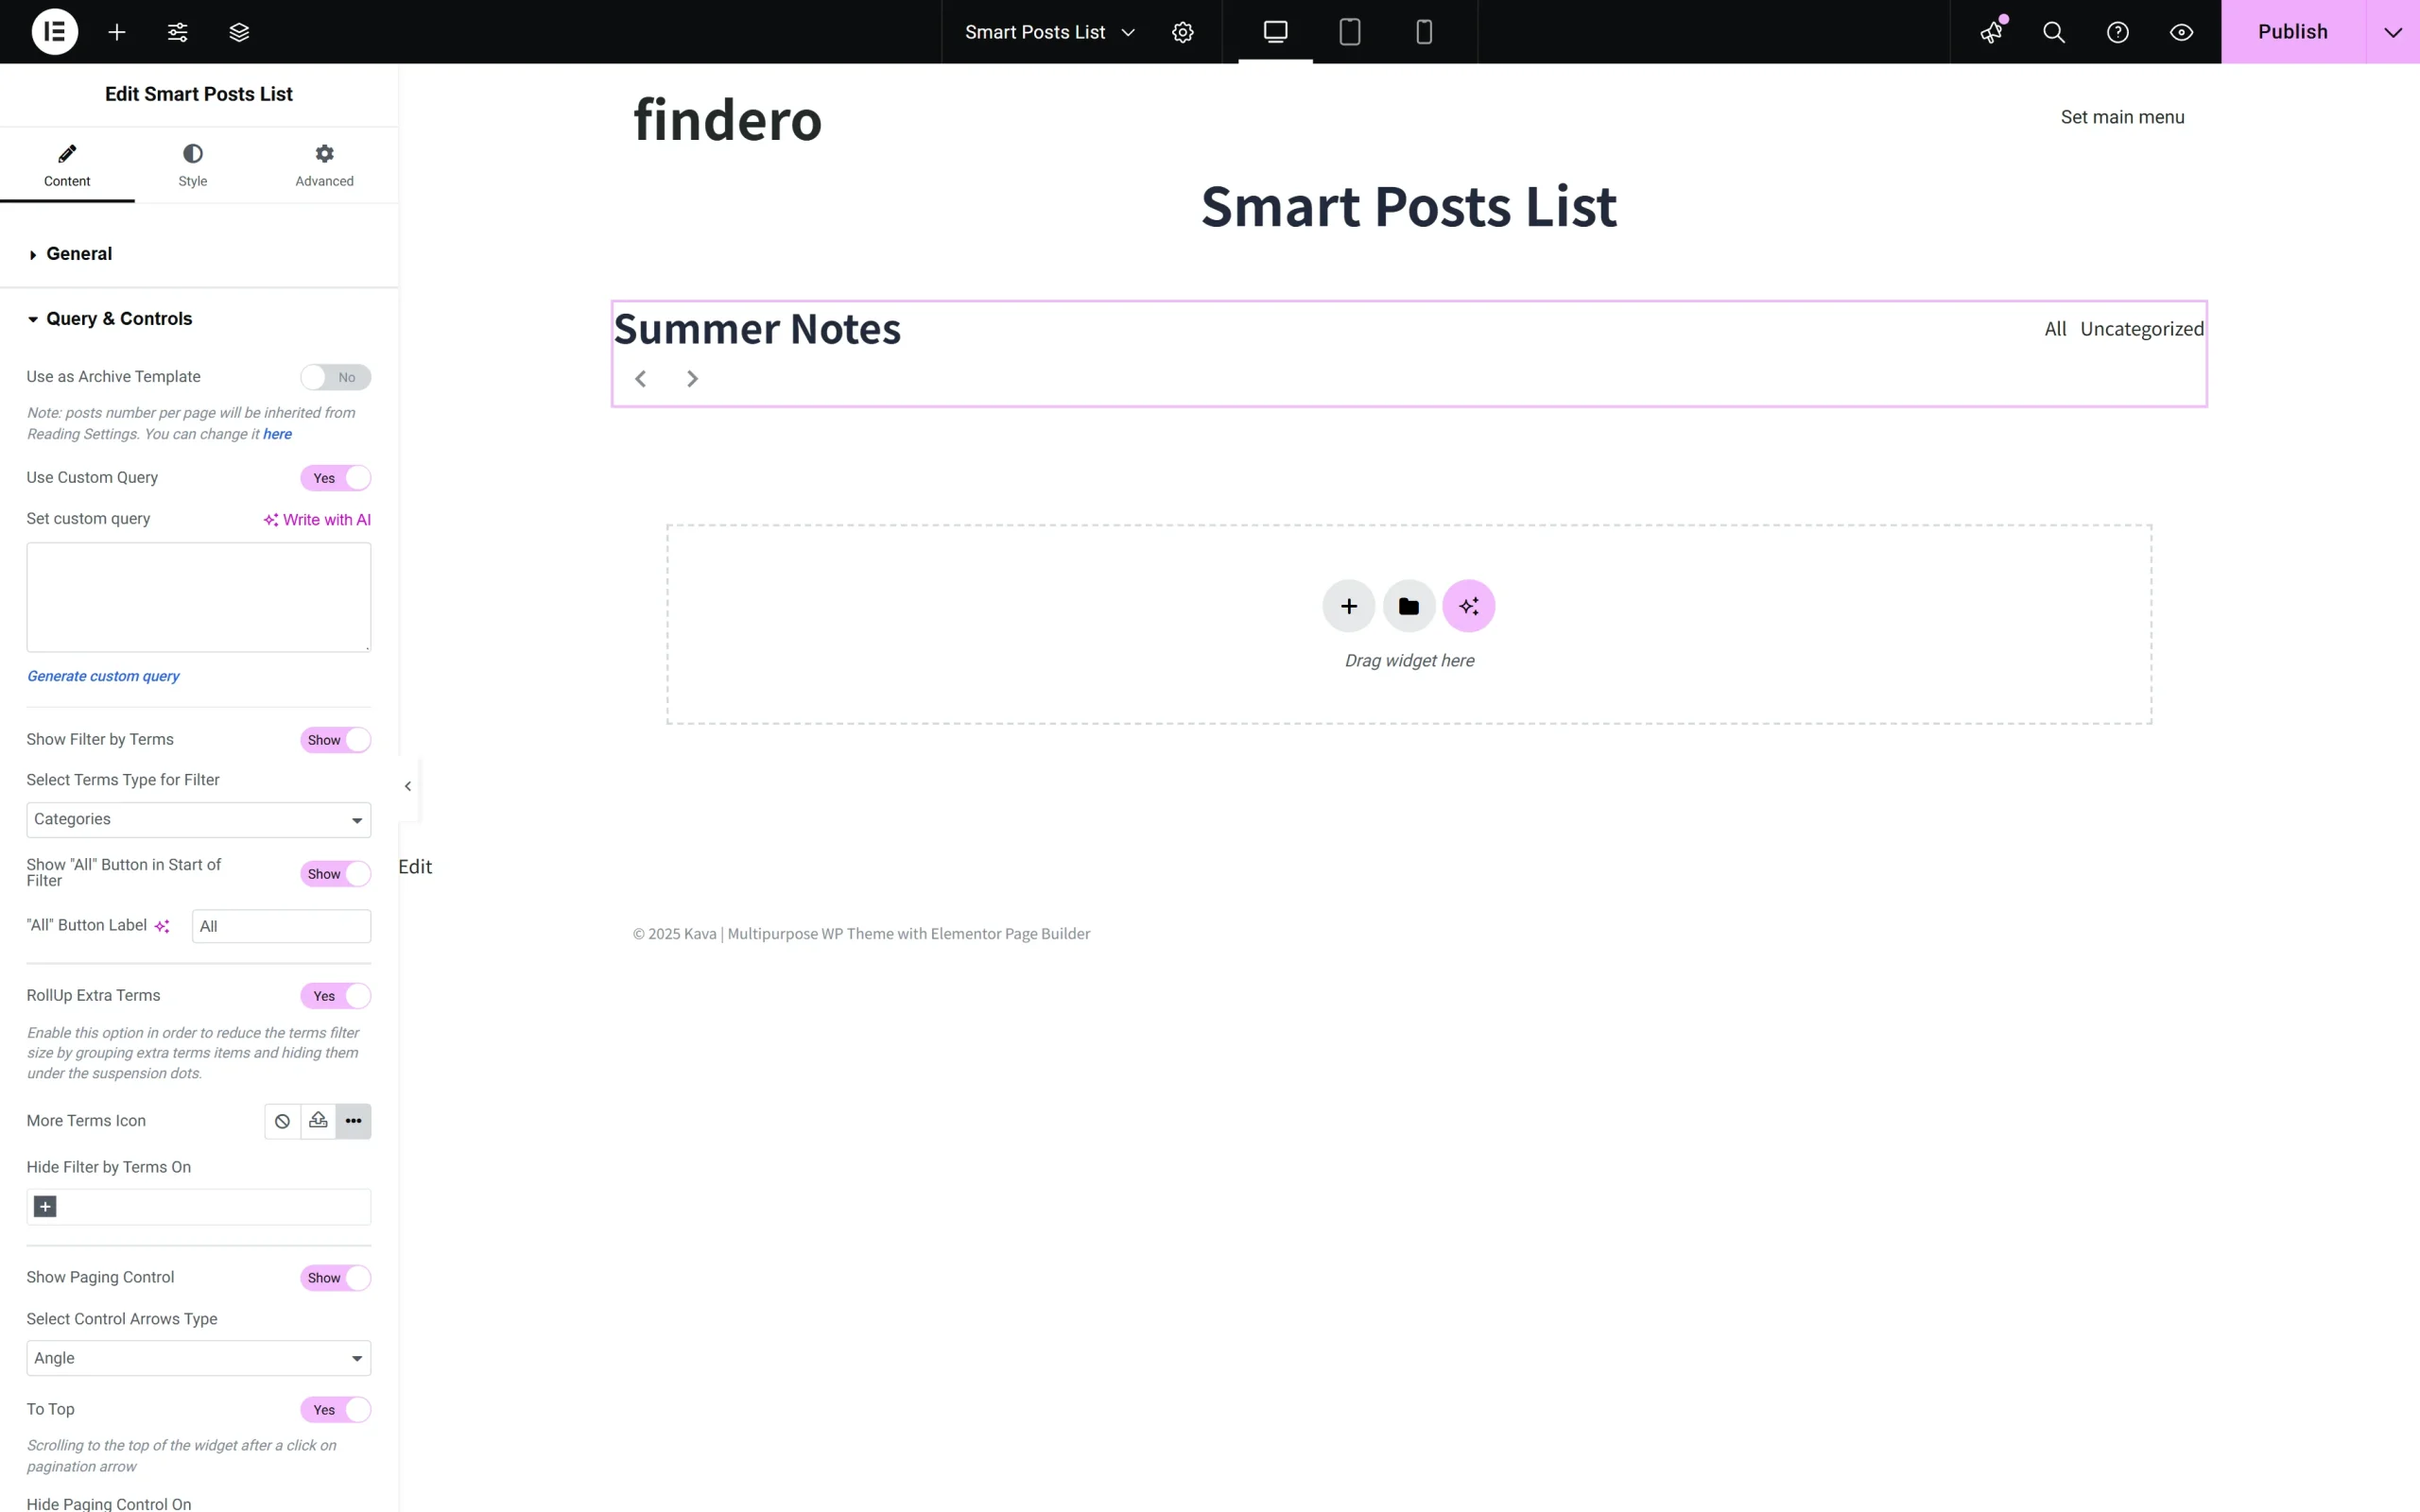
- Use Custom Query 一 a toggle, that if enabled, allows inserting a custom query and filter terms. If this toggle is enabled, it turns on the Set Custom Query 一 a text field to use the WordPress Query Generator for custom queries. If the toggle is disabled, it activates:
- Post Type 一 a drop-down list to select what to display via the widget, e.g., “Posts” (set by default), “Pages,” or “Floating Elements;”
- Query Custom Posts By 一 a drop-down list to select terms (“All,” “IDs,” and “Terms”) of posts to be displayed. If selected, the “IDs” and “Terms” options turn on the Set comma separated IDs list and Get custom posts from terms: text fields to insert the corresponding data or select them dynamically by pressing the Dynamic Tag;
- Query Posts By 一 a drop-down list to select terms (“All,” “Categories,” “Terms”, and “IDs”) of posts to be displayed. If selected, the “Categories” and “Terms” options activate the Get posts from categories:, Get posts from tags, and Set comma separated IDs list text fields to insert the corresponding data or select them dynamically by pressing the Dynamic Tag;
- Exclude posts by IDs (eg. 10, 22, 19 etc.) 一 a text field to insert IDs of posts to be excluded;
- Posts Offset 一 a field to specify the Order of the post displayed, in particular, to determine the number of the starting post (according to the admin panel) to display posts from the first one or skip the first post and display from the second post;
- Order is the drop-down menu to select the ascending and descending order of the displayed posts, according to the Order by drop-down menu (i.e., date, author, ID, number of comments, etc.);
- Filter by Custom Field 一 a toggle, if enabled, activates the Custom Field Key and Custom Field Value fields to type the appropriate data.
- Show Filter by Terms 一 a toggle that allows configuring the filtering settings via the activated fields: Select Terms Type for Filter, Show “All” Button in Start of Filter, “All” Button Label, RollUp Extra Terms, and Hide Filter by Terms On fields:
- Select Terms Type for Filter 一 a drop-down list to set the needed type of filtered items, e.g., “Categories,” “Tags,” and ” Formats;”
- Show “All” Button in Start of Filter 一 a toggle that, if enabled, allows inserting text in the “All” Button Label field to specify the needed one instead of the default;
- RollUp Extra Terms 一 a toggle that, if enabled, reduces the terms filter size by grouping additional term items and hiding them under the suspension dots sign. This toggle turns on the More Terms Icon field for uploading files or choosing them from the library;
- Hide Filter by Terms On 一 a drop-down list to hide the filter by terms on a selected device as “Desktop,” “Tablet,” and “Mobile” options;
- Show Padding Control 一 a toggle, if enabled, allows choosing the arrow type through the Select Control Arrows Type drop-down menu;
- To Top 一 a toggle to allow the scrolling to the top of the widget after a click on the pagination arrow;
- Hide Paging Control On 一 a drop-down list to hide the paging controls on the specified devices, e.g., with the “Desktop,” “Tablet,” and “Mobile” options.
More details on configuring navigation can be found in the How to Set Navigation in the Smart Posts List and Smart Post Tiles Widgets tutorial.
Custom Field
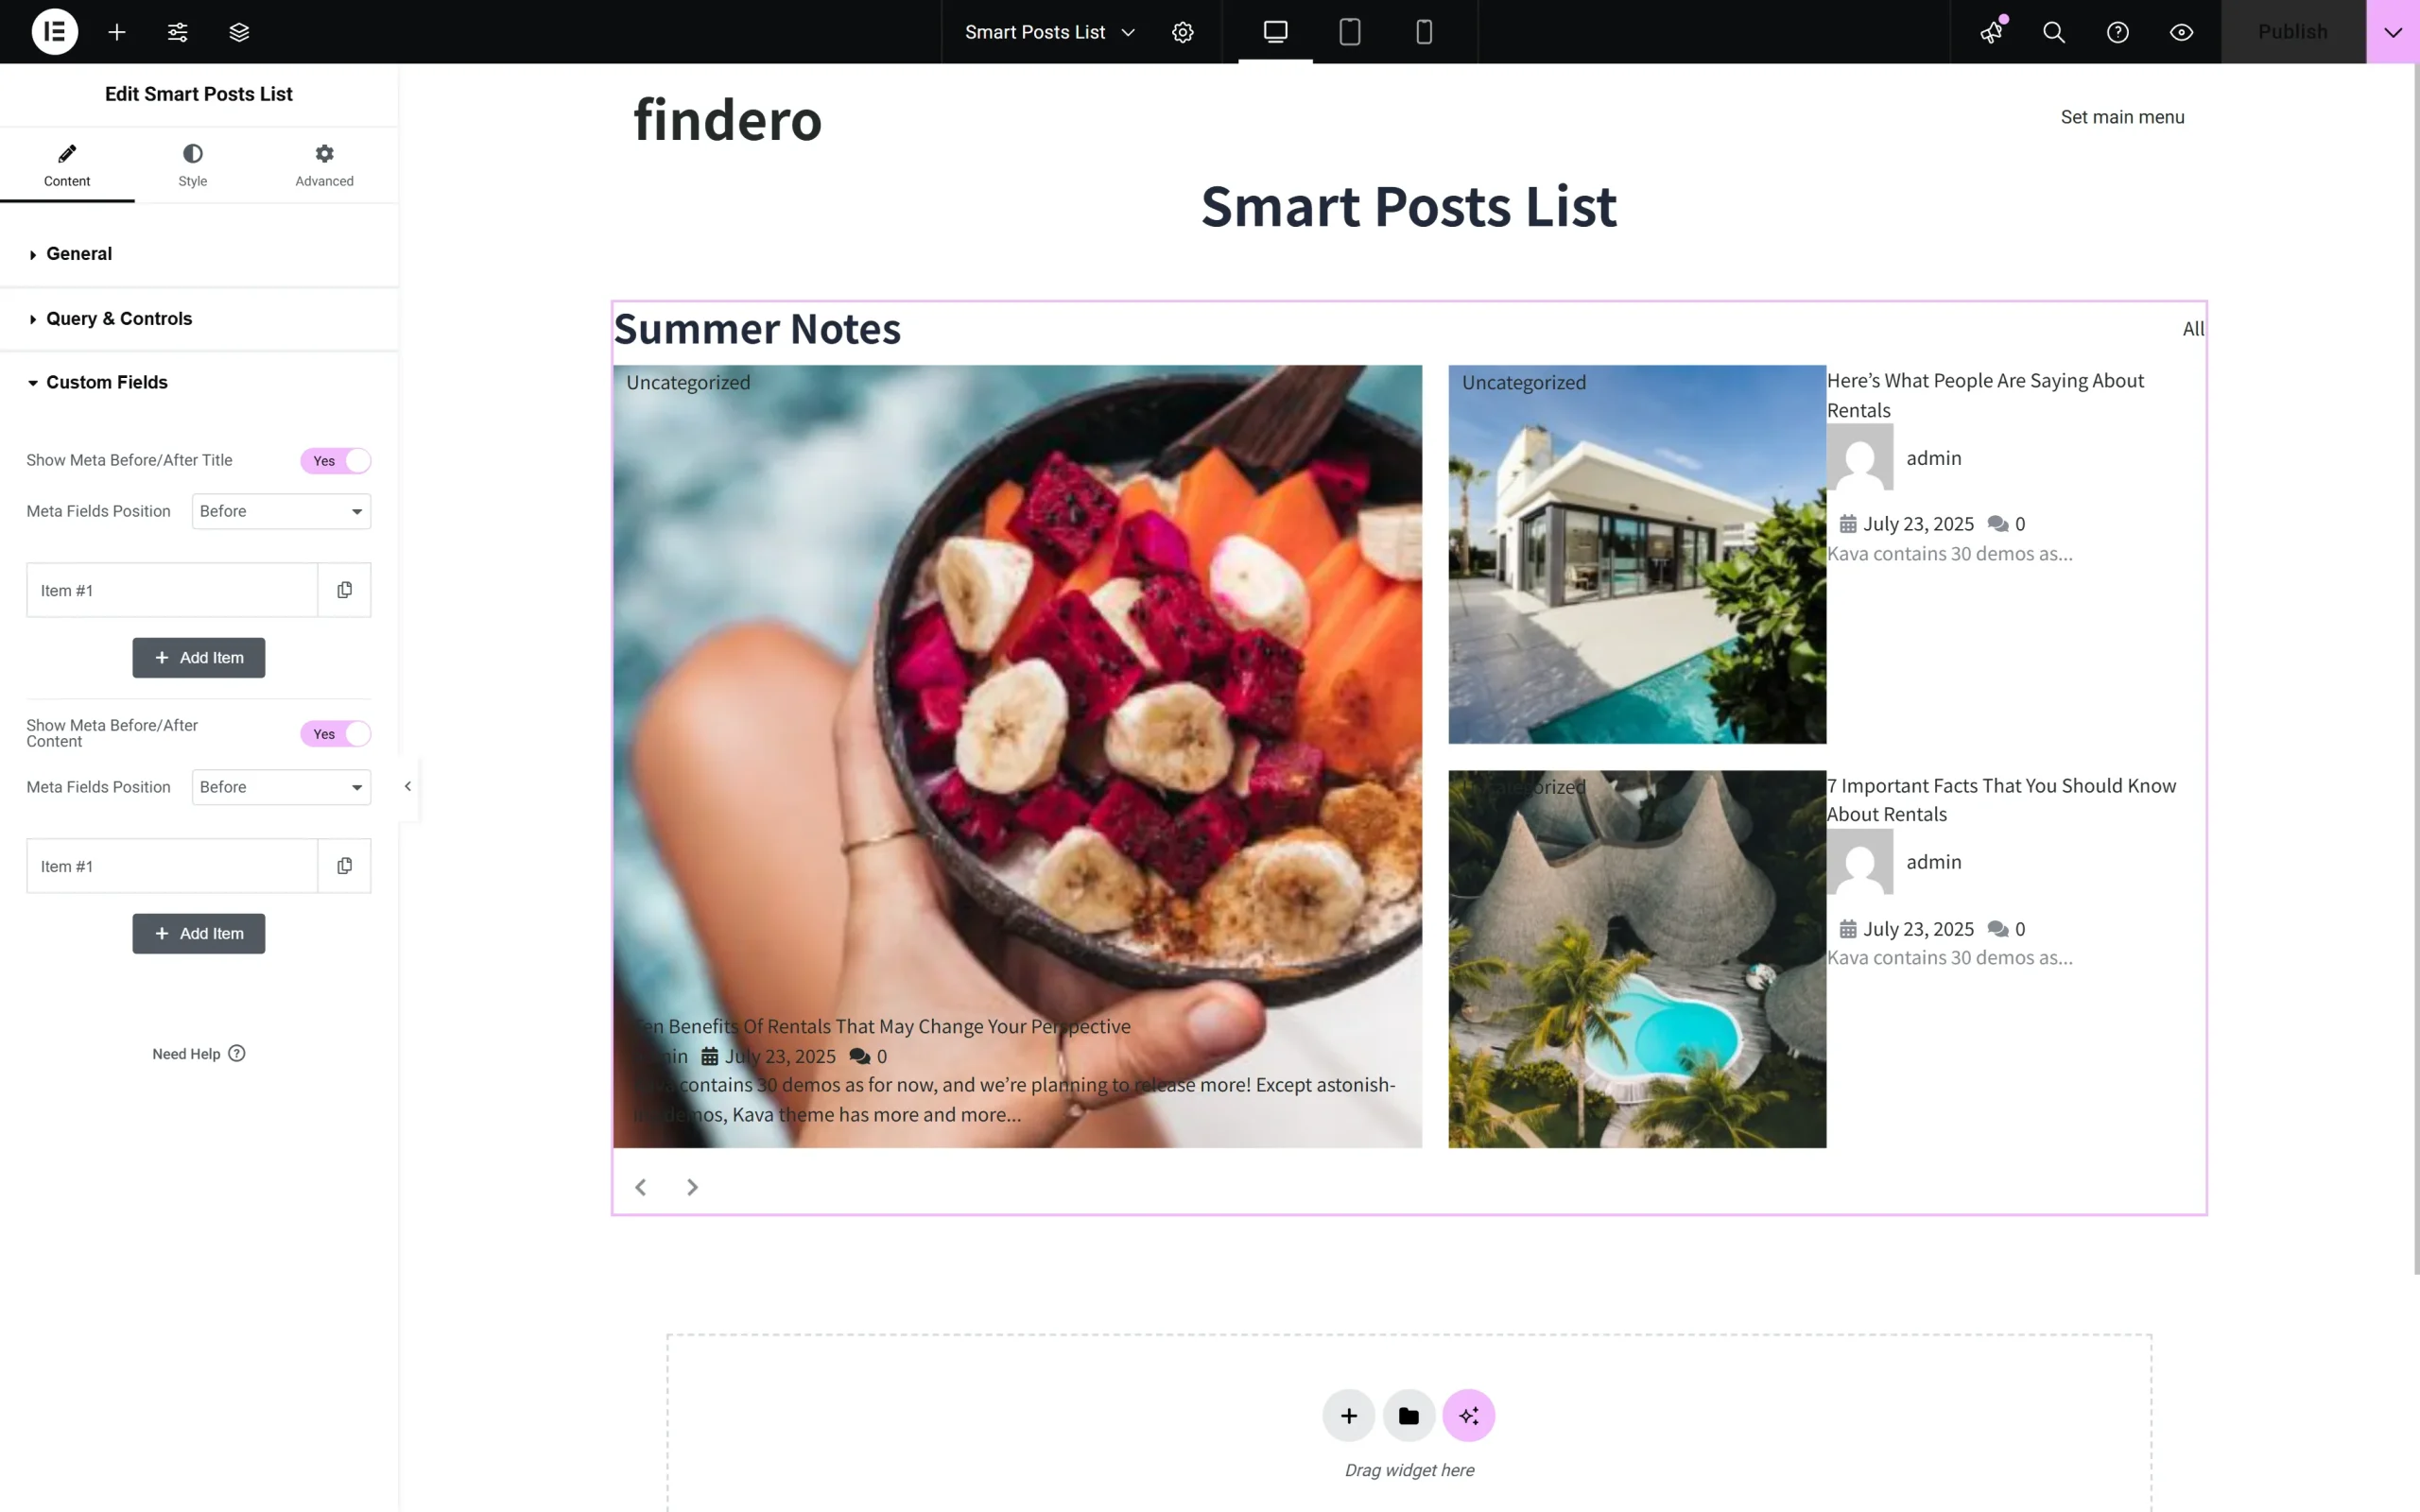
The Custom Fields settings are the last Content settings intended to display different content types as meta fields, tags, categories, etc. It is presented by toggles allowing Show Meta Before/After Title and Show Meta Before/After Content. After enabling the toggle(s), the following setting will be added:
- Meta Fields Position 一 a drop-down list to set the “Before” or “After” position of the metadata;
- “+ADD ITEM” 一 a button to choose the custom field for displaying metadata via the following fields:
- Key 一 a text field for inserting the meta key to display data according to the post meta table in the database;
- Label 一 a text field for the name of the custom field displayed;
- Value Format 一 a text field for the meta value of the value format string.
- Prepare meta value with callback 一 a drop-down menu intended to select the metadata for custom function development or for displaying information from the meta fields in the admin columns.
More details about displaying the specific content can be found in the How to Display the Content From Meta Fields in Smart Posts List and Posts Tiles Widgets tutorial.
Style Settings
The second group of settings customizes the design options of the featured post and other posts to present them as required. Settings have names that refer to their functionality. These settings are: Posts Wrapper, Heading, Filter, Featured, Featured Post Meta, Featured Read More Button, Featured Terms Links, Post, Post Meta, Post Read More Button, Terms Links, Paging Arrows, Custom Fields, and Loader Styles.
Advanced Settings
The Advanced settings allow the customization of the Margin, Padding, Width, Position, Z-Index, CSS ID, CSS Class settings, and more.
That’s all about how to use the Smart Posts Lists widget from JetBlog to showcase posts as lists.