
Displaying a Label Name from a Query
Learn how to display post titles and the meta field values as the labels of the filter's options.
Before you start, check the tutorial requirements:
- Elementor (Free version), Block Editor (Gutenberg), Bricks, or Divi
- JetEngine plugin installed and activated
with two Custom Post Types (CPT) created and a relation between them configured
- JetSmartFilters plugin installed and activated
To display the CPT post titles and/or metadata as the labels of the filter’s options, first you need to build a query. Next, create a filter to display post titles or the meta field’s value as the labels of the filter’s options. Then build a listing and add this filter and the listing to a page.
To show how to do it, we created the “Property” CPT and “Agents” CPT and set the “one-to-many” relation between them, assuming that one property can be managed by several agents. In this relation, we consider the “Property” CPT as a “parent” and the “Agent” CPT as a “child”.
Read the How to Create Relations Between Posts tutorial to learn how to create and configure different types of relations.
In addition, watch all stages of usage queries in relations (creating the relation, linking individual posts, building the query, displaying related child posts on the parent single page, and showing parent posts on the child single page) in the How to Create Relations Between WordPress Posts video.
Display CPT Post Titles via Filter
In this section, we explain how to display CPT post titles as the labels of the filter’s options. In this case, the post titles from the “Agent” CPT are used as the filter options. Selecting an option displays the “Property” CPT posts associated with the selected agent.
Build the query
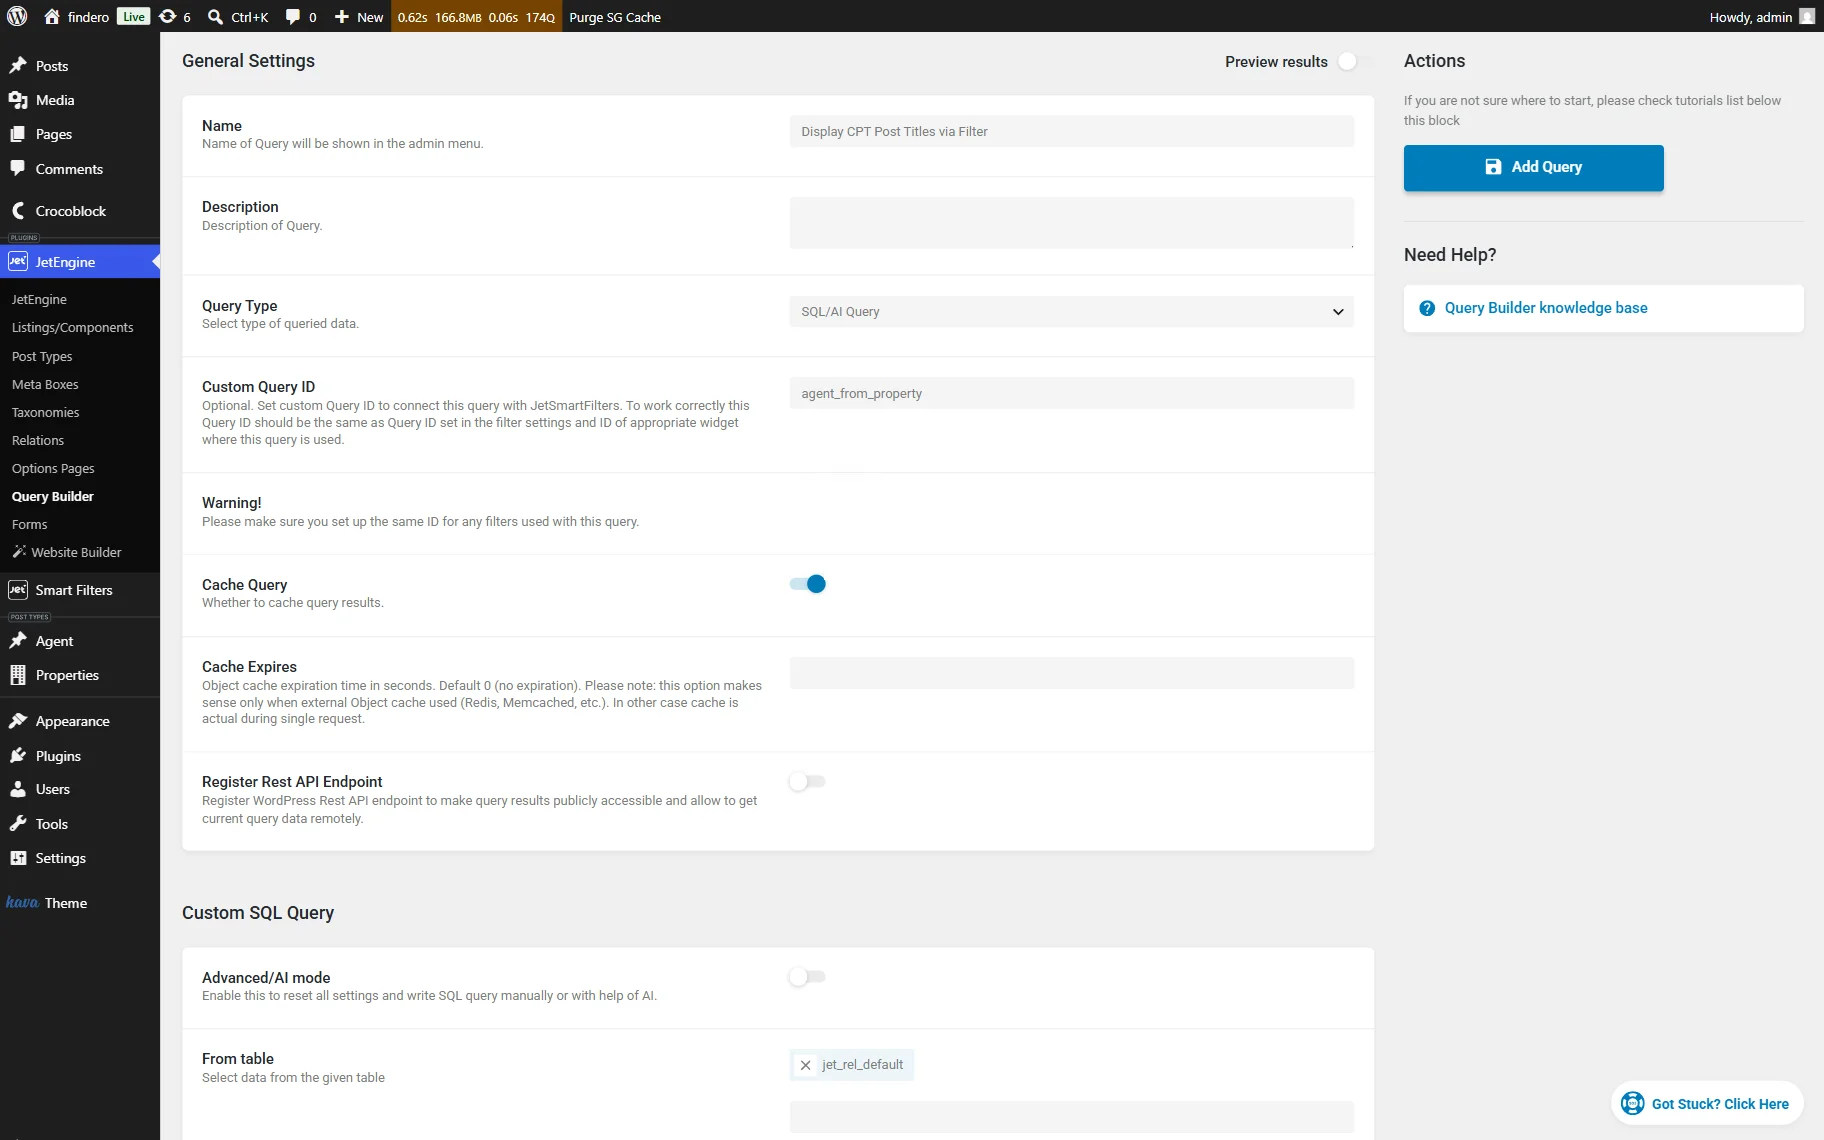
First, move to the WordPress Dashboard > JetEngine > Query Builder tab and press the “Add New” button to build a new query. Here, we insert the query’s Name (the “Display CPT Post Titles via Filter”, for this query); then, set the “SQL/AI Query” Query Type. In this tutorial, for usability reasons, we fill in the optional Custom Query ID field, but it can be left empty if not needed.
Next, we move to the Custom SQL Query section and select the “jet_rel_default” option in the From table dropdown.
After that, we enable the Use Join toggle and press the “Add new” button in the newly appeared Join Tables block. Then, we select the following settings: “Inner Join” Join Type and “posts” Join Table. After that, we insert the “ID” option in the When current table column and the “child_object_id” option in the Is equal to other table column dropdowns.
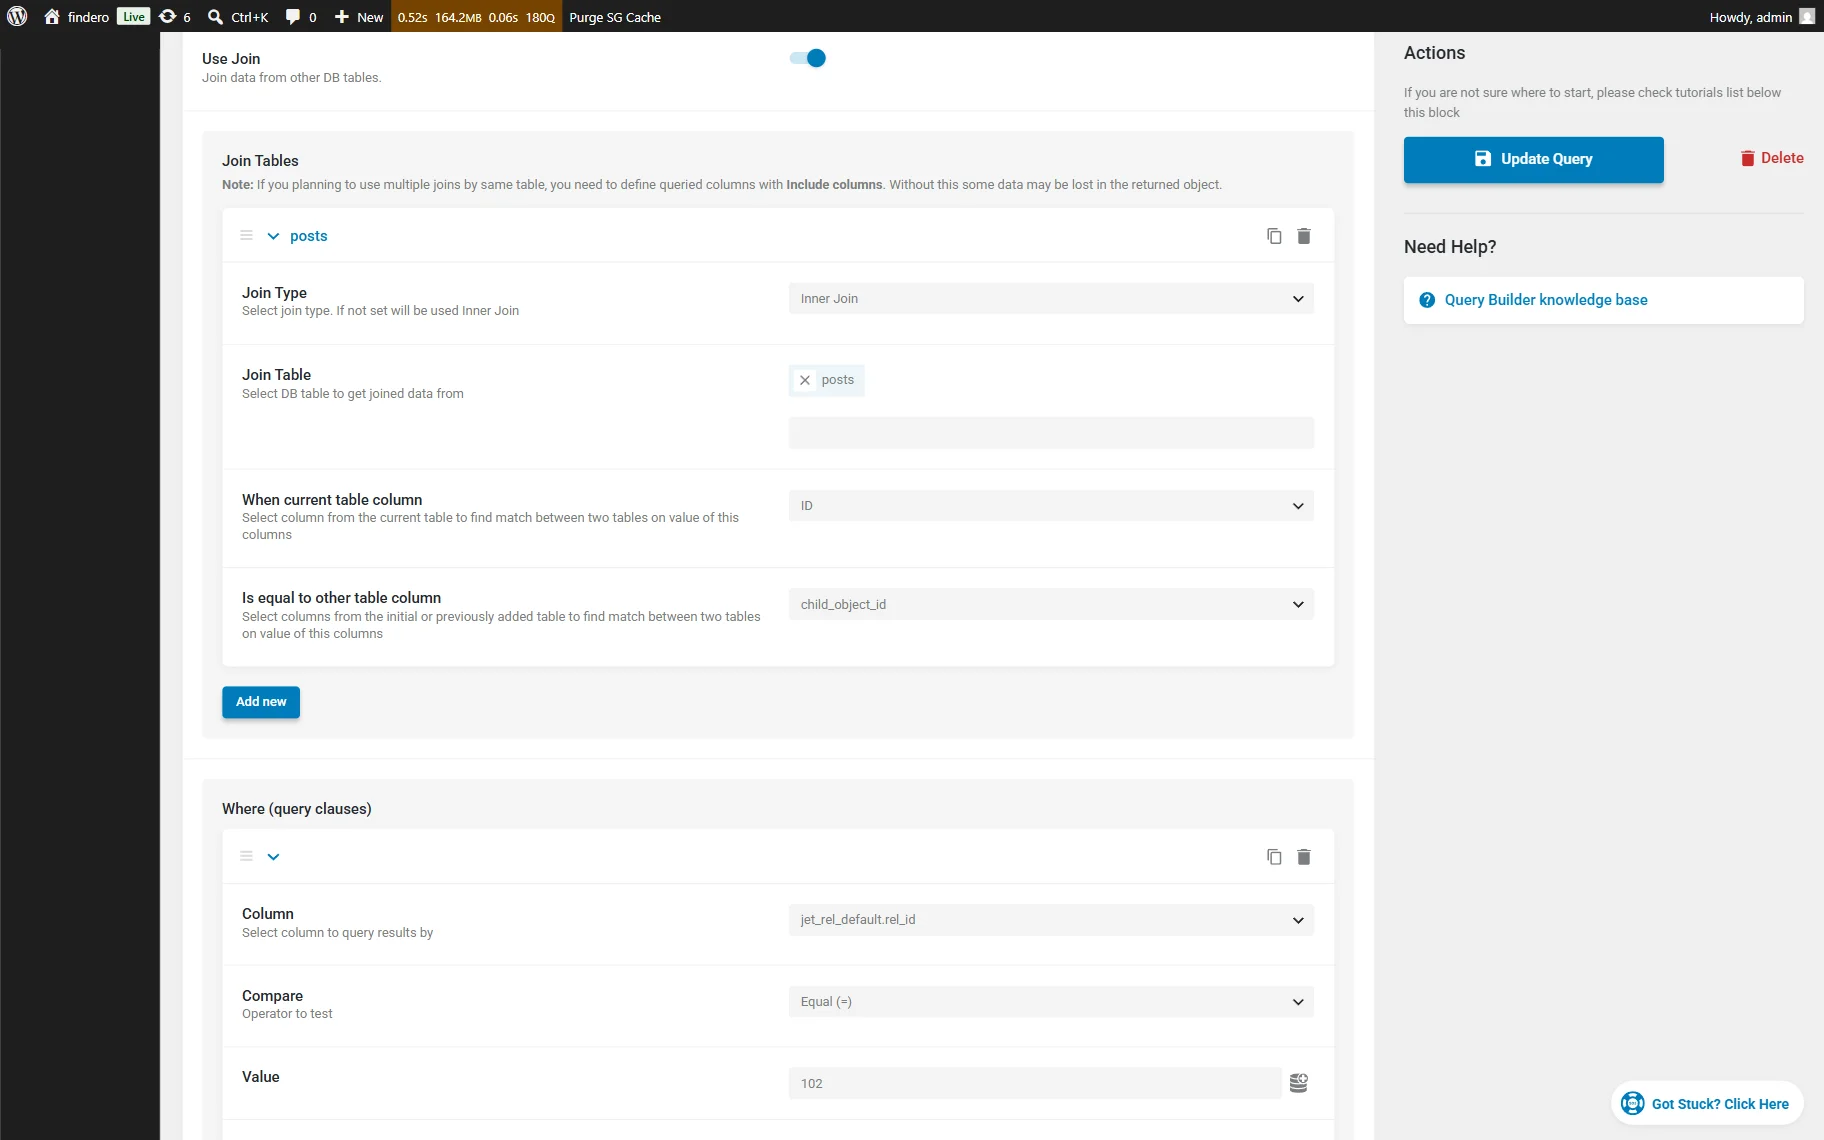
After that, press the “Add new” button in the newly appeared Where block, and then select the “jet_rel_default.rel.id” option in the Column field, the “Equal (=)” option in the Compare field, and insert the ID of the relation in the Value field (in this case, we type the “102” Value).
Finally, scroll to the top of the page and save the query.
Configure the filter settings
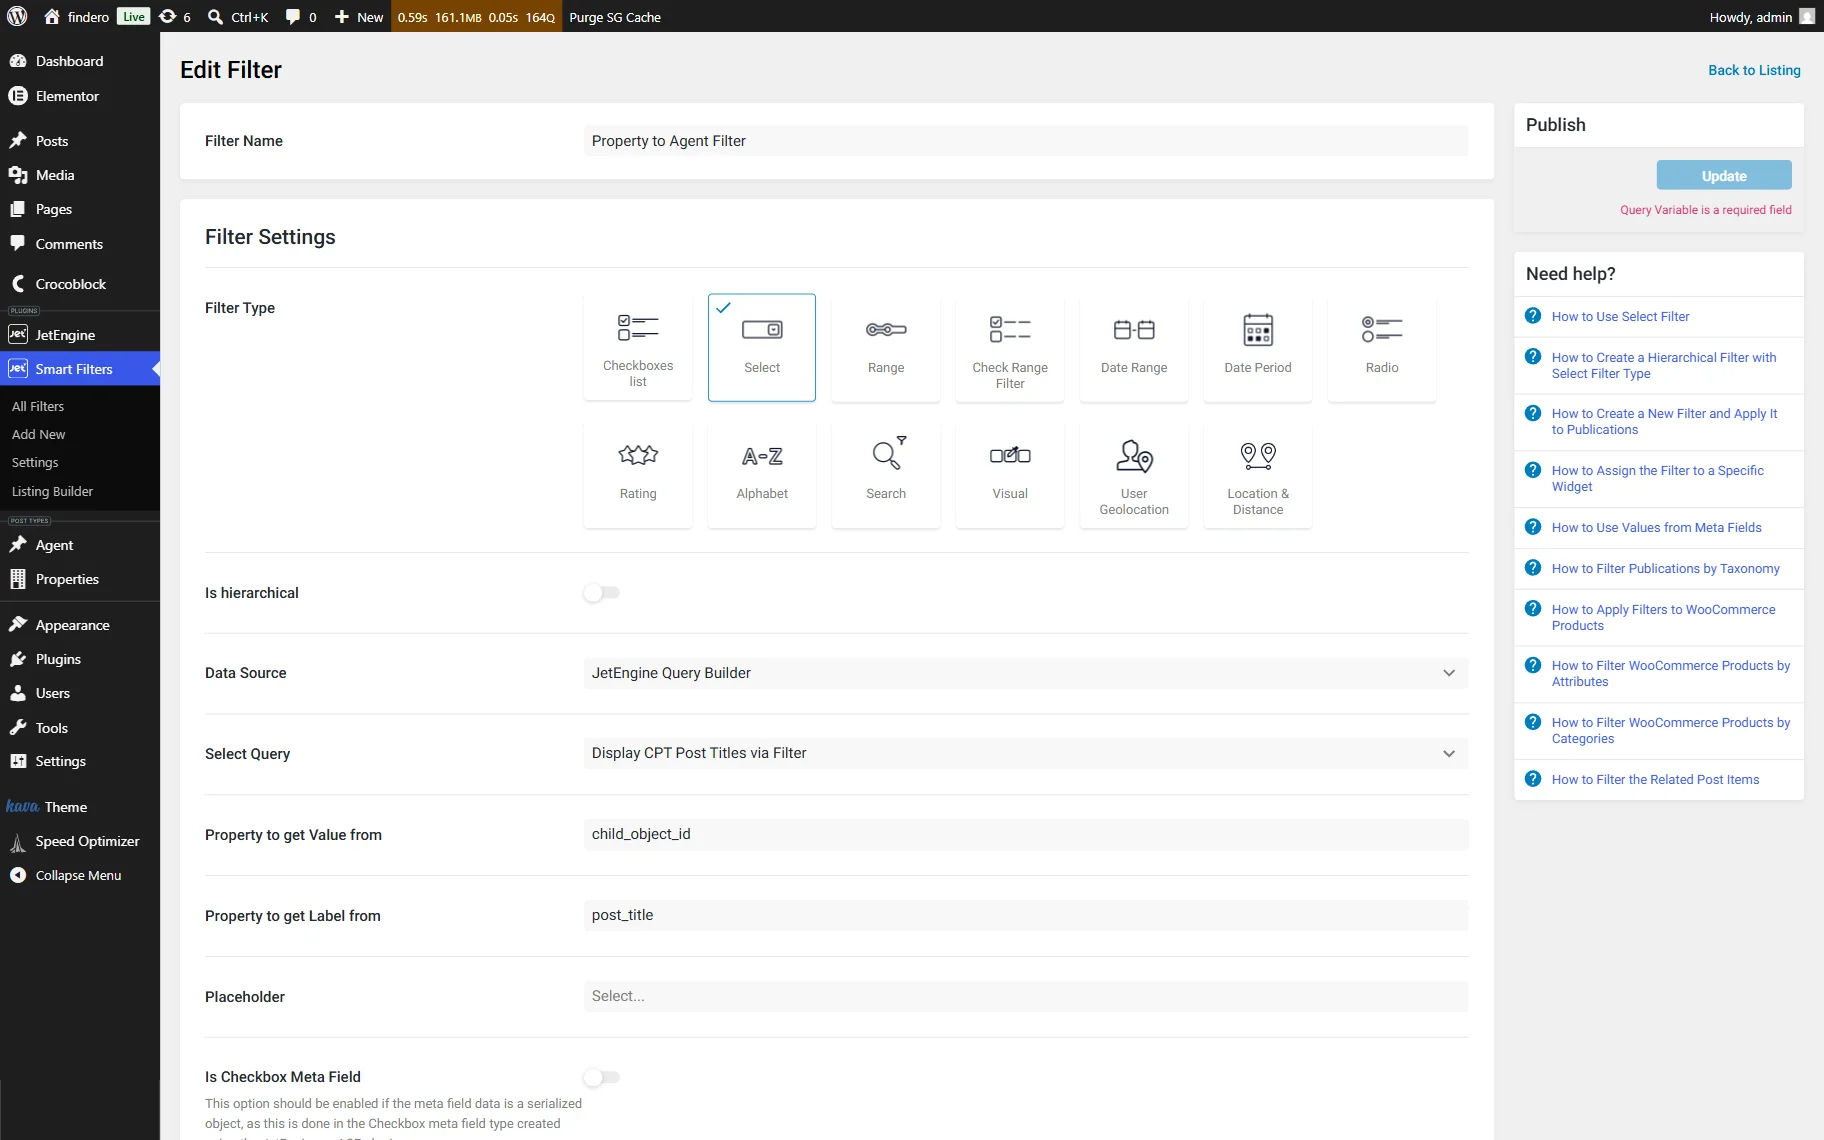
The next step is creating the filter. Here, we proceed to the WordPress Dashboard > Smart Filters > Add New tab and create a new filter of the required type. After that, we insert the Filter Name (“Property to Agent Filter”, in this tutorial), then choose the “Select” Filter Type.
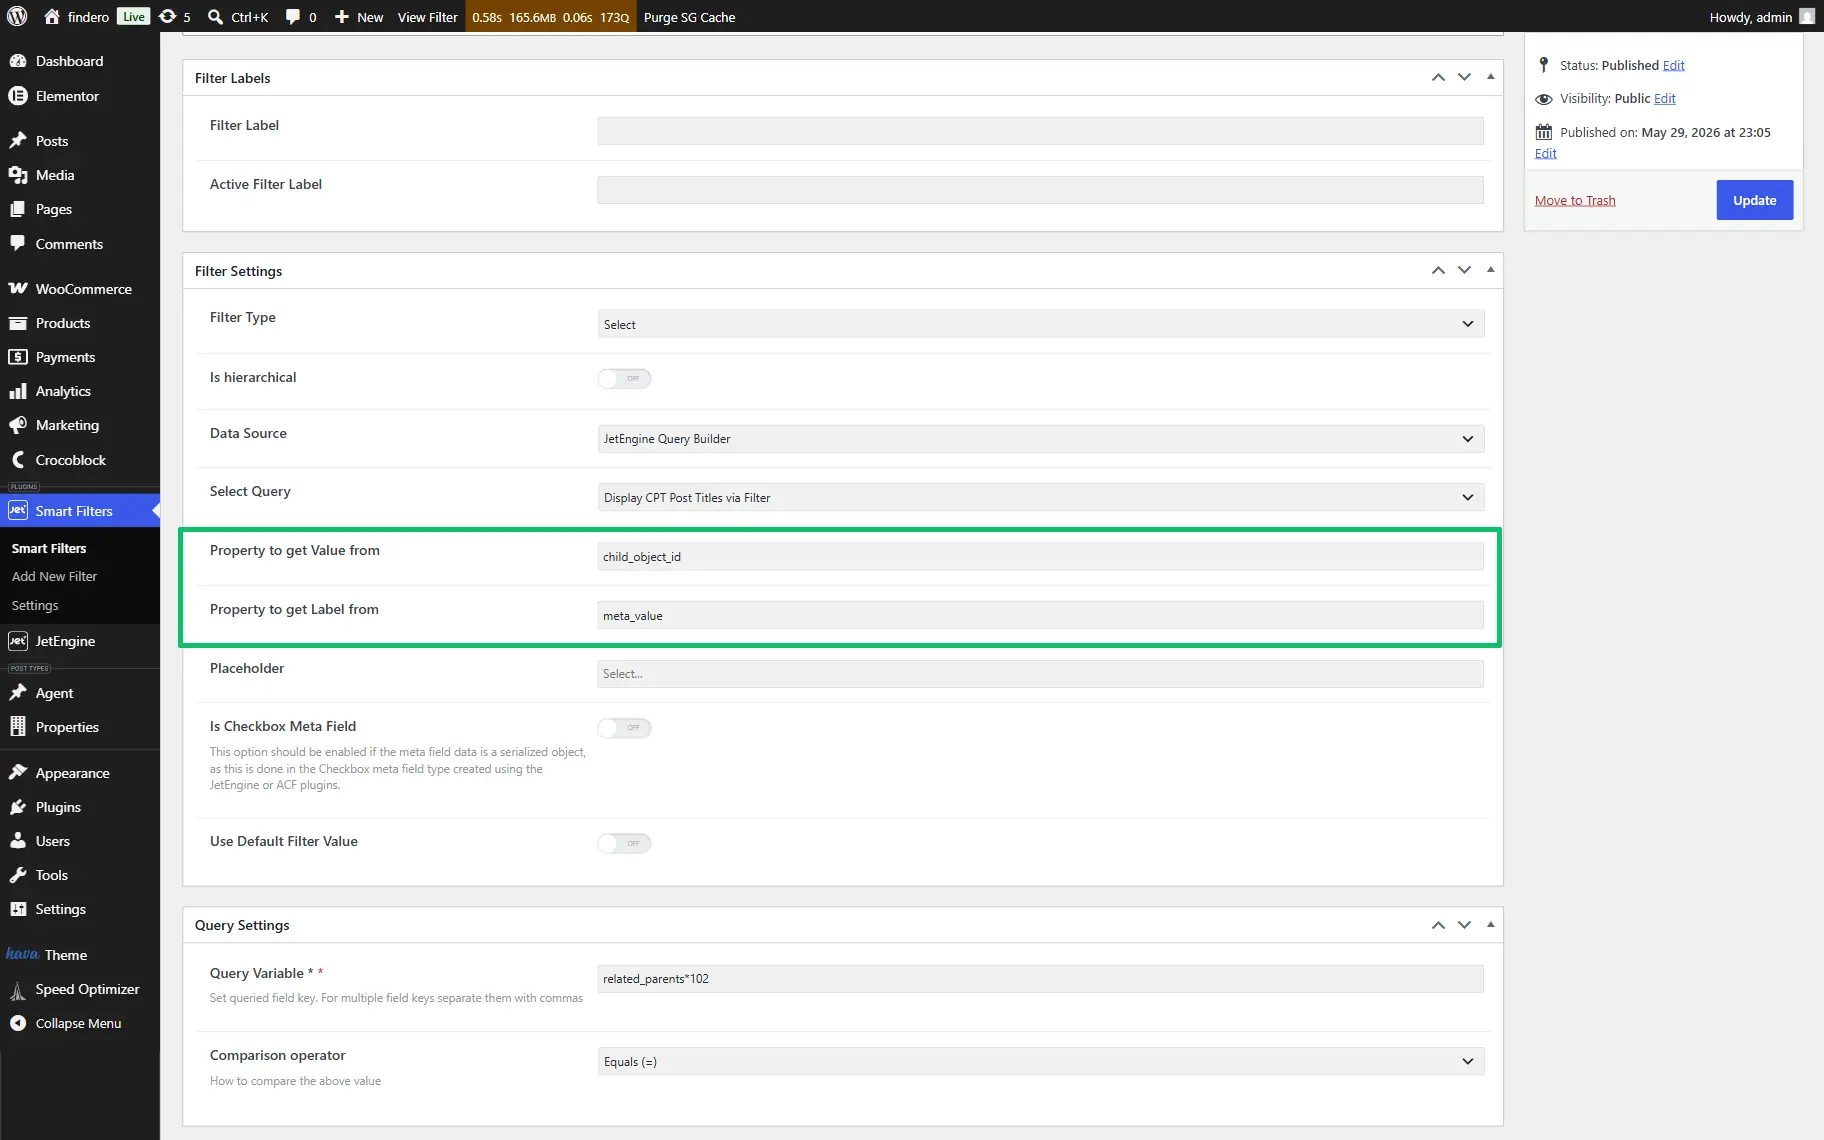
Next, we set the “JetEngine Query Builder” Data Source, and select the previously created query in the Select Query dropdown. In the last step, we insert the “child_object_id” text in the Property to get Value from field and the “post_title” option in the Property to get Label from field.
Then, scroll the page down to the Query Variable field, press the “Dynamic Tag” icon, and select the “JetEngine: filters parents items list by children IDs” option in the Query Variable field.
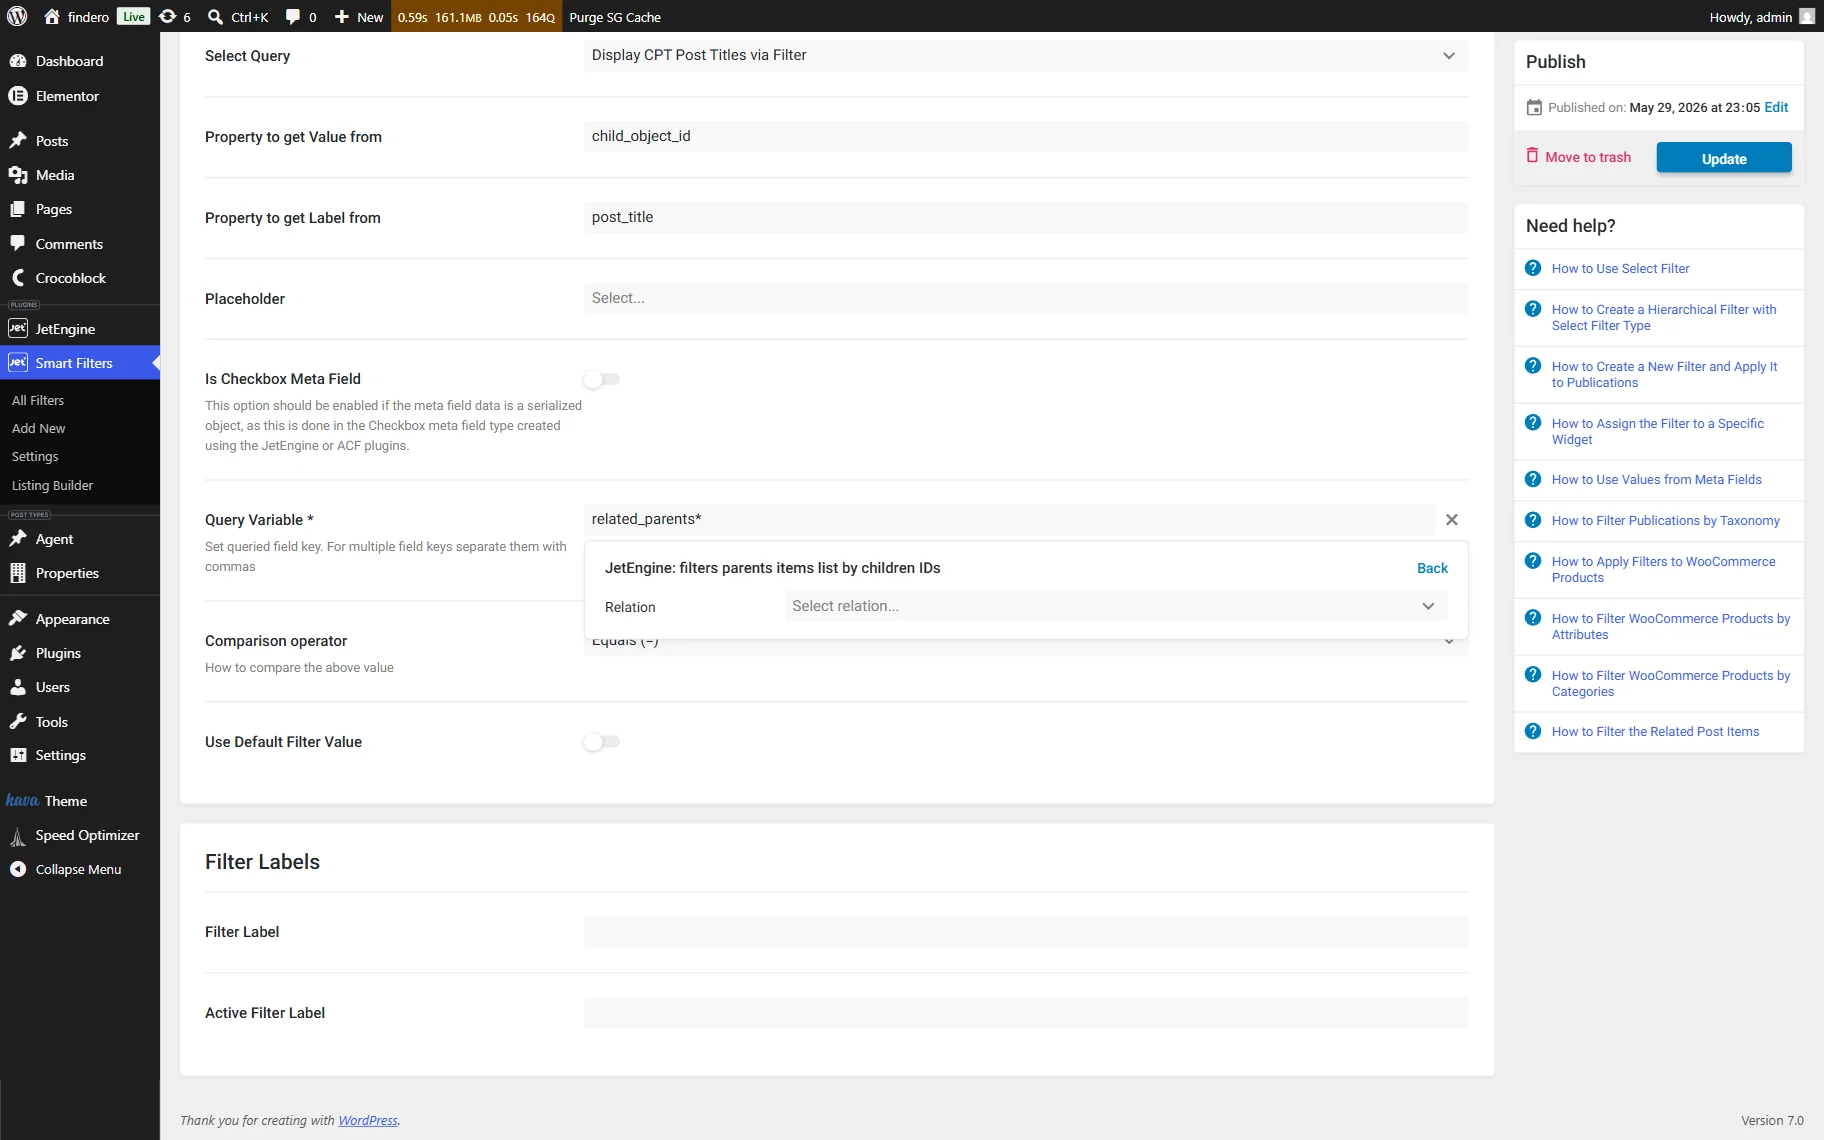
After that, choose the needed Relation from the corresponding dropdown in the newly appeared window. Here, we type the following text in the Query Variable field:
“related_parents:102”
where “related_parent” is the previously built Relation with the “related_parent” Name and “102” is the relation’s ID.
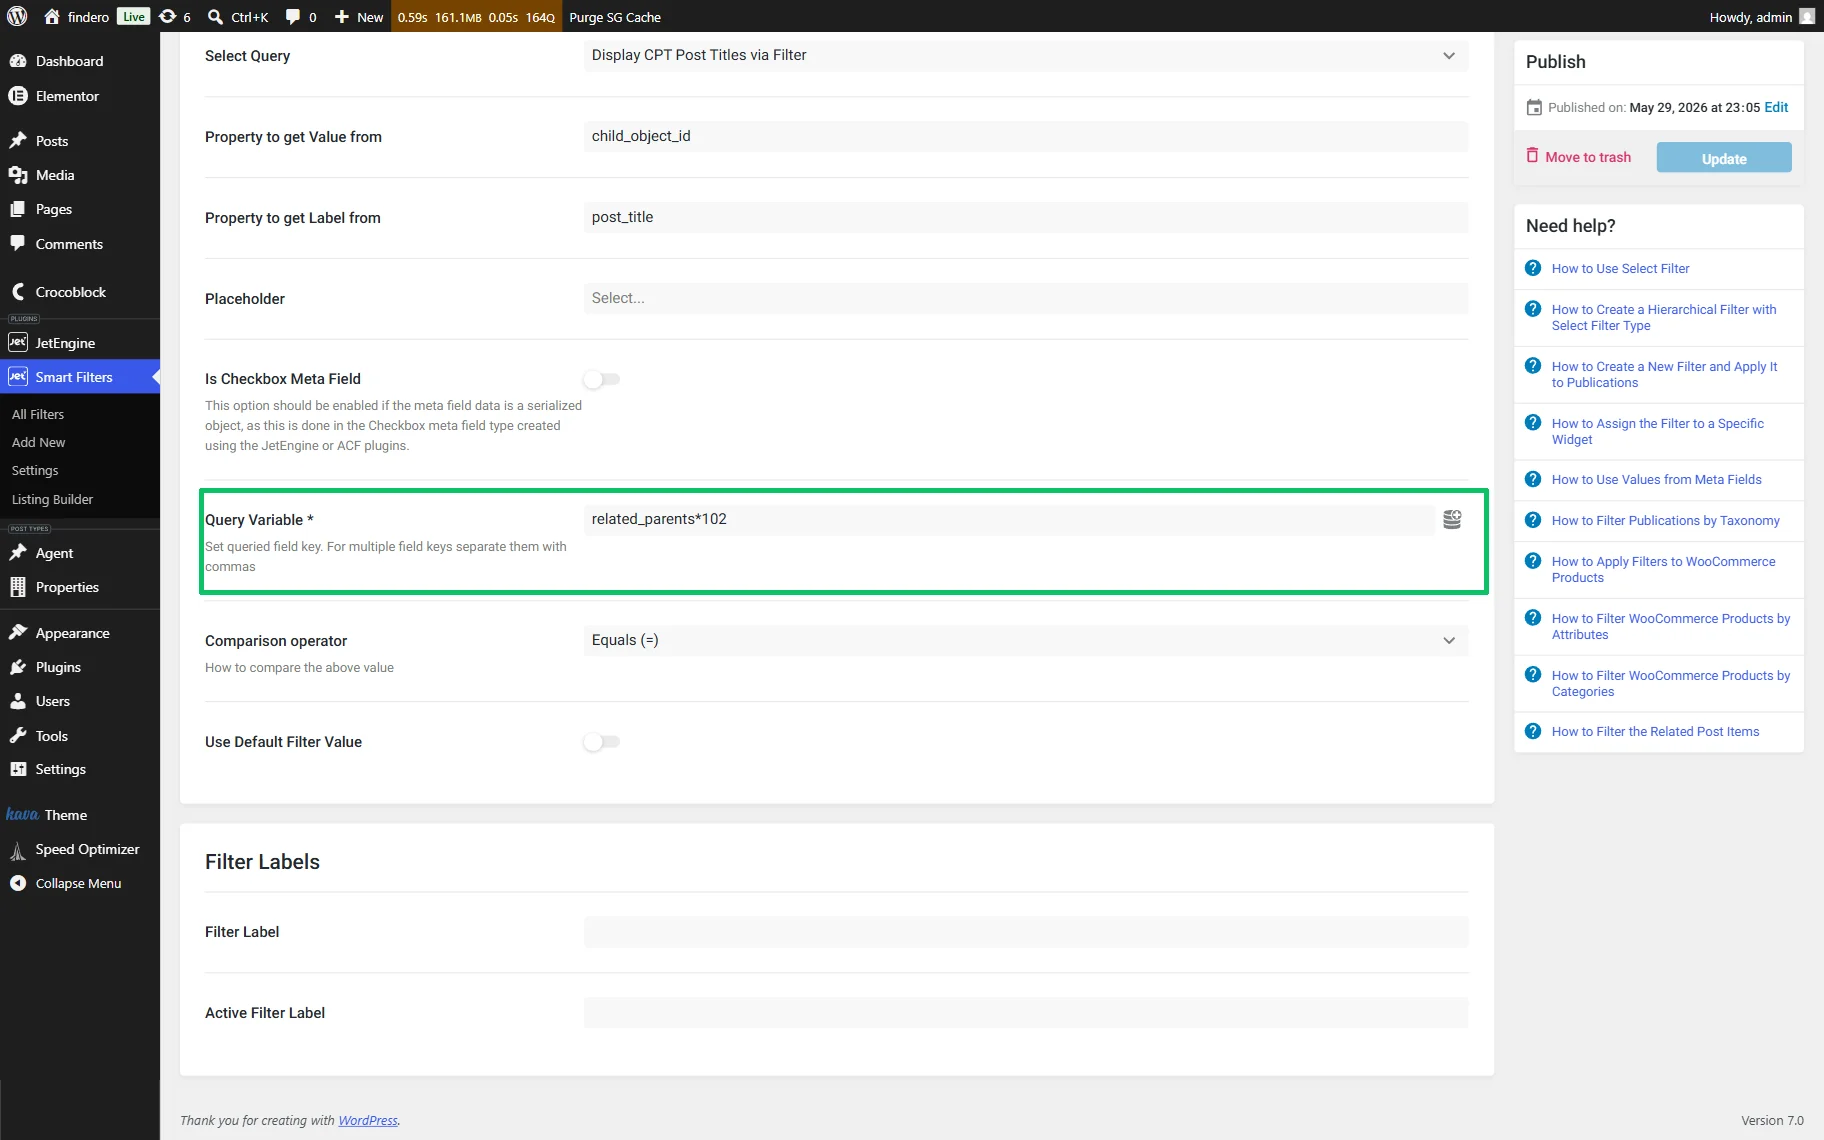
Finally, set the “Equal (=)” Comparison operator and save the filter.
Create a listing template
First, create a Listing template for the parent CPT in the WordPress Dashboard > JetEngine > Listings/Components tab. In this tutorial, the parent CPT is the “Property” CPT.
Here, we’ll use Elementor and add the Dynamic Field (to display the meta field values) and the Dynamic Image (to display the featured image of the corresponding post) widgets into the listing template to it, but you can customize the listing as needed.
Finally, save the template.
Add the listing to a page
The last stage is displaying the listing via the Listing Grid widget. Here, we divide the page into two columns and insert the filter into the left column and the listing into the right one.
Then, move to the front end and check if the filter works correctly.
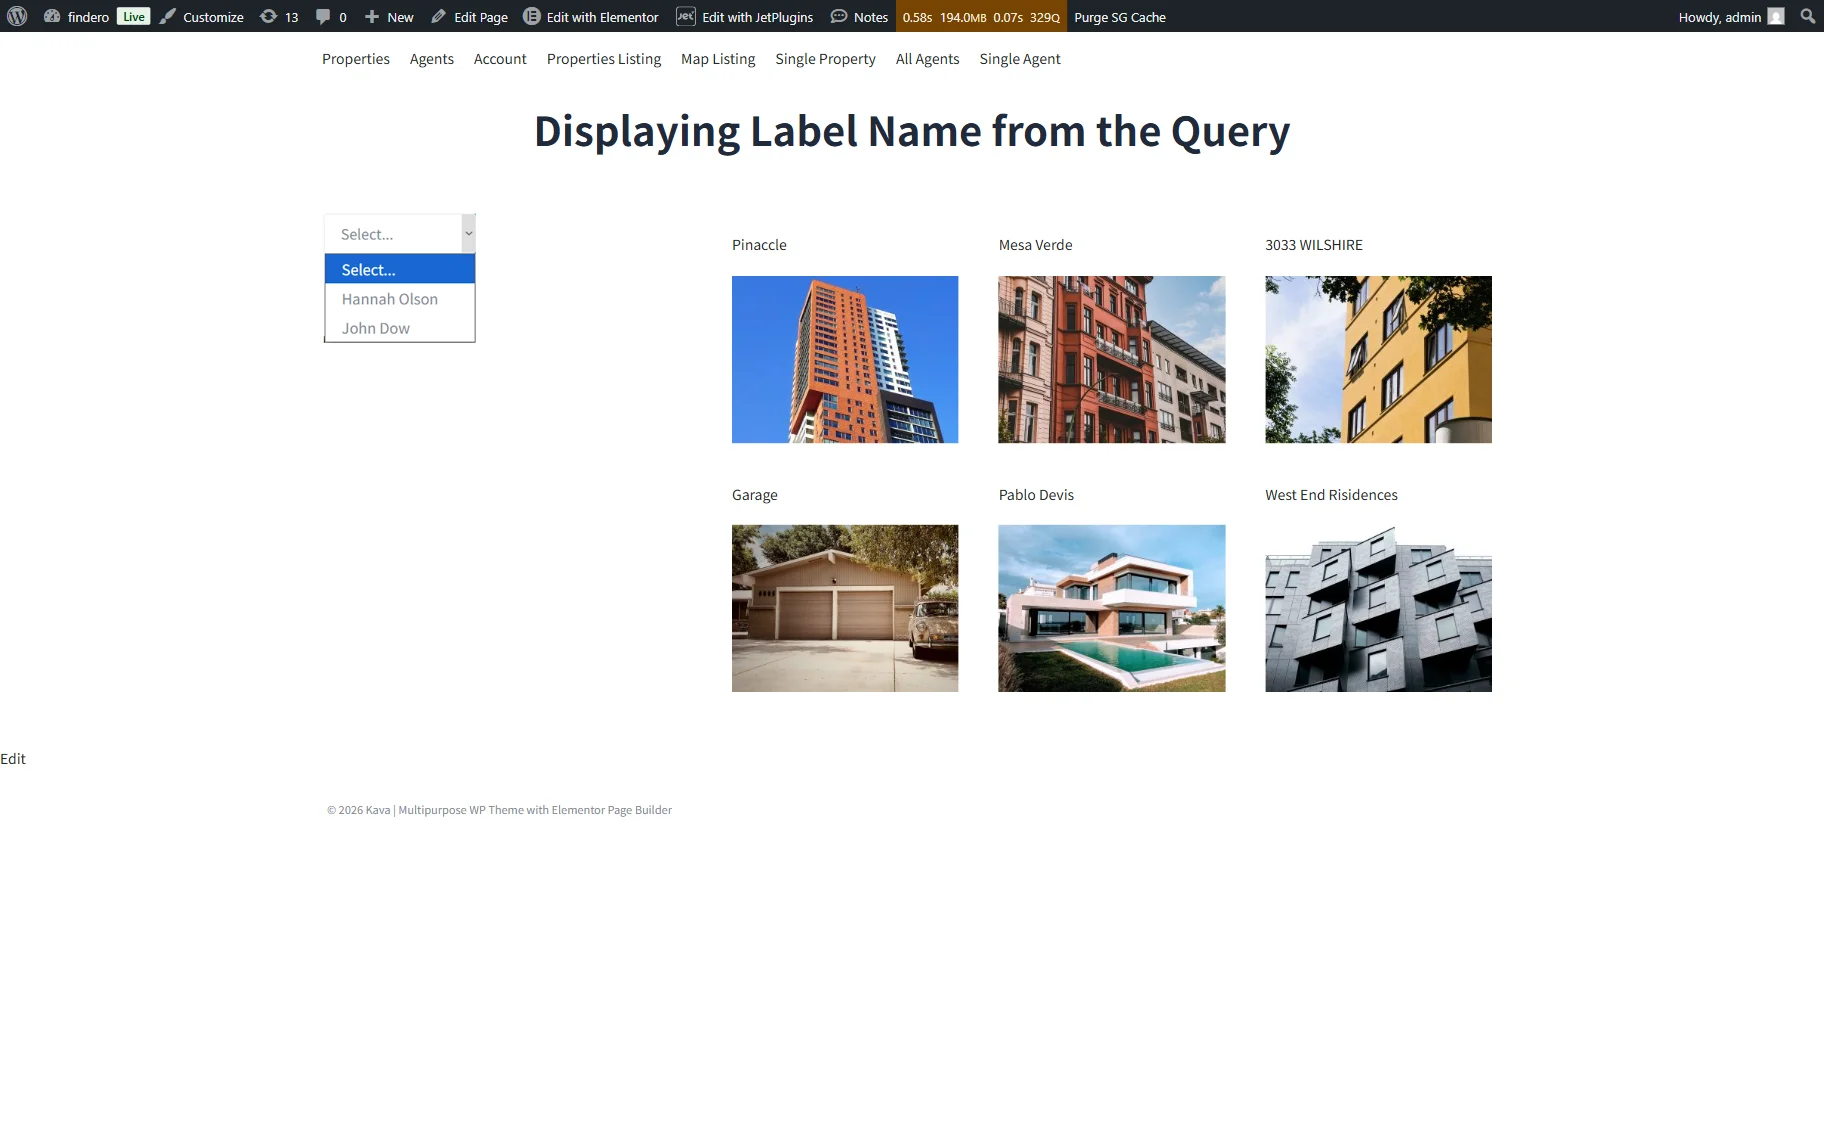
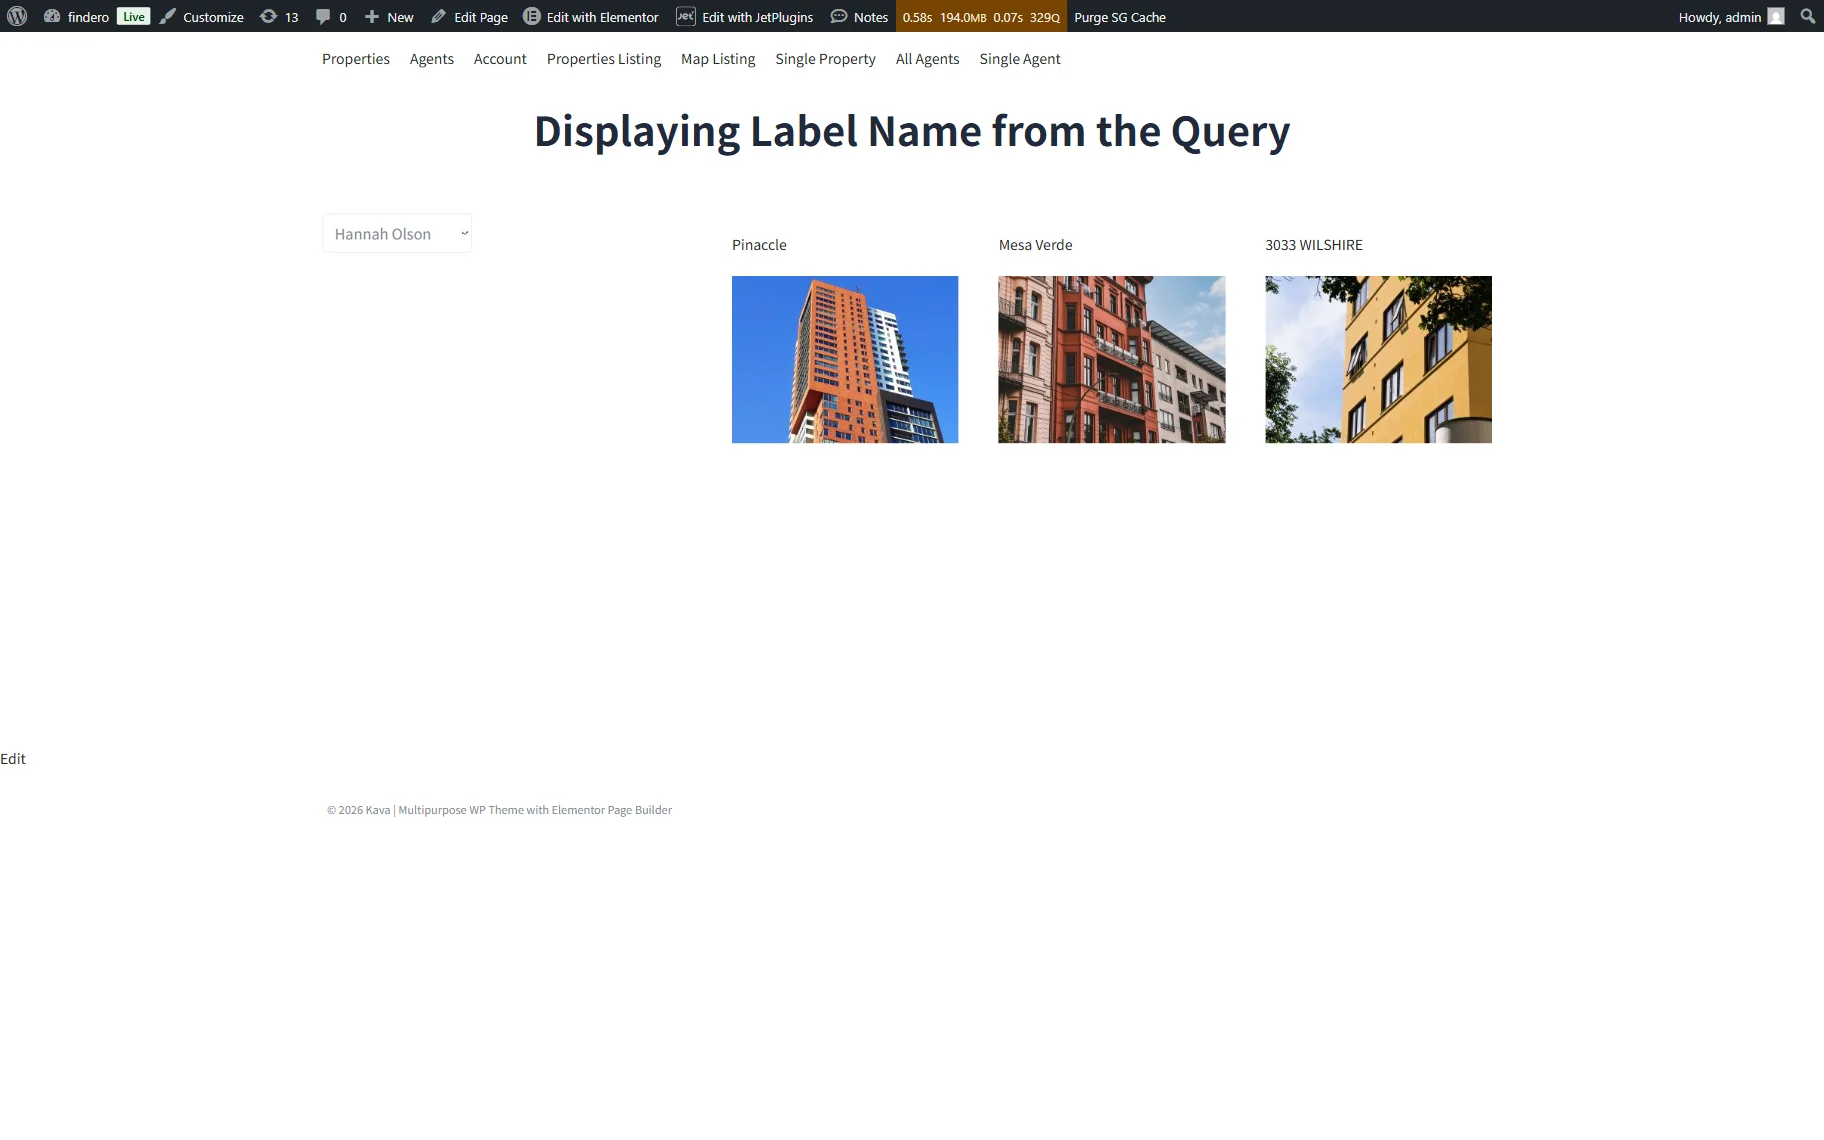
Here, we select the “Hannah Olson” filter option, and the listing shows the corresponding CPT posts.
Display CPT Post Metadata via Filter
Here, we explain how to display CPT post meta values as the labels of the filter’s options. In this case, the post meta values from the “Agent” CPT are used as the filter options. Selecting an option displays the “Property” CPT posts associated with the chosen value.
Build the query
The query used in this case has the same settings as the previously built one, except for the Join Tables and Where blocks, which have the specific settings. First, configure the Join Tables fields: the “Inner Join” option should be selected in the Join Type dropdown and the “postmeta” option in the Join Table dropdown. In addition, the “child_object_id” option should be selected in the Is equal to other table column field.
Then, move to the Where block. Here, select the “postmeta.key” option in the Column field, the “Equal (=)” option in the Compare field, and set the name of the needed meta field in the Value field (the “note”, in this tutorial).
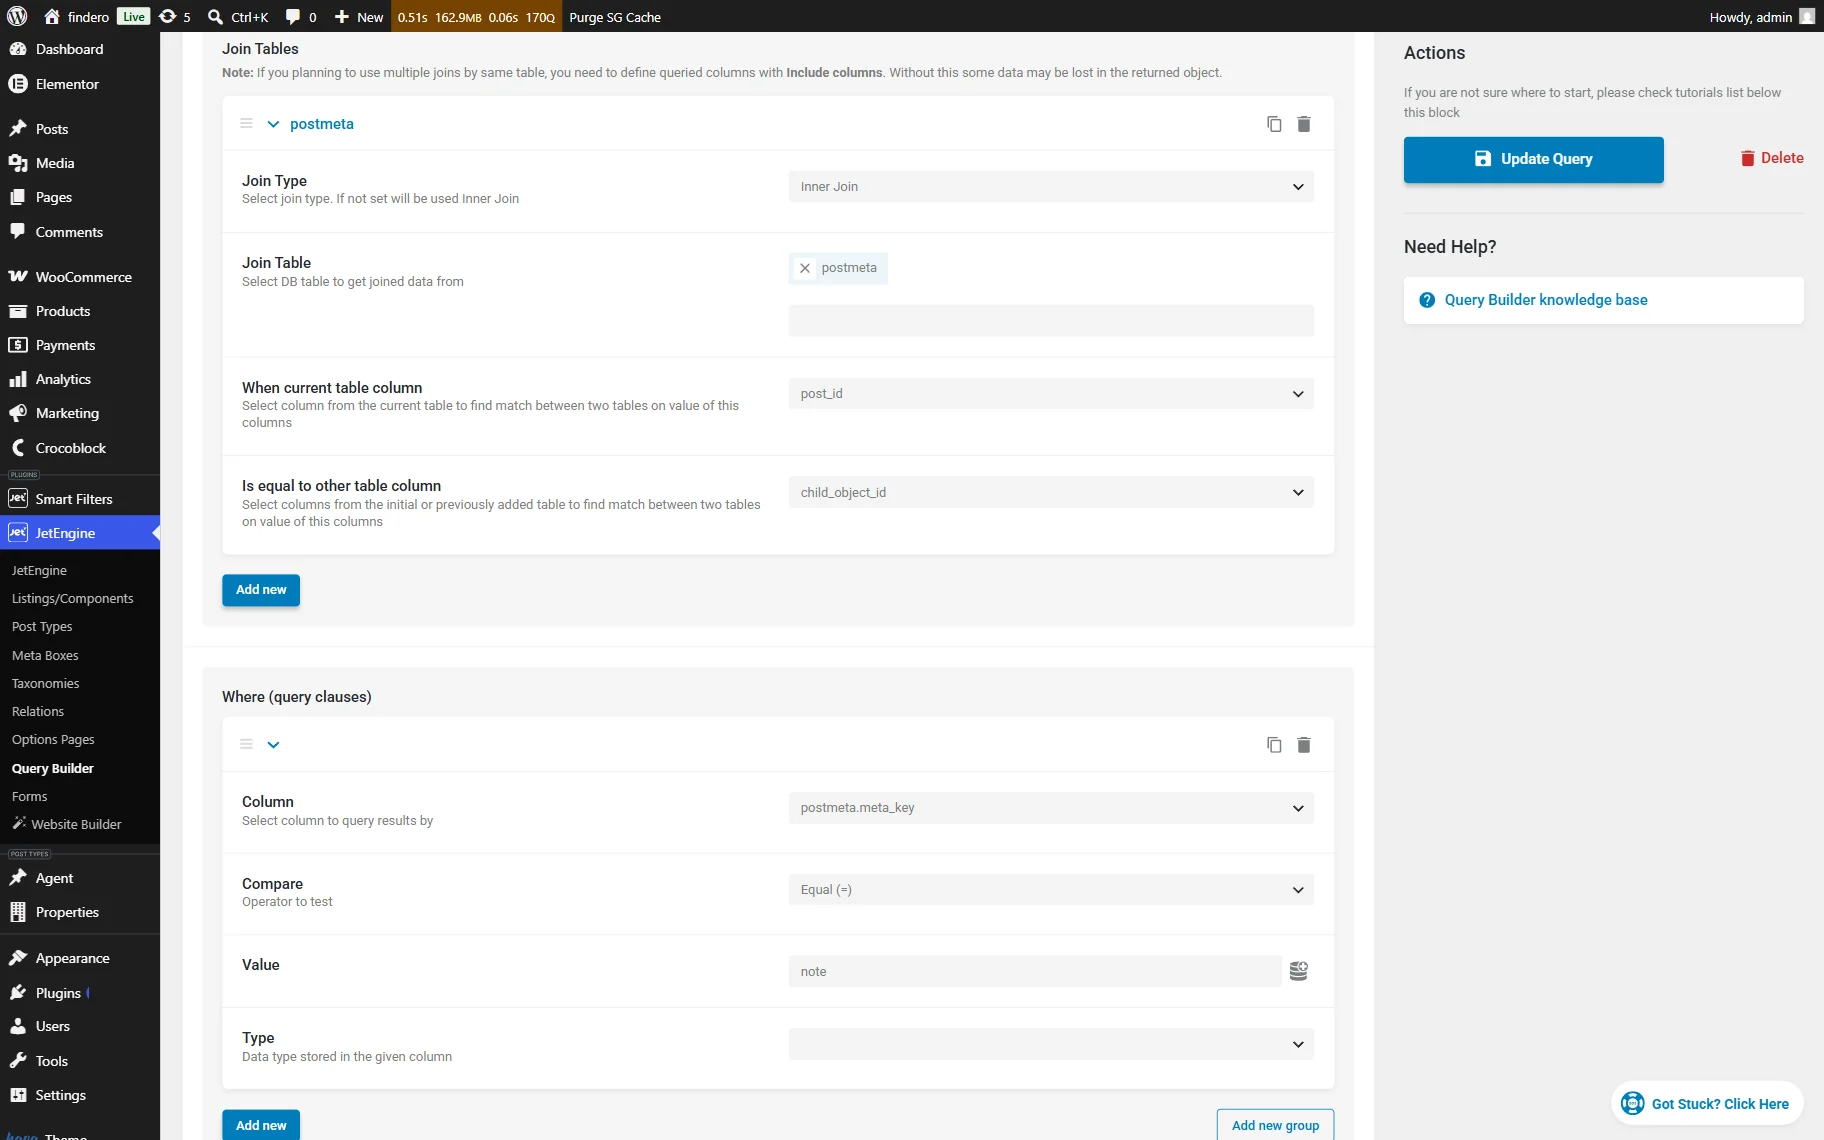
Once configured, scroll up to the top of the page and save the query.
Configure the filter settings
The filter developed in this stage has the same settings as the previously built filter, except for the Property to get Value from field, which should have the “meta_value” option set.
Test the Workflow
The next workflow is the same as the workflow for the previous case: create a listing for the “Property” CPT. Here we insert the Dynamic Field and Dynamic Image widgets, but you can design the listing as needed.
Then, add the filter and the listing to the page. Save the page and move to the front end.
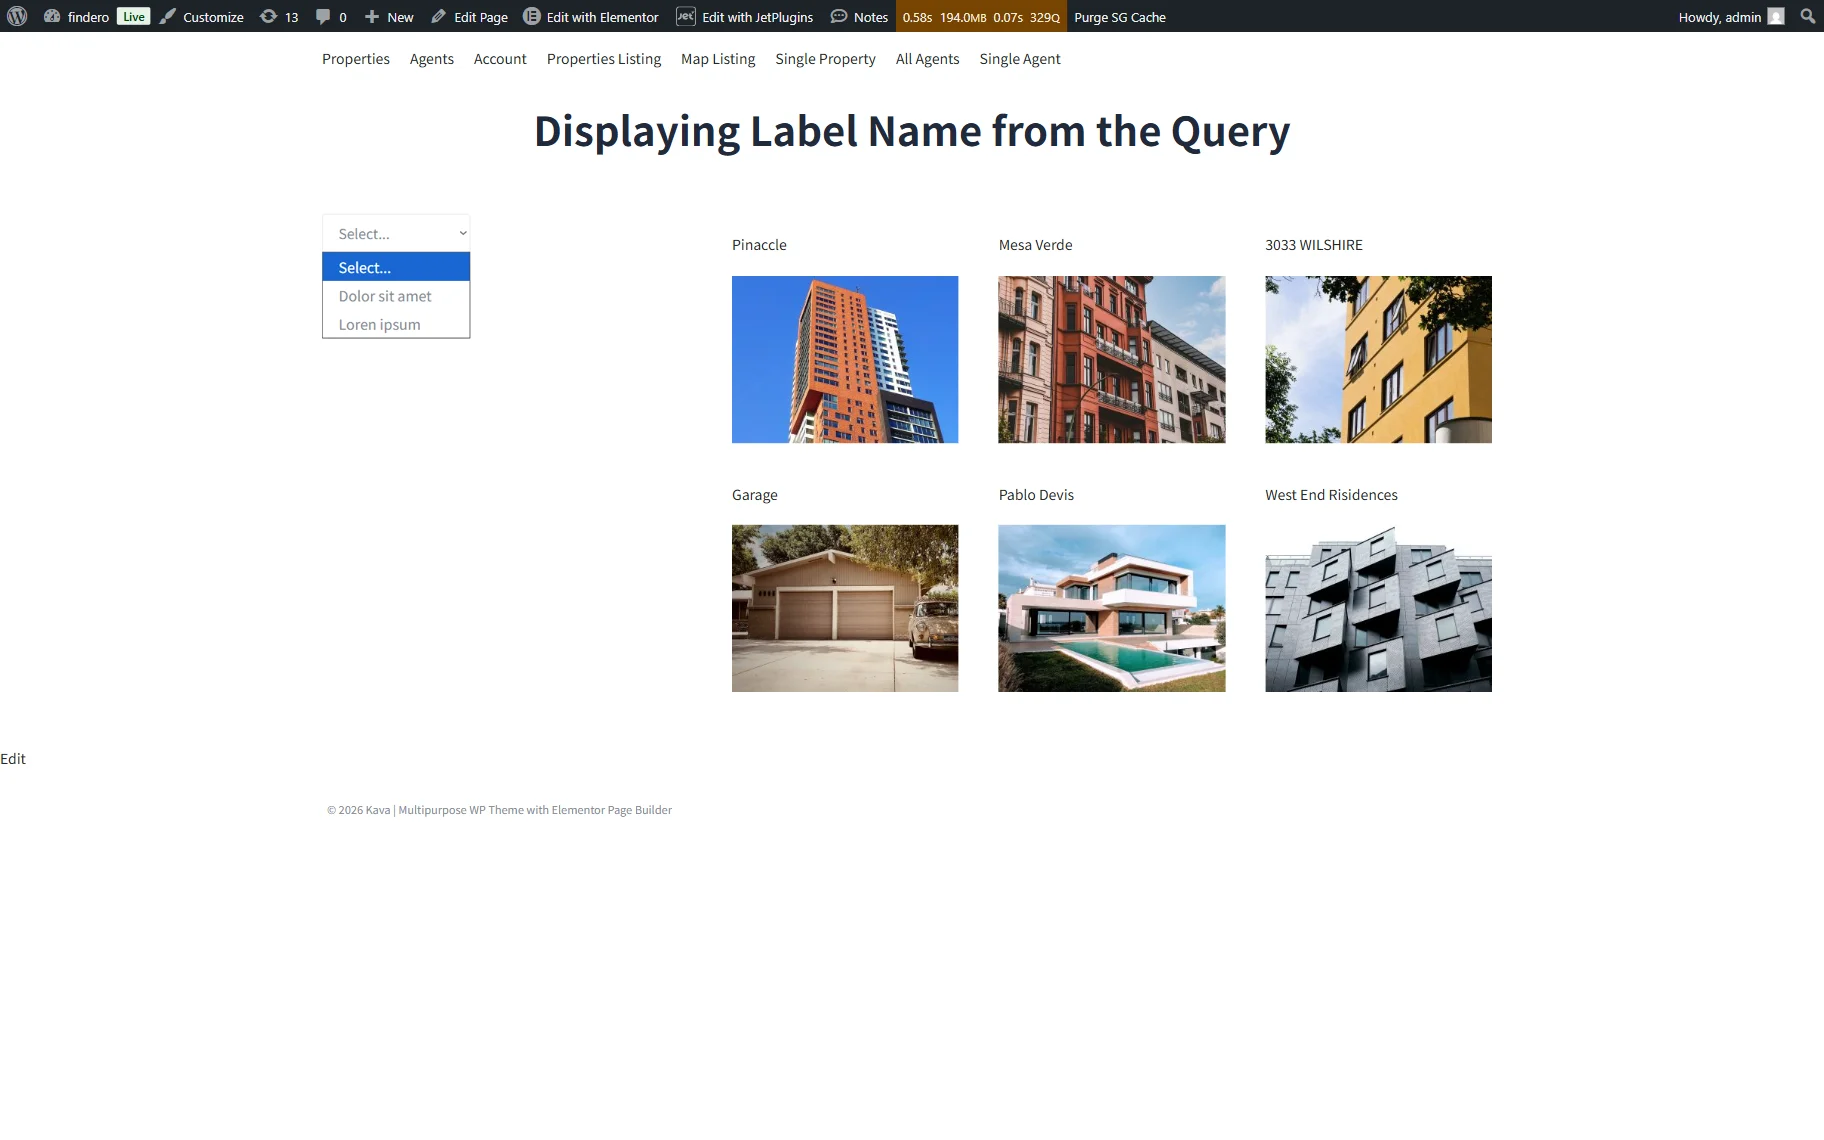
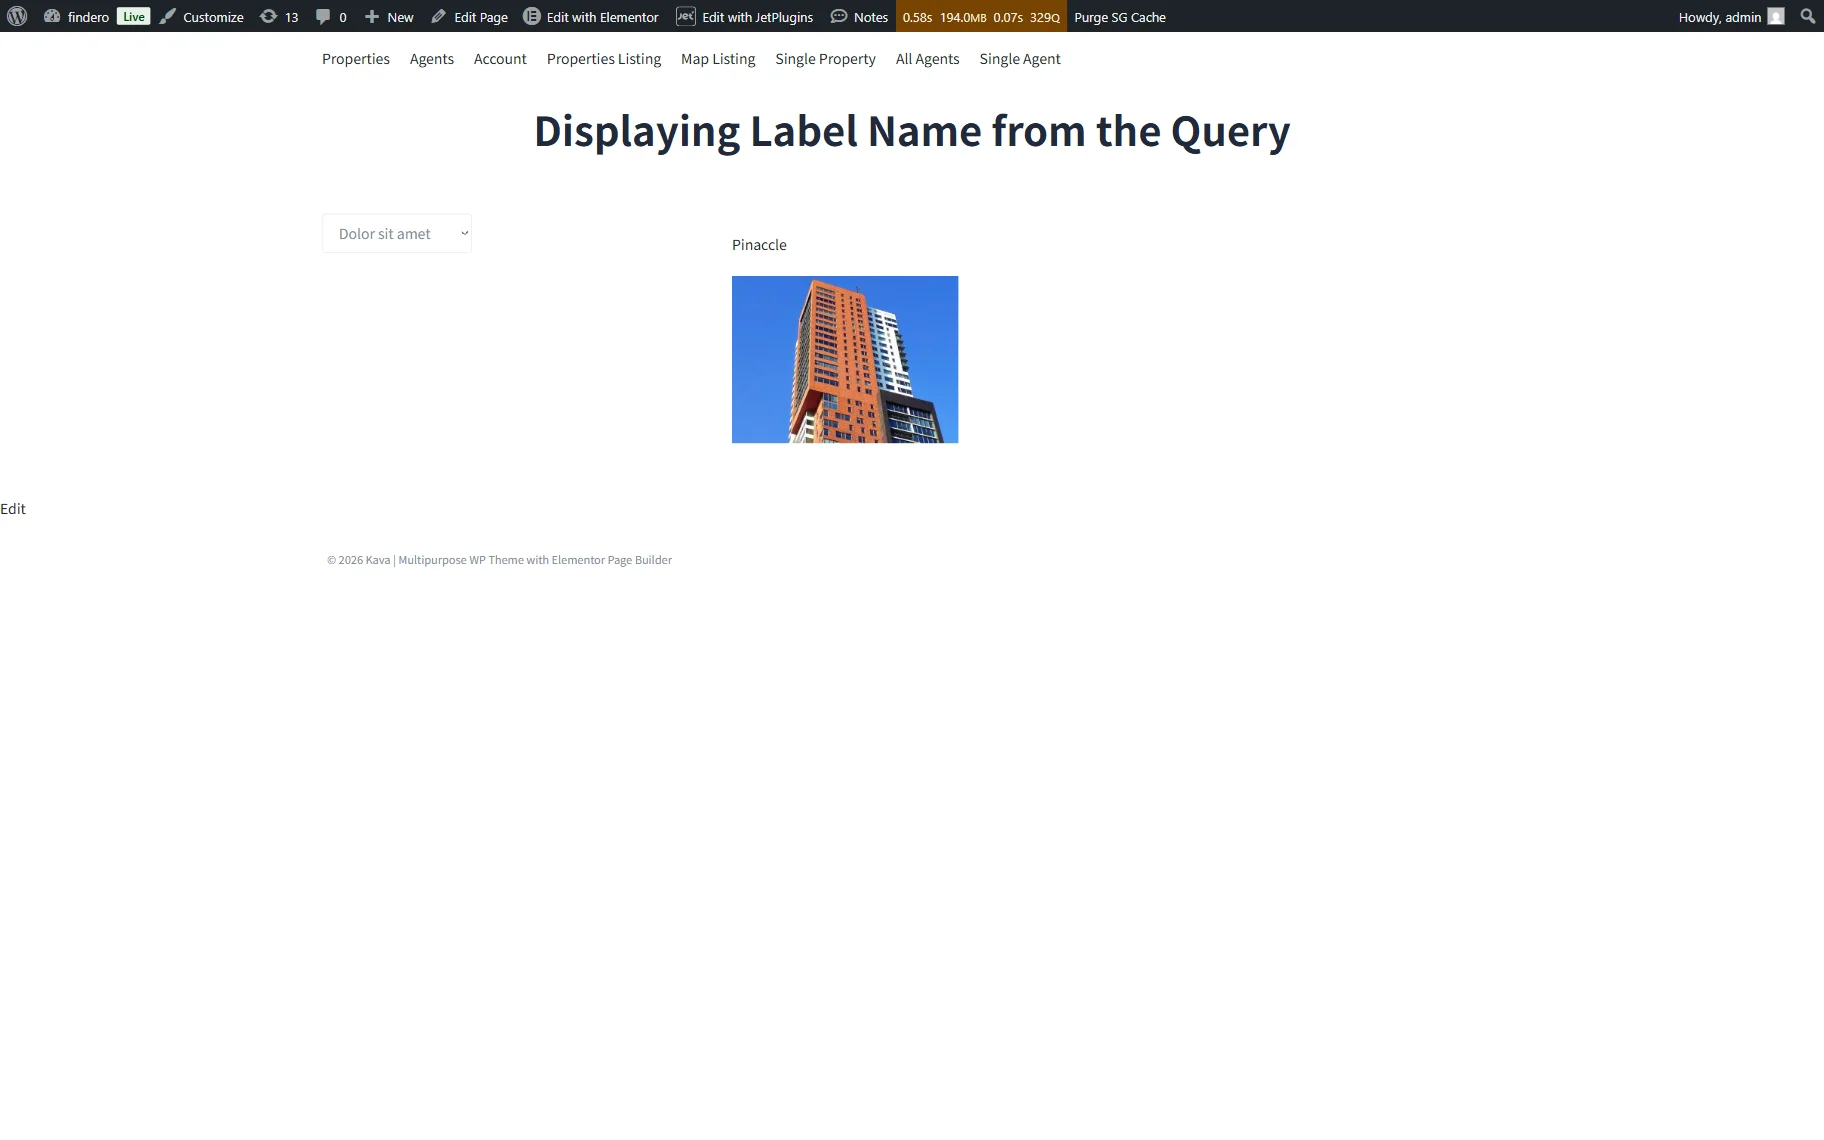
Check if the filter works correctly.
FAQ
Yes, feel free to set the needed relation; the workflow will not change.
Here, we used the Select Filter. Also, the Checkboxes list and the Radio filters can be applied.
If the selected meta field does not contain a value, the filter will not show the meta field as an option.
Yes, in this case, you should configure each filter independently and apply it where needed.
Yes. If meta values are updated, the corresponding data will be updated too.
That’s it. Now you know how to filter the related data and display post titles and the meta field values as the labels of the filter’s options using the JetSmartFilters plugin for WordPress.