How to Set Reverse Booking and Google Calendar iCal Synchronization
Learn how to connect the JetBooking plugin to Google Calendar using the public address in iCal format. This connection will automatically transfer bookings made on the WordPress website to the calendar service.
Before you start, check the tutorial requirements:
- JetBooking plugin installed and activated with the booking setup
Learn more about that from this tutorial
To display booked items on Google Calendar, you need to synchronize it with the data on the website. The JetBooking plugin functionality allows you to achieve that via iCal synchronization.
The iCalendar is a media type that enables users to store and exchange calendar and scheduling information, including events, to-do lists, journal entries, and free/busy information.
There are three tutorials about JetBooking and Google Calendar iCal synchronization. Before you proceed further, find out what suits you more:
- How to Transfer Bookings from Google Calendar via iCal Synchronization — describes how to create bookings in Google Calendar and import them to the WordPress website;
- Reverse Booking and Google Calendar iCal Synchronization — tells how to import bookings from the website to Google Calendar;
- Two-Way Booking and Google Calendar iCal Synchronization — explains how to transfer JetBooking bookings from the WordPress website to Google Calendar and vice versa.
Enable the iCal Synchronization
Open WordPress Dashboard > Bookings > Settings > Advanced, turn the Enable iCal synchronization toggle on, and set the Calendar sync interval and Calendar sync start.
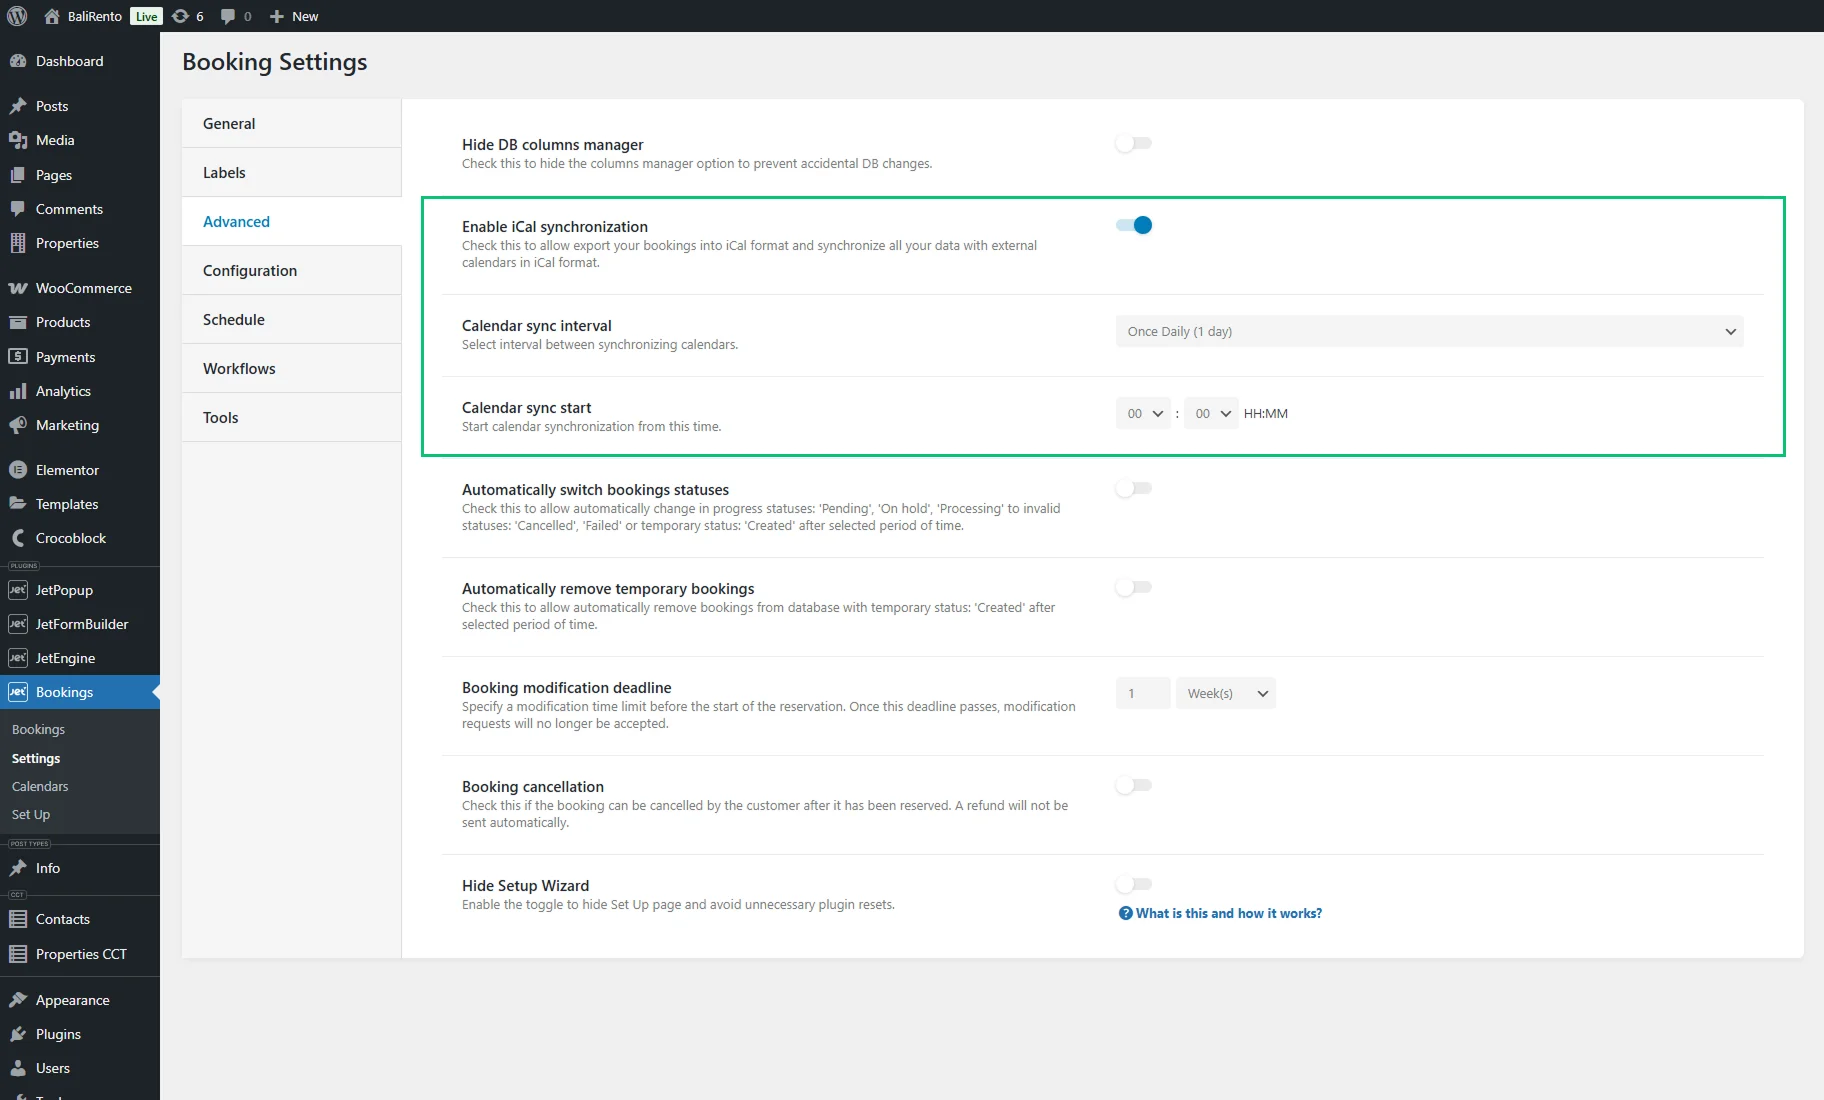
Then, proceed to the WordPress Dashboard > Bookings > Calendars tab. Here you will see the posts of the Custom Post Type connected to JetBooking during setup.

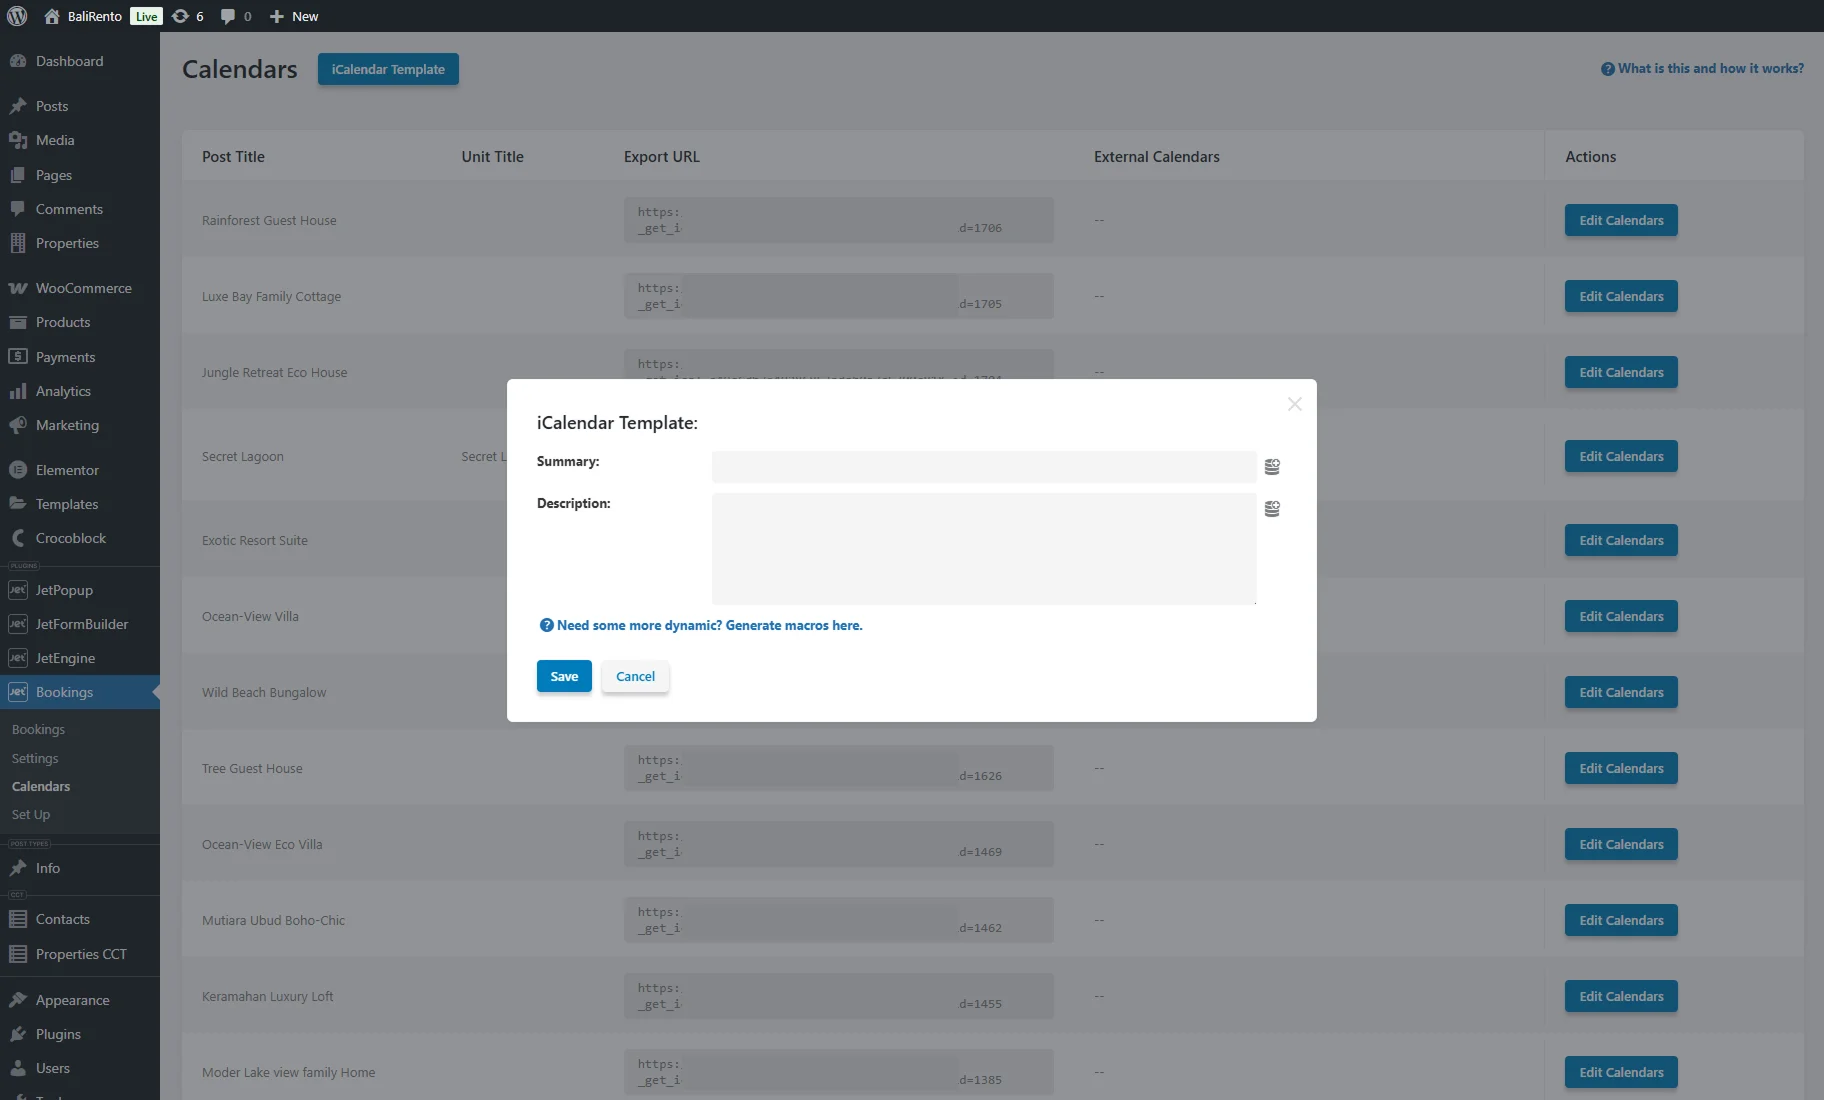
If you push the “iCalendar Template” button, you will open a pop-up where you can set the iCalendar export template. In the Summary and Description fields, you can combine plain text with the JetEngine macros. Additionally, JetBooking dynamic tags can be added by clicking the “database” icon.
If you click the Need some dynamic? Generate macros. link, you automatically proceed to WordPress Dashboard > JetEngine > JetEngine dashboard > Macros Generator.
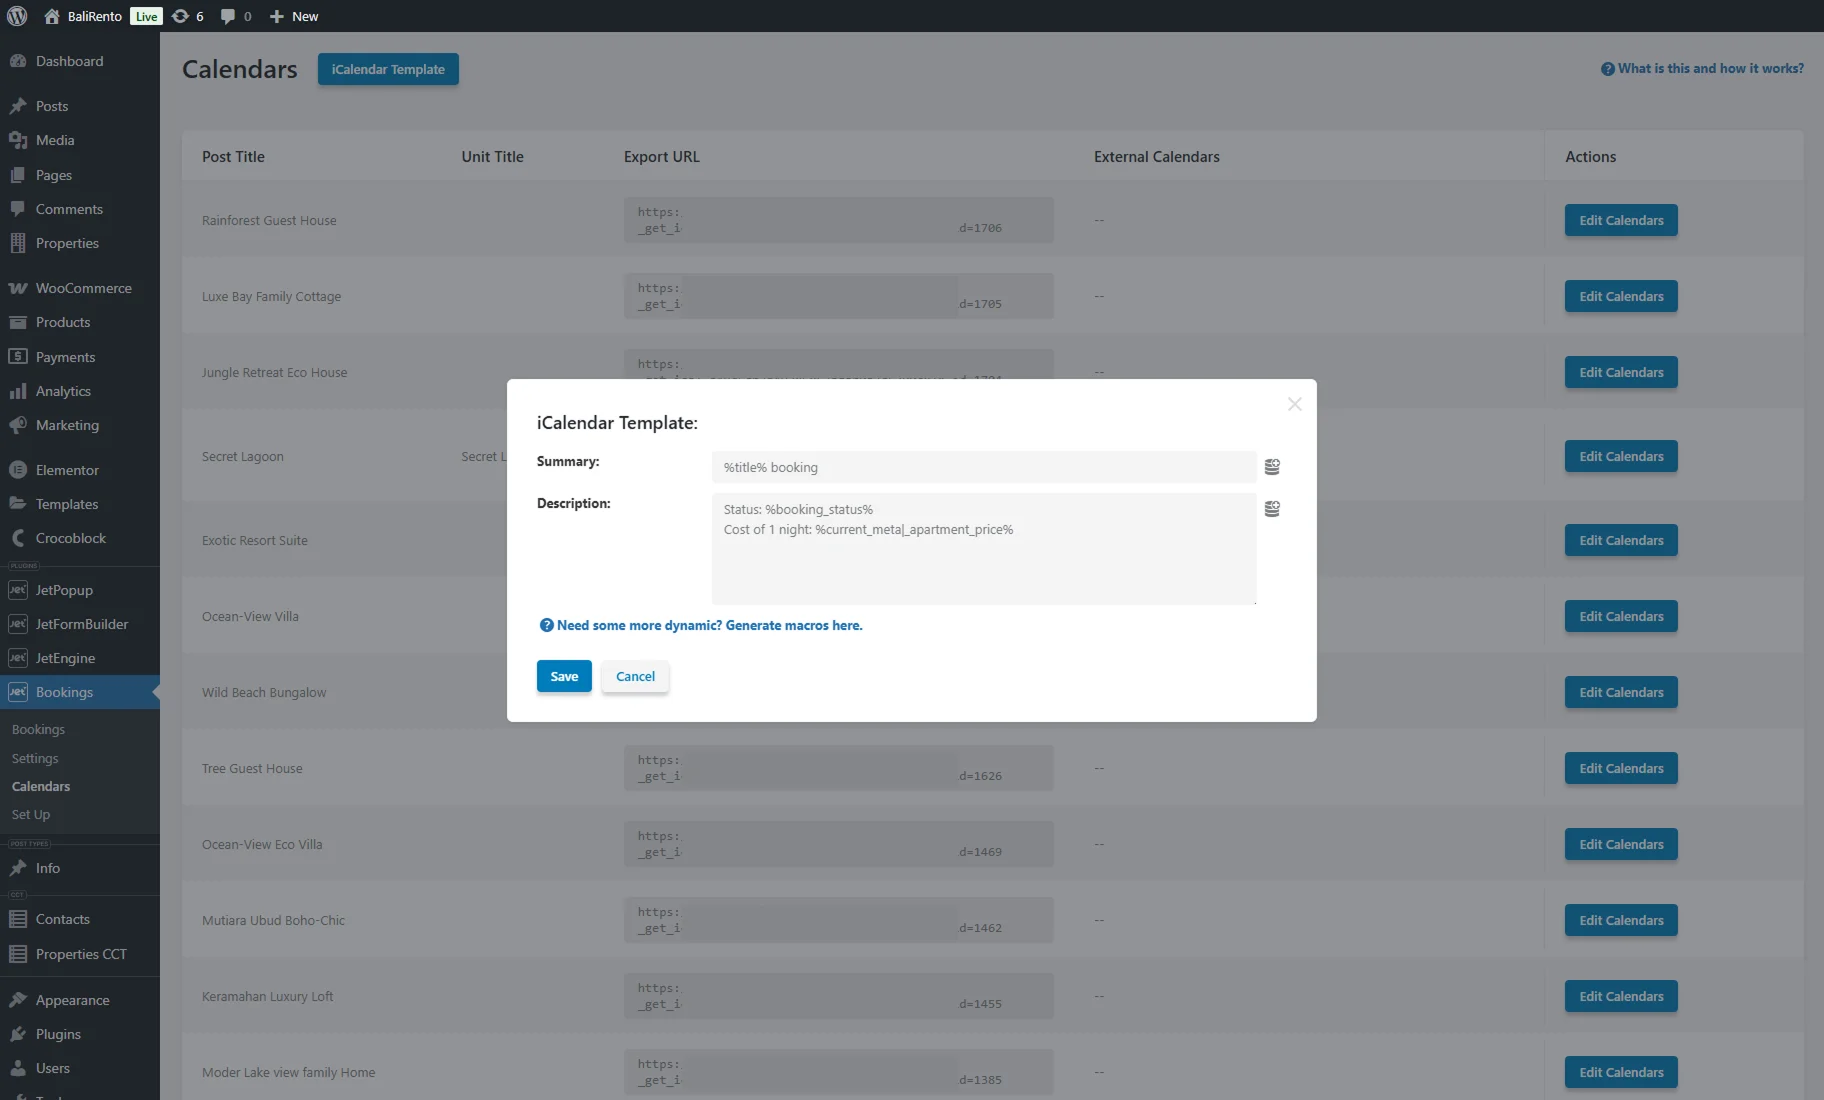
In the Summary bar, we set the title of the event in the iCalendar feed in such a way:
%title% booking This dynamically inserts the property post title (%title%)
To display the unit title, you can add the %booking_unit_title% macro via the “Booking Unit Title” dynamic tag.
In the Description textarea, we set the description field of the iCalendar event:
Status: %booking_status% — displays the current booking status and is inserted via the “Booking Status” dynamic tag.Cost of 1 night: %current_metal_apartment_price% — shows the price per night dynamically. To insert such a macro, press the “database” icon, select the “Booking Instance Meta” dynamic tag, and enter the custom field name that stores the apartment price in the Meta field input.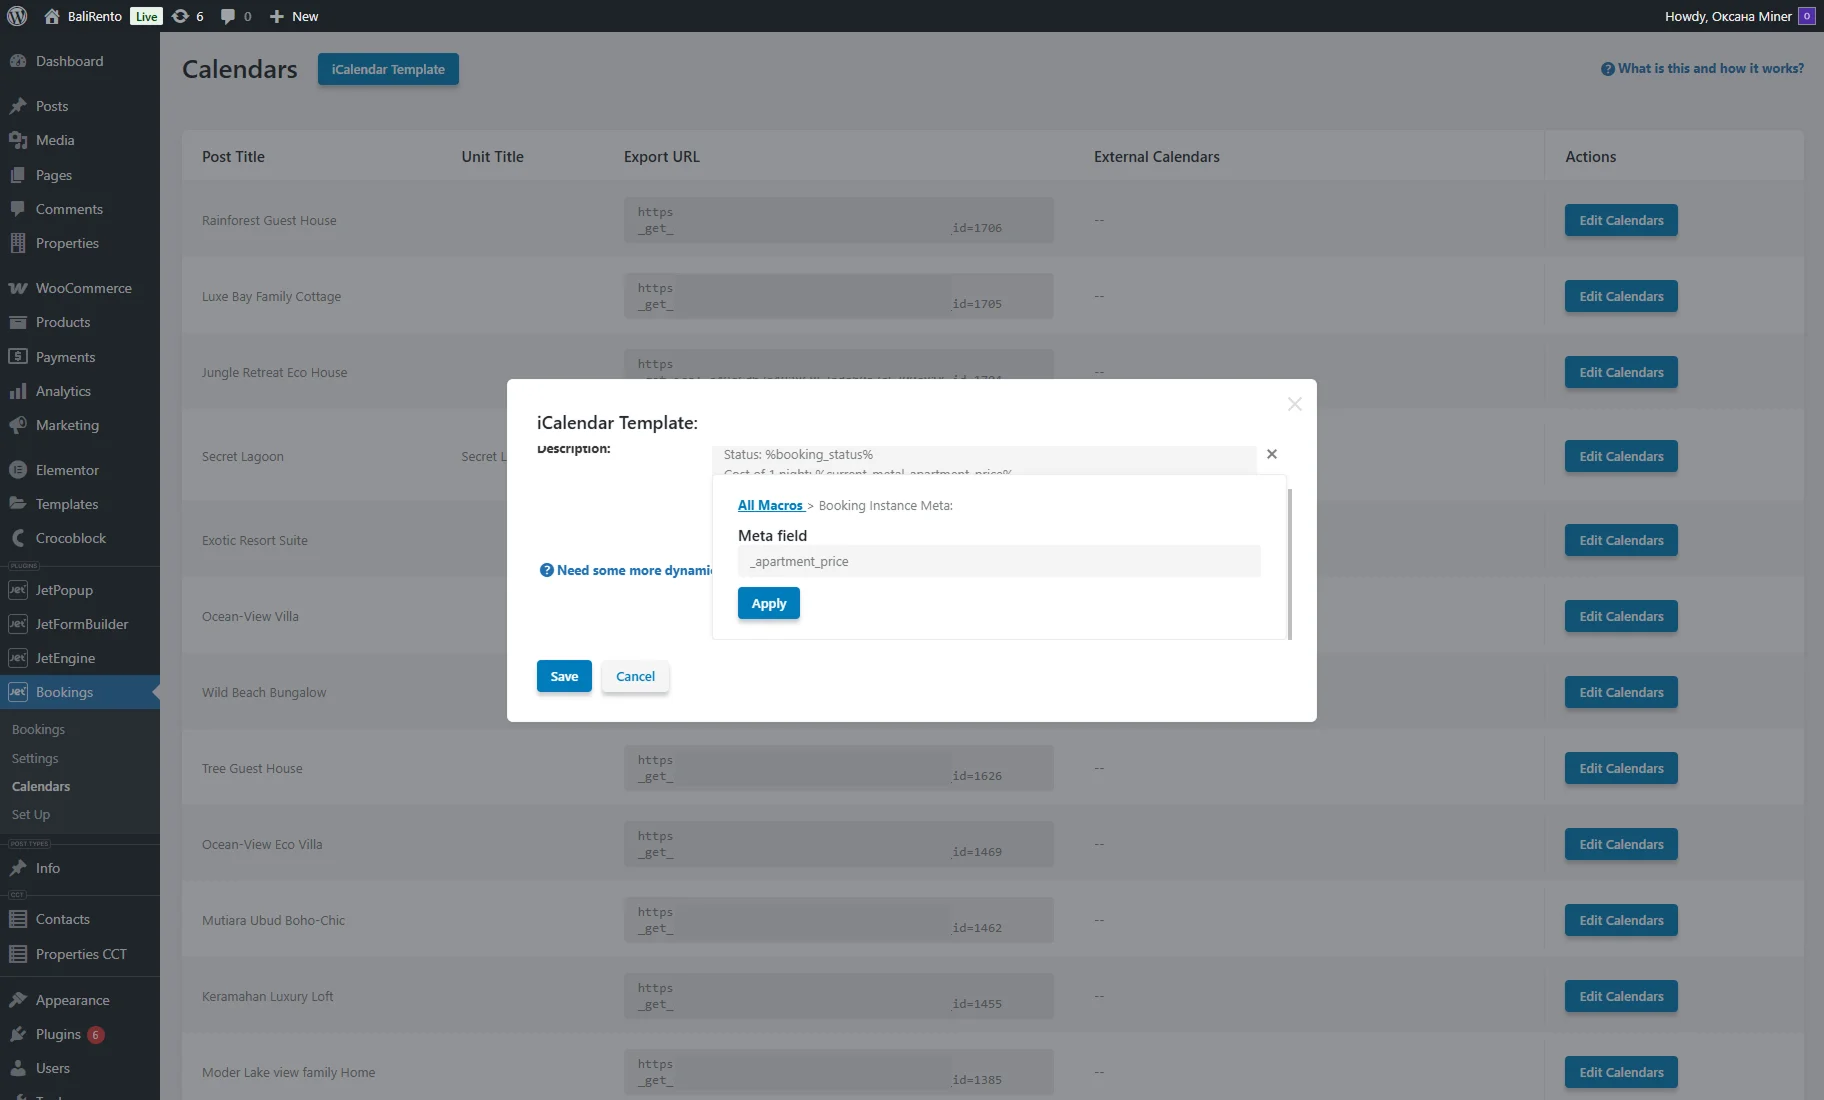
After you finish customizing the iCalendar template, press the “Save” button.
You can achieve this using the booking form on the Property Single Page. Refer to the How to Display the Booking Form on the Single Post Page tutorial for guidance.
Additionally, to create bookings more quickly, go to the WordPress Dashboard > Bookings tab.
Create a New Calendar
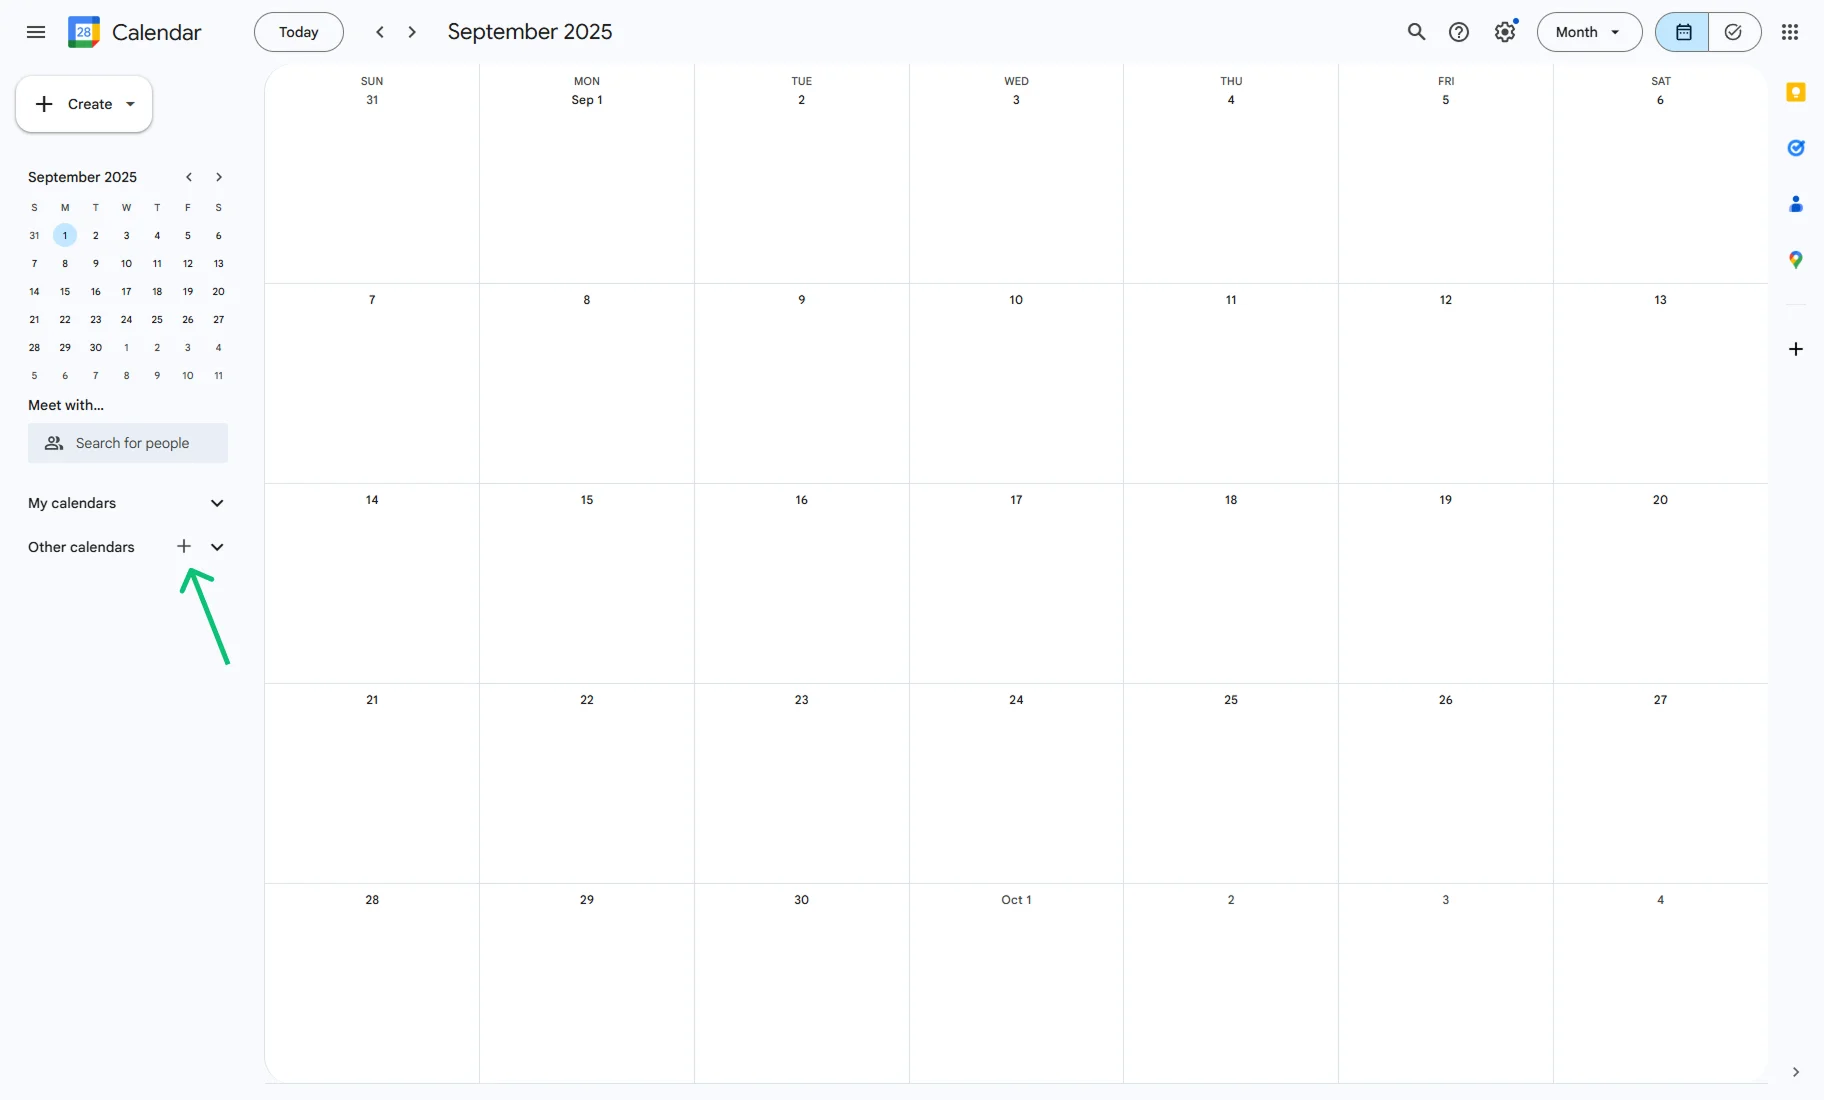
Open the Google Calendar app in a new window and click the “Add other calendars” button.
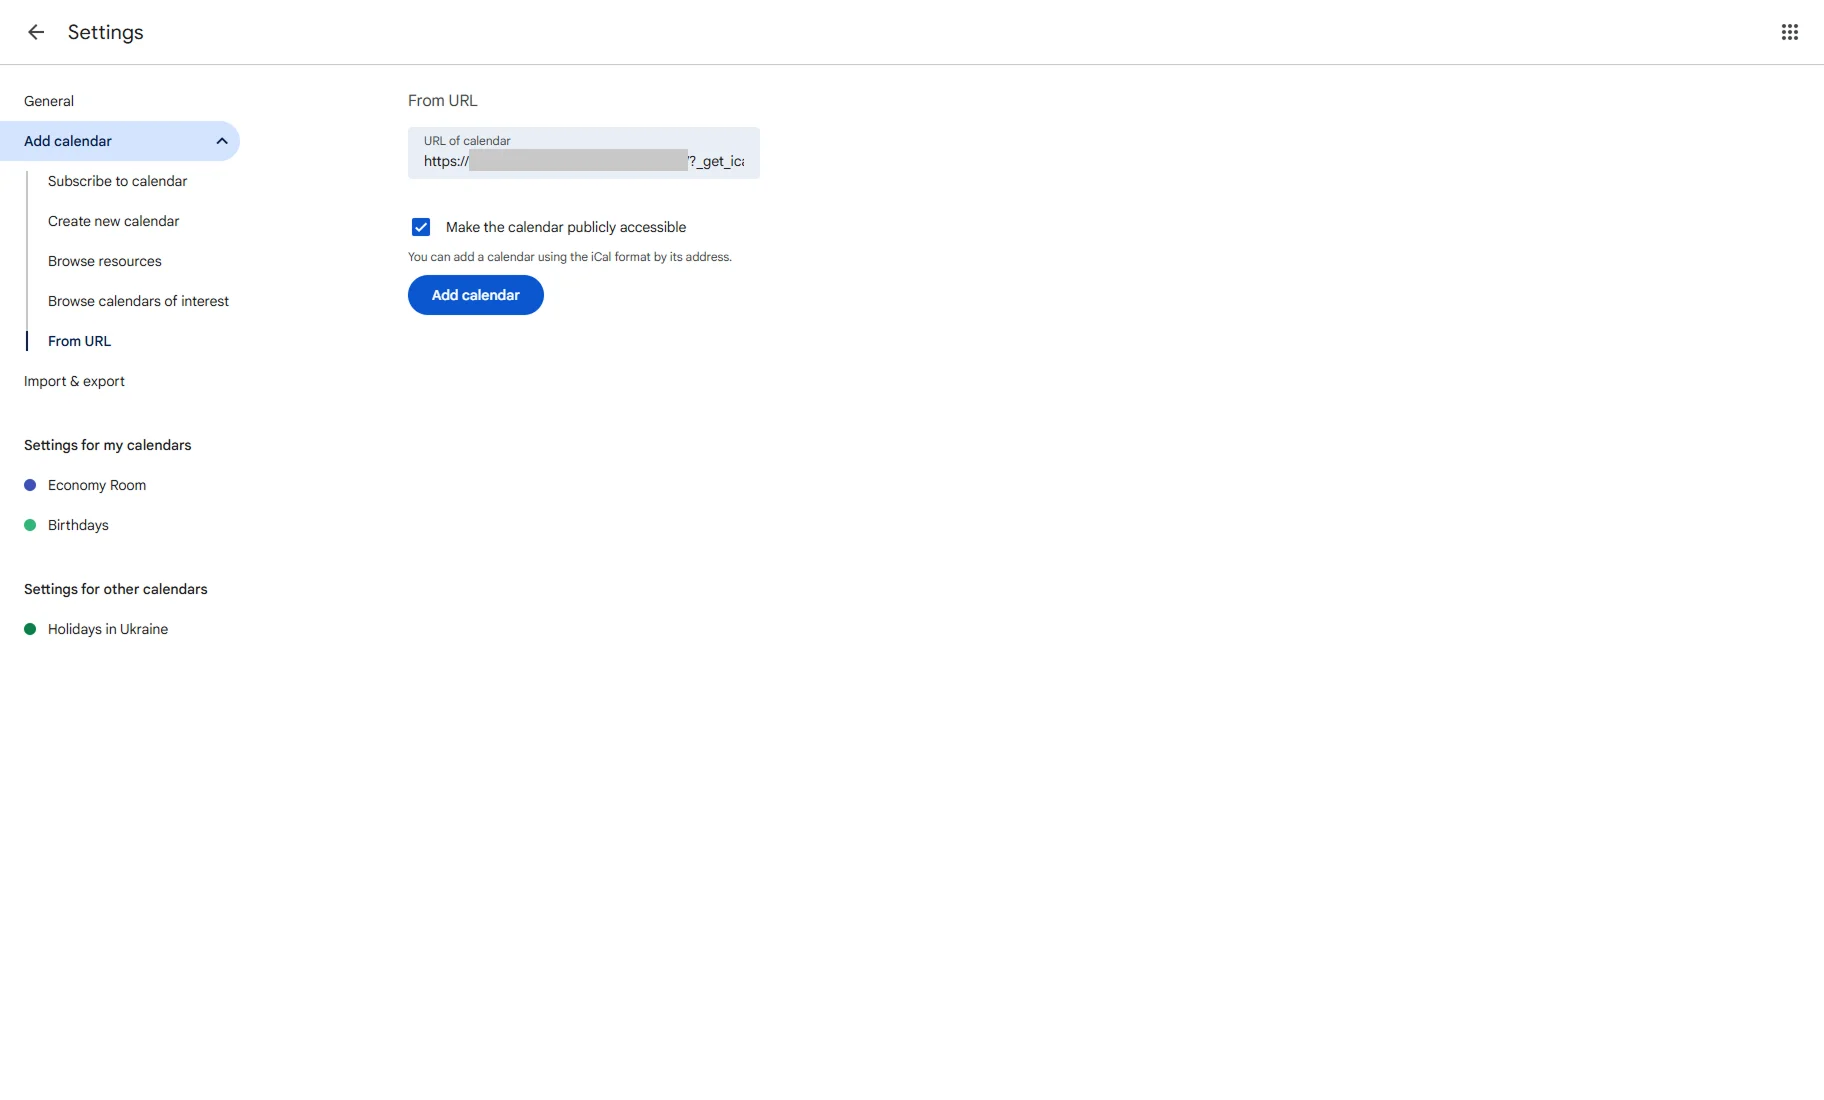
Сhoose the “From URL” option from the pop-up.

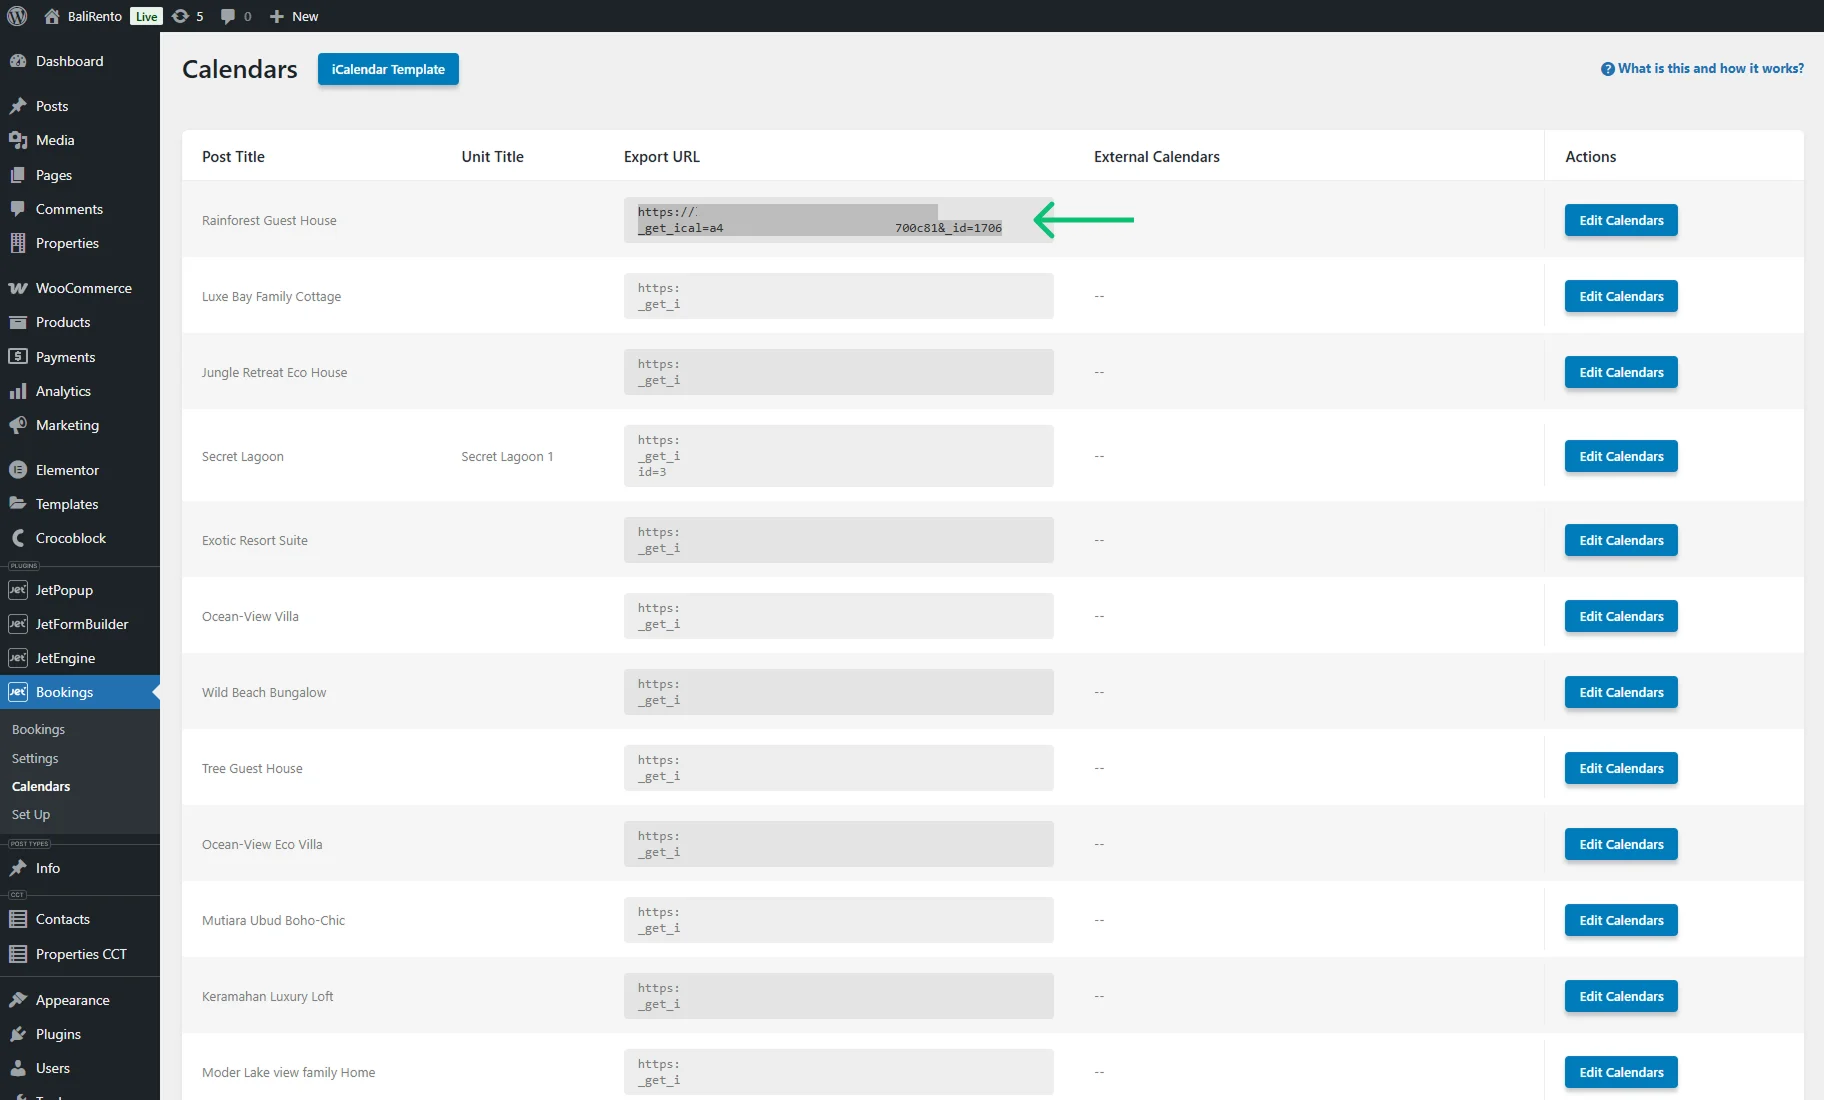
Return to the WordPress Dashboard > Bookings > Calendars page and copy the Export URL of the needed item.
Enter the copied Export URL into the URL of calendar field, tick the Make the calendar publicly accessible checkbox, and hit the “Add calendar” button.
After that, you will get the “Calendar created. Fetching events in the background” notification at the bottom of the page.
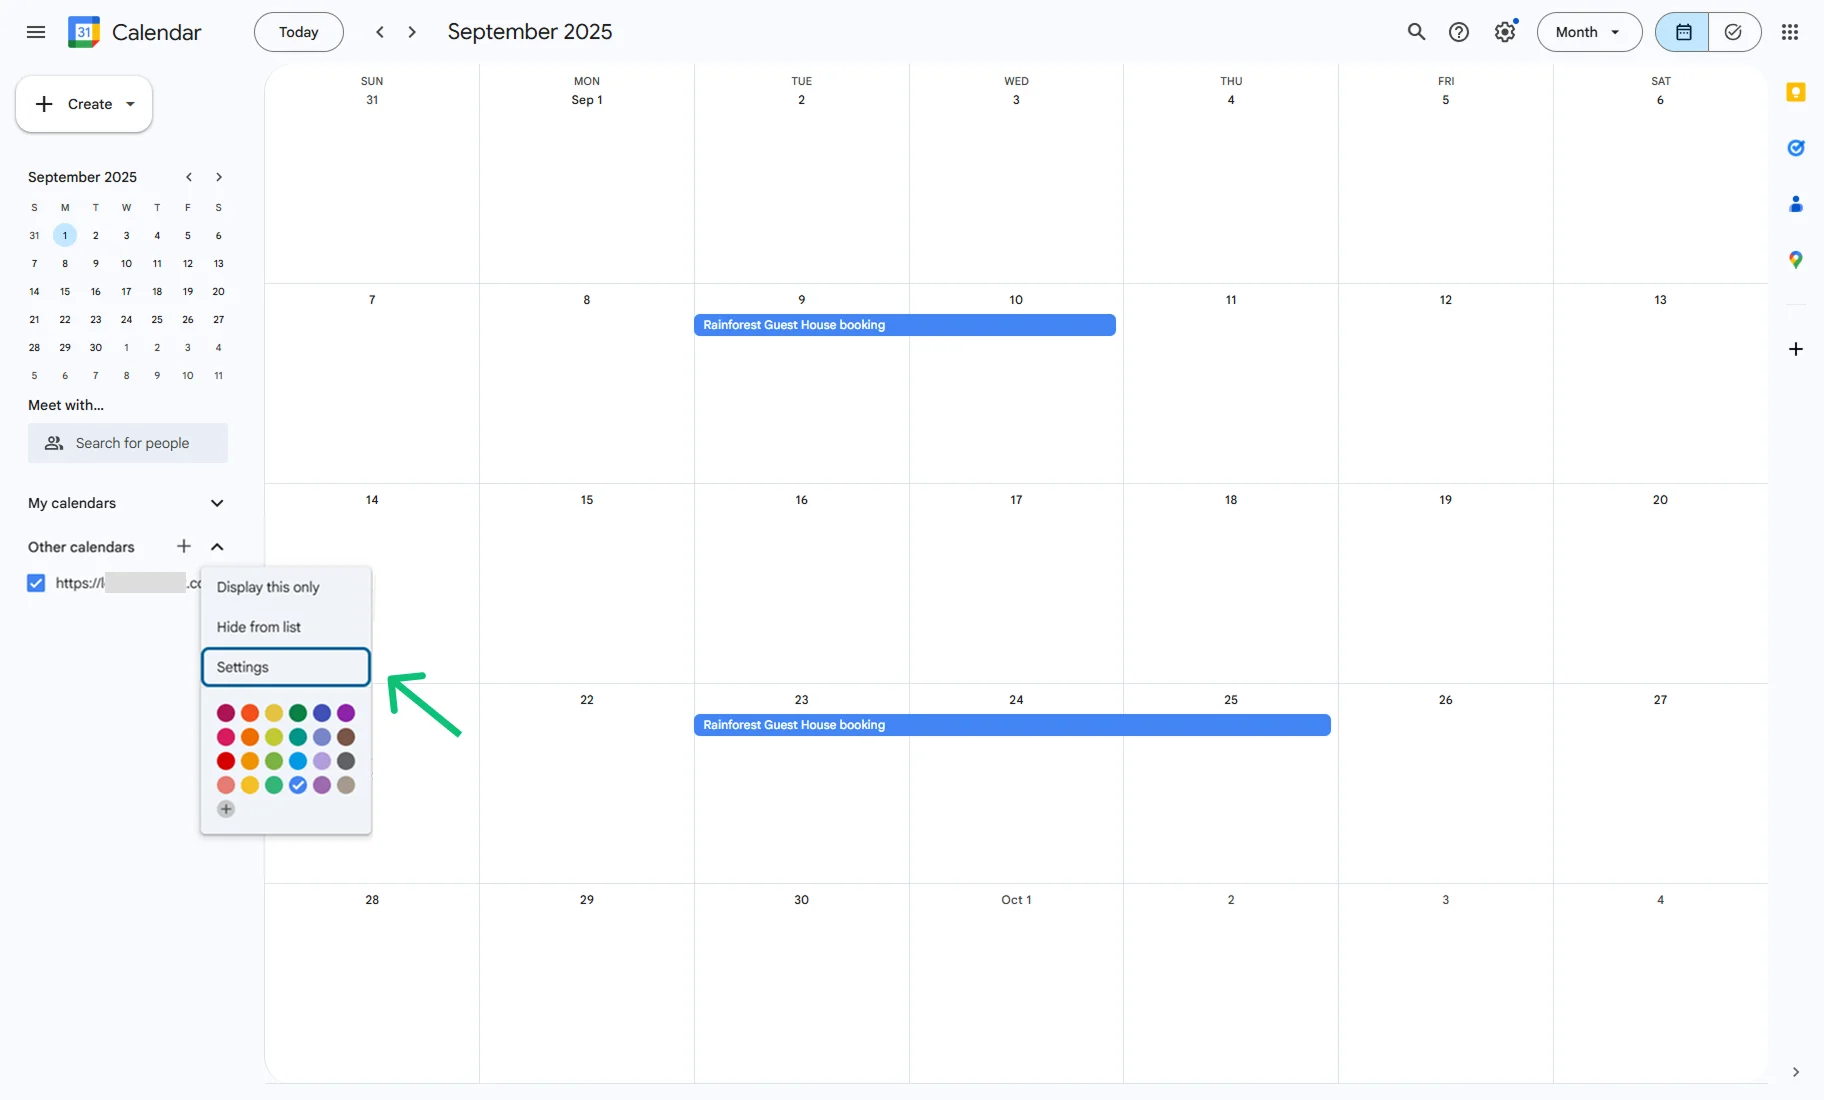
Return and check if bookings from the website are displayed in Google Calendar.
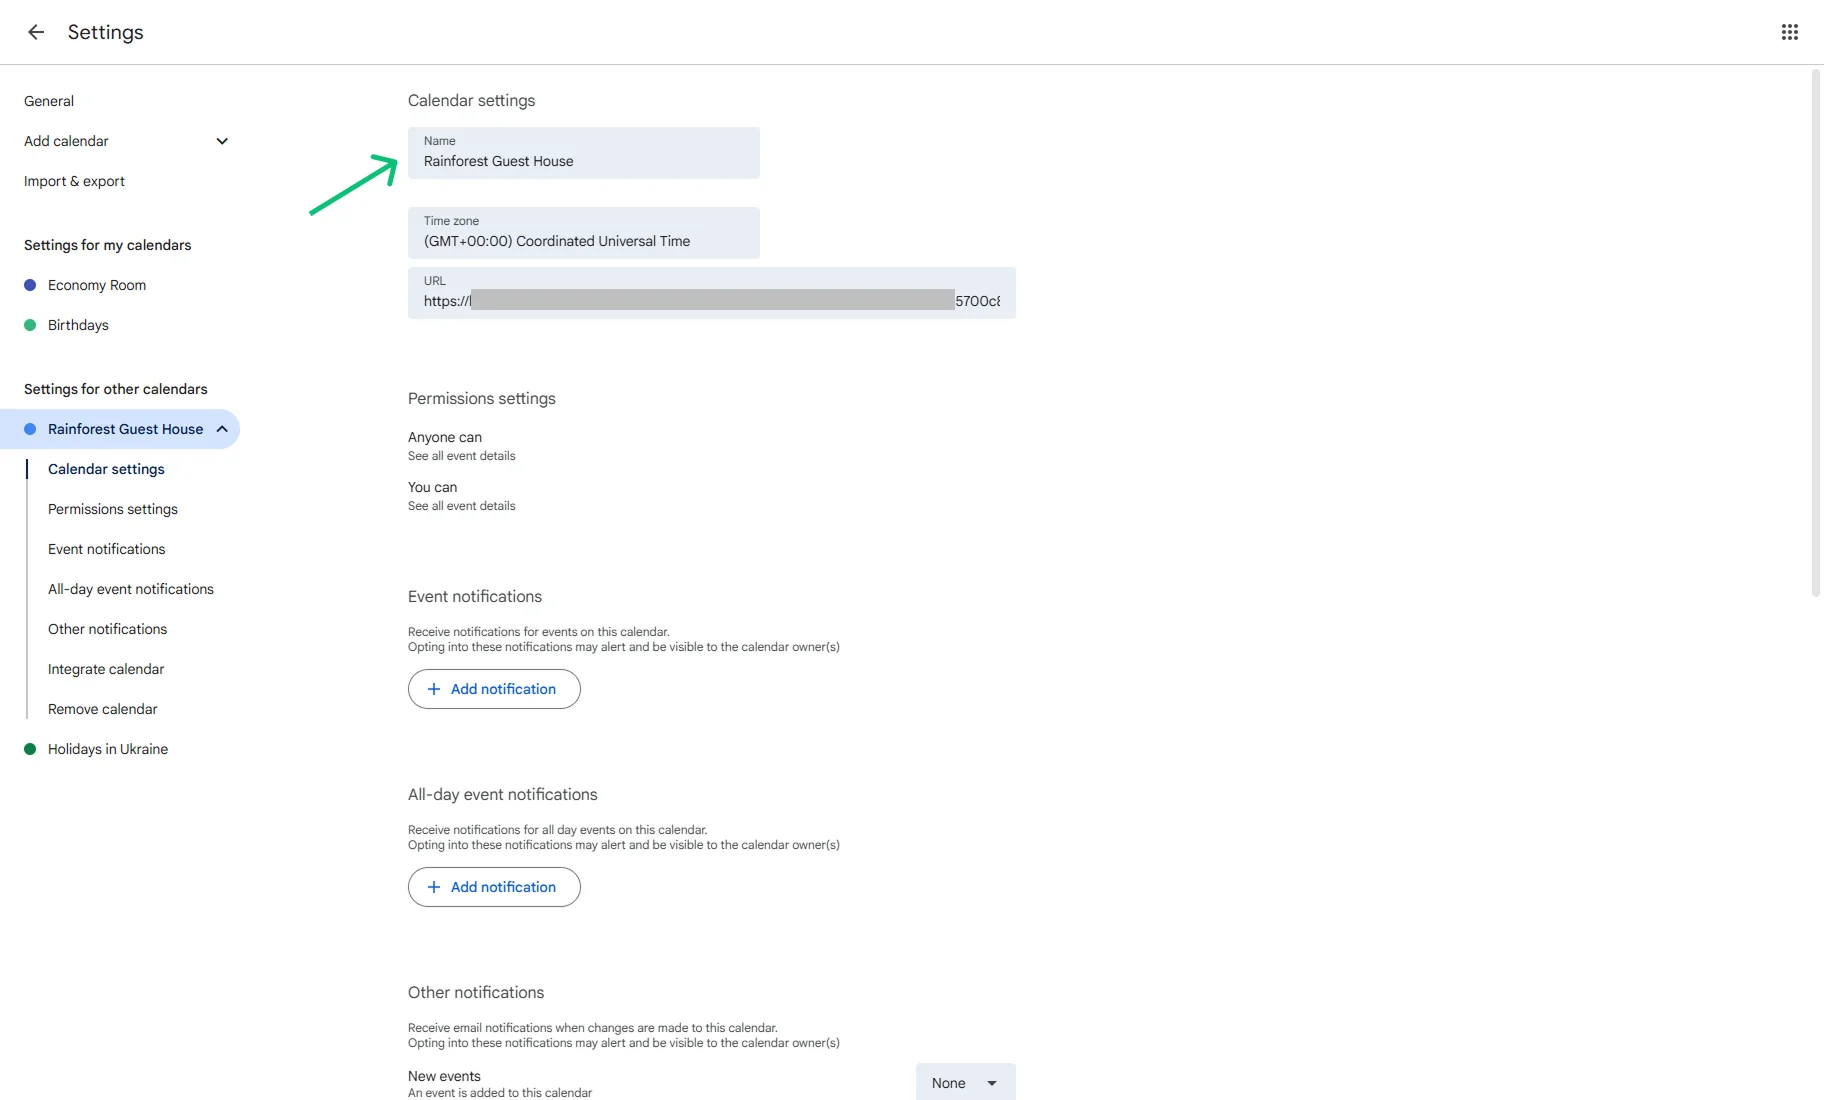
The calendar can be renamed by clicking the “three dots” icon and proceeding to the Settings.
Enter a new calendar title in the Name field, and it will be renamed immediately.
If you click on the booking, a pop-up appears with the information set in the iCalendar Template. In our case, it shows the room name, booking status, and value from the Price per 1 day/night field of the property post.

Afterward, move to the Google Calendar Sync Settings, check the boxes next to each newly created calendar to enable synchronization access, and hit the “Save” button.

That’s all. By now, the JetBooking plugin data on your WordPress website and Google Calendar are synchronized via iCal synchronization.