JetBooking Preparation Guideline
Find a detailed guide on using booking functionality with custom posts and coupled with Elementor Pro or JetThemeCore archive or single pages.
The JetBooking plugin is a unique addon developed by the Crocoblock team specifically for rent and booking services, such as vehicles, dresses, apartments, etc.
If you are an owner of housing and you rent them out for a certain period, this plugin is right for you. The main feature of this addon is the ability to select the check-in/check-out period, filter the offered options, and book a residence. As an administrator, you’ve got even more options: you’re able to manage the orders submitted from the front-end after booking the item and notify your clients by sending an email automatically.
Before you can start setting up the JetBooking features let’s do some preparations. Custom posts, listings, and forms you’ll create will be necessary further.
Working with CPTs
Dashboard overview
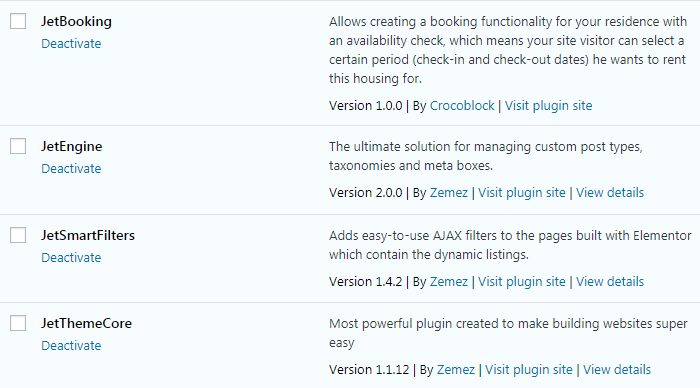
Go to your WP Dashboard and make sure you installed JetEngine, JetSmartFilters, JetThemeCore, and JetBooking plugins.
Creating the Room CPT
Navigate to the JetEngine > Post Types block in the dashboard and create a Custom Post Type for your real estate. We’ve created a CPT called “Room” for our tutorial.

Check the following tutorial to learn how to create a CPT and add meta fields you need to showcase your housing.
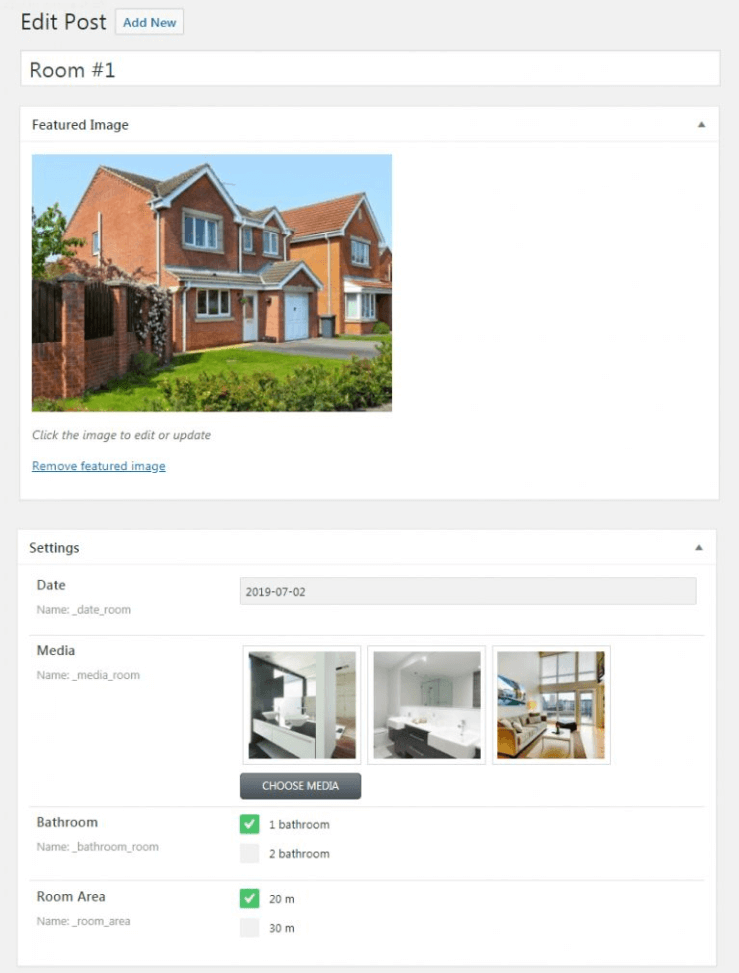
Fill in the meta fields in the Room CPT
Then proceed to the Room CPT on the left on your dashboard and fill in the information into the fields you’ve just created.
Creating the Orders CPT
At this stage, we need to create the second CPT for our future orders. For this tutorial, we created a CPT called “Orders”. Here, you’ll receive your orders and later can manage them as the administrator.

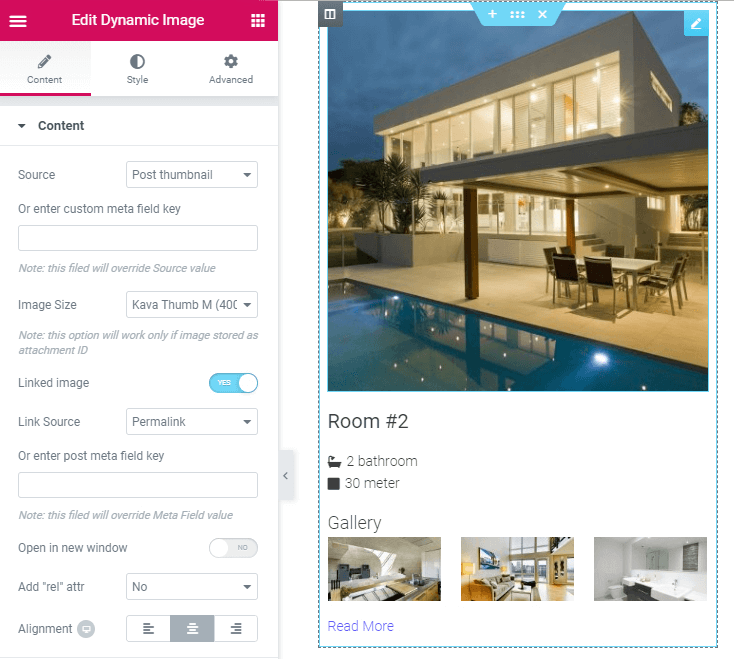
Creating a listing for the Room CPT
Now, it’s time to create a listing for our Room CPT. The detailed tutorial you may find here.

Creating Archive and Single pages
Creating an Archive page
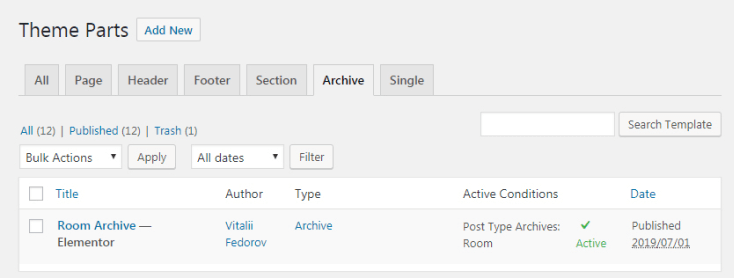
Let’s create the Archive page and add a Listing Grid widget to it in order to display all the items offered to check for your visitors. You can create an Archive with Crocoblock > My Library or with the help of the Elementor Pro version functionality.
If any guidance is needed, please check it here.
Creating a Single page
Also, we need to create a Single page to showcase more detailed information about the residence available for booking. Once again, navigate to Crocoblock > My Library and create the Single page.
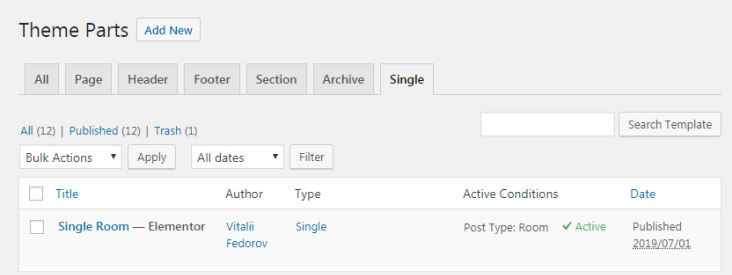
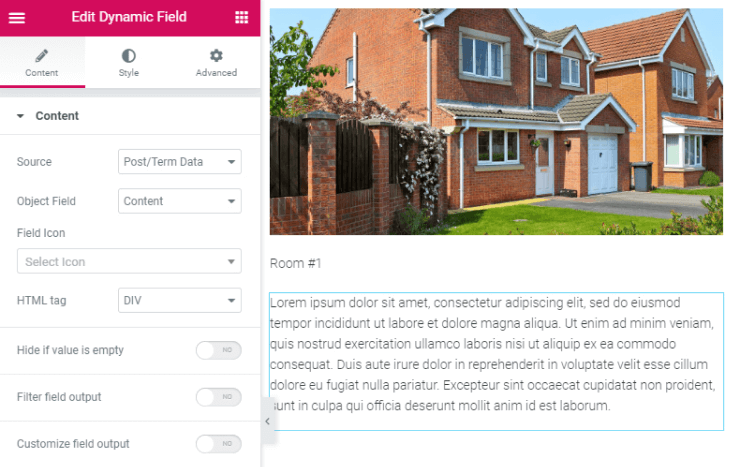
Here and now you should add the needed information to the Elementor editor and set the required Conditions. For more details, please check this tutorial.
Now let’s use the Wizard Set Up and follow the step-by-step instruction in the next tutorial.