AI Website Structure Builder Overview
This tutorial explains the AI Website Structure Builder settings from the JetEngine plugin and how to start the creation of the WordPress website with it.
The AI Website Structure Builder is a JetEngine tool that creates a data model for a WordPress website based on the input prompts.
General Settings
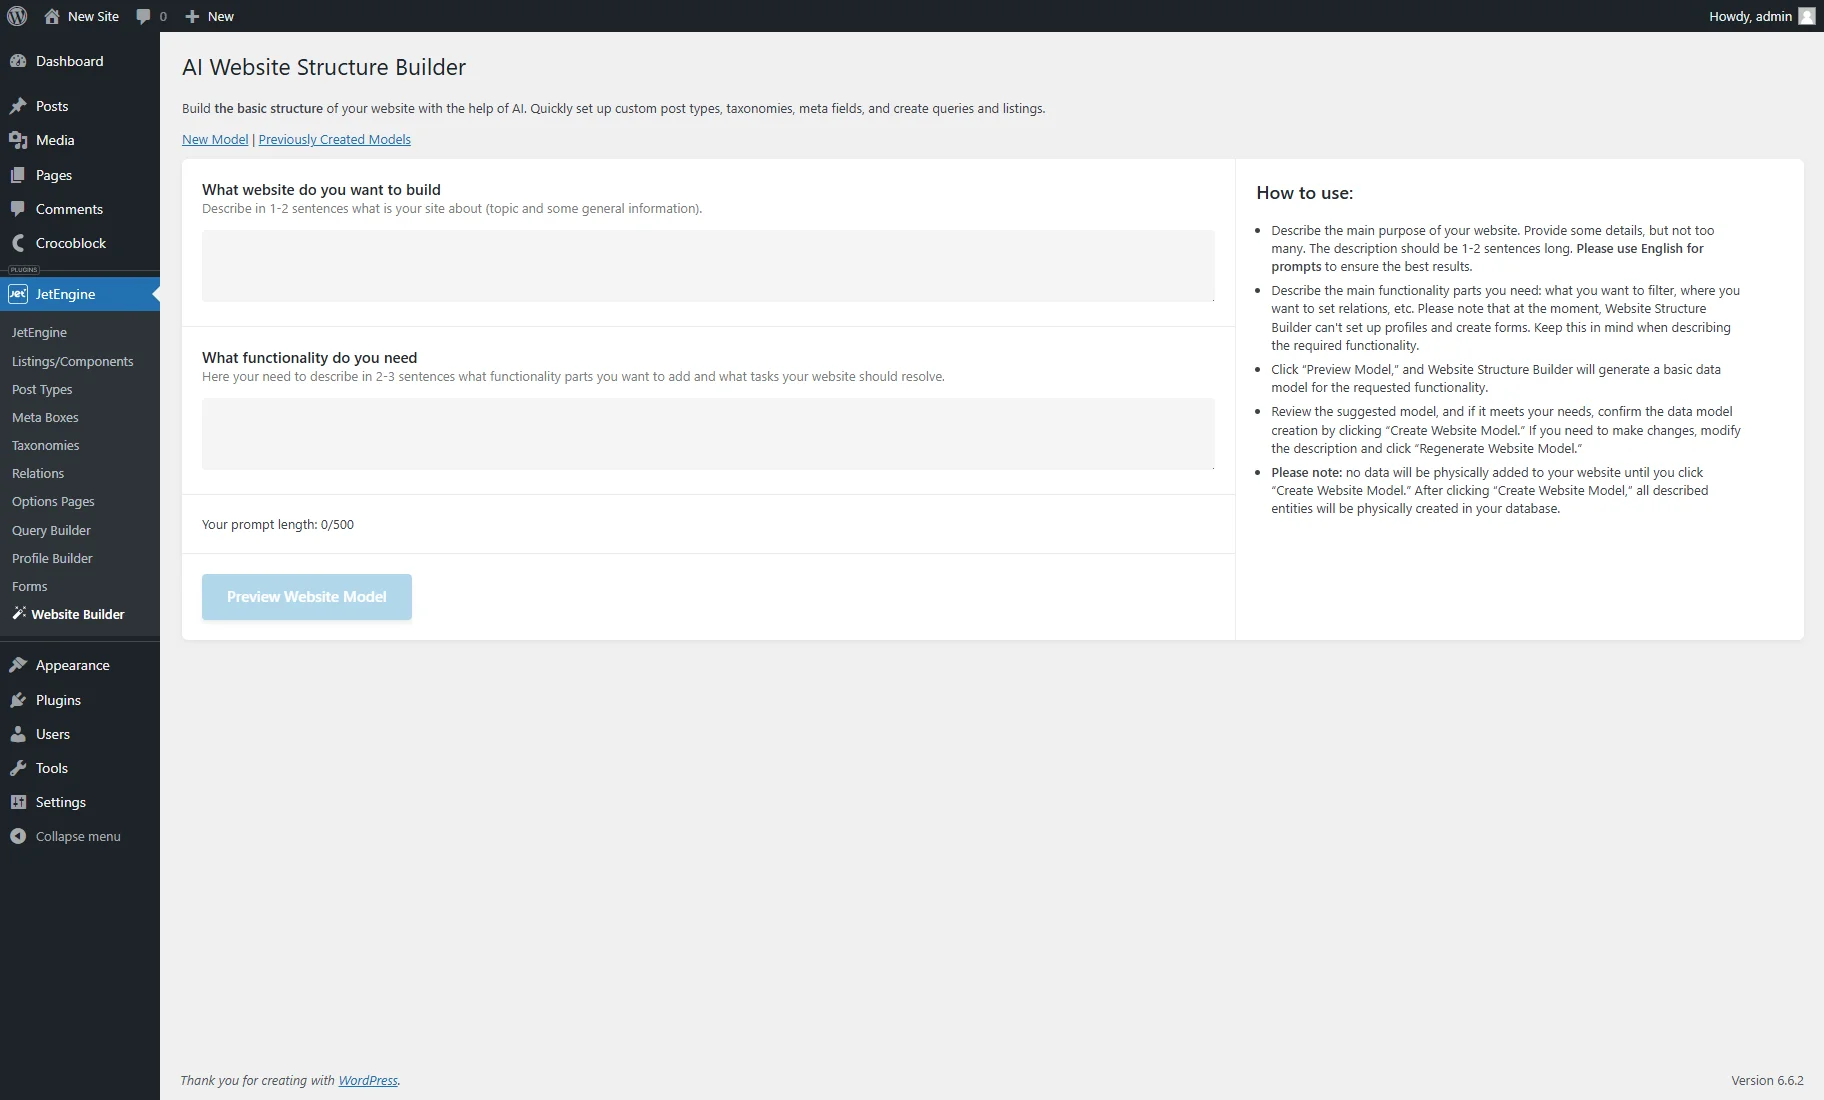
The AI Website Structure Builder is available in the WordPress Dashboard > JetEngine > Website Builder tab.
The page contains two tabs:
- New Model — a start tab that allows one to set the site model by writing prompts into the fields;
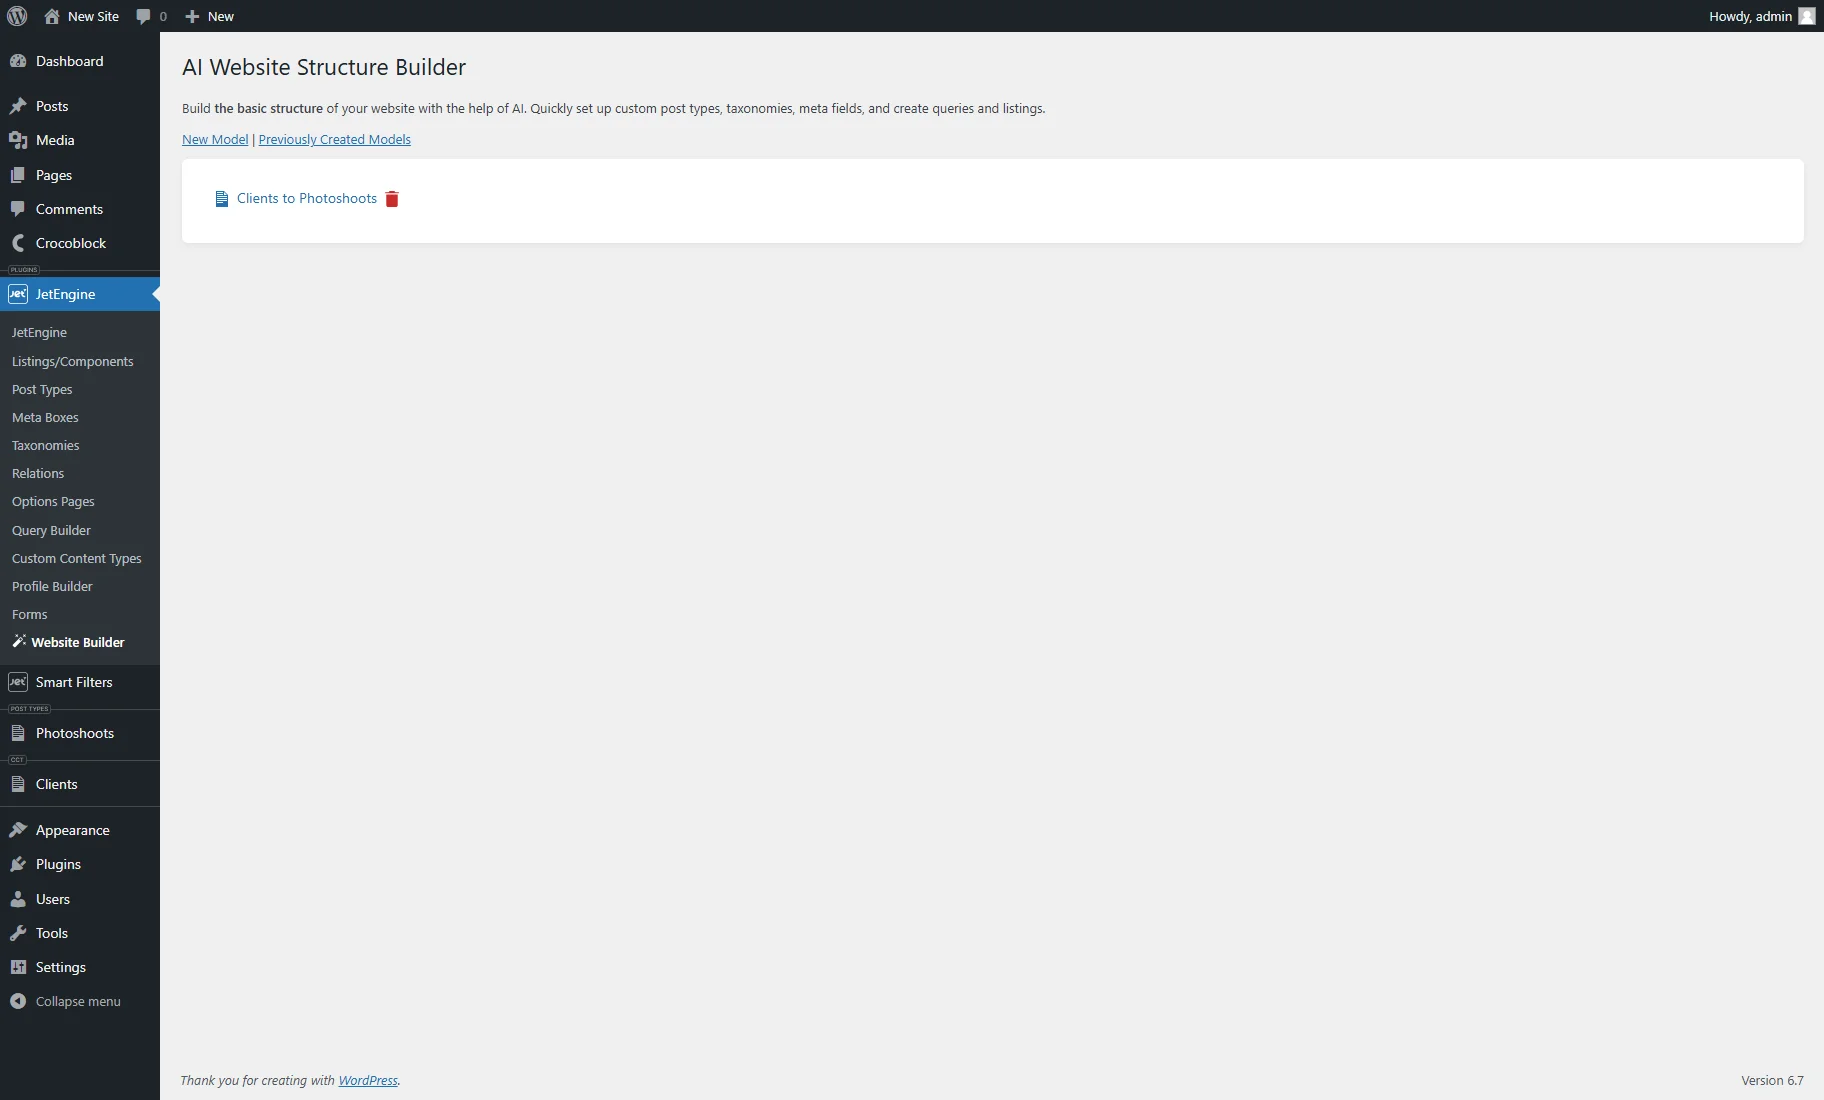
- Previously Created Models — a tab that contains a list of the created models that can be edited or deleted.
The New Model tab has such fields:
- What website do you want to build — a field where one should describe what kind of site they want to create in one to two sentences. It can be a topic (job board, medical center, photography, etc.) or general information (“I want to connect tourist groups with activities providers”).
- What functionality do you need — a field where one should describe the site’s features in two to three sentences (e.g., what entities are required and what capabilities site visitors should have).
The AI Website Structure Builder can generate such entities:
- Custom Post Types (CPTs) with the Custom Meta Storage or without;
- Custom taxonomies for CPTs;
- Custom meta fieds;
- Custom Content Types (ССТs) (CCTs should be used instead of CPTs if one needs to add a large number of items to the website or/and a Single page isn’t required for the items on the front end);
- Basic custom queries for the “Posts Query” and “Custom Content Type Query” types. These queries only have the Name and Query Type set. They will be created automatically for all CPTs and CCTs;
- Basic Listing items with the Dynamic widgets or blocks that showcase the CPTs and CCTs field data. They will be created automatically for all CPTs and CCTs. They can be built in WordPress block editor (Gutenberg), Elementor, Bricks, or Timber/Twig builders, depending on the views enabled in the Performance tab of the JetEngine Dashboard;
- Relations;
- Filters created with the JetSmartFilters plugin (should be installed and activated).
Prompt and Model Example
An example of prompt writing and model structuring is the creation of a website for a personal brand (e.g., a photographer).
Prompt writing
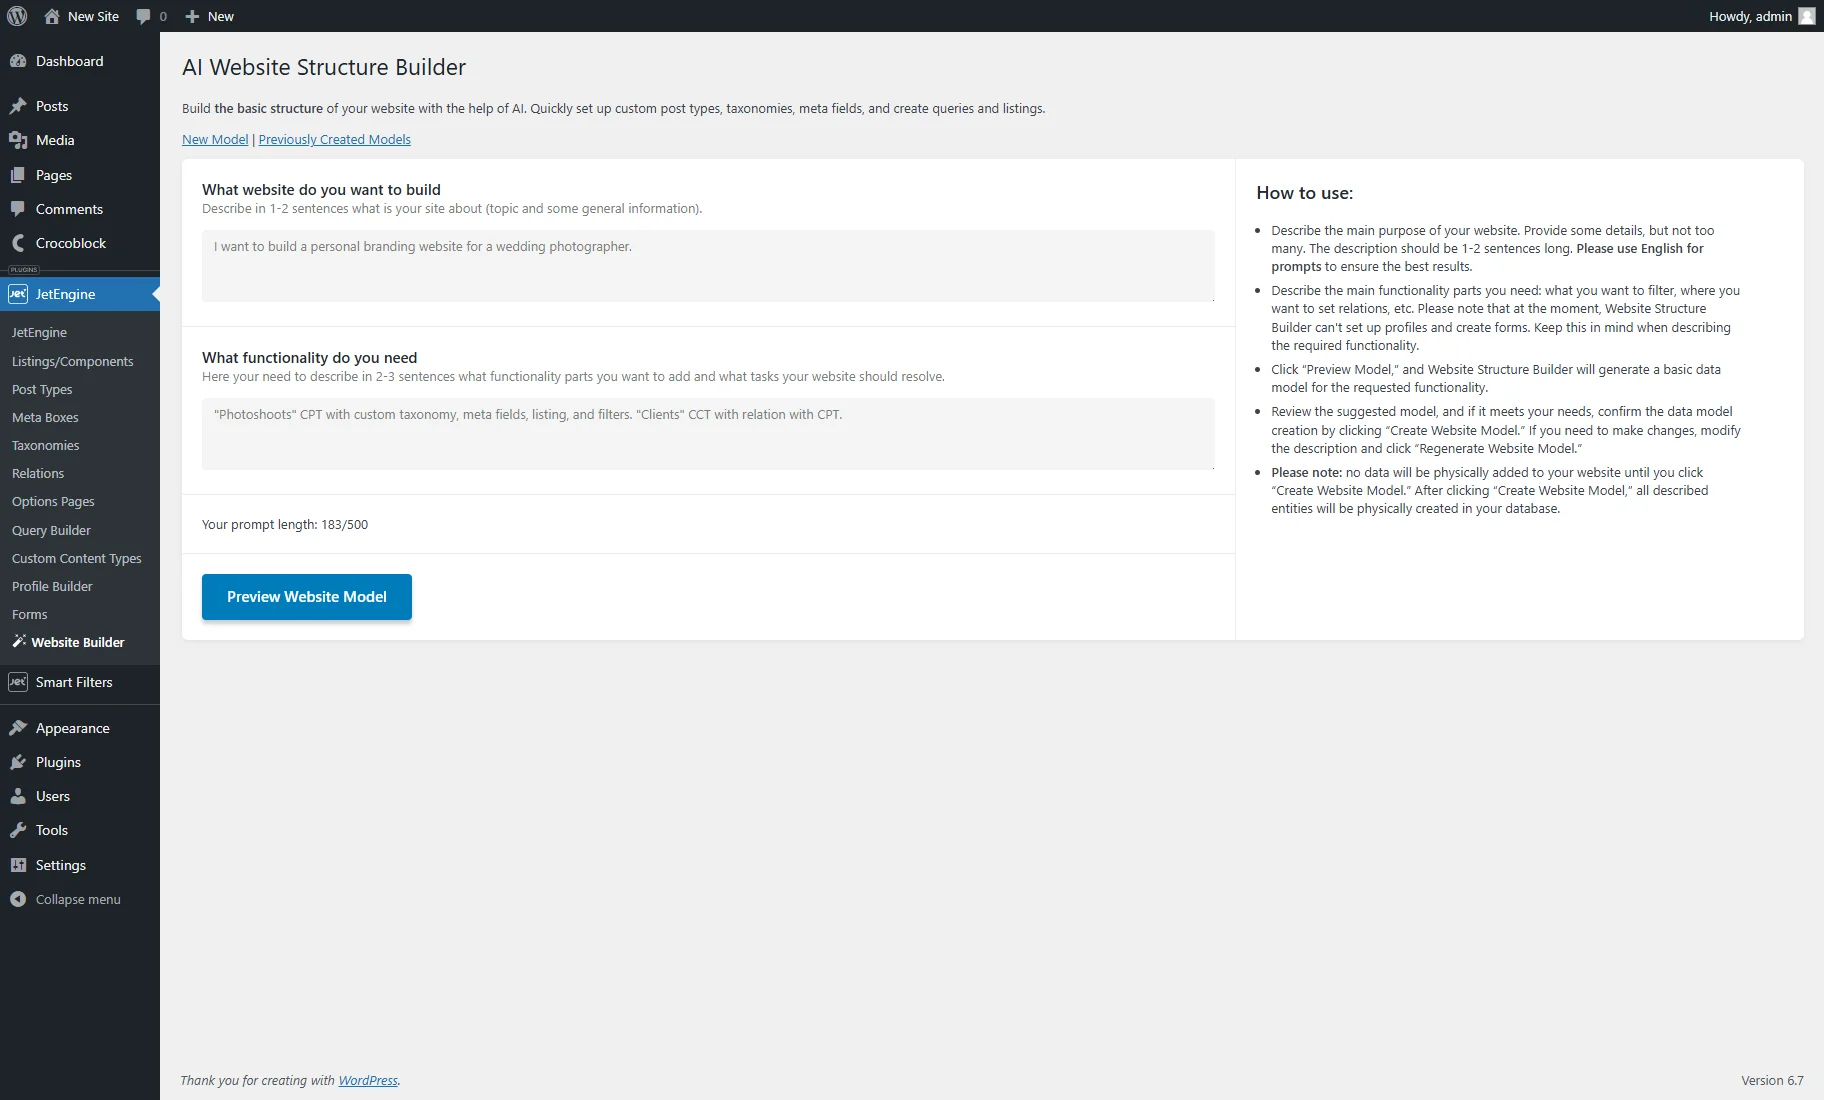
In the first field, such a prompt is entered as an example:
“I want to build a personal branding website for a wedding photographer.”
In the second field, the following is typed:
“Photoshoots” CPT with custom taxonomy, meta fields, listing, and filters. “Clients” CCT with relation with CPT.”
After that, the “Preview Website Model” button can be clicked, which generates model data, but nothing will be created on the site yet.
Model preview
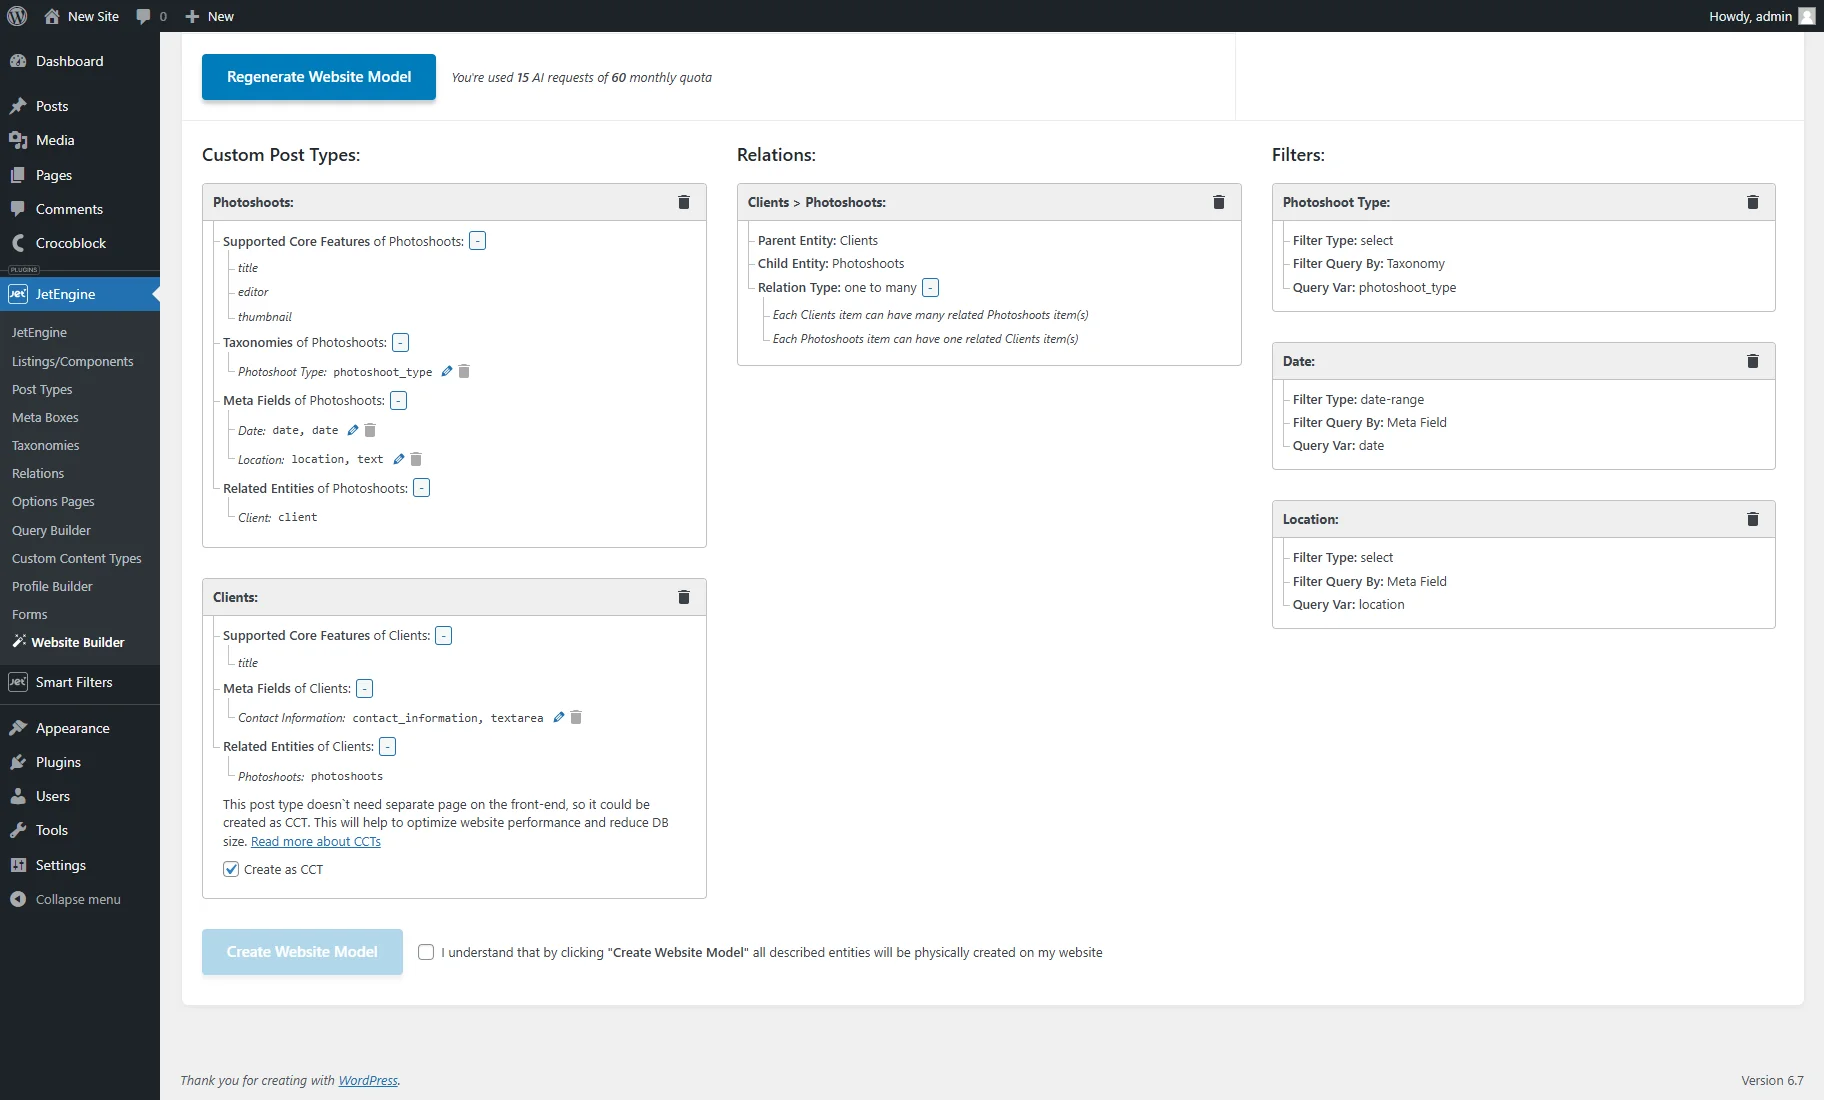
Such website entities generated with AI can be previewed:
- Custom Post Types — a section that shows entities related to CPTs (“Photoshoots” and “Clients” in this case):
- Supported Core Features — default functionality available for CPTs and CCTs. It can be “title,” “editor,” and “thumbnail”;
- Taxonomies — generated custom taxonomies available only for CPTs. In this case, the “Photoshoot Type” taxonomy is generated for the “Photoshots” post type;
- Meta Fields — generated custom fields for CPTs and CCTs. In this case, it’s the “Event Date” with the “Date” Field type and “Location” with the “Text” Field type for “Photoshoots” and the “Contact Information” with the “Textarea” Field type for “Clients”;
- Related Entities — shows if there are generated relations between posts, users, CCT items, or taxonomies;
- Create as CCT — a checkbox that is shown if prompts mention CCT creation or it’s supposed that the post type doesn’t need a separate page on the front end.
- Relations — a section that shows generated relations between posts, users, CCT items, or taxonomies. In this case, it’s “Clients > Photoshoots.” It also displays the Parent and Child Entities and the Relation Type (“one-to-one,” “one-to-many,” or “many-to-many”).
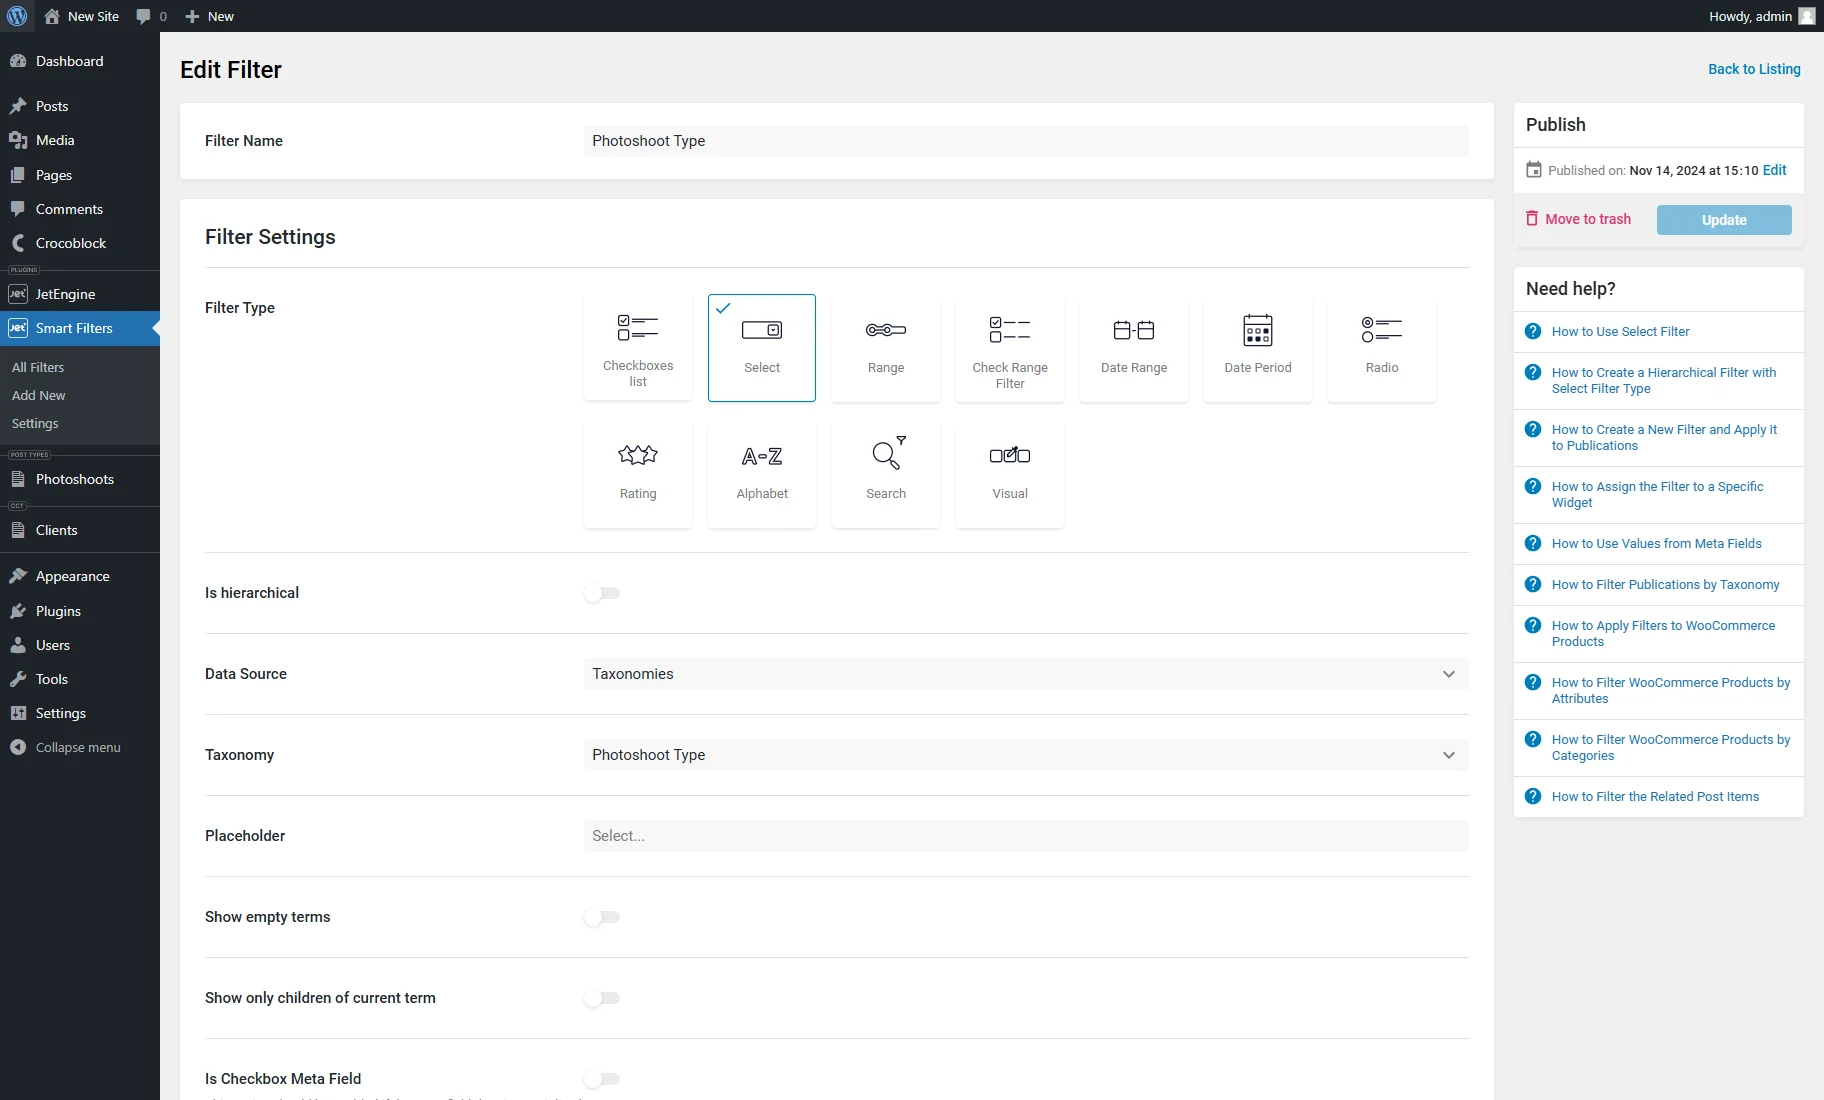
- Filters — a section that shows generated filters supported by the JetSmartFilters plugin and its general settings (Filter Type, Filter Query By, and Query Var). In this case, it’s the “Select” filter by taxonomy, “Date Range” by the “Date” meta field, and “Select” by the “Location” meta field.
Entity names and slugs can be changed by clicking the “pencil” icon. Also, entities can be deleted by pressing the “trash” icon.
If the model isn’t satisfactory, the prompts can be altered, and the “Regenerate Website Model” button can be pressed.
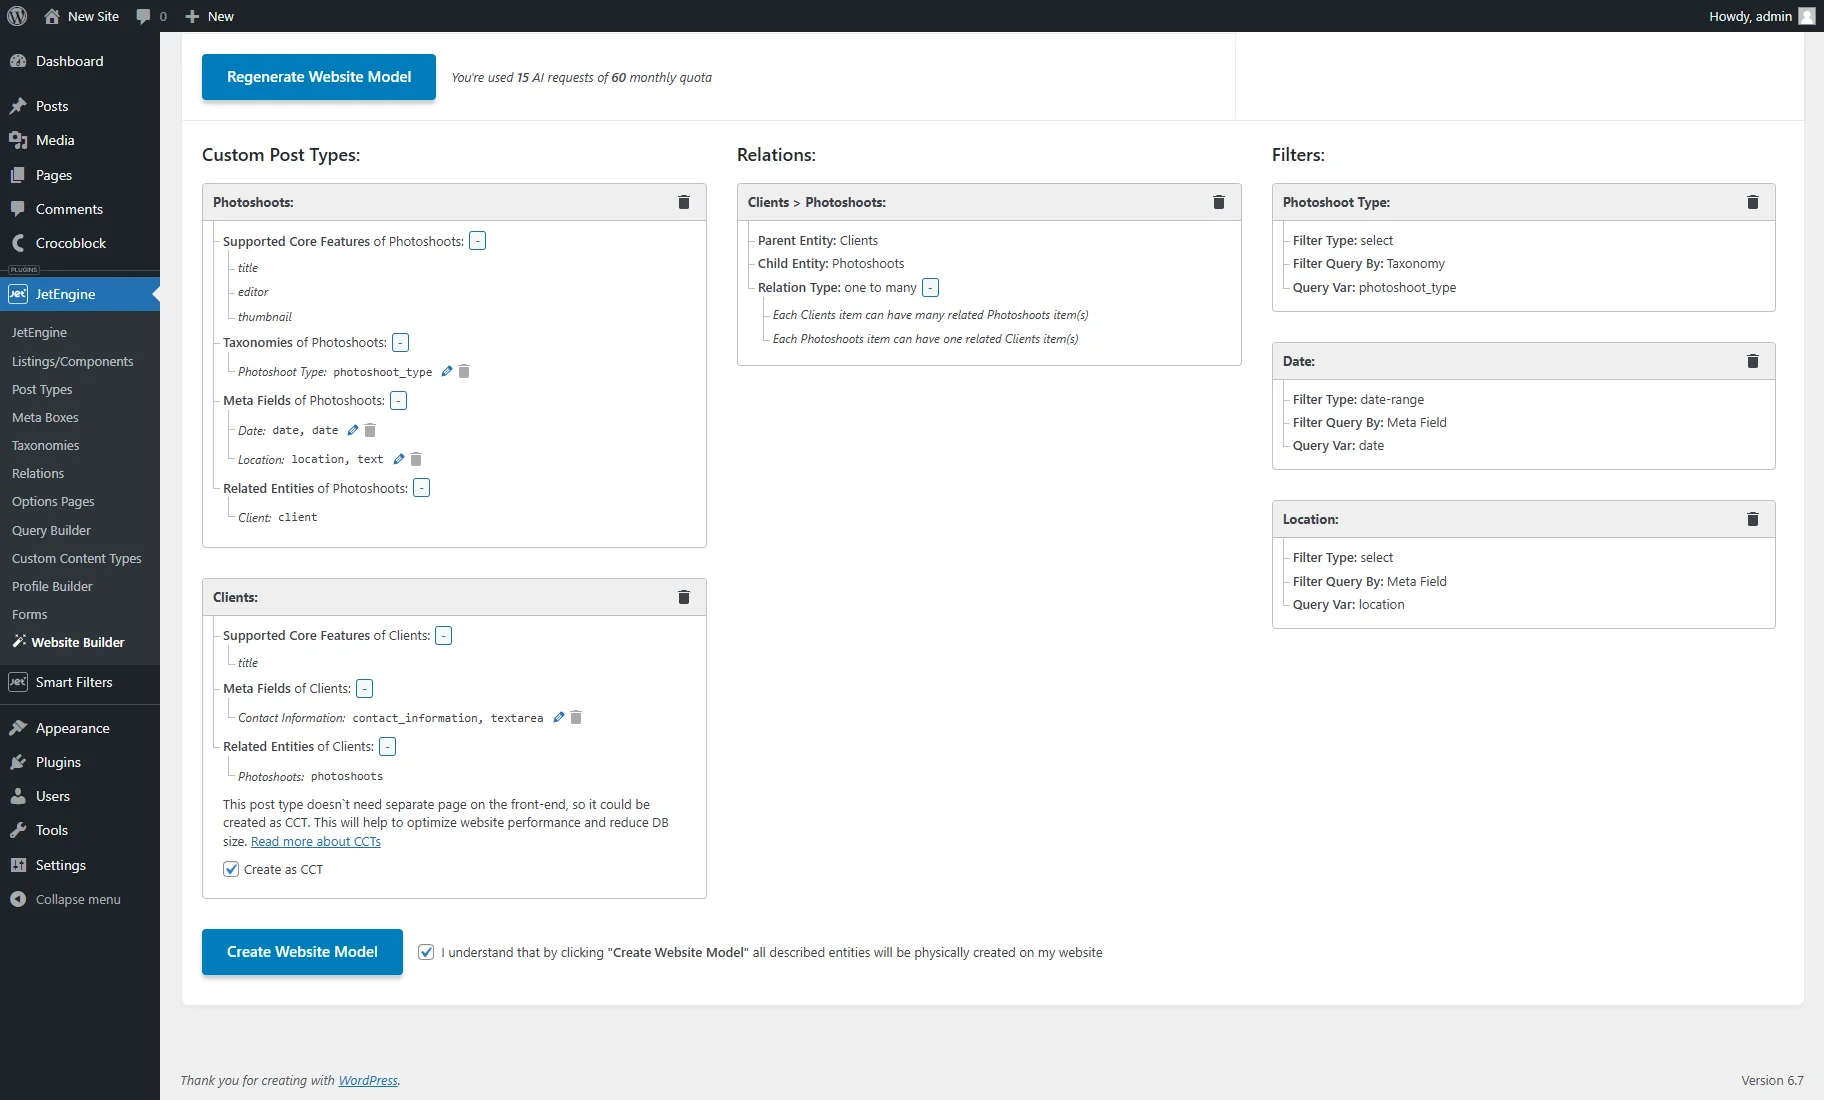
If the generated AI model is acceptable, the “I understand that by clicking “Create Website Model” all described entities will be physically created on my website” checkbox should be ticked. It enables the “Create Website Model” button.
Model structure
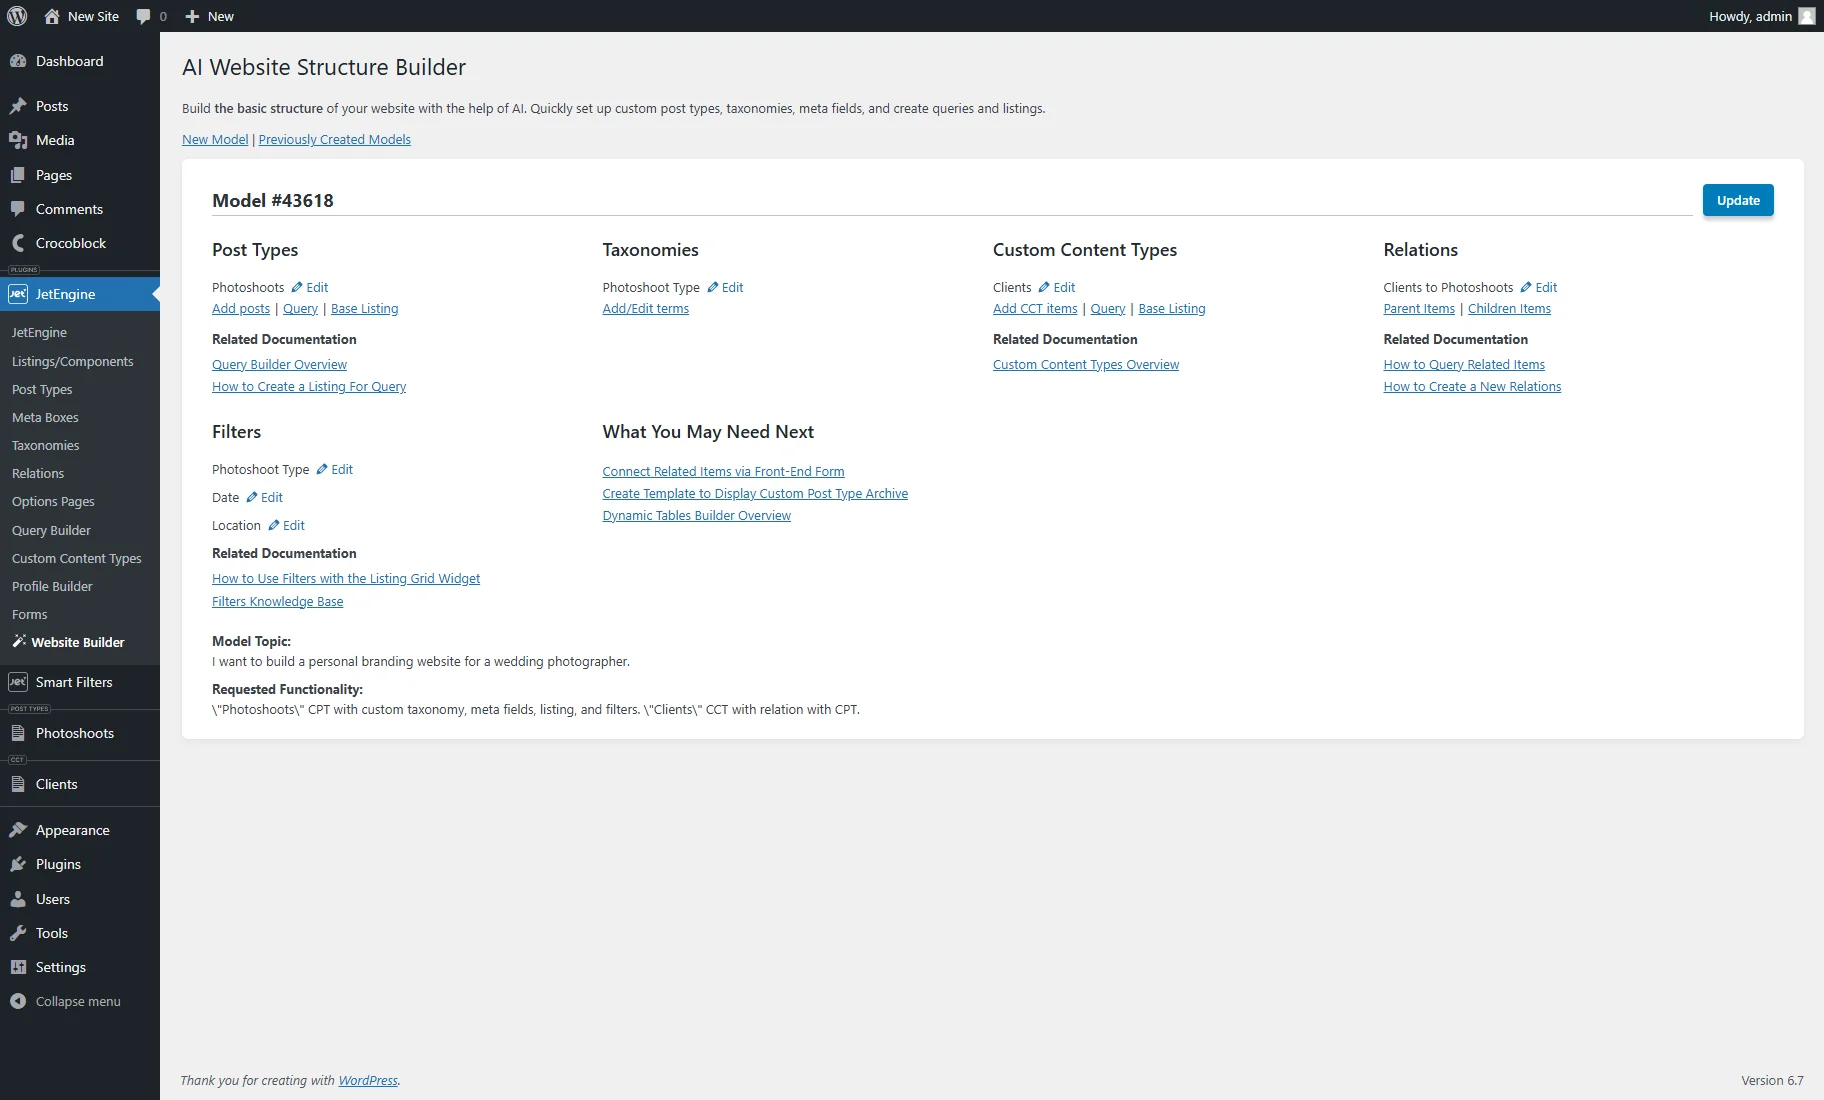
After hitting the “Create Website Model” button, entities are added to the website, and one will be redirected to the page with the model structure information.
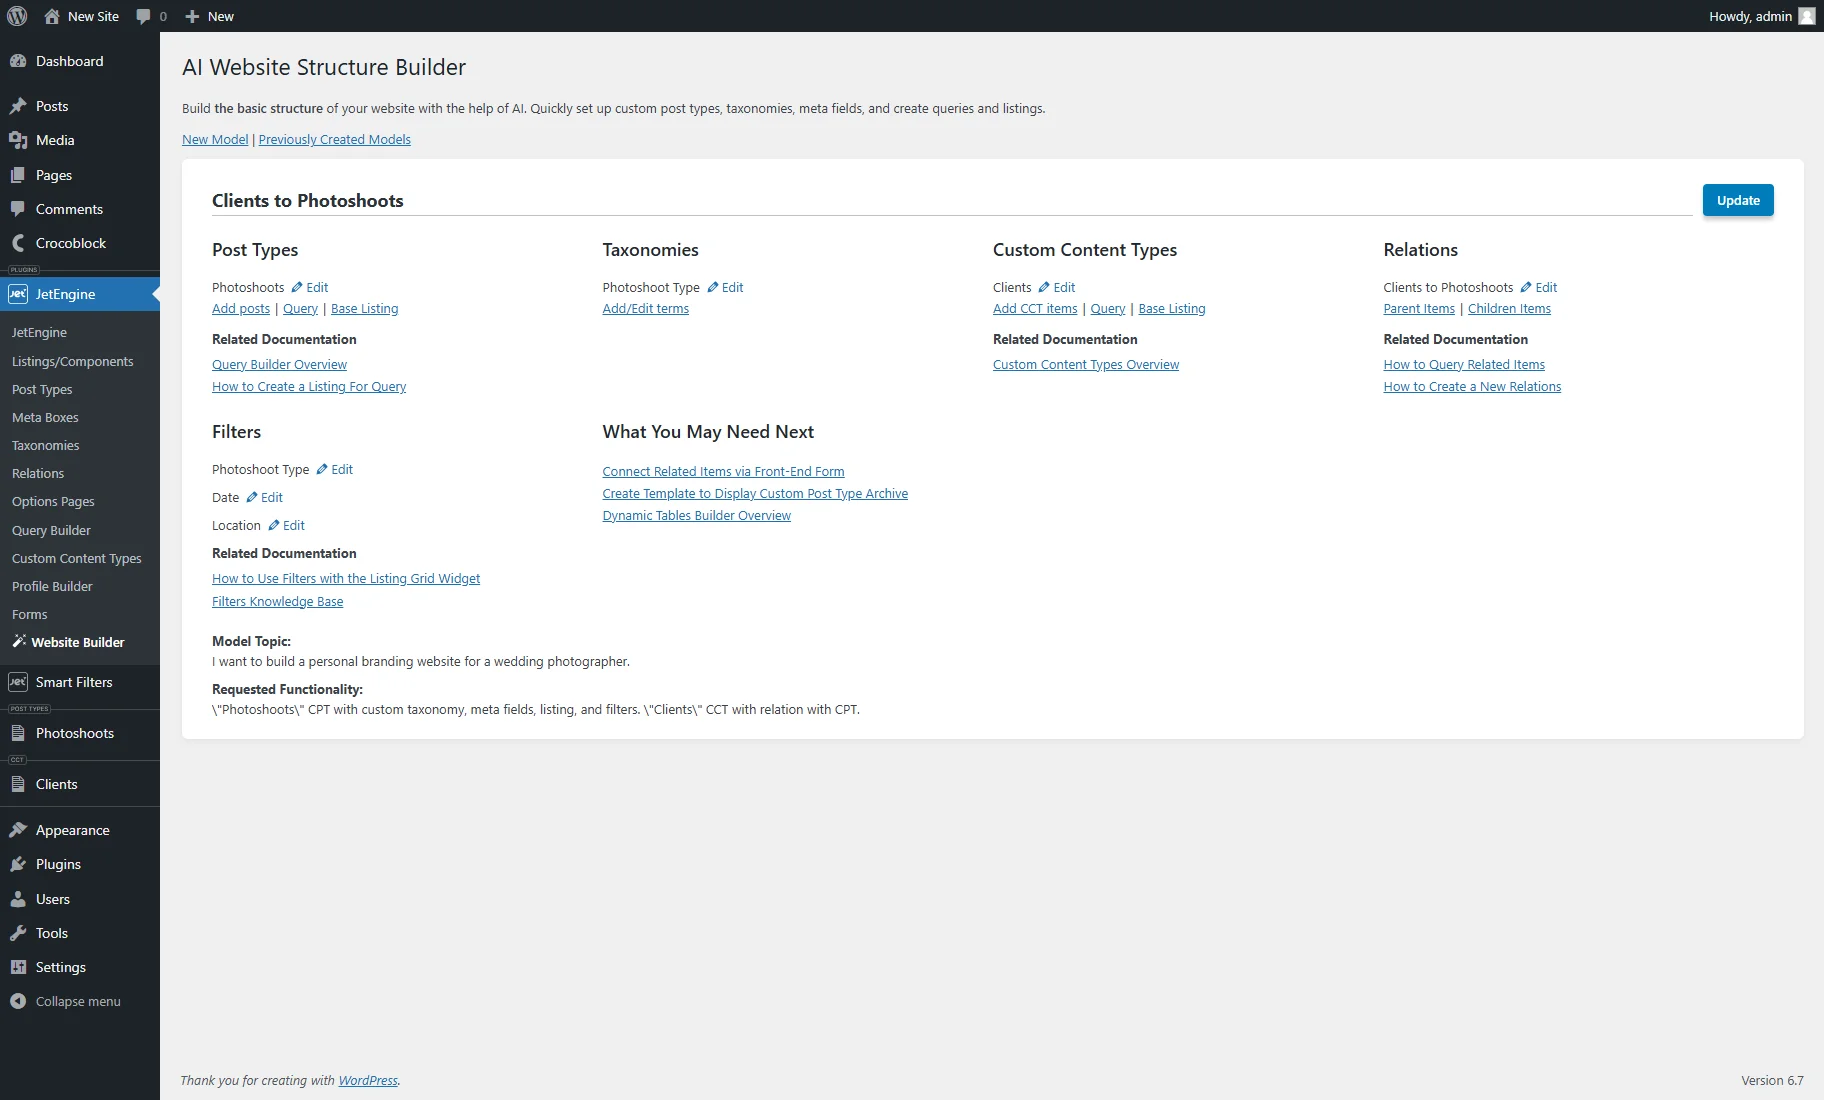
Here, the model name can be changed. To save it, one should hit the “Update” button.
The model page can contain such sections:
- Post Types — contains such controls:
- Edit — button that redirects to the CPT editing page, where the settings can be modified and meta fields added;
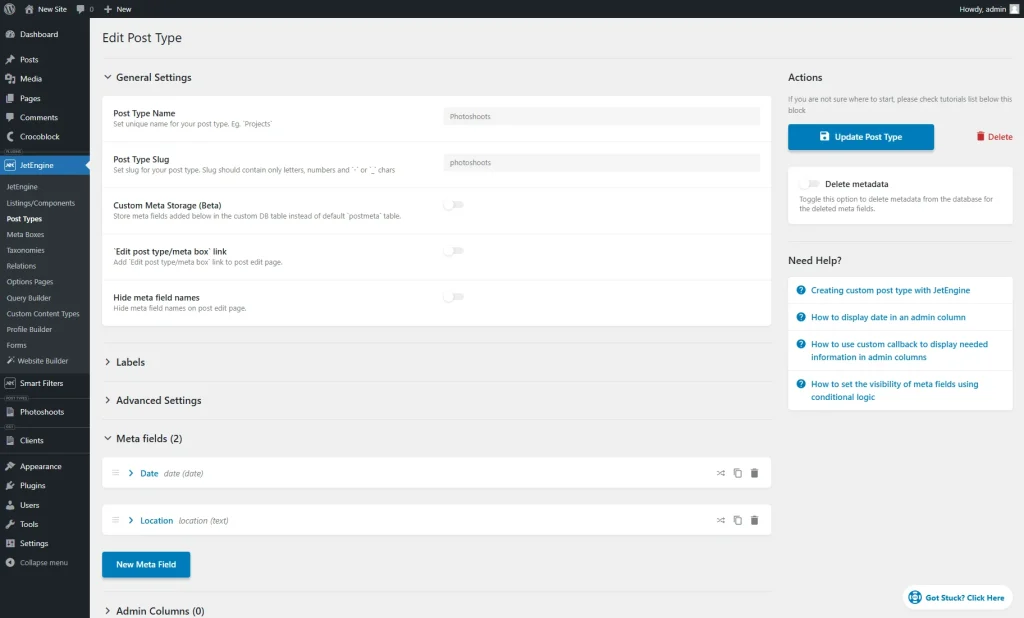
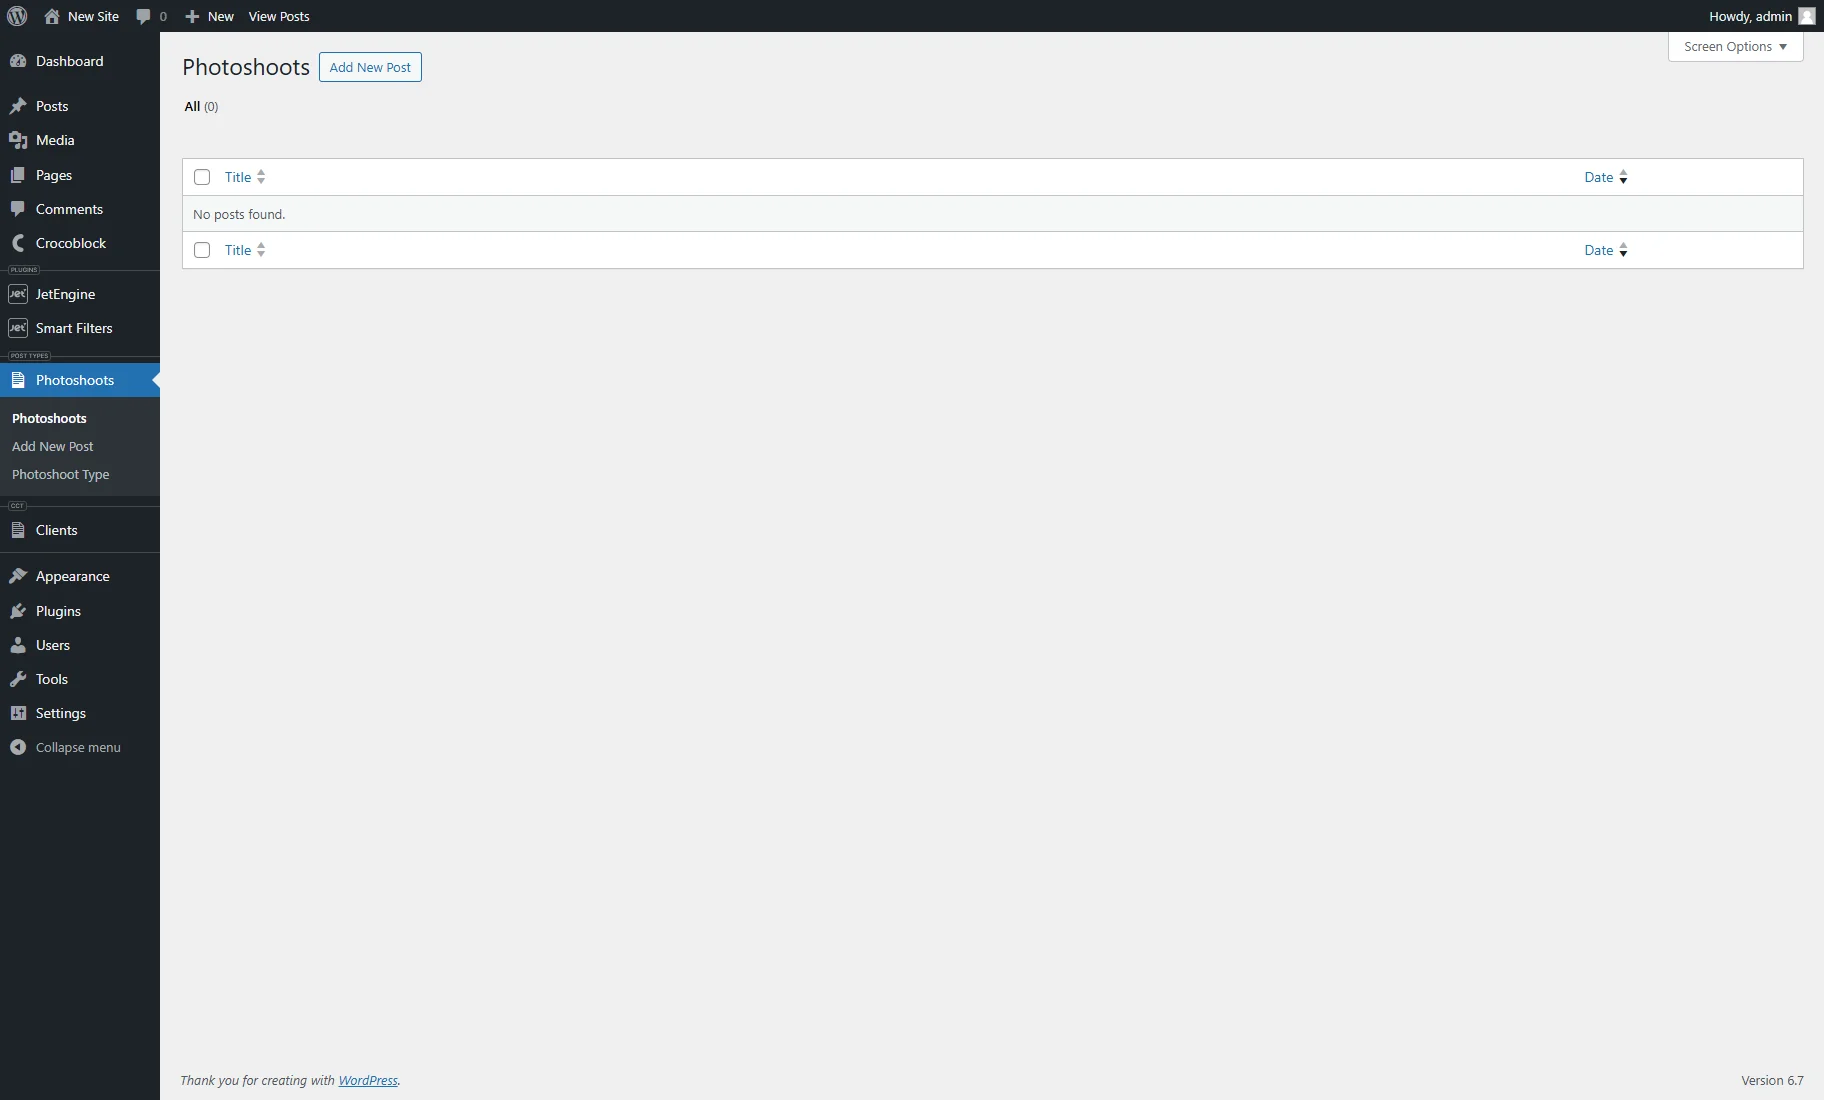
- Add posts — redirects to the WordPress Dashboard’s CPT tab where new posts can be added;
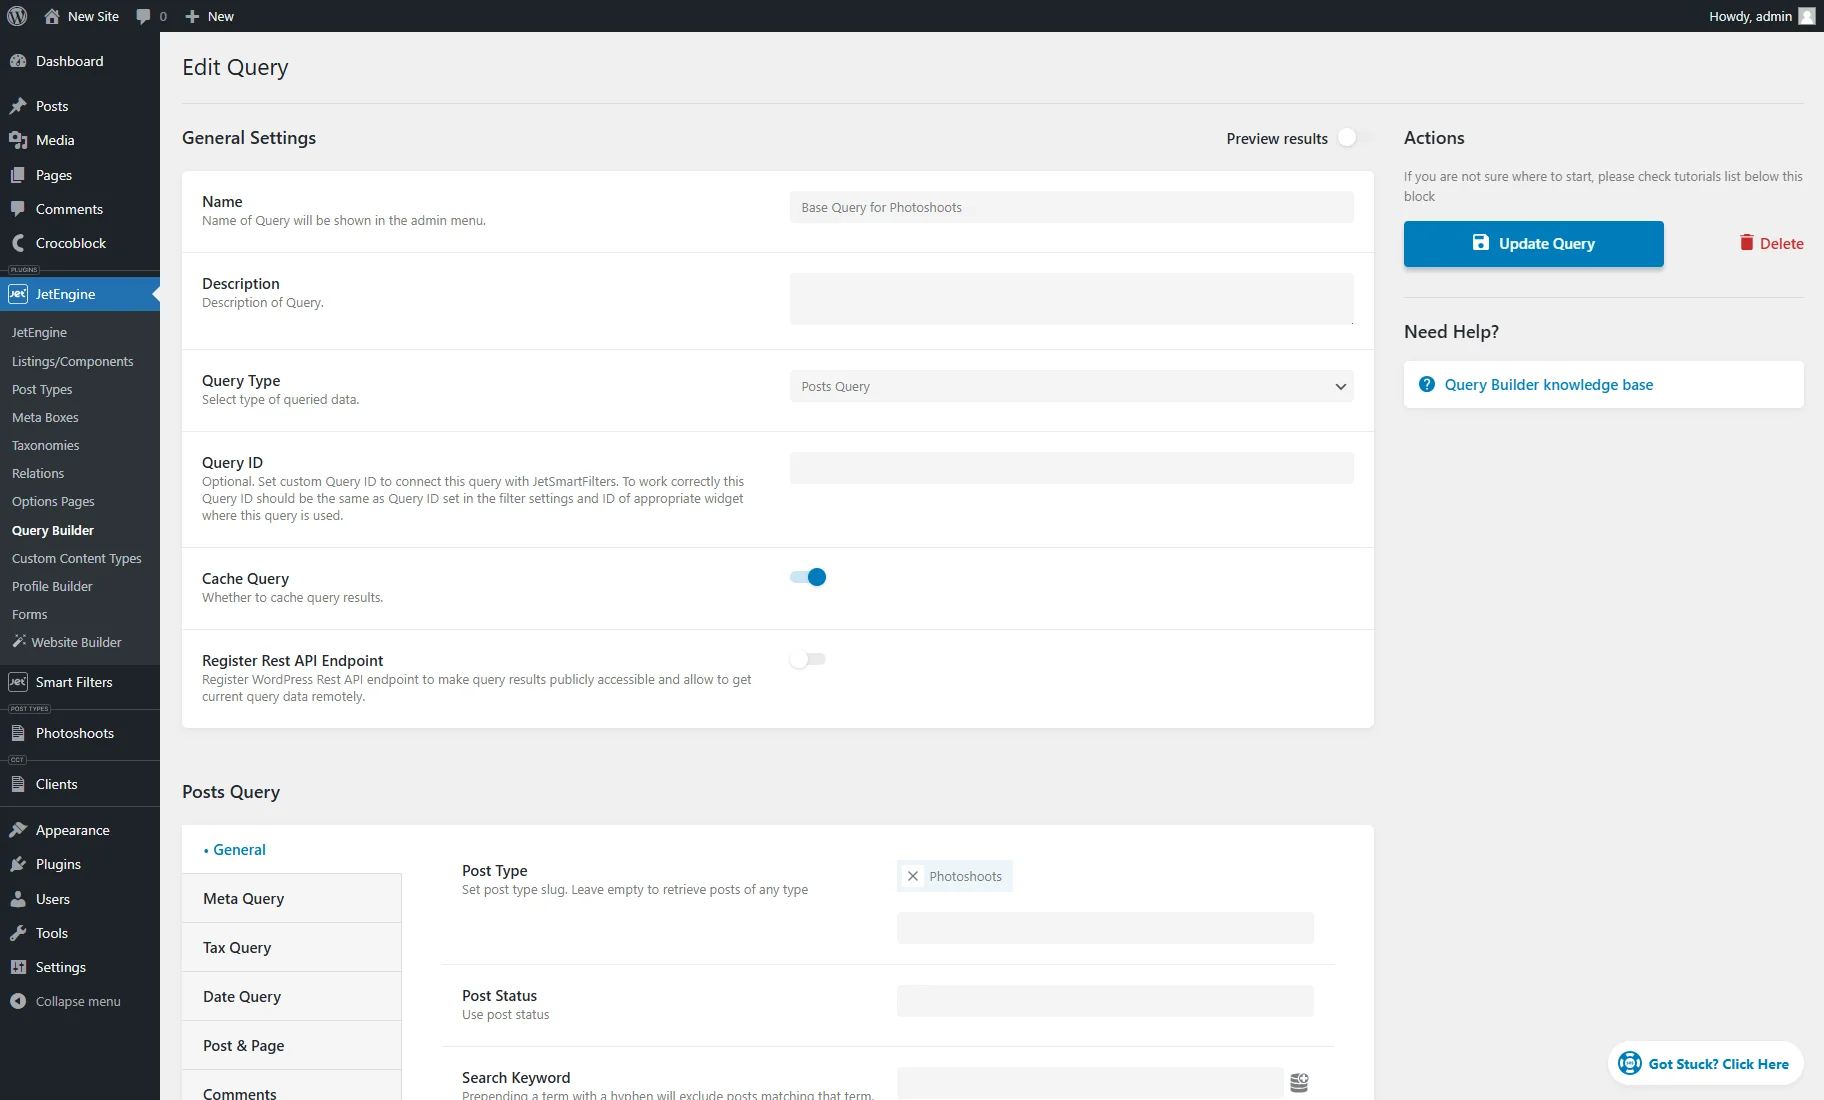
- Query — navigates to the custom query editing page created for the post type. In the General Settings section, it has the Name and “Posts Query” Query Type set. In the Posts Query section, in the General Type the correspondent Post Type is selected. All settings can be customized according to the needs;
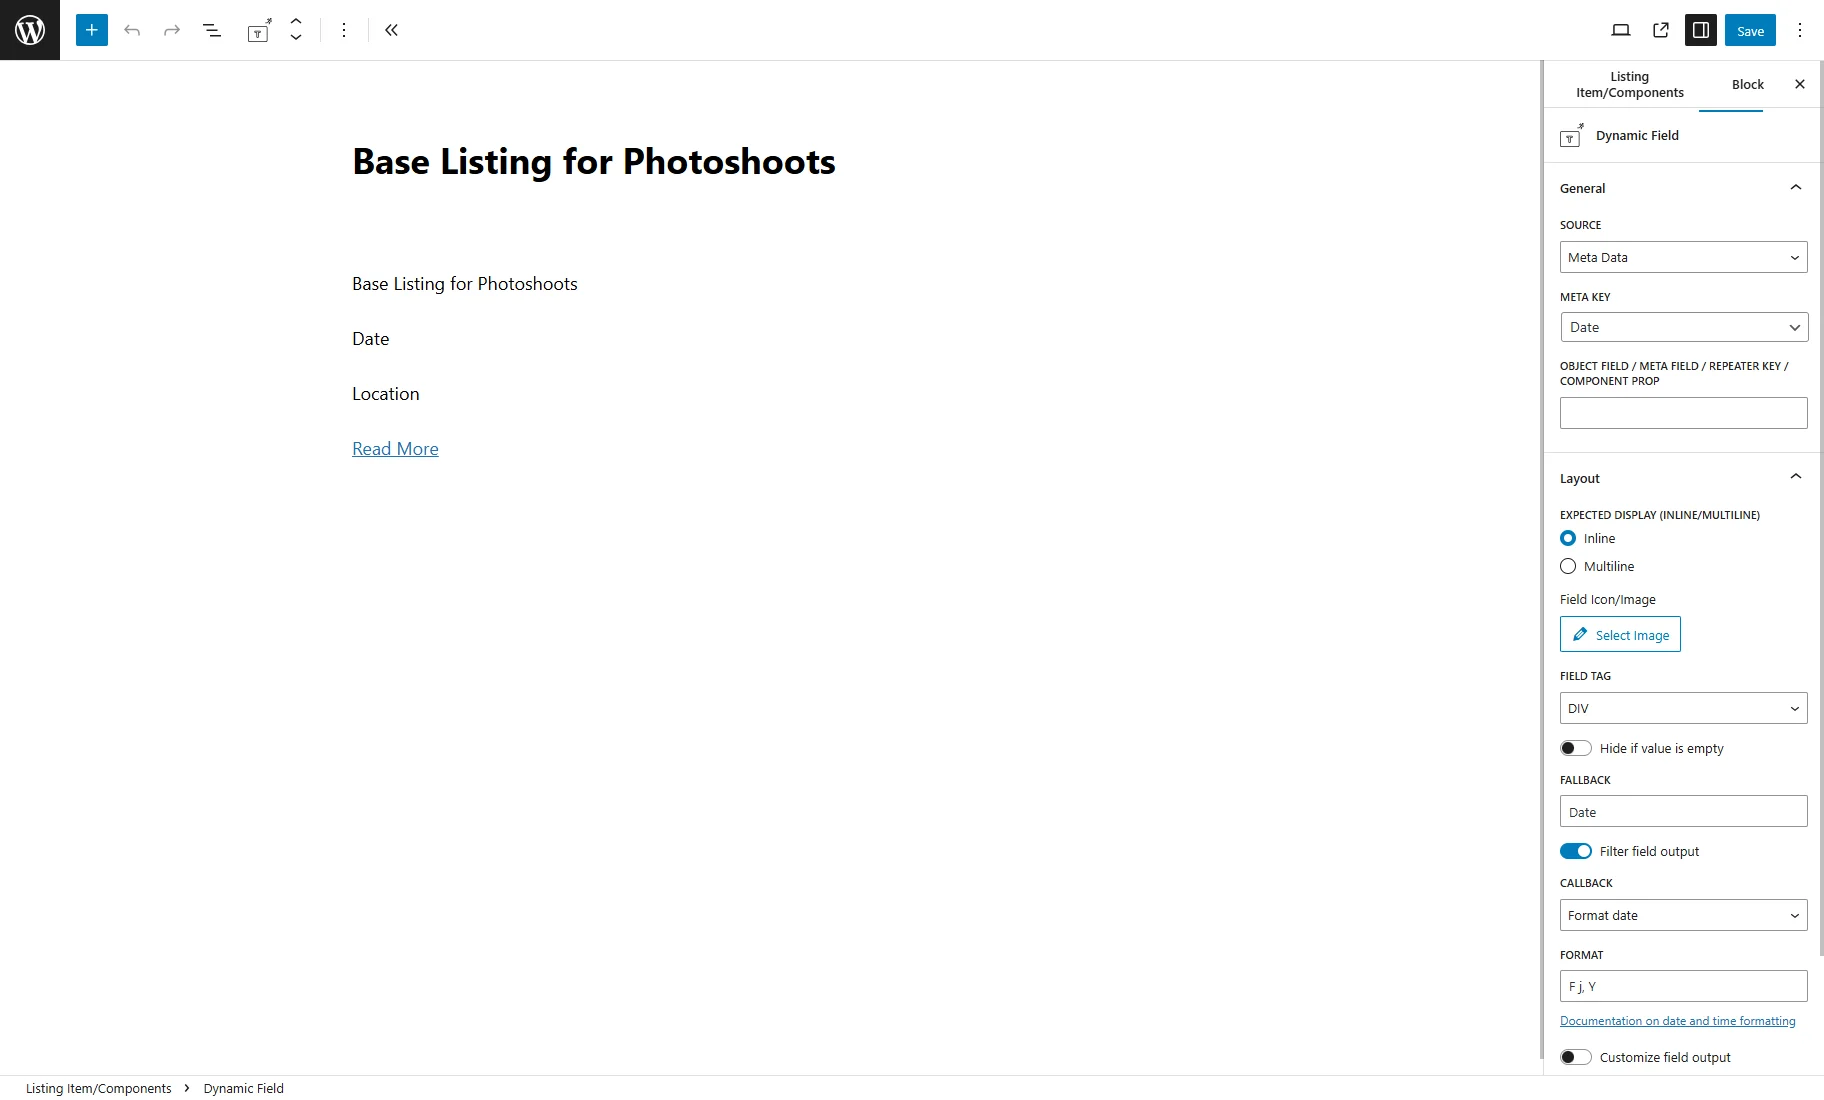
- Base Listing — redirects to the Listing item editing page with the Dynamic Widgets/Blocks/Elements that displays post and meta field data.
- Filters — contains the list of the generated filters. Clicking the “Edit” button guides you to the filter editing page, allowing one to observe and change its settings.
- Taxonomies — includes such controls:
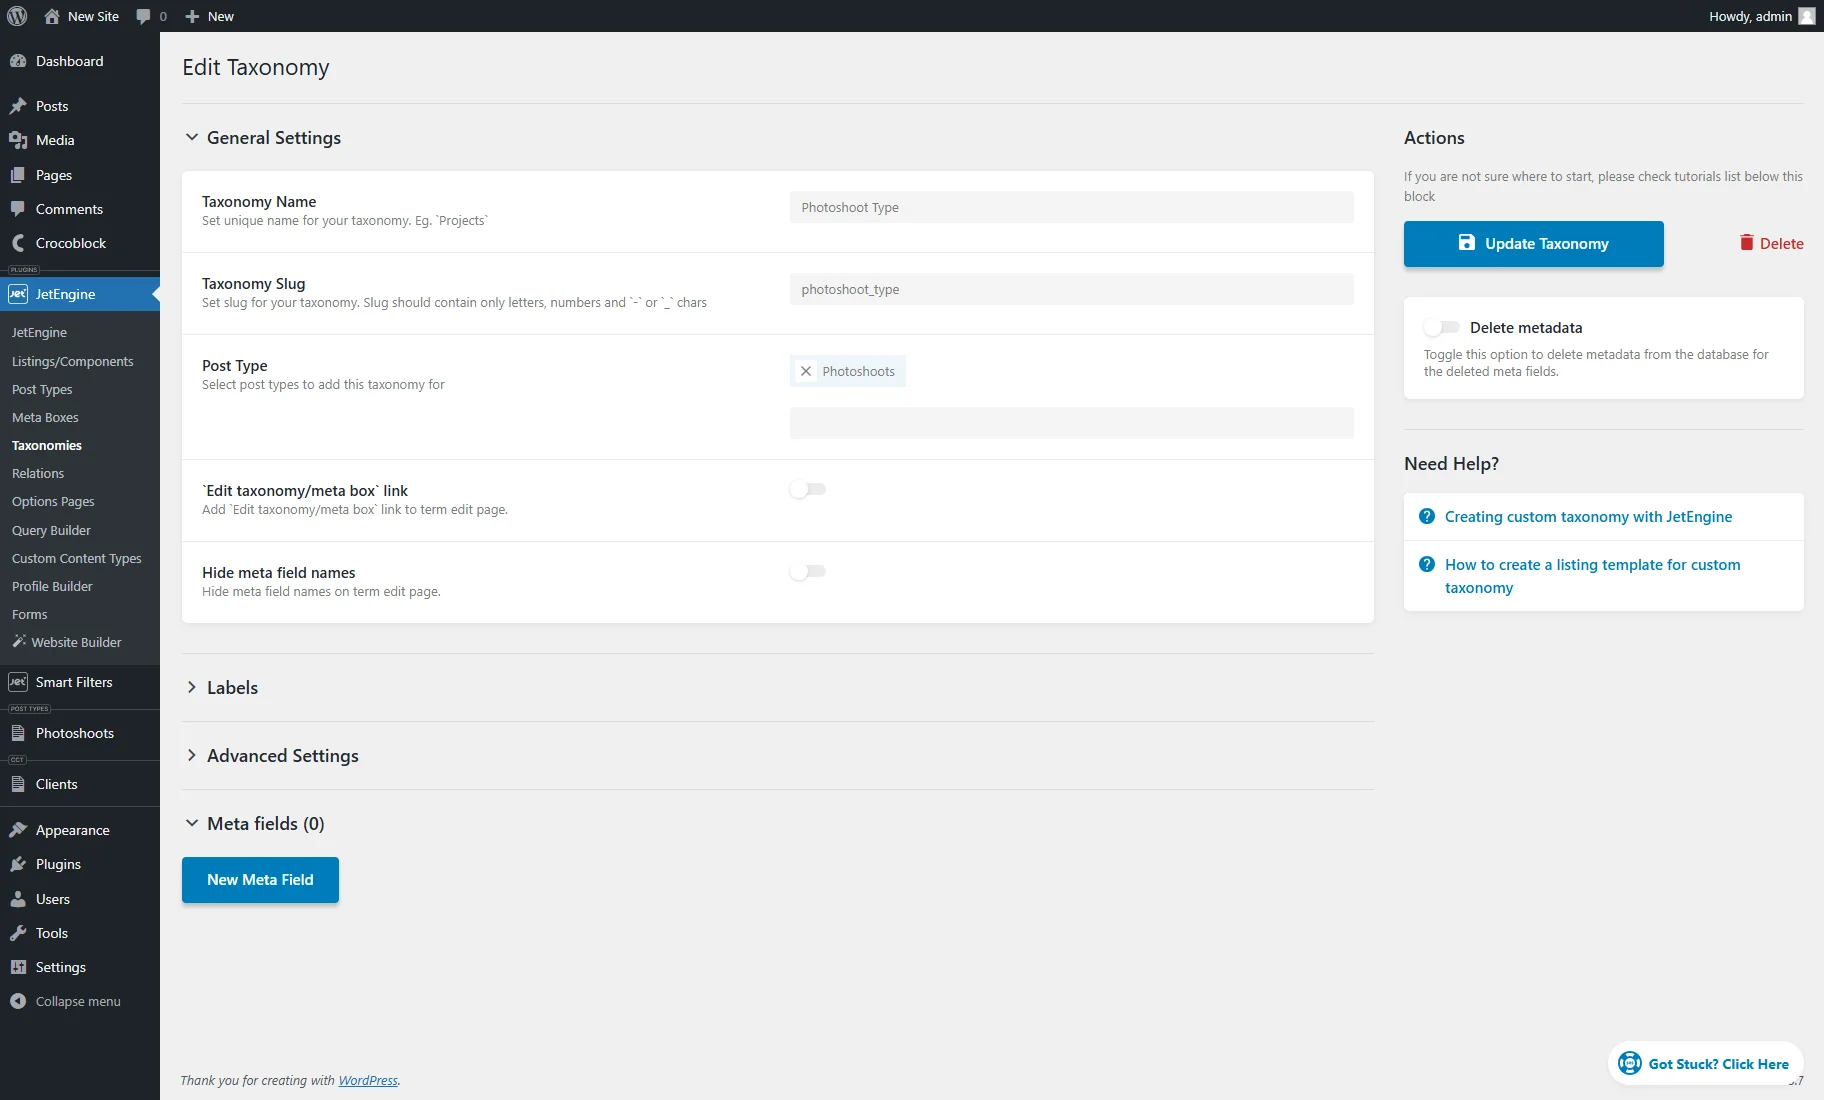
- Edit — a button that transfers to the custom taxonomy editing page, where the settings can be modified and meta fields added;
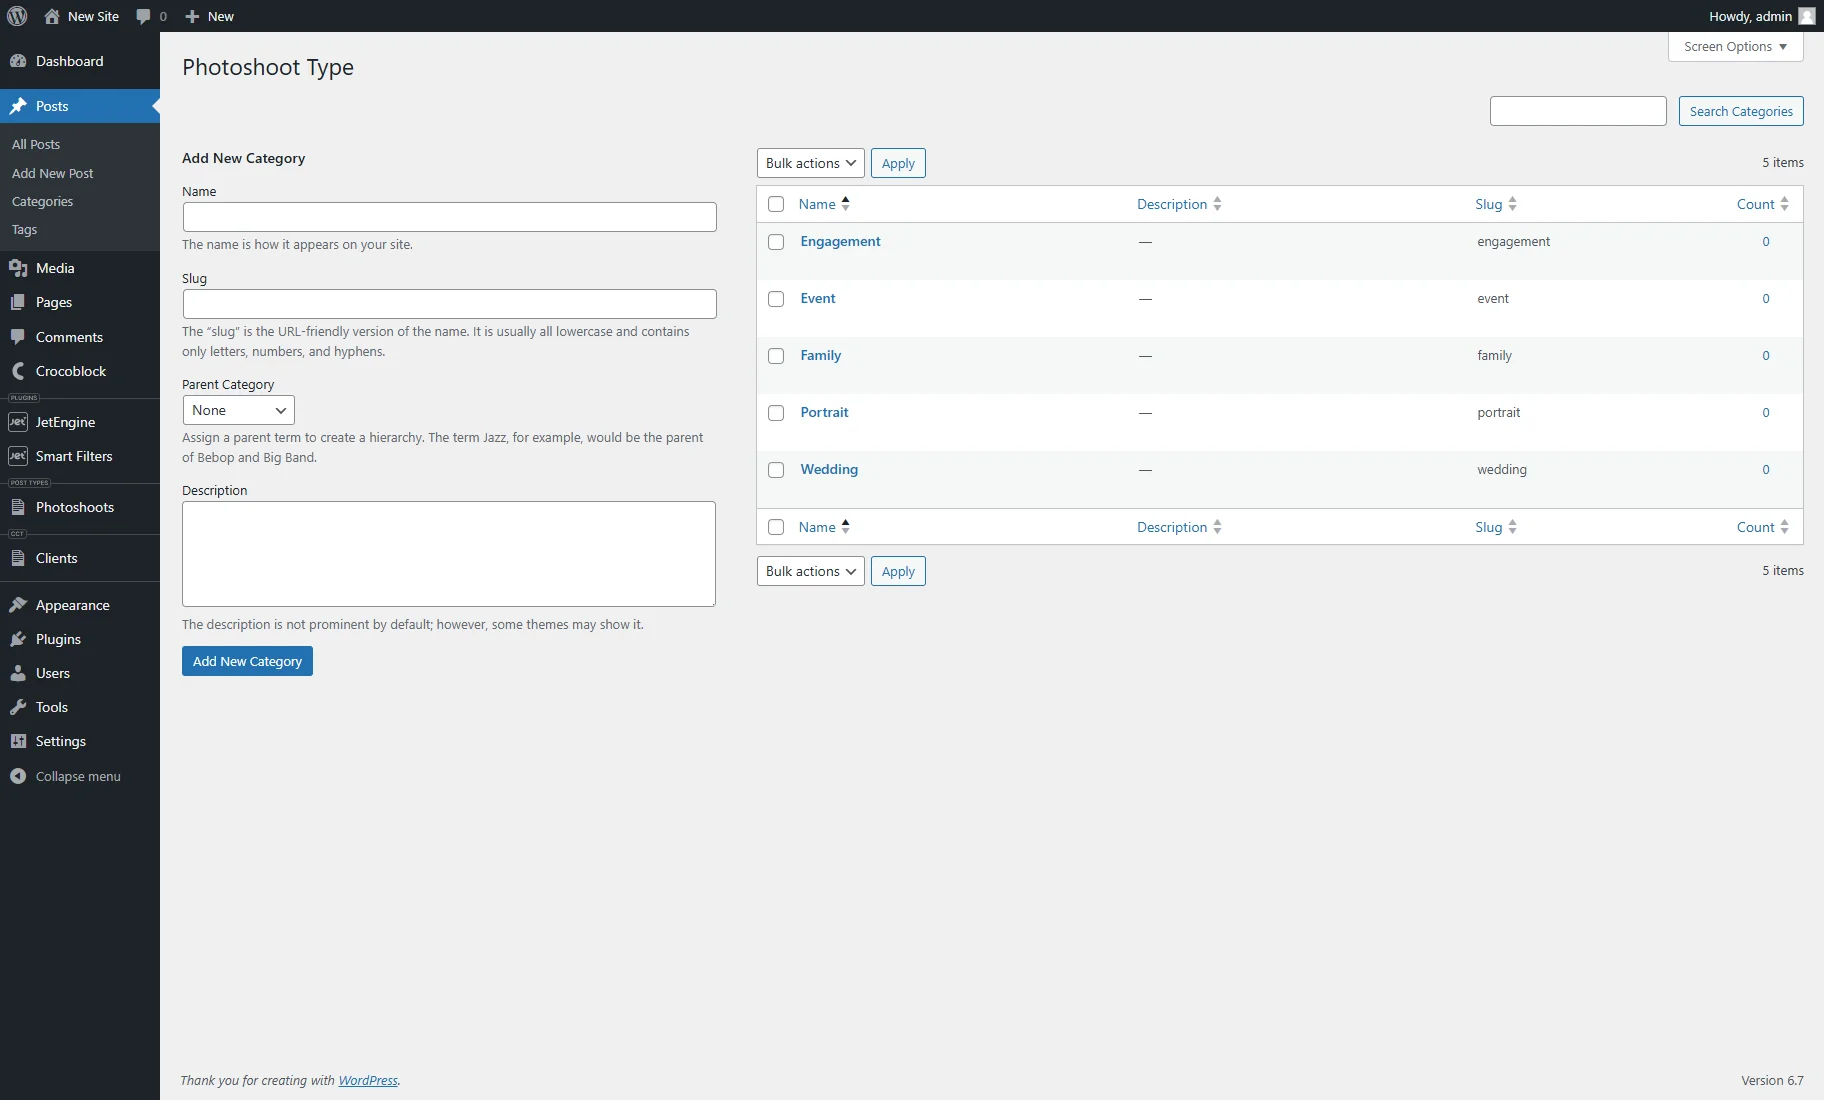
- Add/Edit terms — navigates to the page where terms for the custom taxonomy can be created or edited. This page already contains several terms generated with AI.
- Custom Content Types — contains controls that are similar to the Post Types;
- Relations — contains such controls:
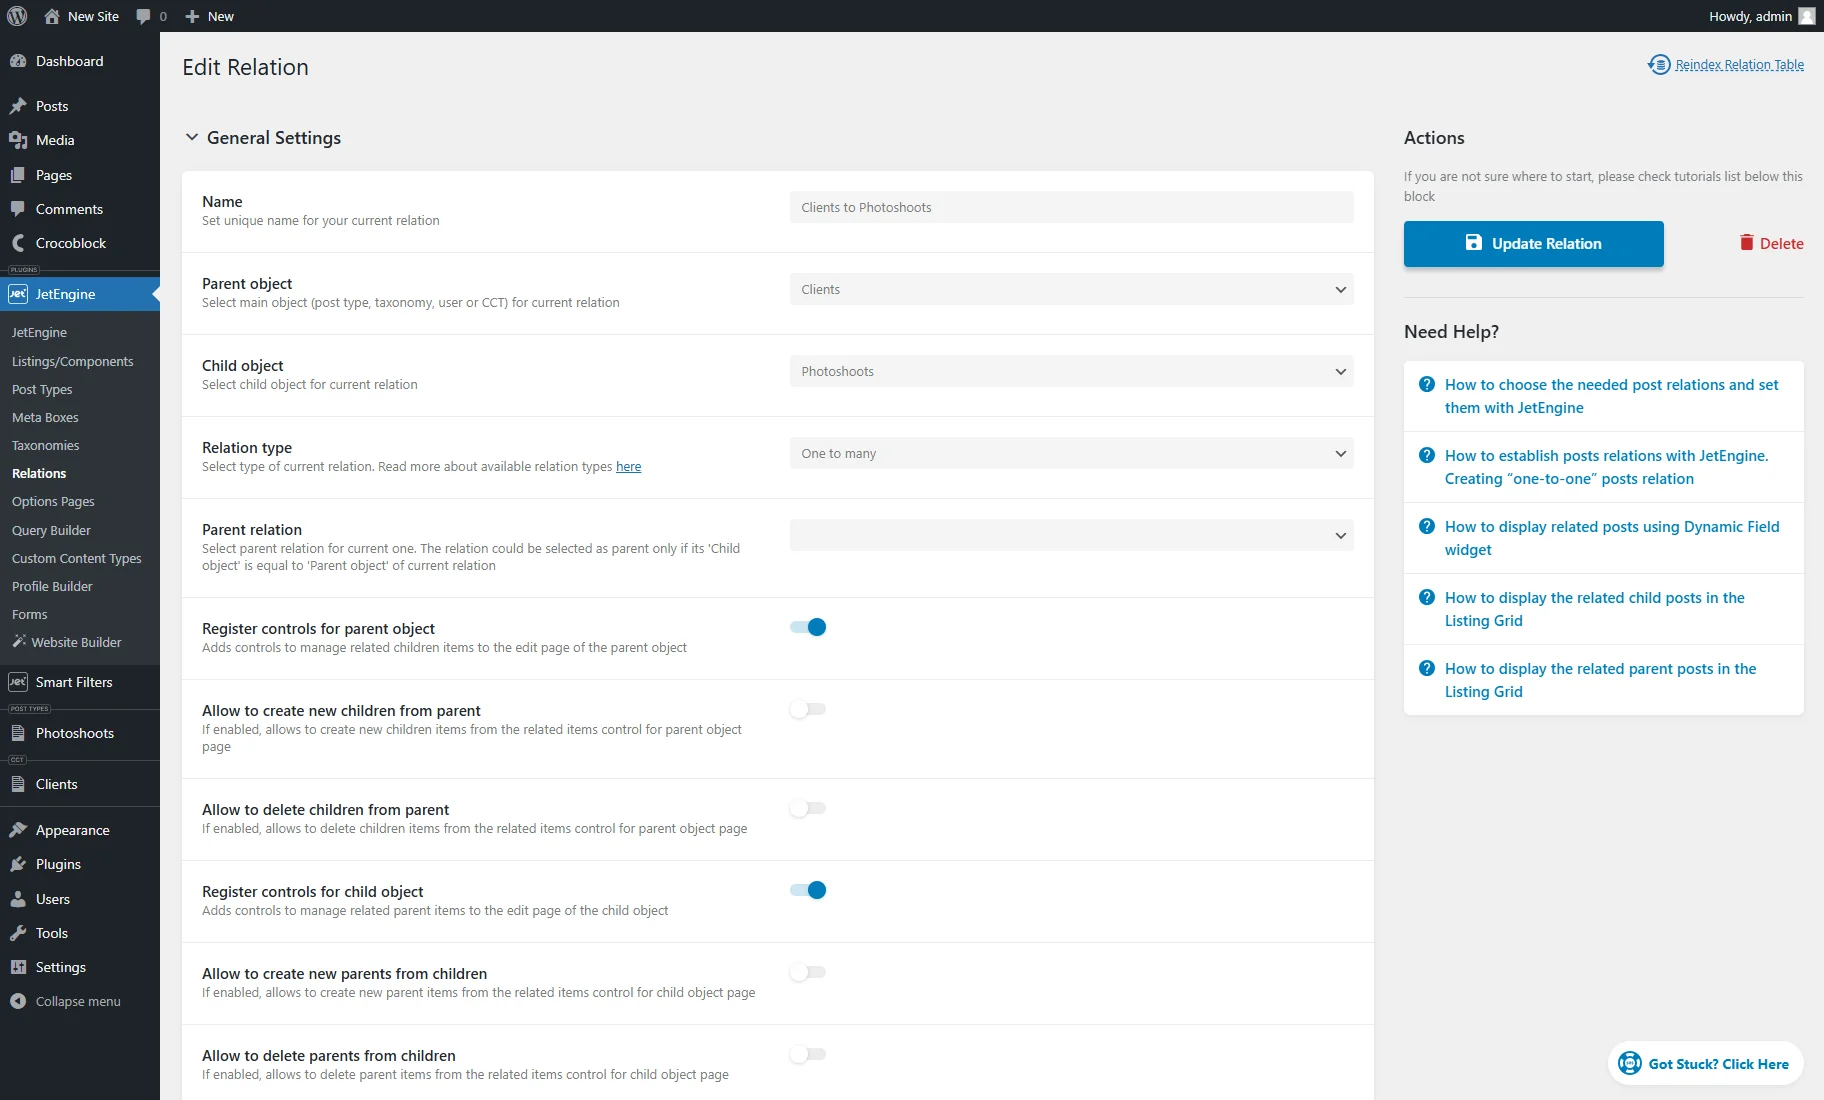
- Edit — redirects to the Relation editing page, where the settings can be altered;
- Parent Items — sends to the page where the parent items can be adjusted (in this case, items from the “Clients” CCT);
- Children Items — forwards to the page where the children items can be adjusted (in this case, posts from the “Photoshoots” CPT.
Clicking the Previously Created Models tab shows the list of the generated models. Hovering over the model name shows the “Trash” button that deletes the model if pressed.
That’s all. Now you know the AI Website Structure Builder settings from the JetEngine plugin and how to start the creation of the WordPress website with it.
