How to Use Components in Query Loop or Listing Grid
This tutorial explains how to use components created with the JetEngine plugin in the Query Loop of the Bricks theme or Listing Grid on your WordPress website.
Before you start, check the tutorial requirements:
- Elementor (Free version), Block editor (Gutenberg), or Bricks
- JetEngine plugin installed and activated
The Components feature of the JetEngine plugin allows you to create a custom widget/element/block that can be reused on different pages or templates on your WordPress website. You can also add components to the JetEngine Listing Grid element/widget/block or Query Loop of the Bricks theme.
In this tutorial, we will create a component with user information and place it on the Listing Grid or Query Loop with posts. It can be default WordPress posts or posts from a Custom Post Type. Setting the component Context will display the author info for every post.
Create a New Component for CPT
Go to the WordPress Dashboard > JetEngine > Listings/Components tab and hit the “Add New Component” button.
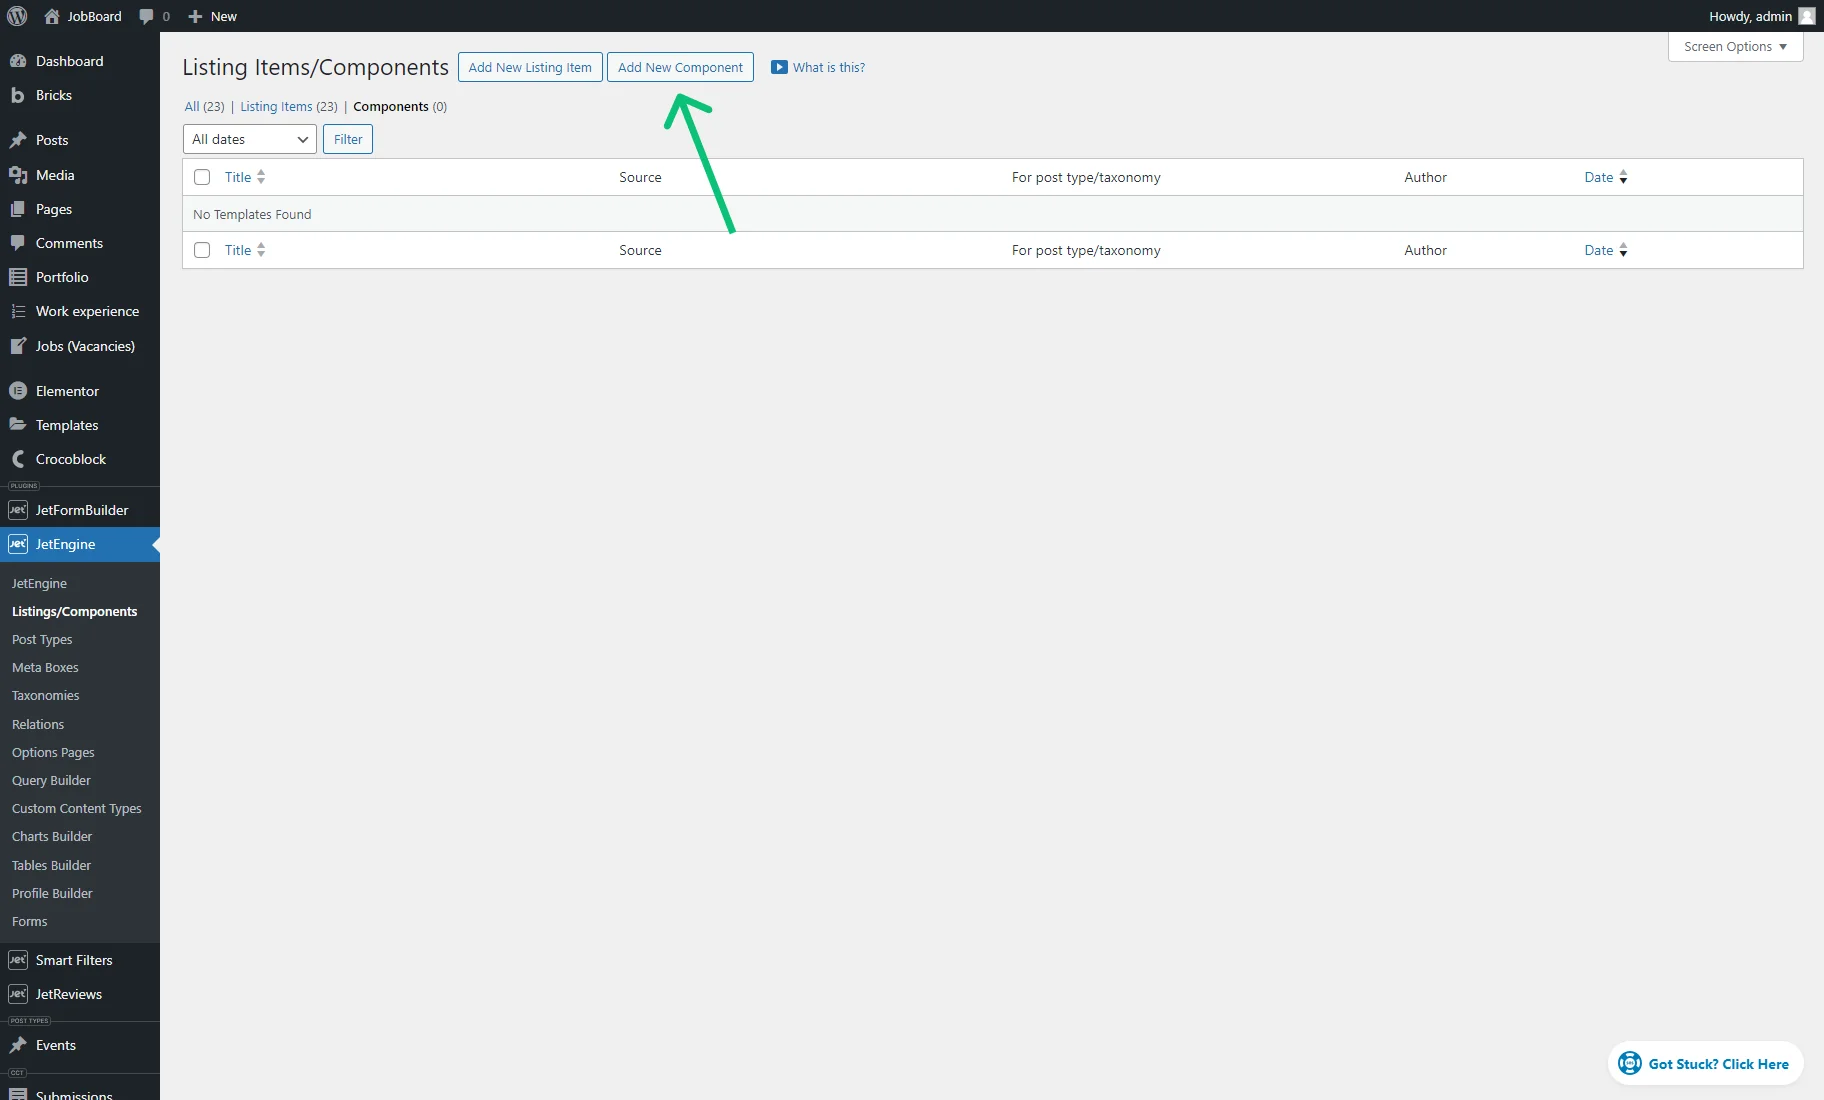
In the Setup Component pop-up, enter the Component name (e.g., “User info”) and select the Component view (“Elementor,” “Bricks,” “Timber/Twig,” or “Blocks (Gutenberg)”).
In our example, we select the “Bricks” option.
Then, press the “Create Component” button.
Check this tutorial to learn how to add meta fields to user and display user information.
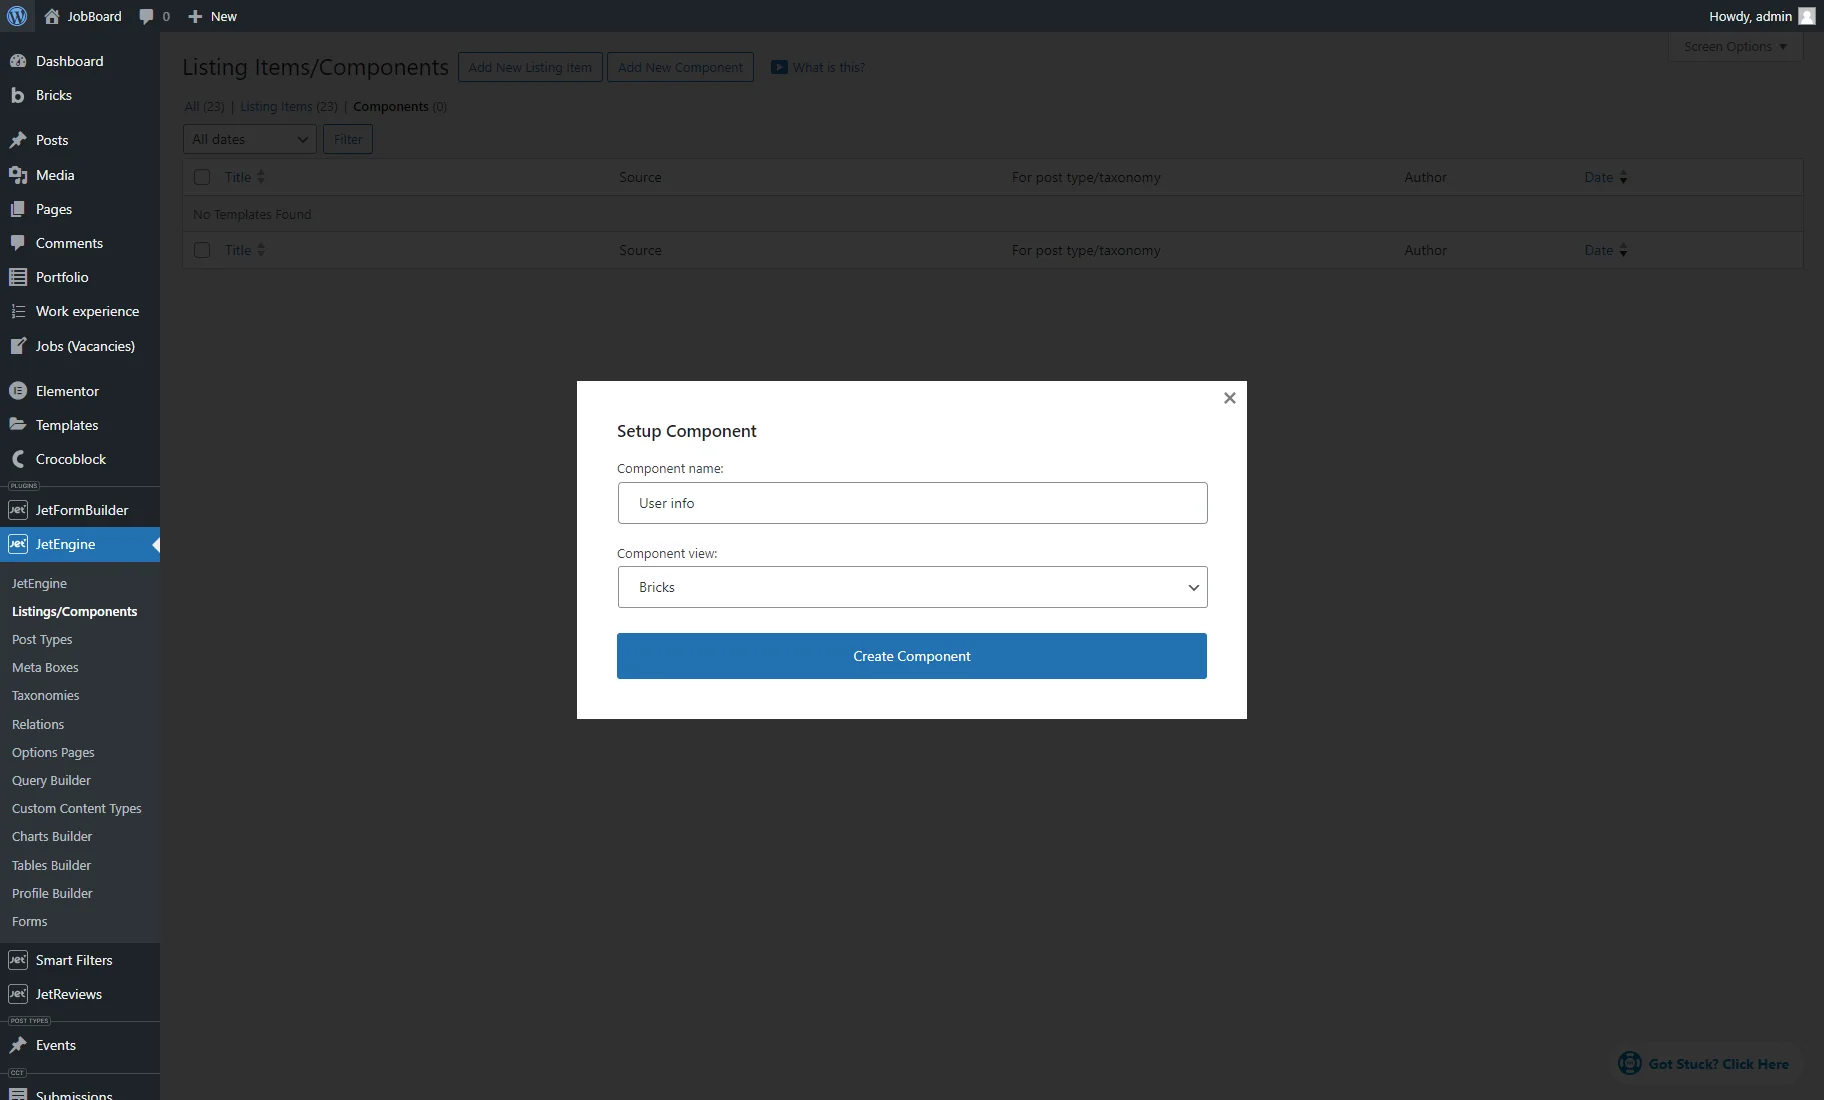
To display some user data, we use Dynamic elements.
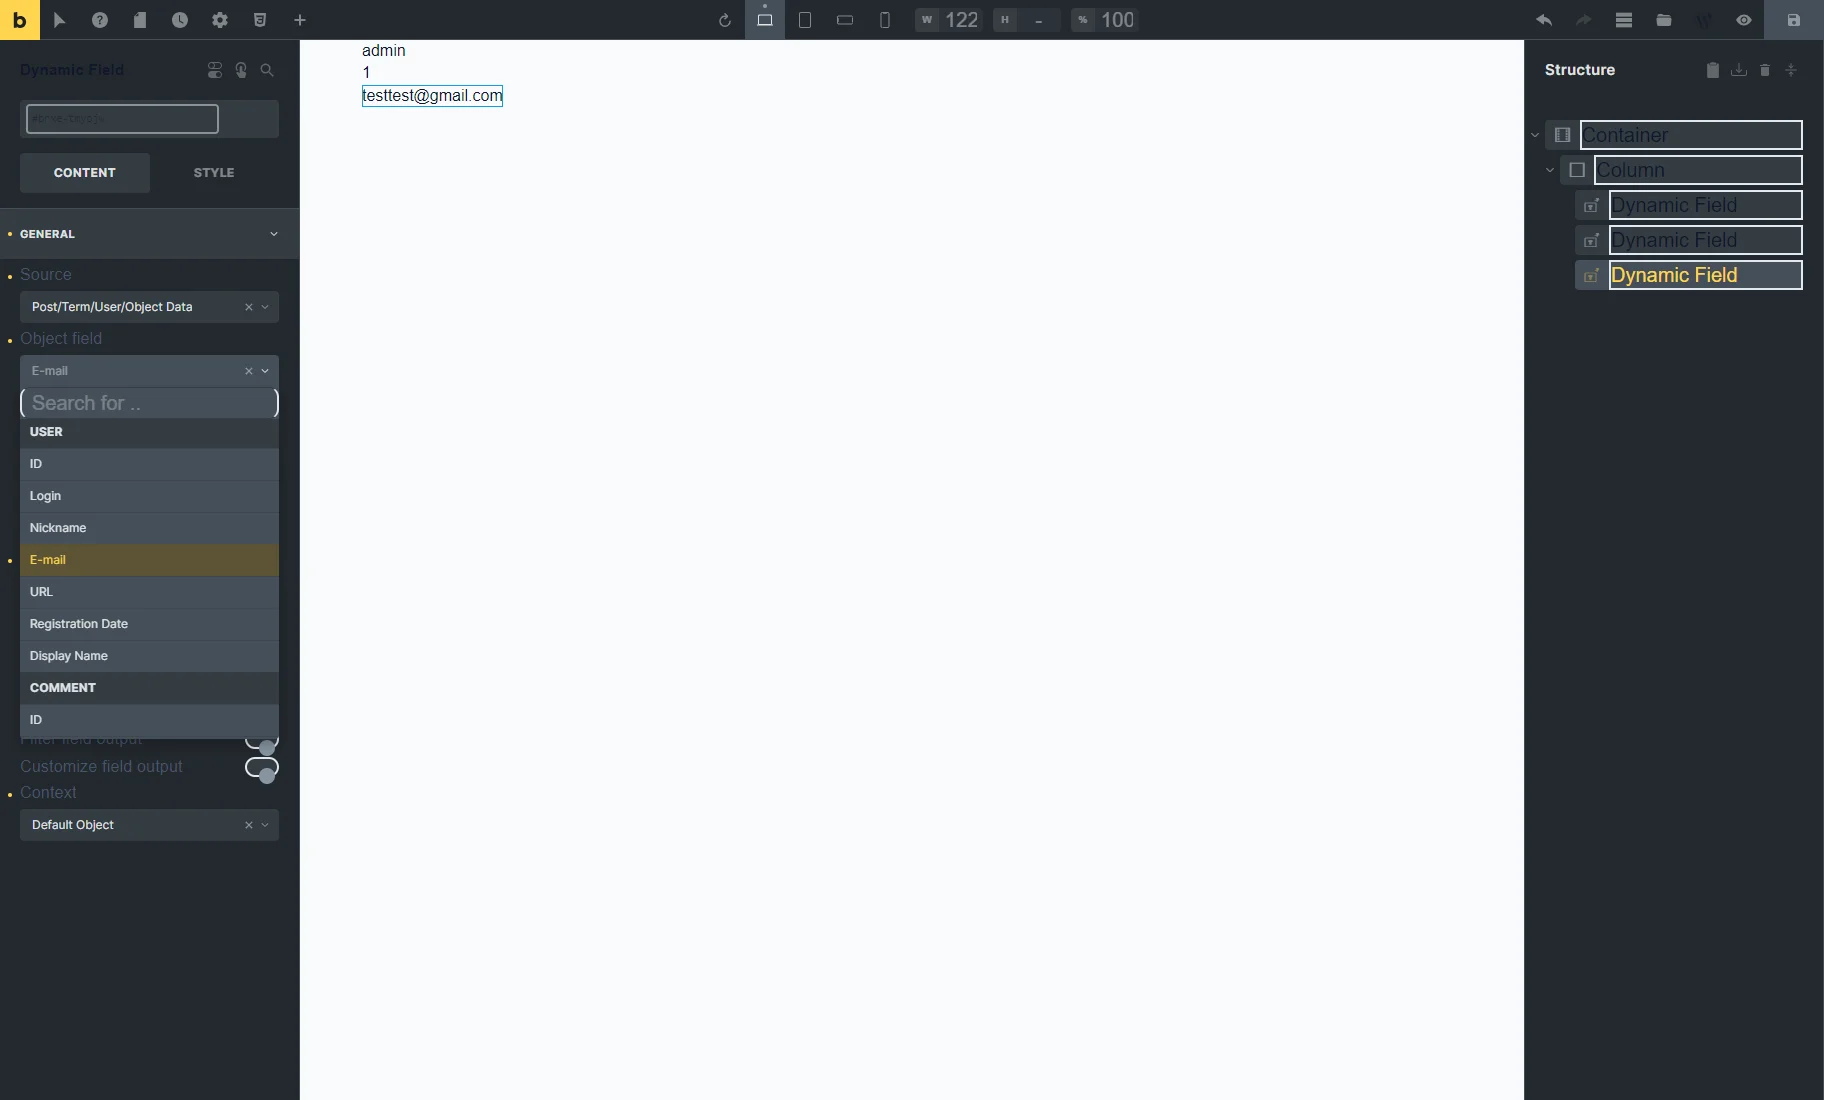
On the editing page, we place three Dynamic Field elements. For them, we set the “Post/Term/User/Object Data” Source and “Login,” “ID,” and “Email” Object fields.
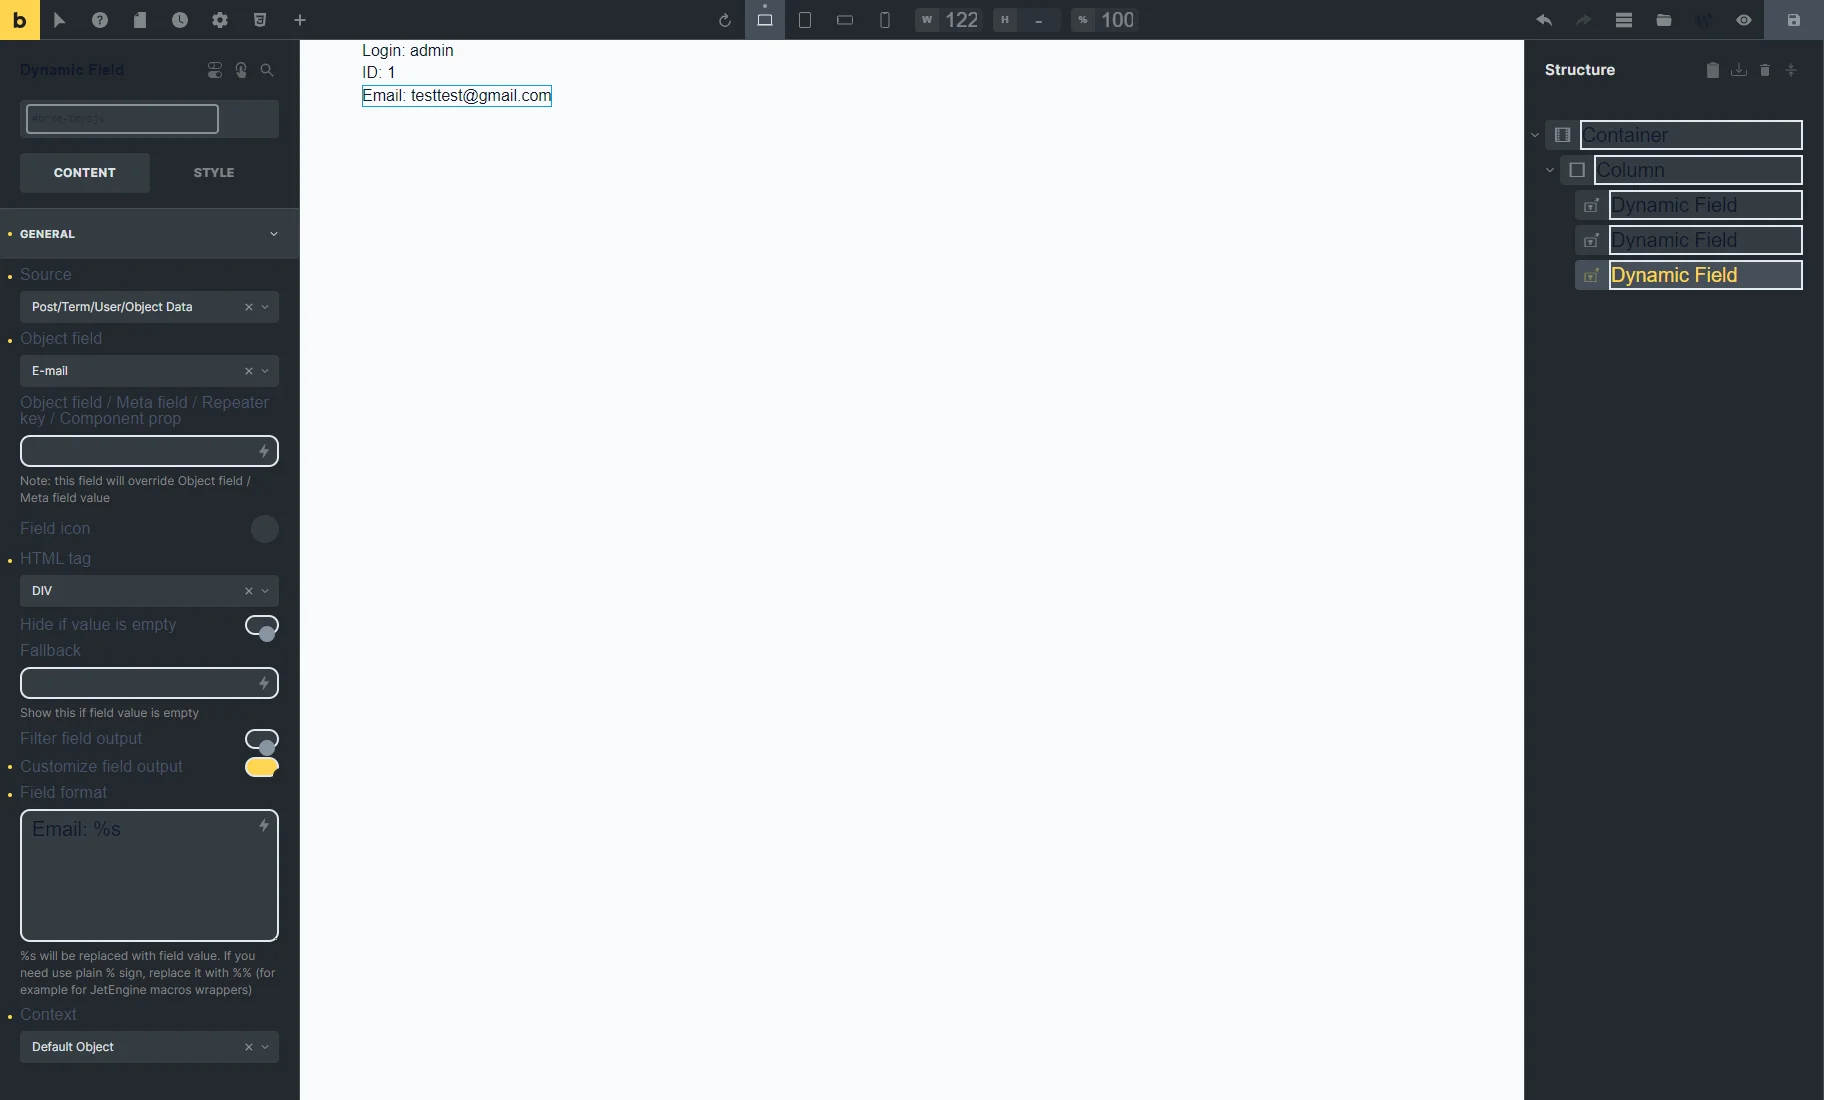
Also, we enable the Customize field output option for three Dynamic Fields and set the Field format (e.g., “Email: %s”).
To learn how to add the Content and Style Controls to the component, proceed to the Components Overview.
When you are done, save the component settings.
Component in Query Loop
To learn about the Query Loop feature of the Bricks theme, proceed to this article.
Go to the WordPress Dashboard > Pages tab and create a new page or edit the existing one in Bricks editor.
Here, press the “+” icon to add a new section and click on the Container element in the Structure tab on the right.
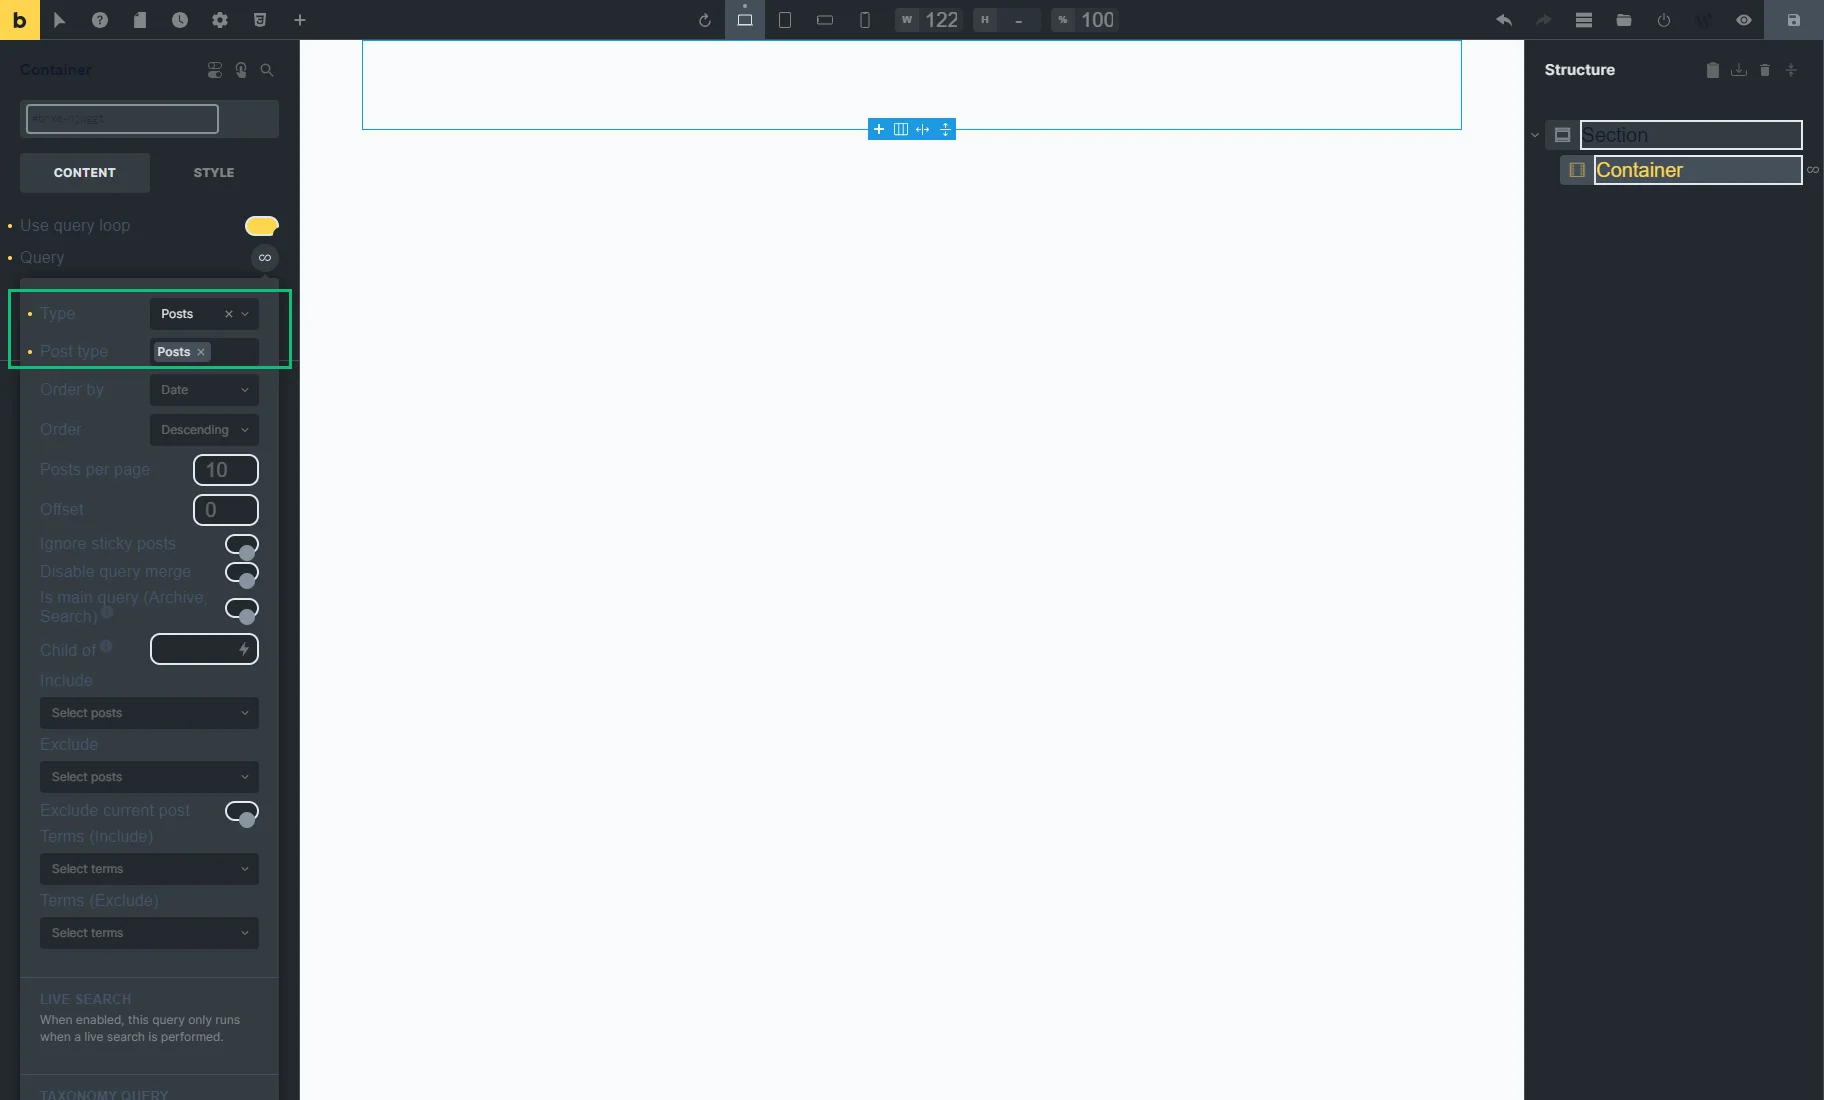
In the CONTENT settings tab of the Container, enable the Use query loop toggle and hit the “infinity” icon.
In the appeared pop-up, you can alter the query settings. For example, we adjust the Type to “Posts” and select the “Posts” option as the Post type, but you can set other options if you want to use another source for posts.
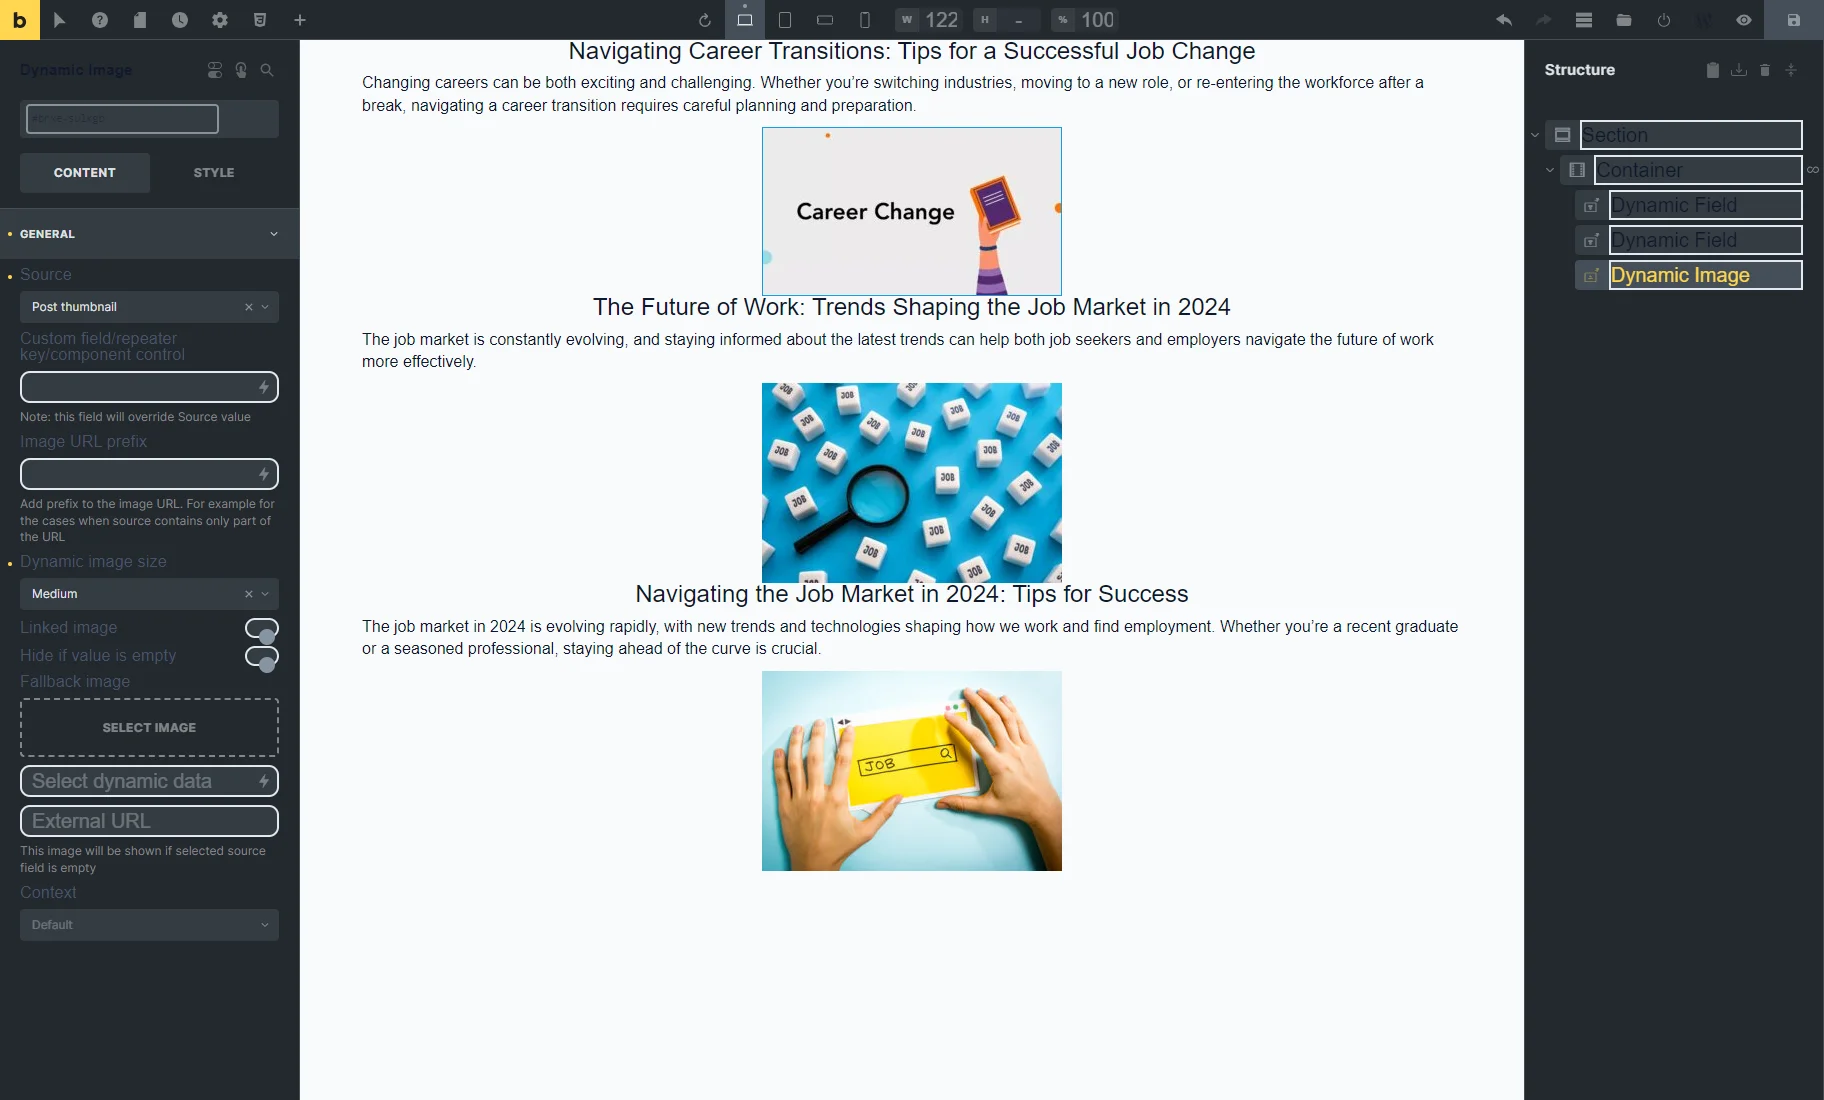
To close the pop-up, click on the area beyond it and fill the Container with the Query Loop with the needed content. For example, you can use Dynamic Elements.
For instance, we place such elements:
- Dynamic Field with the “Post/Term/User/Object Data” Source and “Title” Object field;
- Dynamic Field with the “Post/Term/User/Object Data” Source and “Content” Object field;
- Dynamic Image with the “Post thumbnail” Source.
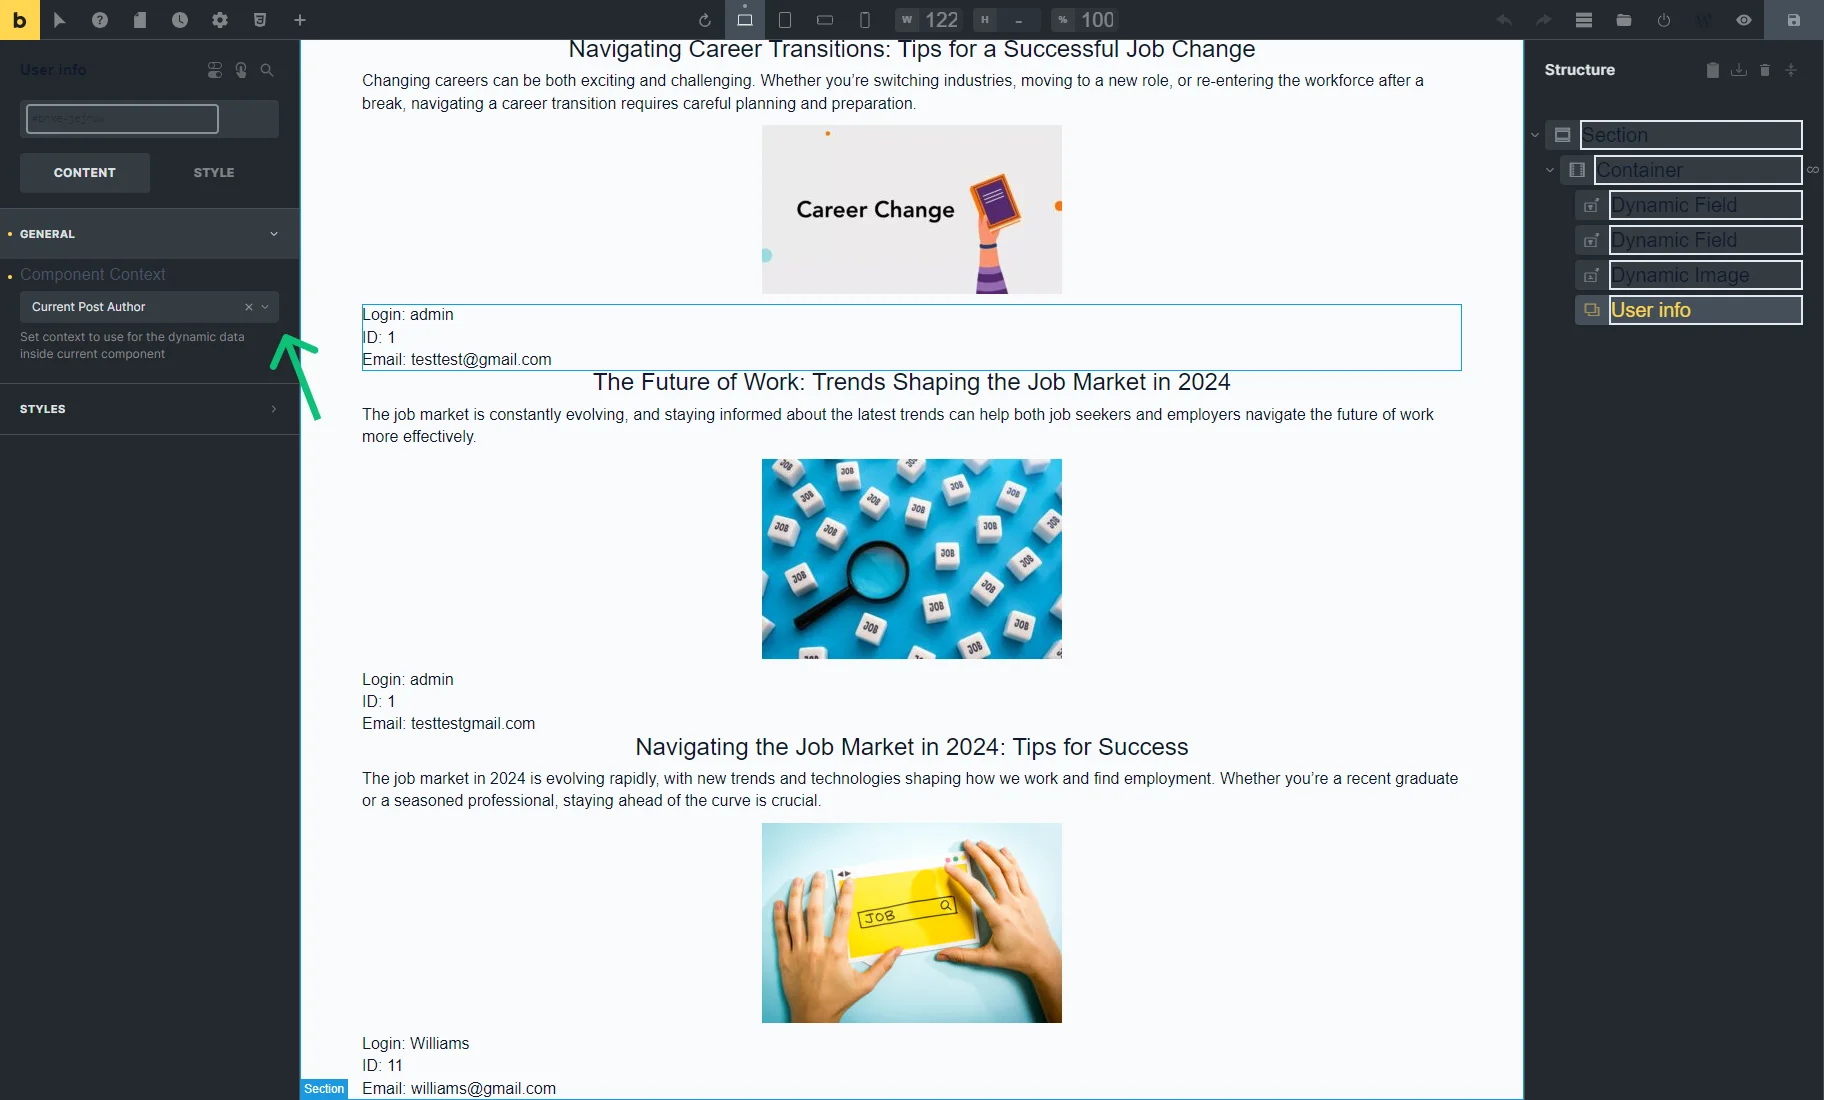
In the left panel, search the recently created component by its name and place it on the editing page. In our case, it’s the User info.

In the GENERAL settings tab, choose the “Current Post Author” option for the Component Context field.
Be aware the first item in the Query Loop will show the current user instead of the post author, but it will work as intended on the front end.
Now, save the page settings.
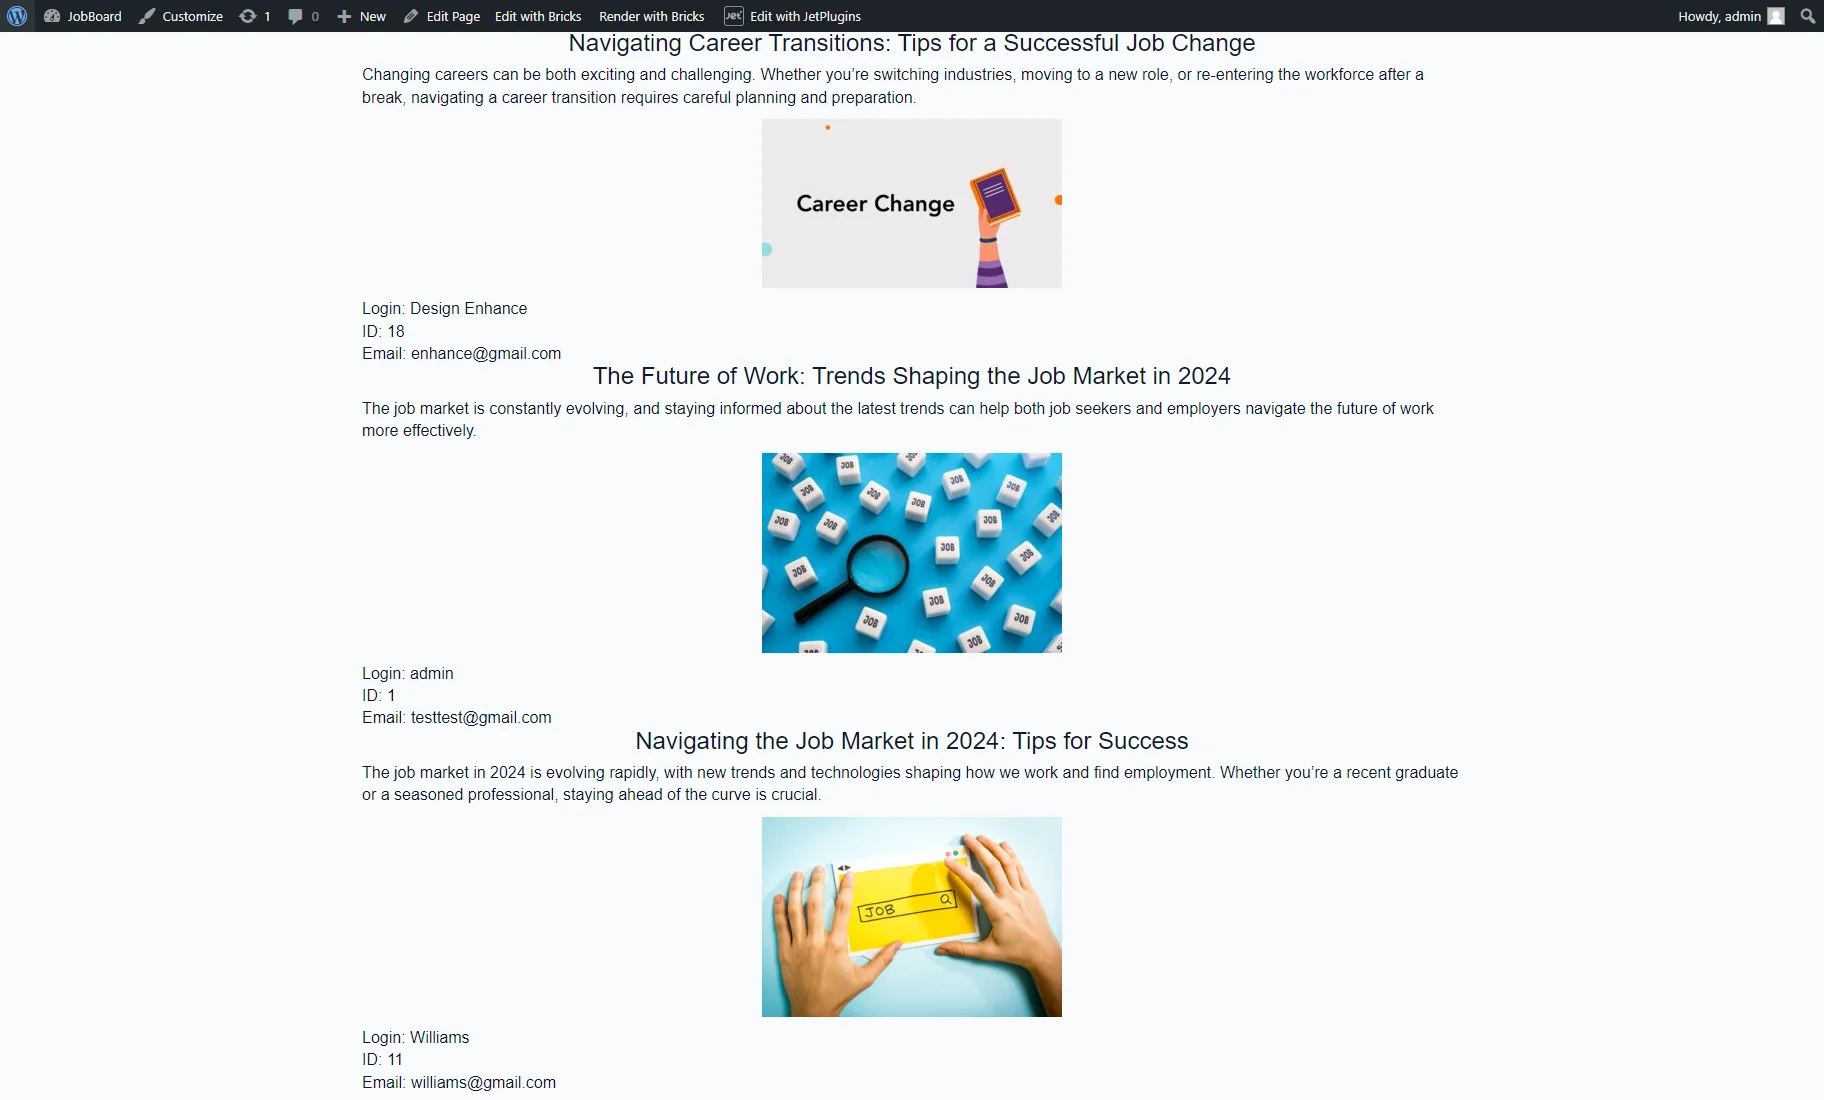
Open the page on the front end and check the result.
Component in Listing Grid
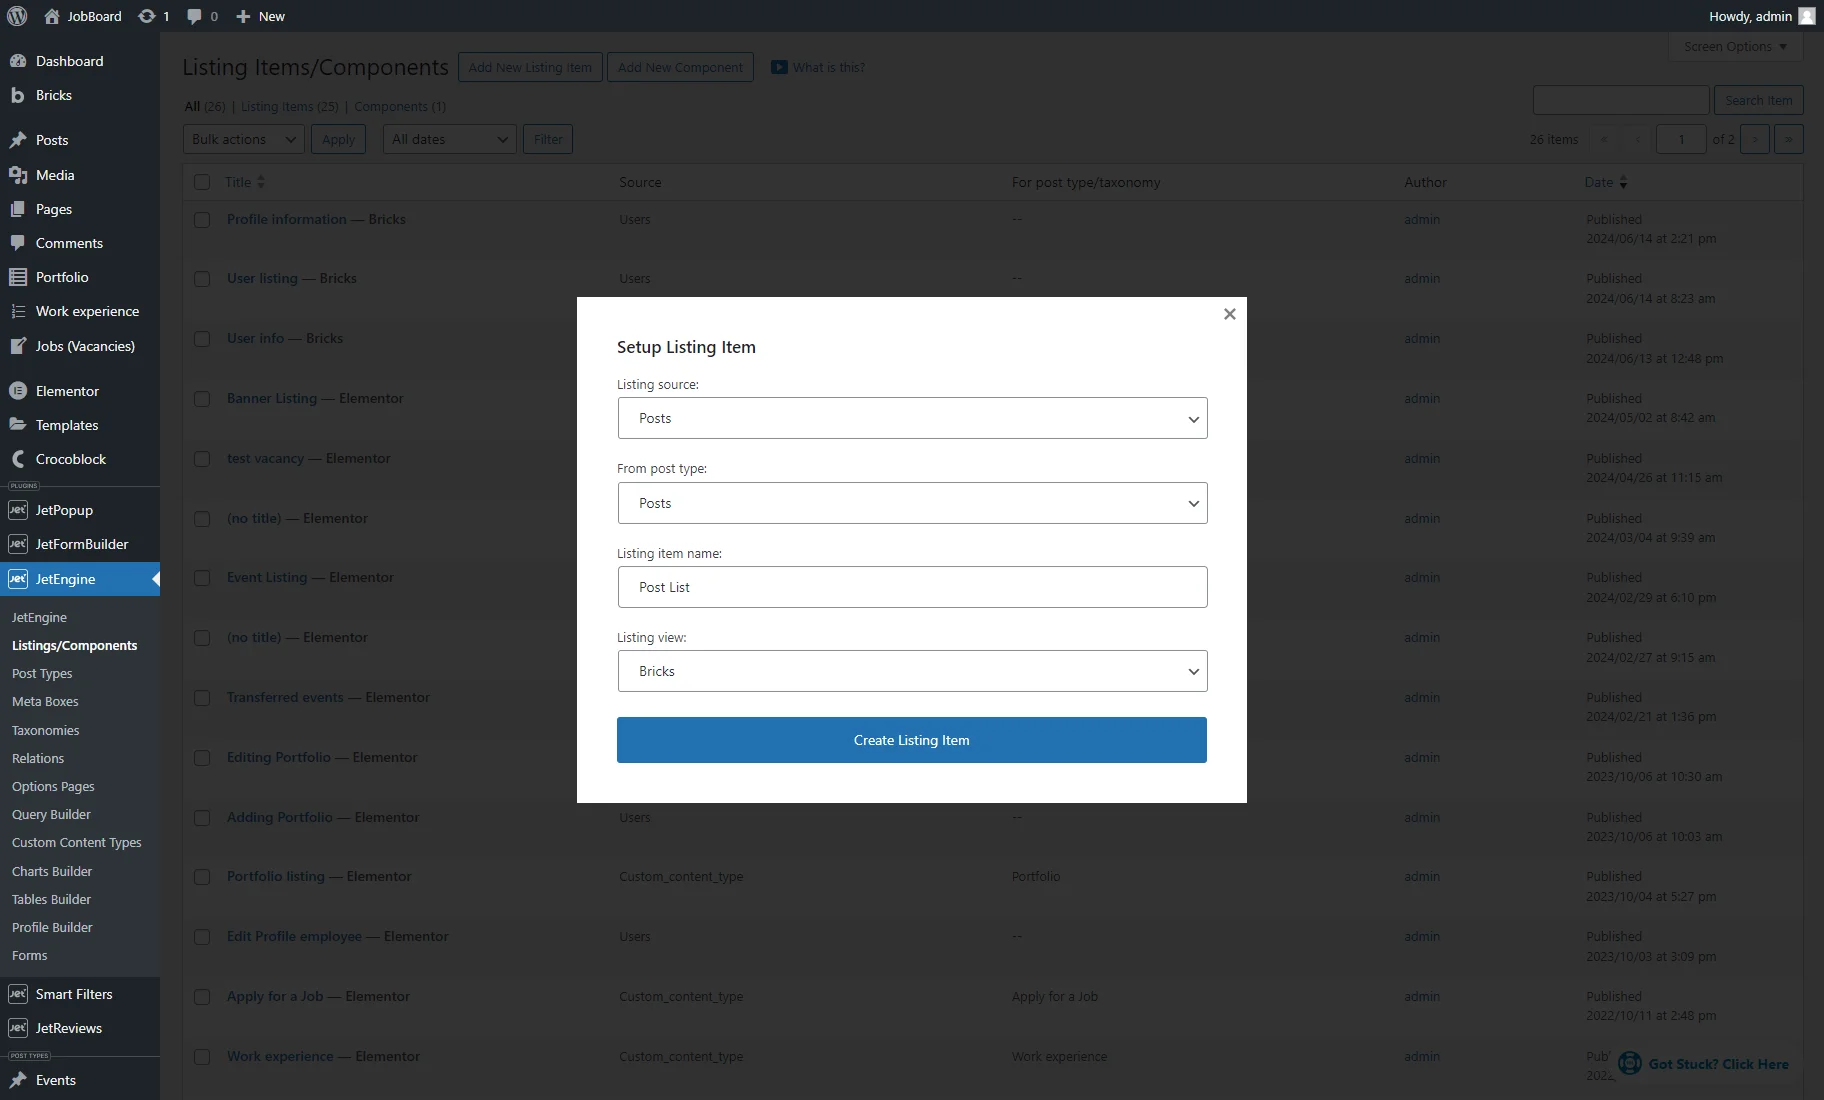
Go to the WordPress Dashboard > JetEngine > Listings/Components tab and hit the “Add New Listing Item” button.
In the Setup Listing Item pop-up, we pick the “Post” Listing source and “Posts” in the From post type dropdown menu, enter the Listing item name, and select the Listing view (e.g., “Bricks”).
Then, push the “Create Listing Item” button.
Learn more about the Listing template in Elementor, Gutenberg, Bricks, and Timber/Twig.
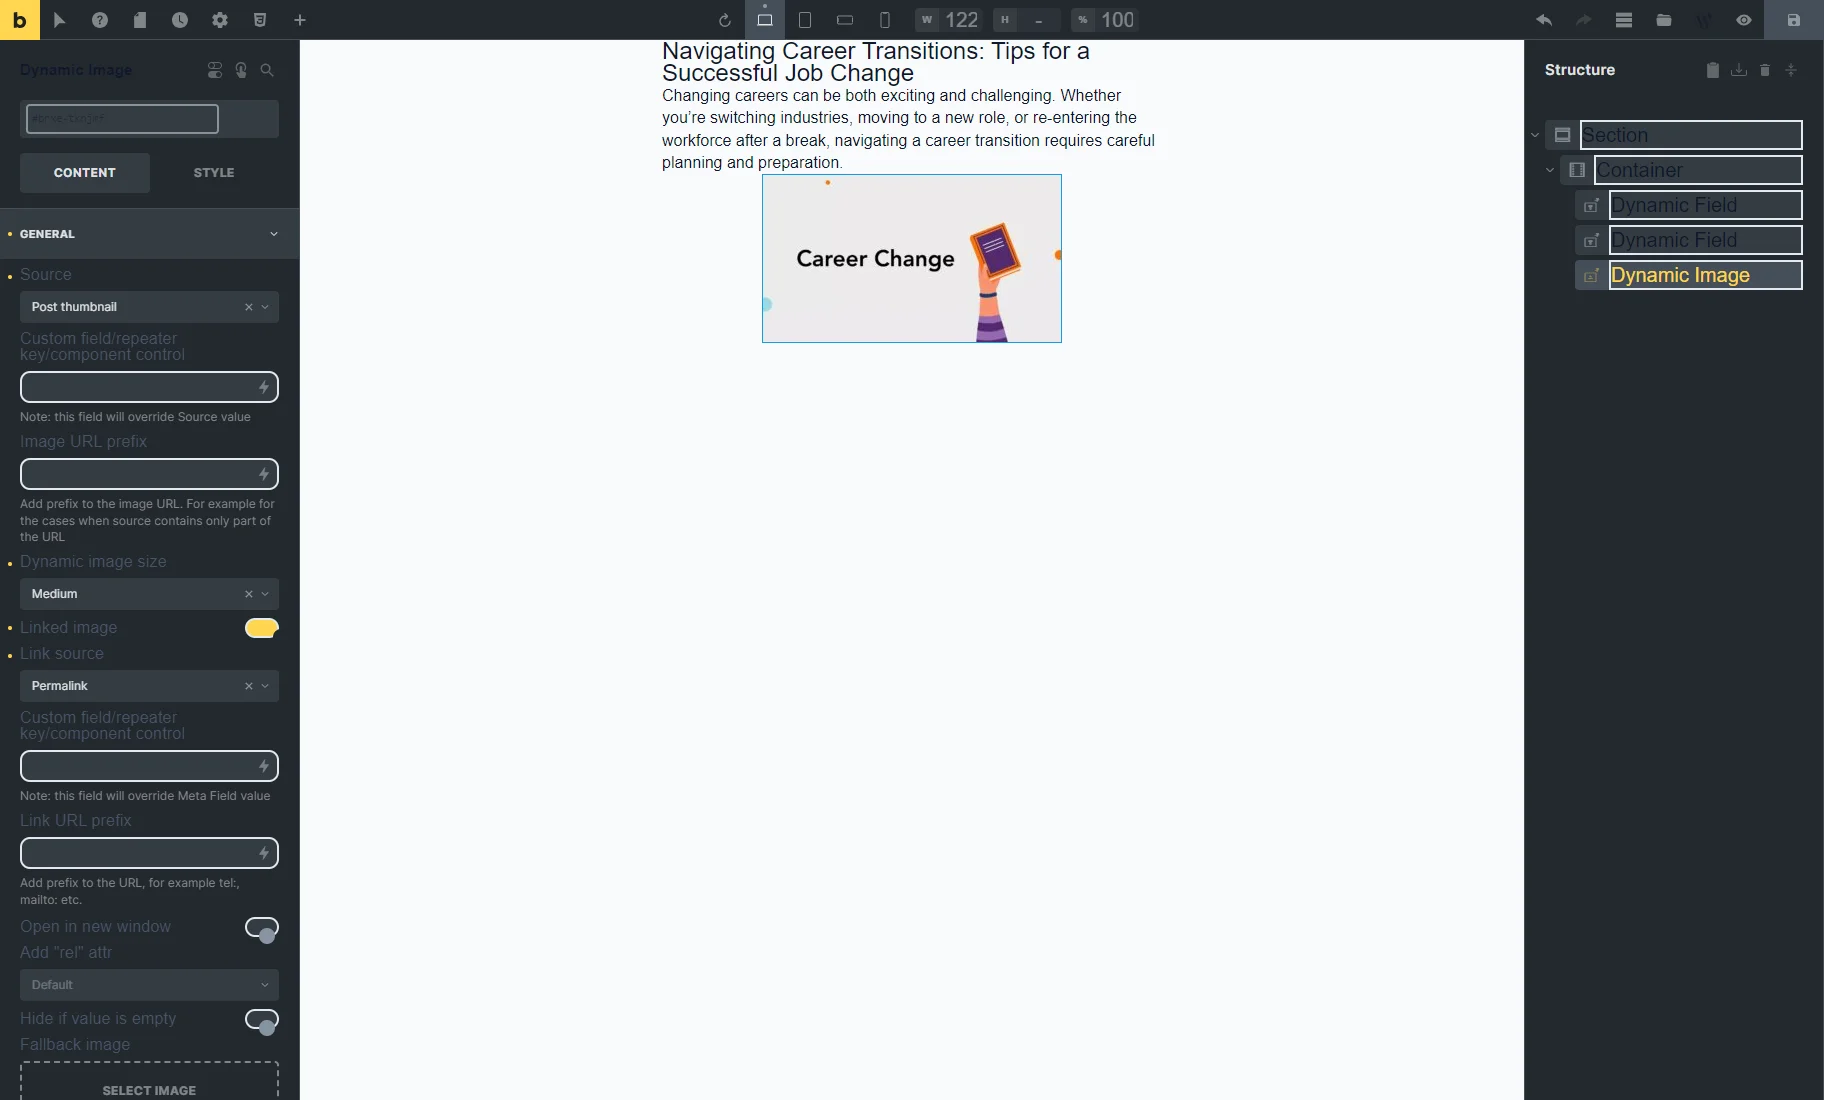
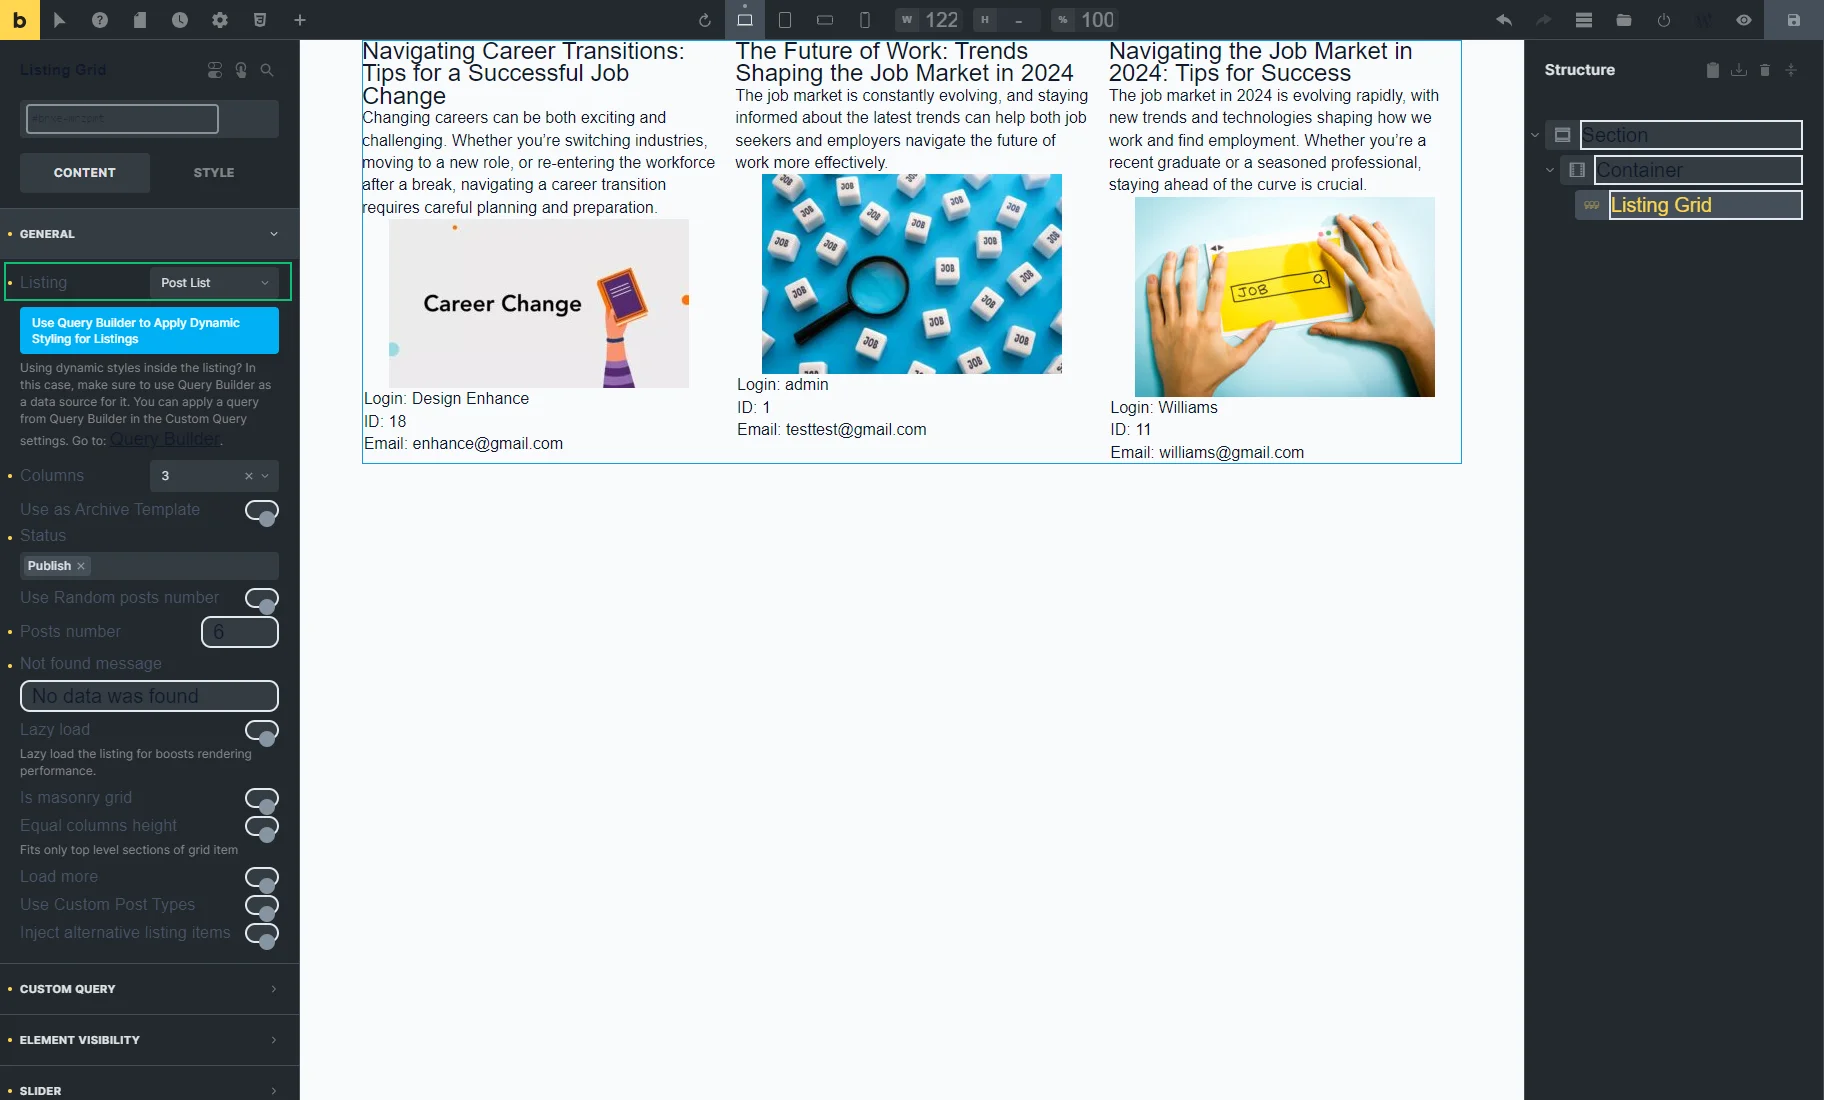
On the editing page, we place such elements:
- Dynamic Field with the “Post/Term/User/Object Data” Source and “Title” Object field;
- Dynamic Field with the “Post/Term/User/Object Data” Source and “Content” Object field;
- Dynamic Image with the “Post thumbnail” Source.
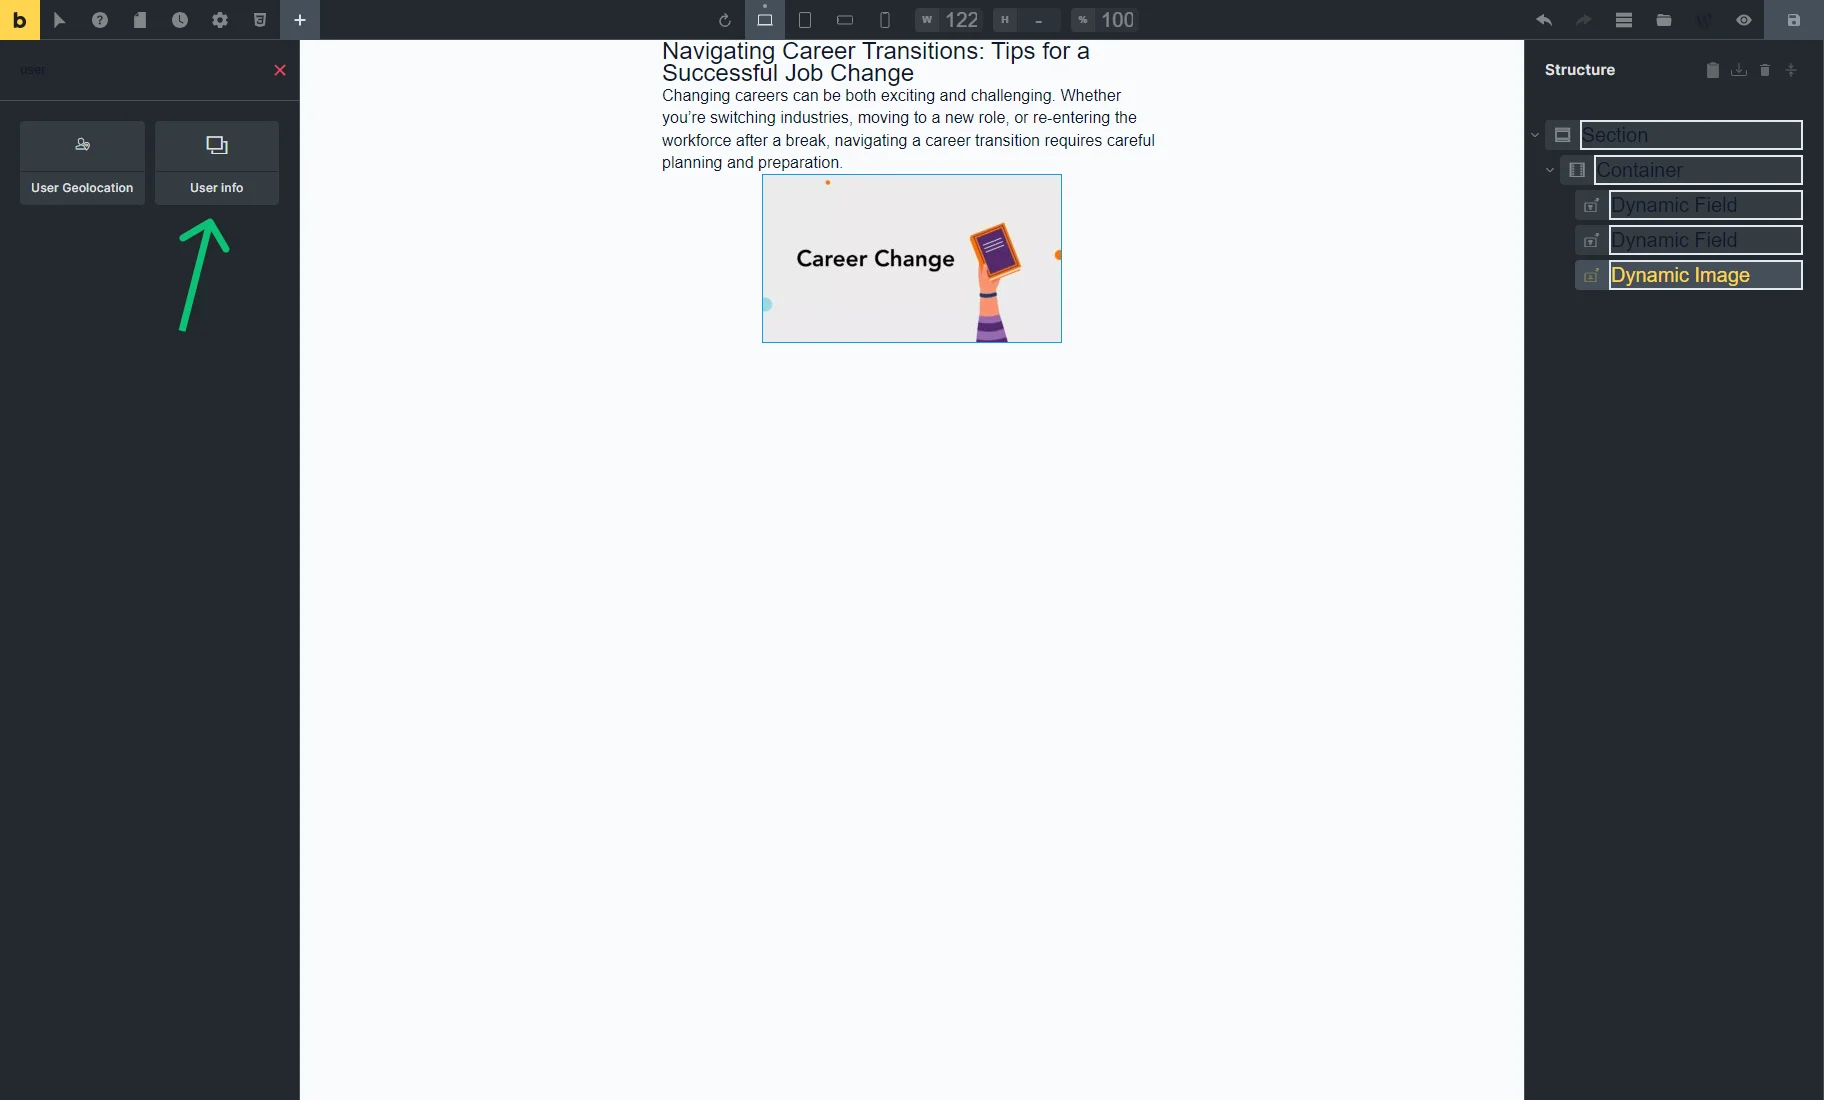
In the left panel, search the recently created component by its name and place it on the editing page. In our case, it’s the User info.
Open the General settings tab and select the “Current Post Author” option for the Component Context field.
Note that the component will still show the current user information — the context will work as intended on the page with the Listing Grid.
Now, save the listing template settings.
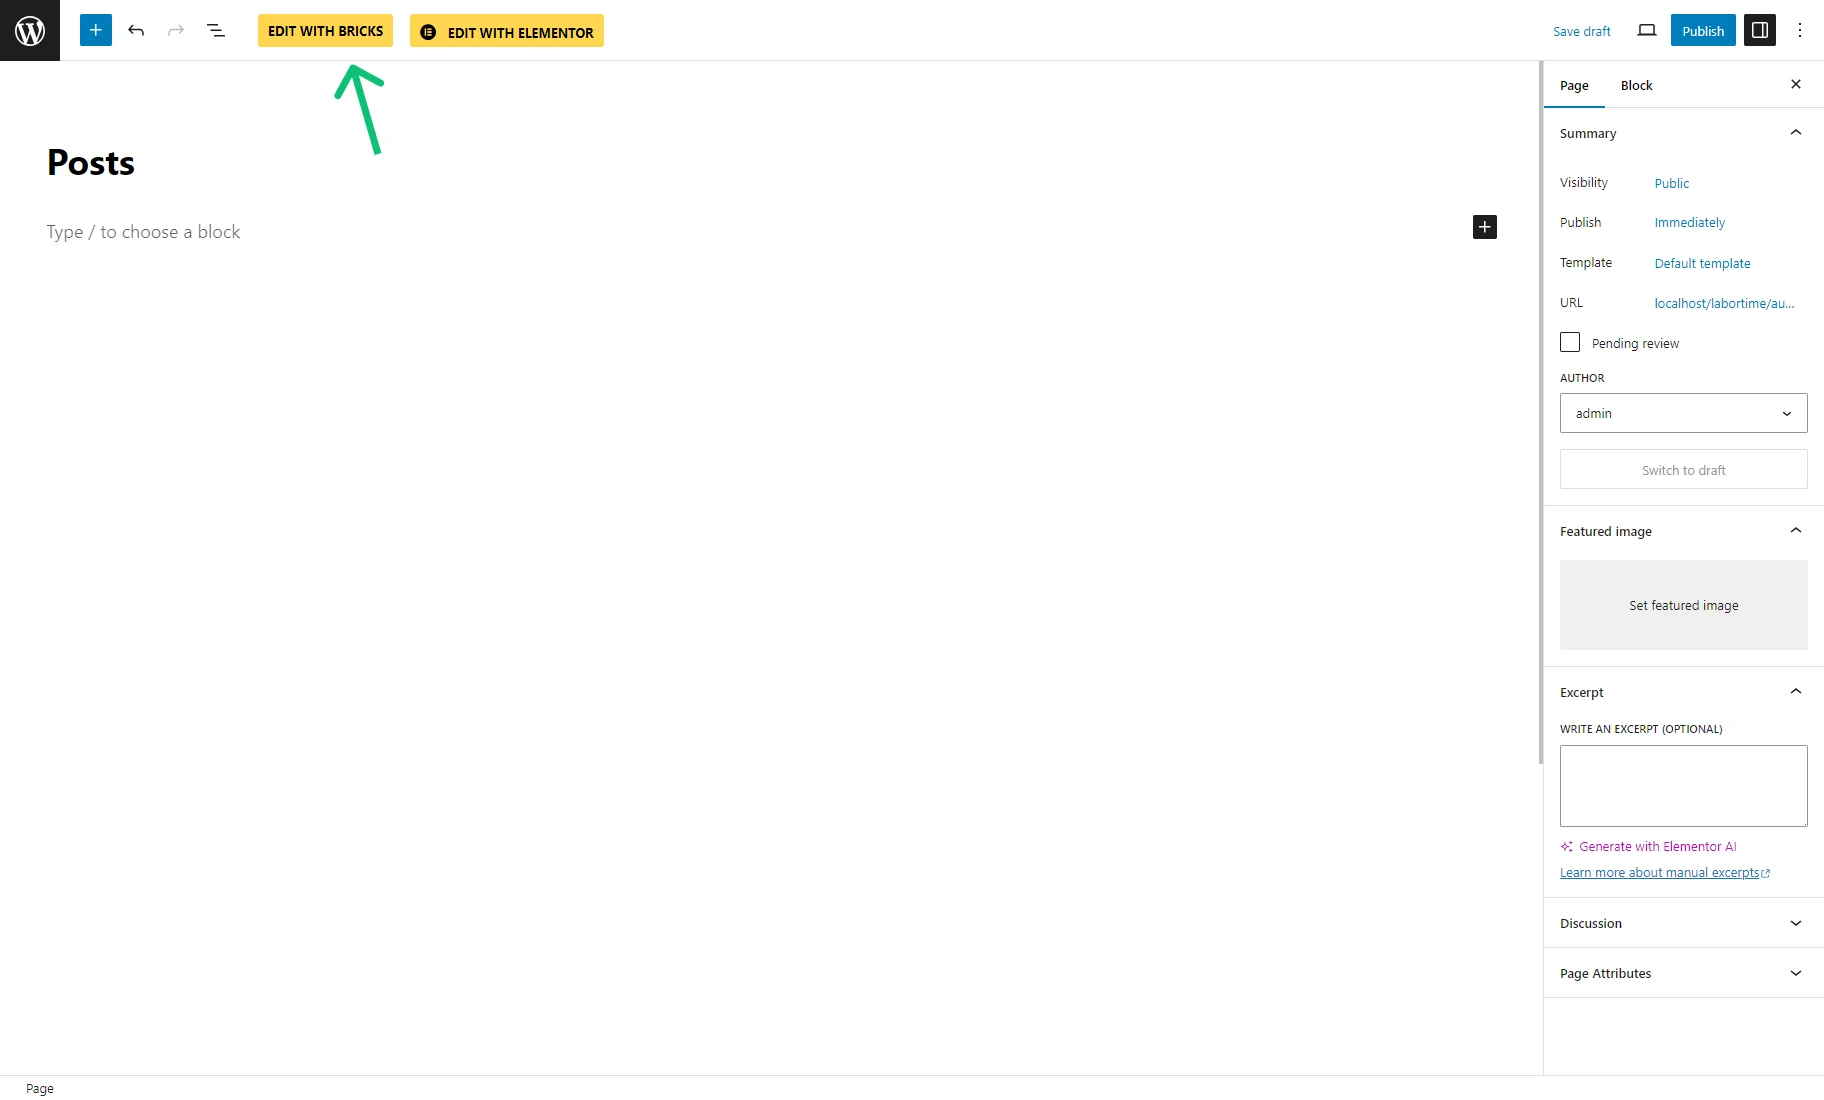
Proceed to the WordPress Dashboard > Pages tab and create a new page or edit the existing one.
For example, we hit the “Add New Page” button, enter the page title, and hit the “EDIT WITH BRICKS” button.
Drag-n-drop the Listing Grid element, widget, or block (depending on the builder you use) to the editing page and set the recently created Listing. Customize the element and page. Then, save the changes.
That’s all. Now you know how to use components created with the JetEngine plugin in the Query Loop of the Bricks theme or Listing Grid on your WordPress website.