How to Add Filters to the Table
This tutorial will help you learn how to add various filters to the table, thanks to JetSmartFilters and JetEngine plugins.
We understand entirely how actionable filters can be. Organizing the table content will be much easier with the help of JetEngine, JetSmartFilters, and their widgets. So now we will discover how you can do it.
Let’s begin with the Search Filter that is a good solution for content systematization.
Search Filter
To add a Search Filter, you need to create a filter based on which a widget will work. To build it, navigate to the Smart Filters tab on the WordPress dashboard and click “Add New.”
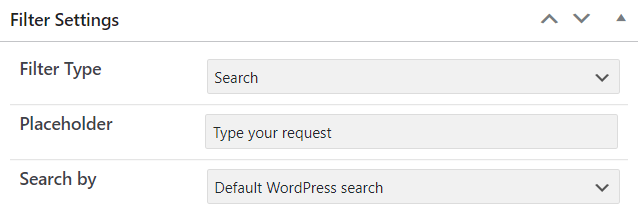
Fill in the Title, Filter Labels, and pick the Search option from the Filter Type drop-down.
You can also change the Placeholder value and choose a source for the search as a Search by option. You can pick either “Default WordPress search” or “By Custom Field,” which will let the users search data according to Query Settings you applied. Now let’s select the first variant for our Search Filter.

When all customizations are ready, hit the “Publish” button.
Open the Page Editor. If you haven’t created a table yet, check out a table customization tutorial.
You can find the needed widget by typing “Search Filter” in the search bar.
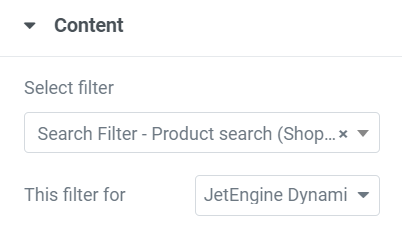
The next step is Content editing. It is essential as it makes the filter work as intended. Primarily, select the filter that you have just created.
One of the most important fields is This filter for, where we single out the JetEngine Dynamic Table option.
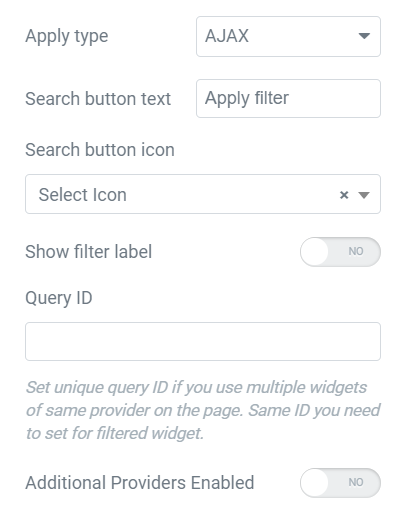
Besides that, you can customize other options such as Apply type (where you can choose from “AJAX,” “AJAX on typing,” “Page reload,” and “Mixed”), the Search Button text, and its icon. There is also an opportunity to hide or show Filter Label, set the unique Query ID, and enable Additional Providers if needed.
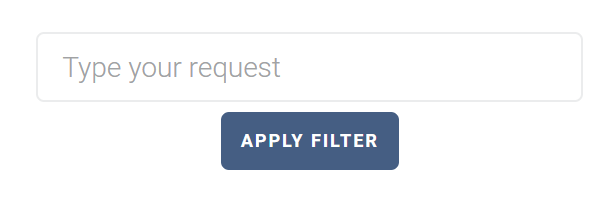
There are just a couple of customizations left to do to get a search filter up and running – Style and Advanced Settings. Once you are done, the Elementor search filter is ready.
Now we can attach a Select Filter to our newly created Search Filter.
Select Filter
The method is pretty much the same. The first action is to add a new filter. So let’s repeat the steps that were taken previously. Go to Smart Filters > Add New and fill in all the Filter Labels.
We need to choose Select Filter Type. There you can switch on the Is hierarchical toggle, where you can add a new filter hierarchy level if enabled.
However, if this option is off, you will see some other extra options. The first one is Data Source, where you have a choice between the default options. For our table, we can choose “Taxonomies” as Data Source and work with the Product color taxonomy.
Further settings offer to choose whether to Show empty terms and Show only childs of current term.
You can also pick a new Placeholder instead of the default one, decide if you need to filter data from Checkbox meta fields type, and exclude/include the desired items.
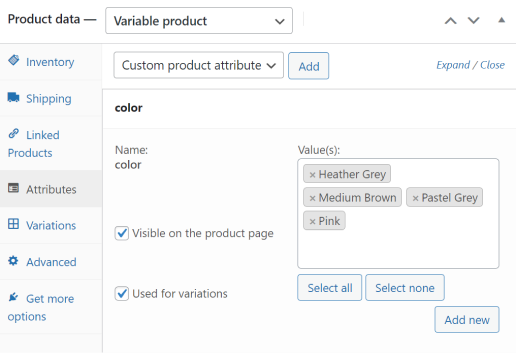
All the colors will be pulled from the products’ Attributes, which can be added when editing the product posts.
If you want to learn more about creating Attributes, consider reading this guide.
Don’t forget to push the “Publish” button to save all the changes and return to the page editor.
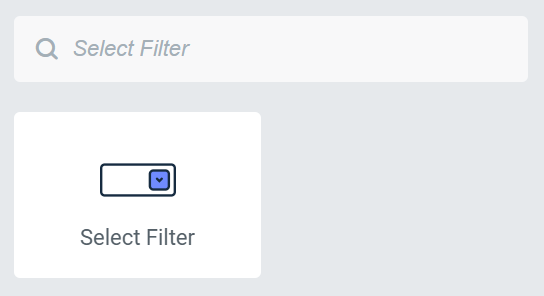
Attach the Select Filter; it can be found by typing the eponymous title in the search bar.
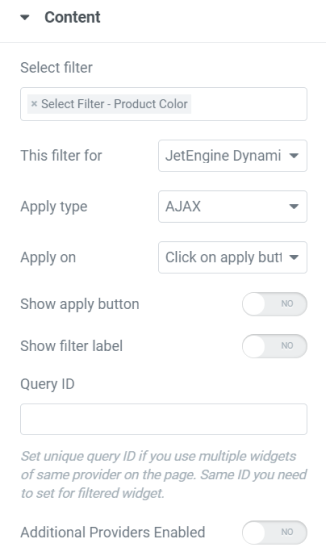
Some Content settings are similar to the Search Filter’. Here, it is also vital to select a filter; this time, it will be Filter by “Product color.” The next thing to mention is This filter for drop-down menu. As you remember, we work with the table created with the help of the JetEngine plugin, so we click on the JetEngine Dynamic Table.
Configure the filter settings identically to the Search Filter settings, include the Apply type drop-down where you choose between the “AJAX,” “Page Reload,” and “Mixed” options. Along with that, there is an Apply on bar with two alternatives — “Value change” and “Click on apply button.”
There are also two toggles that allow you to show or hide Apply Button and Filter Label.
Moreover, you can set the Query ID and enable Additional Providers with the toggle.
By far, there are only Style and Advanced settings left.
After you customize them, the work with Color Select Filter is wholly done. Now we proceed to the next widget – Range Filter.
Range Filter
Firstly, we should create a new filter one more time.
Let’s add Filter Labels and proceed to the Filter Settings. In the Filter Type drop-down, we need to select “Range.”

All the other settings allow you to set a fit-for-purpose filter. If you want to fine-tune all of them, you can check our Range Filter overview tutorial.
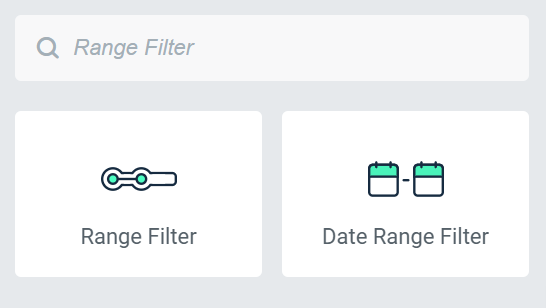
Open the page editor and find the Range Filter widget by typing this title in the search box.
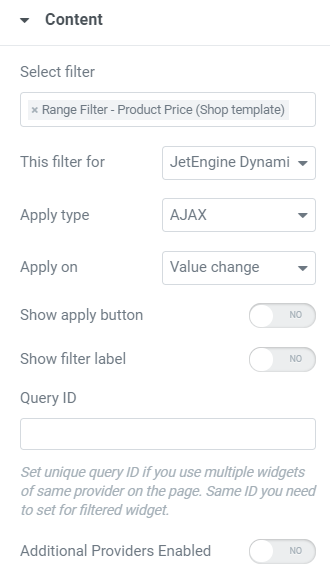
Select the newly added filter and indicate that this filter should relate to the JetEngine Dynamic Table. Continue further customization of the Content settings that is identical to the Select Filter setup.
A few Style customizations and our Range Filter is ready as well.

The following widget to overview is Active Tags. We will find out what it is for and how to apply it to the table.
Active Tags
This widget is created to simplify the work with filters. Its primary purpose is to manage them, namely, display the chosen filters and disable some without removing all the entered data. It works in case the user wants to remove just one filtered item without deleting other filtered results.
In our case, we will continue to work with the page where we placed the table.
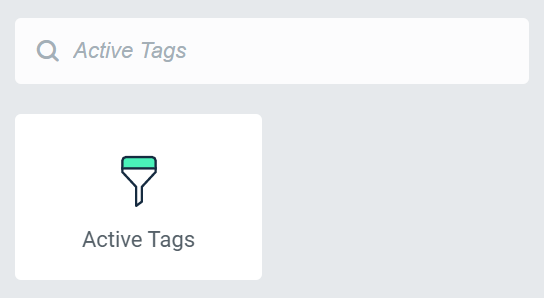
You can find the Active Tags widget by typing its title in the search box.
Pay attention to the fact that your page should already include at least one filter to display the Active Tags widget correctly.
Choose the table to be used with the Active Tags widget and select either AJAX or Page Reload Apply type for it.
If you enabled the Clear Item option, add the main Label and Clear Item Label. As in any other filters described in this tutorial, you could set a unique Query ID and enable Additional Providers.
After managing the Style and Advanced Settings, proceed to the front end and check out the result.
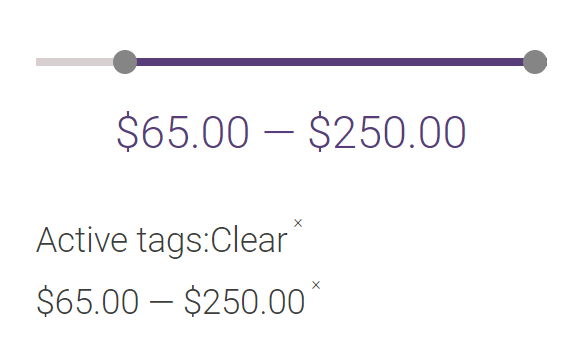
We have used the Price Range filter to see how the Active tags widget works. It allows users to select what filter data they want to remove from their search criteria.
However, there is another widget that helps with managing the filters – Remove Filters. Its main feature is the ability to reset all the applied filters.
Remove Filters
If you want to add the ability to remove unnecessary filtration, this tutorial explains how to use the Remove Filters widget.
Please note that we choose JetEngine Dynamic Table as an option in This filter for drop-down list. All other customizations are up to your choice.
As a result, we get a button that will clear all the applied filters.

Another widget that you can add to your Elementor table to make it more convenient for users is Pagination. Its purpose is to simplify table navigation.
If you want to learn more about this widget, please check our guide about adding Pagination to the table created with the help of the JetEngine plugin.
By now, you have discovered how to work with the JetSmartFilters widgets in conjunction with JetEngine Dynamic Table.