Failing to Show Posts Within a Specified Radius by Click
How to show posts within a specified radius by button click?
Using the JetSmartFilters’ “JetEngine Query Builder Switcher” source and JetEngine’s Query Builder module, we can add filters to display posts of a selected radius. So the user can select the desired distance to show the posts around.
JetEngine Maps Configurations
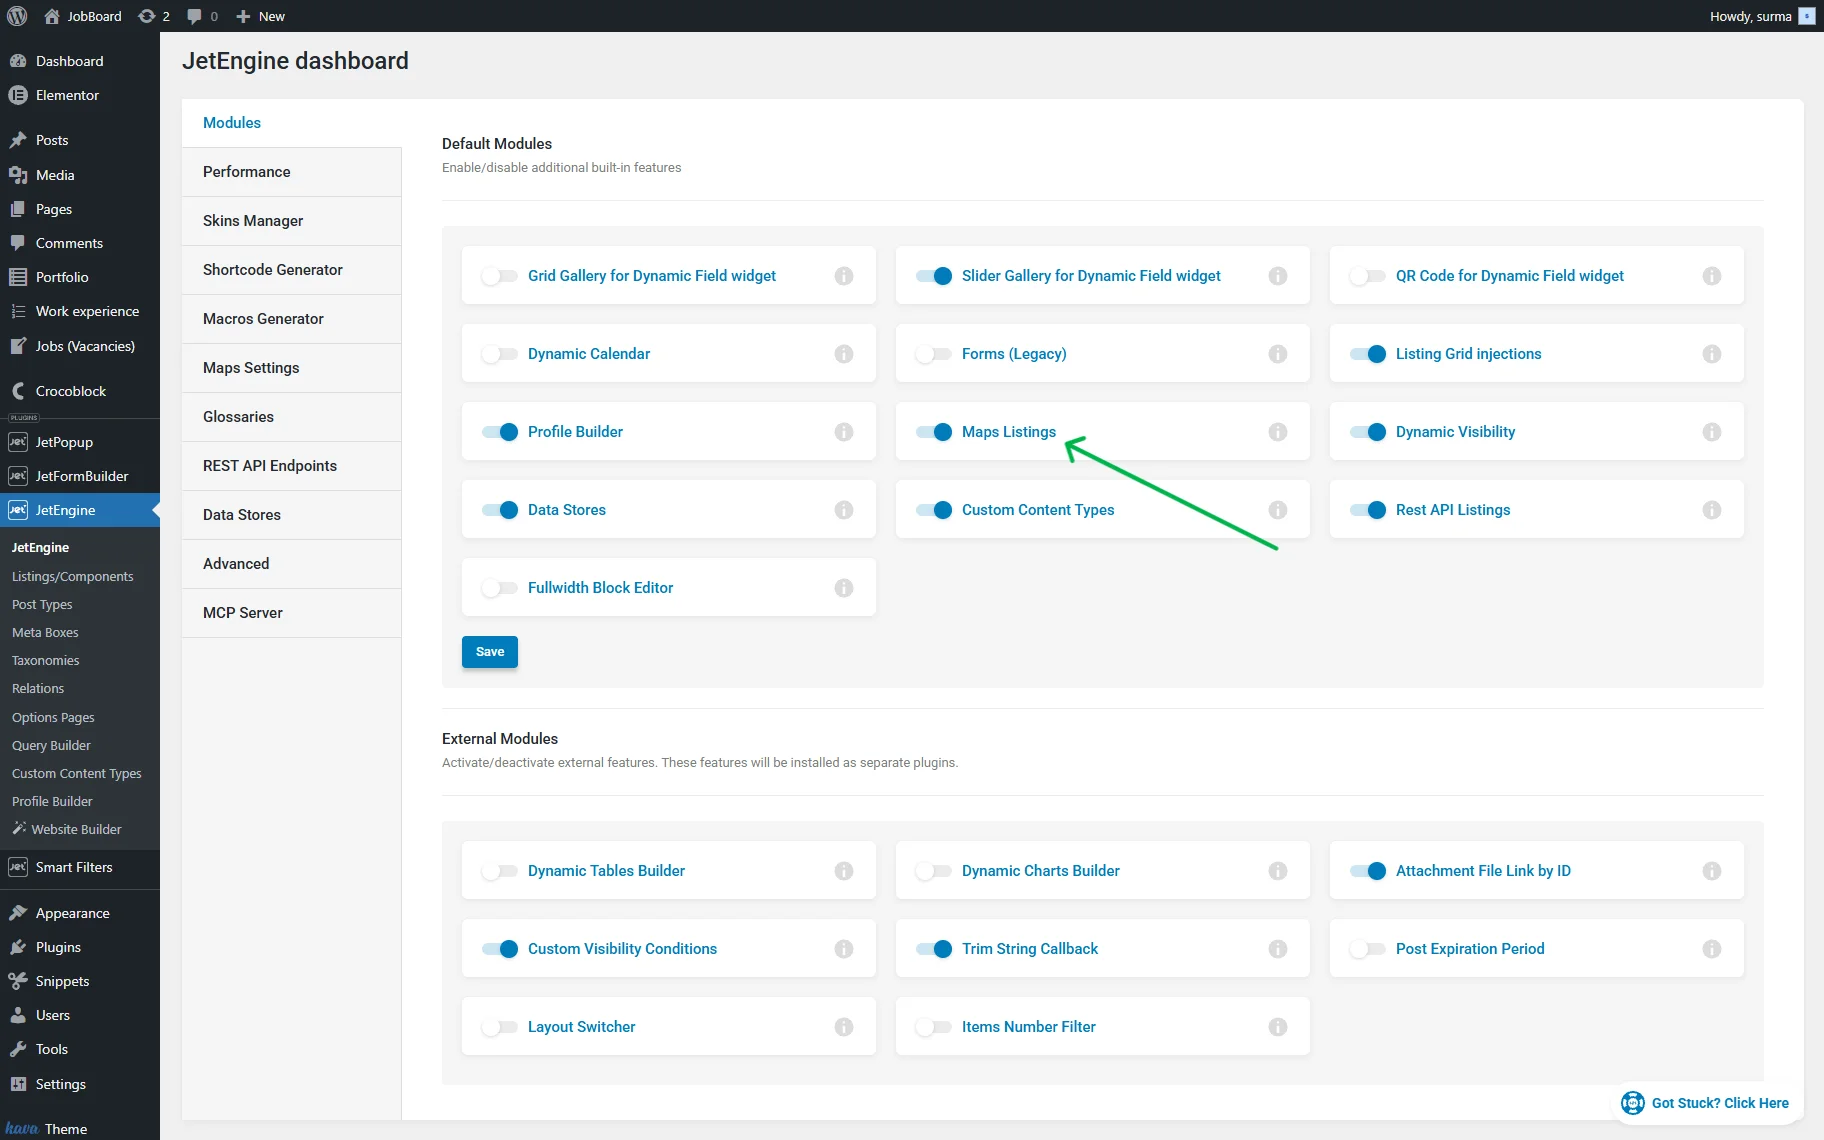
To start the setup, ensure that the Maps Listings toggle is enabled in WordPress Dashboard > JetEngine > JetEngine > Modules > Default Modules.
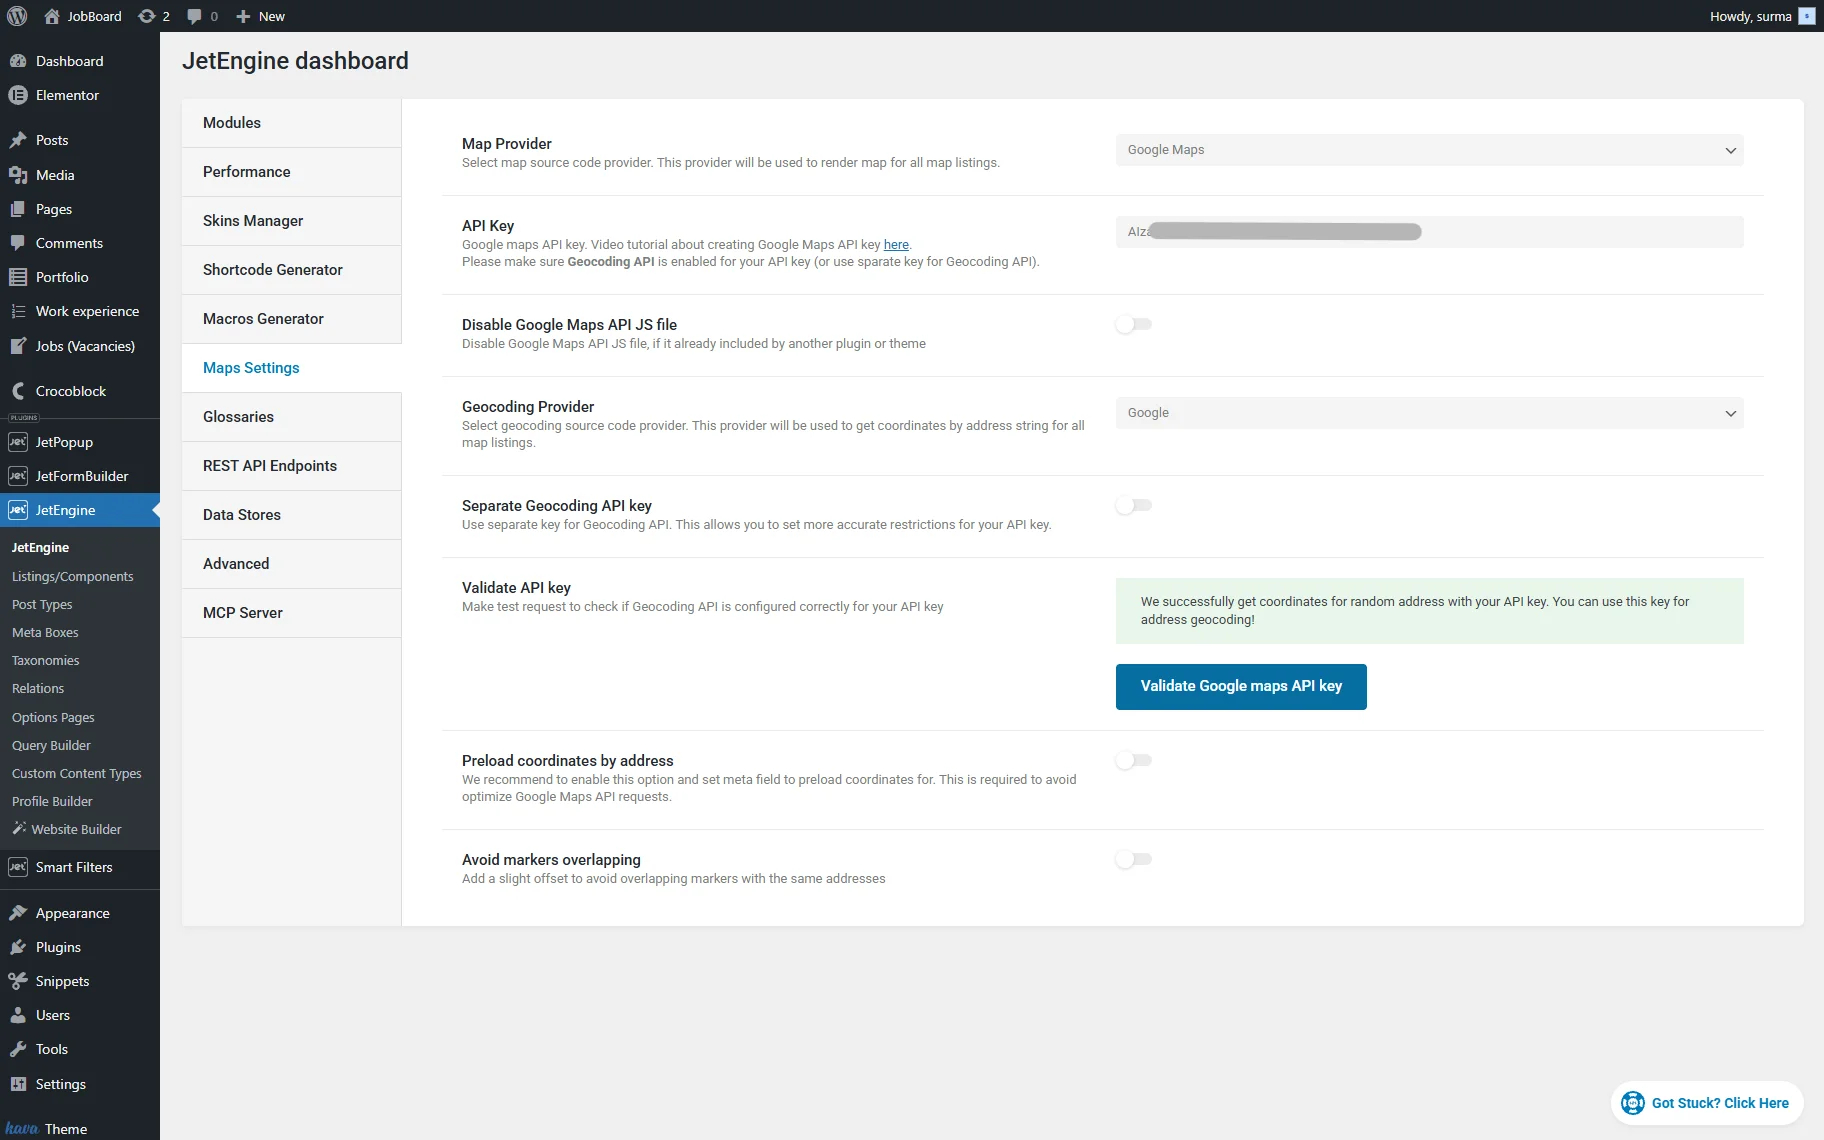
Inside the Maps Settings tab, set up the Map Providers.
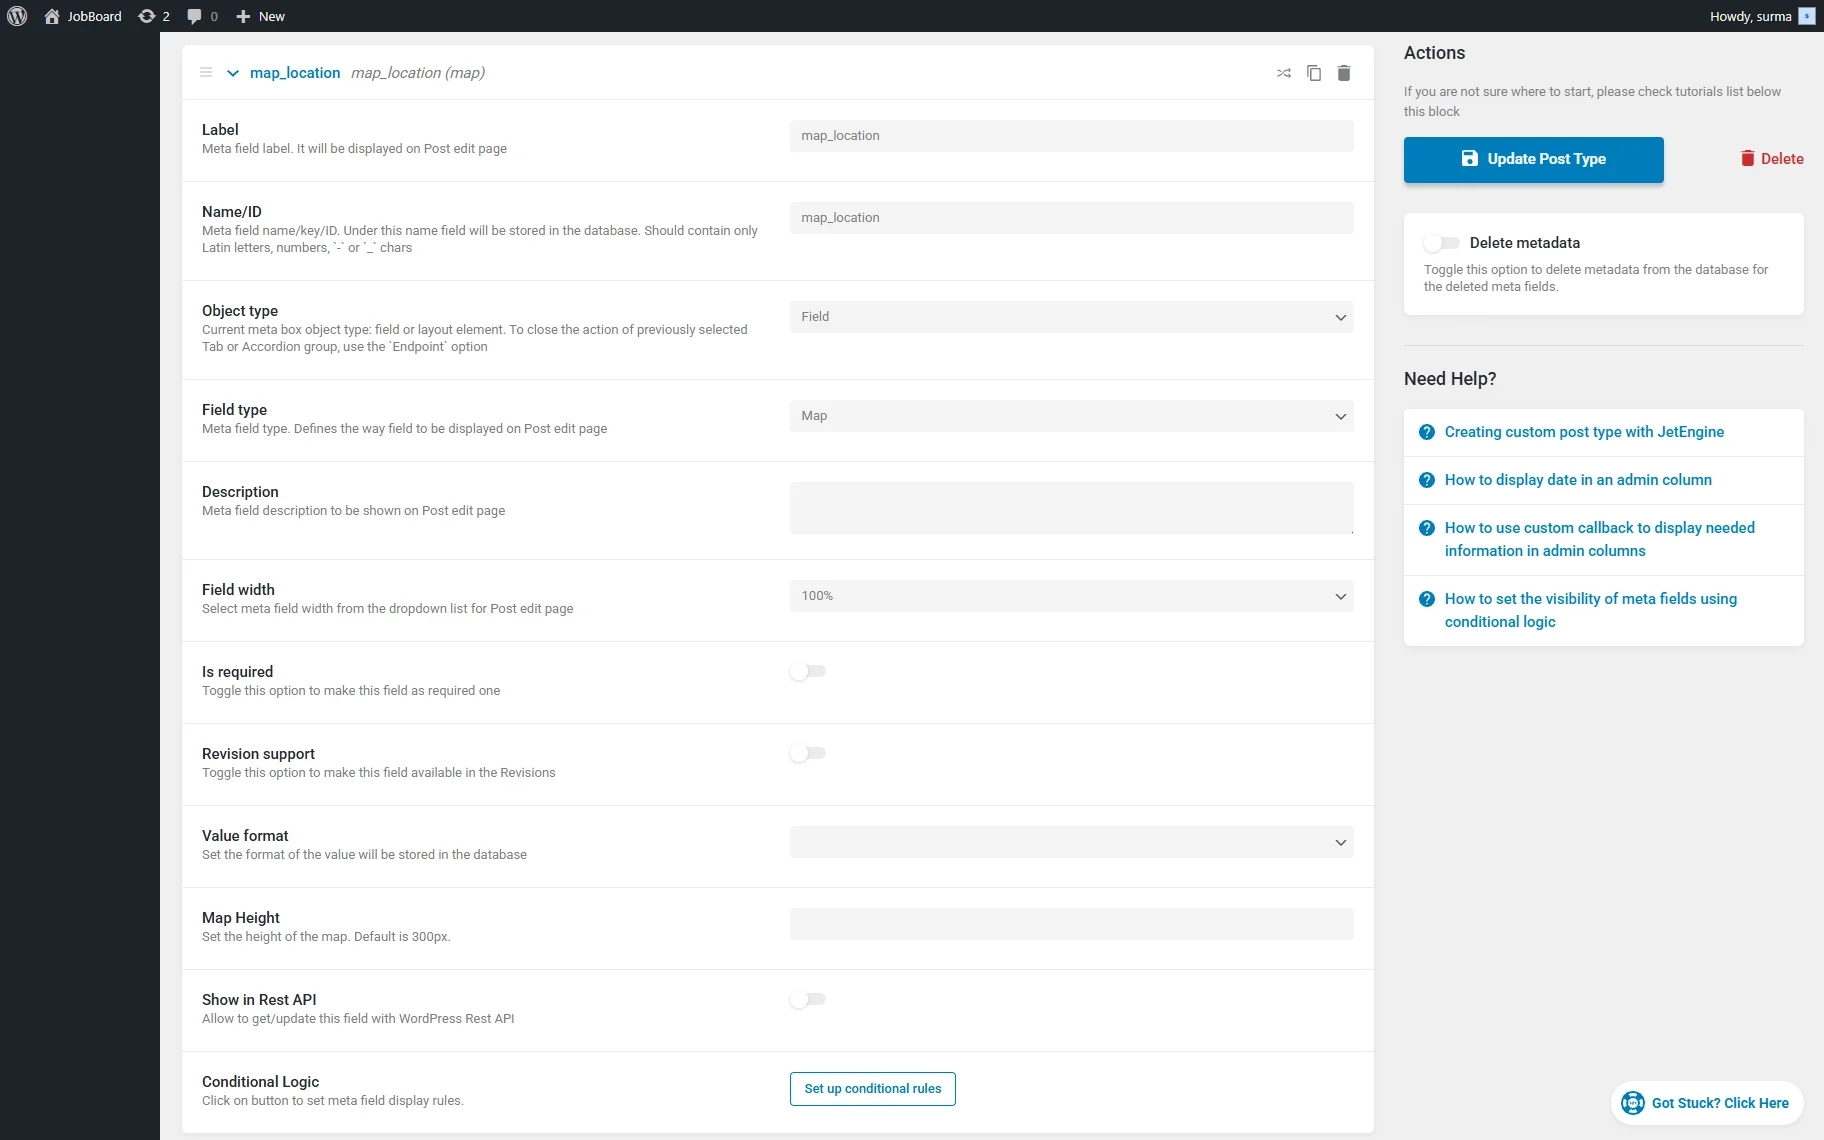
Inside your Custom Post Type, add the Map field to store the address.
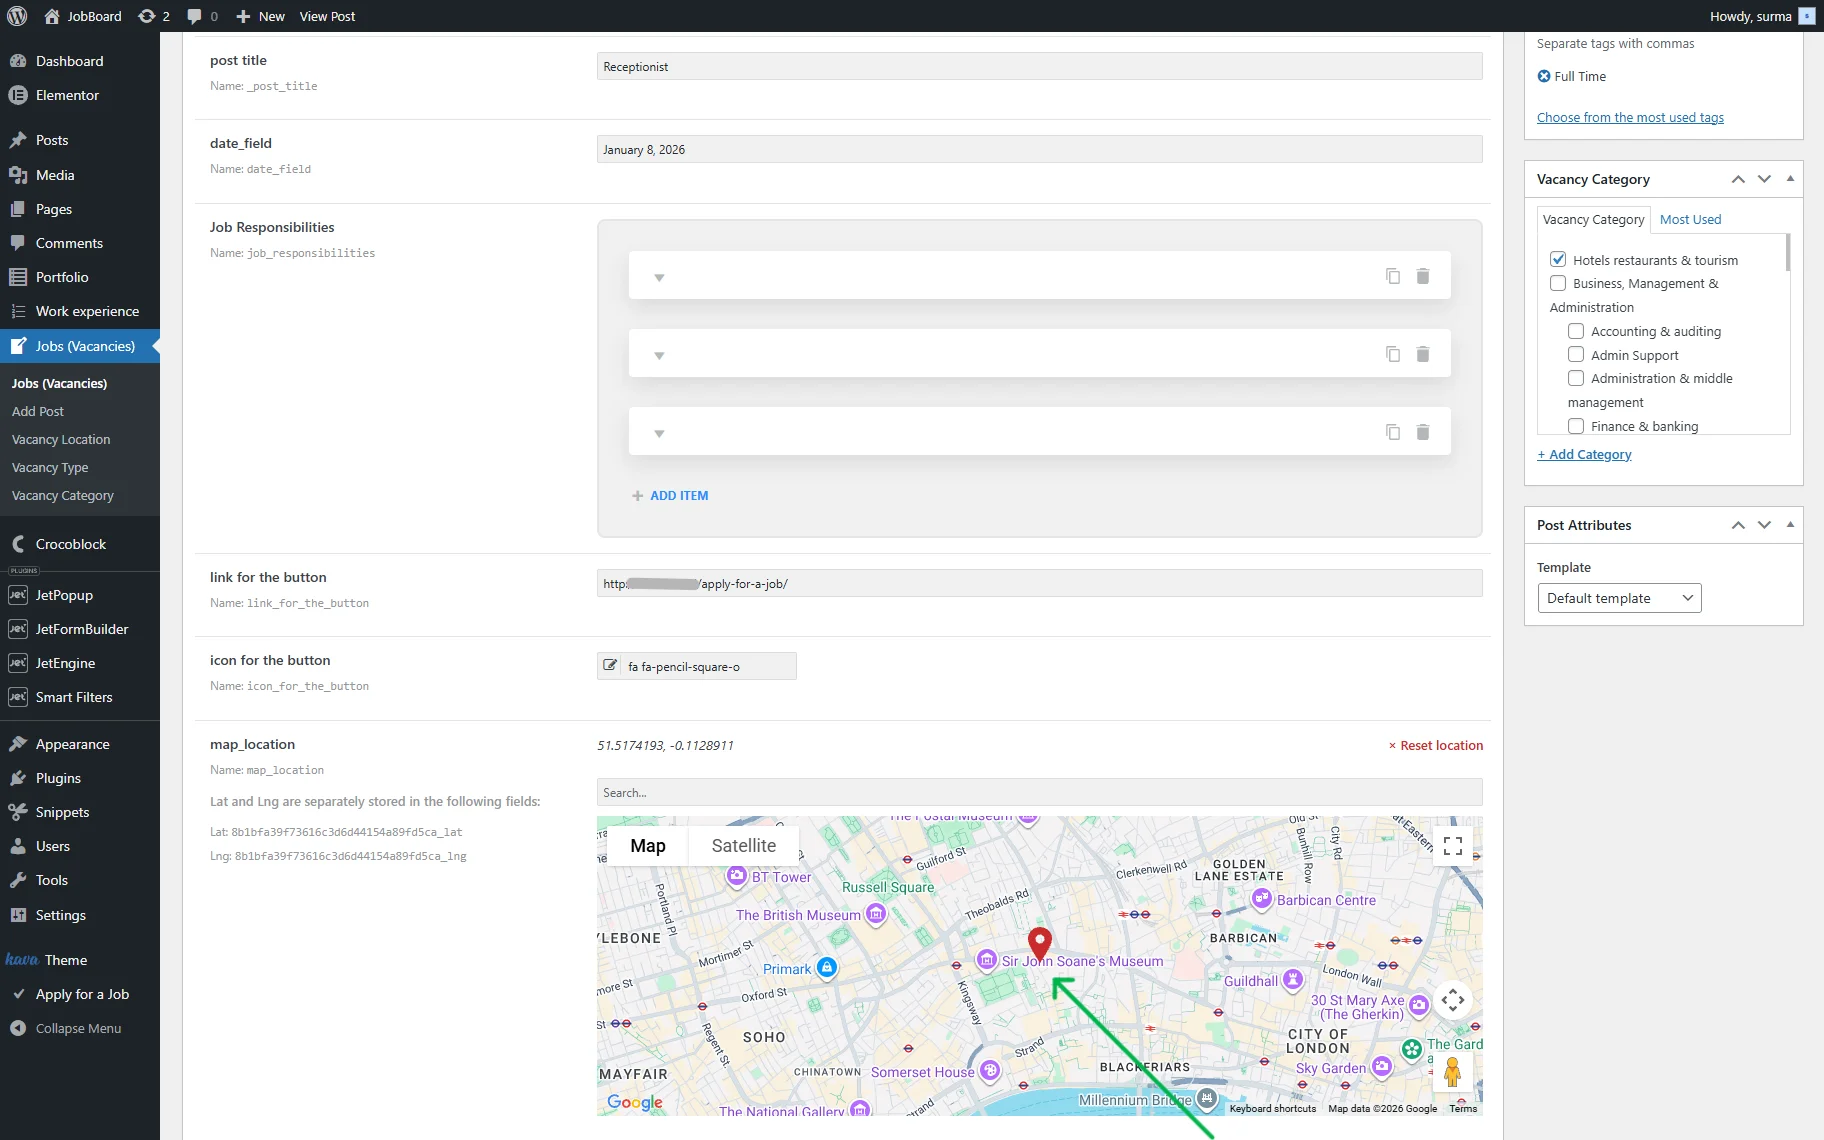
Save the changes and add the addresses to the posts.
Then, create a Map Listing. For the detailed guide, refer to our Map Listing Overview article. Keep it for now.
Custom Query for All the Posts
Now, proceed to WordPress Dashboard > JetEngine > Query Builder and click the “Add New” button.
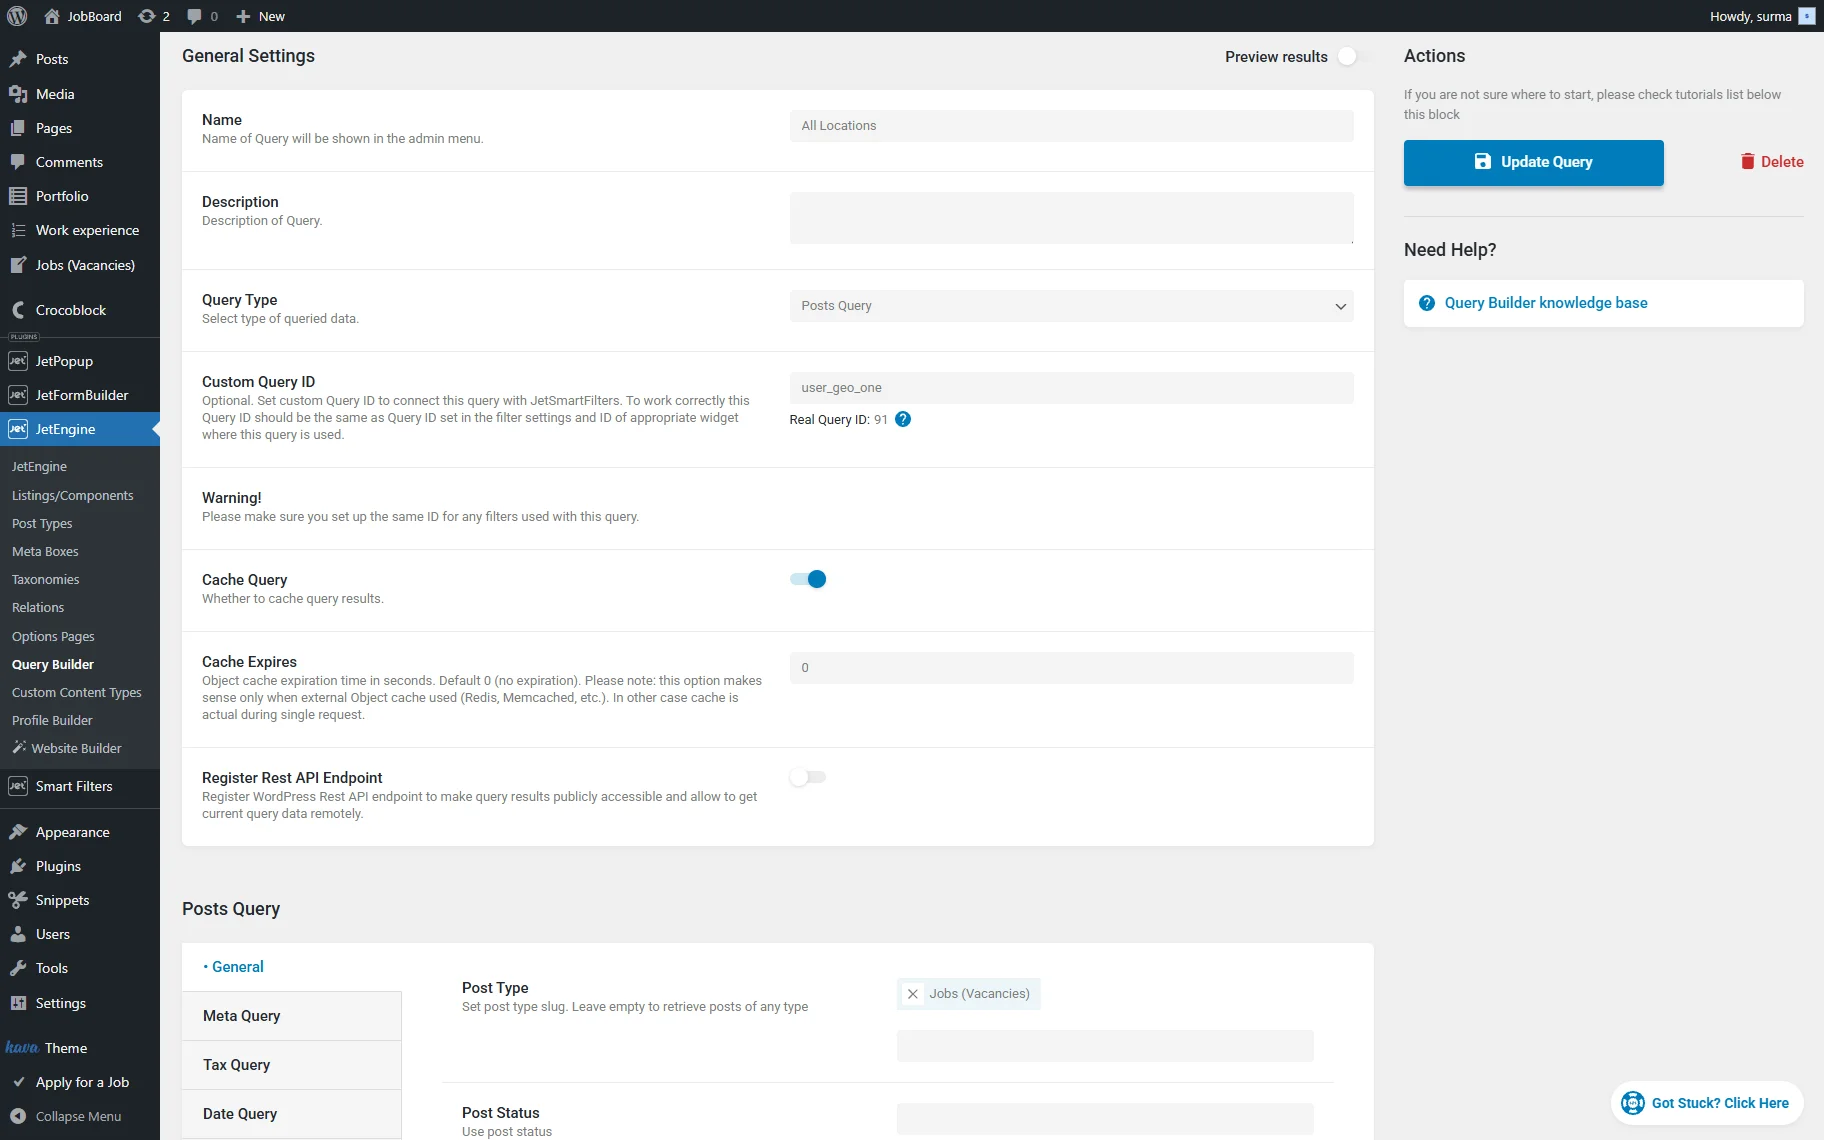
Enter the query Name and select the “Posts Query” Query Type. In the Custom Query ID field, enter a unique value.
In the General tab, select the needed Post Type.
Open the Geo Search tab and select a location on the map to get values around it. Enter the Address Field name where the addresses are stored. Type the Distance where the posts will be found, then select the Units.
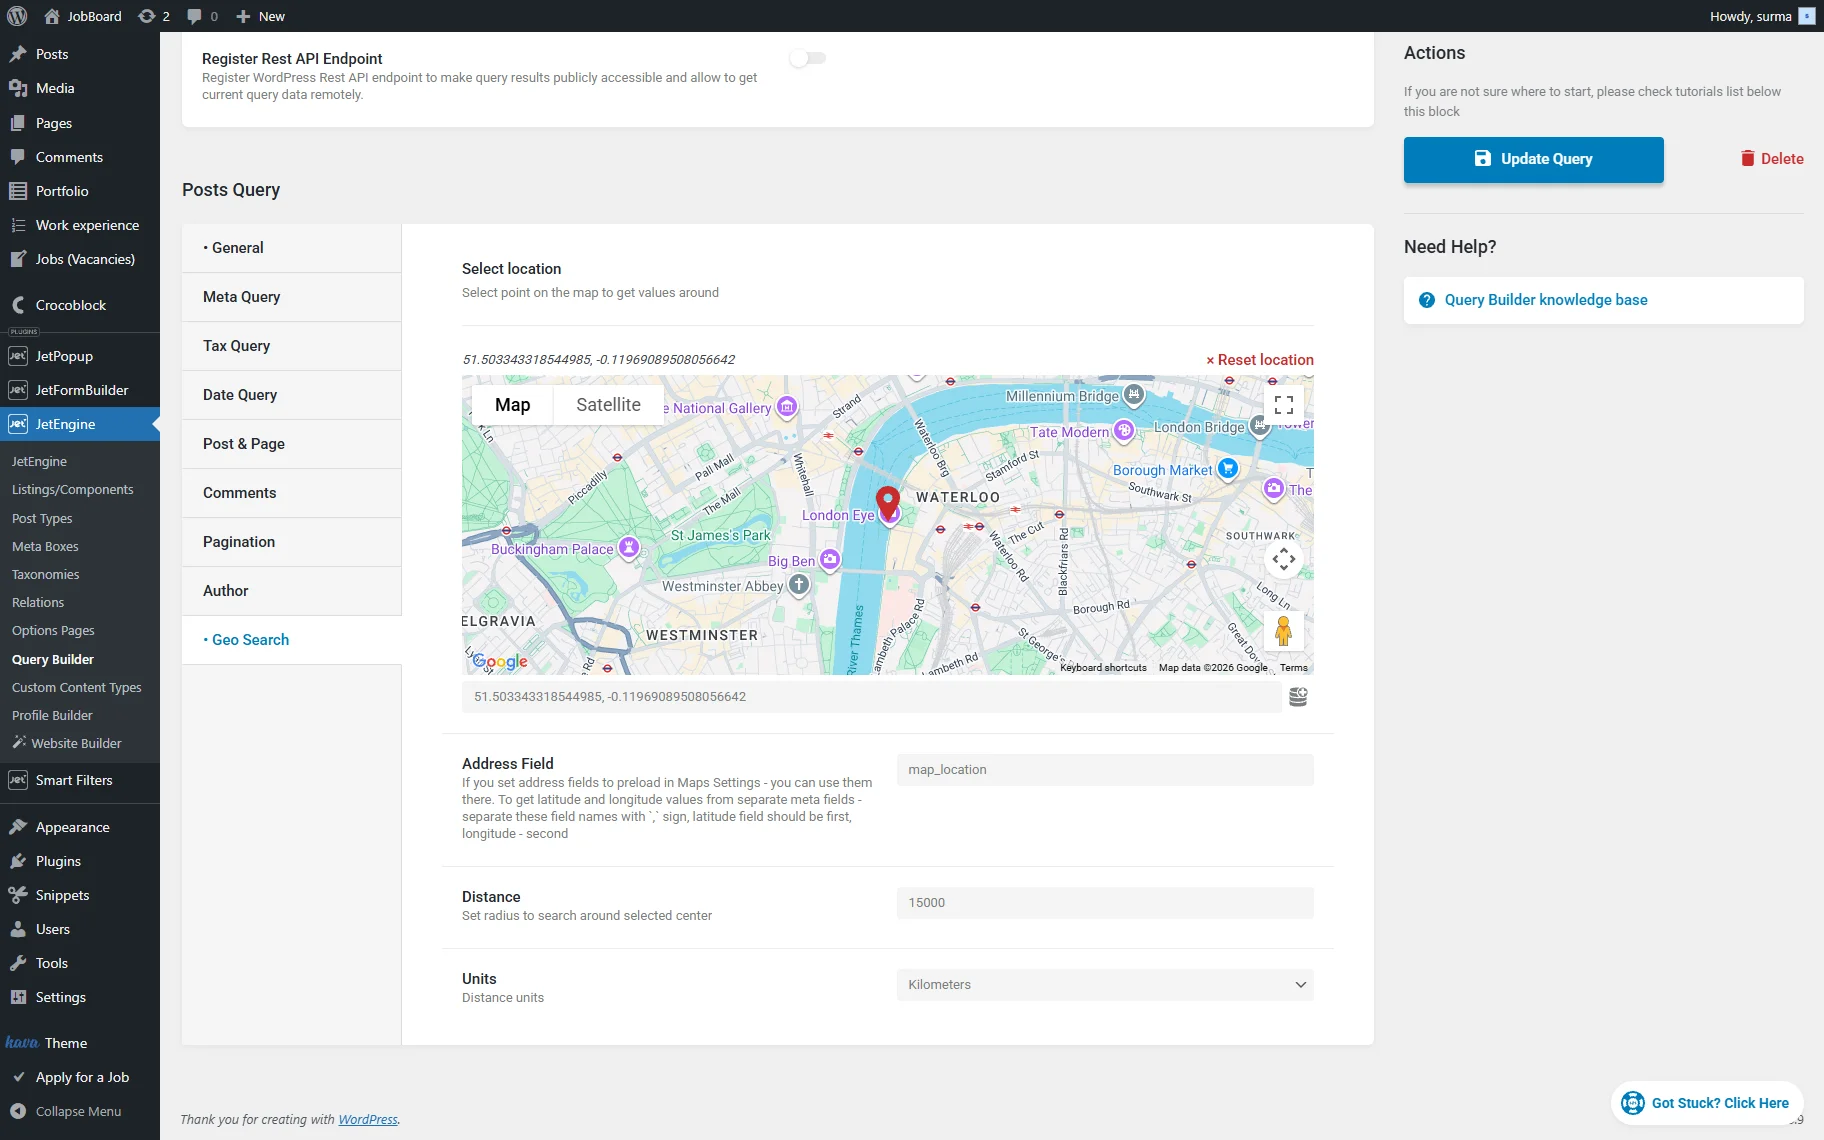
Click the “Add Query / Update Query” button.
Custom Query for the Posts with a Specified Radius
Now, create one more query for the same CPT. It is important to put the unique Custom Query ID for a new query.

Then, in the Geo Search section, set the location again. Enter the same map field for the address. Set the Distance — the radius at which you need to show the posts. Choose the Units as well.
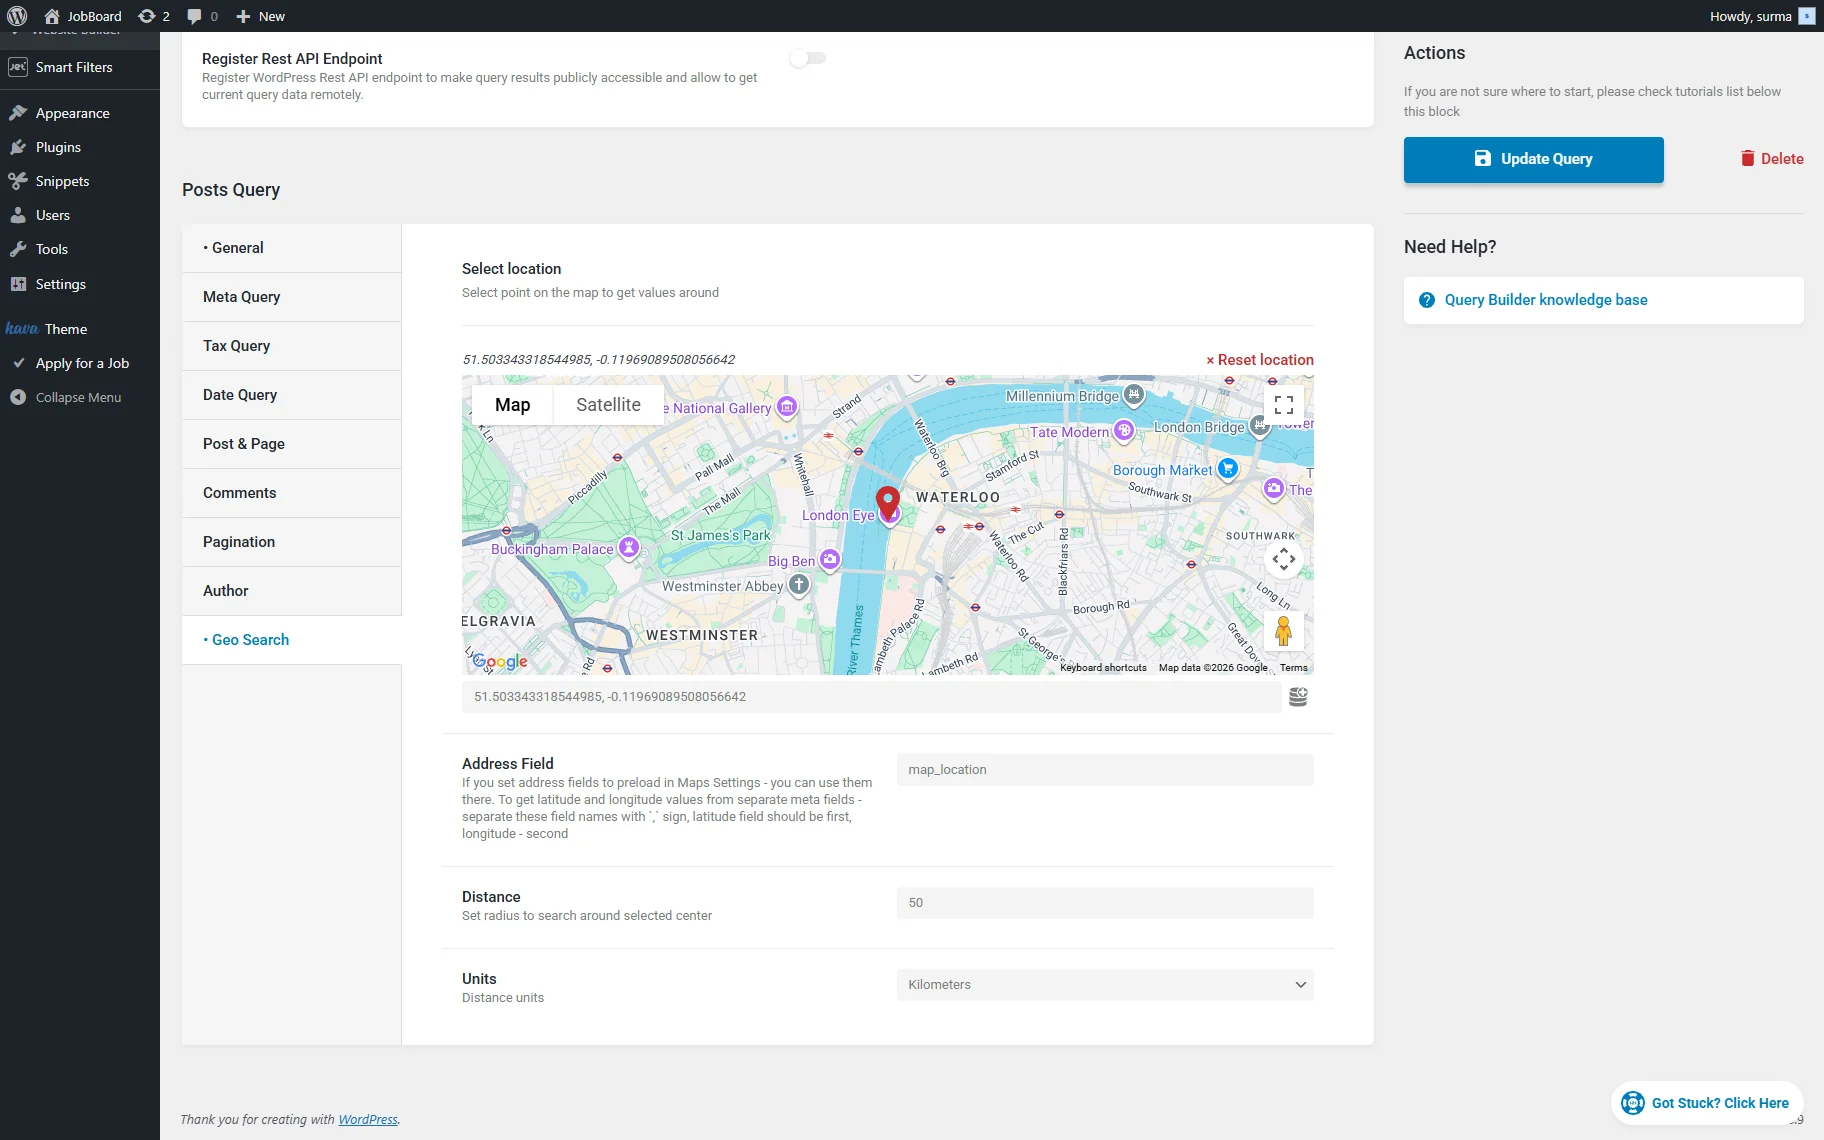
Save the query.
Query Switcher Filter Settings
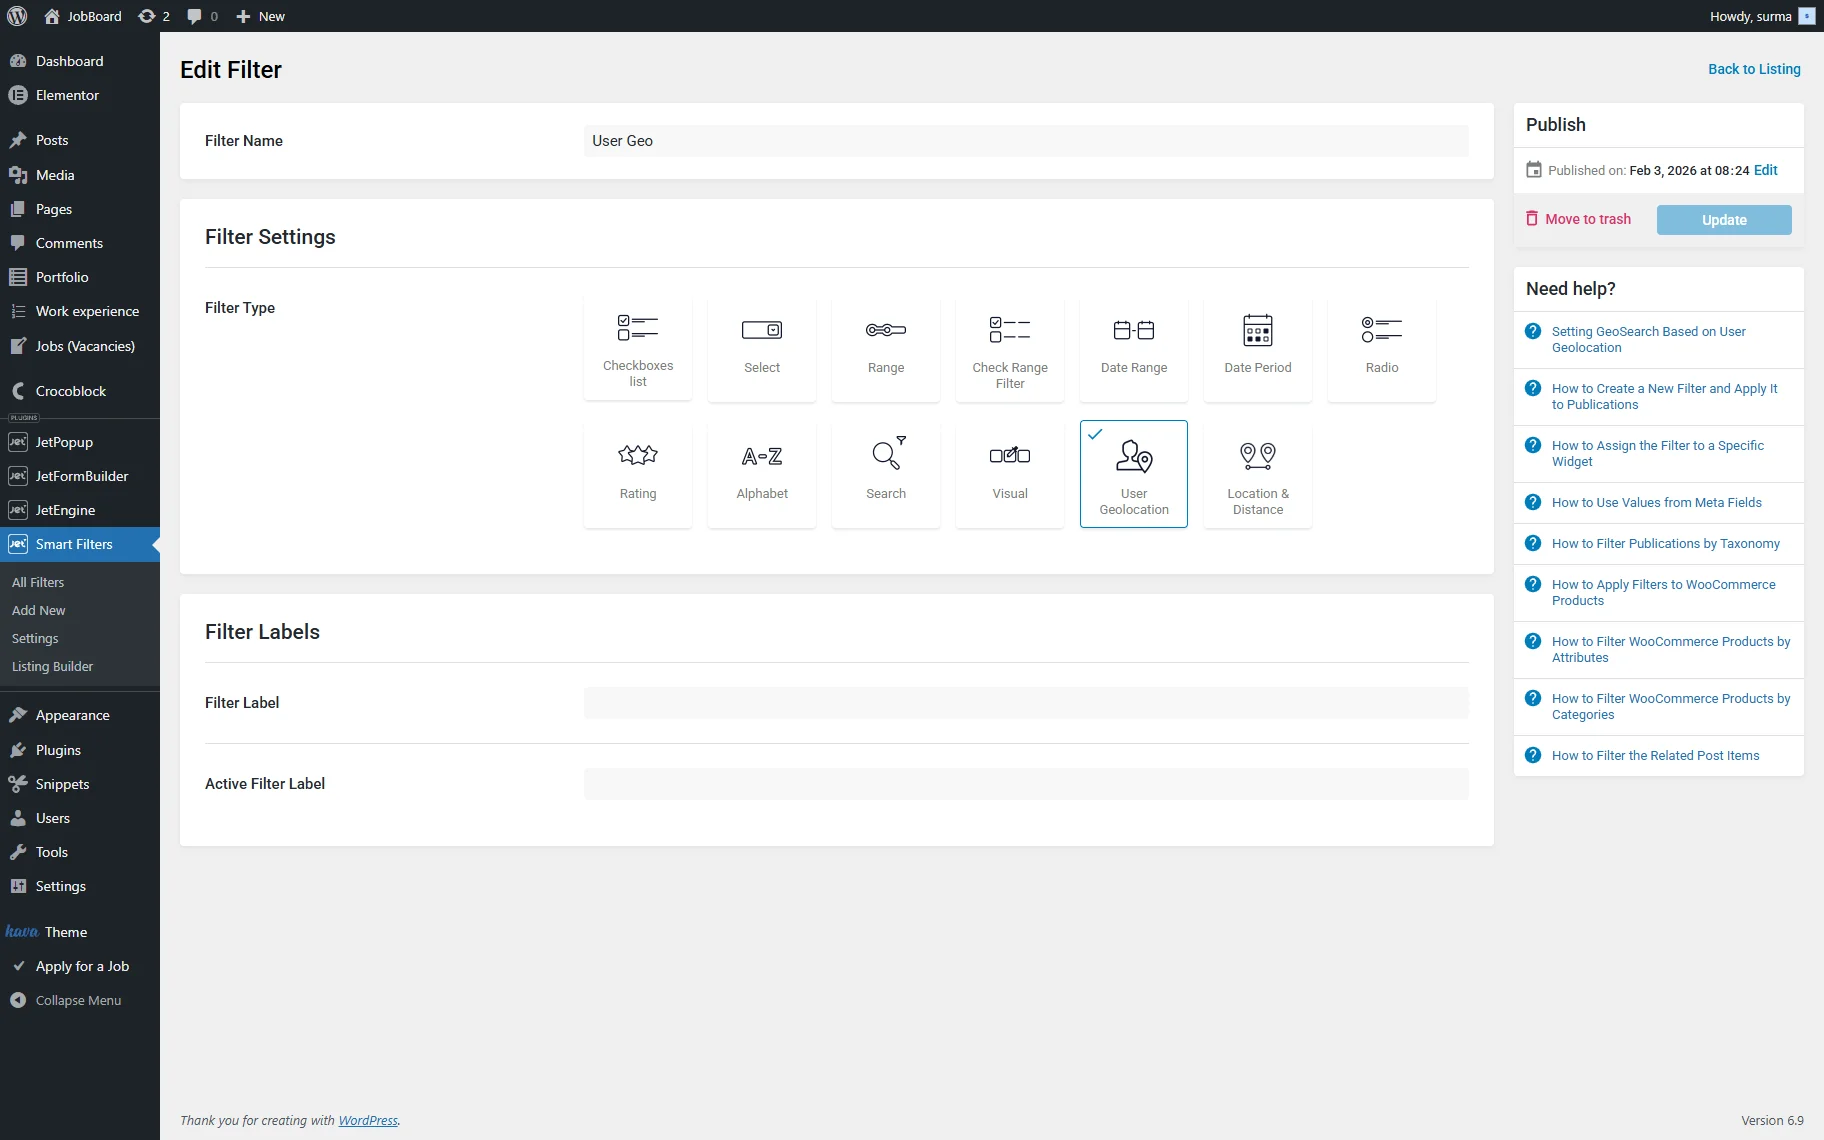
Move to WordPress Dashboard > Smart Filters and click the “Add New” button. Select the “Radio” Filter Type.
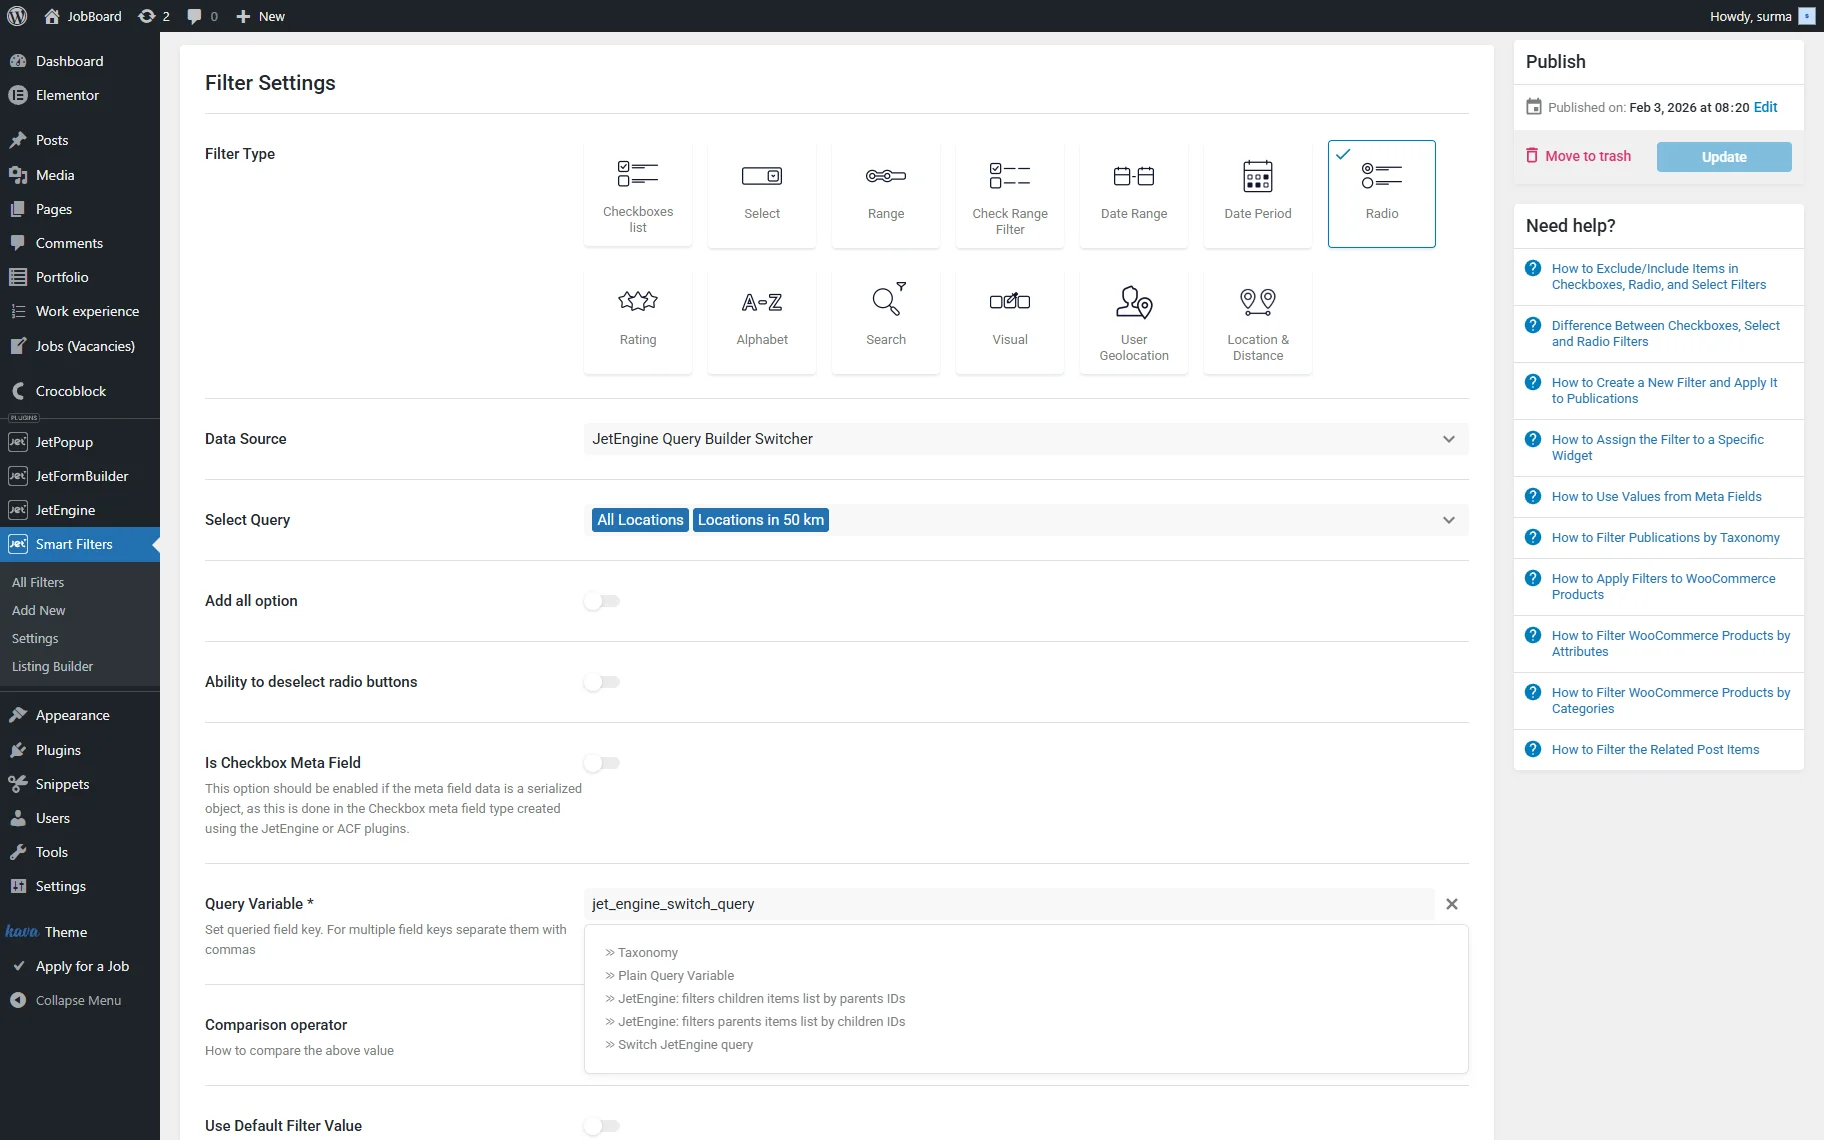
For the Data Source, choose the “JetEngine Query Builder Switcher” and in the Select Query field, choose the queries you created in the previous steps.
For the Query Variable, select the “Switch JetEngine Query” option.
Click the “Update” button once you are ready.
User Geolocation Filter
Add another filter, select the “User Geolocation” Filter Type, and save the filter.
Add Filters and Map to the Page
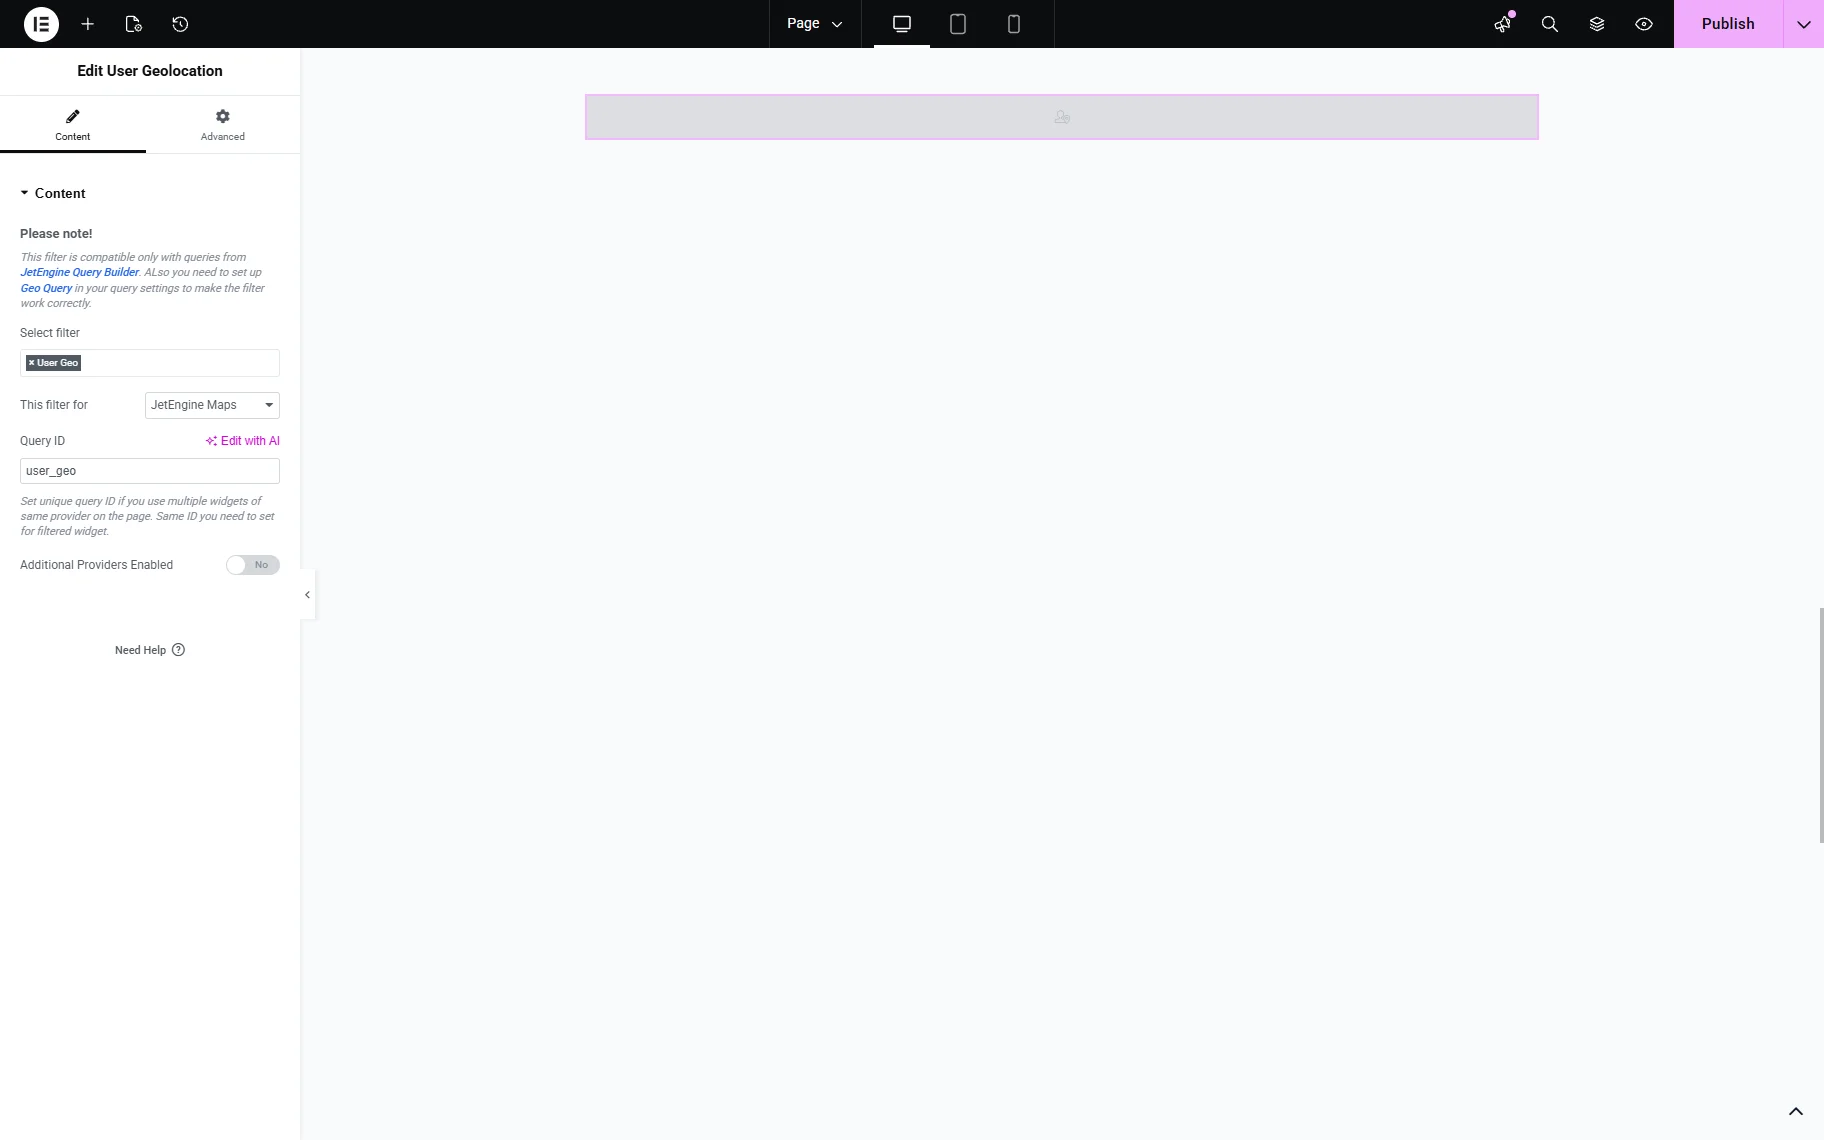
Proceed to the page where the map with the filter will be displayed. Add the User Geolocation widget and select the filter you created earlier. In the This filter for dropdown, select the “JetEngine Maps” option. Set the unique Query ID and keep it, as it will be used further.
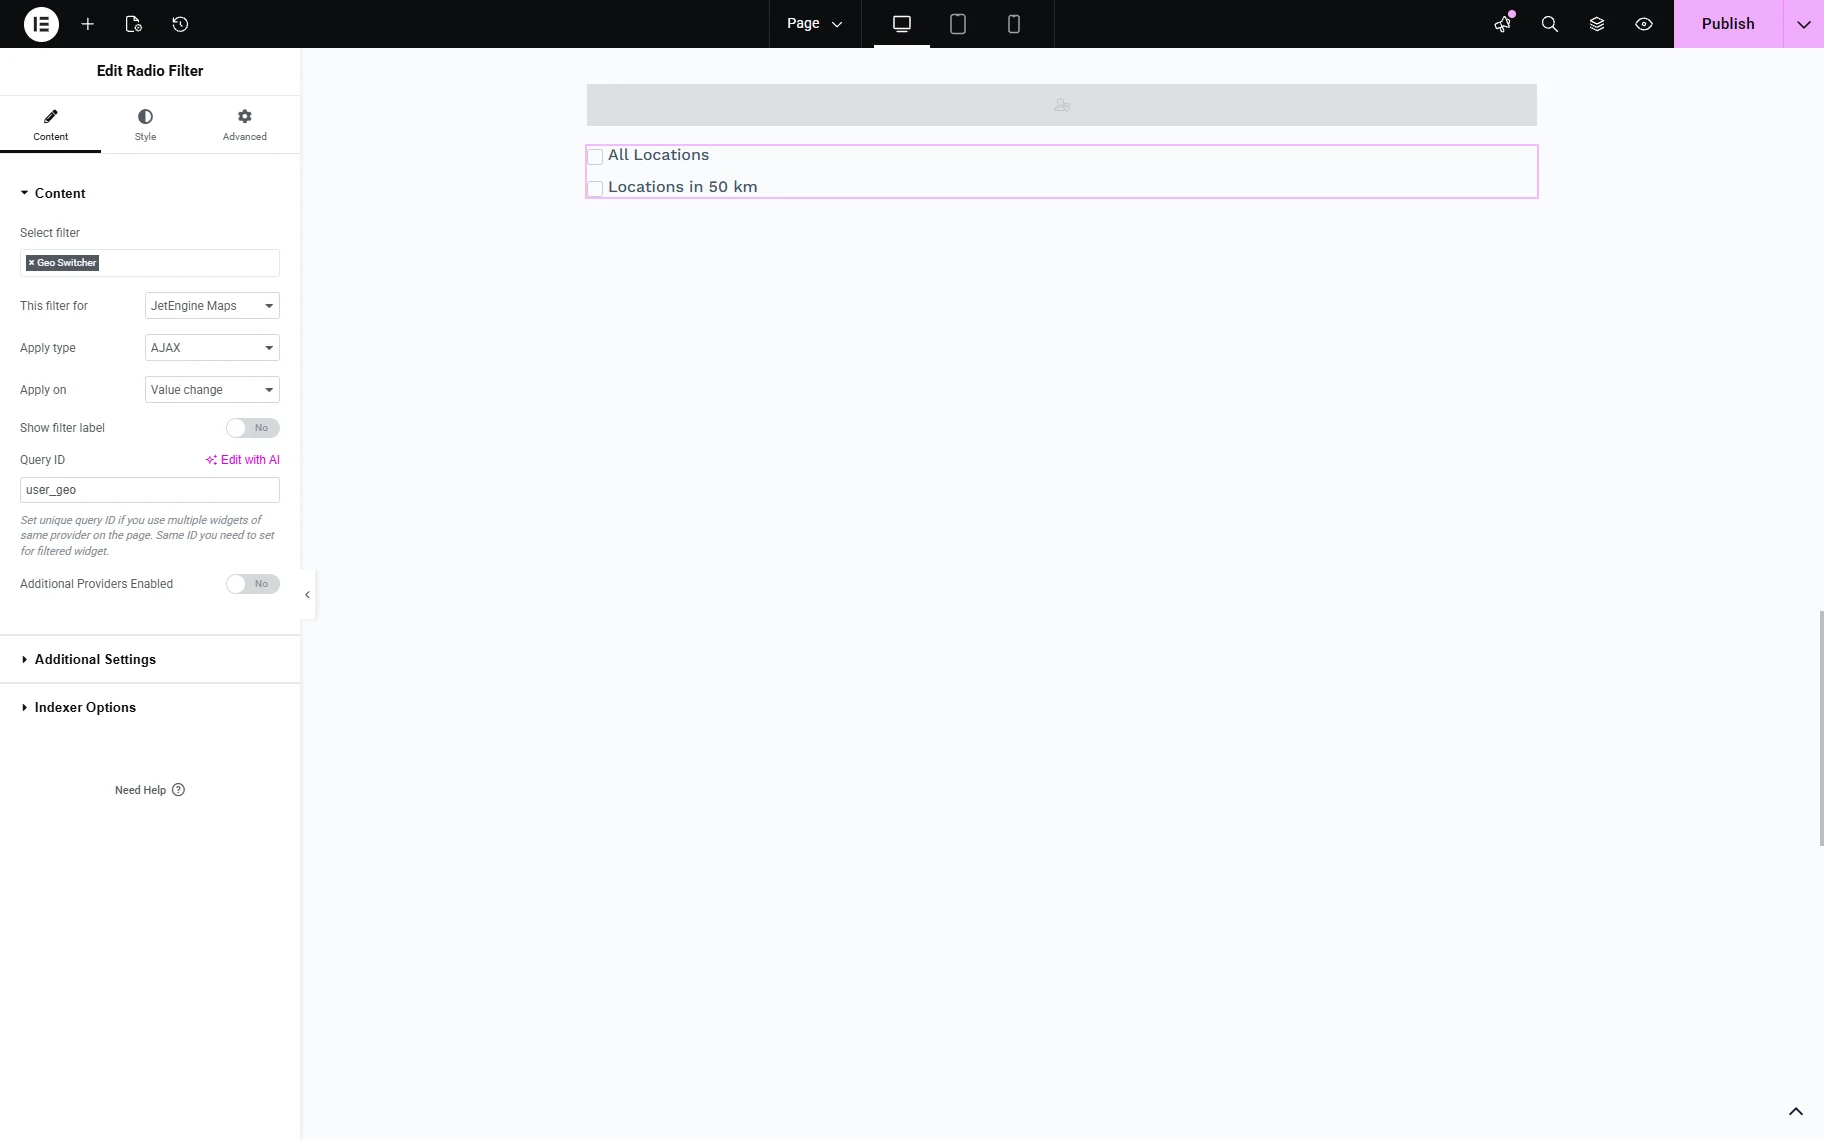
Add the Radio Filter widget and select the filter you created. Select the “JetEngine Maps” in the This filter for dropdown. Set the same Query ID you added to the User Geolocation widget.
Add the Map Listing widget to the page. In the Address Meta Field input, type the name of the map field.
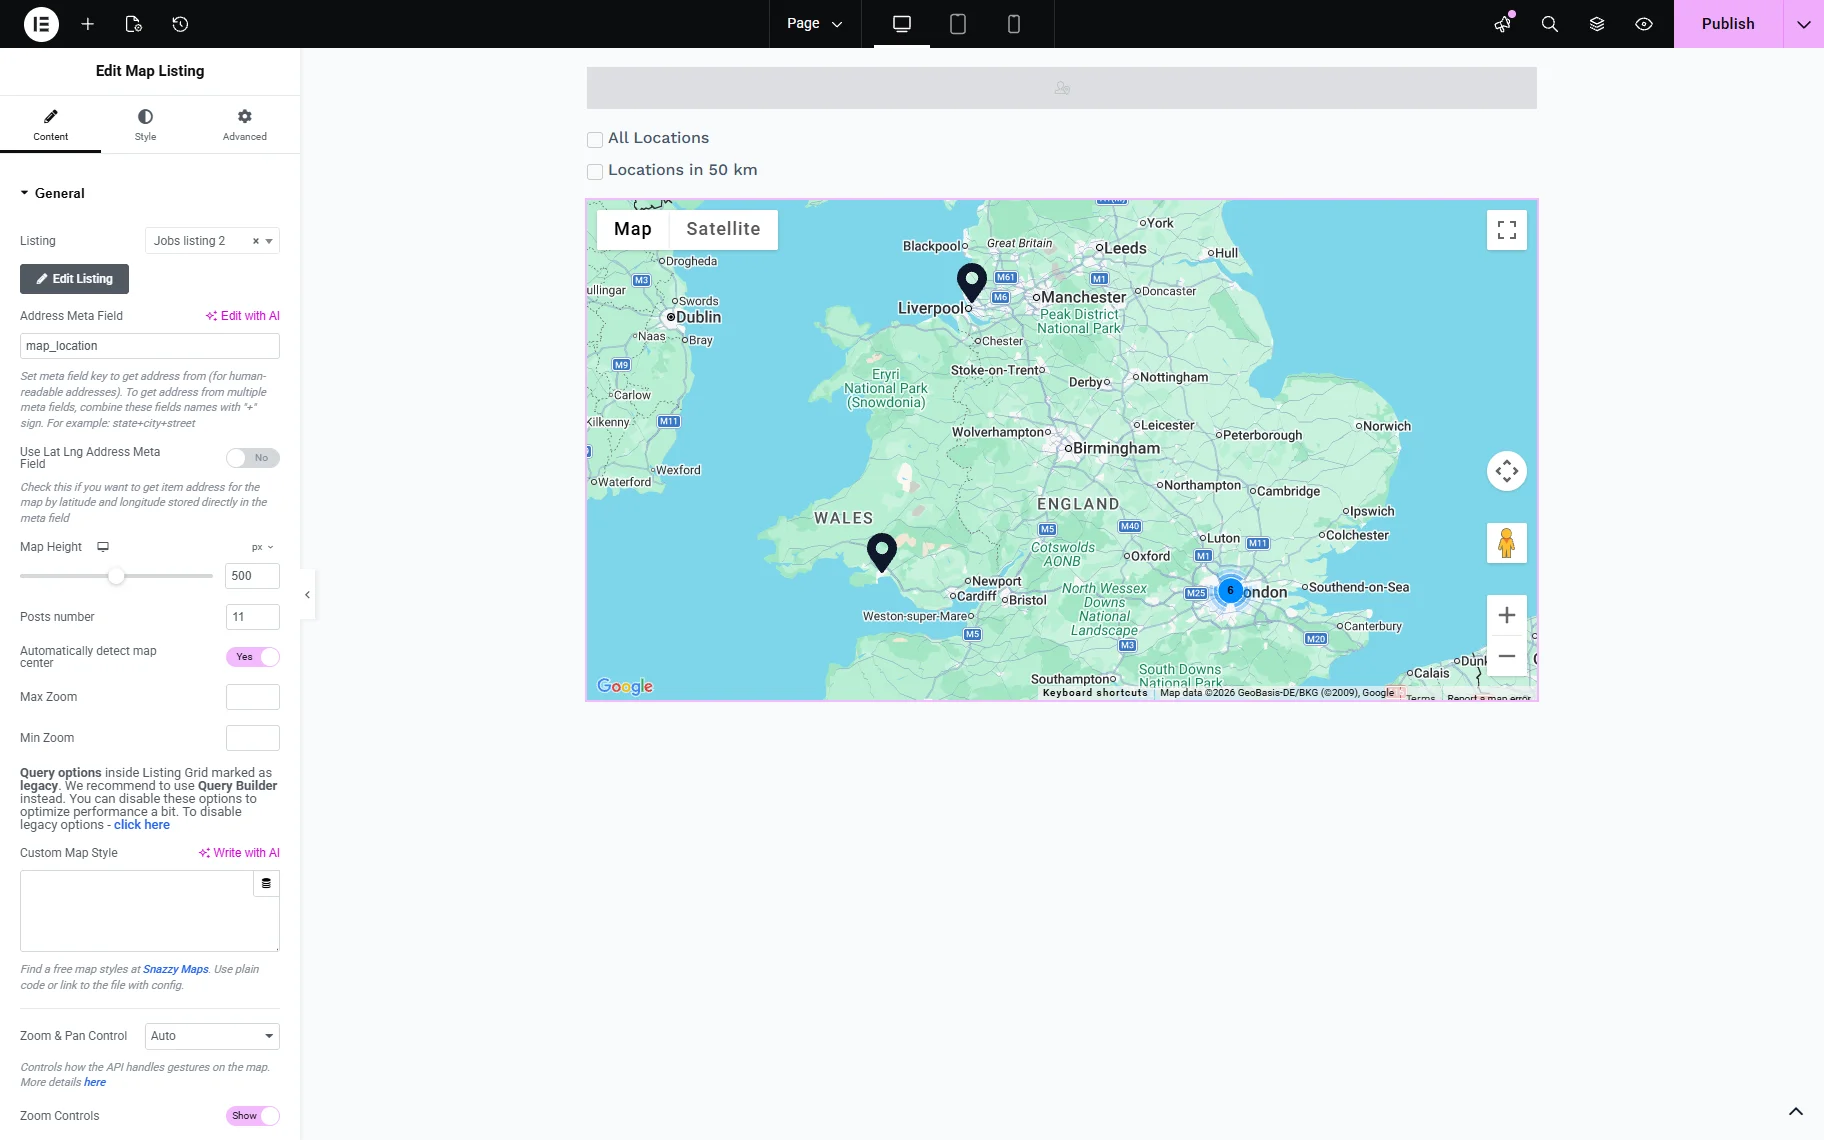
Then open the Advanced tab and in the CSS ID field, add the same Query ID you used for the filters.
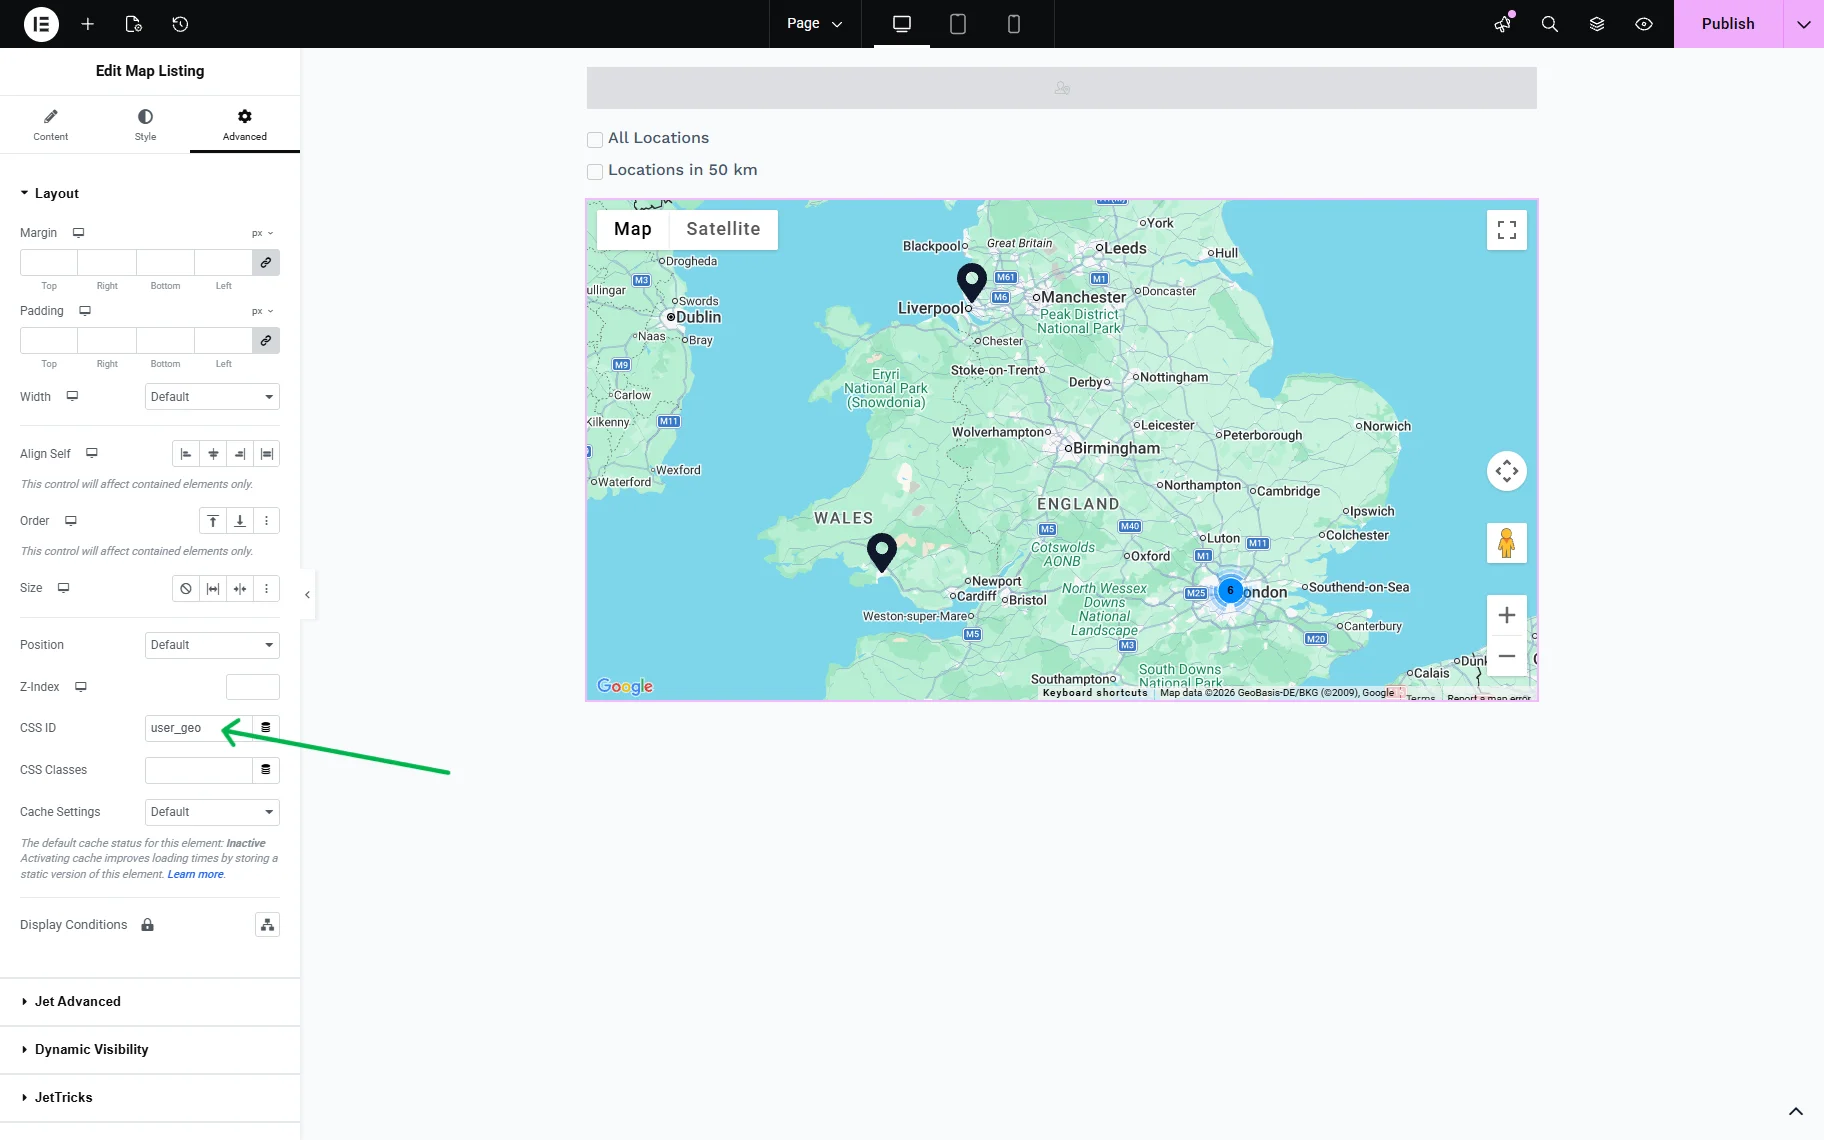
Click the “Publish” button once you are ready.
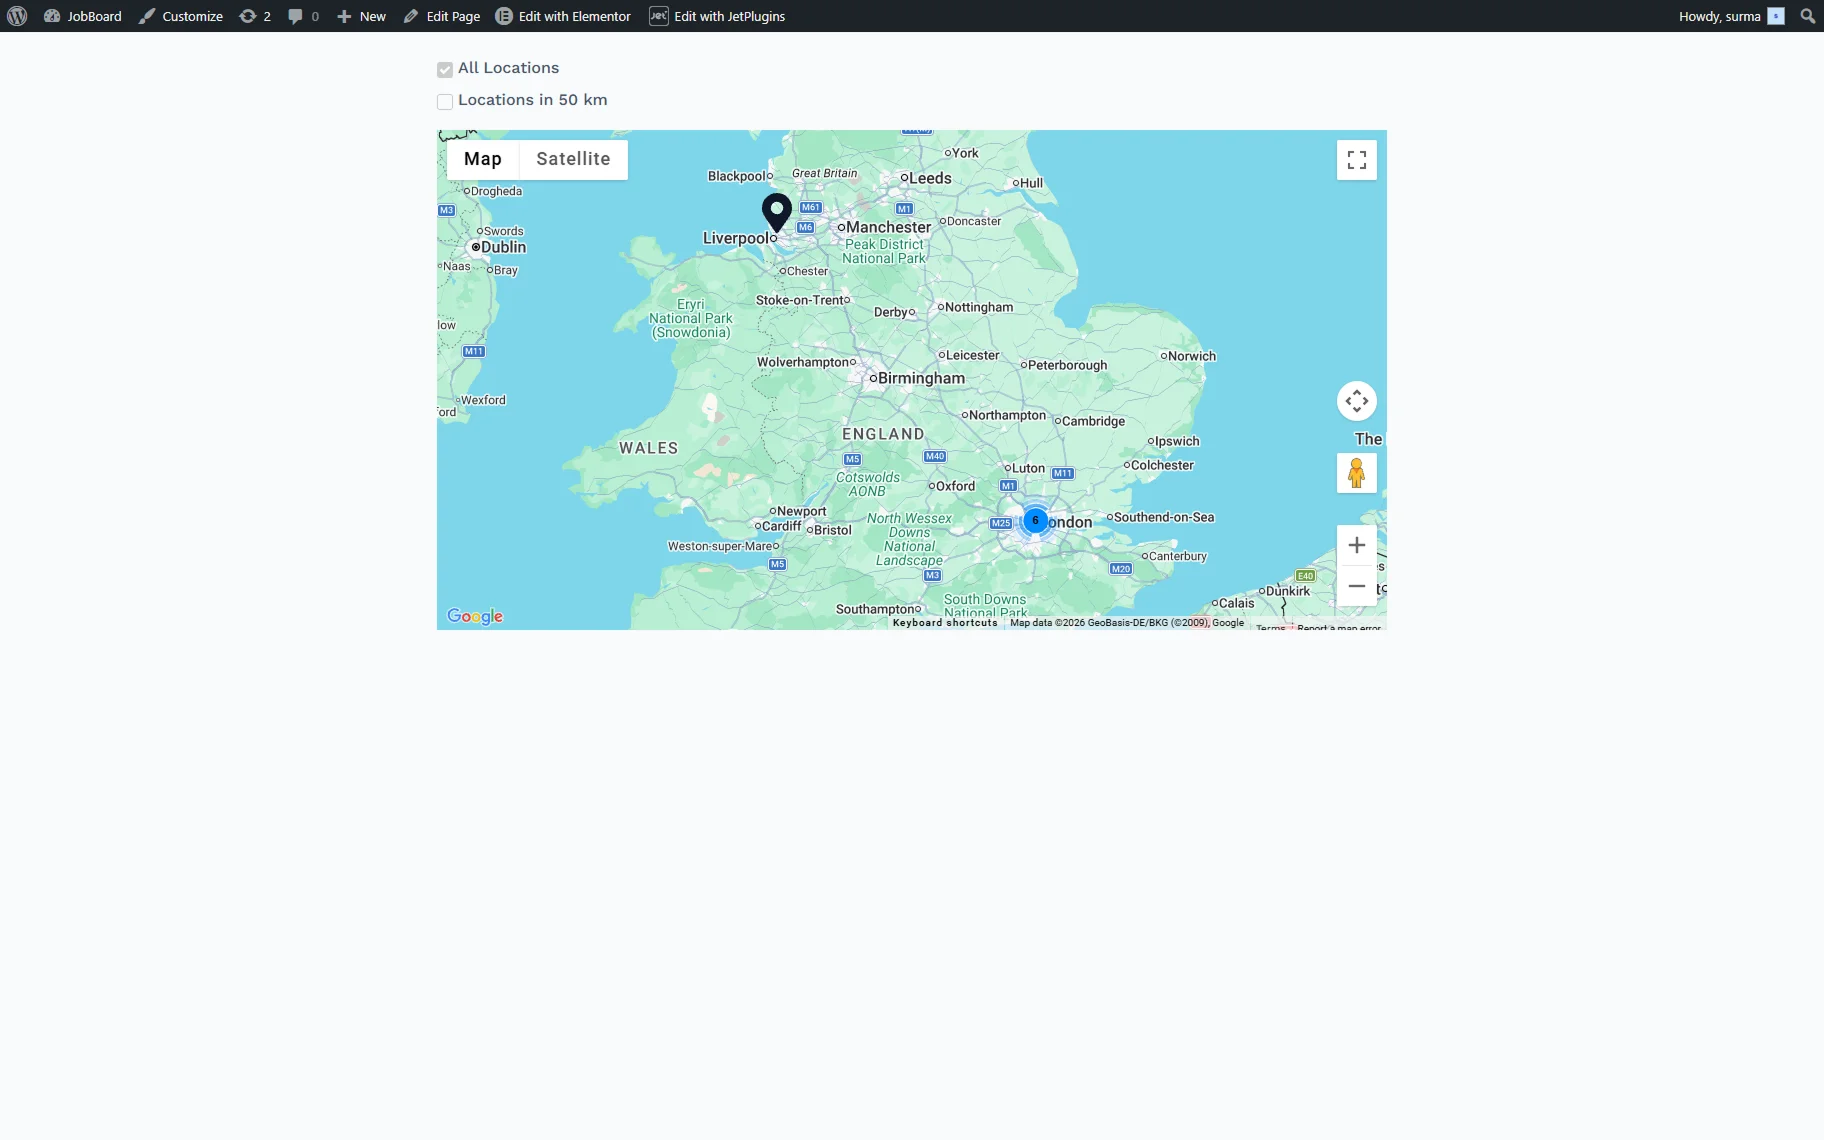
Check the Results
On the front page, we can select all locations to be shown on the map.
We can also choose to show posts only within 50 kilometres.
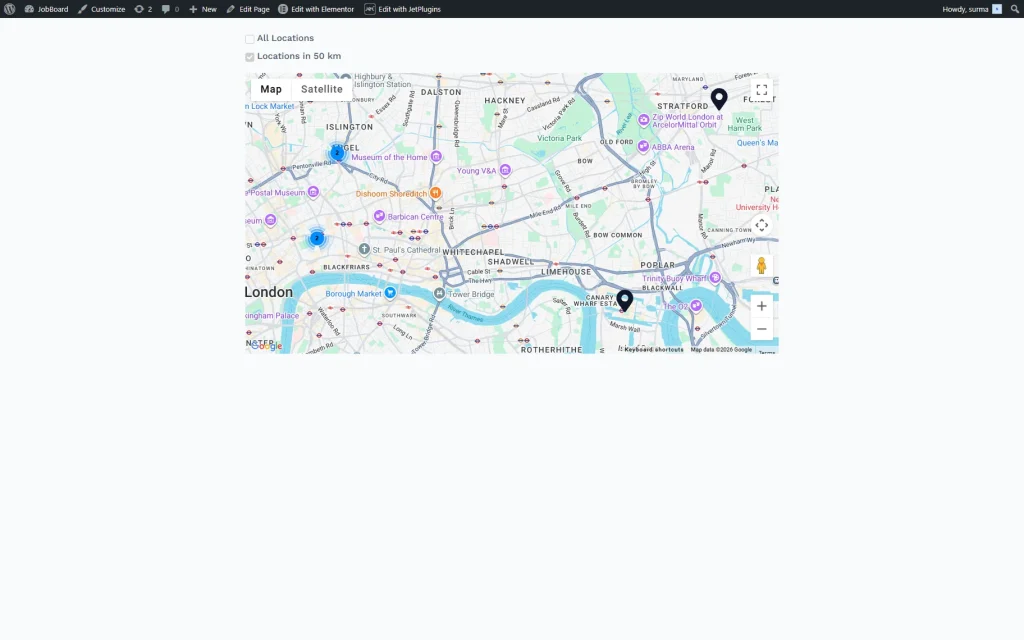
That’s it. Now you know how to display the posts within the specified radius using the Radio filter from JetSmartFilters and JetEngine modules on the WordPress site.