How to Link the Booking Form with WooCommerce Checkout
Enable the WooCommerce integration in the JetBooking and JetFormBuilder form to use WooCommerce payment gateways and WooCommerce checkout on your WordPress website.
Before you start, check the tutorial requirements:
- WooCommerce plugin installed and activated
- JetBooking plugin installed and activated
- JetFormBuilder plugin installed and activated
Find out how to integrate WooCommerce into the JetBooking plugin with the “Plain mode” set in the booking settings. The WooCommerce integration option lets you process payments through the standard WooCommerce checkout while keeping your booking items as custom posts separate from your product catalog.
After a user submits a booking via JetFormBuilder, they are redirected to WooCommerce to complete the payment. The transaction is then recorded in both WooCommerce Orders for financial tracking and the JetBooking Dashboard for calendar and booking management.
The Difference between the Booking Modes
The “Plain mode” is the default, standalone mode that does not require WooCommerce. The main features are:
- It uses a Custom Post Type (e.g., “Properties”) to represent bookable items;
- Users book via a custom booking form built with JetFormBuilder;
- Checkout and payment are handled directly by JetFormBuilder‘s built-in payment actions (e.g., PayPal, Stripe) without a “cart” system;
- Bookings are stored in the JetBooking dashboard and can be synced to a dedicated “Orders” CPT.
The “Plain mode” with the WooCommerce Integration (described in this tutorial) is a hybrid setup that uses the flexibility of custom forms but offloads the financial transaction to WooCommerce. The main features are:
- Similar to the “Plain mode,” it uses a Custom Post Type and JetFormBuilder form for the bookable items;
- After form submission, the system automatically creates a WooCommerce order and redirects the user to the standard WooCommerce Checkout page;
- Allows you to use any payment gateway supported by WooCommerce (e.g., Apple Pay, local gateways) while maintaining a highly customized booking form.
The “WooCommerce-based mode” turns your bookable items into actual WooCommerce products. The main features are:
- You create your bookable items directly in the WooCommerce Products tab, and the JetBooking adds a “JetBooking product” type to the settings;
- Instead of a complex custom form, users see the standard WooCommerce “Add to Cart” area, which now includes a calendar for selecting dates;
- It allows you to manage WooCommerce additional services attributes and guests;
- Users can add multiple bookings to one cart, use WooCommerce discount codes, and manage their history in a standard “My Account” dashboard;
- You have less freedom to design the booking fields because they are tied to the default WooCommerce product layout compared to the “Plain mode.”
Basic Setup
Enable WooCommerce Integration Option
Firstly, ensure that you’ve created and applied the default WooCommerce pages.
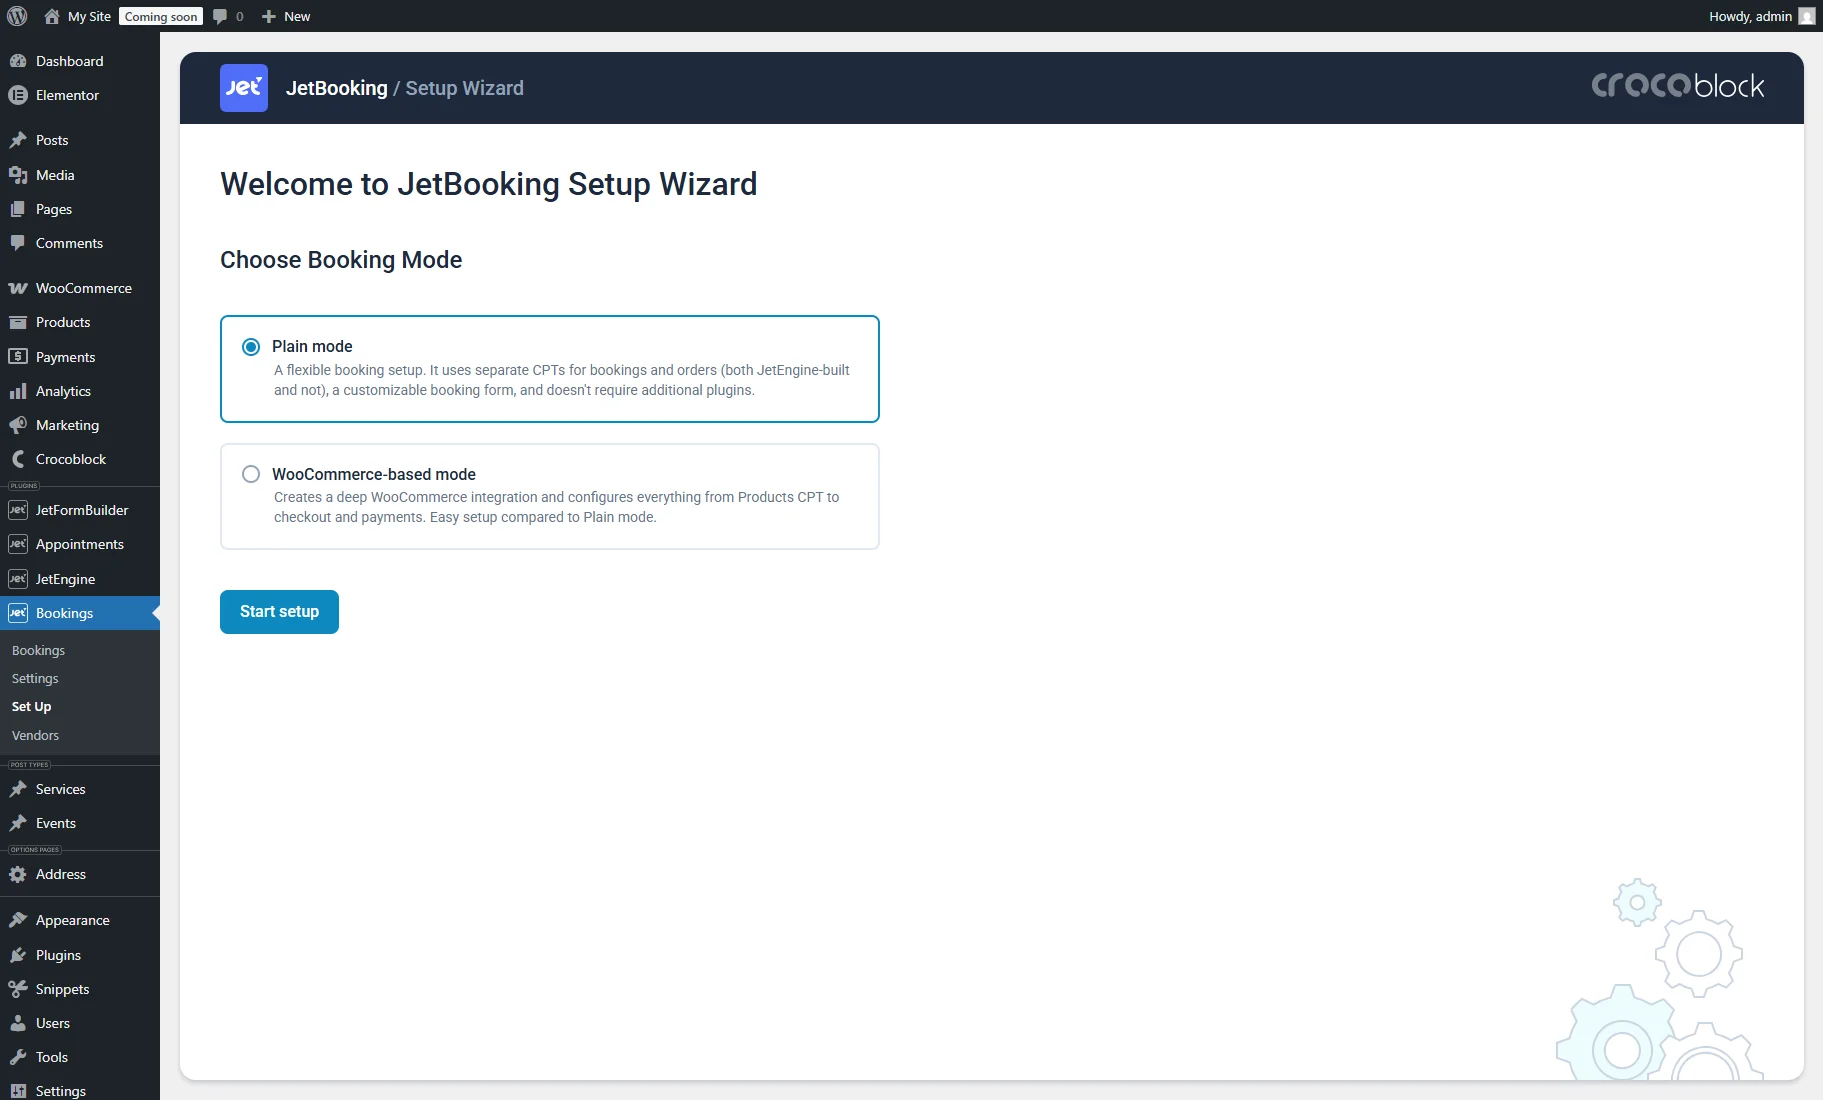
If you haven’t set up booking with the Wizard Setup, go to WordPress Dashboard > Bookings > Set Up and enable the WooCommerce Integration option in the second step.
In the first step, select the “Plain mode” option.
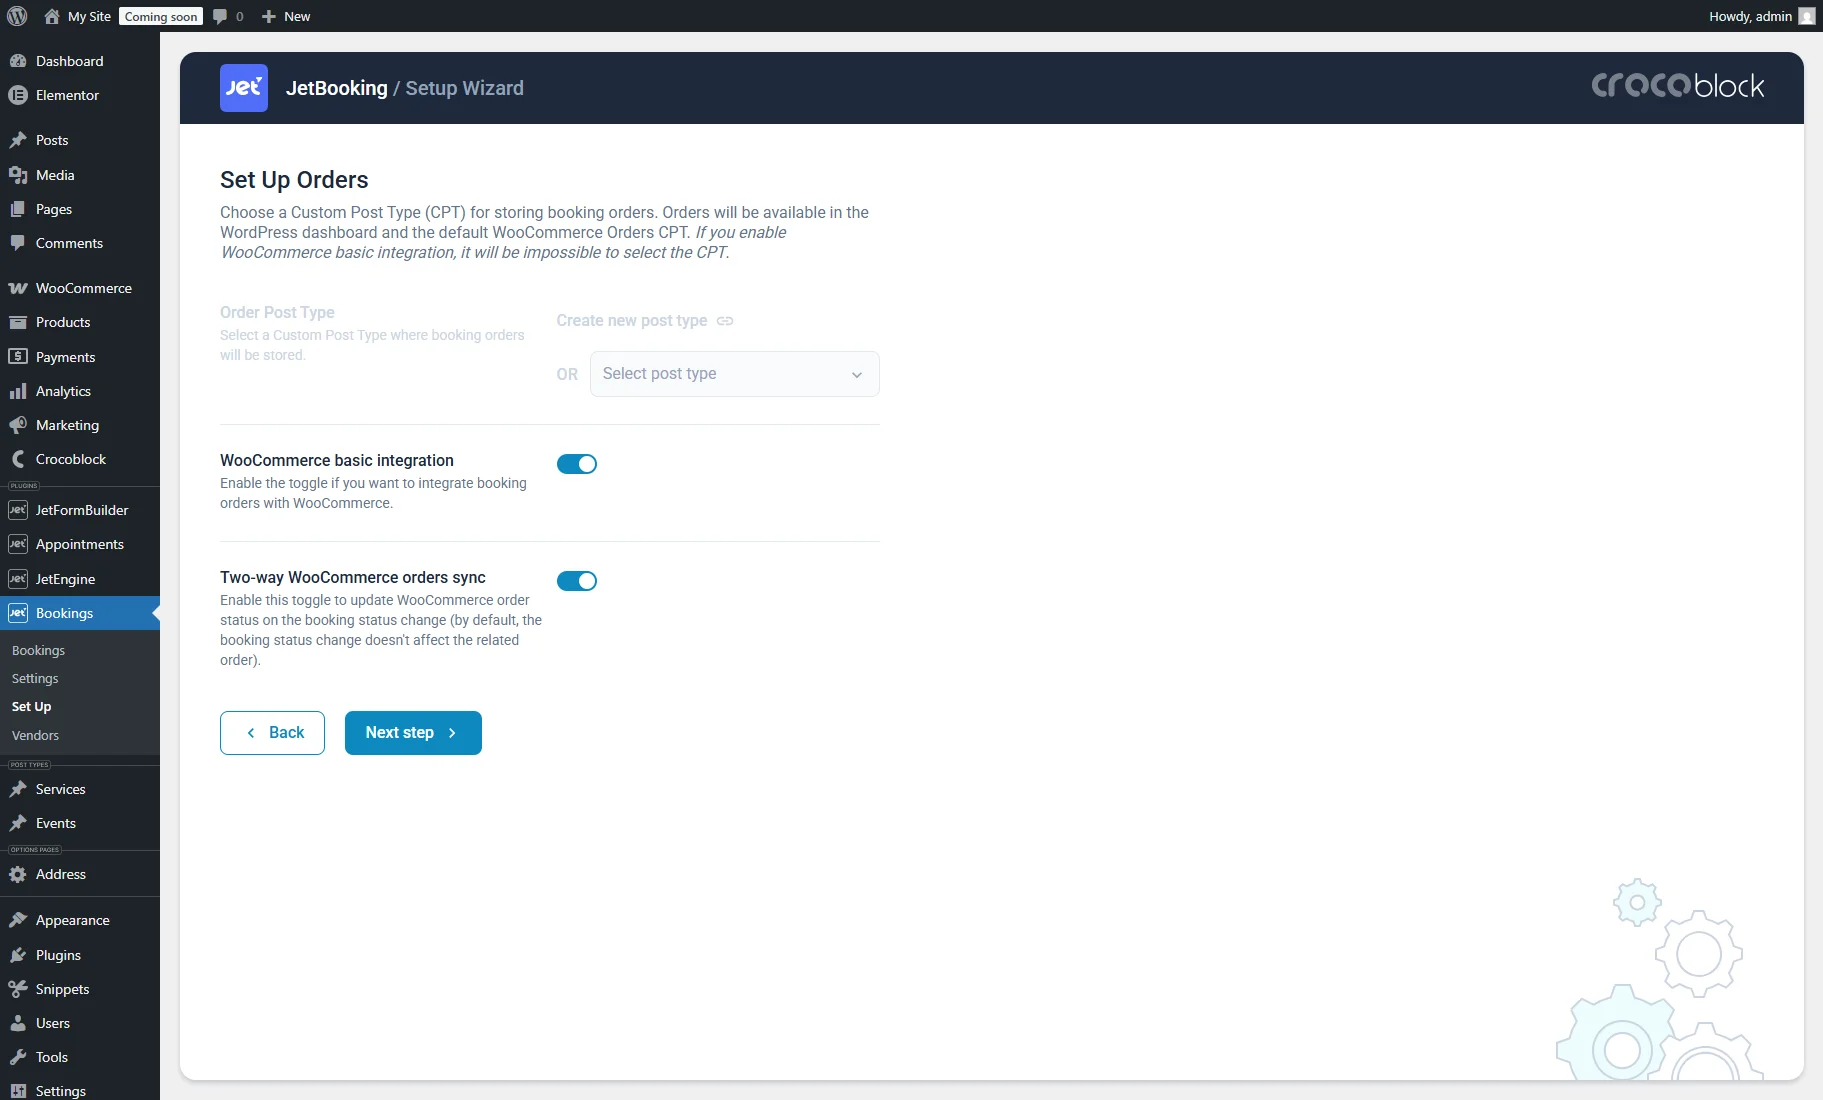
After setting the Booking Post Type in the second step, in the third step, enable the WooCommerce basic integration toggle.
Then, you cannot select a Custom Post Type for orders, and they will be stored as WooCommerce Orders.
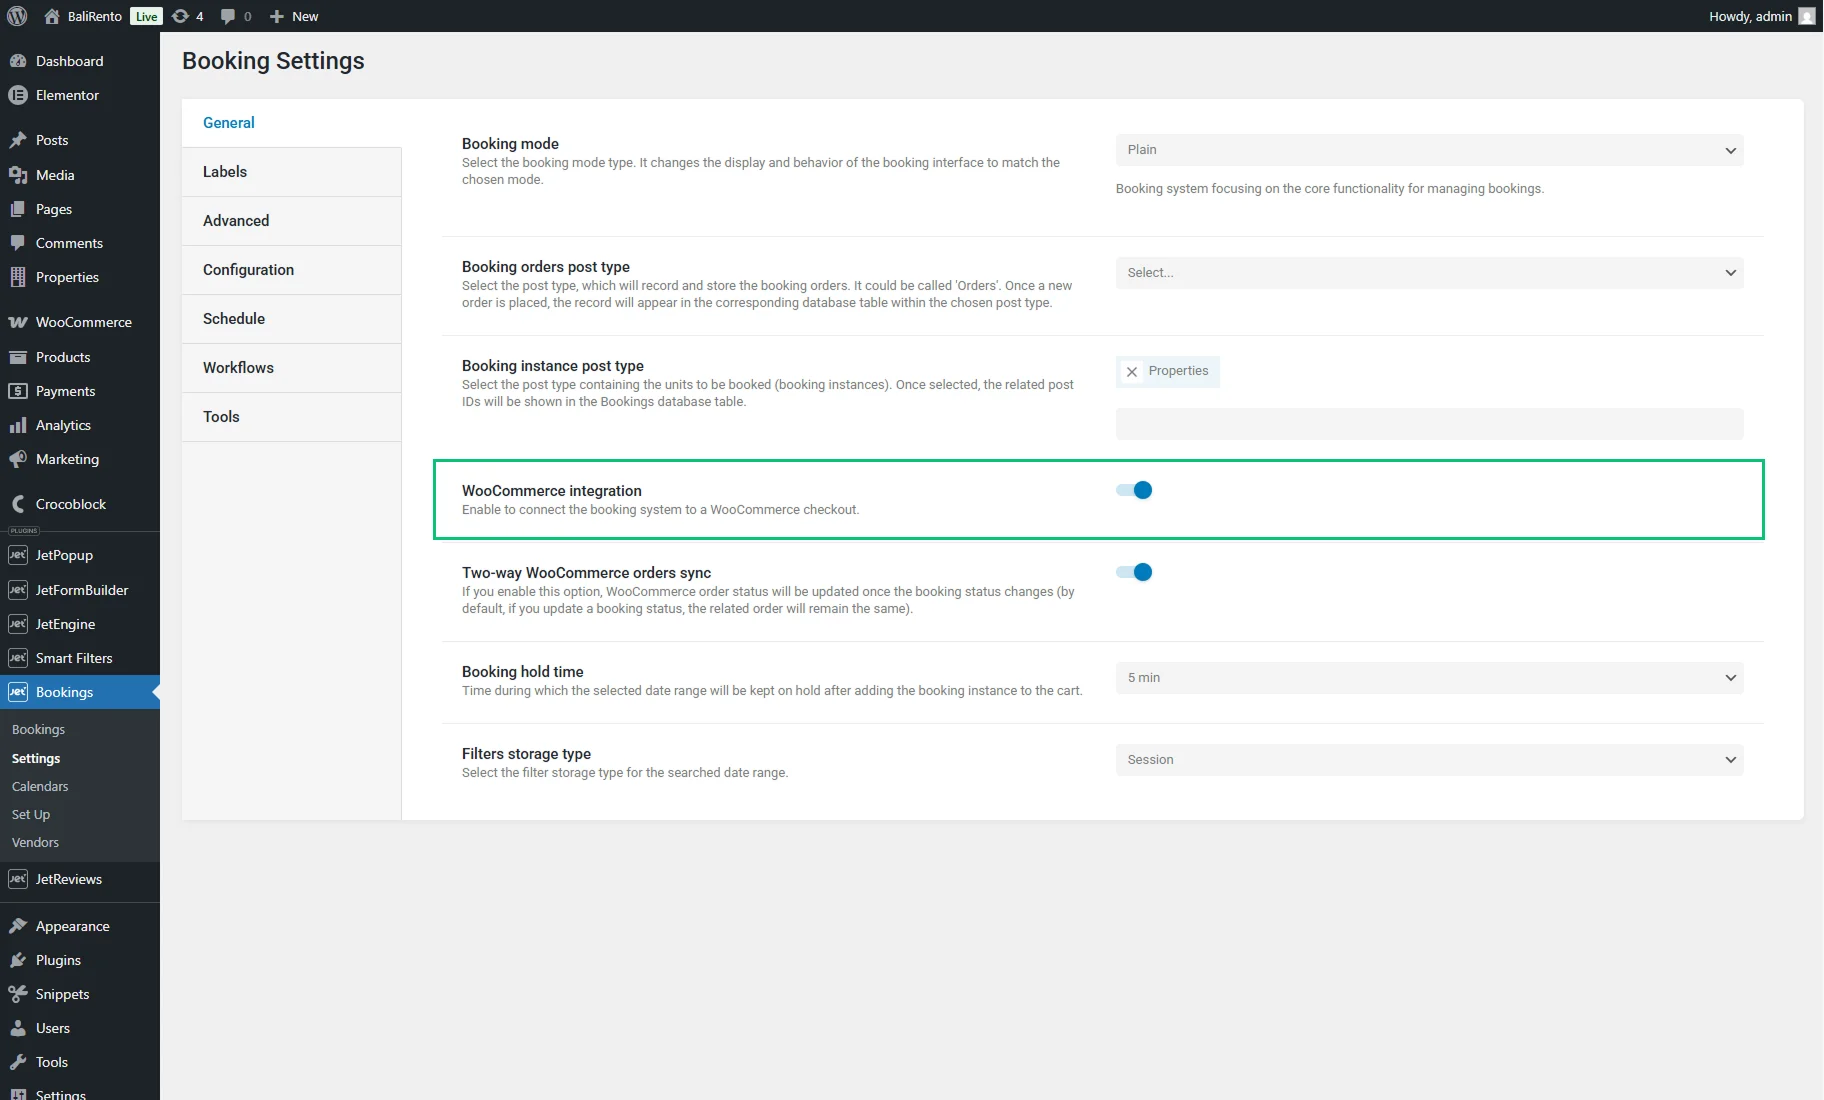
In such a case, proceed to WordPress Dashboard > Bookings > Settings > General and enable the WooCommerce integration option.
Change the Price for Your Services
Once the booking is fully set and the WooCommerce integration is enabled, in the WordPress Dashboard > Products > All Products tab will be a new product named “Booking.” This product is created automatically and has the default $1.00 price.
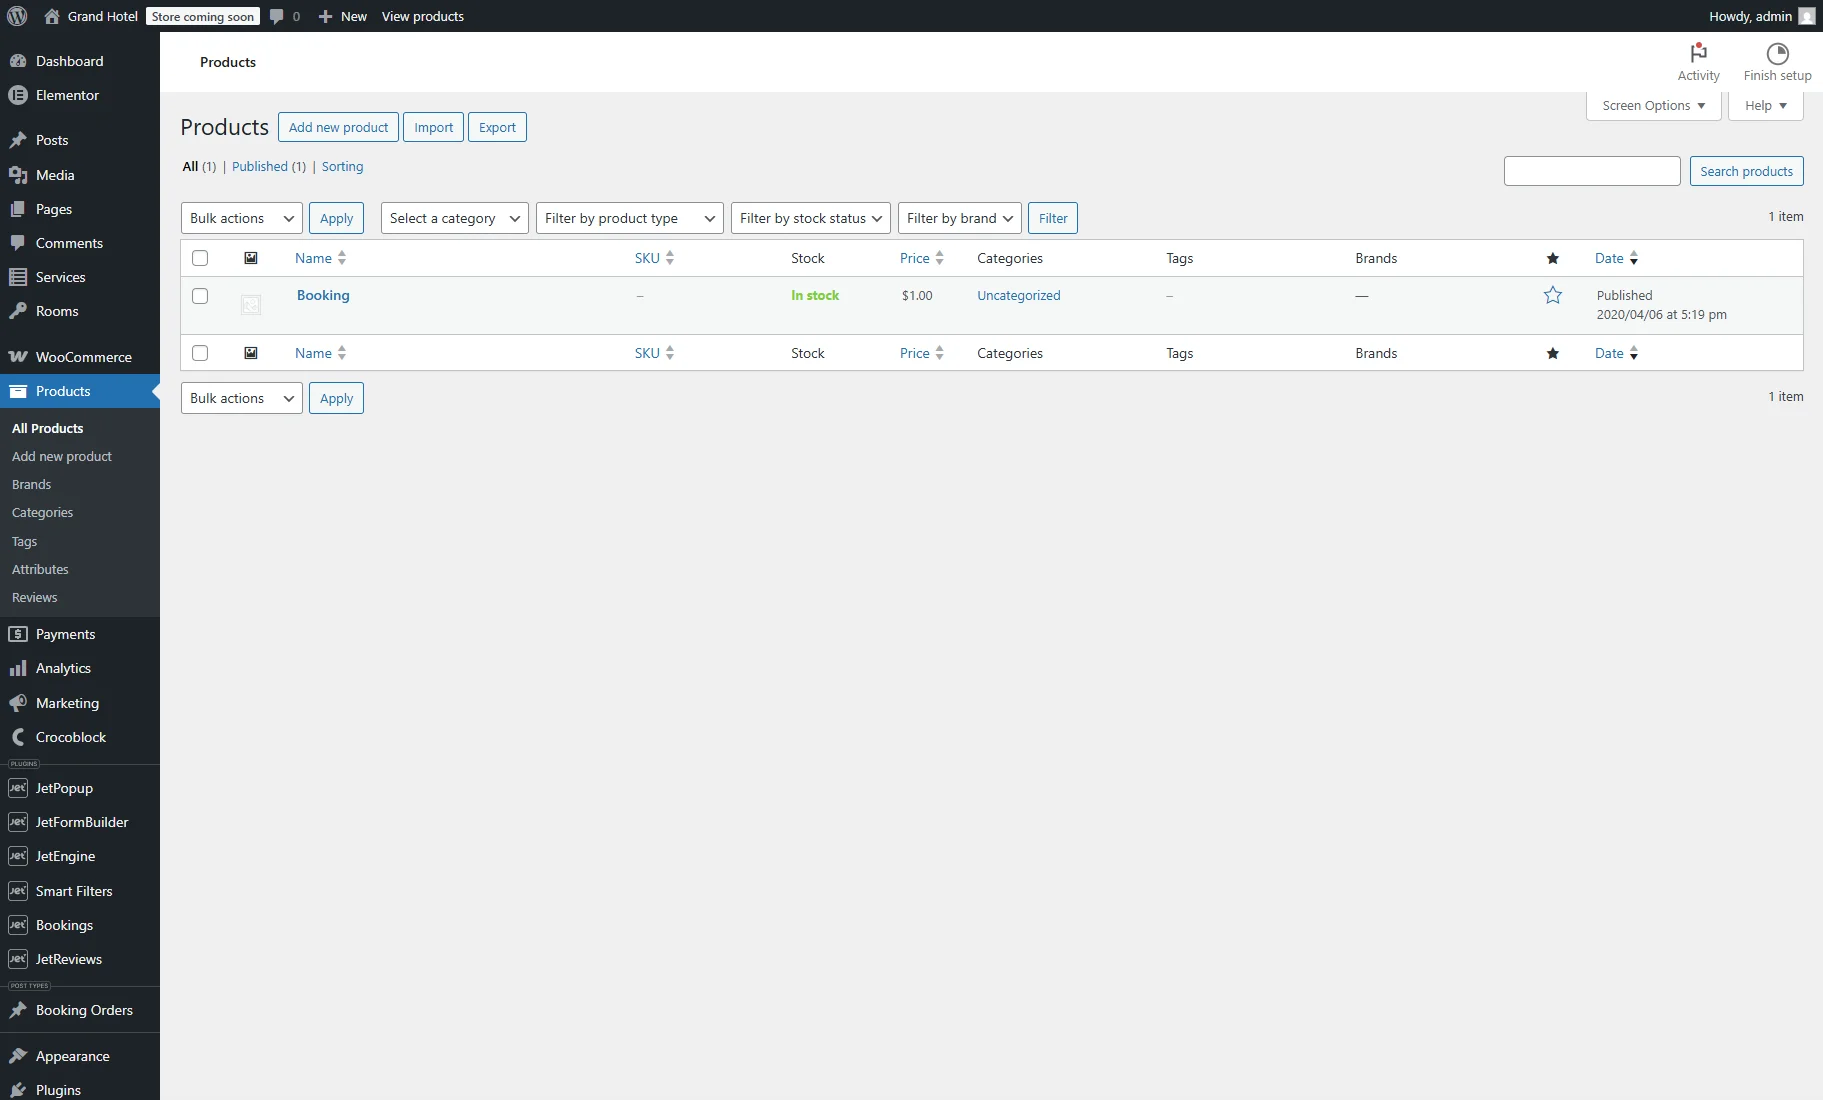
Navigate to your CPT, open the needed post, and set the price in the Price per 1 day/night field.

Create a Booking Form
The WooCommerce integration is available in the “Apartment Booking” post-submit action of the booking form. Learn how to adjust it in the How to Create a Booking Form with WooCommerce Integration tutorial.
In the Edit Apartment Booking pop-up, such settings related to the WooCommerce integration are included:
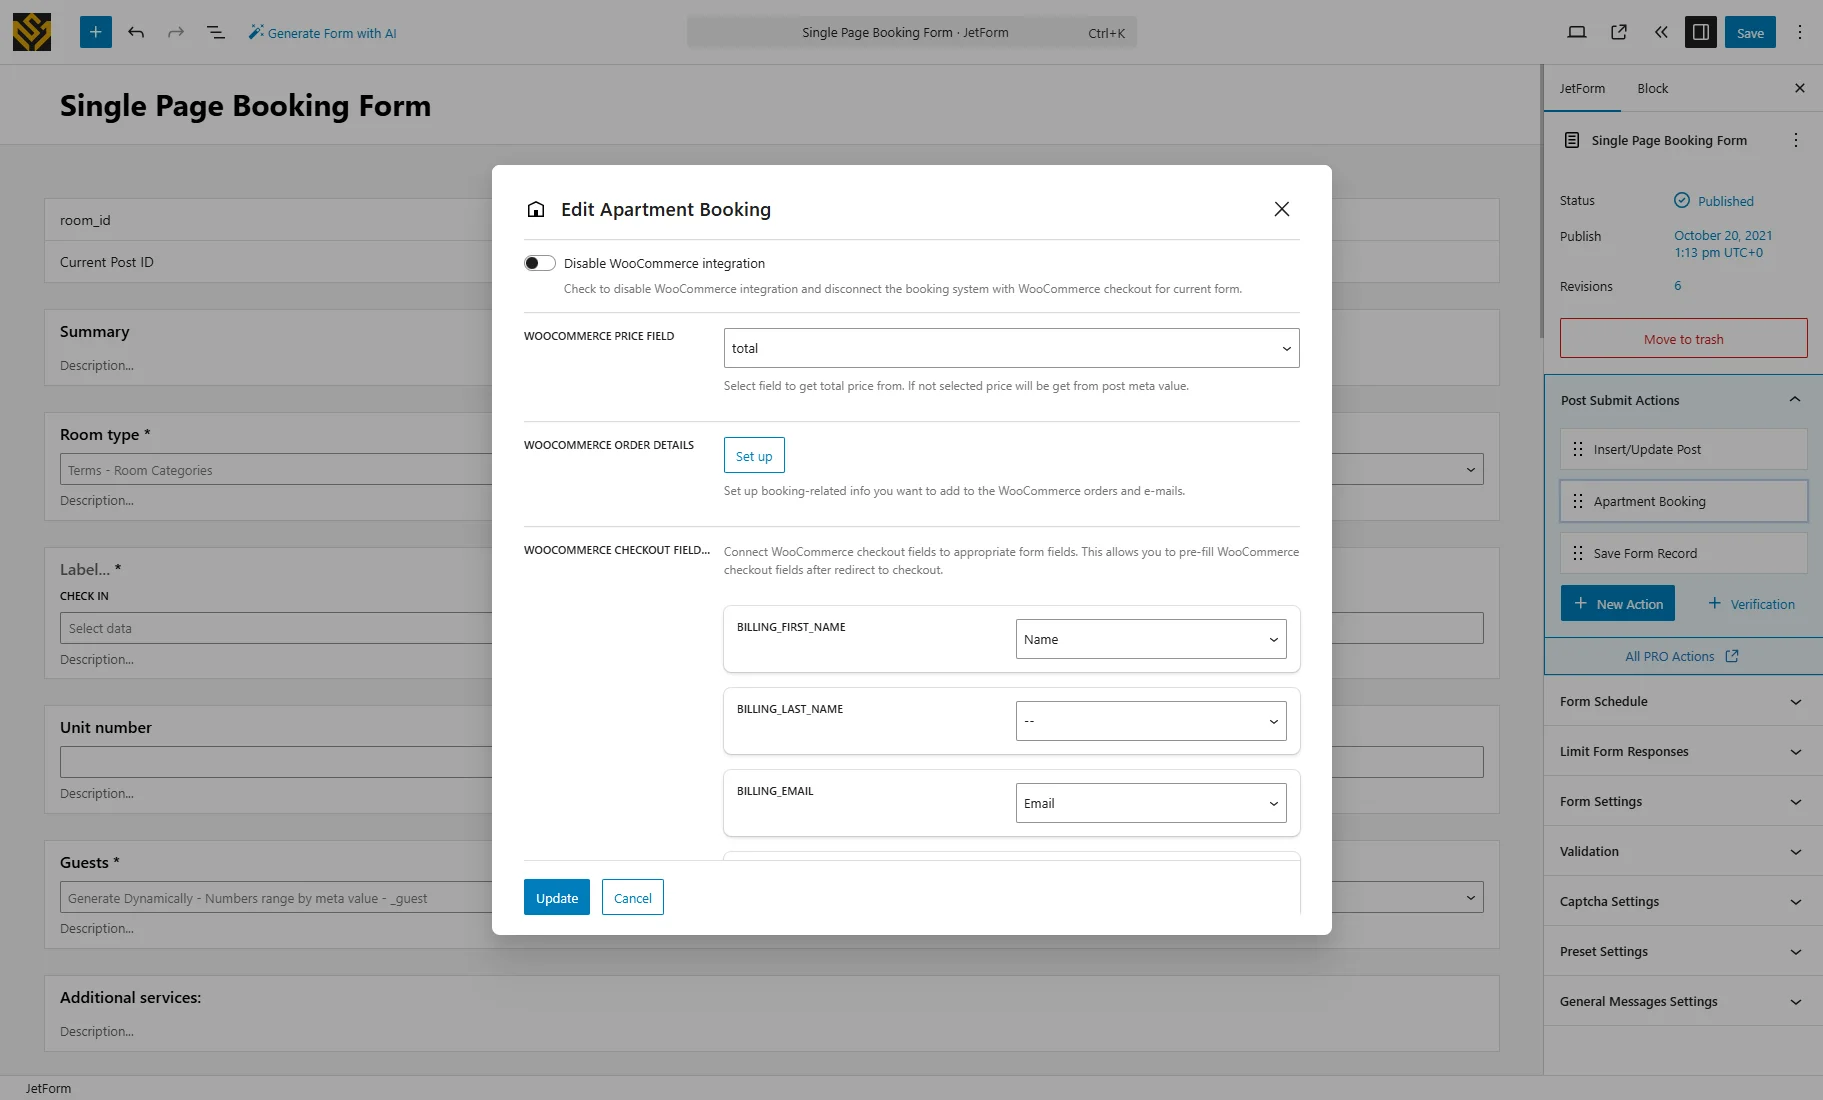
- Disable WooCommerce integration — a toggle that can be activated if the WooCommerce checkout is unnecessary for a particular booking form;
- WOOCOMMERCE PRICE FIELD — here, you can specify from which form field the total price is pulled, which needs to be paid on the WooCommerce checkout. For example, it can be the Calculated Field with the price formula. You can check the How to Combine Hidden and Repeater Fields with the Calculated Field tutorial to learn how to create advanced pricing calculations. You can also keep the WOOCOMMERCE PRICE FIELD empty to automatically get the booking price from the _apartment_price field of the current post;
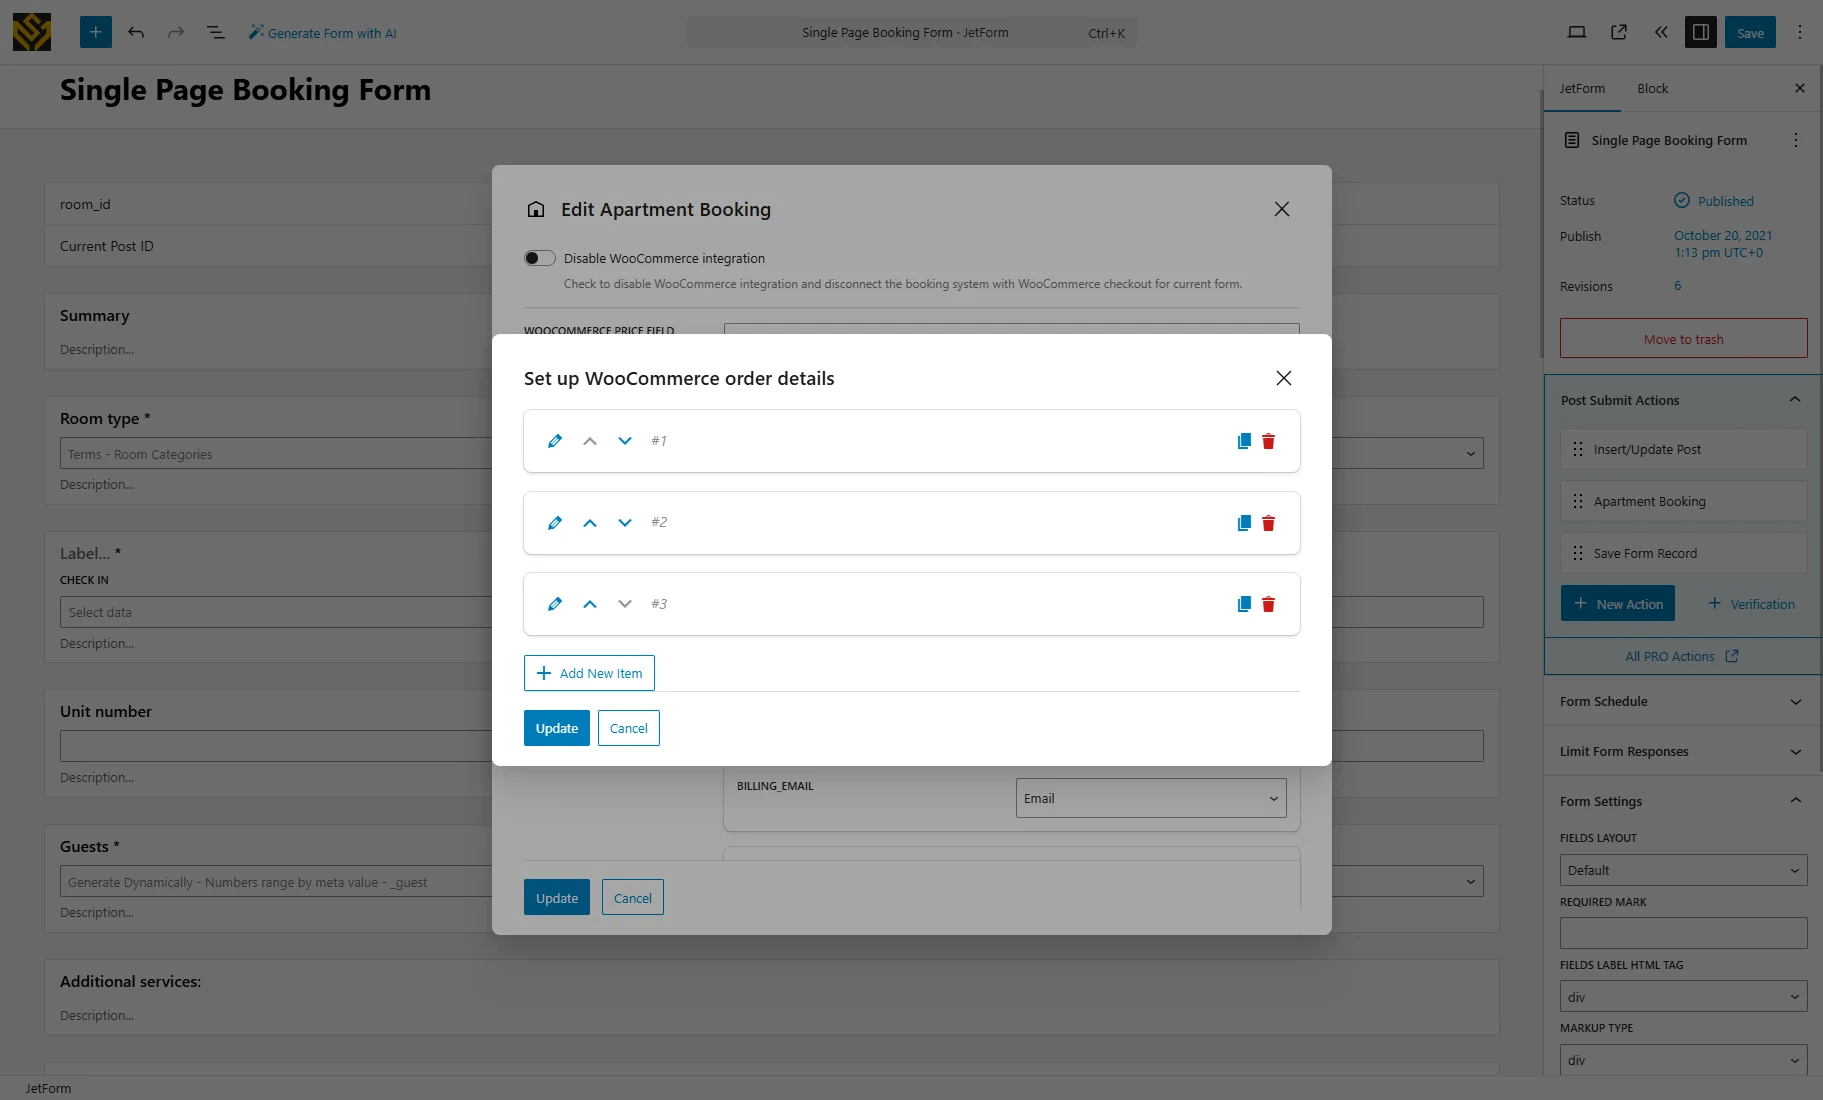
- WOOCOMMERCE ORDER DETAILS — here, you can specify which form fields will appear in the WooCommerce Order and order email. Upon clicking the “Set up” button, a pop-up with settings will appear. Press on the “pencil” icon to edit one of the items.
The following options for the TYPE field are available:
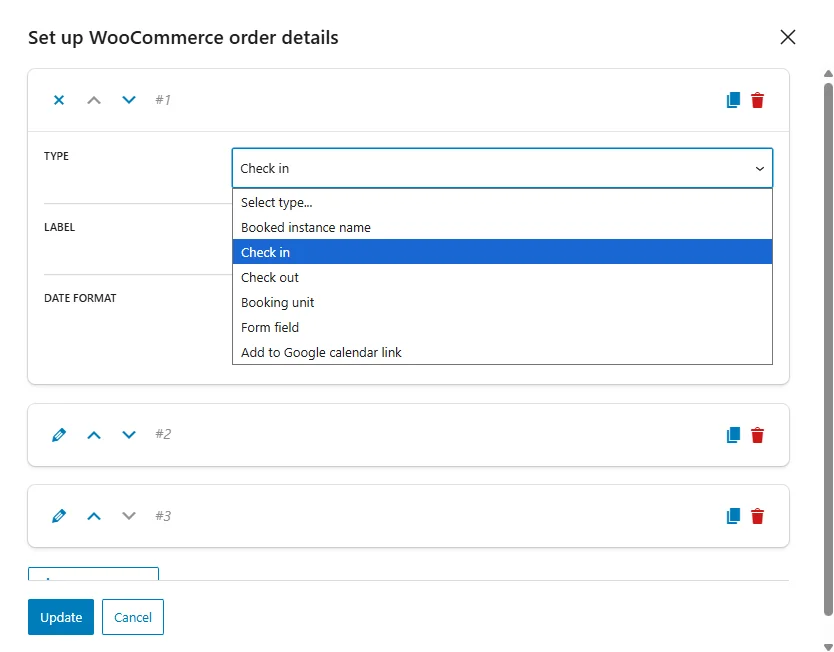
- Booked instance name — the title of the booked post;
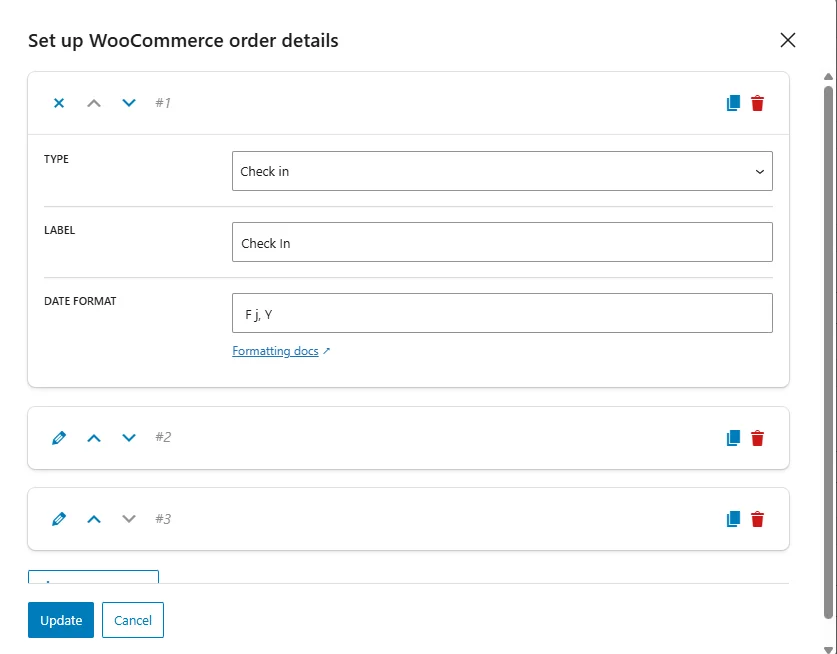
- Check in and Check out — the dates the user selected in the Check-in/check-out dates field. For these options, you can customize the DATE FORMAT. More information can be found in the Customize date and time format article;
- Booking unit — the unit of the post that is booked. Check the How to Manage Units via the WP Dashboard tutorial to learn more about units;
- Form field — select the required form field in the SELECT FORM FIELD drop-down to its value in the order details;
- Add to Google calendar link — generates a link that, when clicked, adds the booking to the user’s Google Calendar for the selected dates.
Set the items of the WooCommerce order details according to your needs and hit the “Update” button.
The last setting is the WOOCOMMERCE CHECKOUT FIELDS MAP section that allows pre-filling the WooCommerce checkout fields with the data entered in the booking form.
You can map the form fields to the WooCommerce fields by selecting them accordingly.
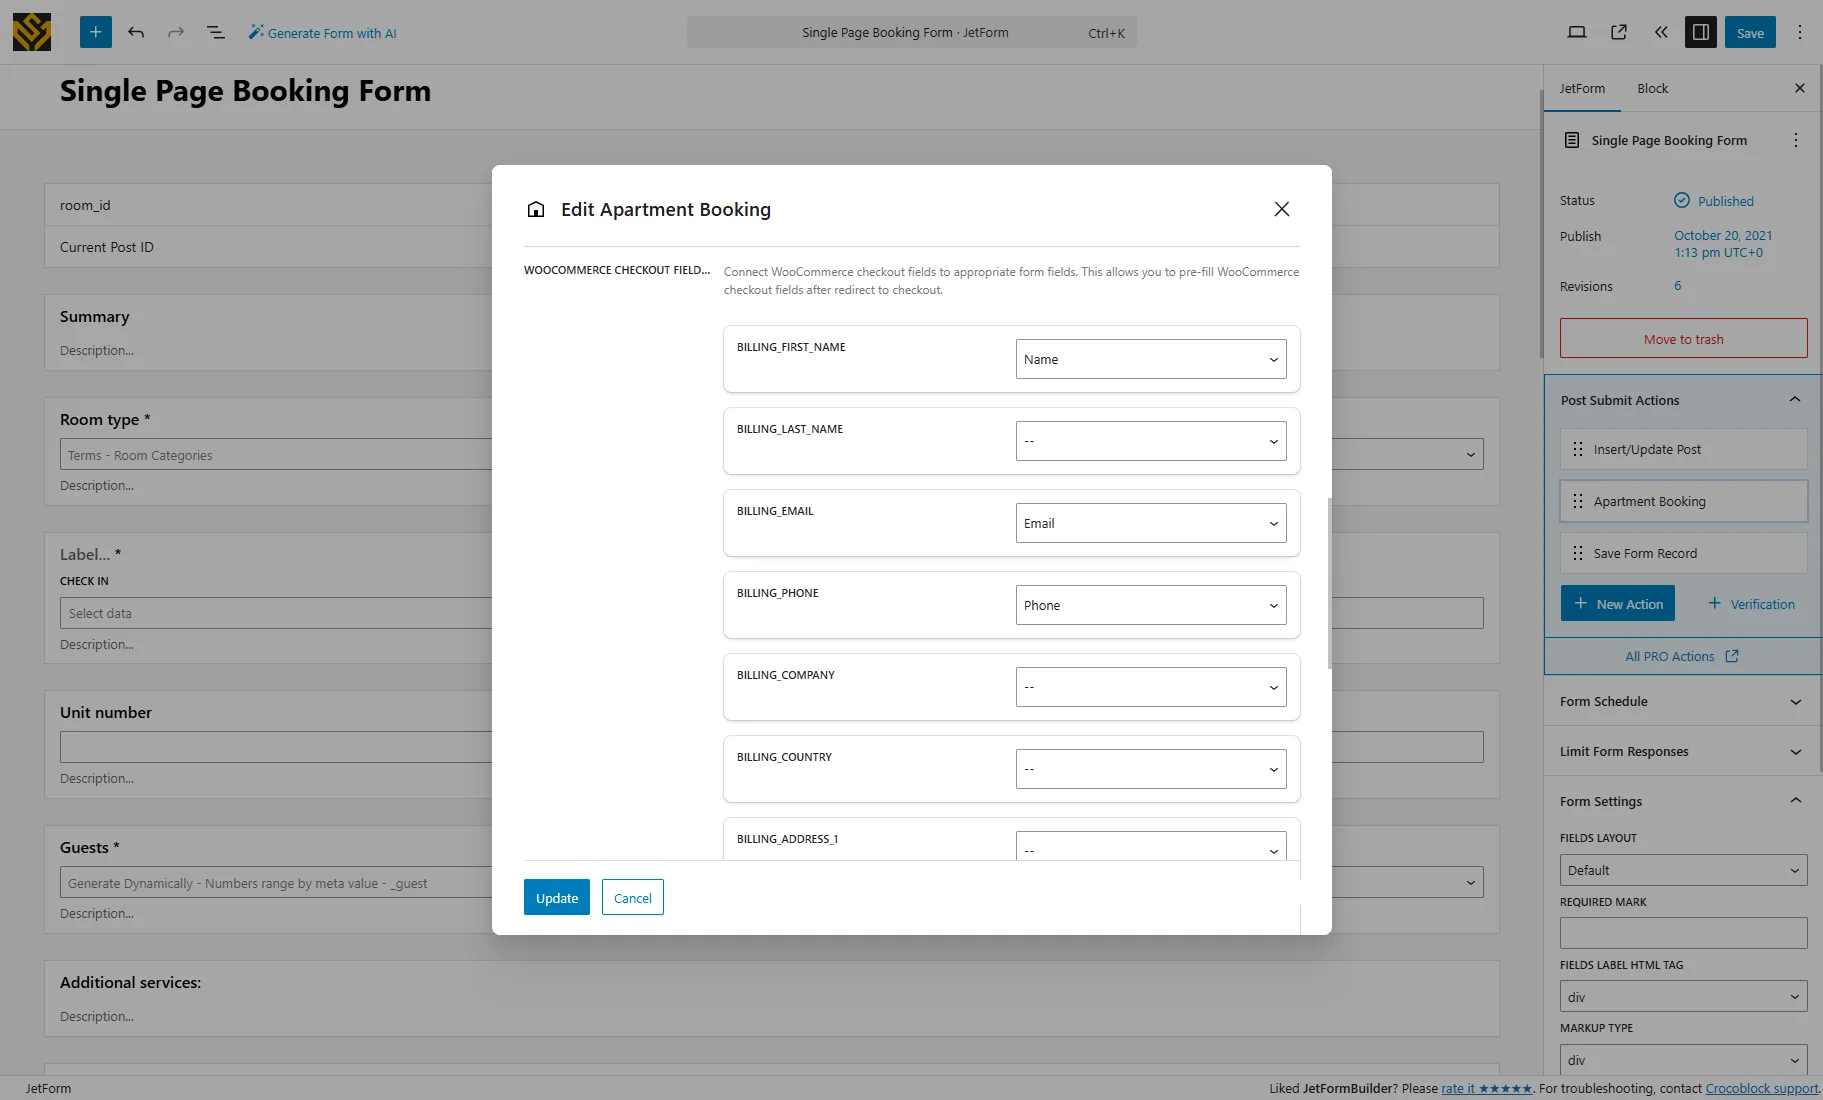
After mapping the fields, click the “Update” button to save the action settings. Also, save the booking form.
Book and Checkout
Place the booking form on a page, as described in the Adding the Form Block tutorial.
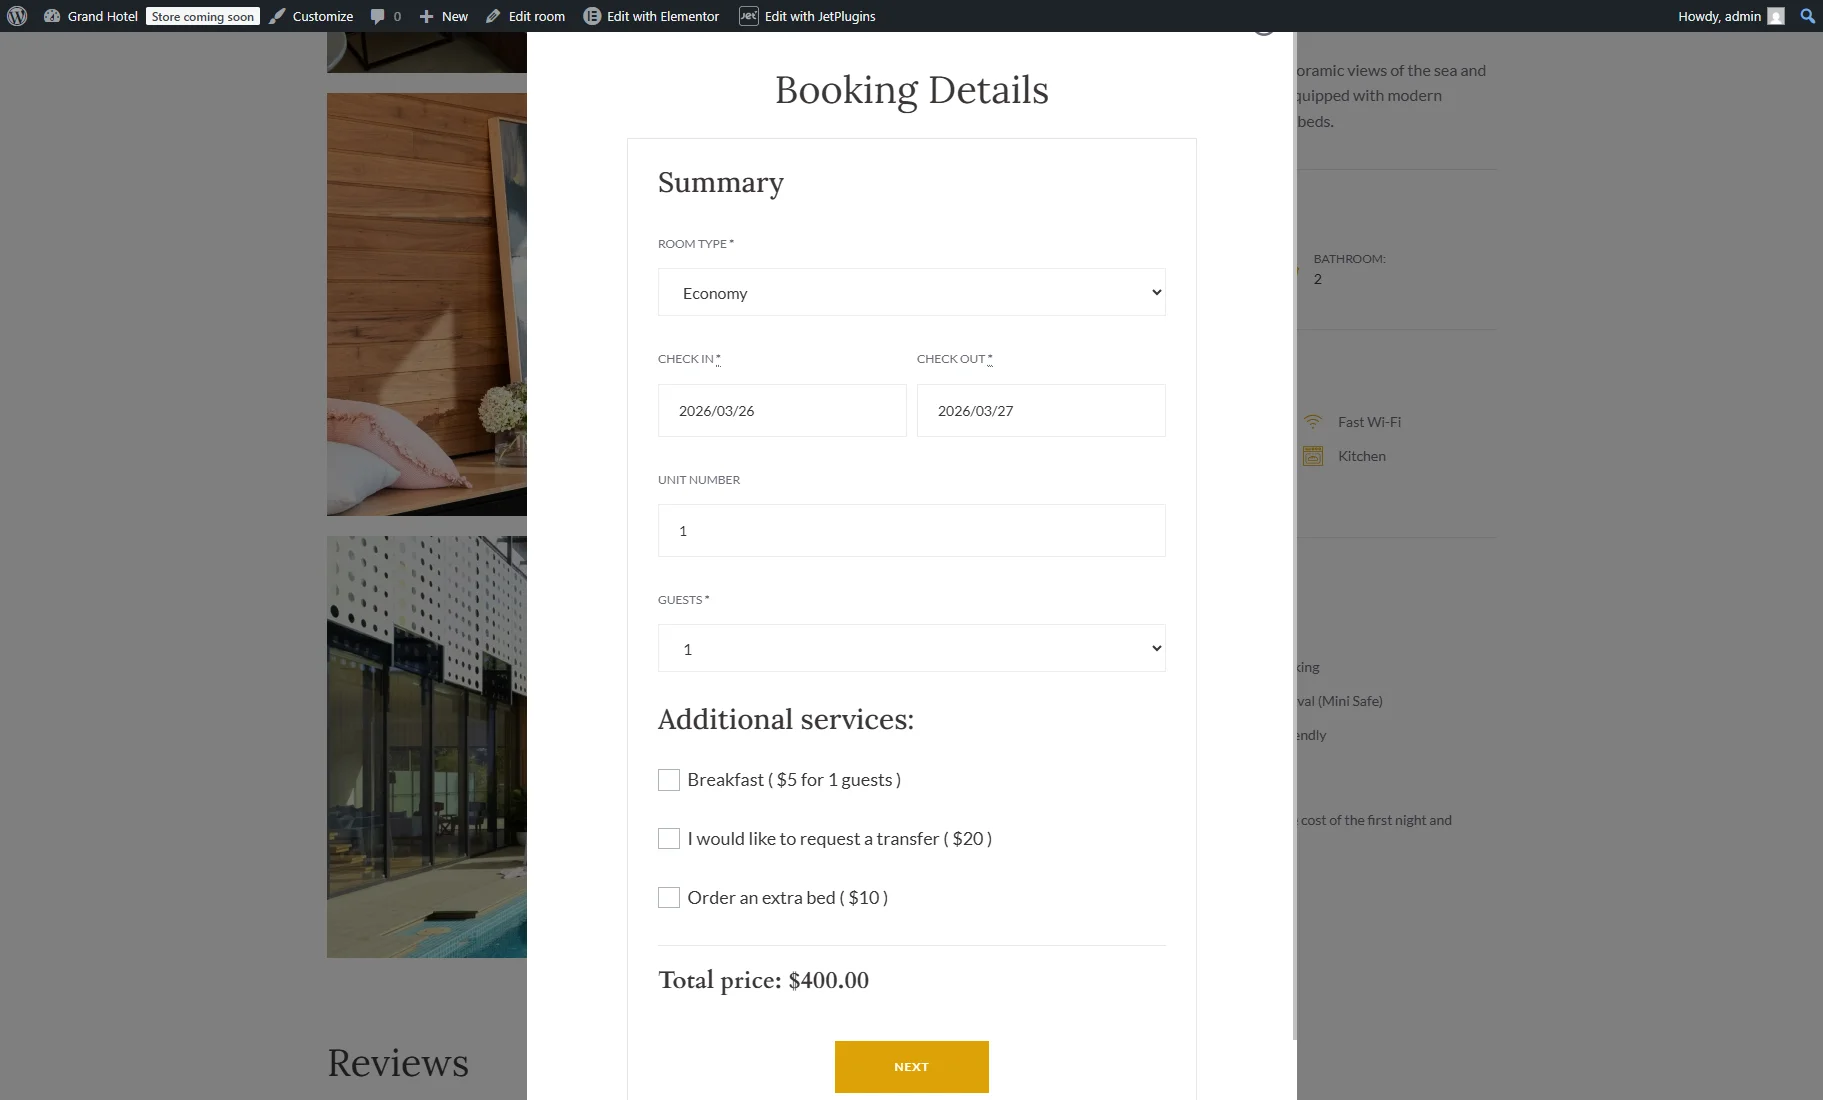
The final step is to book the service and check how it works. Proceed to the front end and book a room by submitting the form.
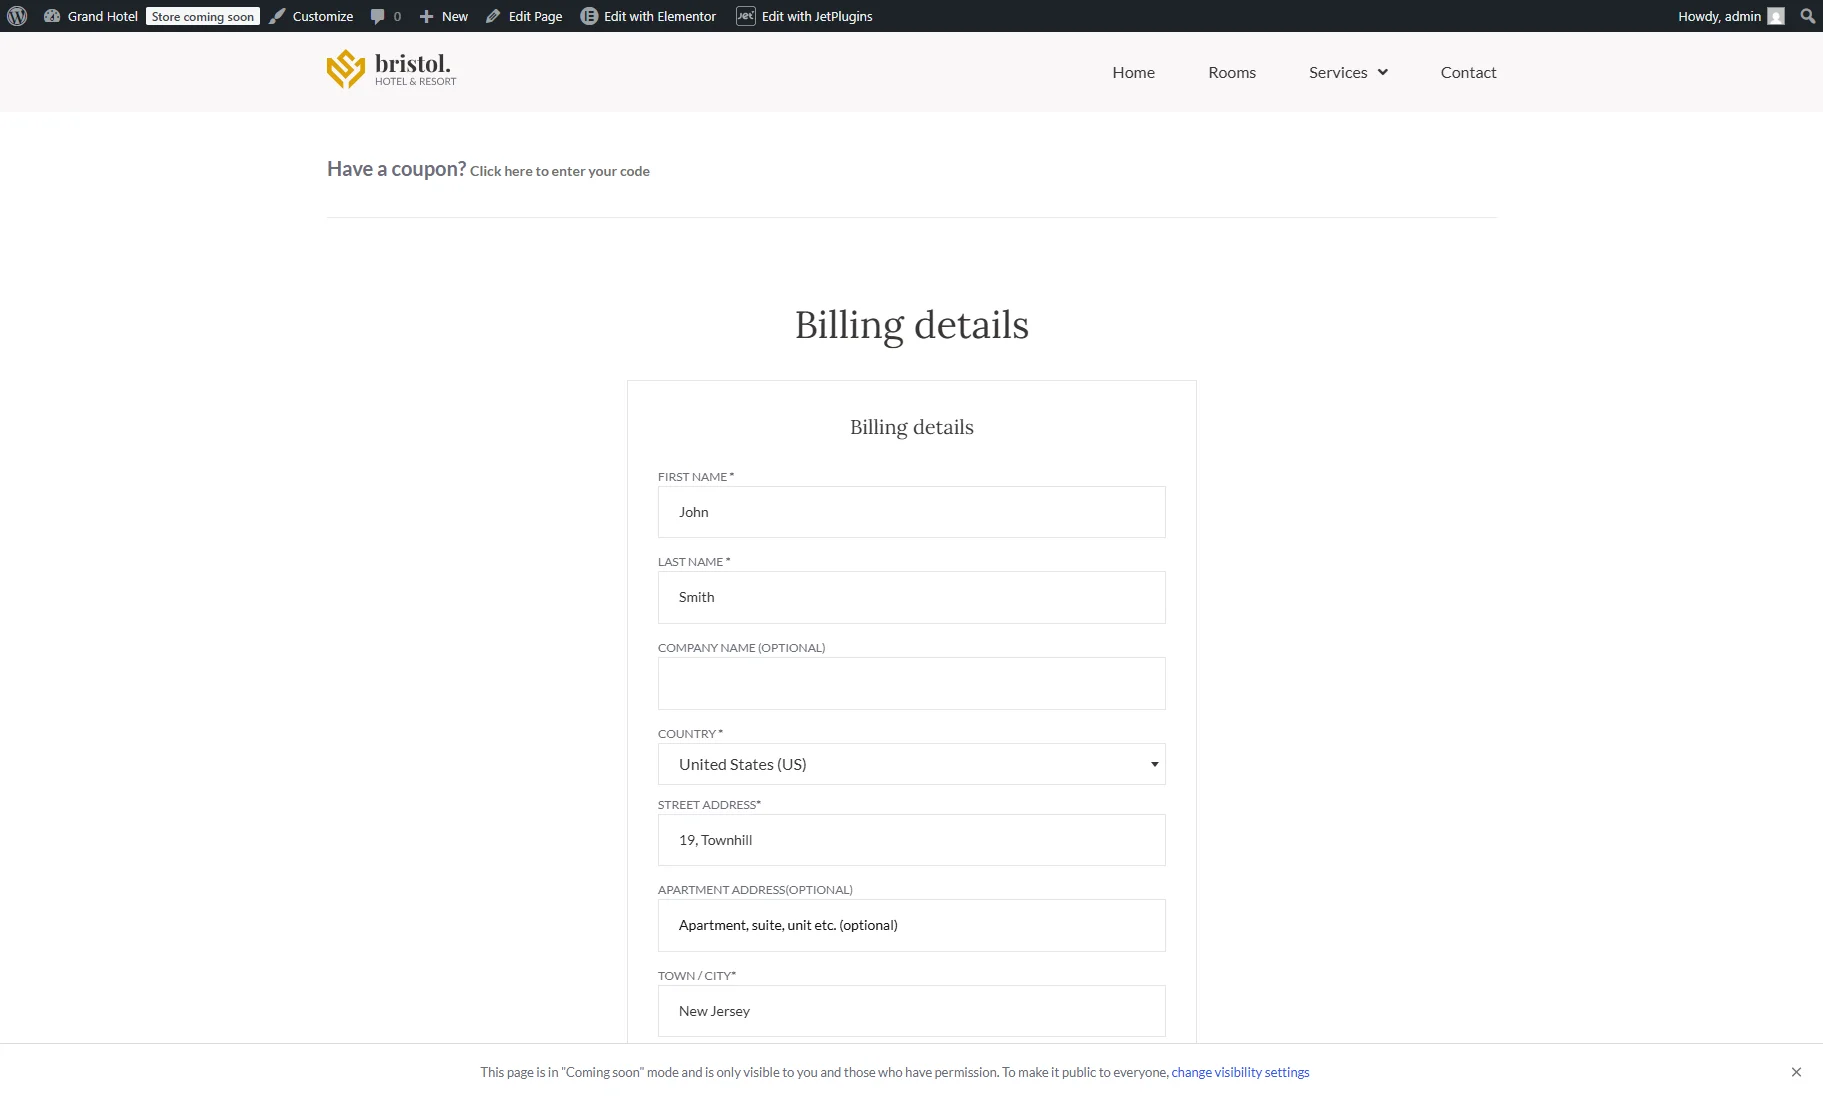
After that, you’ll be redirected to the Checkout page with billing details.
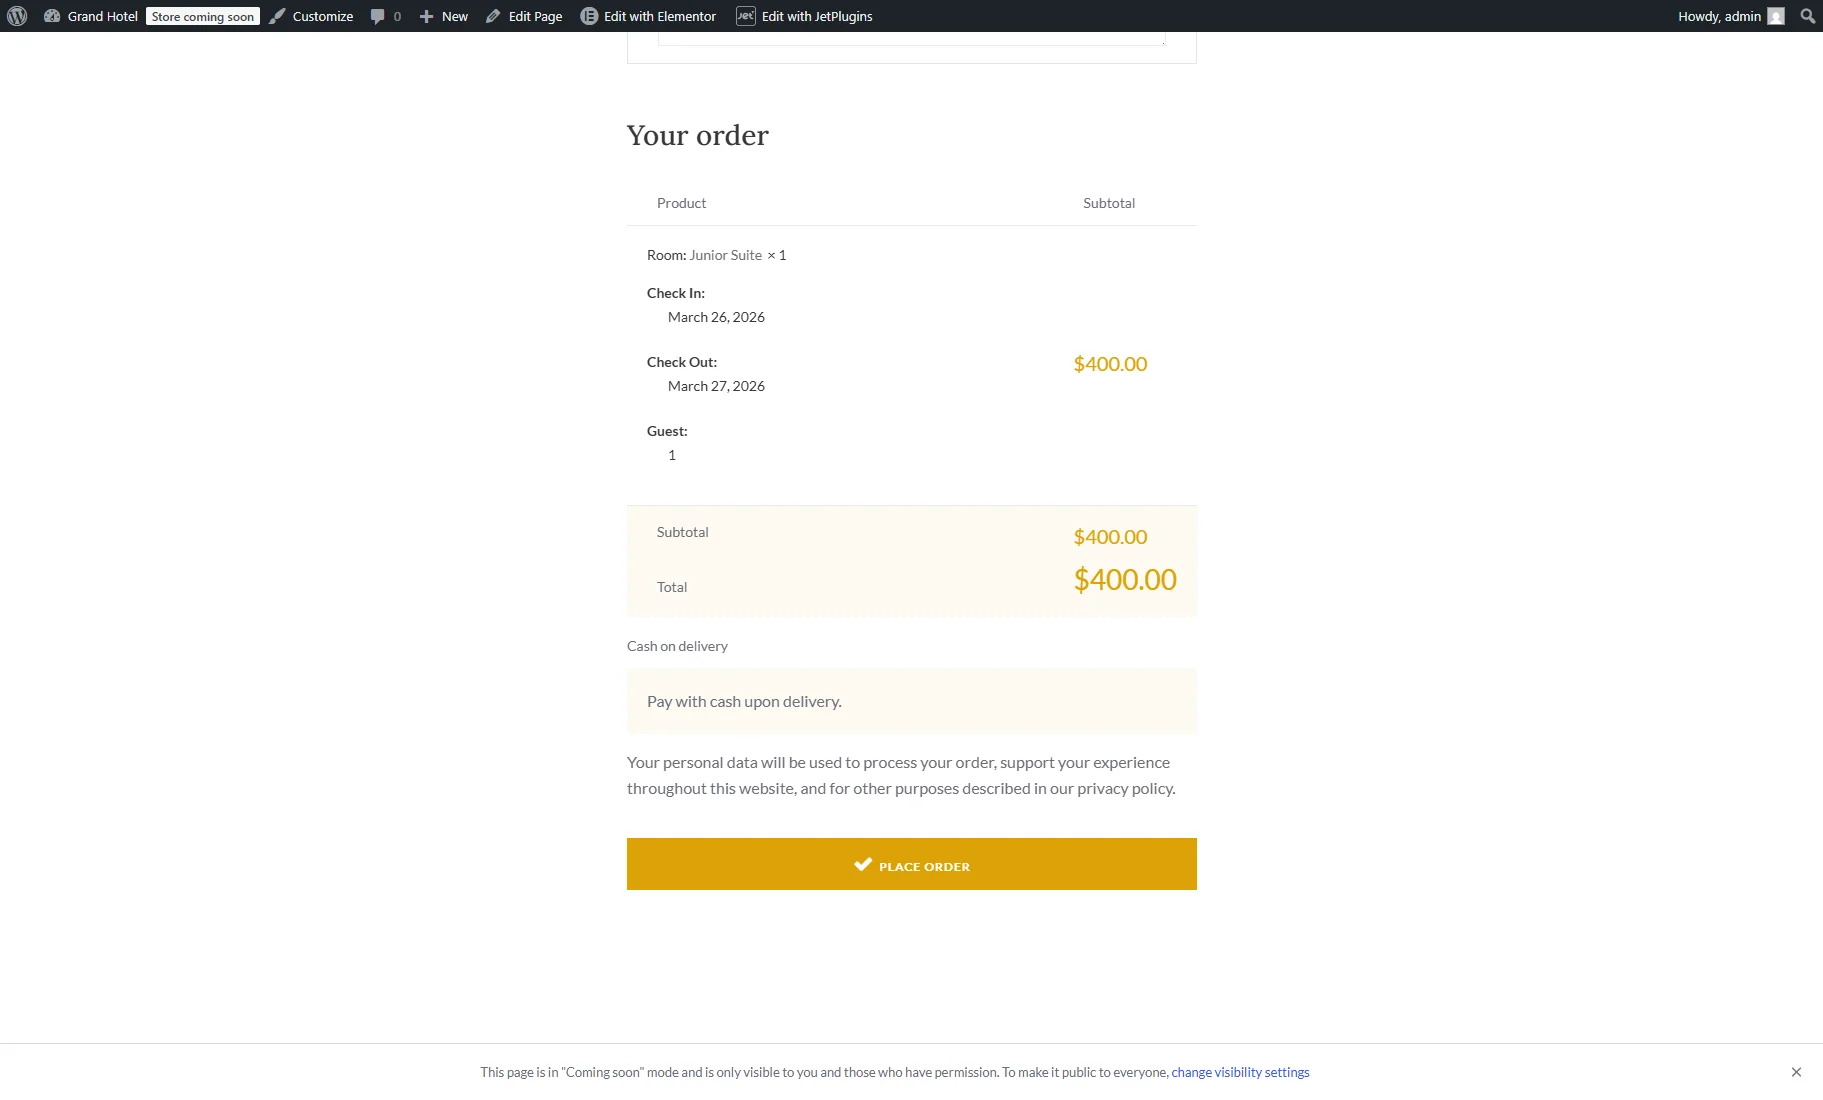
Lower on the same page, the details about booking will be displayed. After checking the information, the “Place Order” button can be pushed.
Next, you will be redirected to the Thank You page with the confirmation that the order has been received.
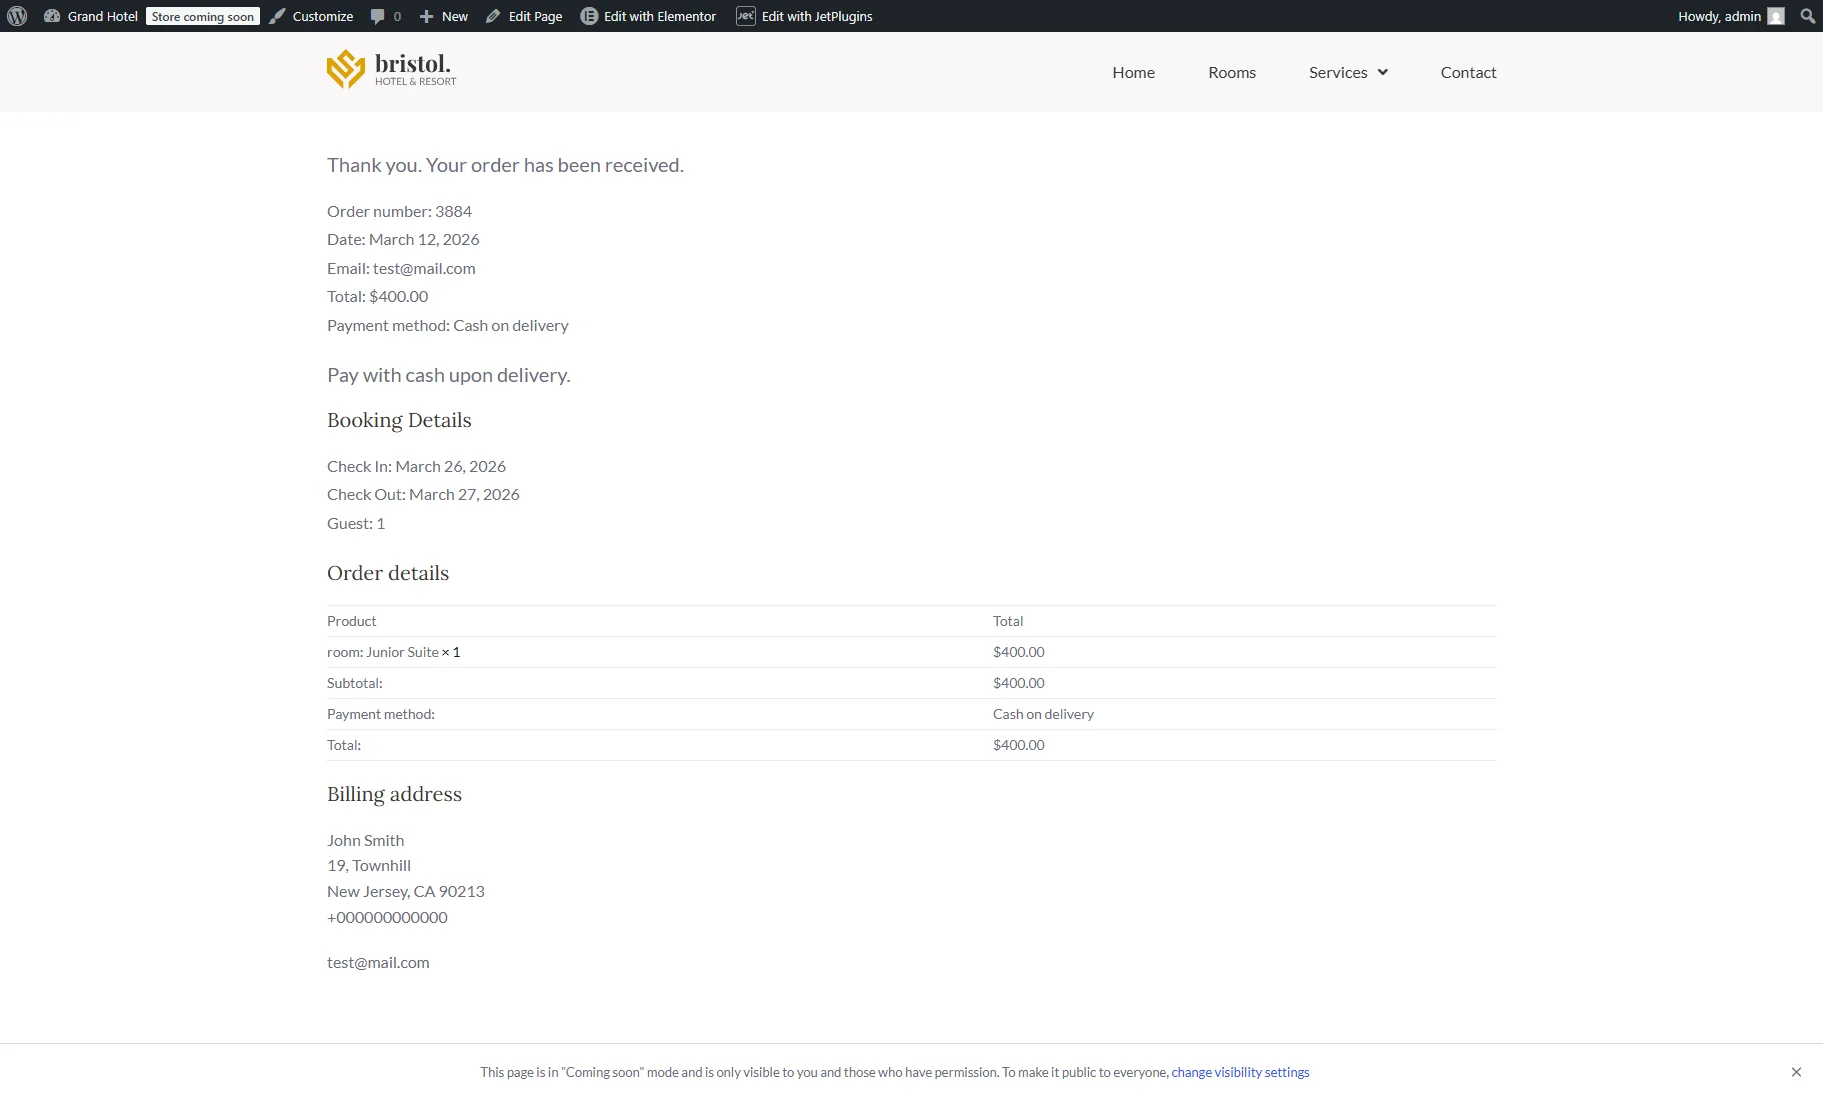
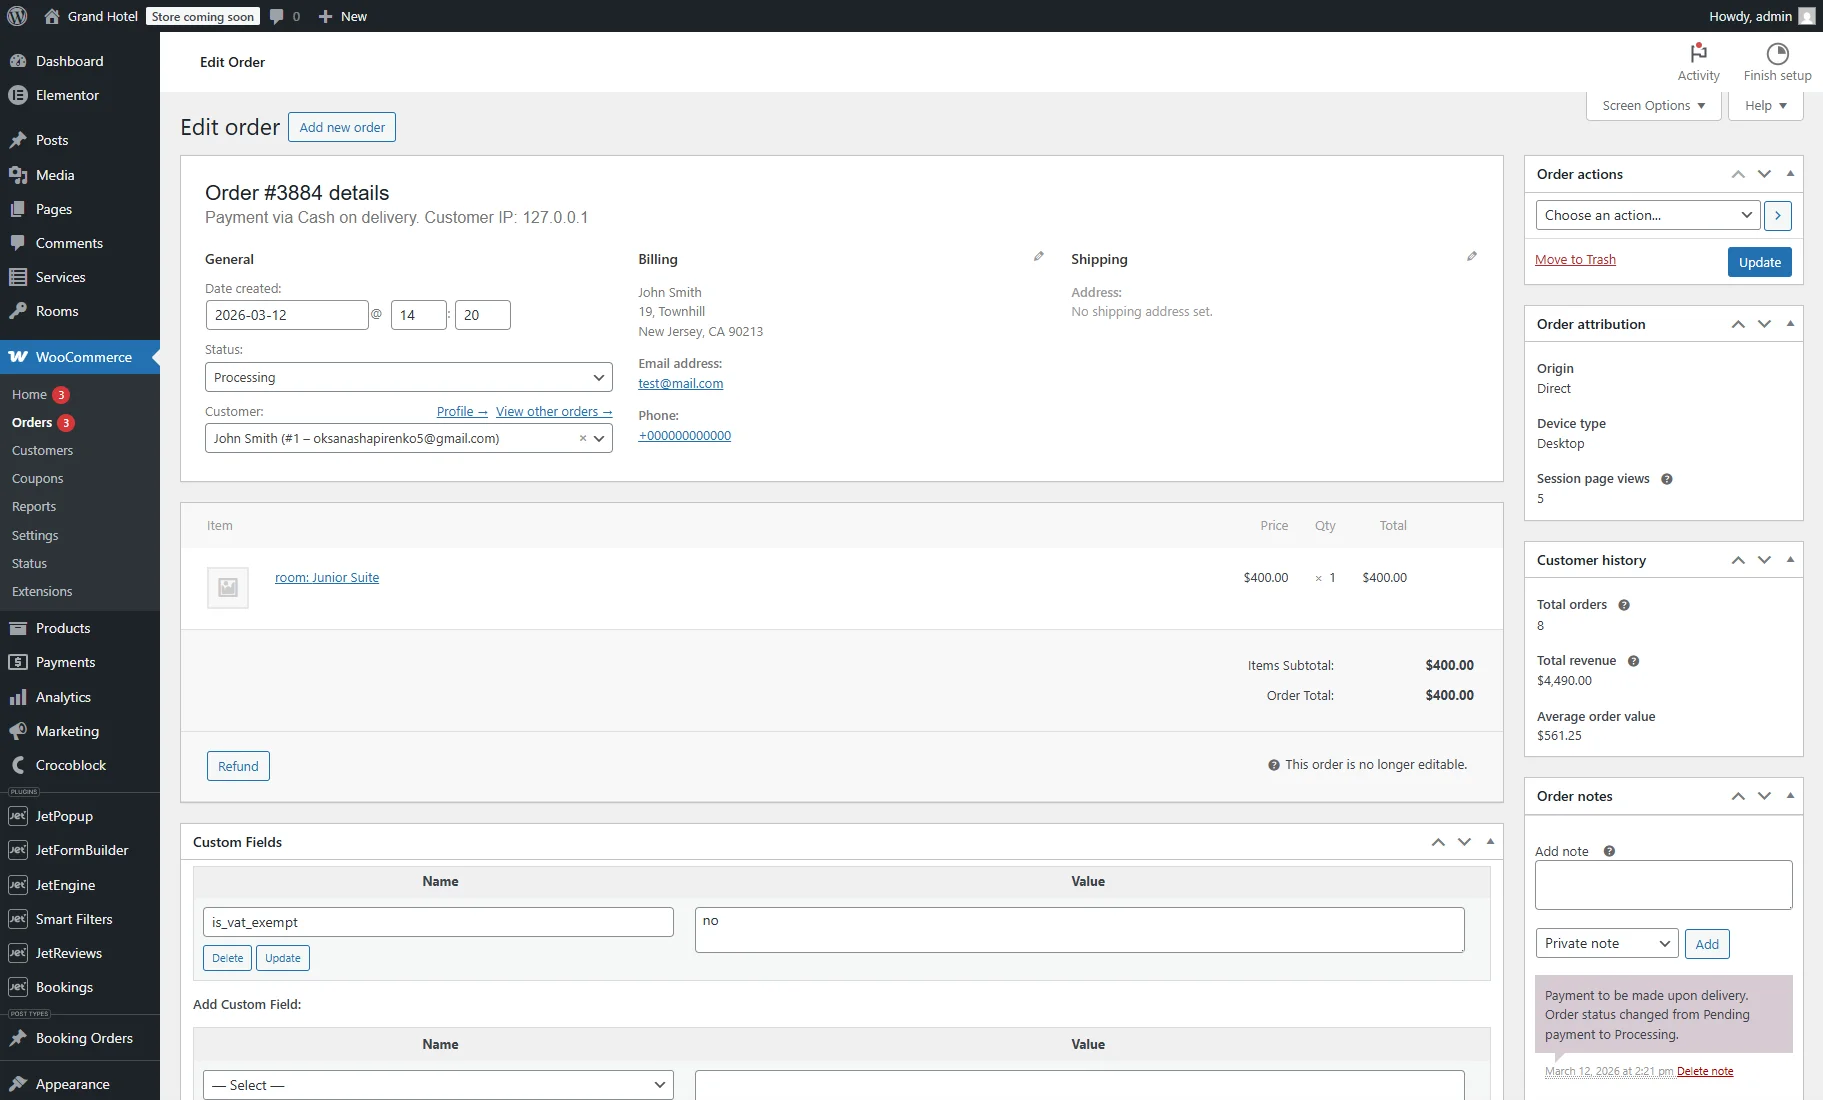
Then, you can return to the backend. The order will be shown in the WordPress Dashboard > WooCommerce > Orders tab. Click on the order to check the details.
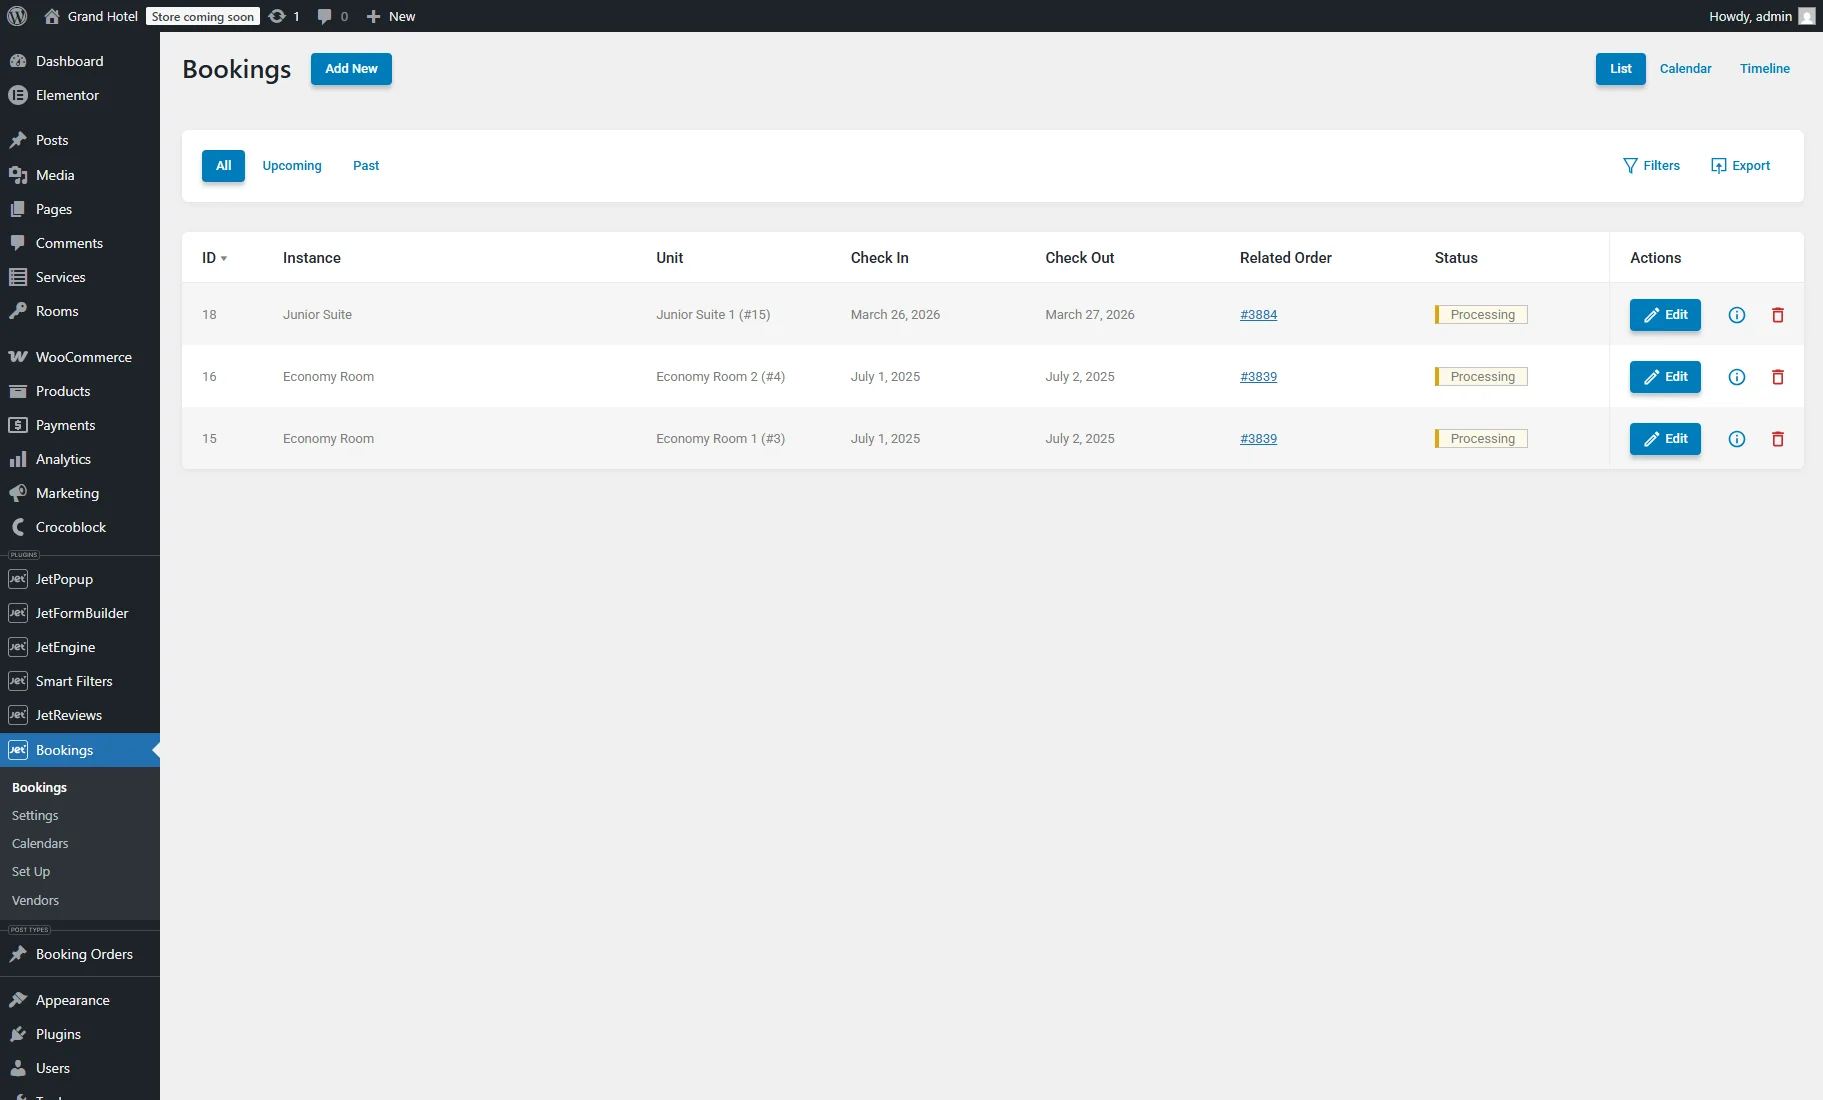
The booking will also appear in the WordPress Dashboard > Bookings tab.
FAQ
In this case, the booking remains with the “Pending” status and is not confirmed. Such a booking does not block the slot permanently and will not be treated as a completed reservation.
Check the form records in the Form Records Page that become available if you add the “Save Form Record” post-submit action to the booking form. Form records may show the error data.
Also, check the Automatically switch bookings statuses settings in the WordPress Dashboard > Bookings > Settings > Advanced tab.
Yes, you can configure Stripe and PayPal for JetFormBuilder without WooCommerce, but to use Stripe, you should install and activate the Stripe Payments add-on. More details are described in the How to Configure Payment Gateways tutorial.
Also, check the How to Store PayPal Payments from WordPress Form and Stripe Payment Form with JetFormBuilder PRO Addon tutorial for more information.
You can do this using the PayPal Recurring Payments add-on for JetFormBuilder, as described in the How to Set Recurring PayPal Payments in WordPress Form tutorial, or using the WooCommerce Subscriptions plugin.
Yes, by using the JetSmartFilters plugin. More details can be found in the How to Apply JetSmartFilters to Your Booking Website tutorial.
Yes, you can customize the Cart template by using the JetWooBuilder plugin. For more details, refer to the How to Create a Cart Page Template tutorial.
That is it. Now you know how to set up WooCommerce integration with the JetBooking and JetFormBuilder plugins for your WordPress website.