How to Make Your Component Dynamic
This tutorial explains how to adjust the context for an entire component with the JetEngine WordPress plugin, enabling its use on various pages and templates. This guide demonstrates its practical application with a user-related example.
Before you start, check the tutorial requirements:
- Elementor (Free version), Block editor (Gutenberg), or Bricks
- JetEngine plugin installed and activated
The Context option for Components allows you to change the context for the entire component in case you need to place it on different pages and templates. Let’s see how to use it in practice, with an example involving users.
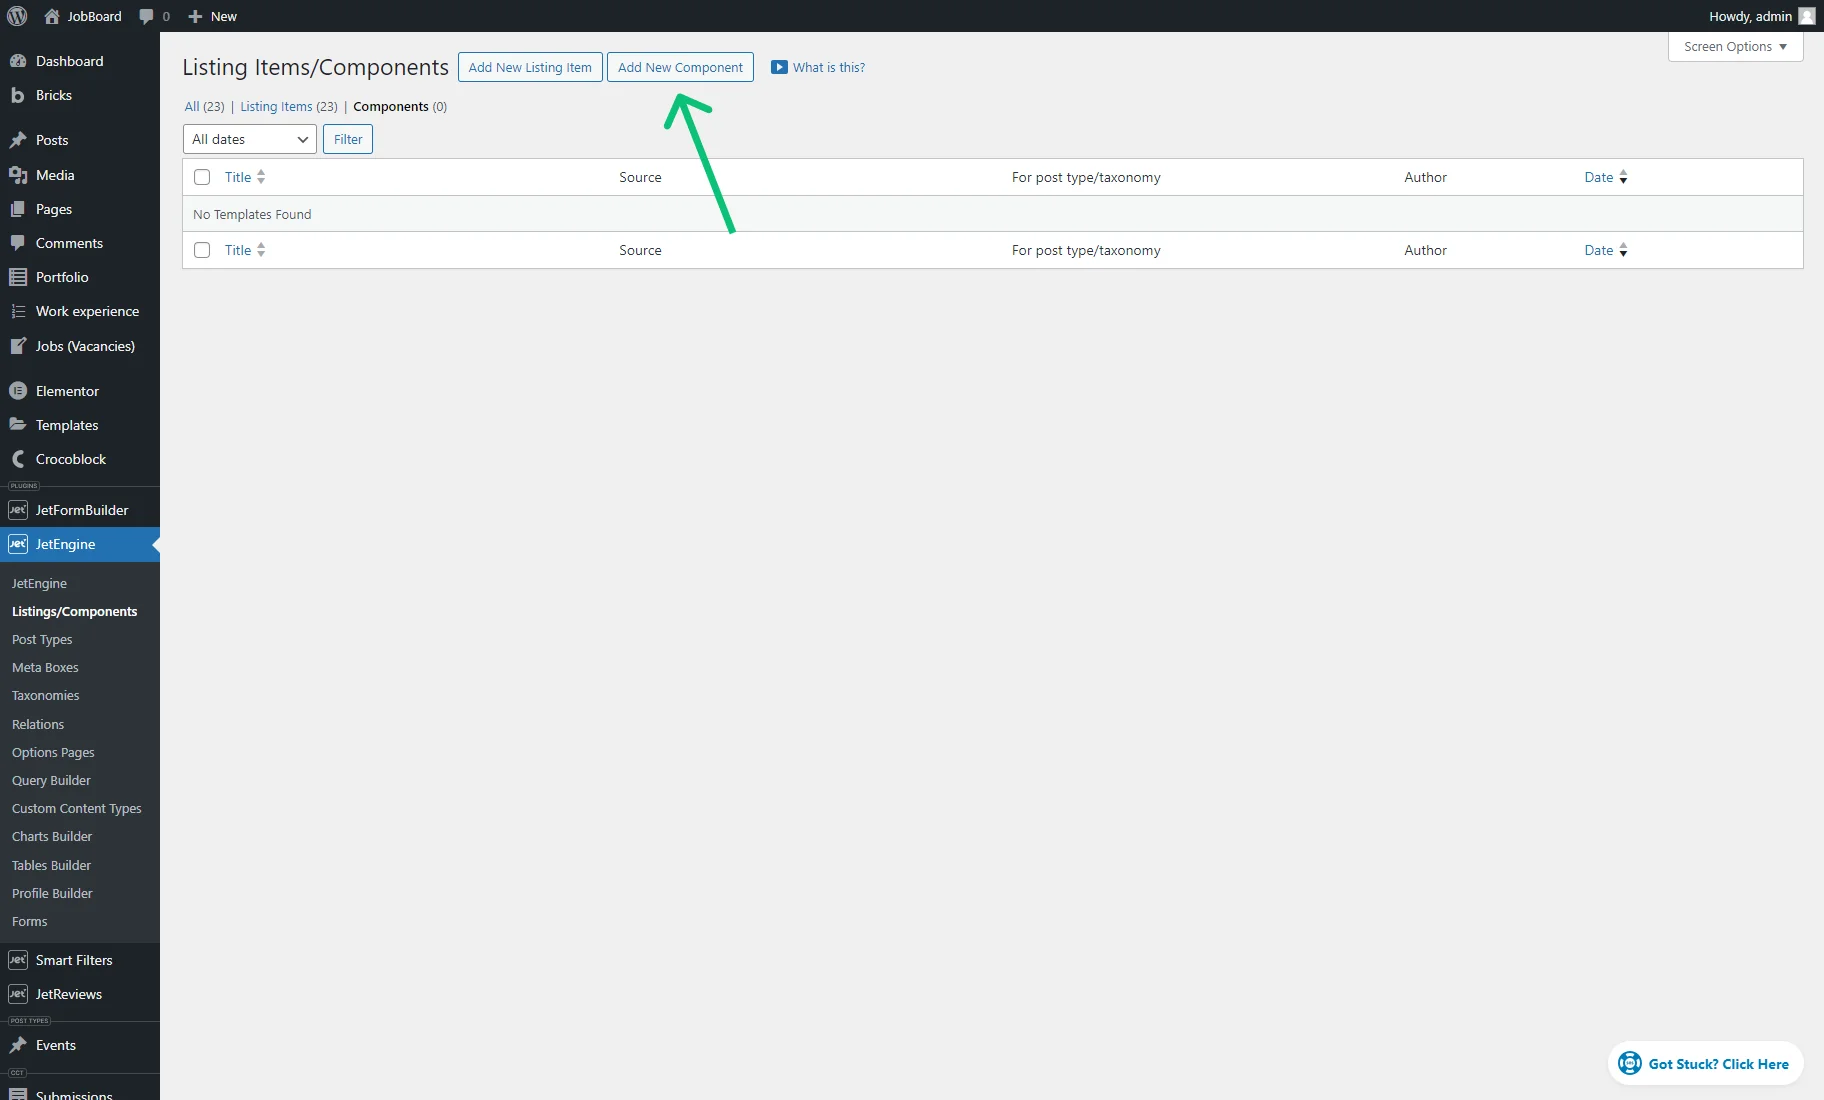
Create a New Component with User Information
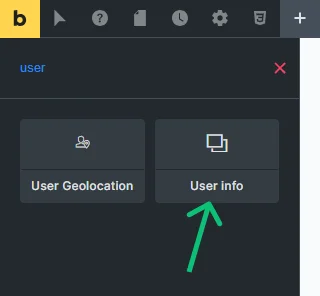
Go to the WordPress Dashboard > JetEngine > Listings/Components tab and hit the “Add New Component” button.
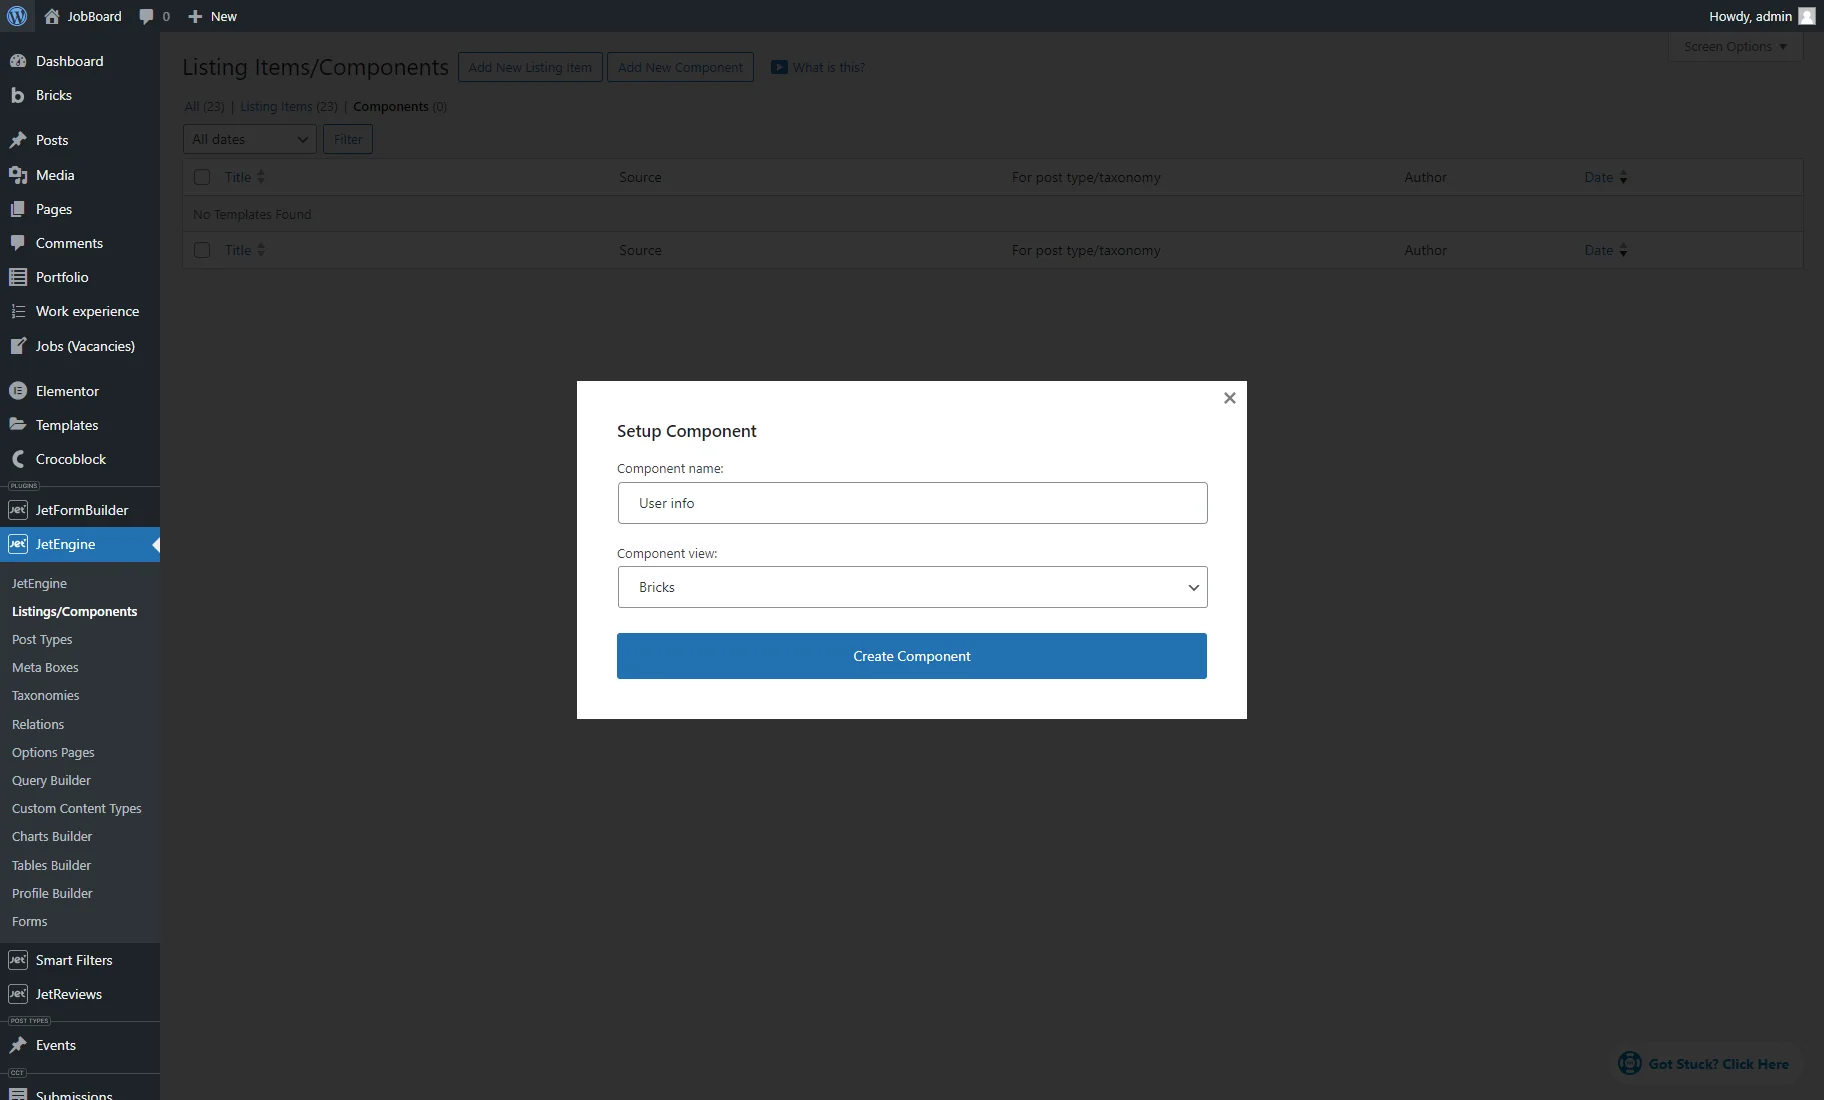
In the Setup Component pop-up, enter the Component name (e.g., “User info”) and select the Component view (“Elementor,” “Bricks,” “Timber/Twig,” or “Blocks (Gutenberg)”).
In our example, we select the “Bricks” option.
Then, press the “Create Component” button.
Check this tutorial to learn how to add meta fields to user and display user information.
To display some user data, we use Dynamic elements.
In the first column, we add the Dynamic Image and select the “User avatar” Media custom meta field as the Source. Also, we set the Dynamic image size to “Thumbnail.”
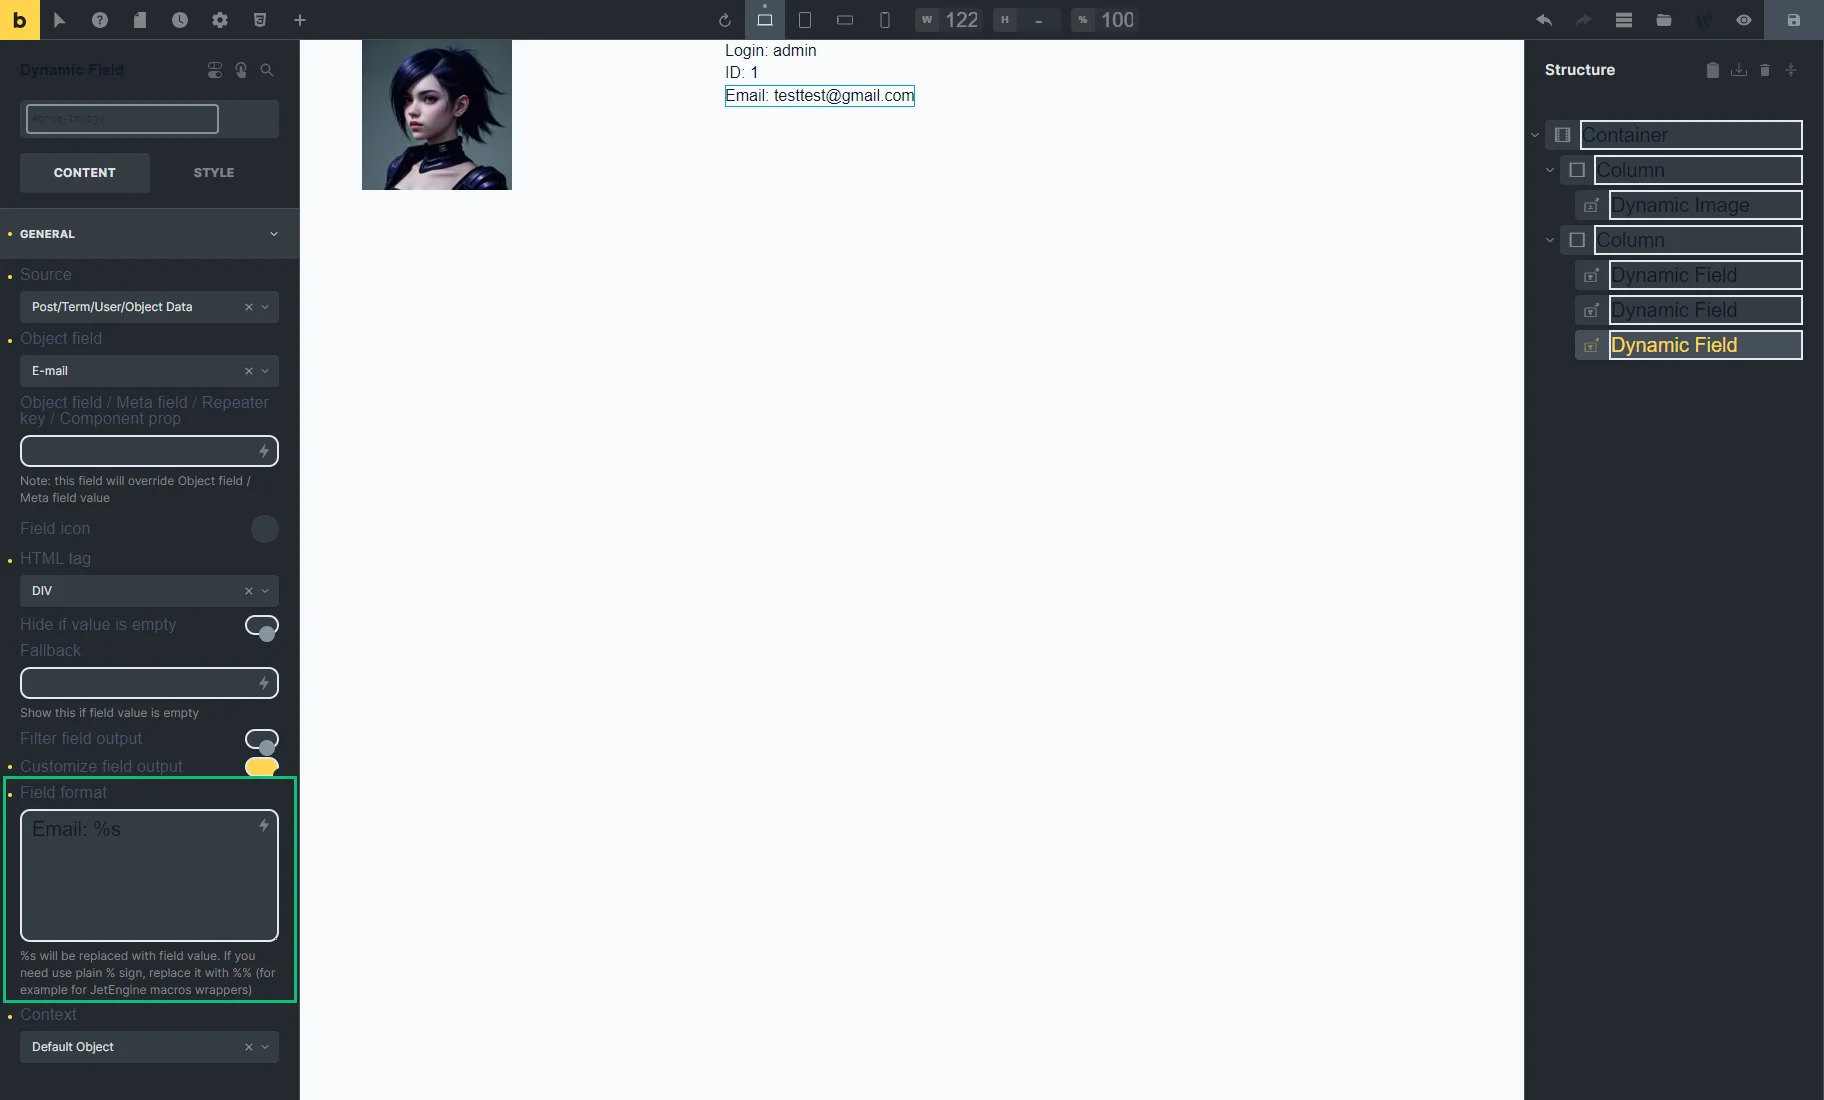
In the second column, we place three Dynamic Field elements. For them, we set the “Post/Term/User/Object Data” Source and “Login,” “ID,” and “Email” Object fields.

Also, we enable the Customize field output option for three Dynamic Fields and set the Field format (e.g., “Email: %s”).
For now, we don’t specify the context for the component, so, by default, for users, it will always get information about the current user. We will change the context when placing the component on different pages or templates.
To learn how to add the Content and Style Controls to the component, proceed to the Components Overview.
When you are done, save the component settings.
Component in the User Listing
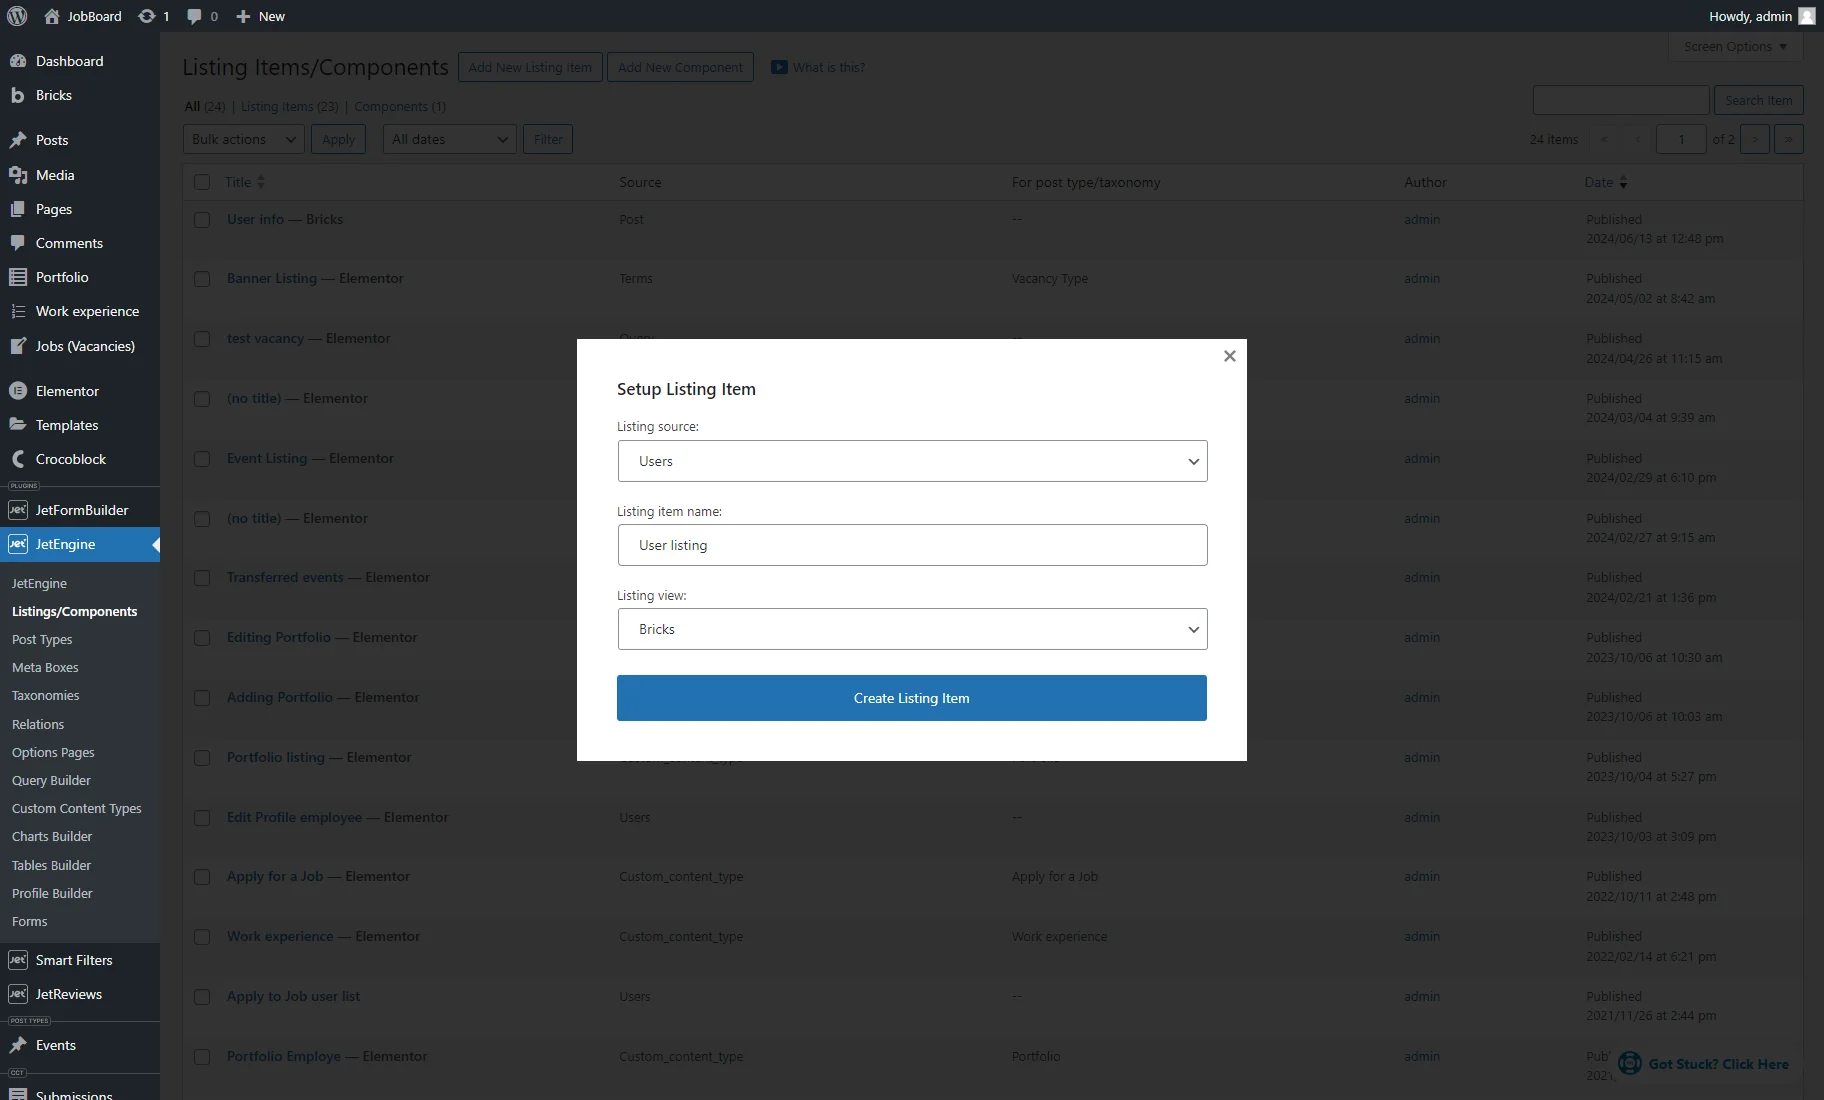
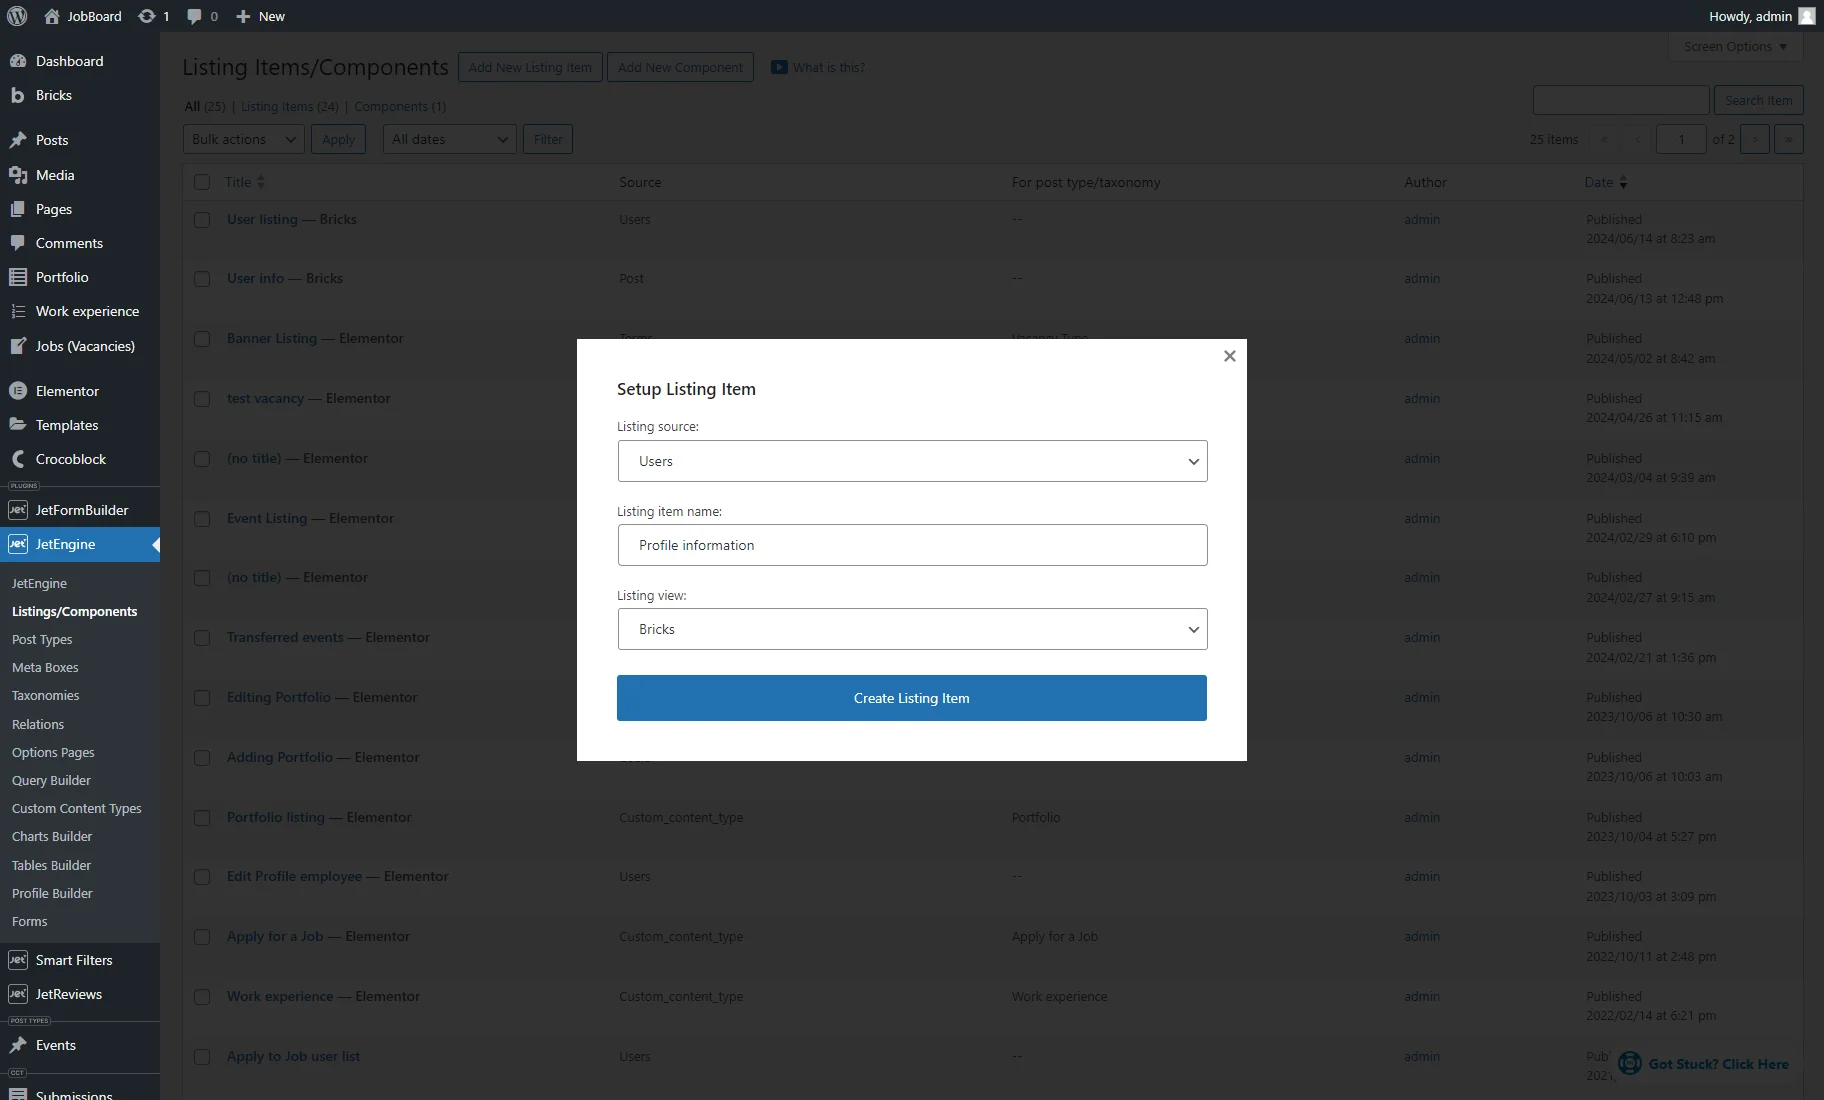
Go to the WordPress Dashboard > JetEngine > Listings/Components tab and hit the “Add New Listing Item” button.
In the Setup Listing Item pop-up, pick the “Users” Listing source, enter the Listing item name, and select the Listing view (e.g., “Bricks”).
Then, push the “Create Listing Item” button.
Learn more about the Listing template in Elementor, Gutenberg, Bricks, and Timber/Twig.
In the editor, search the recently created component by its name in the left panel and place it on the editing page. In our case, it’s the User info.
Open the General settings tab and select the “Current User (for current scope)” option for the Component Context field. Then, save the listing template settings.

Proceed to the WordPress Dashboard > Pages tab and create a new page or edit the existing one.
For example, we hit the “Add New Page” button, enter the page title, and hit the “EDIT WITH BRICKS” button.

Drag-n-drop the Listing Grid element, widget, or block (depending on the builder you use) to the editing page and set the recently created Listing. Customize the element and page and save the changes.

Component on the Post Page or Post Listing
You should use the “Current Post Author” context if you want to place an author card on a post page or in a listing of posts.
To learn how to create a Single Post Page in Elementor or Gutenberg, proceed to the How to Create a WordPress Single Post Page Template tutorial.
To learn how to create a Single Post template with the Bricks builder, move to the Bricks Builder Single Post & Archive Basics Explained tutorial.
As an example, we head to WordPress Dashboard > Bricks > Templates and hit the “Edit with Bricks” button under the pre-made Single Post template.
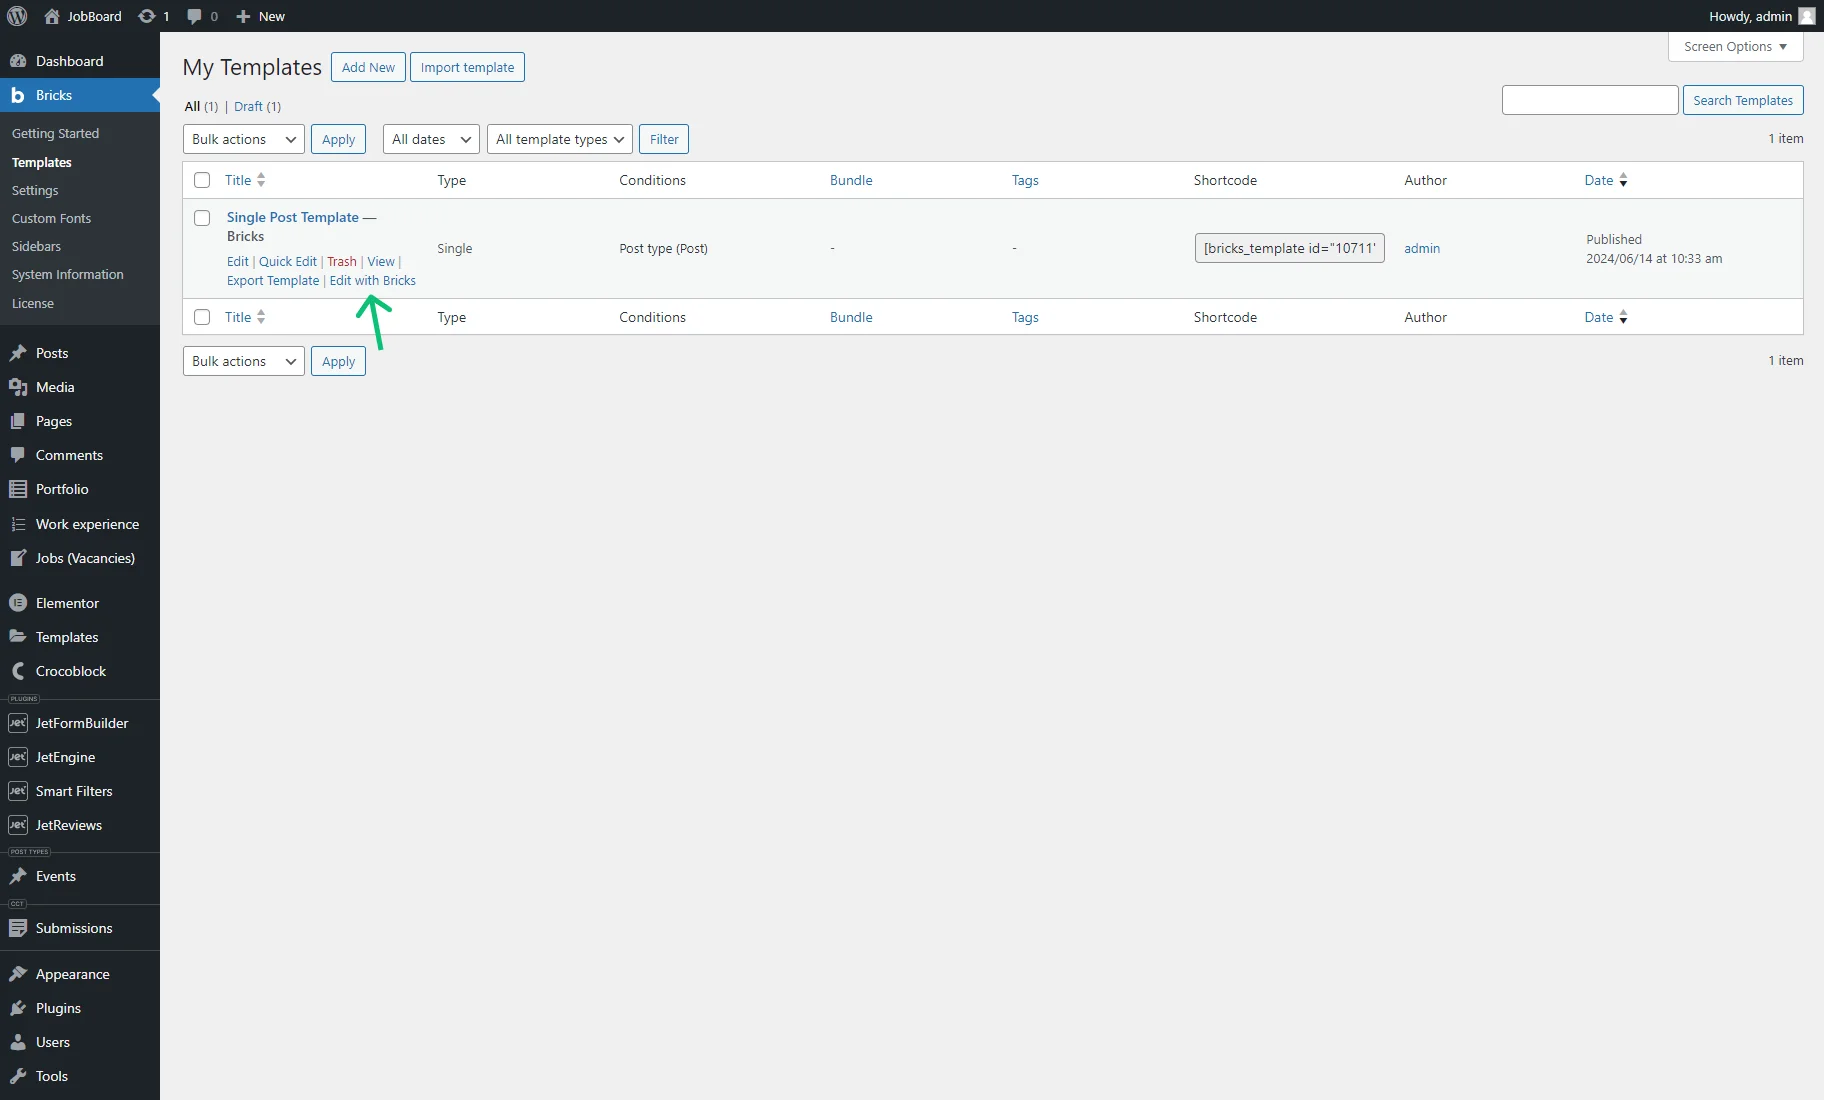
Then, we search for the User info component in the left panel.
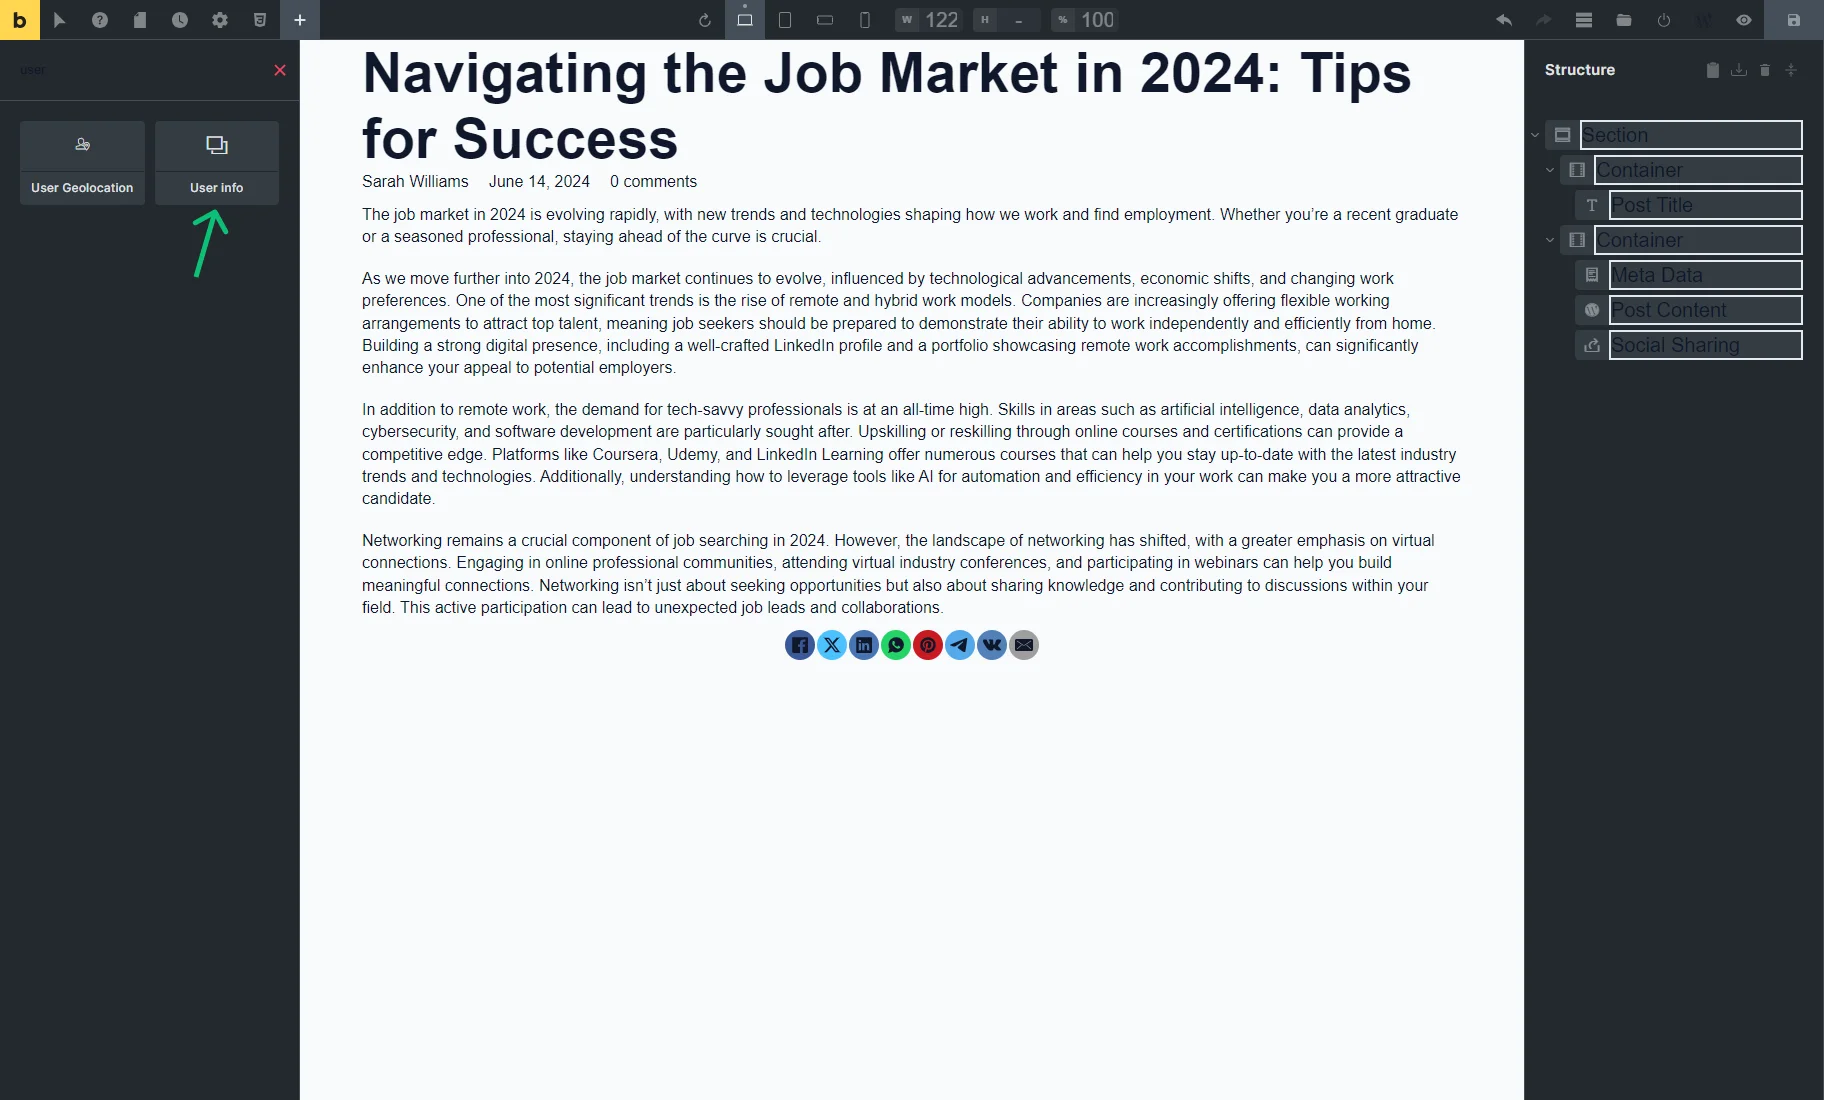
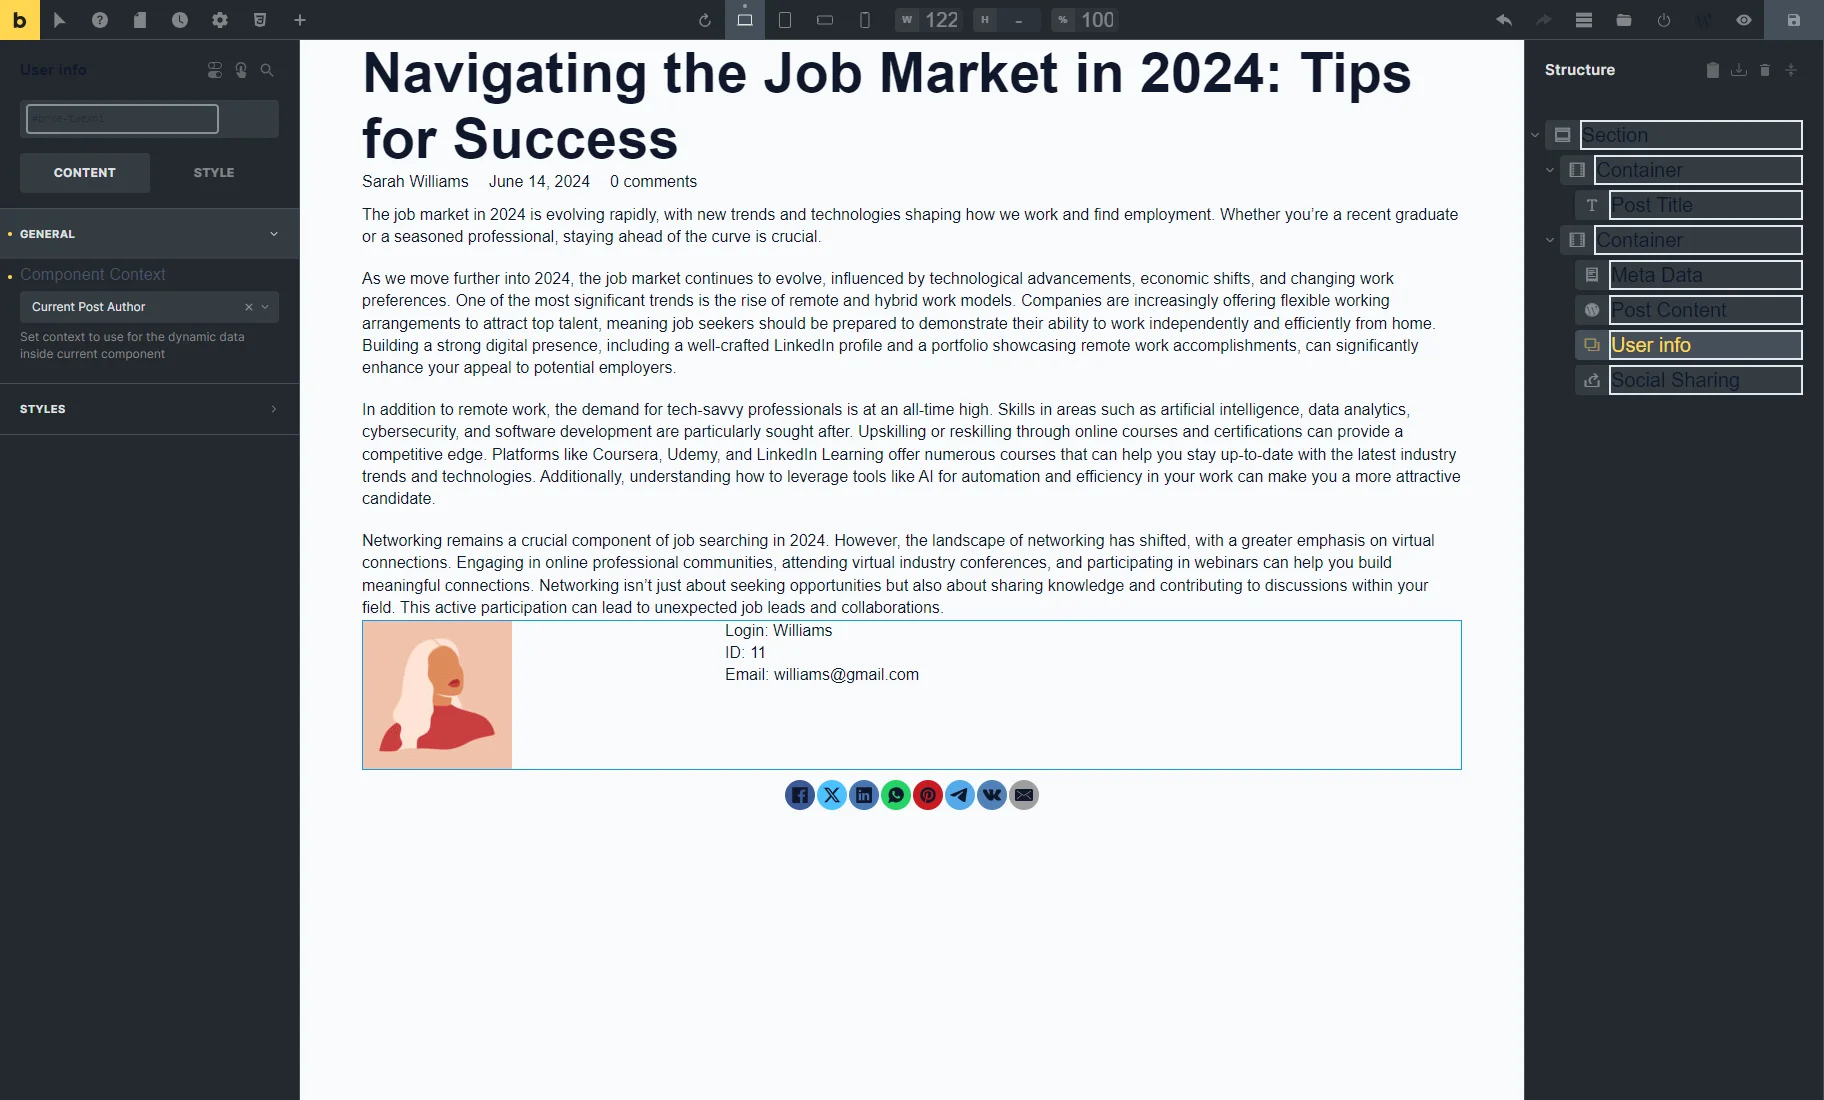
We place the component on the template editing page. The “Default Object” Component Context shows the current user information, so we set the “Current Post Author” one. Now, it shows the post author information.
After that, the changes can be saved.
Component on the Public User Profile Page
To get more information, navigate to the How to Set Up a Public Single User Page tutorial.
We want to place the component on the User Profile subpage template, so we proceed to the WordPress Dashboard > JetEngine > Listings/Components tab and hit the “Add New Listing Item” button.
In the Setup Listing Item pop-up, we pick the “Users” Listing source, enter the Listing item name (e.g., “Profile information”), and select the Listing view (e.g., “Bricks”).
Then, we push the “Create Listing Item” button.
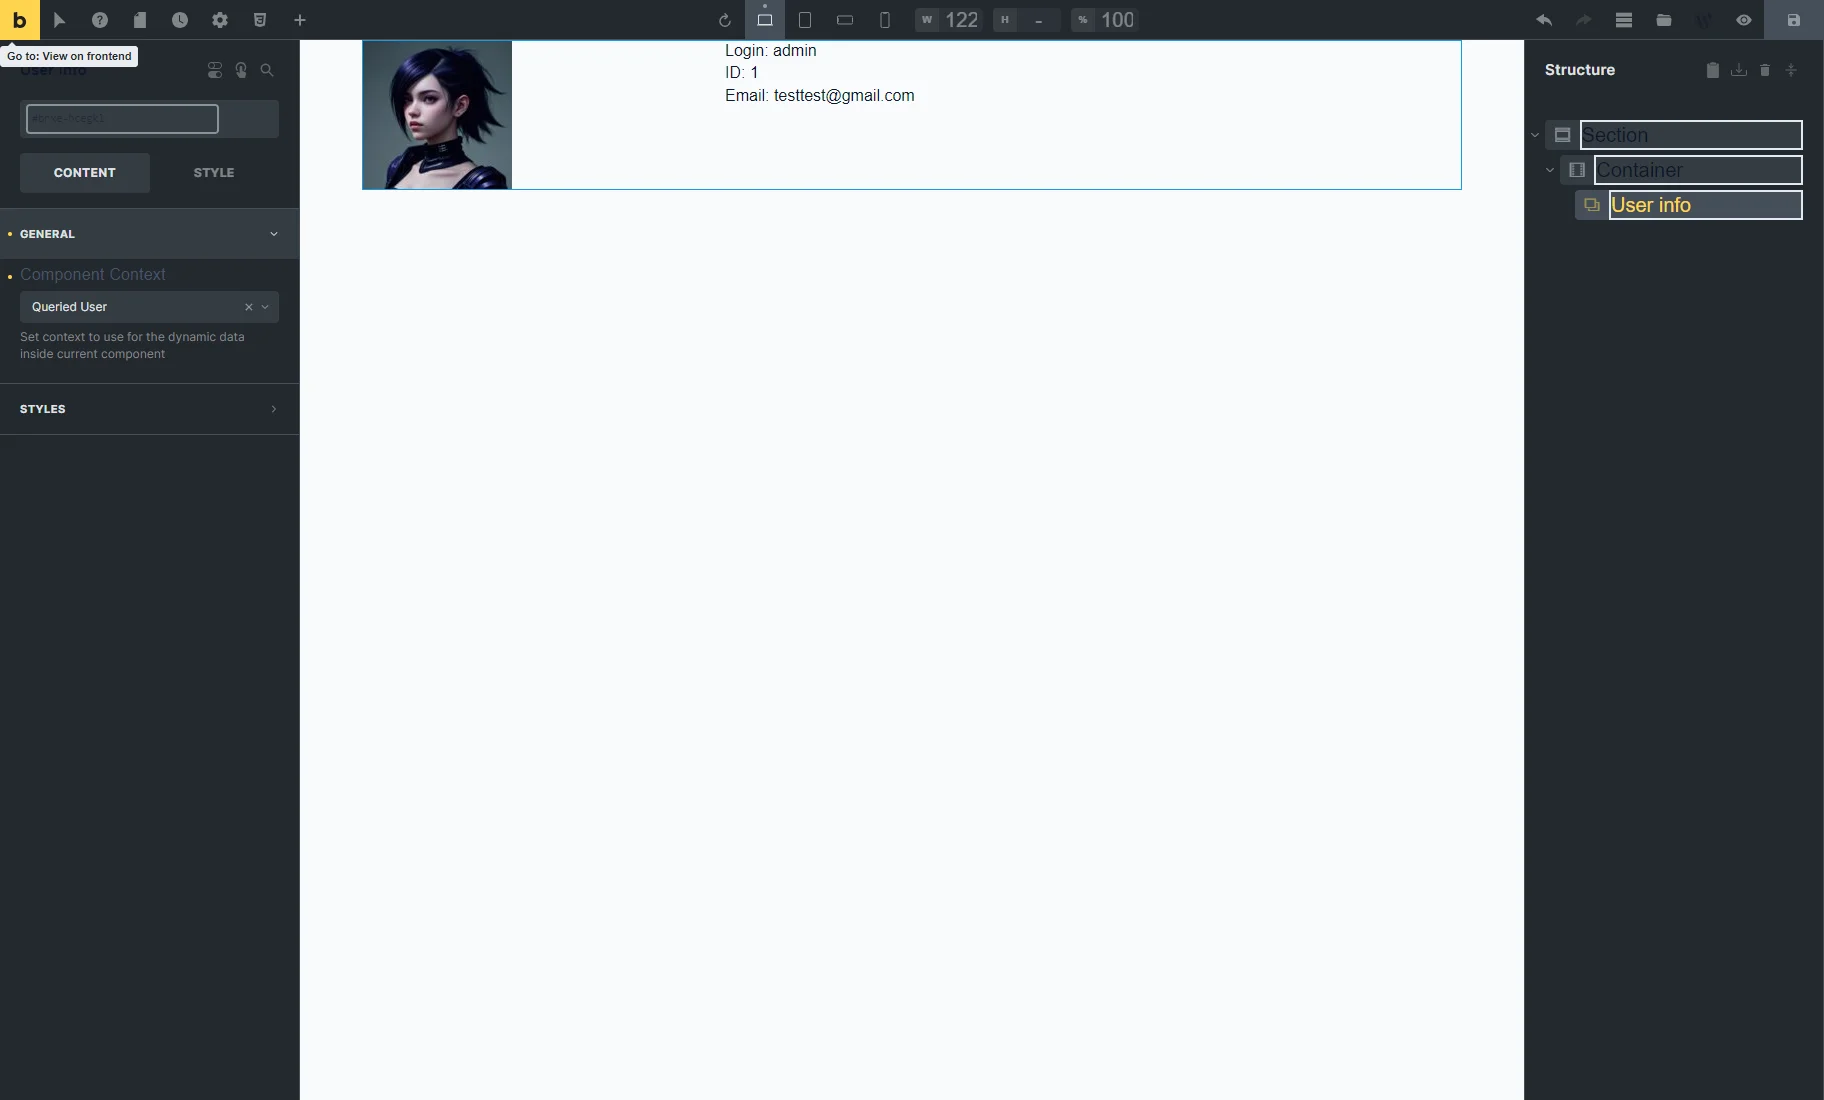
We place the component on the editing page (User info, in our case). As the Component Context, we select the “Queried User” option and save the settings.
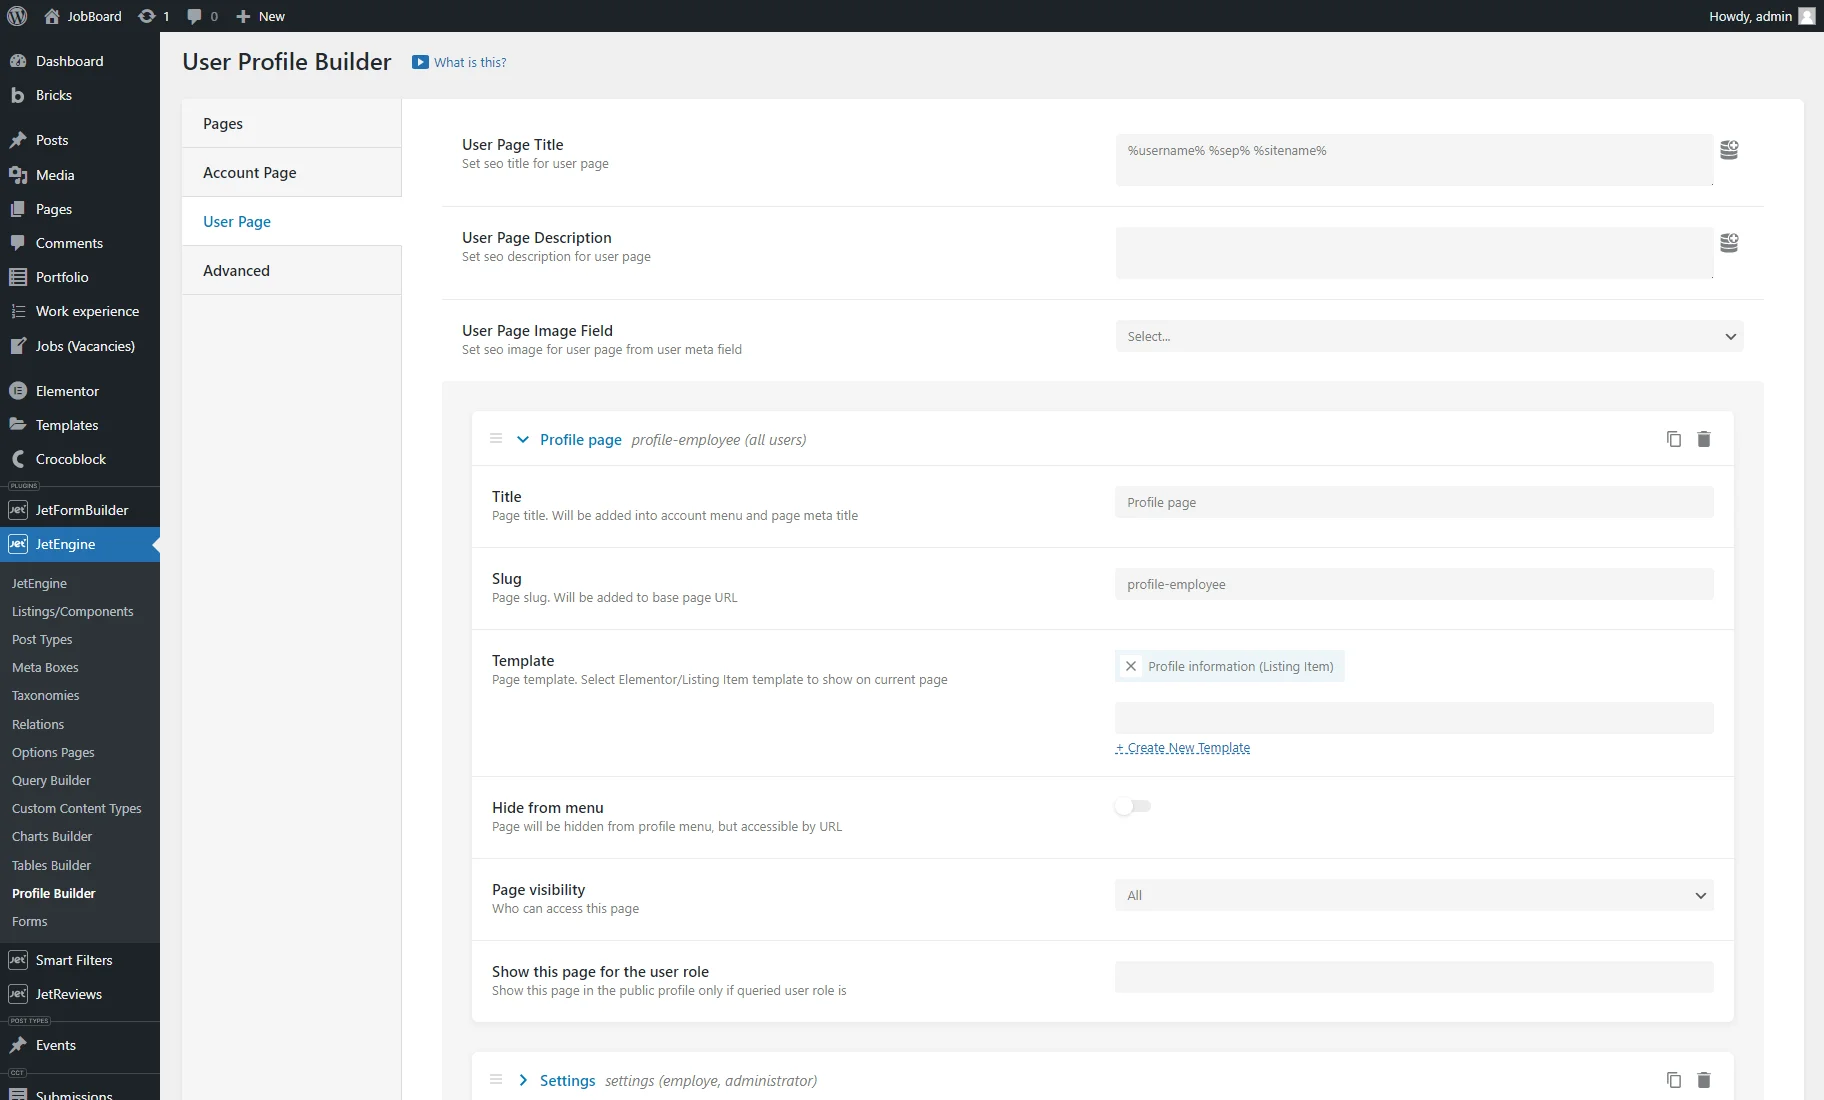
Then, we head to the WordPress Dashboard > Profile Builder > User Page tab and hit the “+ Add New Subpage” button.
In the new repeater item, we add the Title and Slug and set the newly created JetEngine listing item as the Template.
Afterward, we hit the “Save” button.
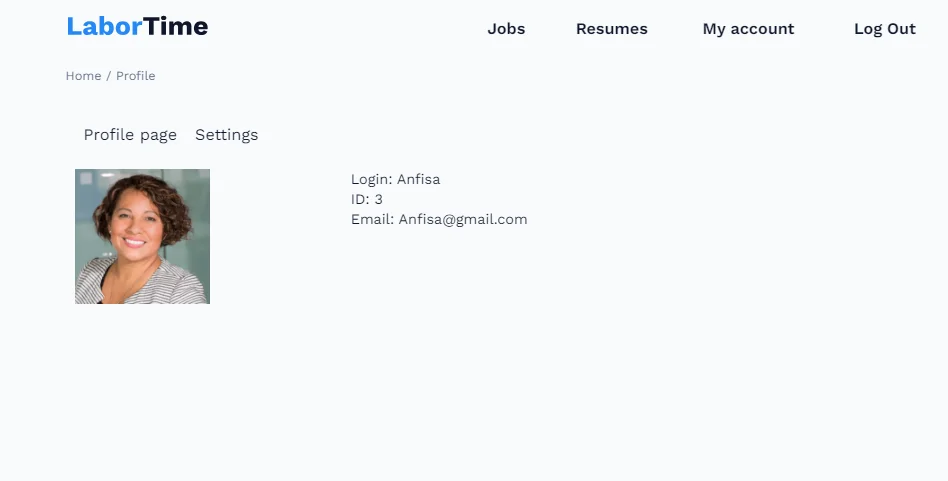
Open the Profile page of any user on the front end. It shows the information of the required user.
That’s all. Now you know how to adjust the context for an entire component with the JetEngine WordPress plugin.