REST API Overview
From this guide, you will find out more about REST API feature available with JetEngine for your website.
REST means Representational State Transfer and API is for Application Programming Interface. So, according to the title, it is a programming interface that allows you to create connections between your website and, for example, another website or app. Using that connection, two sites (or a site and an app) can exchange data in JSON format.
Here’s how it works. As an example, let’s take two websites, A and B. Firstly, you create an Endpoint on the website A. WordPress REST API Endpoint is a point of connection that you can access from another website or app. The settings of the Endpoint define what information can be taken from your website. Afterward, you add the created Endpoint to website B, link the two sites, and create a front-end block to send and receive requests from site B to site A.
The same steps are for the site-to-app connection. After creating an Endpoint on the site, you add it to the app and, therefore, get an opportunity to send and receive data via the app’s interface.
The following video overview covers the core concepts you need before diving into the full JetEngine REST API series: what a REST API is, how GET, POST, PUT, and DELETE methods work, and how WordPress endpoints function by default.
More details can be found in the REST API Handbook.
REST API Module
The REST API can be activated by following the WordPress Dashboard > JetEngine directory.
The Modules tab is opened by default. The Rest API Listings toggle should be activated, and the “Save” button should be clicked.
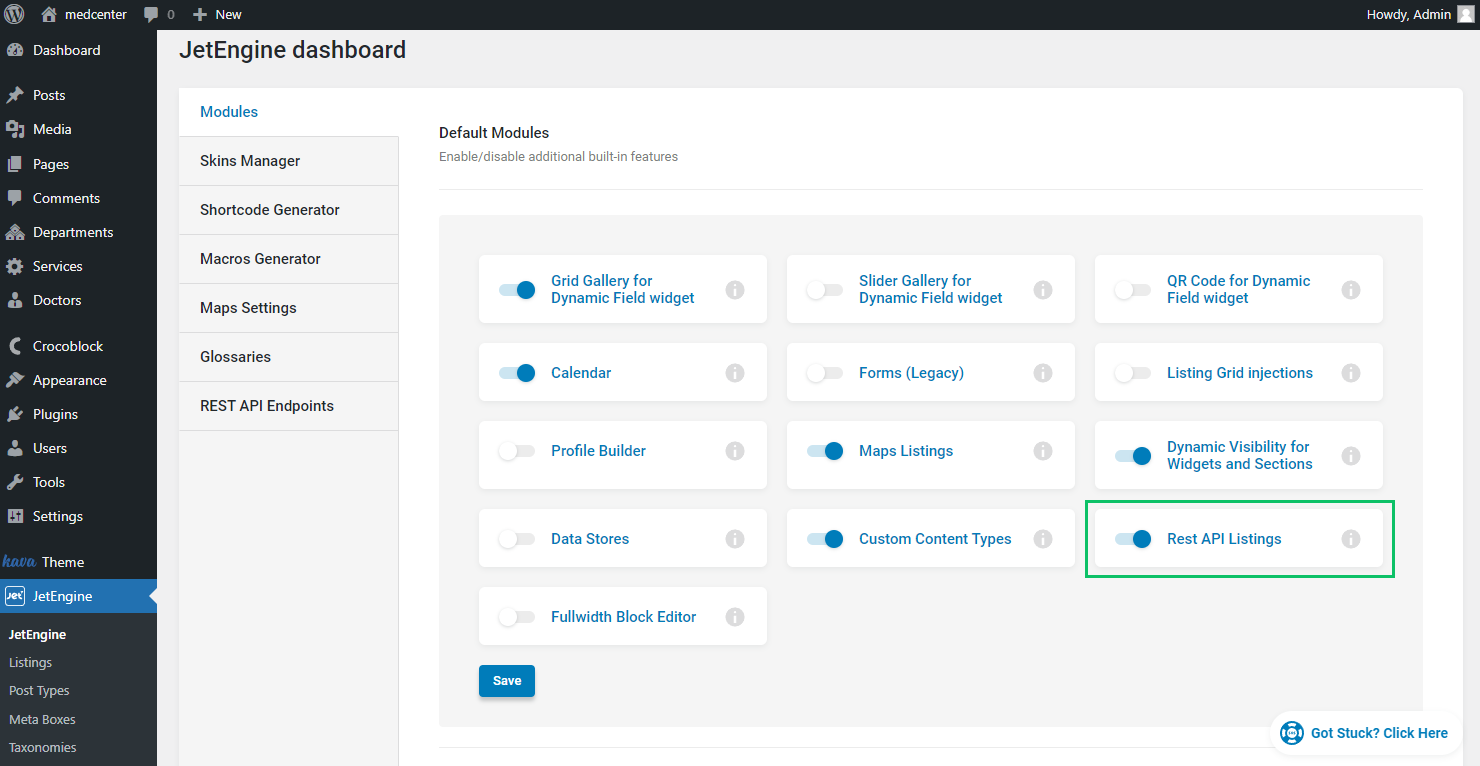
If the module is activated, the new REST API Endpoints tab becomes available.
A new item can be added with the “New Endpoint” button.
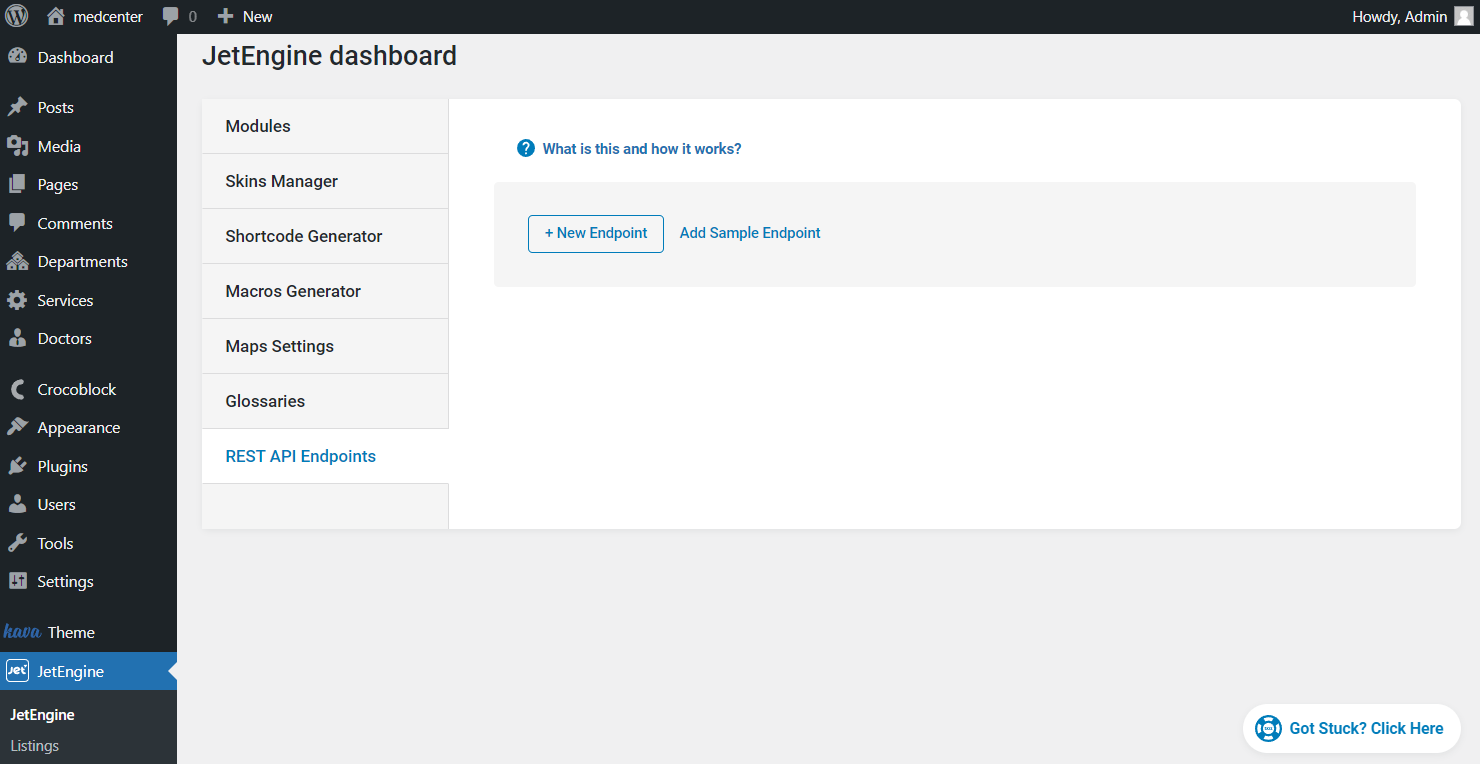
Once clicked, the fields for editing appear.
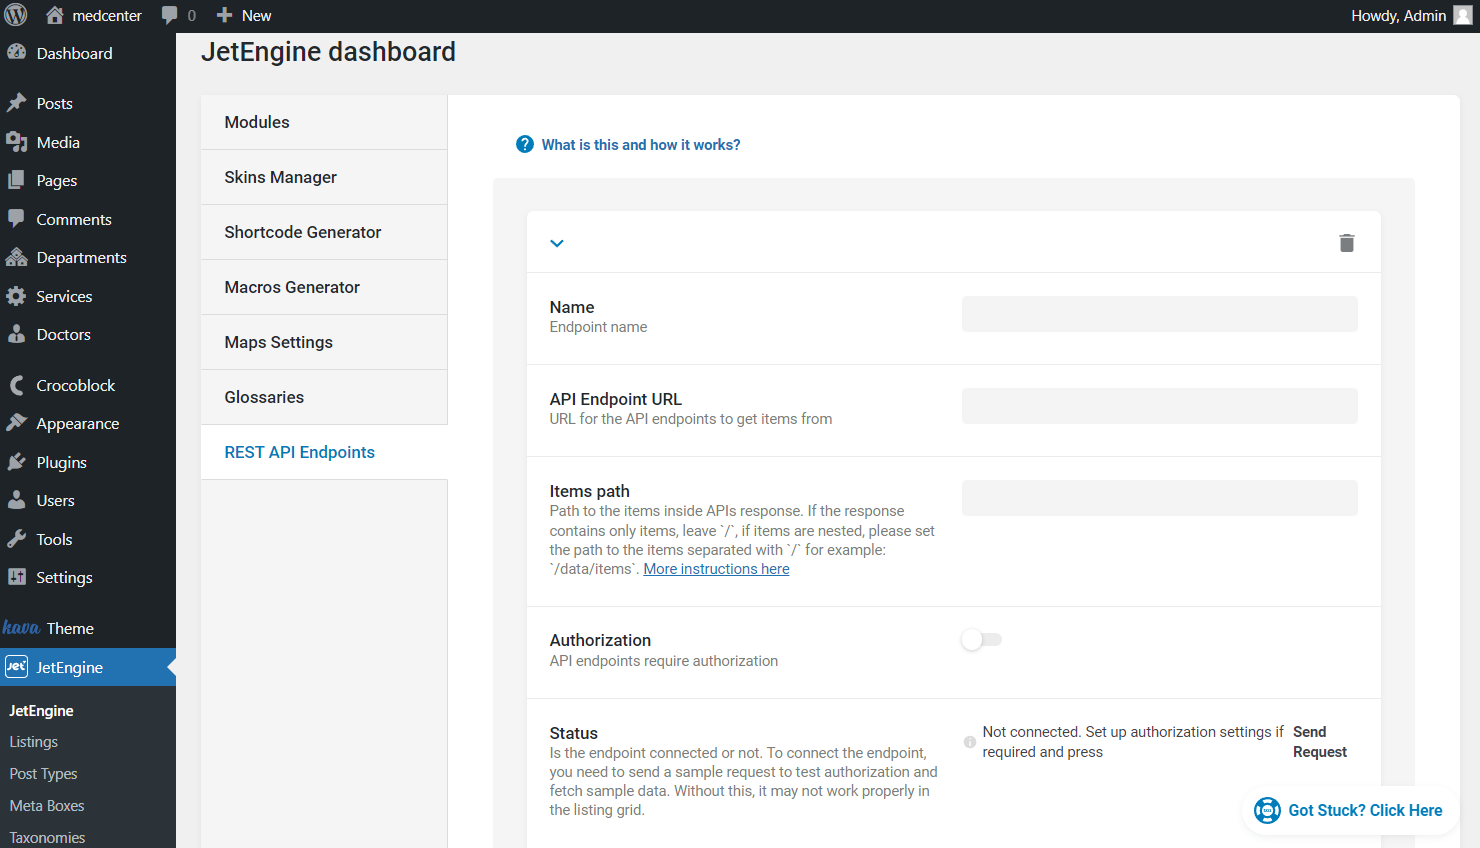
- Name — endpoint’s title, visible in the list;
- API Endpoint URL — a field for the URL for the API endpoints where the data will be fetched from;
- Items path — if the URL brings you to the page where only items are stored, leave the slash (/) in this field. And if there are multiple folders, define the path to the items here. For example, there are three folders, but the needed items are in the one named “items.” Then you should write “/items” in this field. You can read the dedicated troubleshoot about getting the right item path. Here, you can also find out how to set the API from the RapidAPI website;
- Authorization — activate this toggle to authorize the endpoint. If activated, the Authorization type field appears, where you can select between the “Application Password,” “Bearer Token,” “Custom Header,” and “RapidAPI” options.
Depending on the type you choose, different customization fields are displayed.
For the “Application Password,” it is:

- User:password string — set application user and password separated with “:”.
The “Bearer Token” includes:
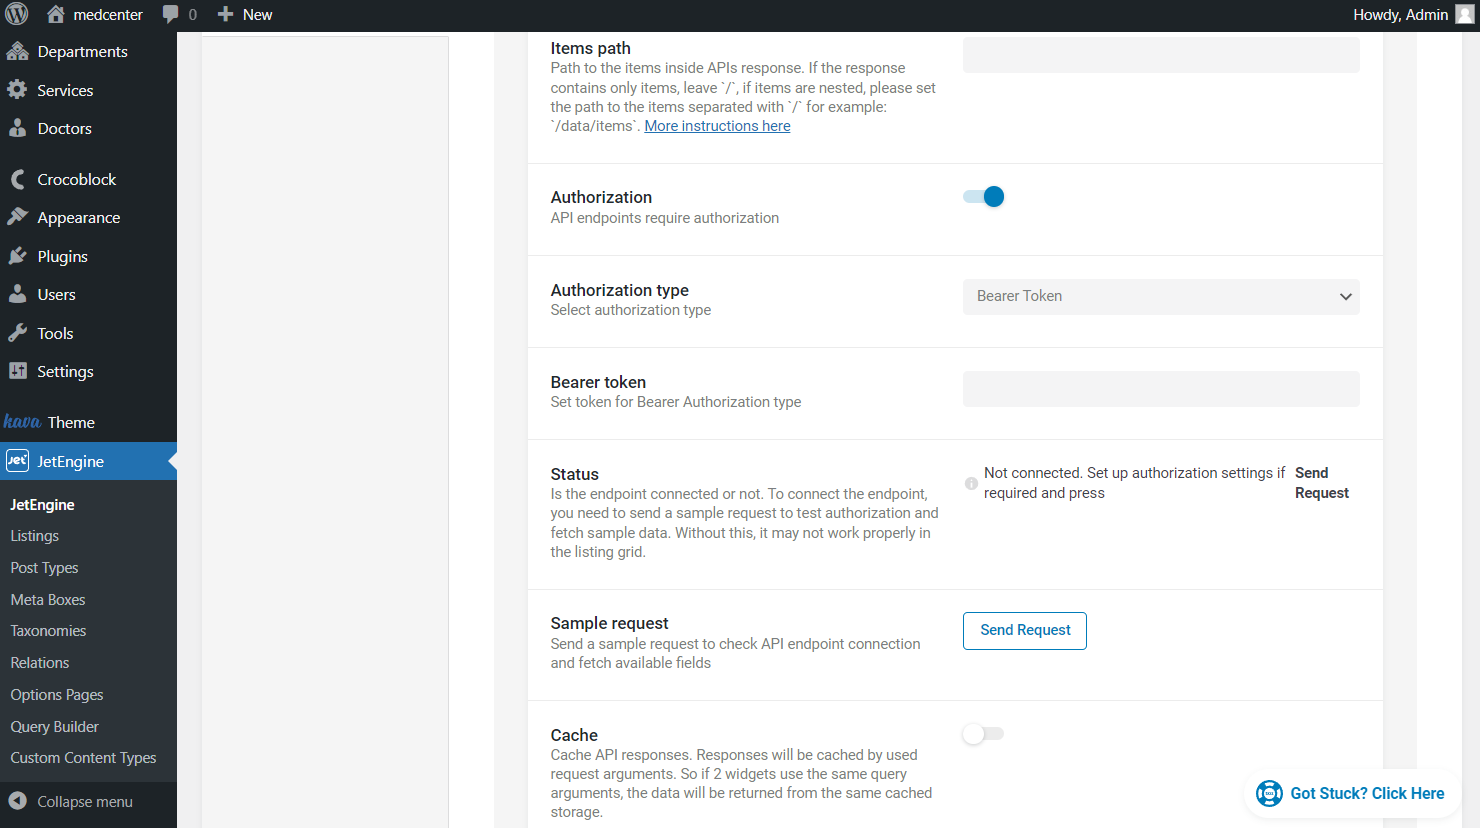
- Bearer token — type in the token for the Bearer authorization type.
The “Custom Header” settings consist of two fields:
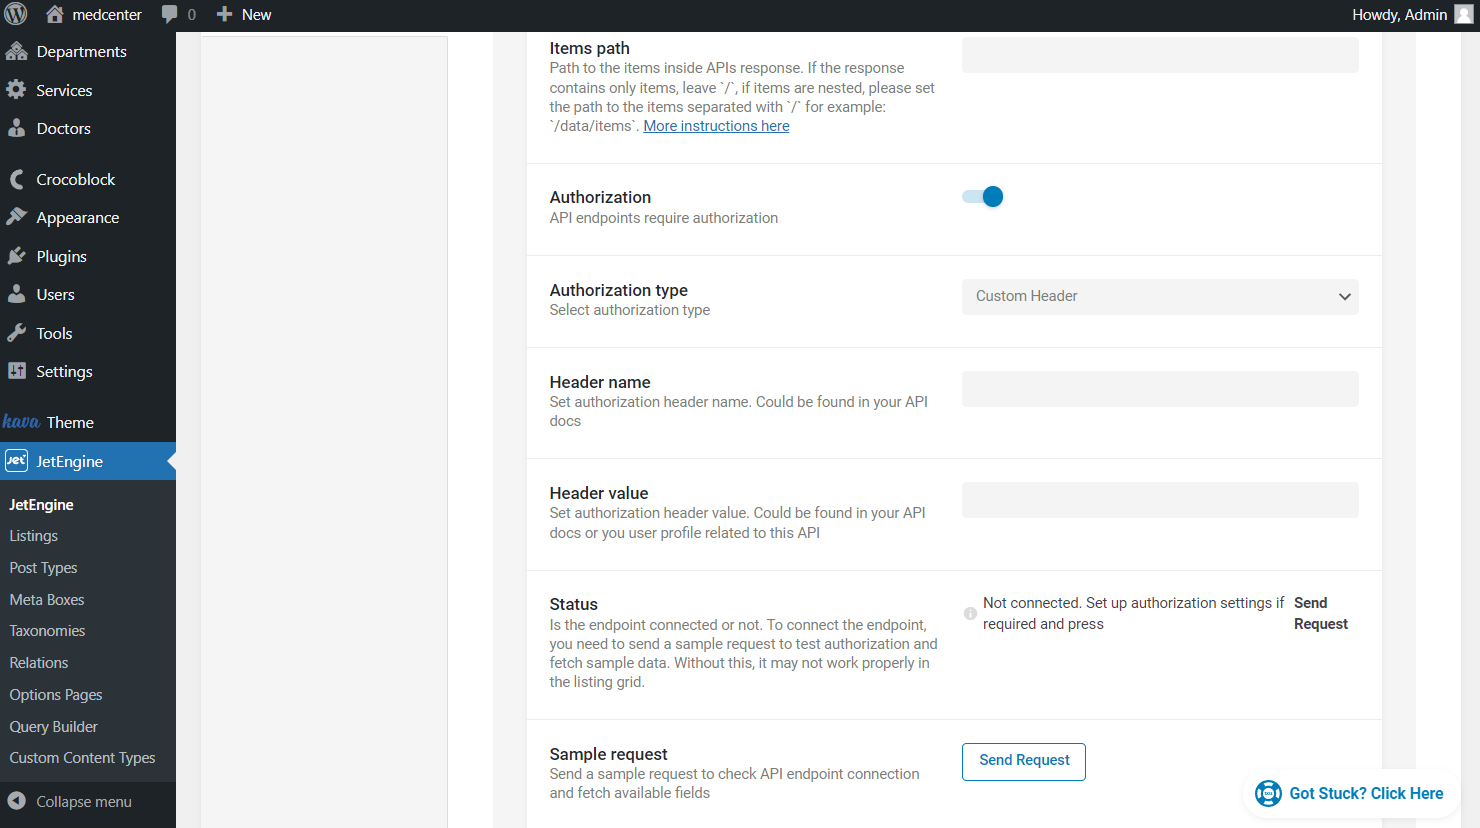
- Header name — complete the field with the authorization header name. It can be found in your API documentation;
- Header value — paste the authorization header value located in your API docs or the user profile related to this API.
The “RapidAPI” option displays the following settings:
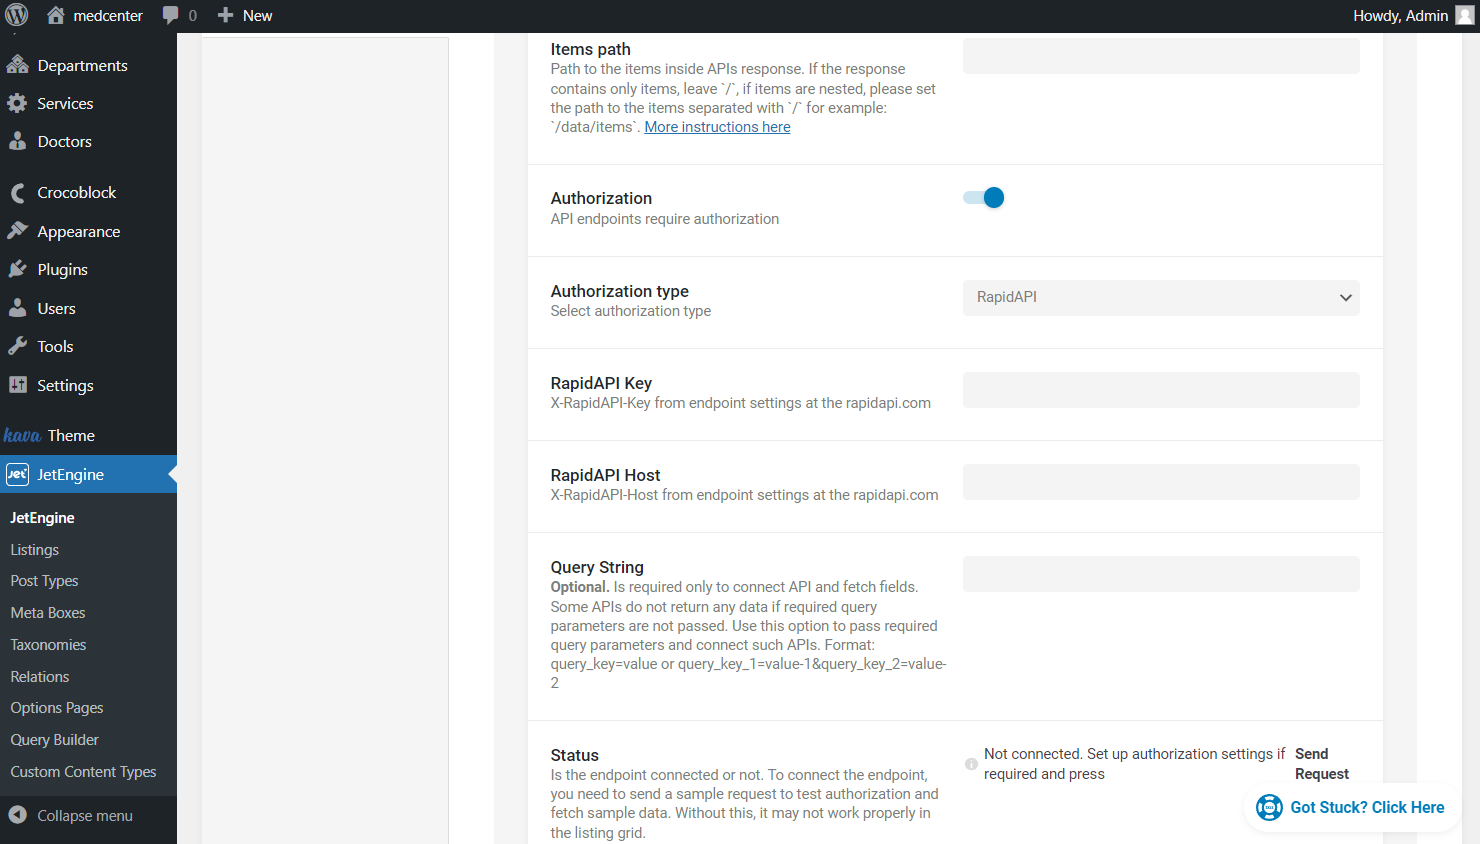
- RapidAPI Key — paste the RapidAPI key from endpoint settings which can be found on the rapidapi.com website;
- RapidAPI Host — paste the RapidAPI host; it is also located in the settings.
The following settings of the endpoint contain:
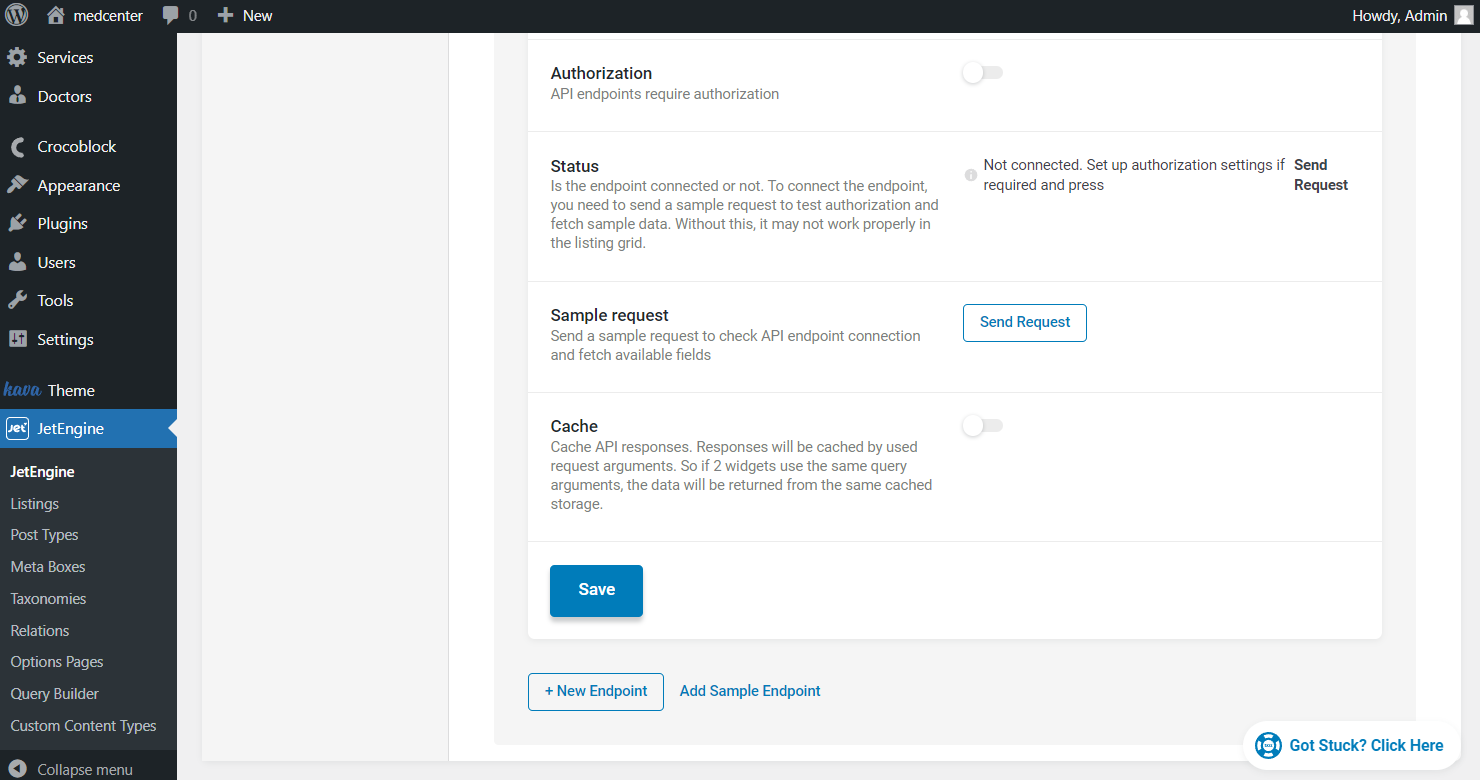
- Status — a field that checks if the endpoint works correctly. Mind that the “Connected” status is essential when working with the Listing Grid;
- Sample request — a field that sends a sample request to test the authorization and fetches the sample data. To activate it, press the “Send Request” button;
- Cache — a toggle that makes the responses cashed according to their query arguments. It will sufficiently reduce the response speed. The cashing can be performed regularly, and you can choose the period in the Cache duration period drop-down and the number of minutes/hours/days in the Cache duration value bar.
The “Save” button saves the created endpoint and its customizations.
REST API for CCT
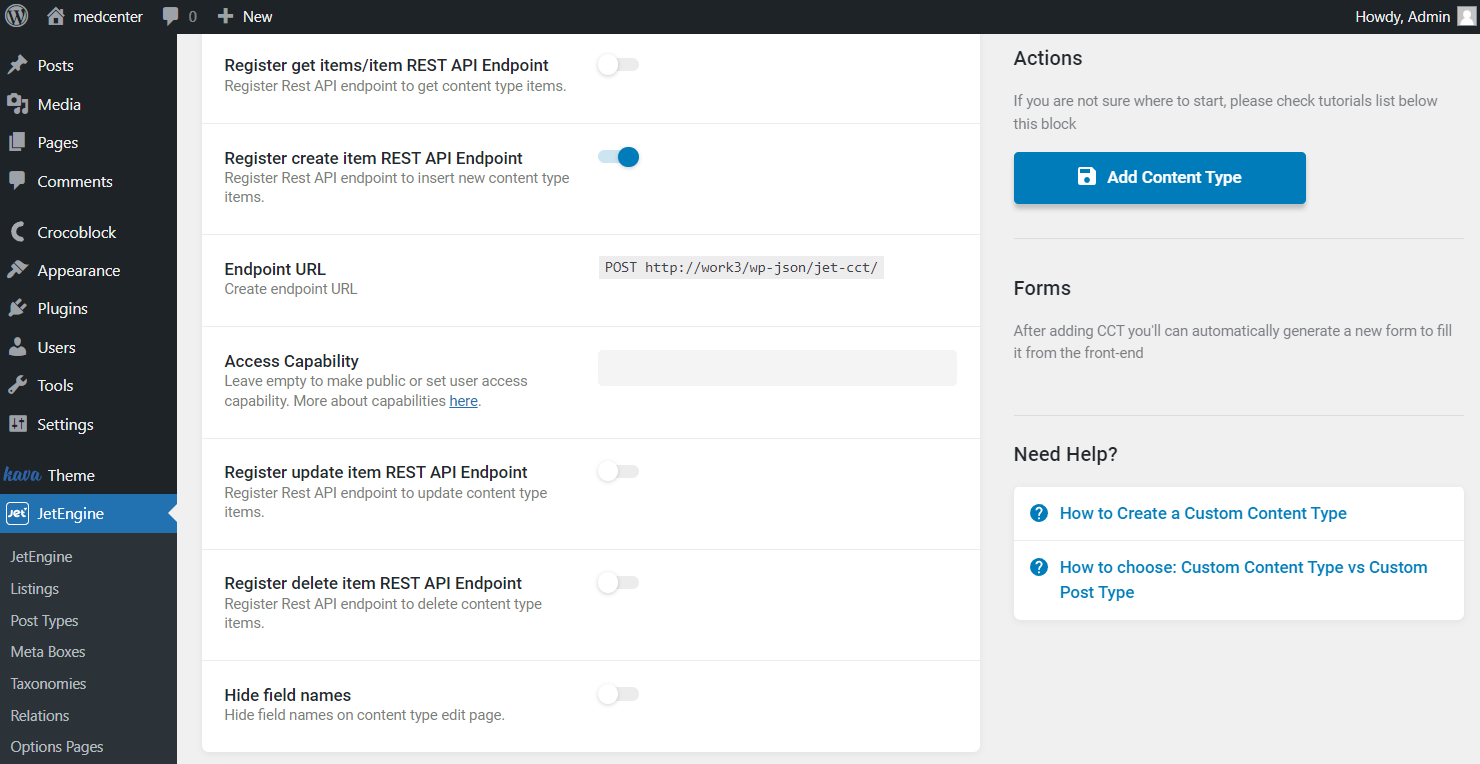
The REST API endpoints can be registered for Custom Content Type. Four actions can be done to the CCT items:
- Register get items/item REST API Endpoint
You can learn more about creating a GET Item REST API Endpoint and the settings available once the mentioned toggle is activated.
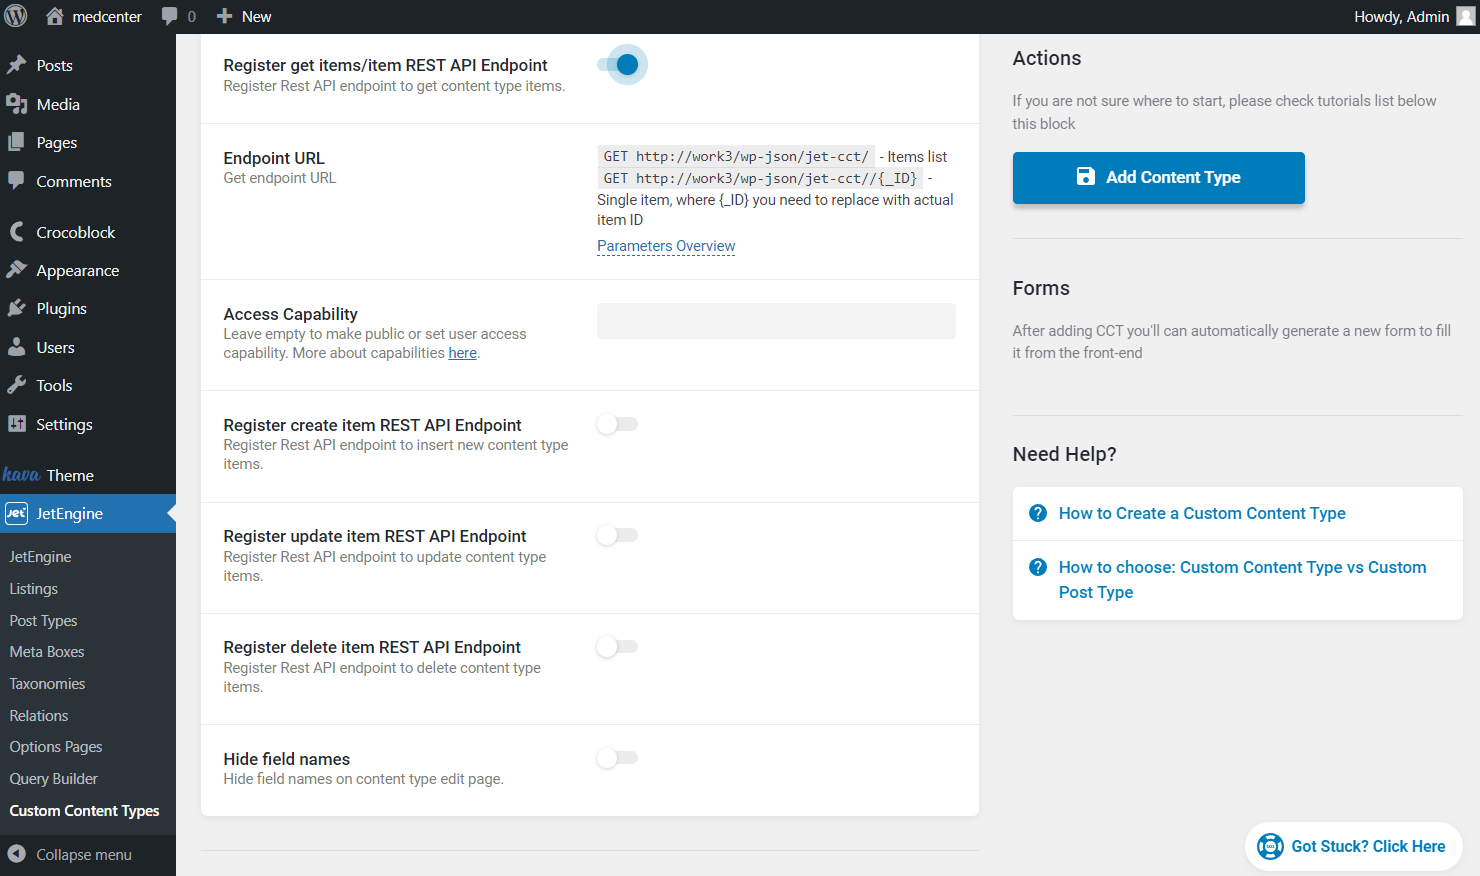
- Register create items/item REST API Endpoint
Discover more information about the Create Item REST API Endpoint.
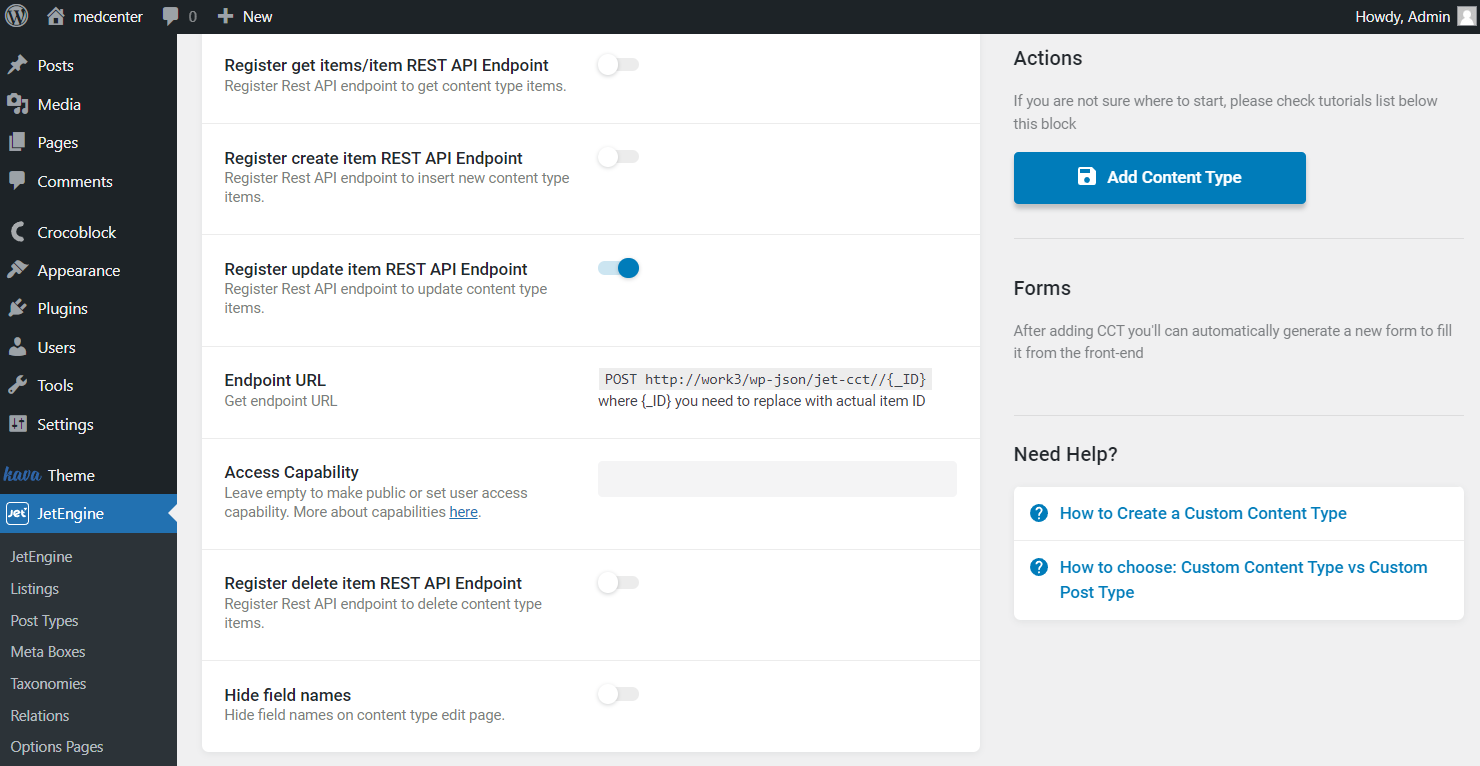
- Register update item REST API Endpoint
The Update Item REST API Endpoint should be activated if the possibility to rewrite the information by the users is expected.
- Register delete item REST API Endpoint
There is also a possibility to use the Delete Item REST API Endpoint.

REST API for Relations
The REST API feature can be applied to JetEngine Relations as well. By following the WordPress Dashboard > JetEngine > Relations tab and opening the needed relation editing page, the Register get items/item REST API Endpoint toggle can be activated.
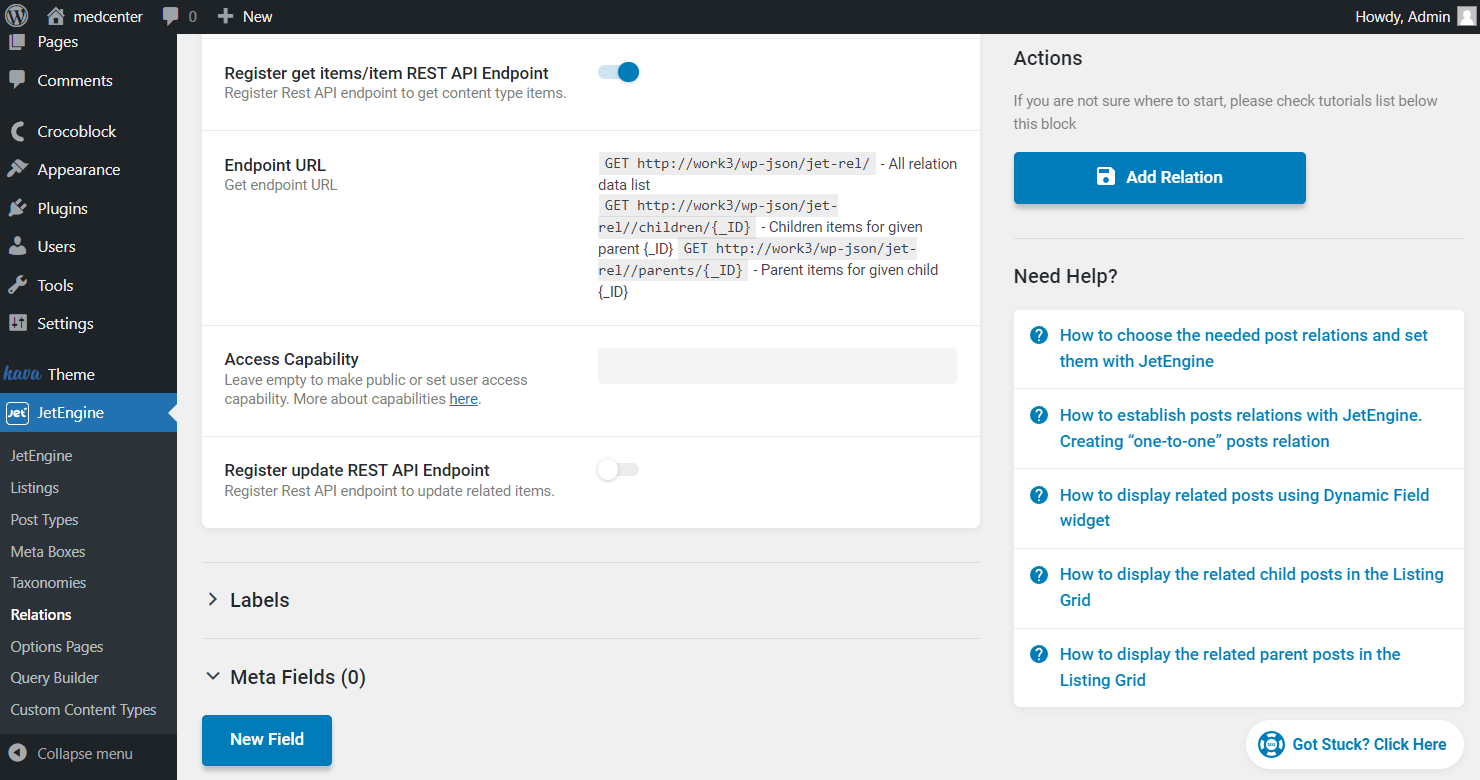
- Endpoint URL — a field where the endpoint URLs can be taken;
- Access Capability — a field for setting access to endpoints. The field can be left empty to allow access to all users, or the user capabilities can be pasted here to limit access. For instance, “create_sites” makes the endpoint visible only to Super Admin.
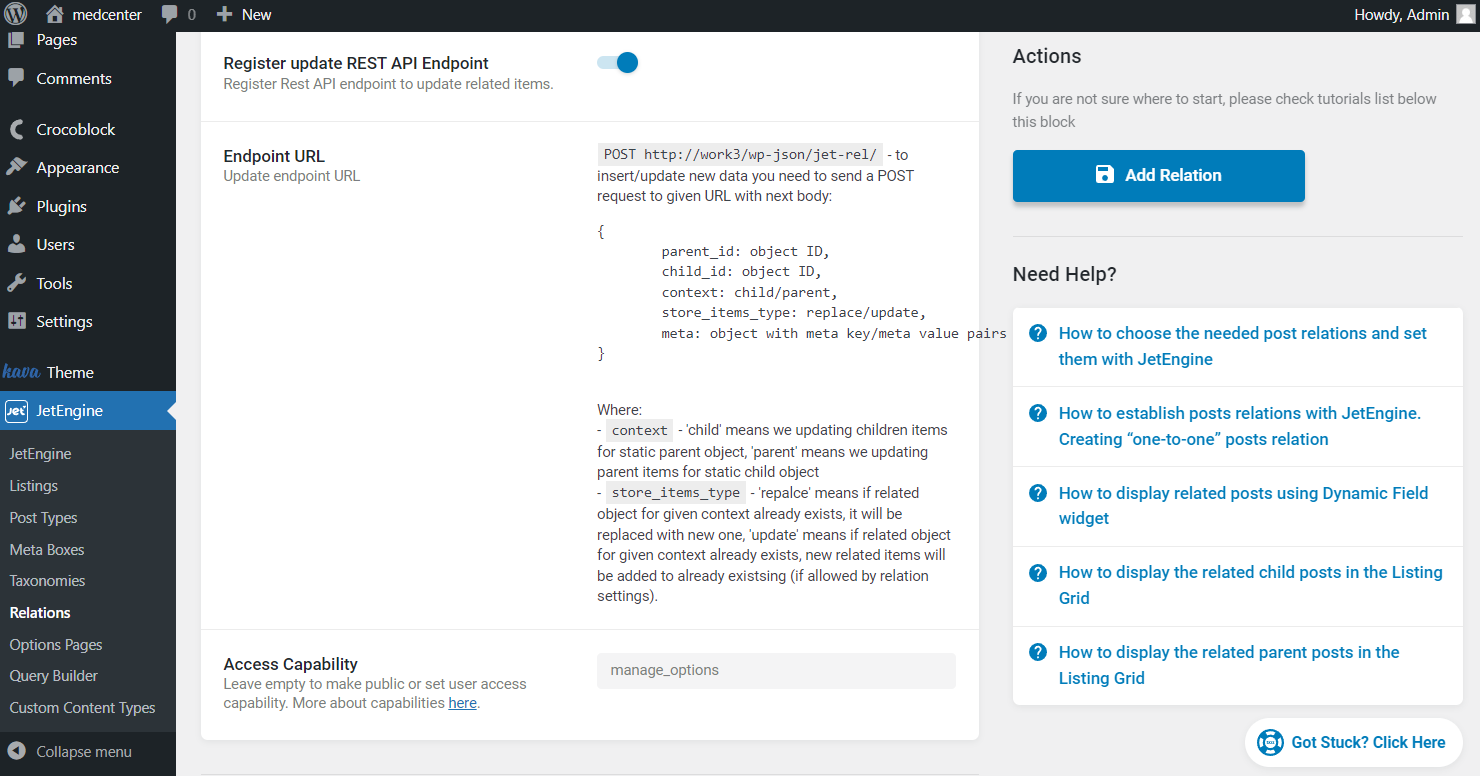
One more toggle presented is the Register update REST API Endpoint.
Read more about Getting and Updating Relation Data via REST API.
Here, the customization settings will be the same as for the Register get items/item REST API Endpoint feature.
However, there are different URL options presented for selection.
REST API Query
REST API can also become a source for a JetEngine Query built with Query Builder. More information about this feature can be found in the Query Builder REST API Query Type guide.
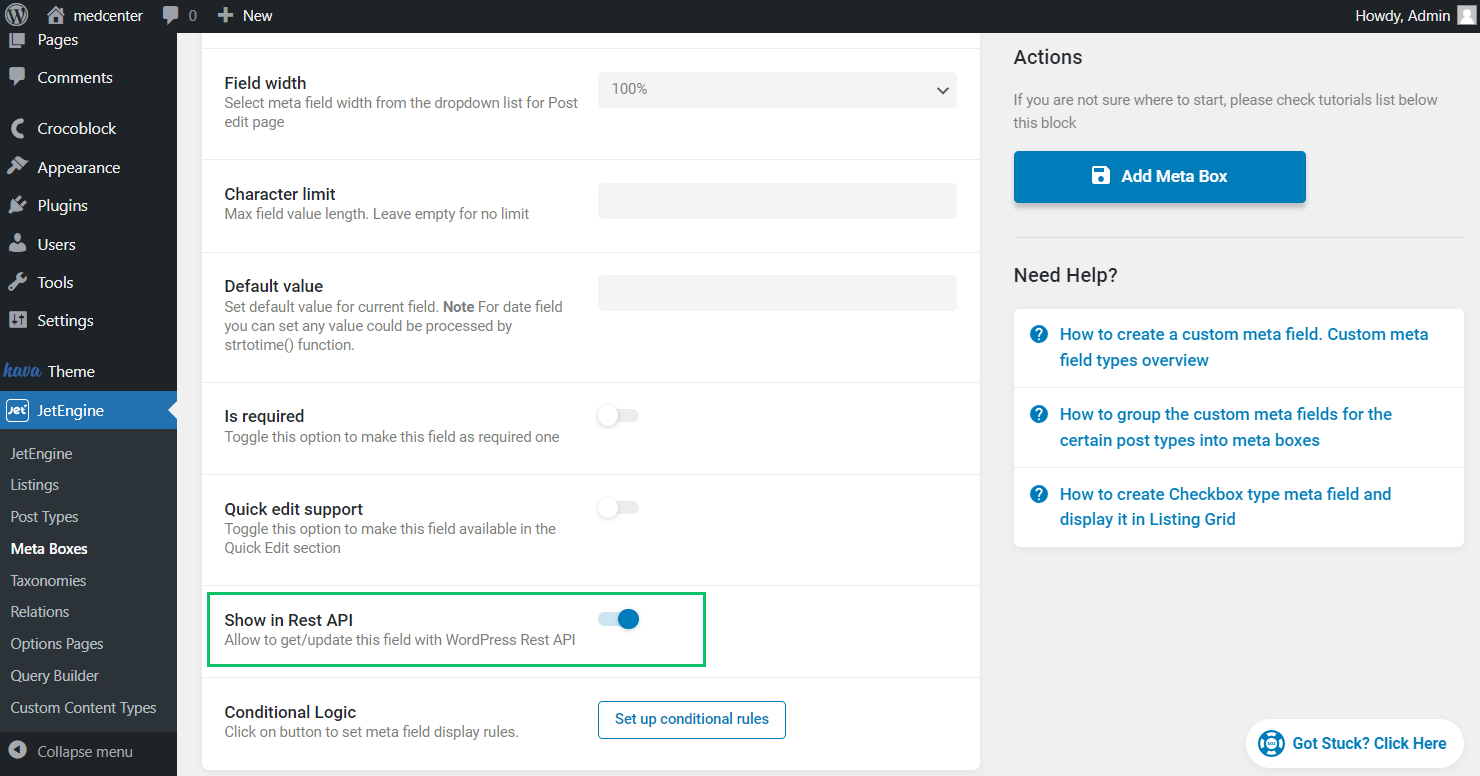
REST API for Meta Fields
Meta fields can also become available via REST API. To activate the feature, the meta field settings should be opened (it can be post/user/taxonomy meta).
Then, the Show in REST API toggle should be enabled in the needed meta field.
Once the meta box/CPT is updated by clicking the corresponding button, the meta field becomes available for getting/updating via REST API.
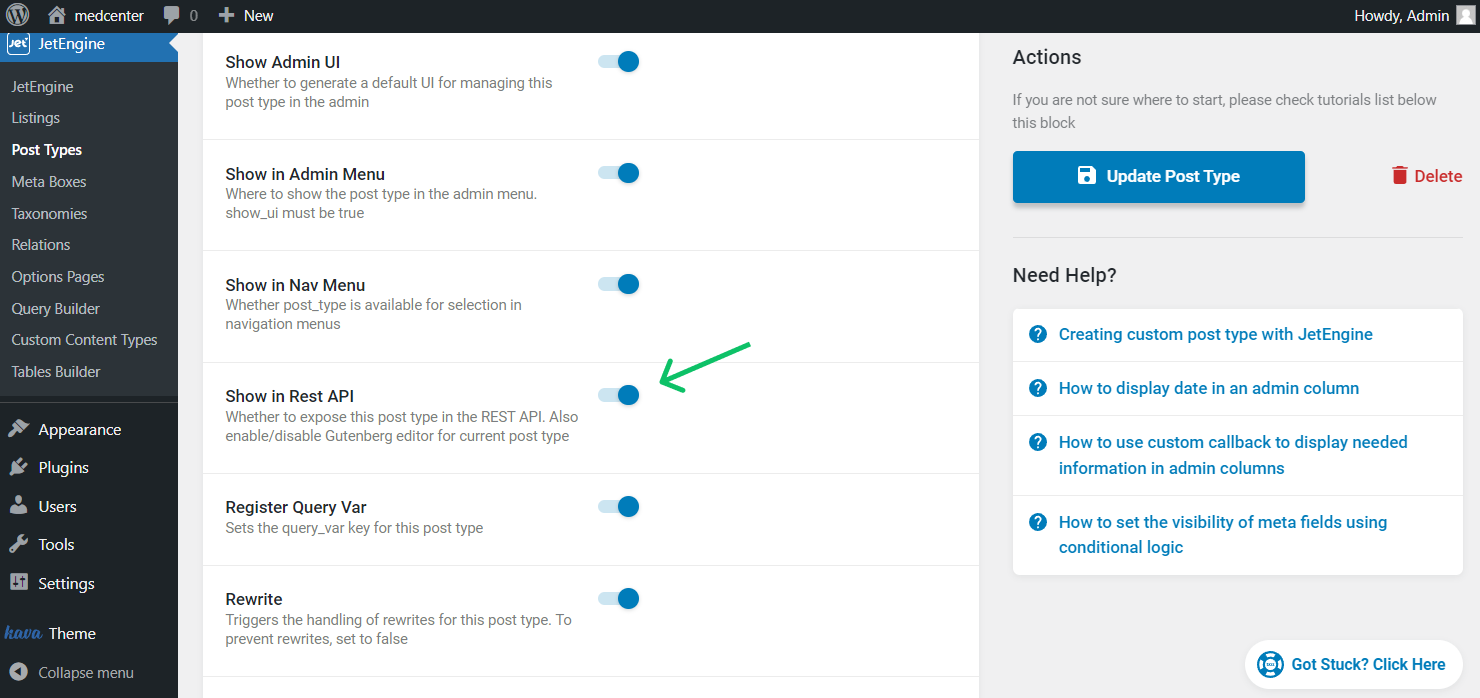
Posts
To find the post type meta field in the future, a similar URL should be followed: “https://website/wp-json/wp/v2/posts”, where ‘website’ stands for your website domain and ‘posts’ indicates which post type or other object we went to.
Also, it is important to pay attention to the Show in Rest API feature in the Advanced Settings tab of the post type settings. It should be enabled; otherwise, the meta fields will not be available via REST API.
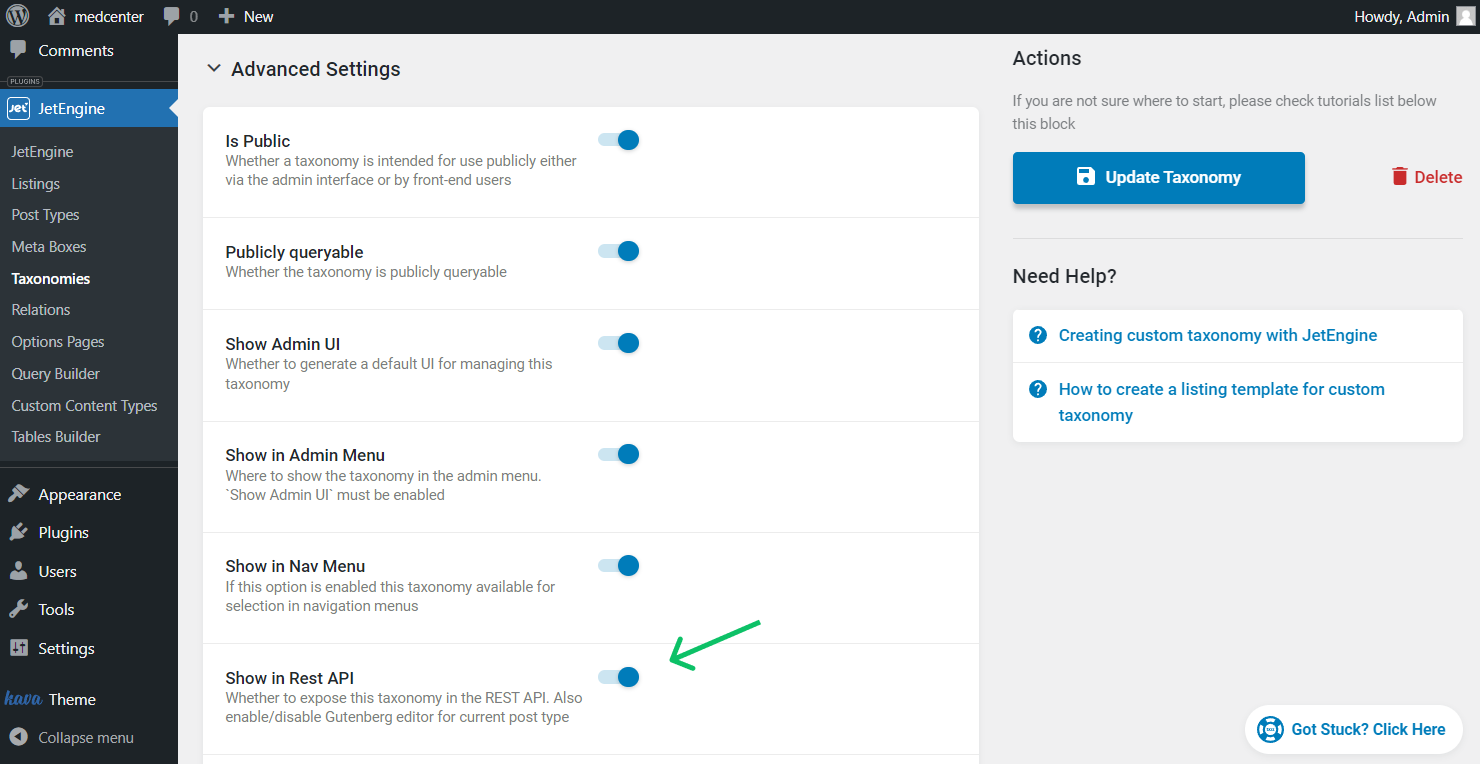
Taxonomies
If the meta field is connected to taxonomy, instead of the ‘posts,’ the slug of the taxonomy should be put. For instance, “https://website/wp-json/wp/v2/my_category”.
Users
If the meta field is applied to users, the slug should be ‘users’. The link will look like this: “https://website/wp-json/wp/v2/users”.
Options pages
To get to the Options page meta, the ‘settings’ slug should be put at the end of the URL, like: “https://website/wp-json/wp/v2/settings”.
More information about REST API use cases can be found in our blog’s JetEngine REST API: Features and Use Cases article.
That’s it; now you know more about the REST API settings available with the JetEngine plugin for your WordPress website.