How to Create Dynamic Popup for Listing with the SQL Query Source
This tutorial will describe how to create a dynamic pop-up for listing templates with the SQL Query Source and display the appointments on the WordPress User Profile page.
The JetPopup plugin lets pull out the data from JetEngine listing templates within a dynamic pop-up. You can also display the data with the JetEngine SQL Query source.
As a use-case, I will describe how to display user’s appointments on the user Profile page with the Listing Grid widget or block. Users can see all details of the appointment when they click on the button that opens a dynamic pop-up with more appointment details.
JetAppointment Setup
Before you start, ensure to complete the JetAppointment Wizard Setup.
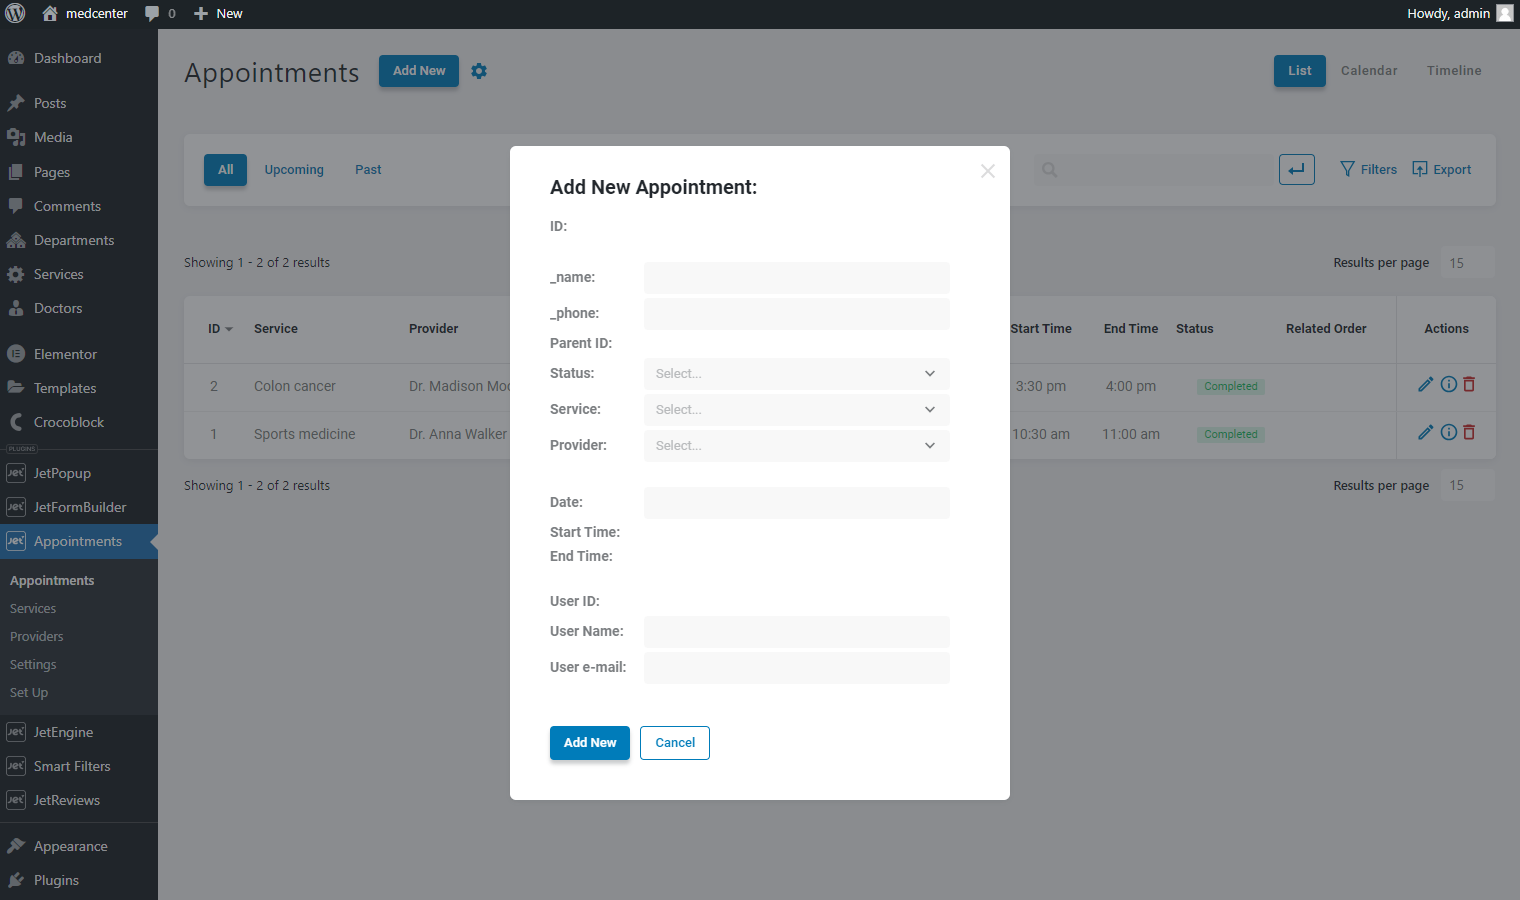
For this use case, you need to make several appointments. Proceed to the How to Manage Appointments from the WordPress Dashboard tutorial to add appointments from the backend.
Create the SQL Query
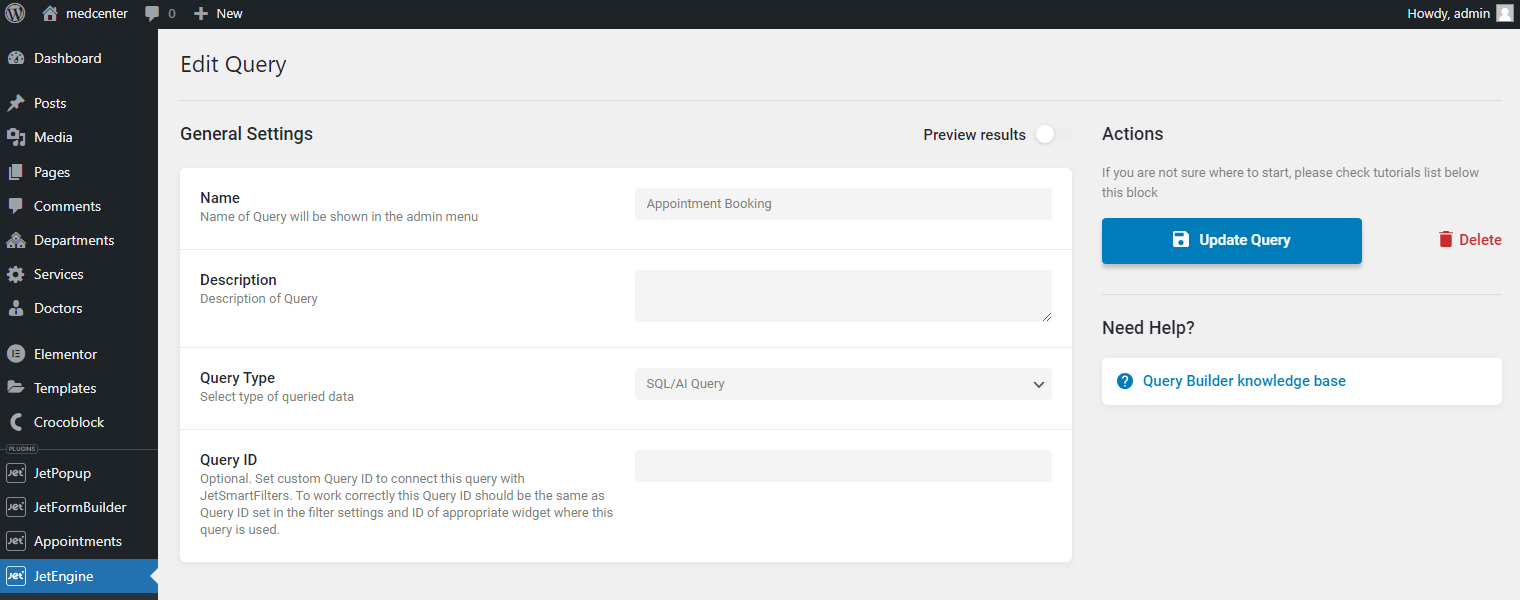
Follow the JetEngine > Query Builderpath and hit the “Add New” button.
In the General Settings section, enter the query Name and select the “SQL/AI Query” Query Type.
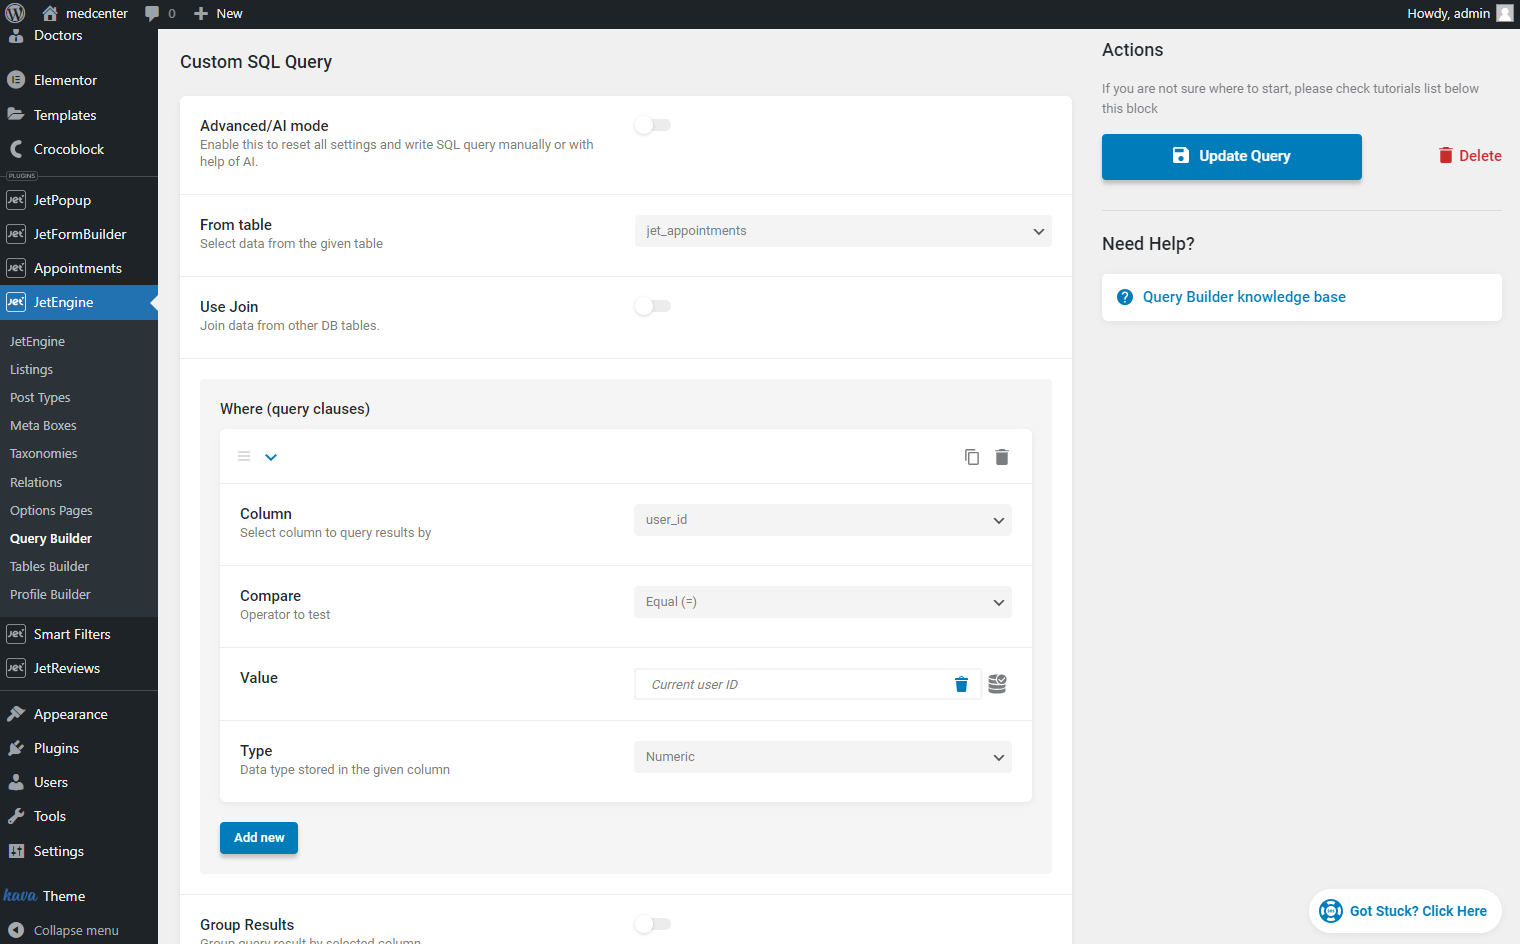
In the Custom SQL Query section, pick the “jet_appointments” option in the From table field.
In the Where (query clauses) tab, hit the “Add New” button.
Select the “user_id” Column and the “Equal (=)” option in the Compare field. In the Value field, click the coin-stack icon and choose the Current User ID macro. Finally, pick the “Numeric” Type. These query settings will narrow results, so a user will see only the appointments they have booked.
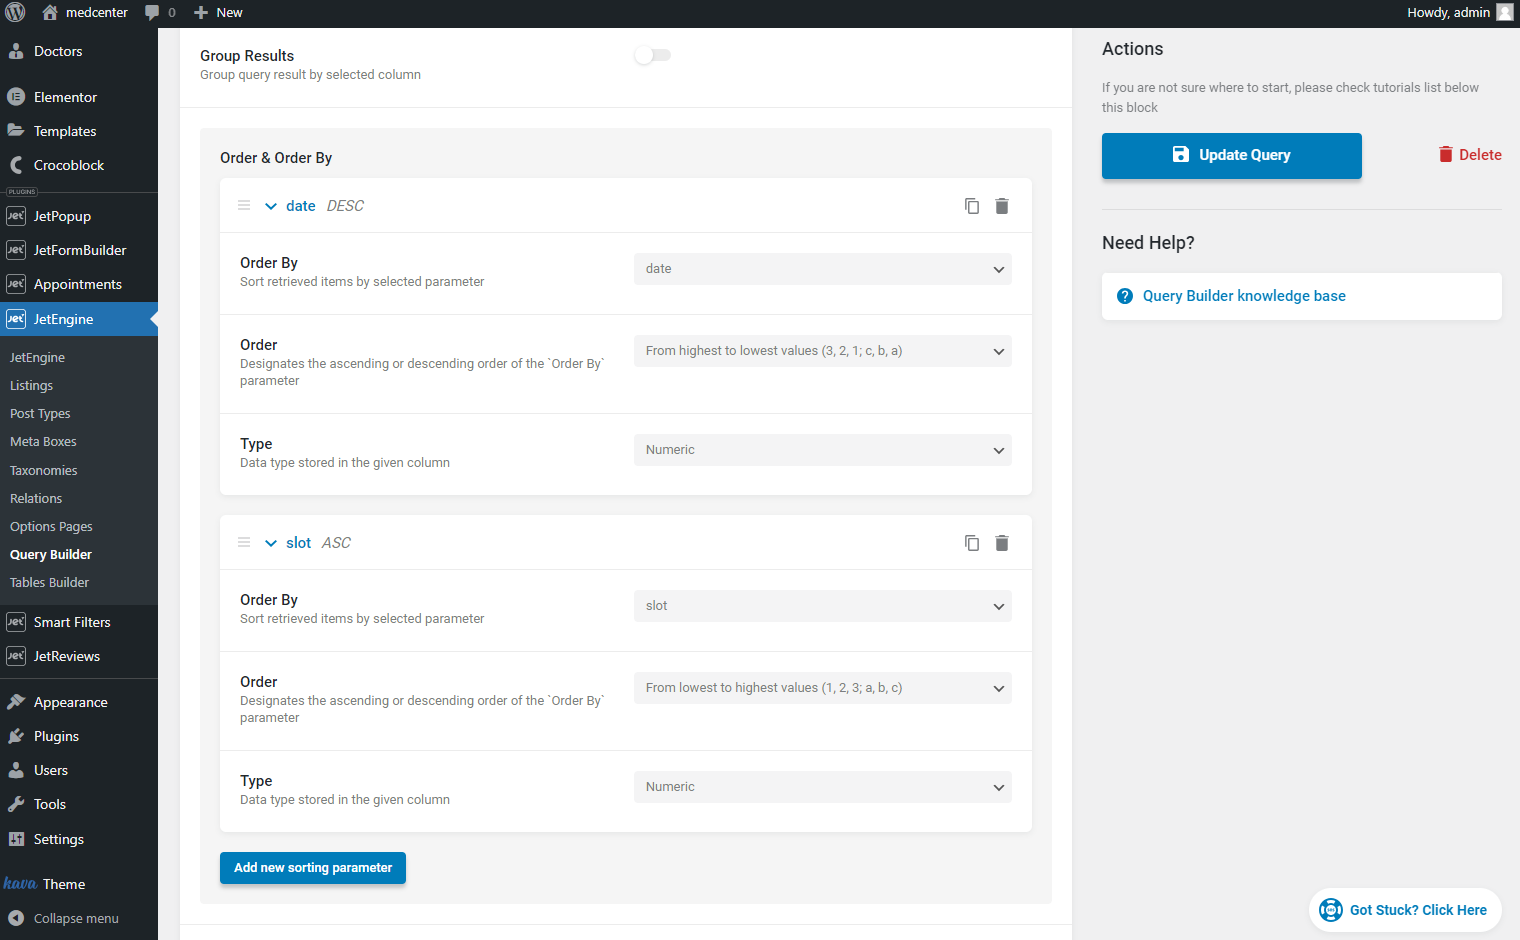
In the Order & Order By tab, you can add sorting parameters by clicking on the “Add new sorting parameter” button. There could be several of them for every query.
To learn more about SQL Query Type settings, proceed to this overview.
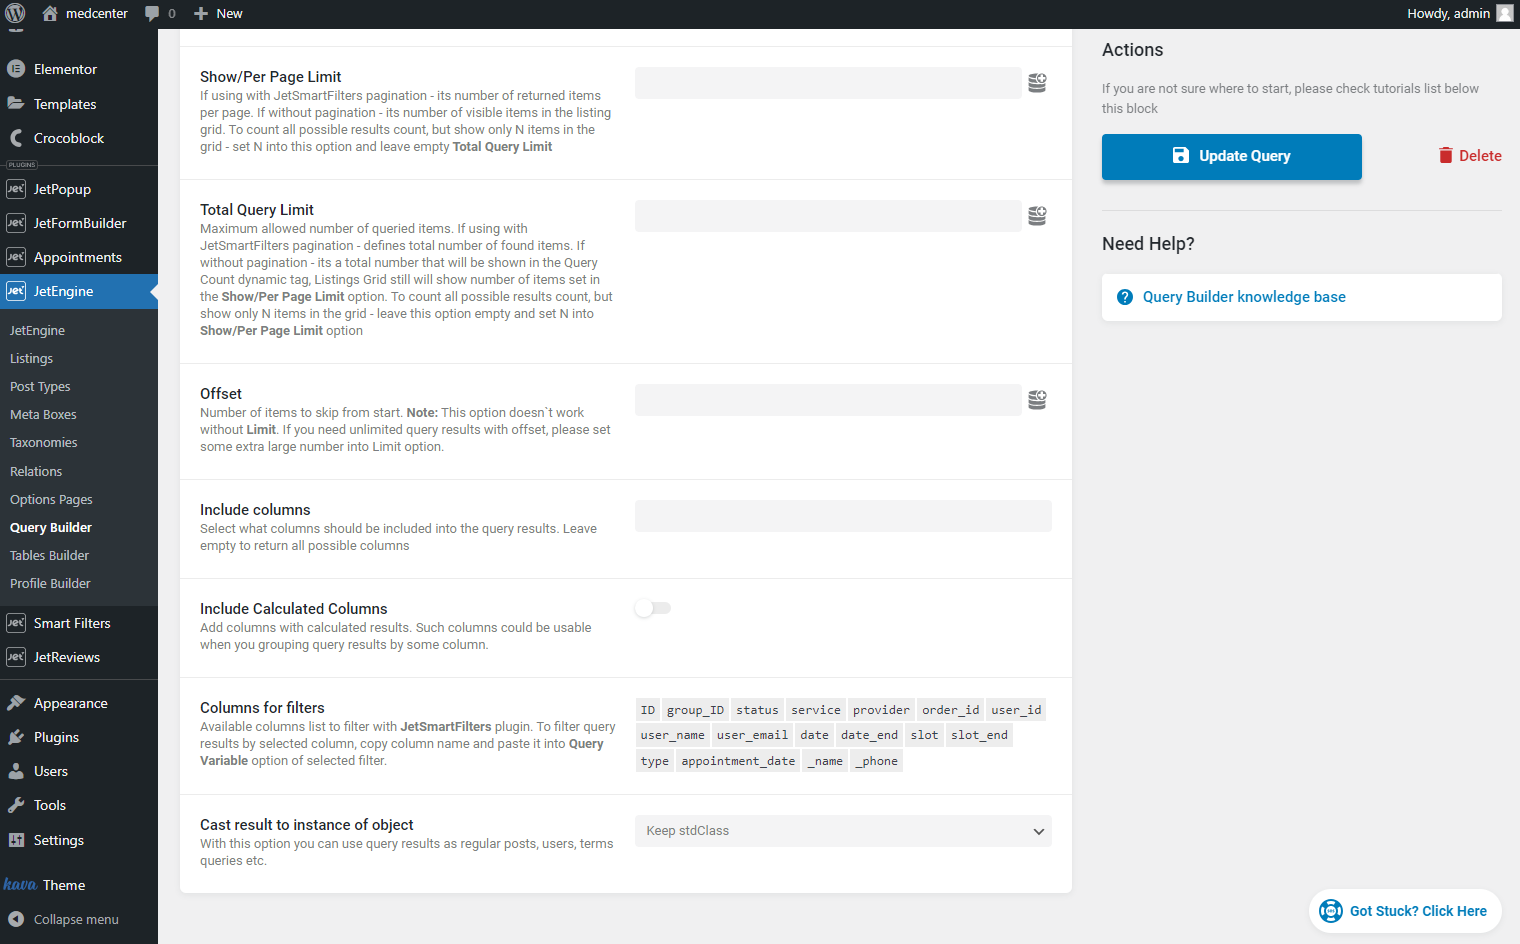
When you finish customizing the query, hit the “Add/Update Query” button.
Create a Pop-up
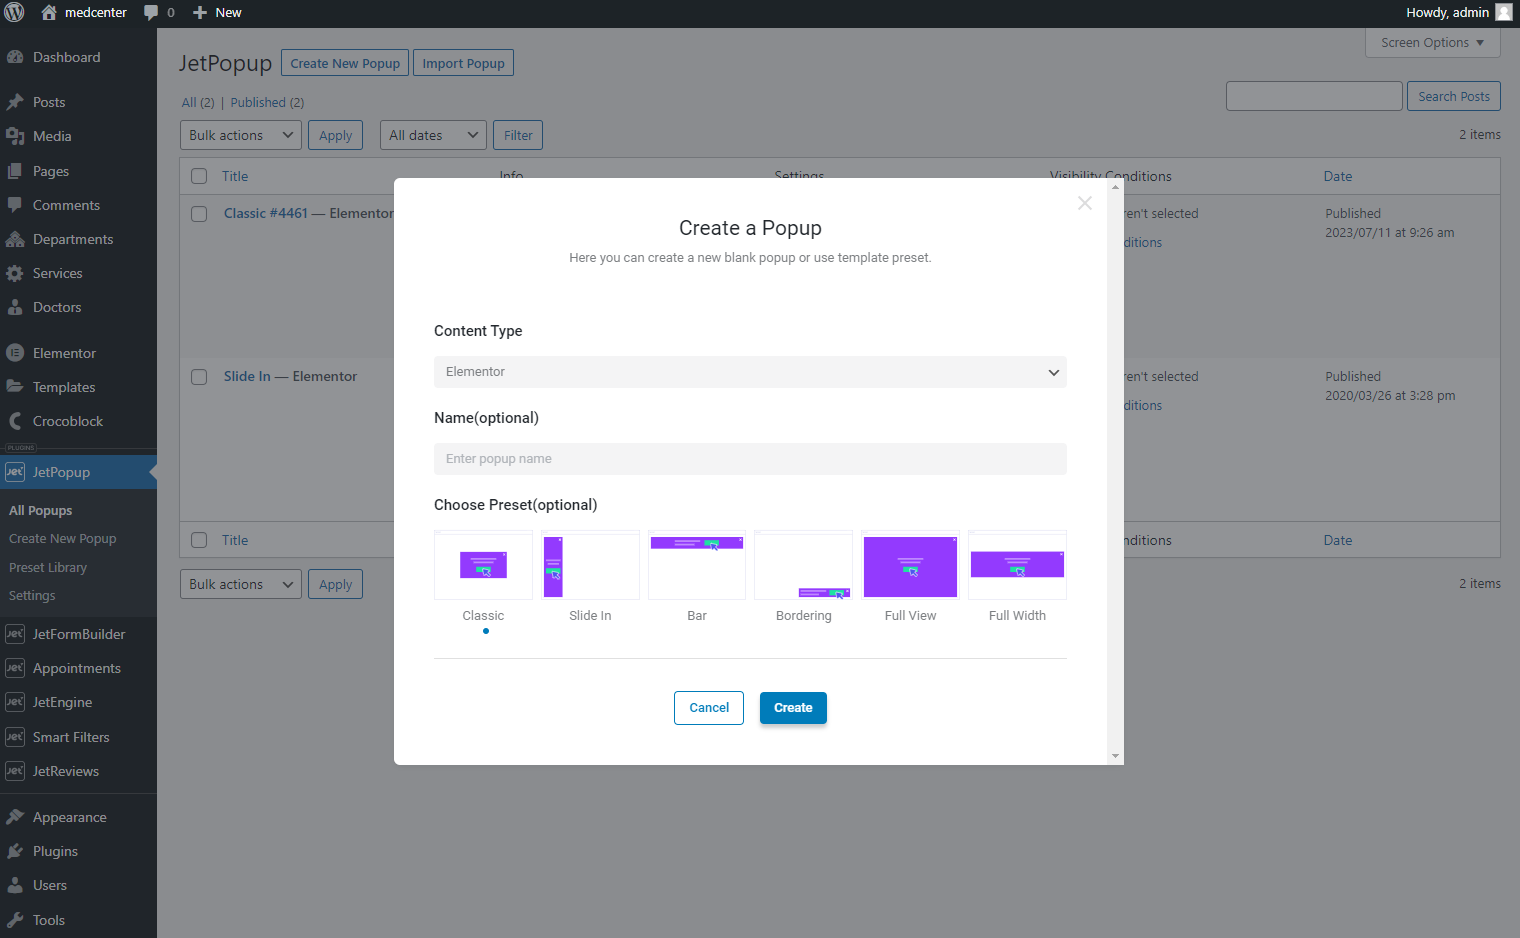
Go to the JetPopup > Create New Popup tab.
Choose the “Block Editor” or “Elementor” Content Type. Also, you can enter the Name and Choose Preset. After that, push the “Create” button.
The Listing Template we will create later will show a few appointment details (date and service name). All other information will be displayed in the pop-up.
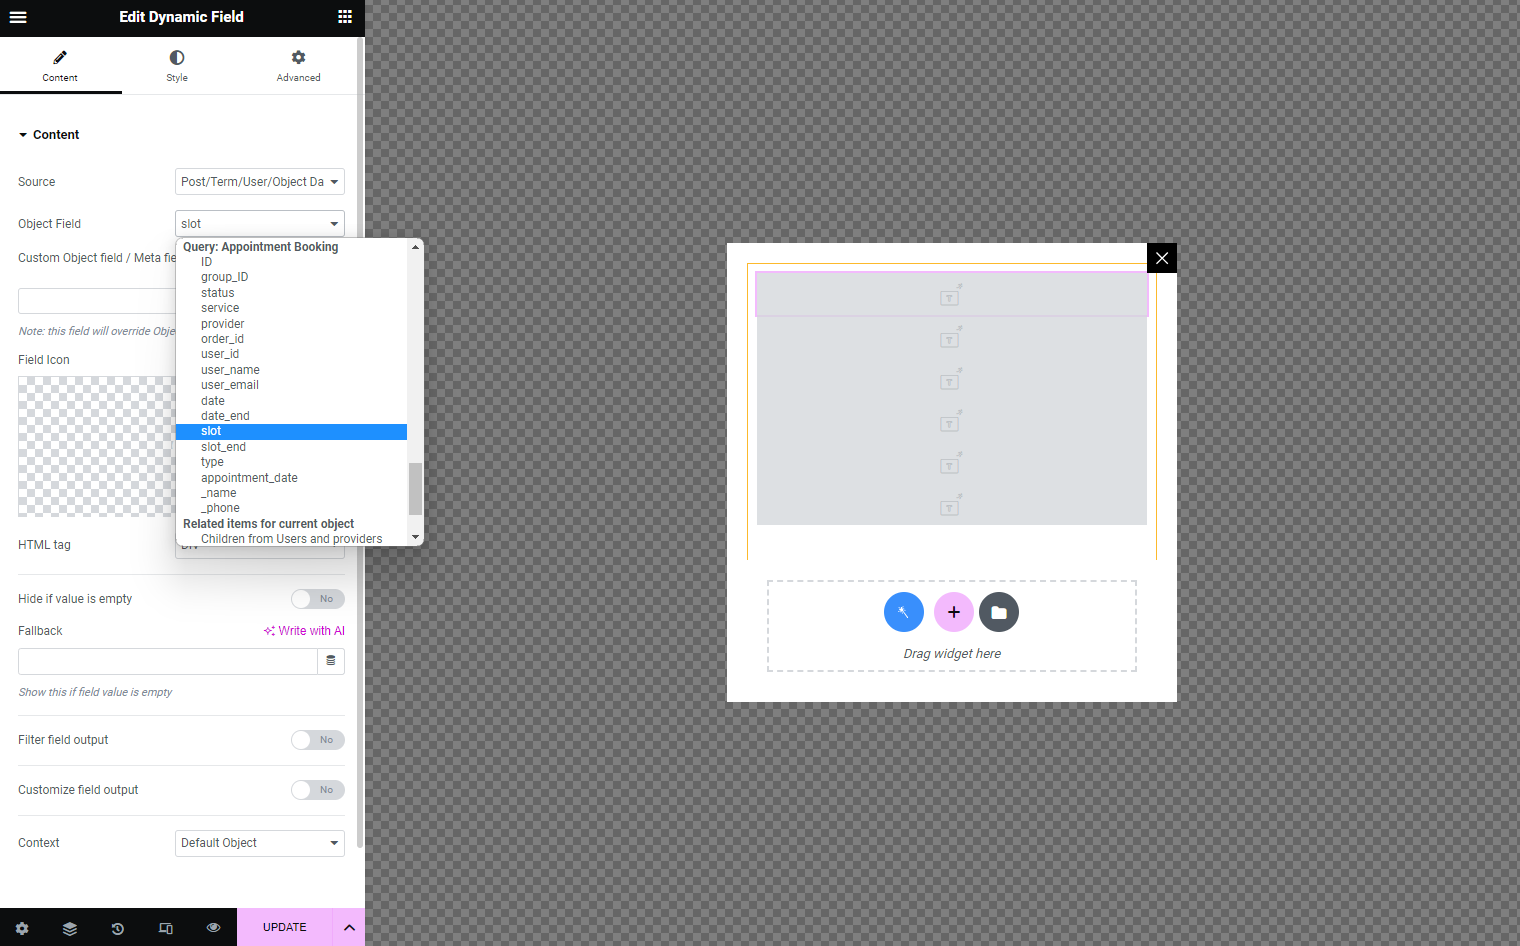
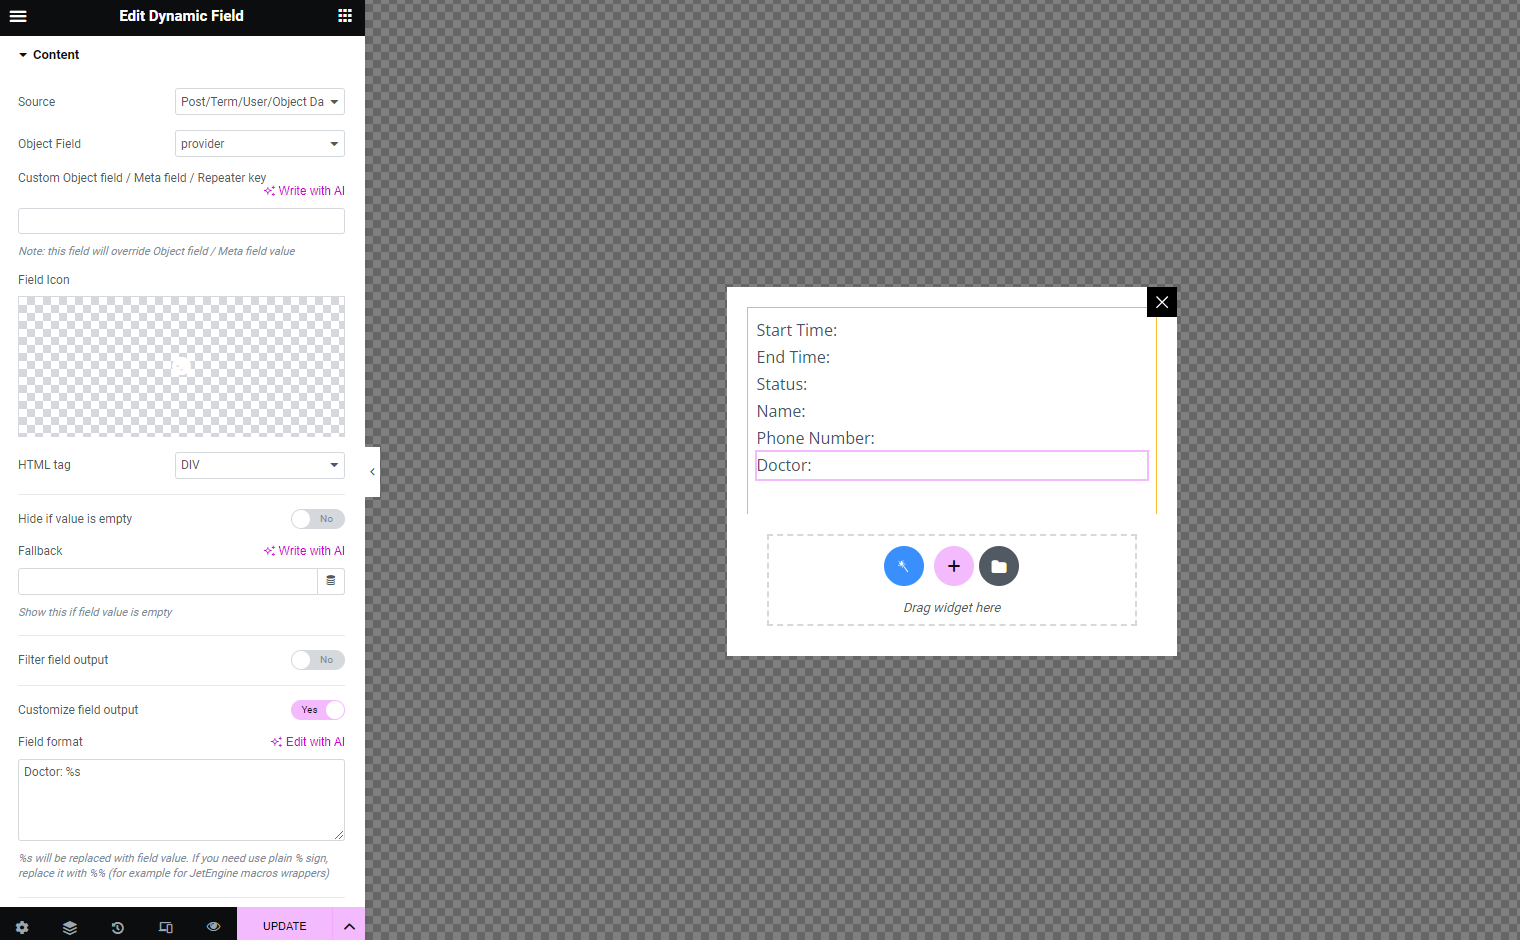
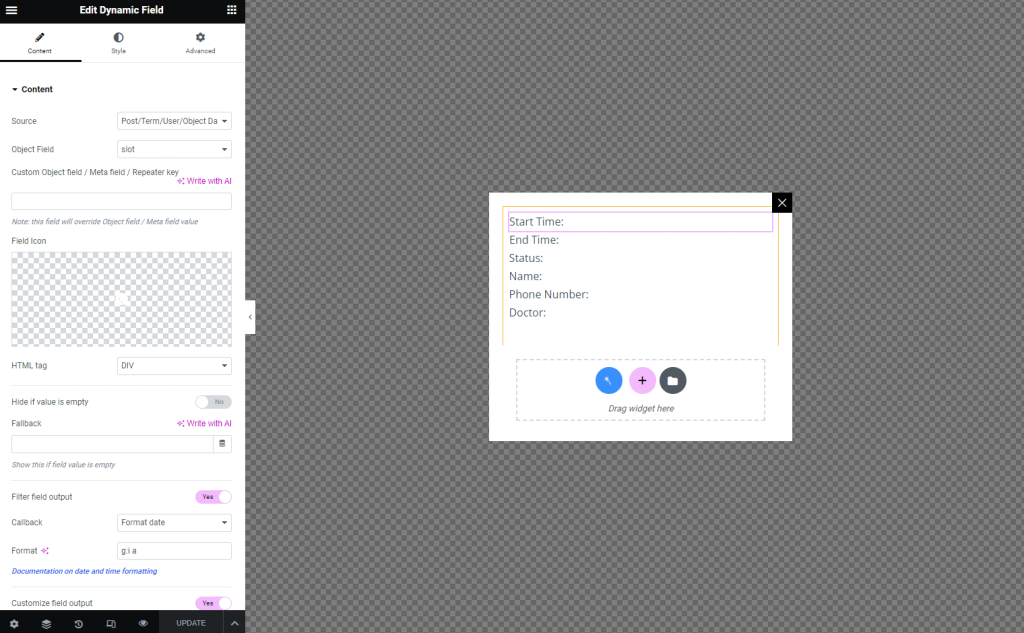
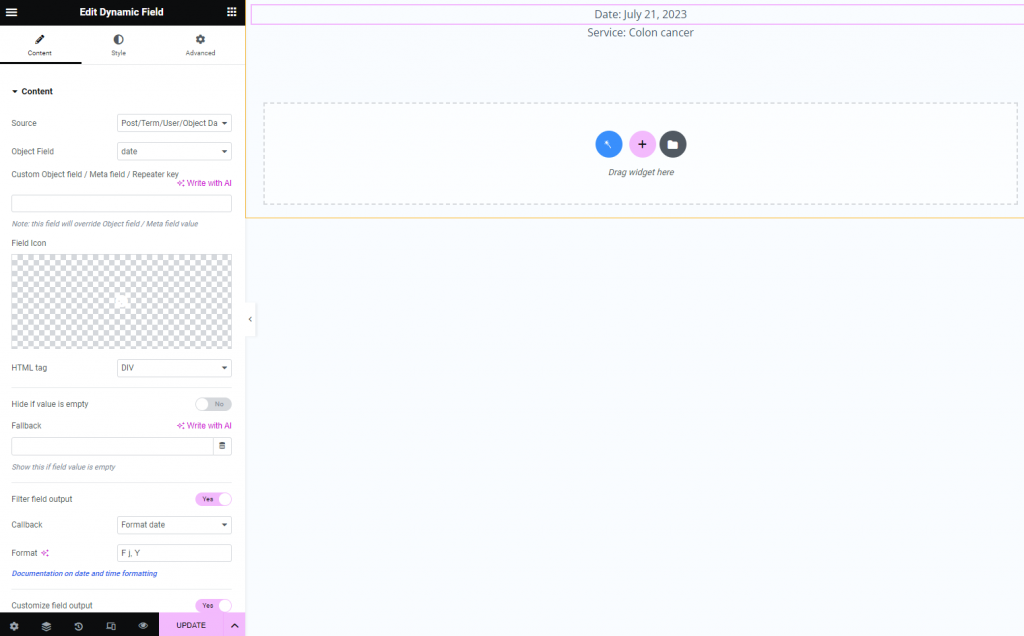
Place the Dynamic Field widget or block on the editing page. Pick the “Post/Term/User/Object Data” Source. In the Object Field drop-down, you can select any column to display data from.
Use the Customize field output option to add text before and after the value.
To display some column values correctly, you need to enable the Filter field output option. For example, to display the date and time, you need to pick the “Format date” Callback. Without this callback, the widget will show the date and time in timestamp format.
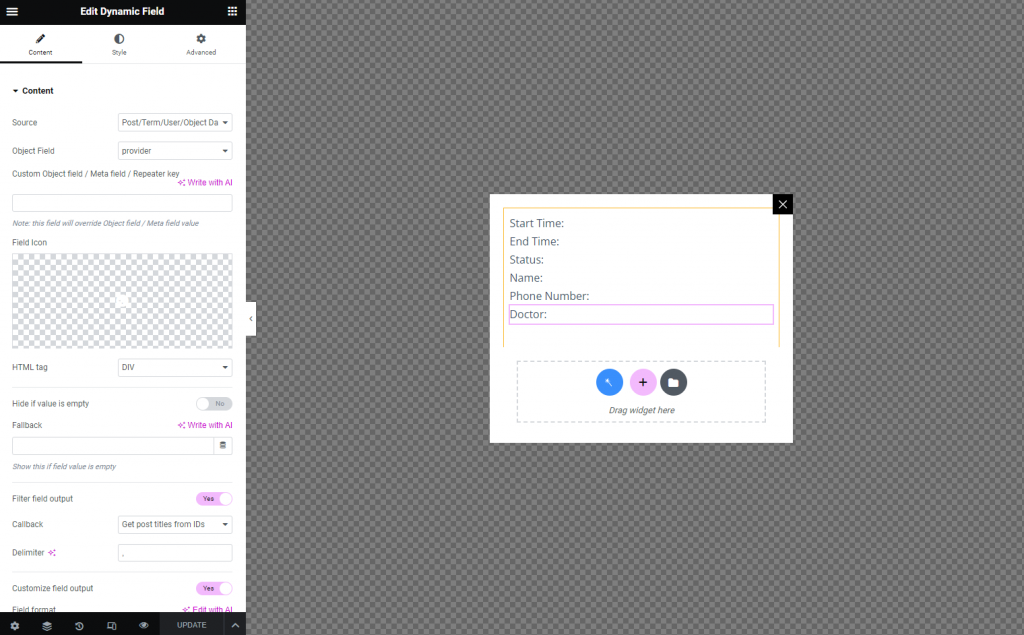
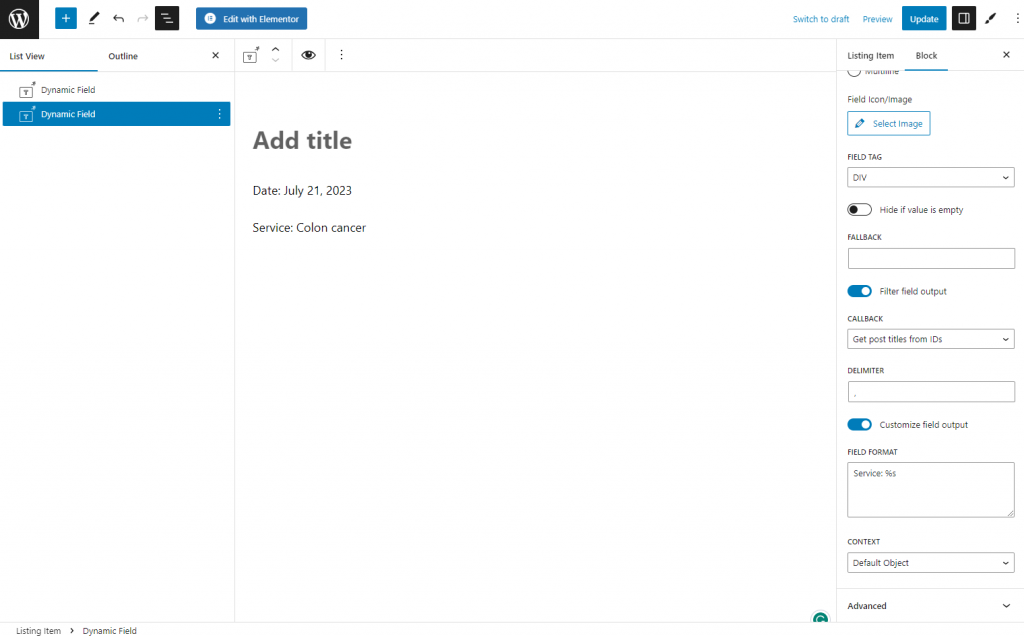
To display the service or provider post title, enable the Filter field output option and pick the “Get post titles from IDs” Callback. Without that, the Dynamic Field will show the post ID.
To learn more about the Filter field output option, navigate to the Dynamic Field Widget Overview.
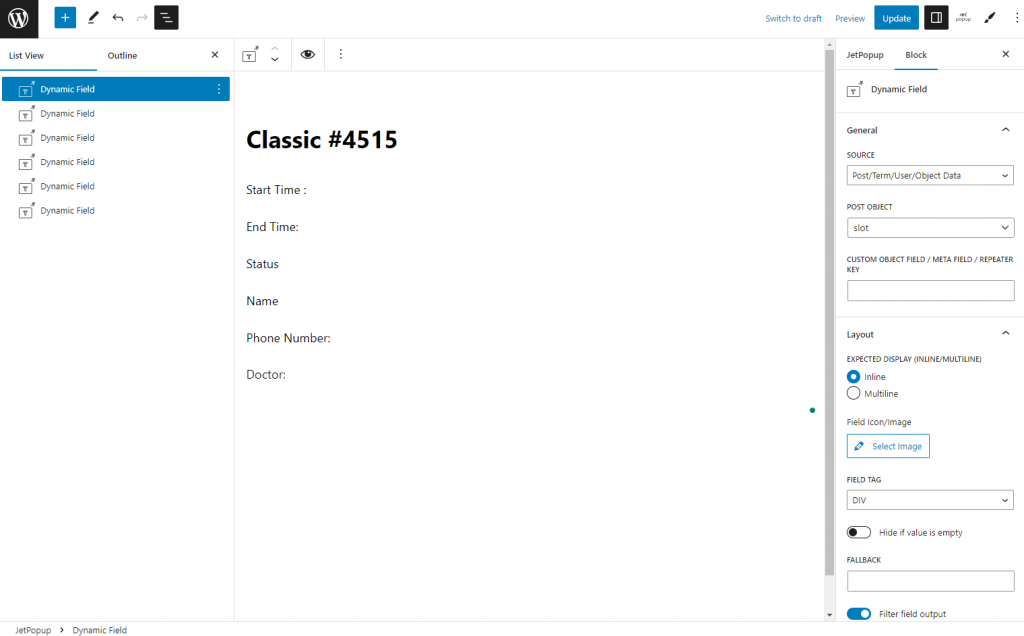
In the Gutenberg editor, the Dynamic Field block settings are the same.
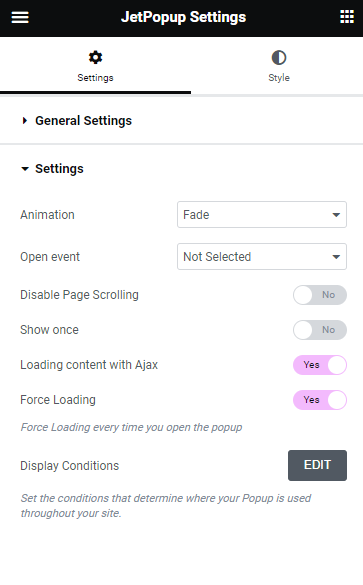
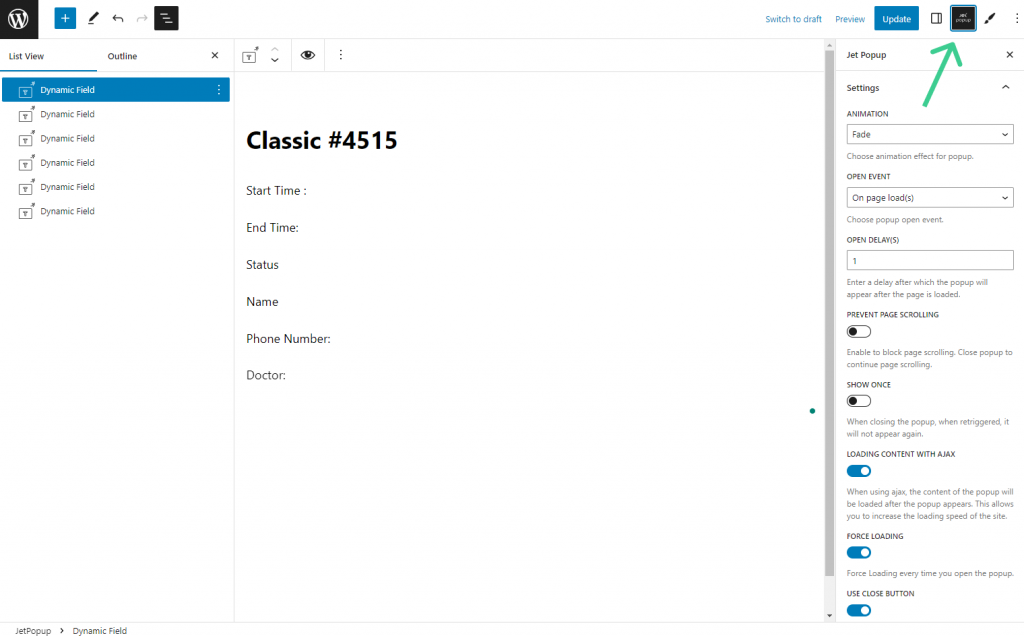
When you create the pop-up layout in the Elementor editor, click the Settings icon in the lower-left corner.
Here, you need to enable the Loading content with Ajax and Force Loading toggles.
To open the JetPopup settings in the Gutenberg editor, click the JetPopup icon in the right-upper corner. Enable the Loading content with Ajax and Force Loading toggles.
To learn more about the pop-up creation process, proceed to the How to Create a New Popup Template in Elementor or How to Create Popup in Gutenberg tutorials.
You can also check the Popup Style Settings Overview in Elementor or Popup Style Settings Overview in Gutenberg.
When you finish customizing the pop-up, hit the “Update” button.
Create a Listing
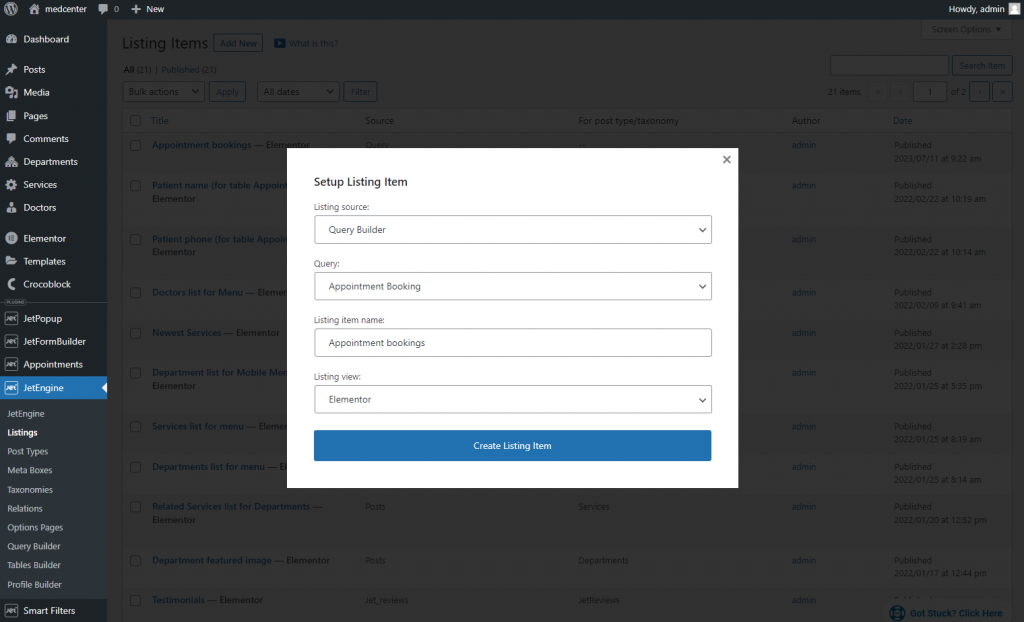
Proceed to the JetEngine > Listing tab and hit the “Add New” button.
In the Setup Listing Item pop-up, select the “Query Builder” Listing source, choose the recently created Query, enter the Listing item name, and pick the “Elementor” or “Blocks (Gutenberg)” Listing view. Then, hit the “Create Listing Item” button.
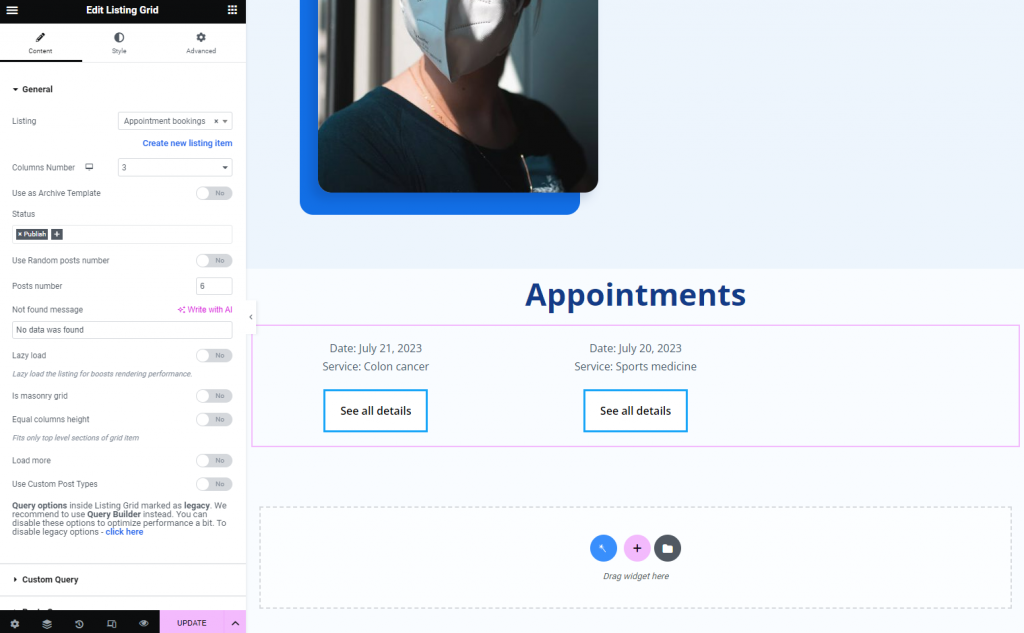
The majority of appointment details we displayed in the pop-up. Now, I placed two Dynamic Field widgets to display the appointment data and service name. Also, I used the Customize field output to add the text to the value. With the Filter field output option and “Format date” and “Get post titles from IDs” Callbacks, I displayed the date and the service post title.
The same process is in the Gutenberg editor.
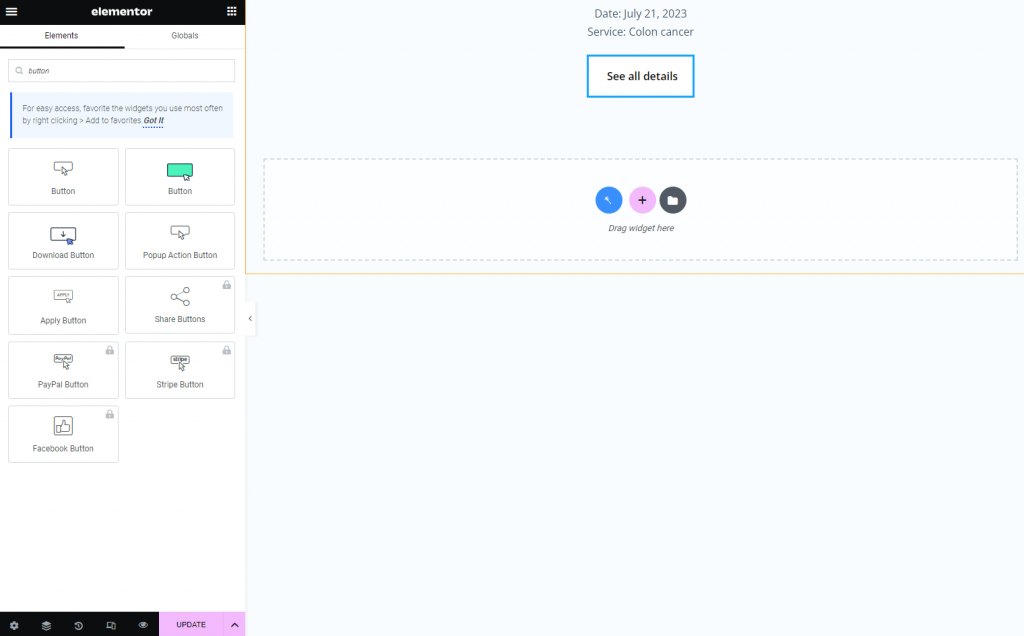
Drag-n-drop any button widget or block to the editing page. It can be the default WordPress Button or the Button from the JetElements plugin (for Elementor only). Customize and style it according to your needs.
Elementor view:
Gutenberg view:

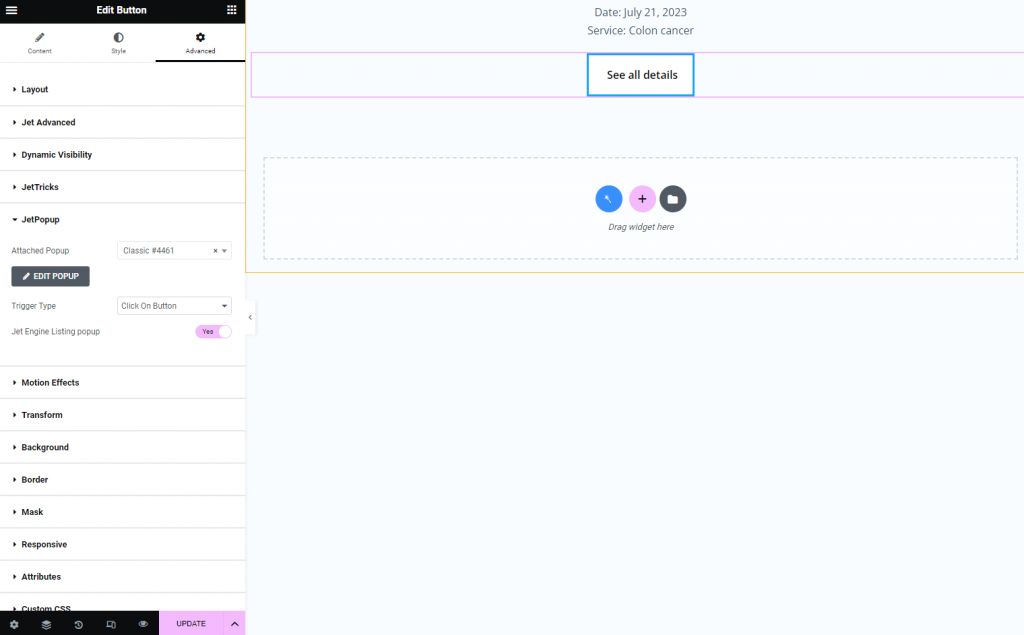
Then, in the Elementor editor, open the Advanced settings tab and unfold the JetPopup tab.
Set the recently created pop-up in the Attached Popup field, pick the “Click on Button” Trigger Type, and enable the Jet Engine Listing popup option.
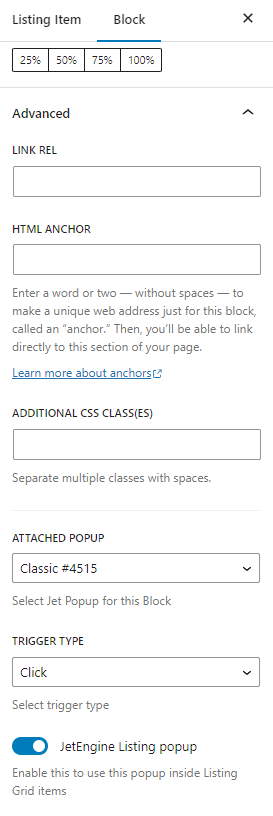
In the Gutenberg editor, unfold the Advanced settings tab, set the recently created pop-up in the Attached Popup field, pick the “Click” Trigger Type, and enable the JetEngine Listing popup toggle.
Finally, press the “Update” button.
Displaying Appointments on the Profile Page
Discover the Profile Builder dashboard settings from the Profile Builder Overview.
Navigate to the JetEngine > Profile Builder tab and make sure to enable the Single user page toggle and set the Single User Page.
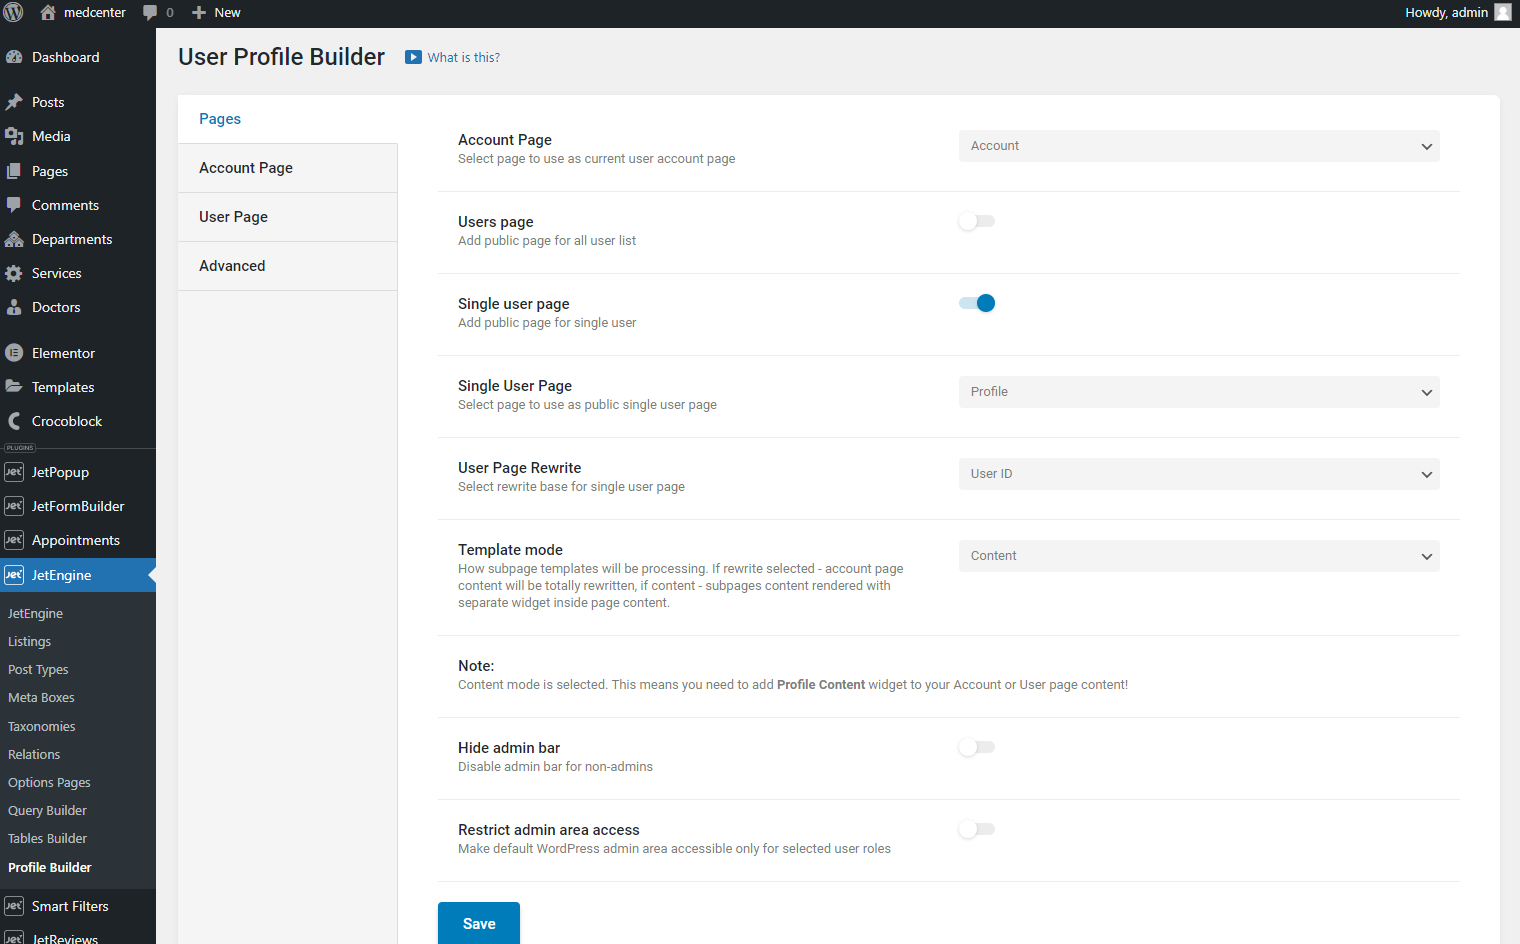
After changing the settings, hit the “Save” button.
Open the Page tab on the WordPress Dashboard and click to edit the Profile page in the Elementor or Gutenberg editor.
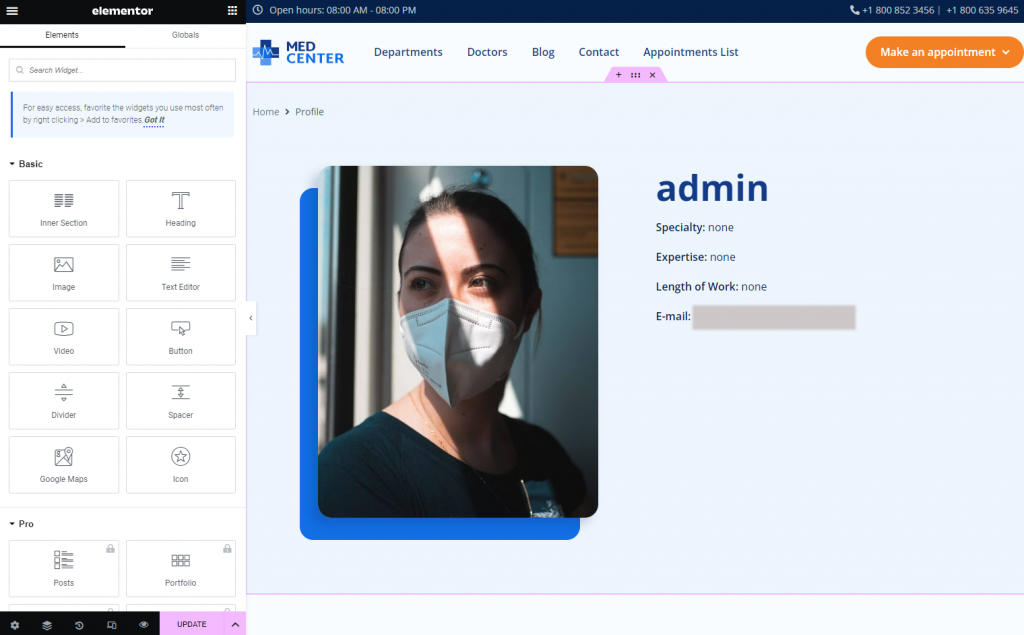
In the Elementor editor, drag-n-drop the Listing Grid widget and select the recently created Listing.
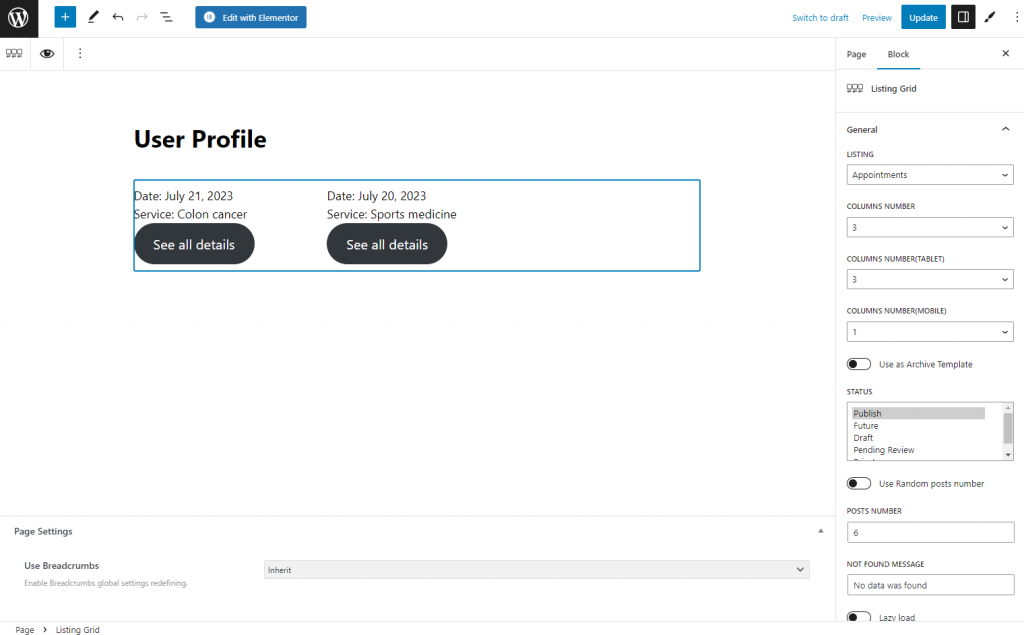
In the Gutenberg editor, place the Listing Grid block and choose the needed Listing.
After finishing customizing the Profile page, click the “Update” button.
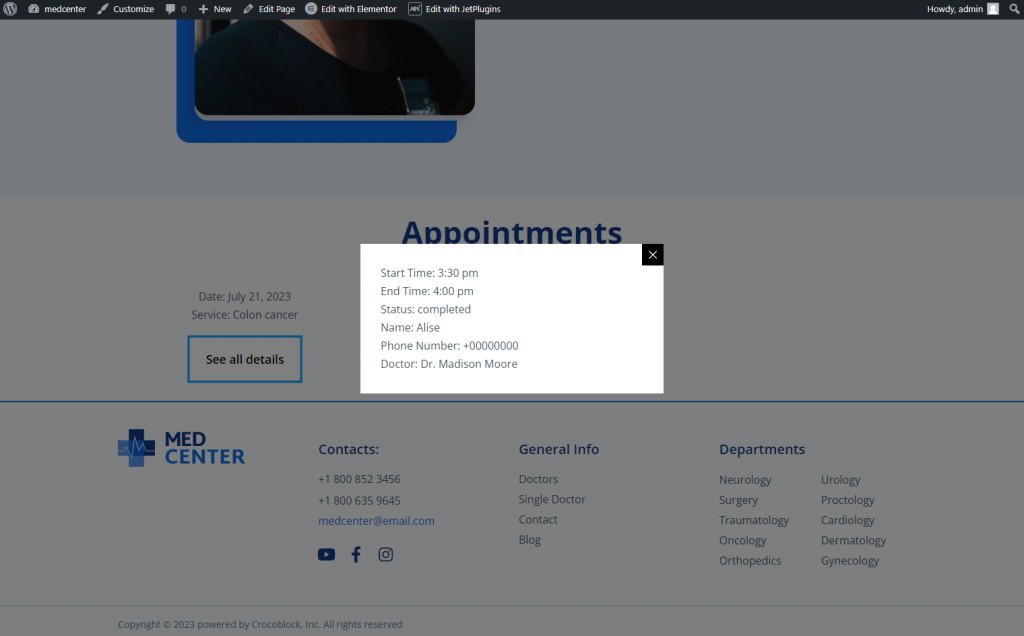
Open the Profile page on the front end.
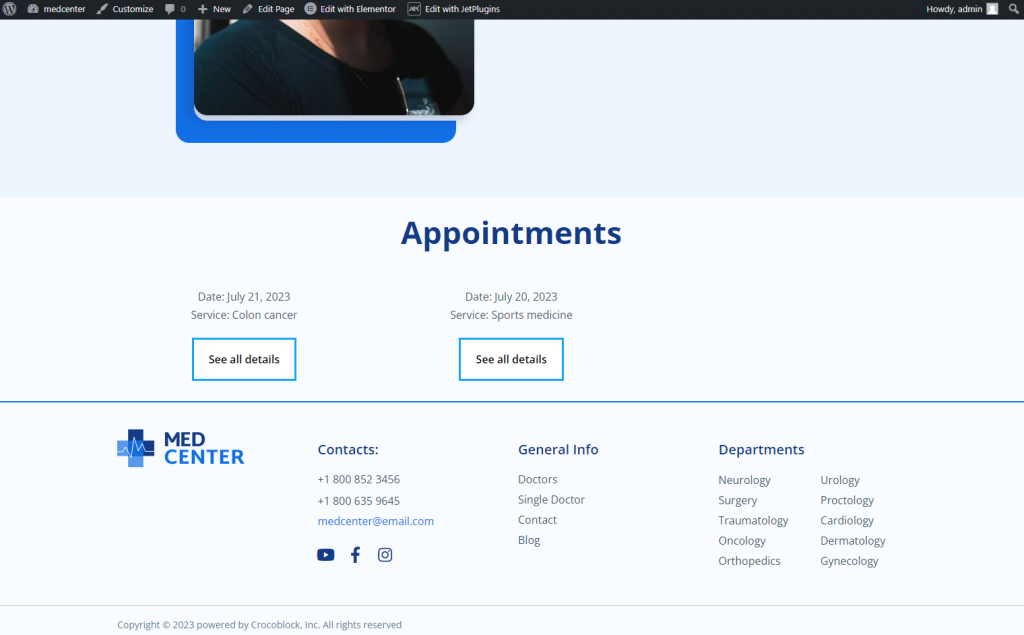
When I click the button, it triggers the dynamic pop-up with other appointment details.
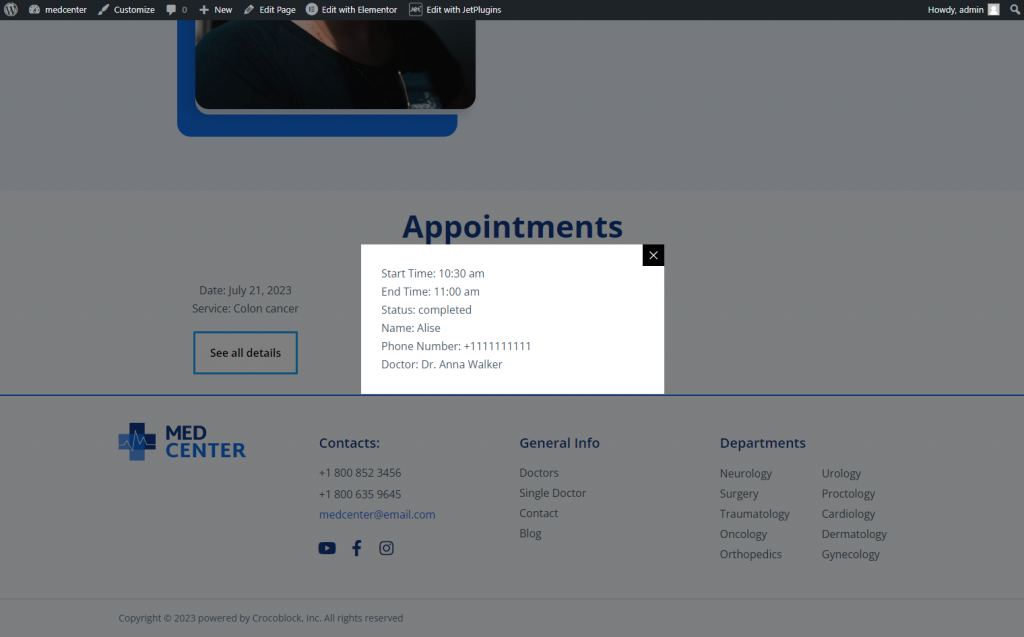
When I hit the button from the second listing item, the dynamic pop-up shows the details of the corresponding appointment.
That’s all. Now you know how to create a dynamic pop-up for JetEngine Listing templates with the SQL Query Source and display the appointments on the WordPress User Profile page.